Todays tutorial is a Raglan Dress Tutorial made from my own free raglan shirt pattern. The free pattern comes in size 18 mths – 6T and I hope you will be able to use it! Either as a shirt or turn it into this super cute dress. Make sure to check out all my Free sewing patterns here.
Join the LifeSewSavory Pattern Group for support on this pattern!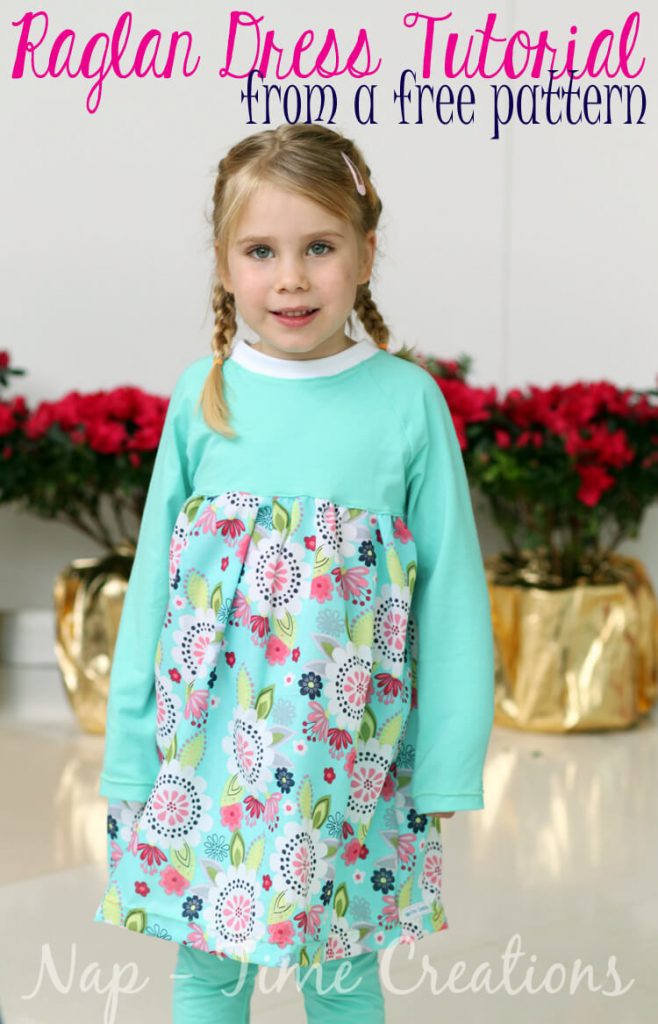
Raglan Dress Tutorial –
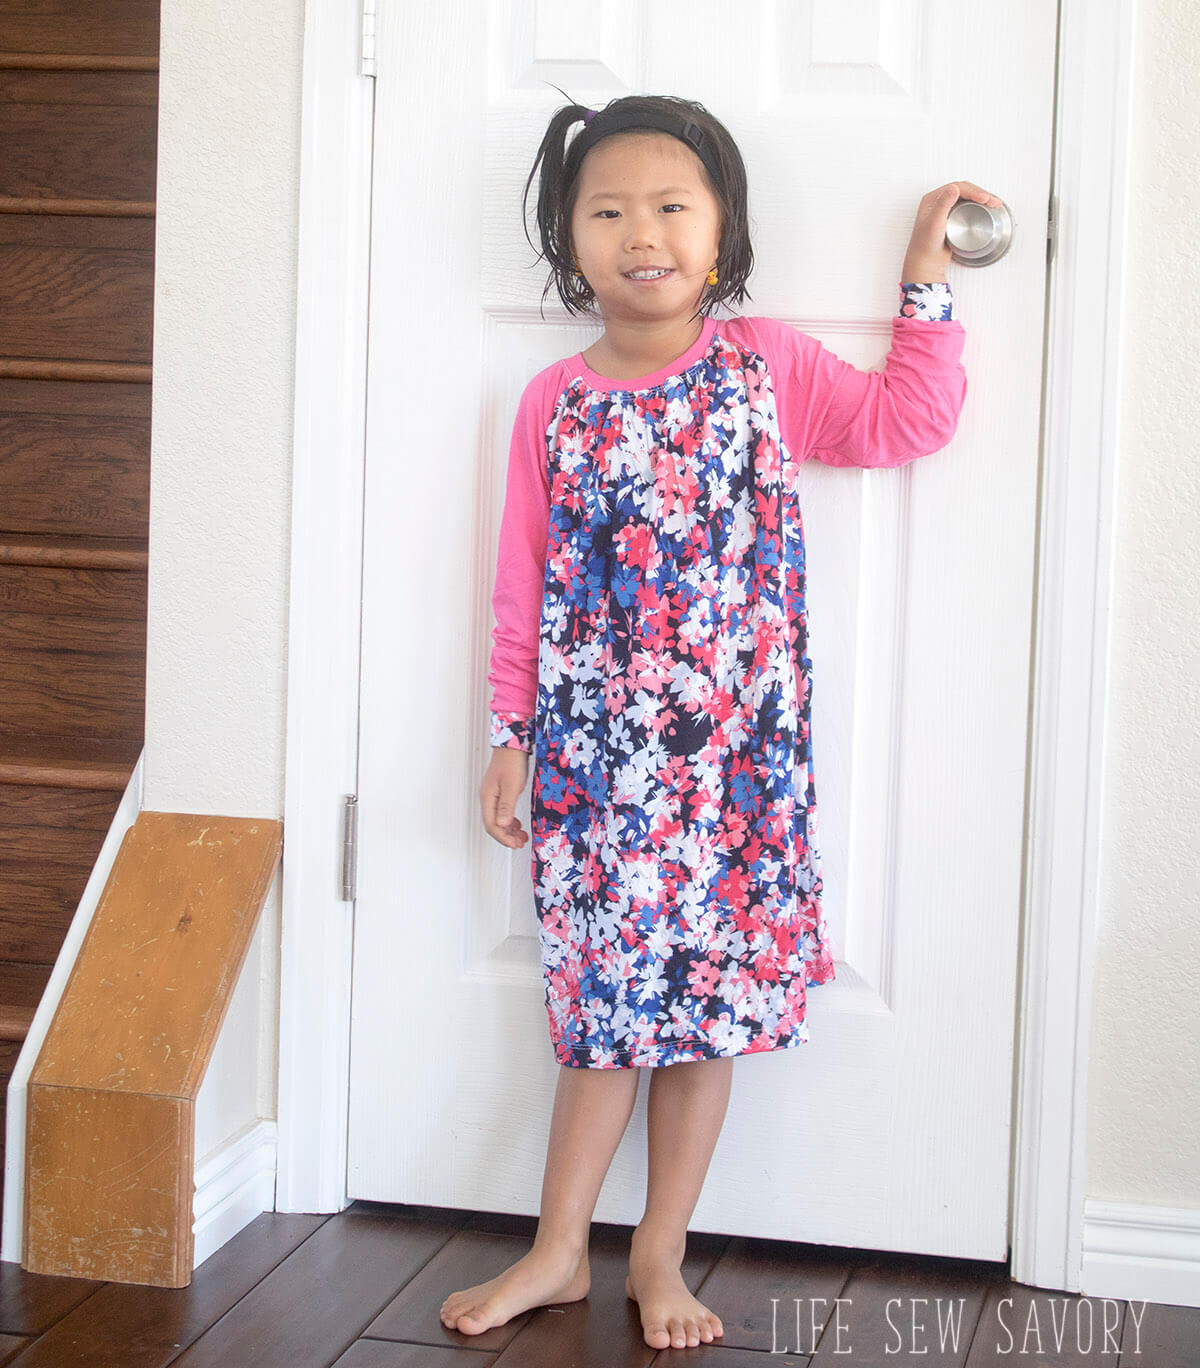
Here’s another version of the raglan dress tutorial.. to make this one, just use 2 of the back side as described below..
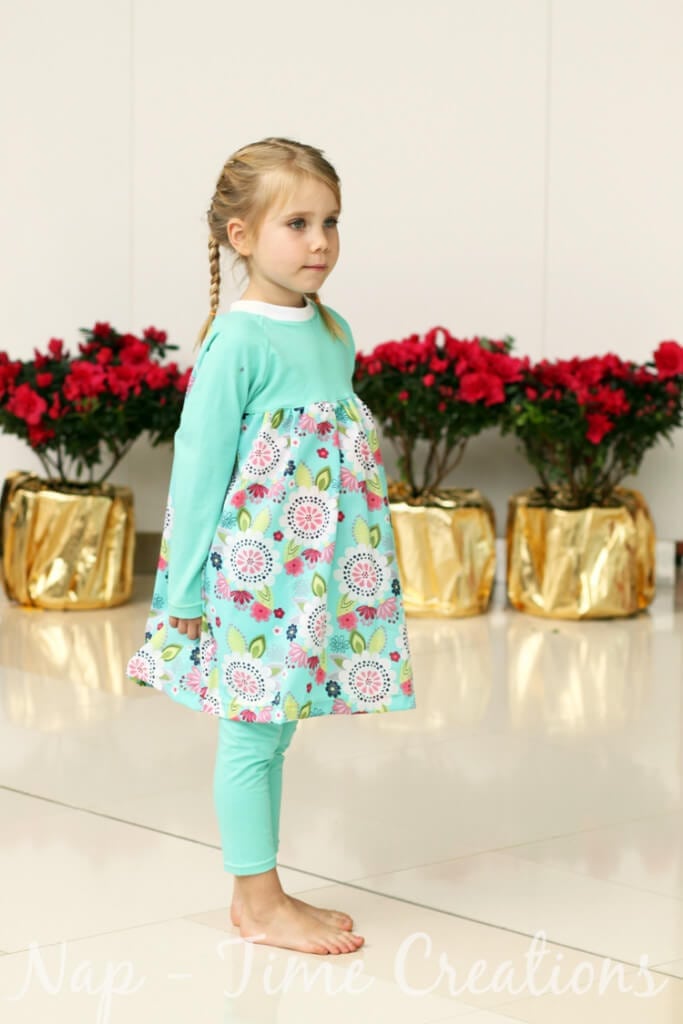
I used a combination of woven and knit fabric on this raglan dress tutoril and I love the outcome. You can make it tunic length or a full dress. The front of the dress has the knit fabric as a yoke at the top, this is to keep the stretch and allow the shirt to pull over your childs’ head.
The back is full woven with the neckline gathered before putting on the neck binding. Pair this dress with a cute pair of leggings and you are all set. Don’t have a legging pattern? You are in luck! Next week I’ll be releasing a free legging pattern for 18mths-10 years… so make sure and stop back to grab your free pattern.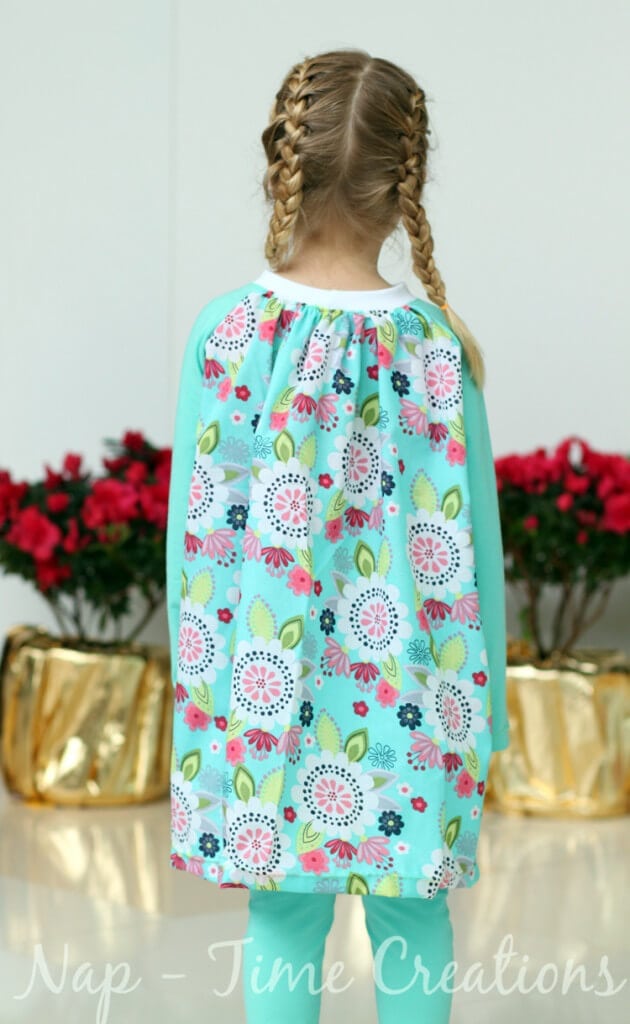
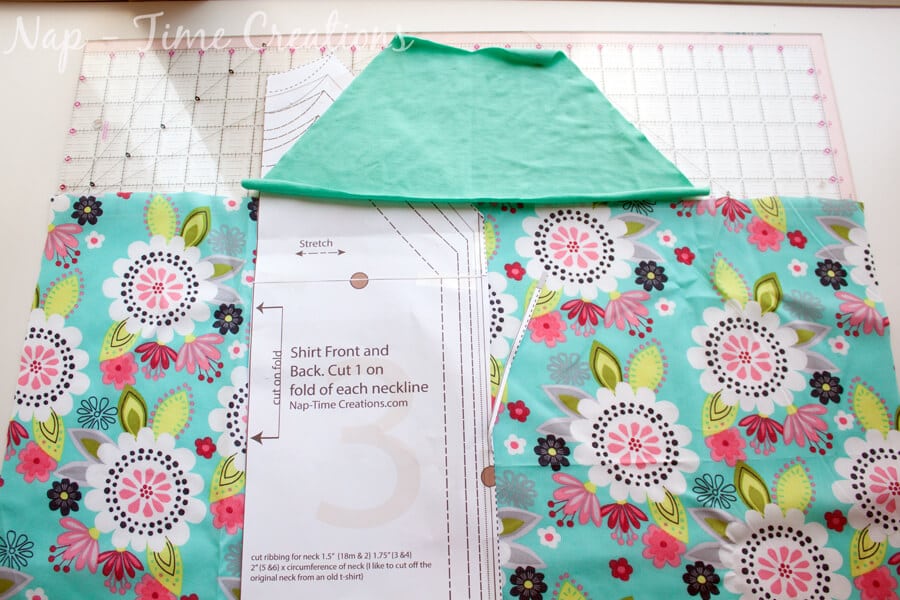
Alright… you can find the free pattern and sizing chart here. Go and print it, as always.. make sure to print your pattern at 100% or actual size on your printer AND always check the 1″ box on the pattern. A 1/2 yard of knit and 1 yard of woven should be enough, but may vary depending on the width of your fabric. Cut the sleeves in the knit. Now, cut the front of the shirt dividing the shirt at the bottom of the arm hole. **NOTE- you must OVERLAP your fabrics by 3/8″ for the seam allowance. I cut my knit this much lower than the bottom of the arm** If you don’t want to make the front two pieces you can make two like the back. This is how I made the pink one in the photo above.
For the knit bottom half, I used the pattern as the guide and cut the fabric almost 2x as wide as the pattern. You can adjust the fullness based on your taste.
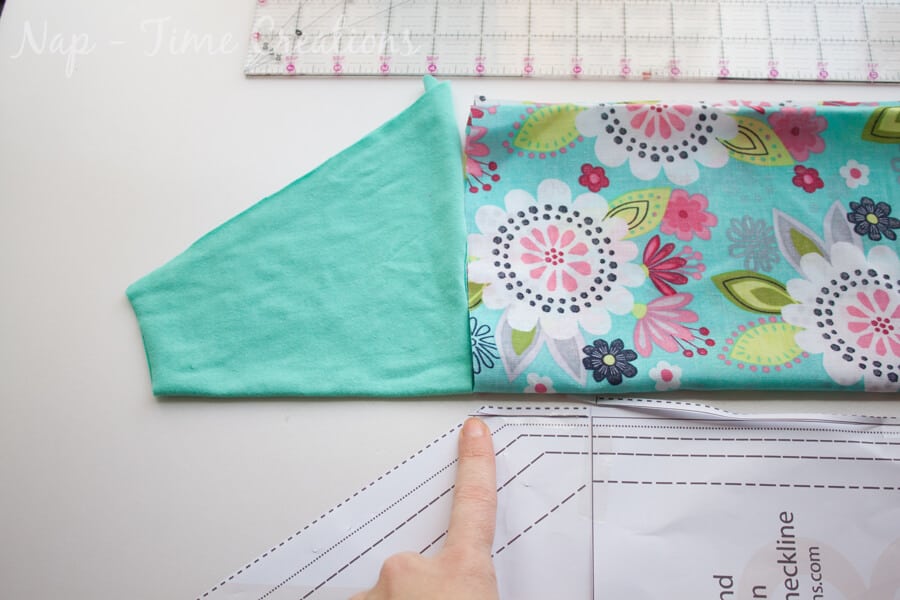
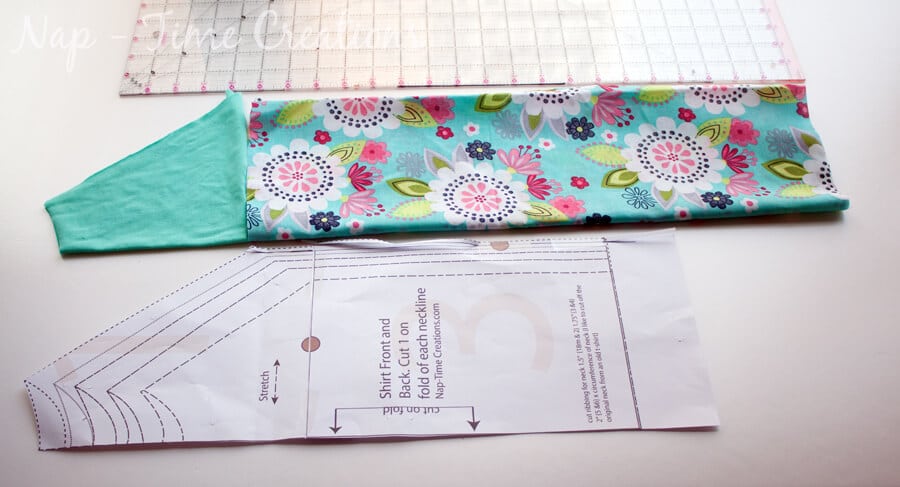
The length you will cut based on your desired dress length. Measure you child from under the arm, and add 1 1/2″ to that length for the hem allowance. Here is how my pieces look compared to the original shirt pattern piece.
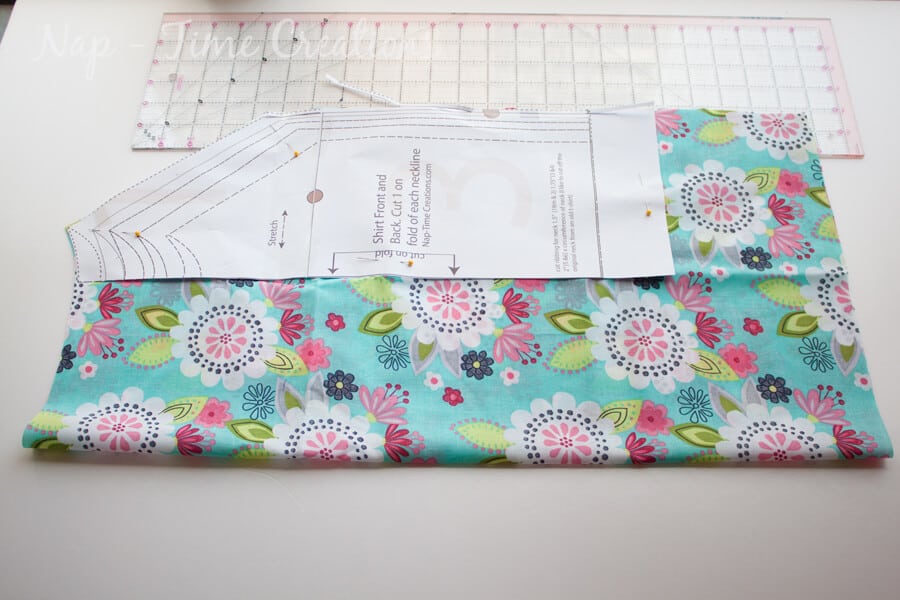
Ok, now for the back. I folded the fabric in half, then lined up the pattern with the fold. Slide the pattern over about 6 inches from the edge. { I would go less for the smaller sizes, this is a 5t} Cut the neck from the point to the center following the pattern, then go straight to the fabric fold.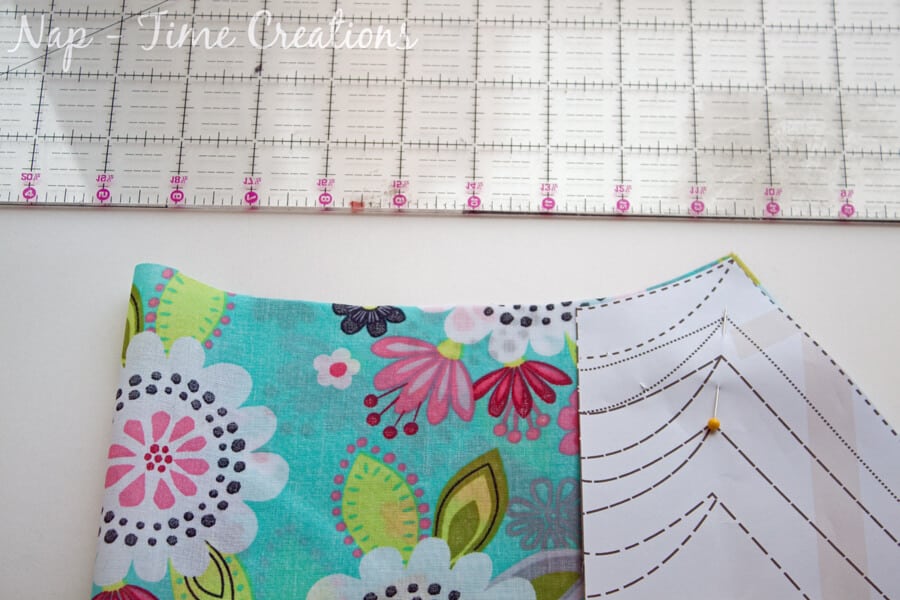
Extend the bottom to the same length as the front of the dress.
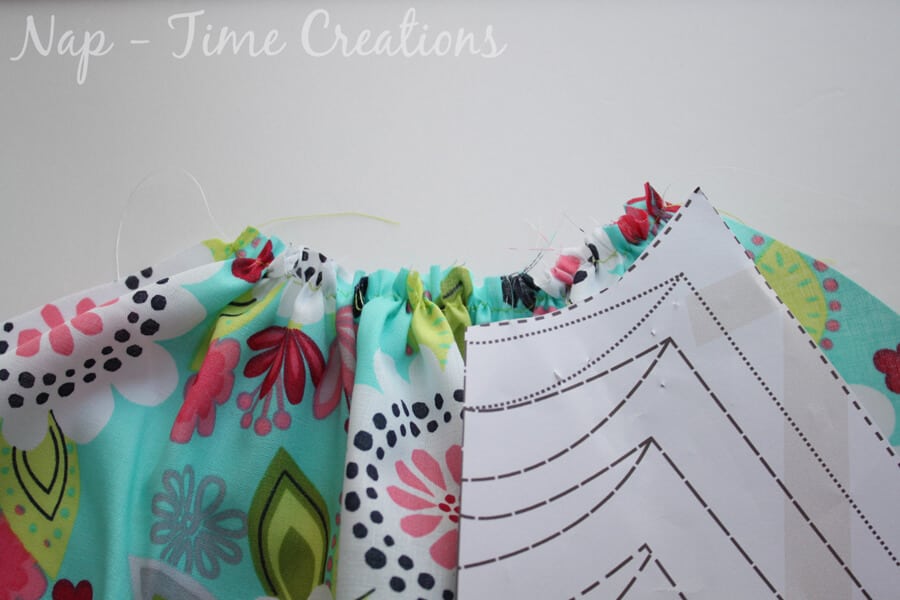
Gather the back neck to match the size of the pattern piece.
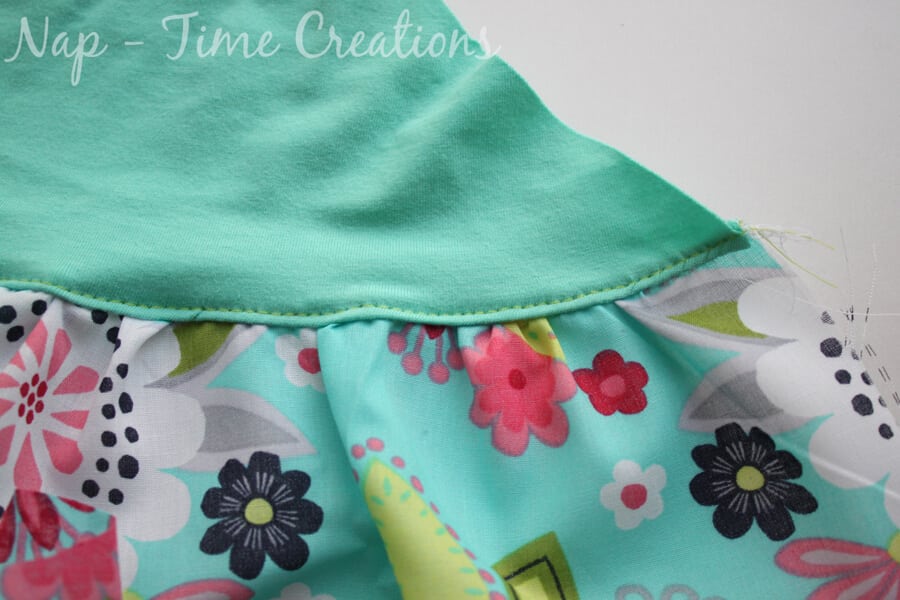
Gather the FRONT bottom piece to match the width of the FRONT top piece. Sew the two front pieces together, right sides together. Pin the knit in several places to prevent stretching.
Top stitch along the top yoke, turning the seam allowance up and stitching in place.
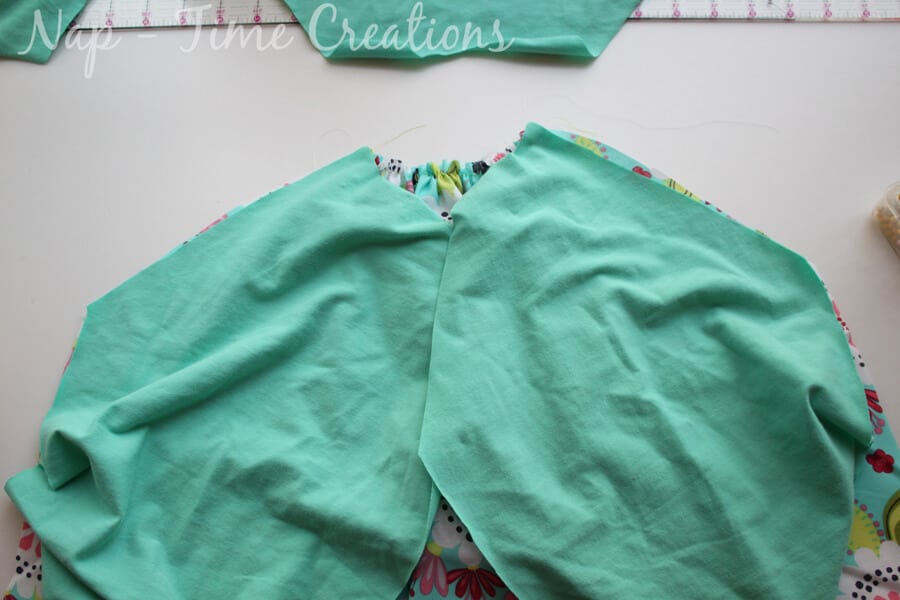
Sew the sleeves to the shirt back, right sides together.
Turn to the front and sew the sleeves to the front, right sides together.
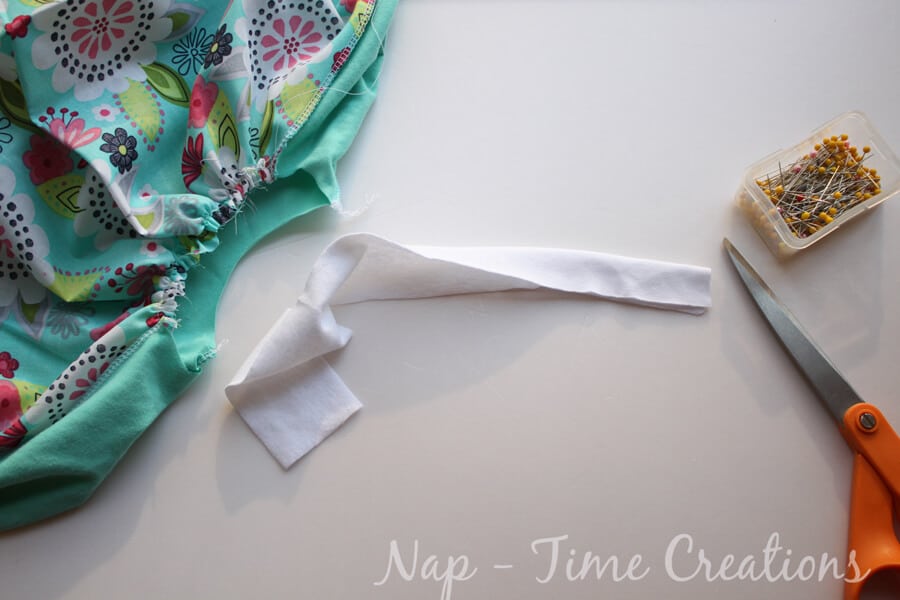
Cut a neck ribbing from ribbing fabric or knit with good stretch. Cut it 2″ wide and then measure around the neck. I usually make it about 1″ less than the neck.
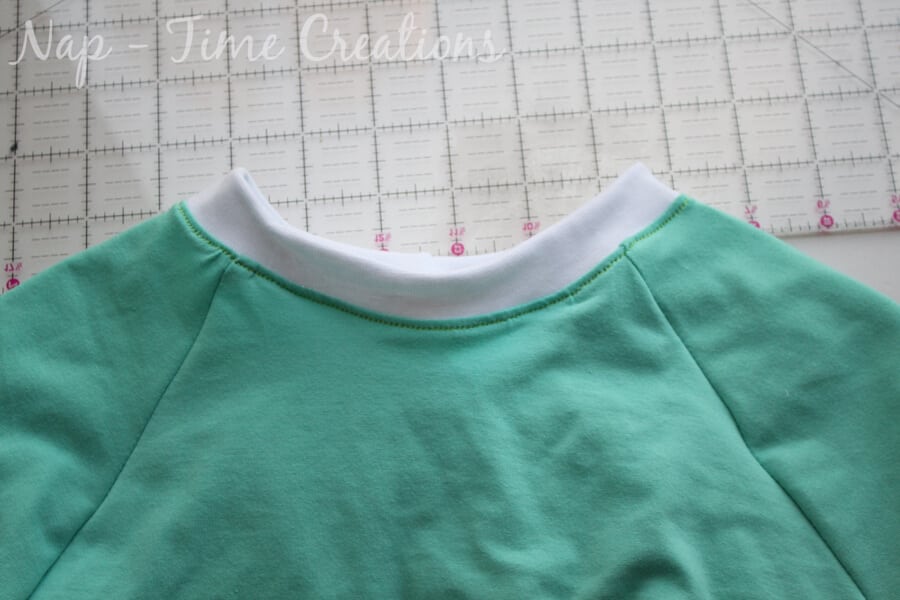
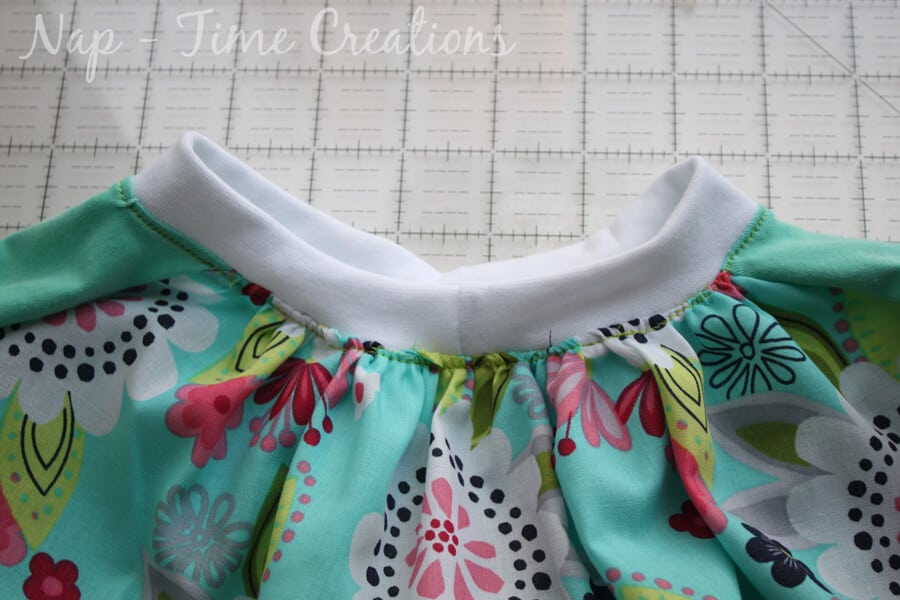
Sew the two short ends of the ribbing together, then fold in half. Stretch and pin around the neck, sew right sides together. Top-stitch with a knit stitch around the neck.
the back view…
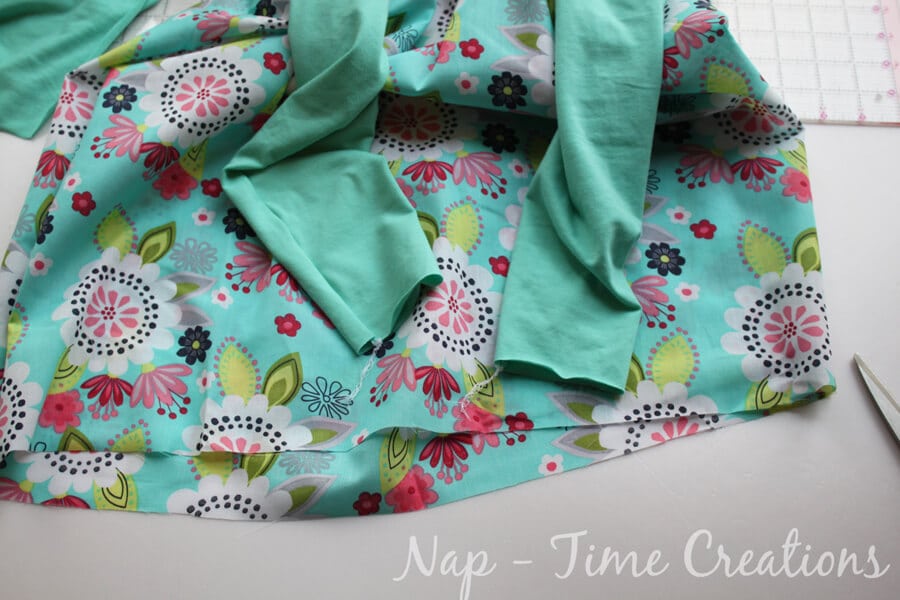
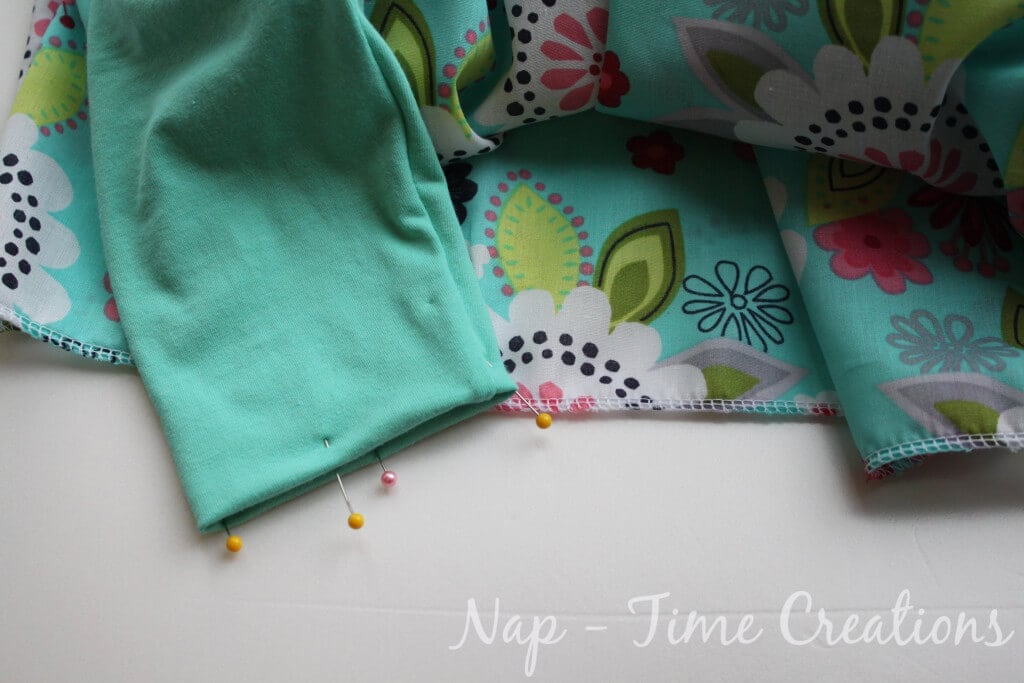
Pin the sleeves and sides together and sew the side seams.
Now you are finished except for the sleeve and bottom hems. Check the length at this point and adjust.
Turn 1/4″ under or use a serger to finish the bottom hem, then turn 1″ and sew around. I like to sew twice around for a double hem.
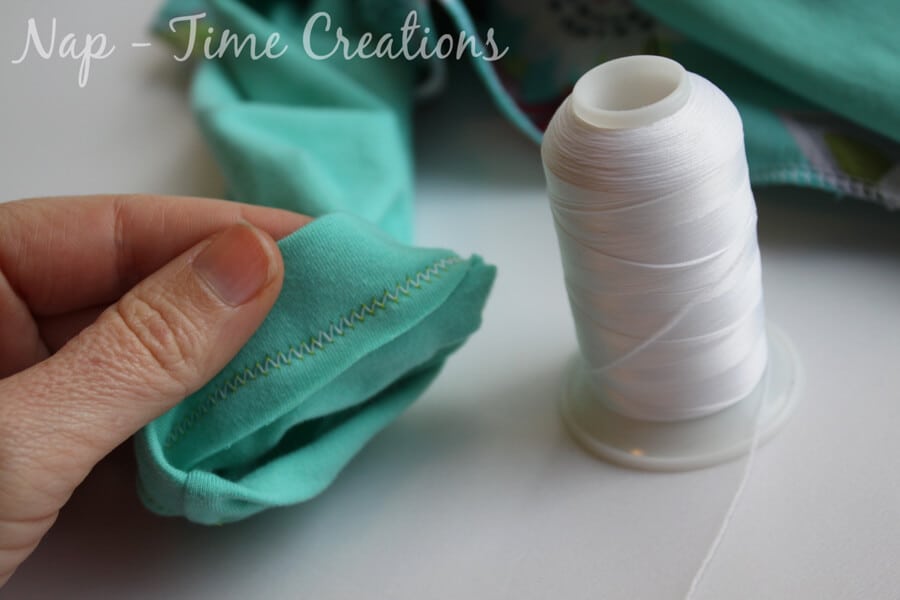
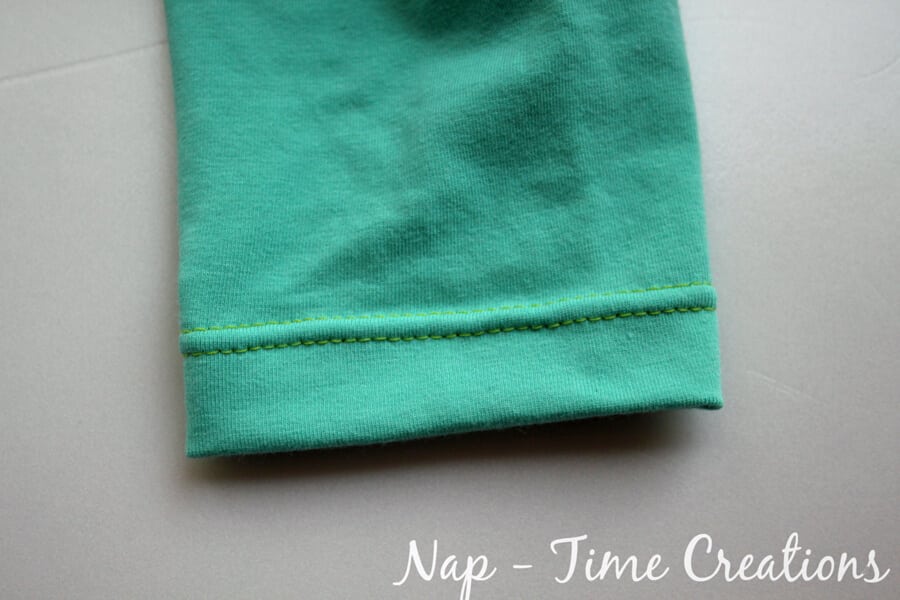
On the sleeve, turn 1″ and sew with a zig-zag, knit stitch or use a double needle with woolly nylon in the bobbin. It’s my new favorite sewing supply and it gives the stitch a great stretch! You can buy at most fabric stores, and then I wind onto the bobbin.
I love the way the double stitch looks on the sleeve.
And there you go! I can’t wait to see what your Raglan dress looks like. Please e-mail me at lifesewsavory@gmail.com if you have questions while making this! I’m happy to help.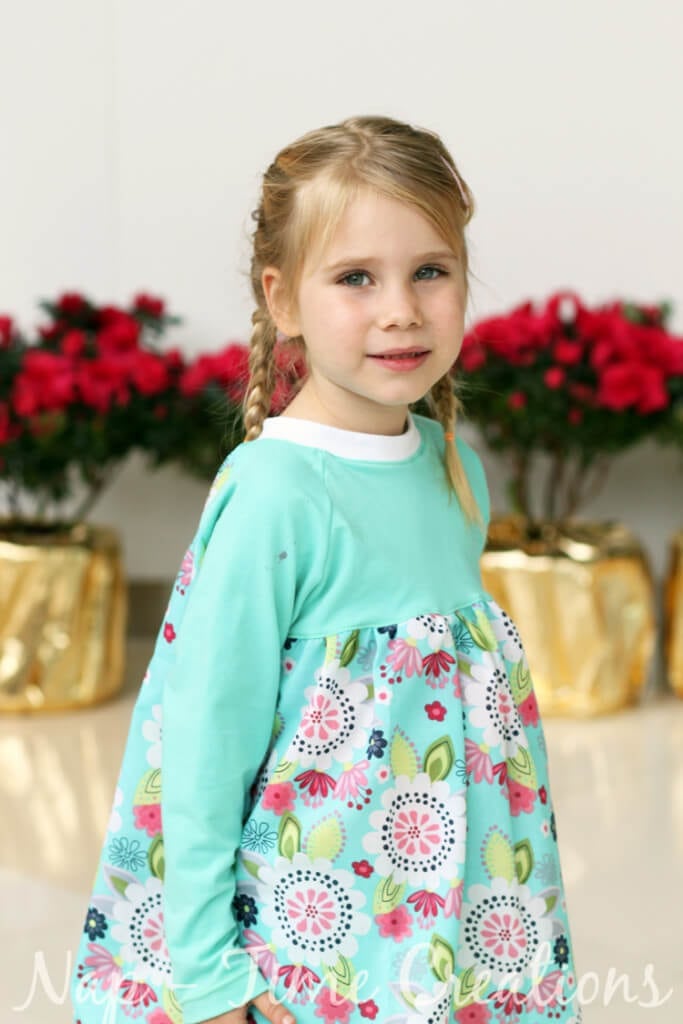
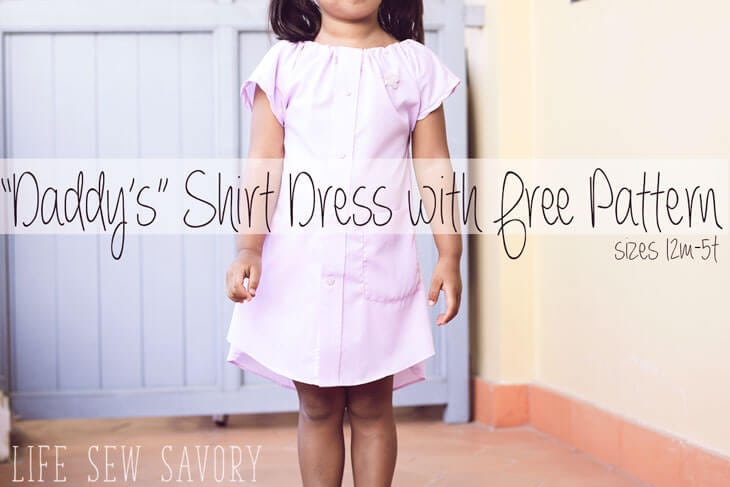
Here a few other dress patterns for girls you may enjoy-
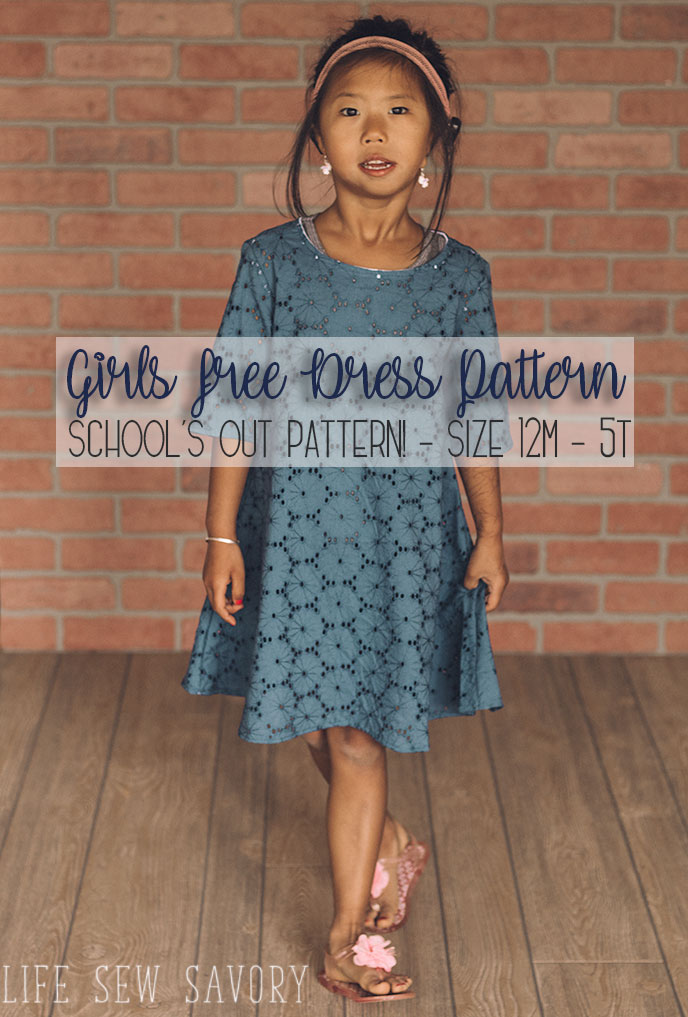
A-Line Free Dress Pattern and Tank
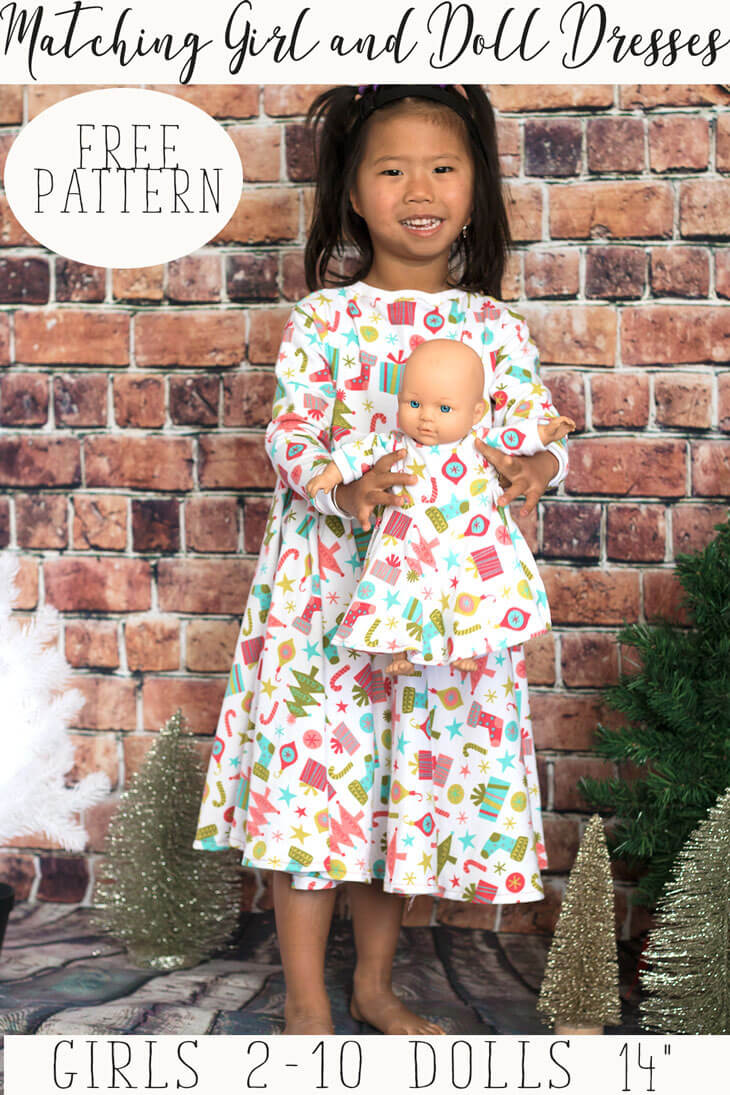
Girl and Doll Circle Dress pattern









shantel says
I love the dress Emily! I need to make your raglan pattern it looks so comfy!
Emily says
it is comfy!! my boys love theirs and it made a great dress too!
Penya, An apprentice housewife says
What’s a cute and comfy dress. It’s sure to be love by the girl. Thank you for free pattern. 🙂
Emily says
you are welcome!
Frances Suzanne says
Cute, cute, cute!! And, my….does it look comfortable!! Our nieces would LOVE something like this…
Cindy says
What a precious outfit! I really like the combo of knit and woven fabrics. Best of both worlds!
Emily says
thank you so much! I love how it turned out.
Erica says
This is so adorable! Perfect for spring- thanks for the tutorial and pattern! I found this on The Creative Exchange Linky!
Emily says
great! I’m so glad you stopped by!! thanks for taking the time to comment!
Corinne says
This dress is adorable! I love the fabric that you chose too. Thank you for linking up your tutorial to the This Is How We Roll Thursday party.
Cydnee says
What a beautiful little girl wearing a sweet dress! Great tutorial. Thank you very much for joining in the celebration of #purebloglove, we enjoy having you each week. I hope to see you on Thursday at 8PM, EST through Sunday night. ~Cydnee
Ashley ~ 3 Little Greenwoods says
Oh if I only wasn’t scared of my sewing machine! Love this adorable little girl’s dress!
Thanks so much for sharing on Show Me Saturday! I can’t wait to see what awesomeness you bring to this weekend’s linky party!
Trixie says
How could any of this be better stated? It cotudn’l.
Ging B says
Why is this just for little girls? I want to wear this too!