I made these bags for my boys earlier in the spring, and now I’m finally getting around to sharing this Boys Messenger Bag Pattern with you all. The boys love hauling their things {junk, ha!} around when we go out. Jack always asks me to make him a “purse” like I make for me, so I made a more boyish version for him, and one for his brother too.
Join the LIfeSewSavory Pattern Group for support on this pattern! Make sure to check out all my Free sewing patterns here.
** Note, this bag can totally work for girls too!!**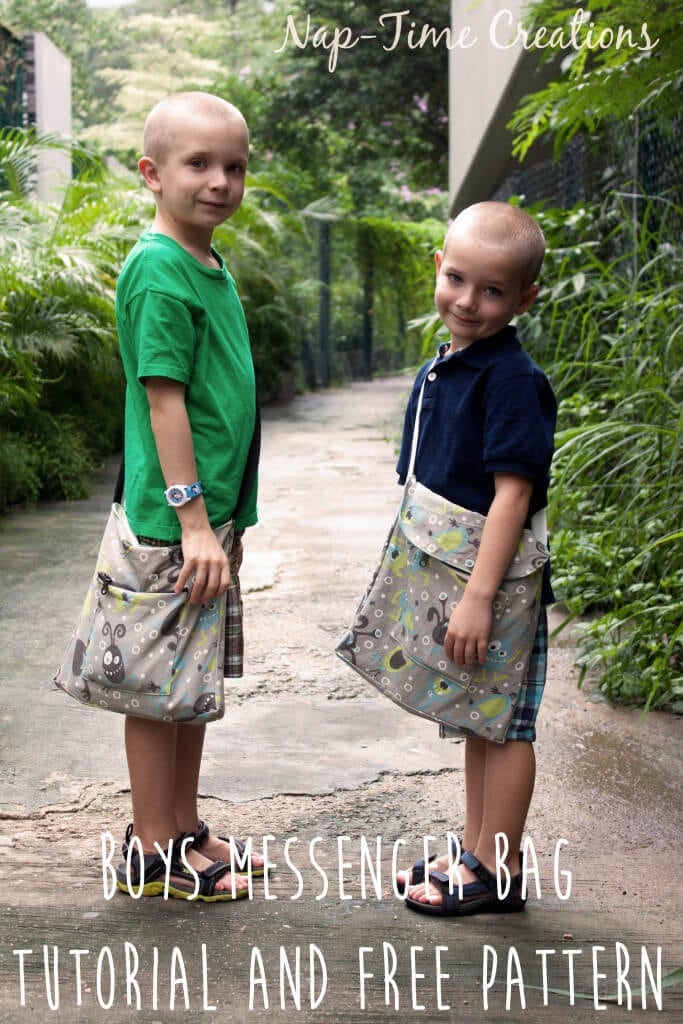
I’ve made two different versions of the boys messenger bag pattern, mostly to keep the boys bags separate. But, also to give you some options when sewing this bag yourself.
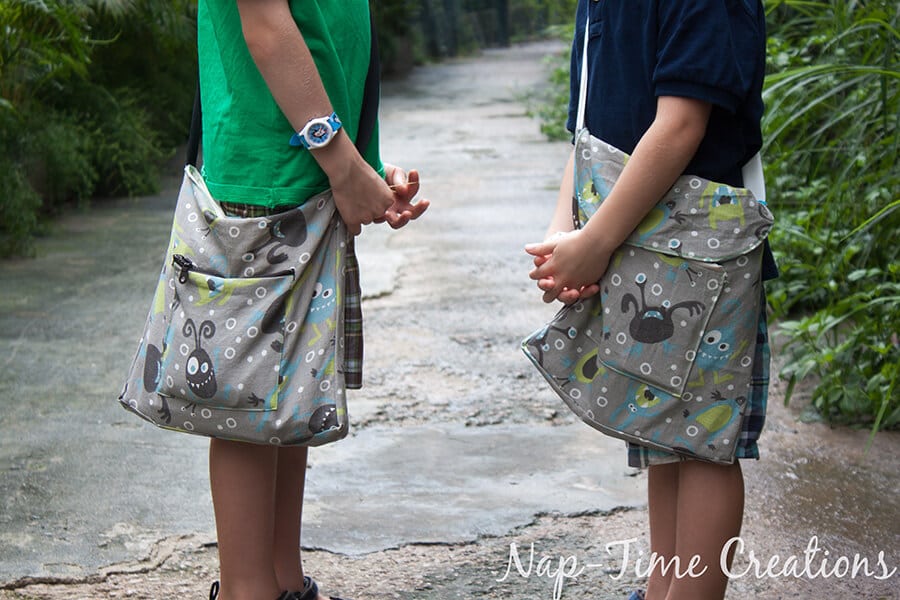
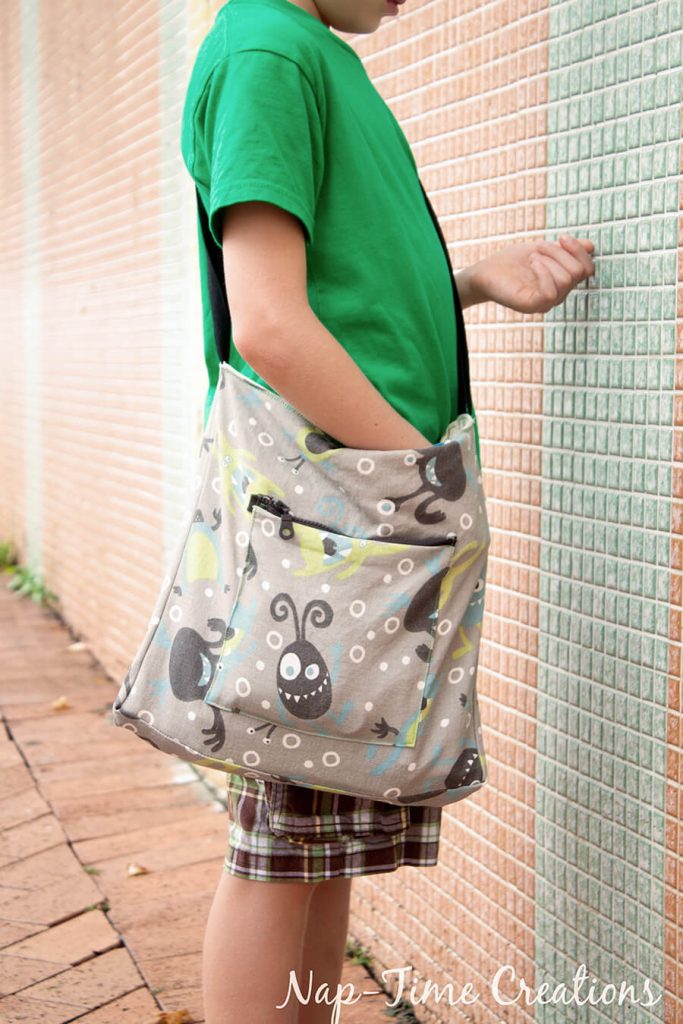
This messenger bag has a main compartment and then one side pocket. The main area can be closed with a magnetic clasp or with a flap overhang. Both side pockets have zippers.
You can go to my shop to get the bag pattern. It’s a 1 page print off with the bag dimensions and pattern piece for the top flap. GET THE PATTERN HERE.
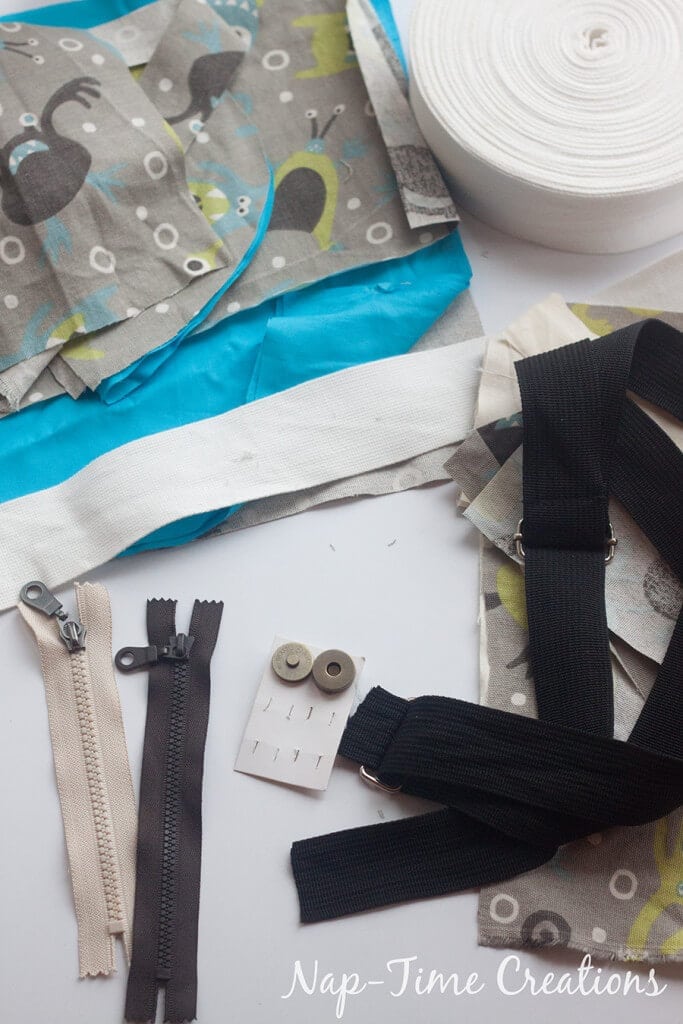
1/2 yard of lining fabric and 1/2 yard of main fabric should
You will cut out 2 main bag pieces, 2 main lining pieces, 1 long strip of lining, 1 long strip of main fabric, a length of strapping, 1 pocket piece. 1 6″ zipper, and the flap if you want. Seam allowance is a narrow 1/4″.
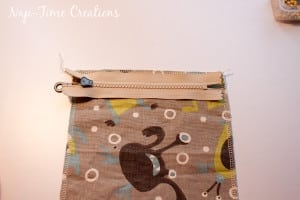
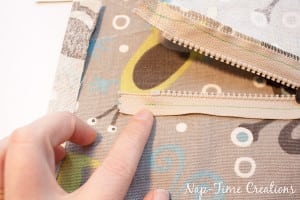
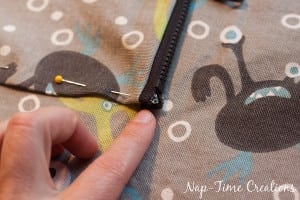
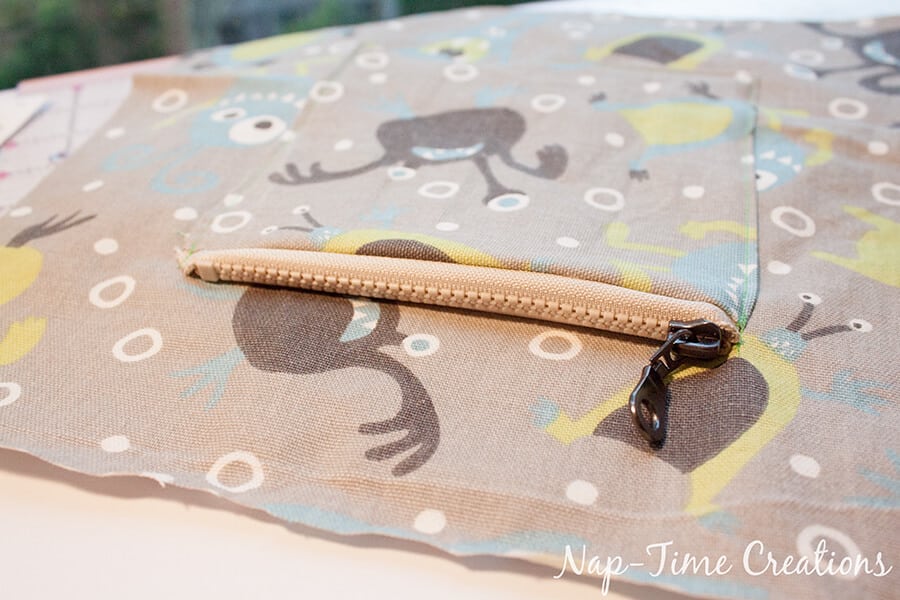
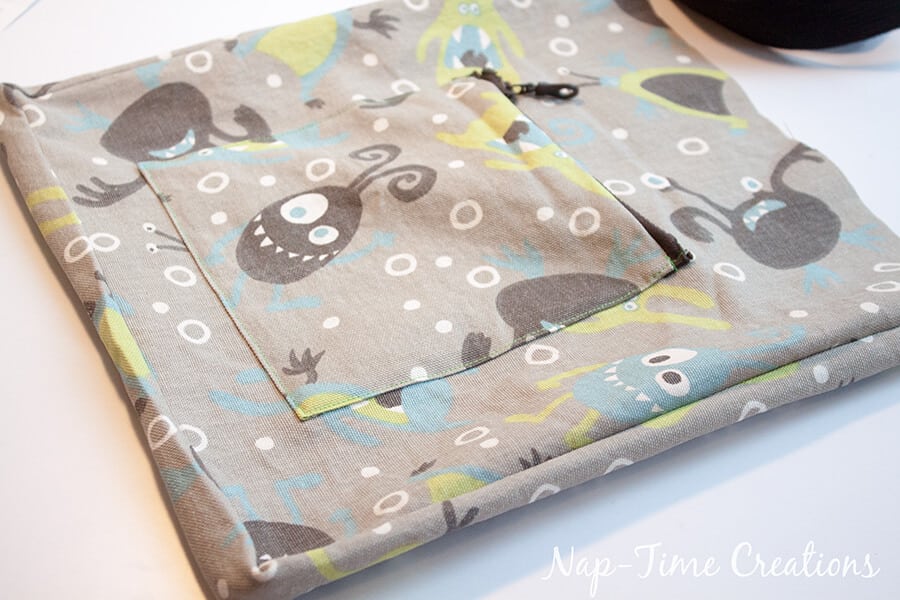
Prepare the pocket by finishing all four sides with a serger or zig-zag. Sew the zipper to the top of the pocket, right sides touching. Then iron over 1/4″ toward the back side of the pocket. Sew the second side of the zipper to the bag, right side touching. The pocket should be laid up towards the TOP of the bag. After you sew the zipper, flip the pocket back down towards the bottom of the bag. Pin around the outside of the pocket enclosing both ends of the zipper.
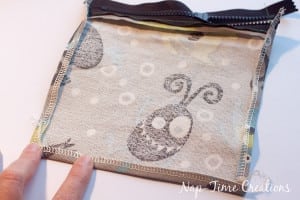
You should have a pocket attached to the outer main side, with a zipper enclosed neatly.
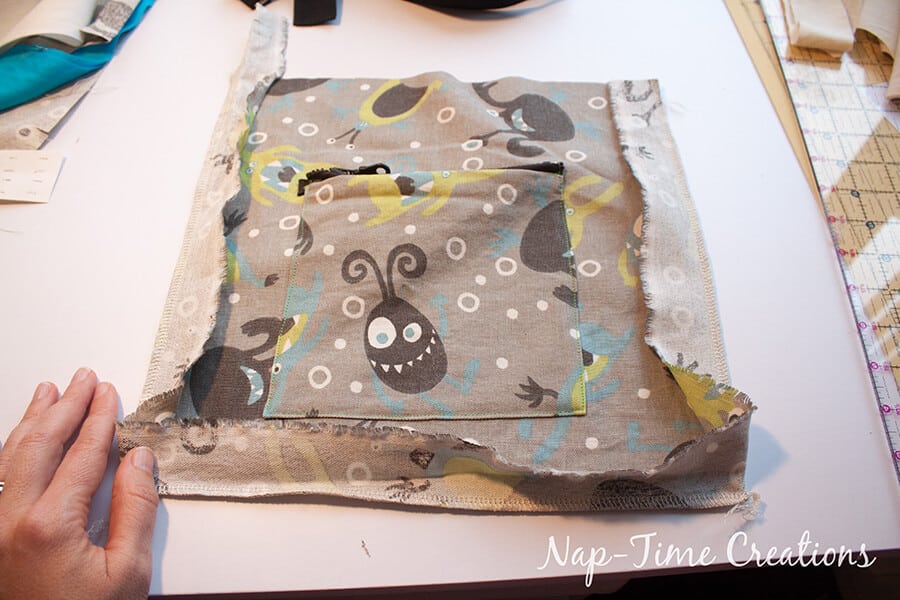
Take the long side strip of fabric and place it right sides together with the main bag piece. Starting on one upper corner, sew down one side, across the bottom and then up the other side. Then line up the second main bag piece over the first. Sew it to the long side piece.
Repeat the above steps with the lining fabric. You now have two bags like this.
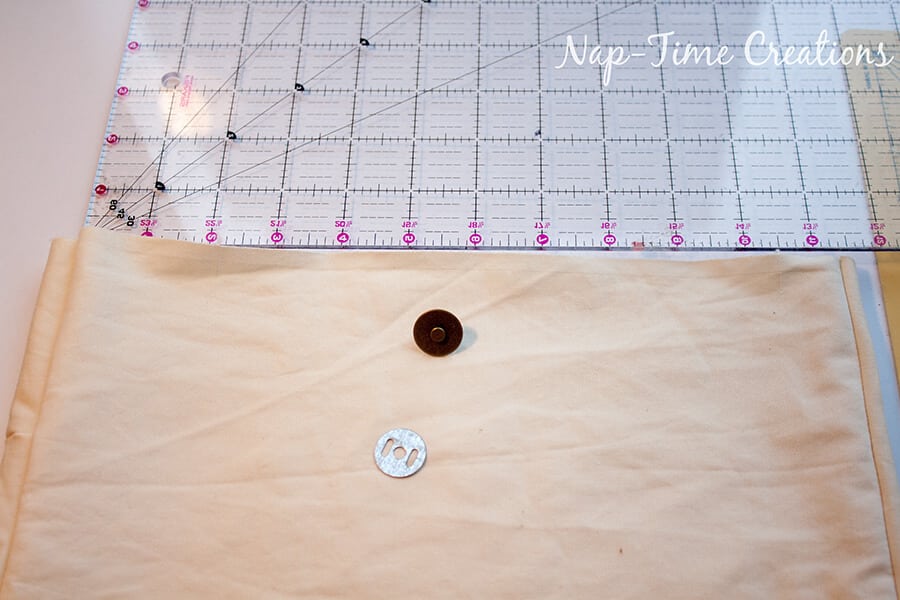
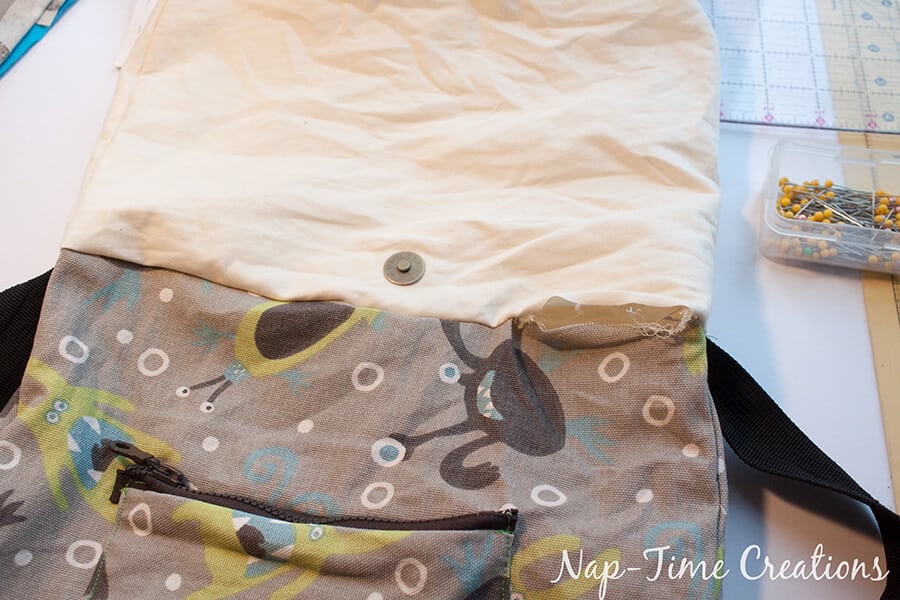
{If adding the flap closure skip ahead to ***} I you are using the magnetic closure find the center of the lining side. The right sides of the clasp should be on the right side of the lining.
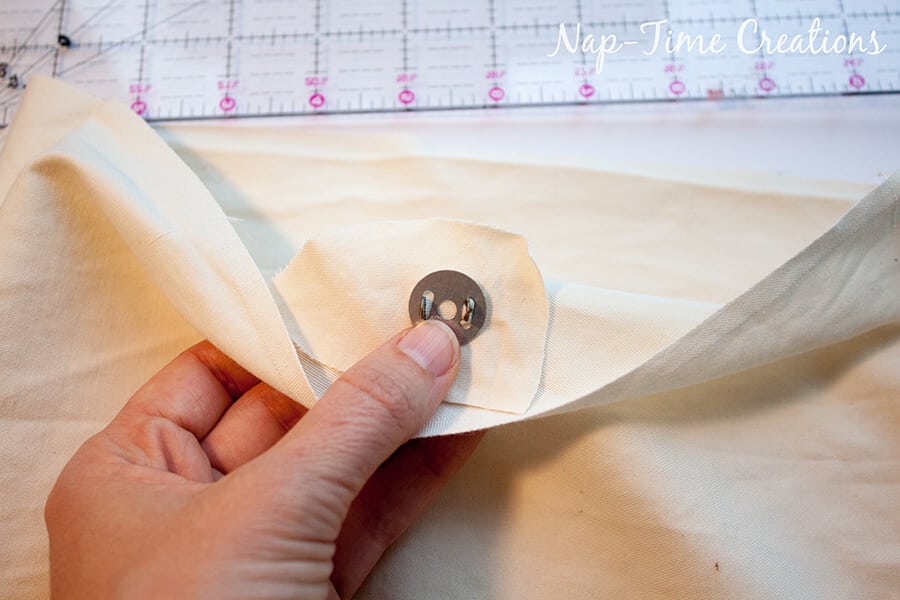
Attach the clasp to the fabric and reinforce the back if your lining is thinish…
Clasp on the right sides of the bag.
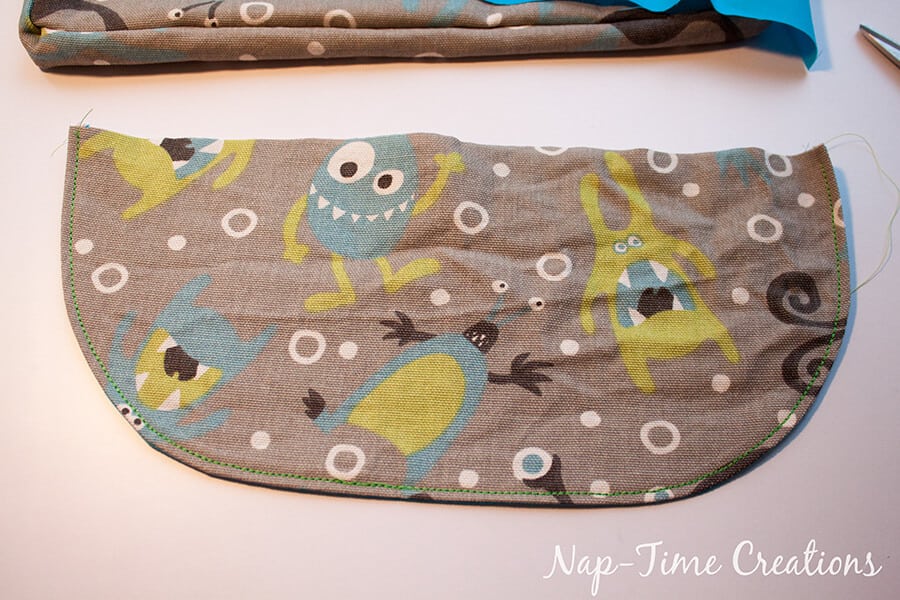
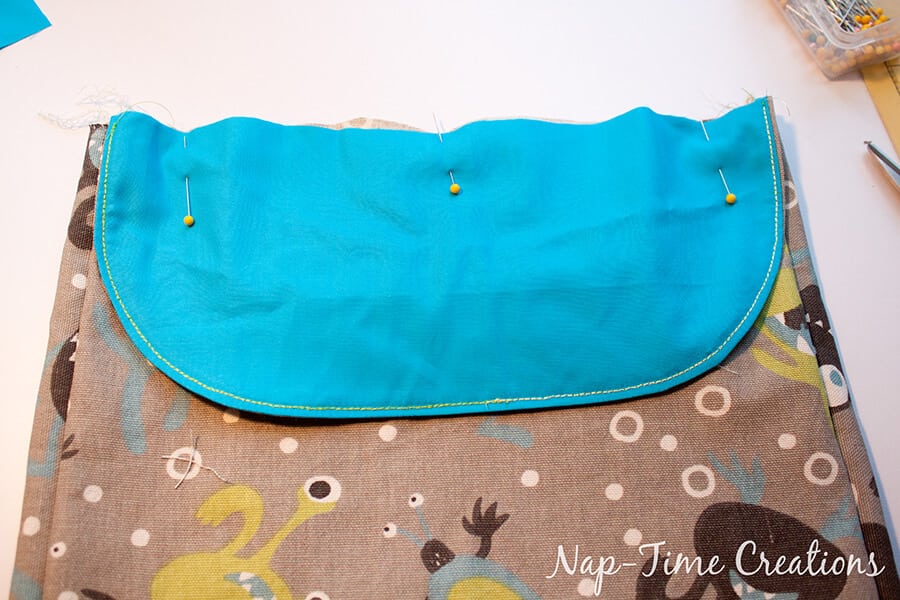
*** Instructions for flap closure *** Sew the flap main and the flap lining on the curved edge. Right sides together.
Turn right side out, press and top-stitch.
With right sides together attach to the back of the bag {the side NOT with the pocket} Sew.
For either bag type, You will now add the strap. Measure a single piece of strapping the length you want. If you strap is wider than your bag thin side, fold it over then sew it to the side of the main bag.
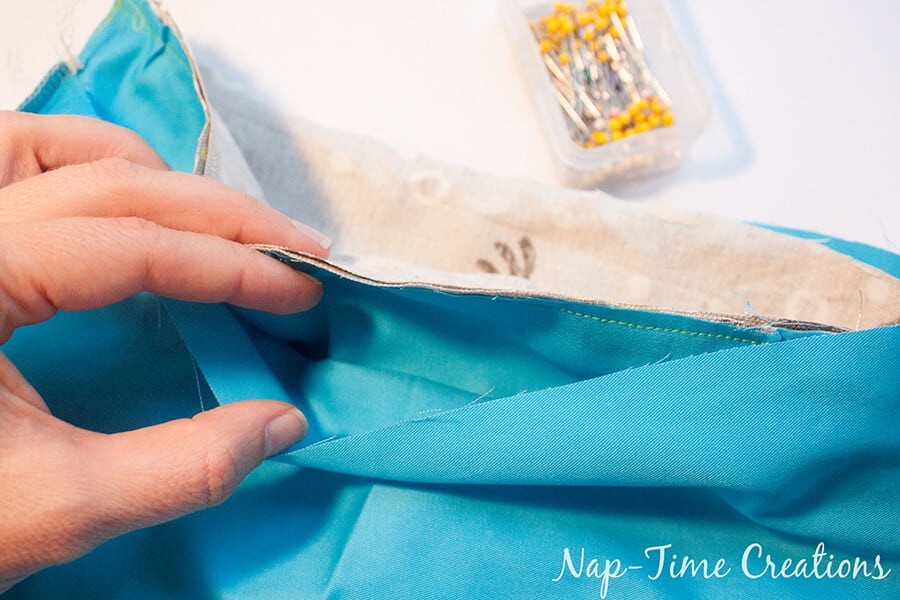
FLAP VERSION: Now put the right side of the main bag with the right side of the lining together. The flap is in the middle.
MAGNET VERSION: should looks the same, just no flap. Sew right sides together. 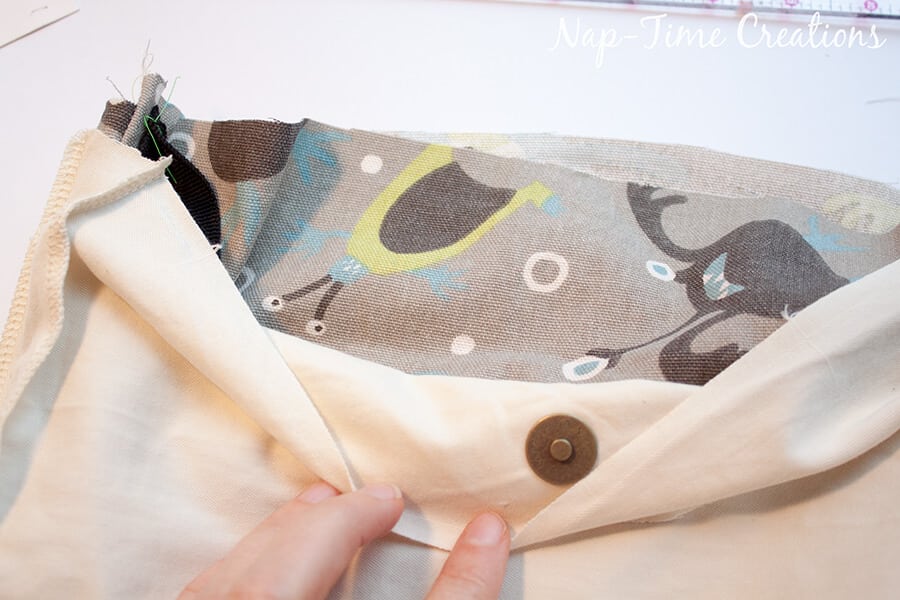
Leave a 4 inch opening when sewing the lining and main bag together.
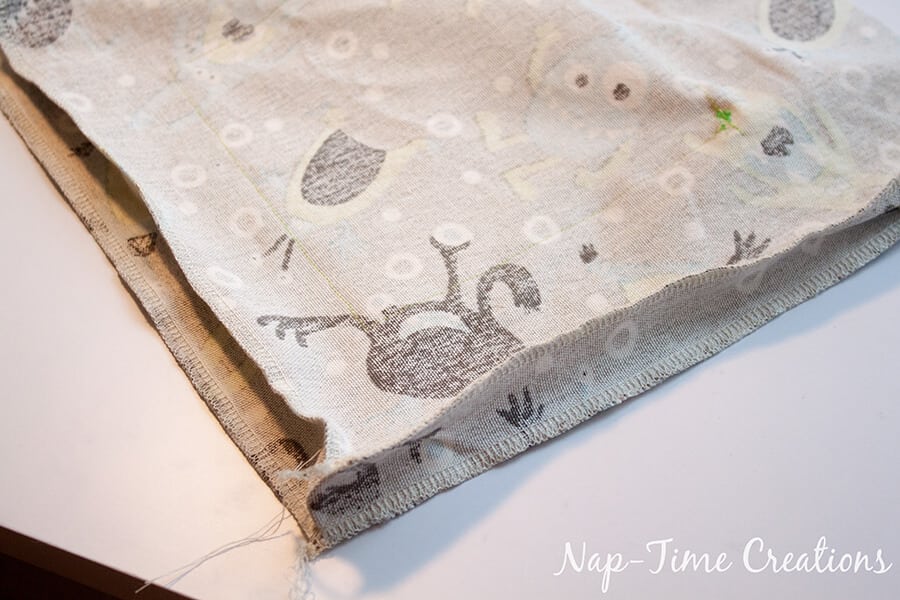
Pull the lining through like this.
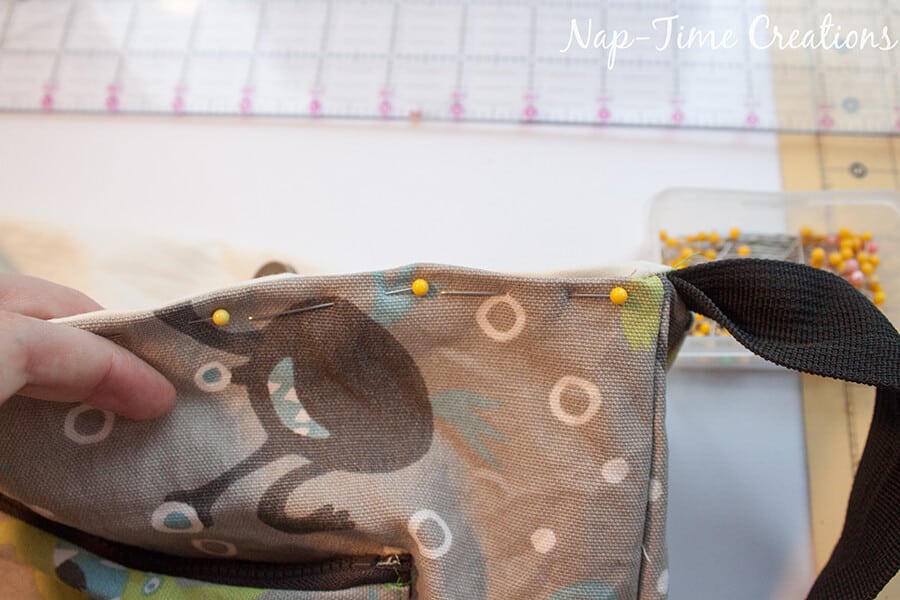
Push the lining into the bag and pin around the top. Pin closed the opening you left for turning. Top-stitch around the top of the bag. YOU are FINISHED!!
My bags are almost as cute as these boys who wear them! Please let me know if you have any questions about assembly. Here is also another link to DOWNLOAD the PATTERN here.










Kristi Andres says
That is great. I love the pocket on the outside. I made my kids similar bags for the library, but the pocket is on the inside (no zipper) and the books catch on it when they try to put them in. I’ve had to cut some out after they’ve ripped!
Emily says
thanks! Yes, we love the pocket on the outside!
Lisa @ Fun Money Mom says
Wow…you are so creative! These are adorable!!! Thanks so much for sharing your awesome tutorial at Share The Wealth Sunday!
xoxo
Lisa
Alayna @AlaynasCreations says
Great bags! I love that fabric! Thanks for sharing with us at the #HomeMattersParty link party
Kimberly says
Super cute! You are so talented. Thanks for sharing this at our party. Pinned and tweeted. I hope to see you on Monday at 7 pm, so we get to party with you again! Lou Lou Girls
Theresa @DearCreatives says
How cute are those boys & love the bags you made them. Pinned & shared. Thanks for joining the Inspiration Spotlight party.
Linda says
Awesome tutorial. Thanks so much. Pinned also. Linda @Crafts a la mode
Maria Trujillo says
Awesome want free pattern plz
millie says
Where did you buy this fabric its so cute?
Tracey says
Brilliant! Made this for a friend. I used a jeans pocket, which I embroidered with the child’s name, instead of the zippered pocket. Sew easy. Will be doing more.
Kids Bag says
I have a baby boy, and I was looking for a custom bag for him. That’s why just check out a few articles, and your item is just outstanding and helps me a lot. Thanks for the tutorial.
Lynn Cober says
Thank you so much for posting this free pattern. A number of moms are concerned for their kids during the Covid lockdowns. They are pretty severe here in Ontario and the schools keep foolishly opening and closing and back and forth. I will have a number of kids – age 10-12 – coming to my house to do a sort of Home Economics sewing class and this bag is perfect especially as there will be boys in the class. Thanks again.