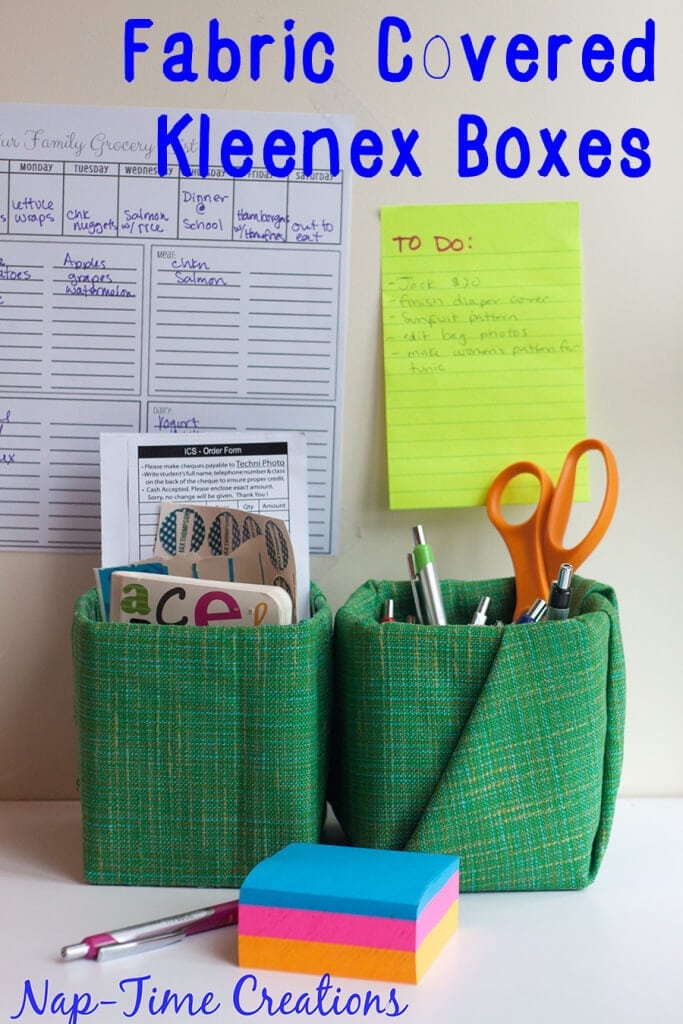
Back to School isn’t just about the kids. As a mom, I feel like I have to gear up for back to school as much as my kids. A huge part of back to school for me is getting our life organized, so I can keep my family running smoothly during the school year. I need to #BTSLikeABoss… that’s right, back to school like a boss! Today I’m sharing a fun project for Moms Back to School – Fabric covered Kleenex Boxes.
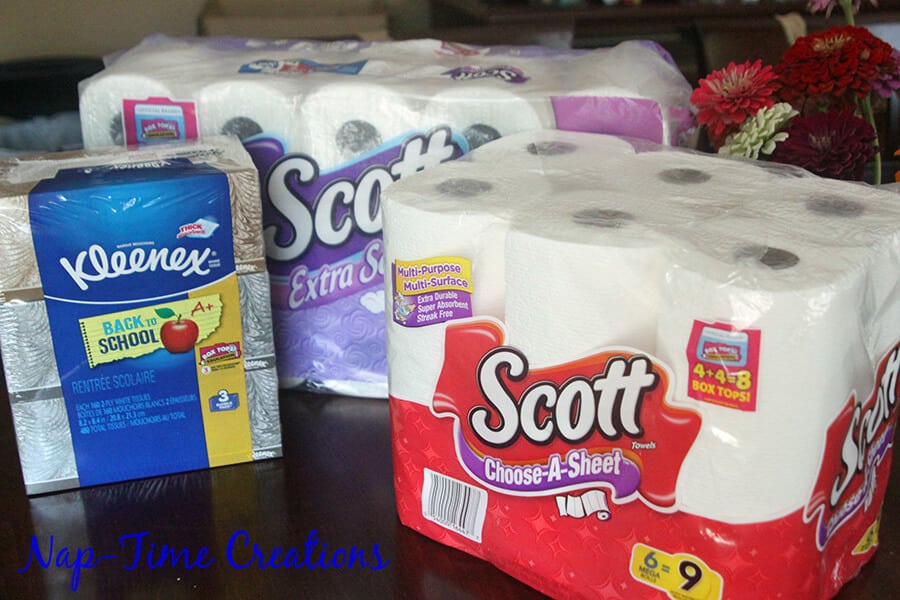
While back to school shopping at Walmart, the kids stocked up on all their supplies and I got a head start on collecting Box Tops with some great Kimberly Clark products. These products are great to keep my house running smoothly and efficiently so my kids can be their best for back to school. Kimberly Clark products at Walmart have double Box Tops right now, also great for me and our schools. I love how we got everything we needed in one stop at Walmart. {hint} if you want to make this project you should also pick up fabric while there!
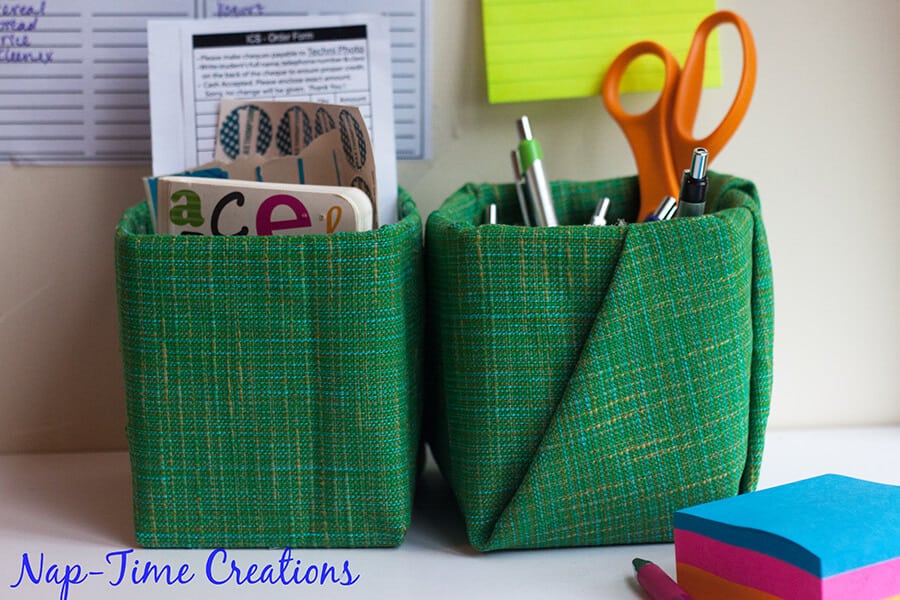
Part of my moms back to school routine is to get mom organization station set up in my kitchen. This cute Fabric Covered Kleenex box is a cute part of this years station. Want to make your own? I’m sharing two different ways to cover your favorite box and organize for moms back to school too!
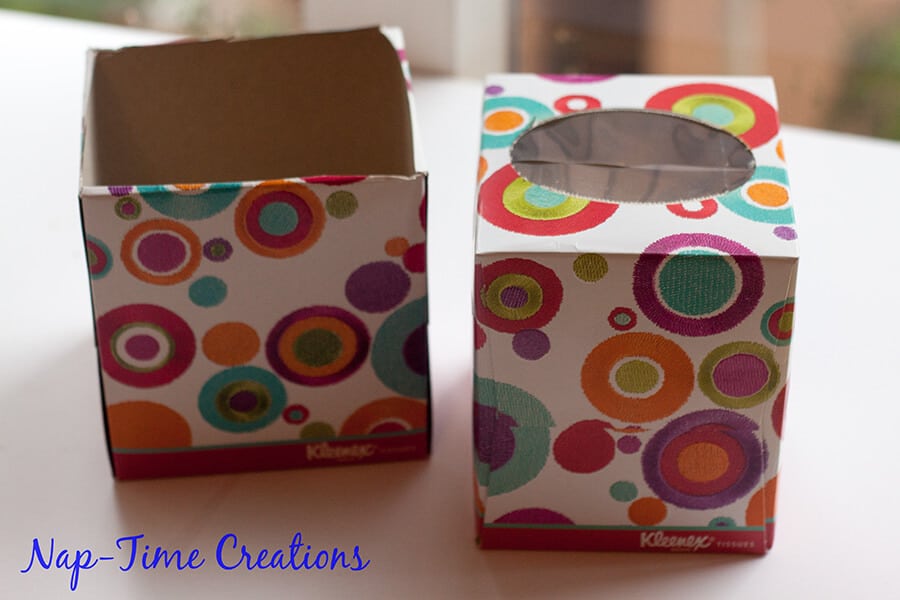
Grab a box that’s a good size for your intended space and cut off the top {after you use all the Kleenex, ha!} Have hot glue and fabric on hand as well.
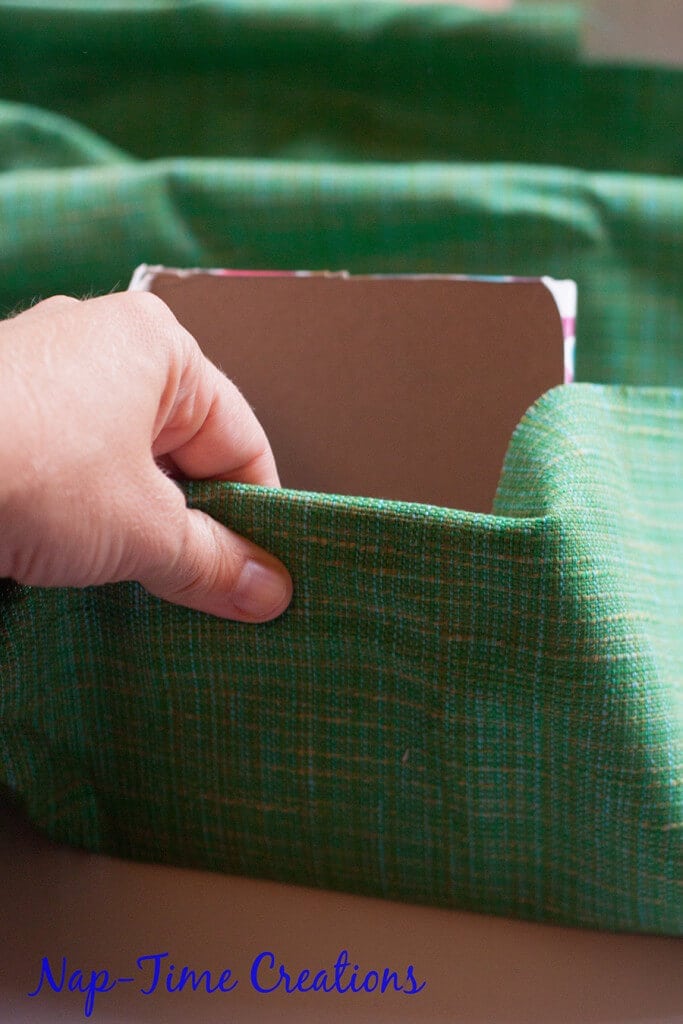
To decide how to cut your fabric, wrap the edge of the fabric over the side of the box.
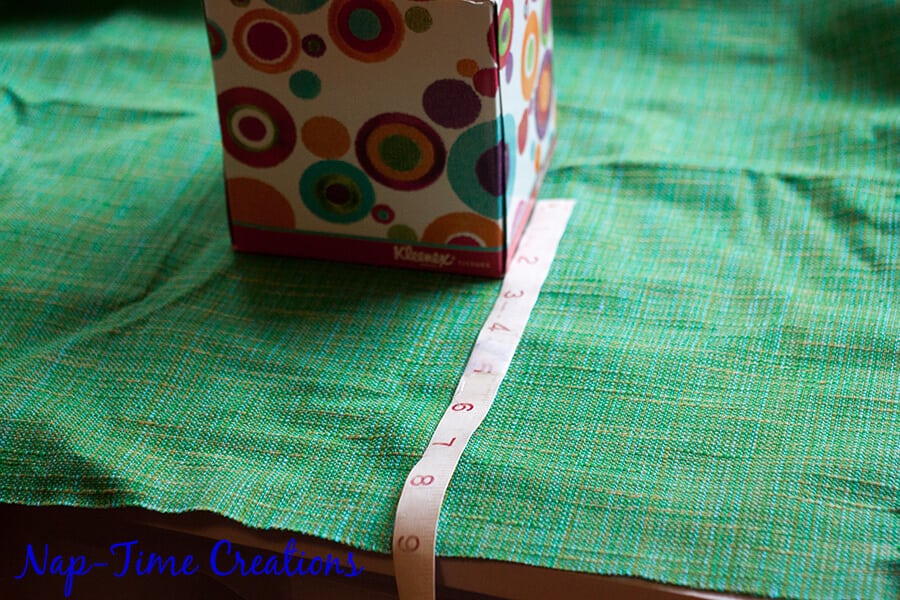
Then unfold the fabric and measure from the center of the box to the edge of the fabric, then double that number and cut that square. Mine is 9″ from center to edge, so I cut a 18″ square. If you box is a rectangle, you will have to measure both sides, then cut a rectangle that size.
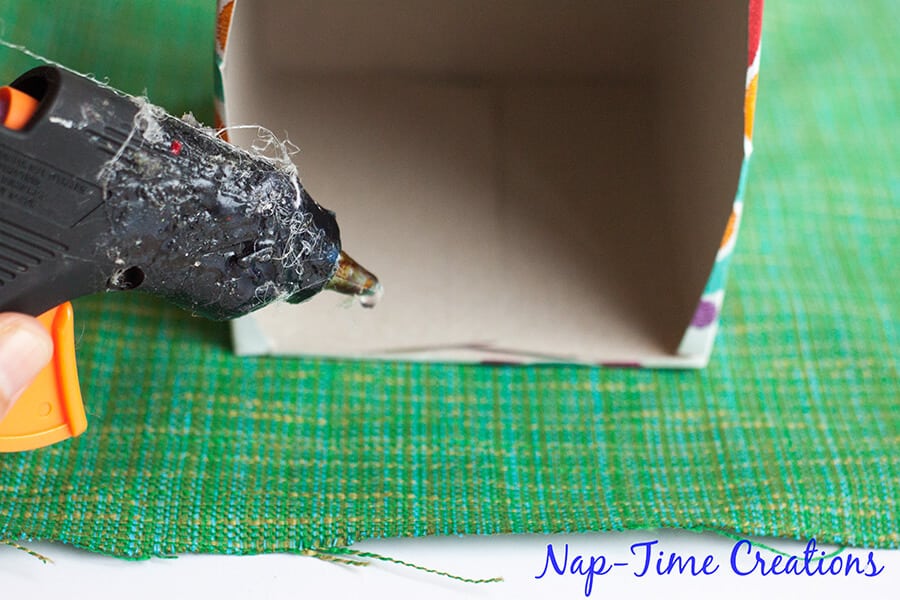
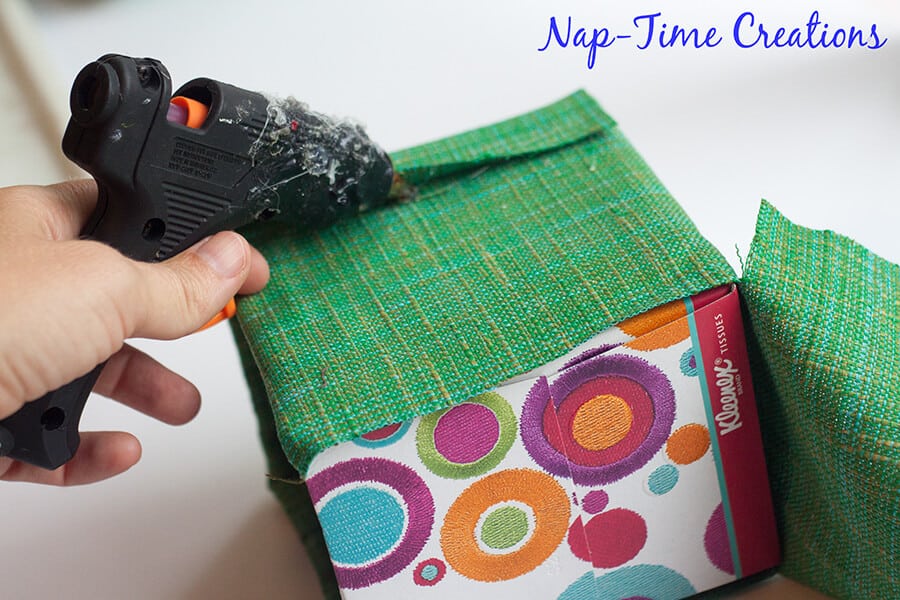
I used hot glue to attach the fabric to the box. Glue and fold the fabric to the first side to the box.
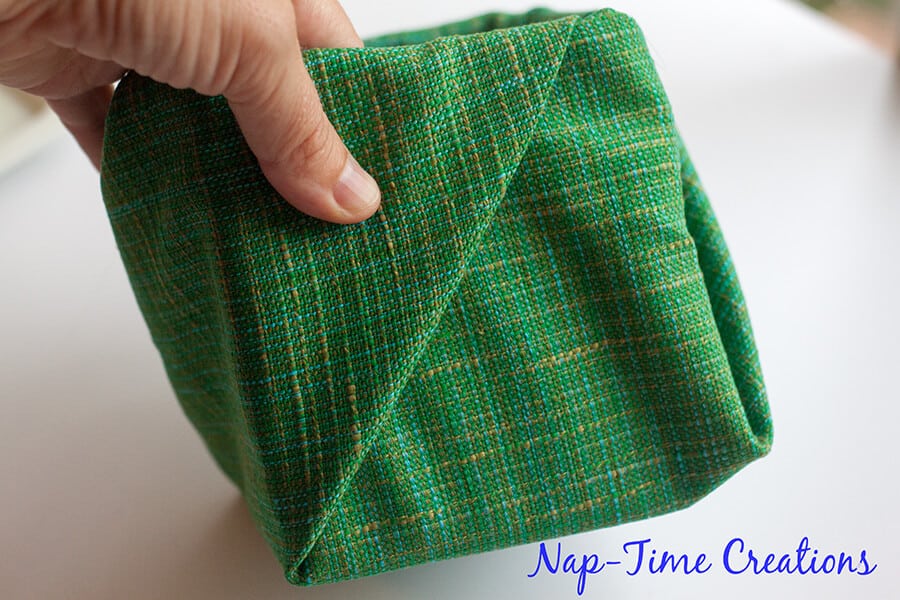
Fold the second side like you were wrapping a package. Then up and over the second side of the box, glue in place.

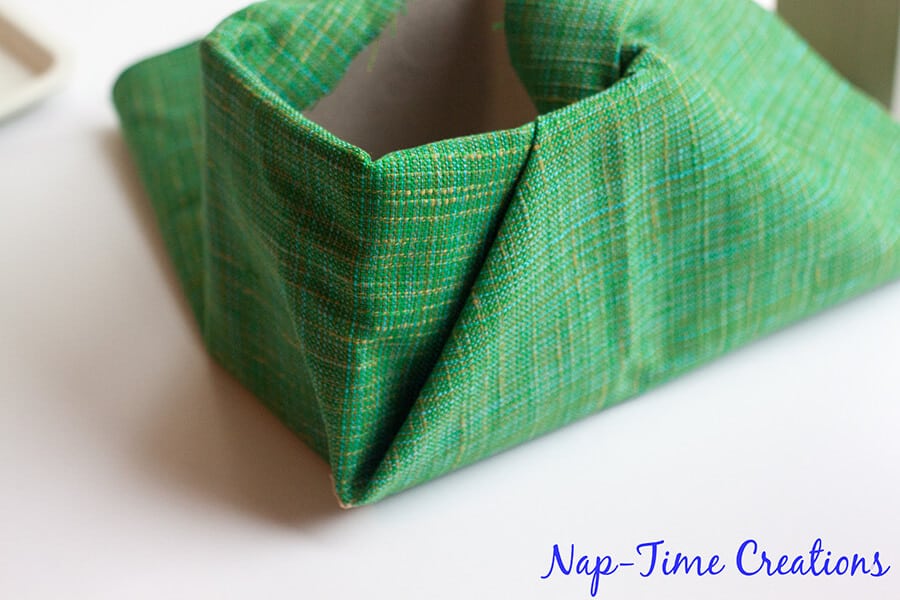
Continue in the same way around the box, until you get to the last side.
Play with the fabric to smooth it out and glue the last piece over the first side where you glued the fabric straight. This box is finished! Yeah!
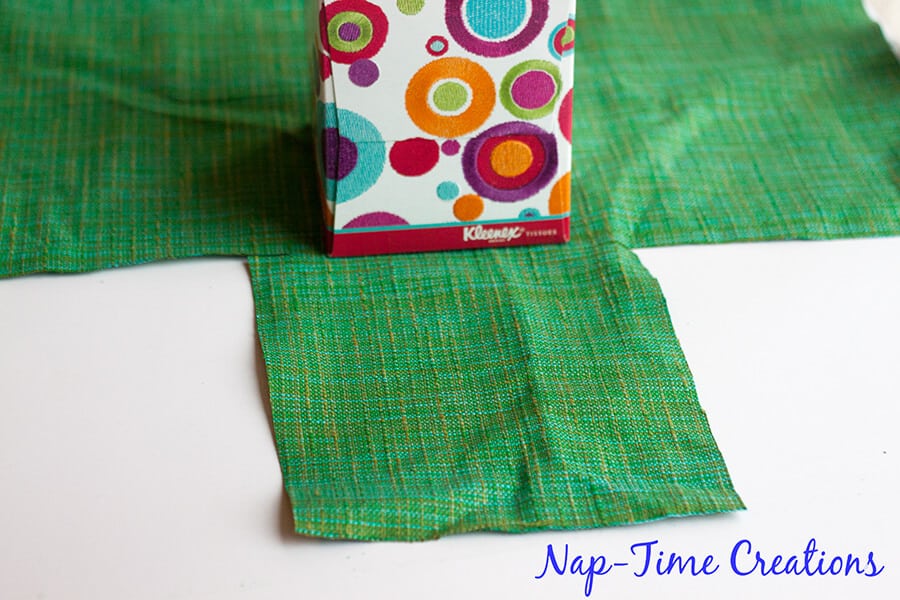
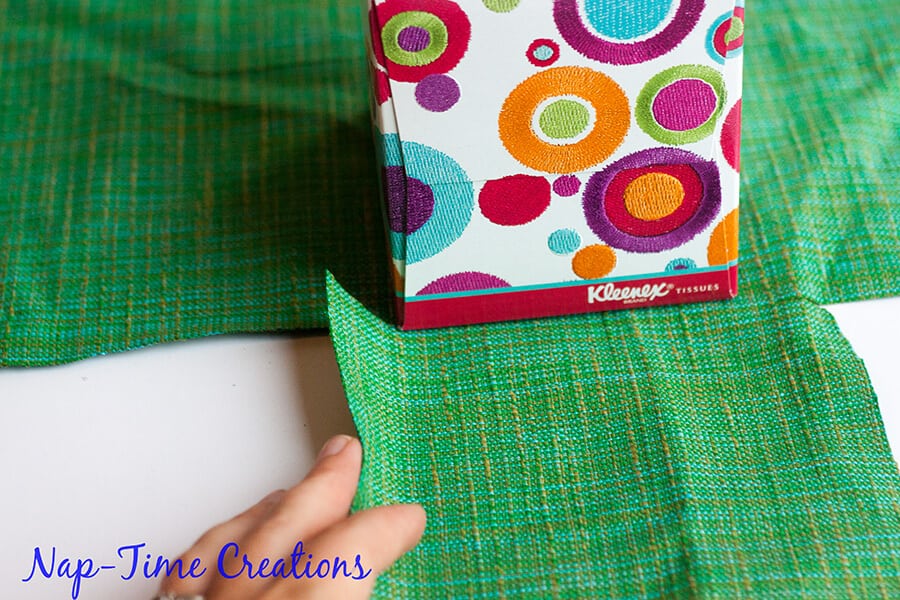
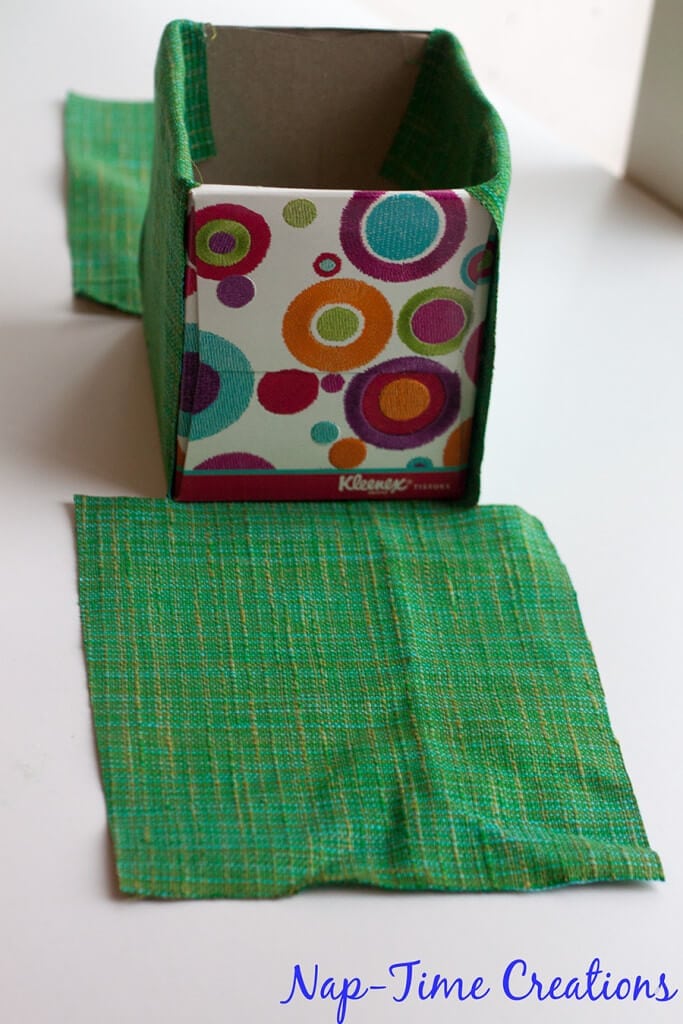
Ok, now for box number 2. Cut the fabric the same size as the first. You will be cutting out the corners. On two side you will cut all the way in to the box, on the other side you will leave about 1″ extra, as seen in this picture.
See, cut to the corner, with extra on two sides.
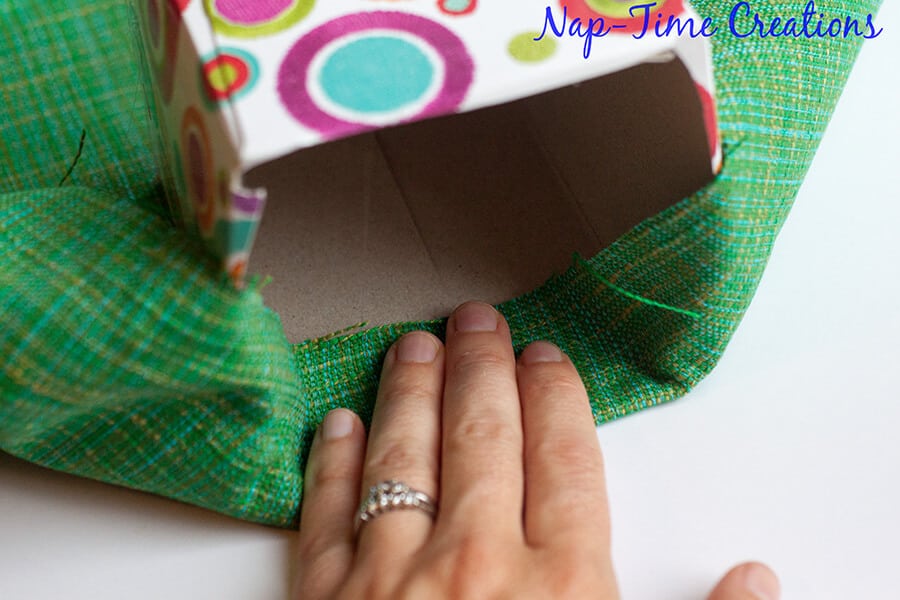
First glue the two sides that were cut even with the corners.
Then you will glue the sides with wings OVER the other sides. You will also glue over the top. Secure both sides.
Cute right? I love both versions and they look great in my kitchen. 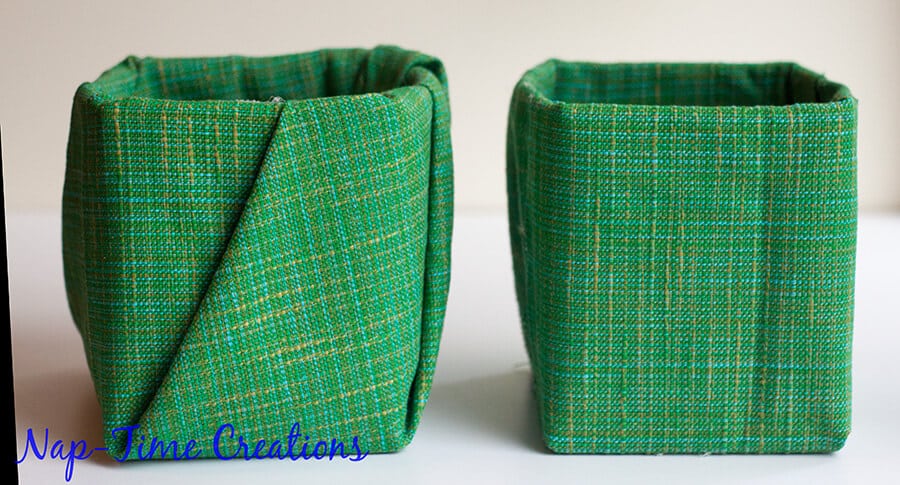
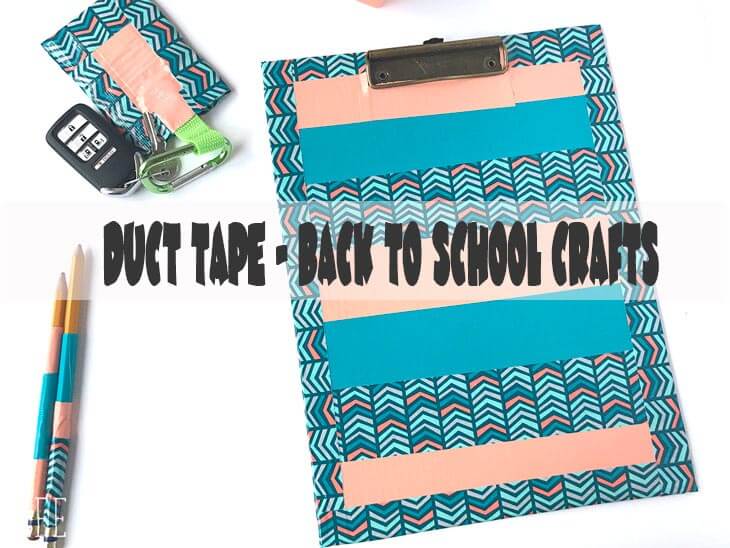
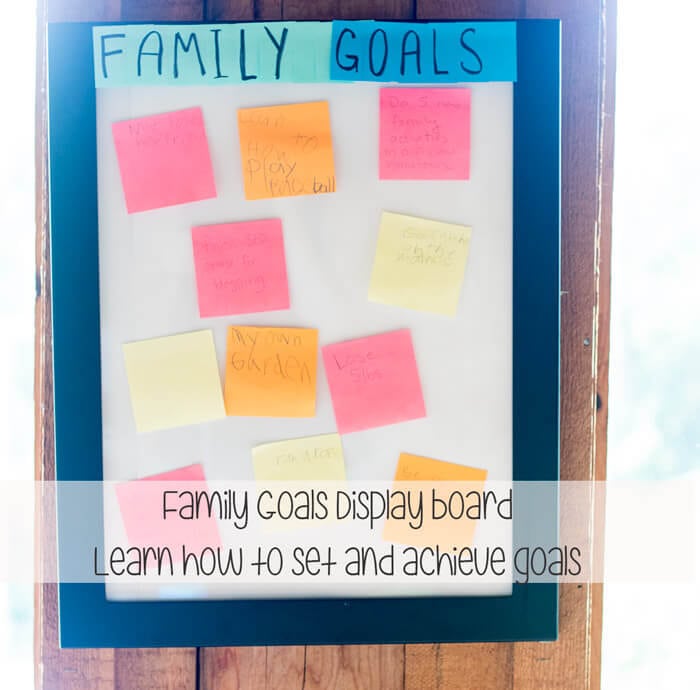
Here are a few other back to school organizing ideas.
Back to School Goal Setting frame








Stephanie R says
this is such a great way to repurpose old tissue boxes!!
Melinda says
On my phone, I couldn’t see the pix. Cute!
Elise says
What a good way to recycle and be organized at the same time!
vidya sudarsan says
Neat idea! It is so nice to be able to reuse and repurpose things. Visiting you from weekend wind-down.
Karren Haller says
What a great way to use those kleenx boxes, I like to use them for storing plastic bags.
Thanks for sharing on the Oh My Heartsie Girls WW this week.
Now I would like to invite you to party again on Friday Feature-Linky-Party this week, hope you would like to stop by and add other links.
Have a great weekend, Karren
Emily says
What a great idea to store plastic bags in them!
Linda says
Excellent idea!! Pinned also to my Pinterest boards. Linda @Crafts a la mode