inside: this Zipper Pillow Case Tutorial makes the perfect throw for your living room and can be a fun seasonal decoration as well.
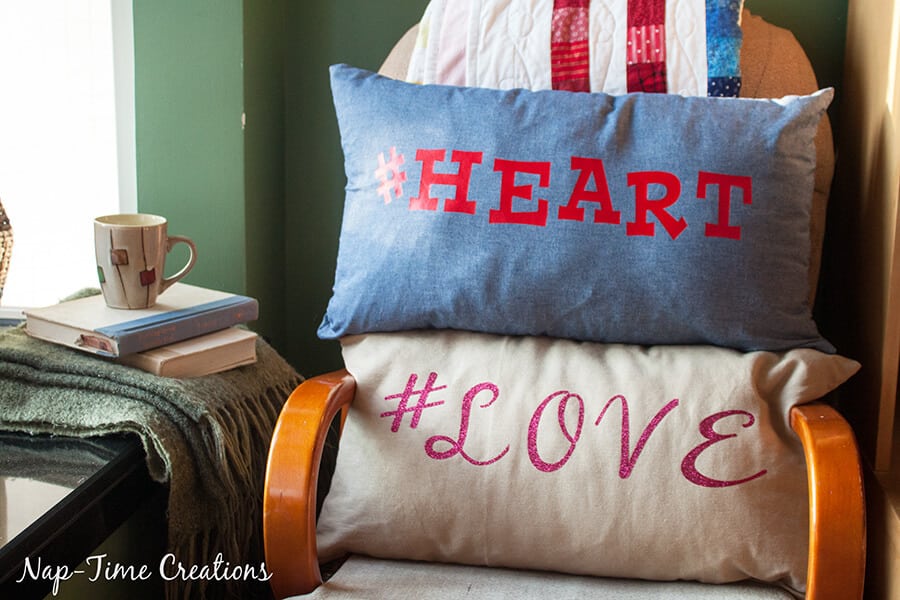
I love adding a little pop of color and seasonal decor to my home with new couch pillows. I tried a new type of case and am sharing a zipper pillow case tutorial today as well as a few free Silhouette files for making your own #valentines pillows. #heart #love 
Zipper Pillow Case Tutorial –
You can download the iron on files here. Download the zip files and unzip to use. HERE are the files. The zip file has a .svg version and .pdf version. You can resize the svg in your cutting machine software to suit your needs. {not pictured} Don’t have a Scan N Cut and want to check them out? Here’s a link to Amazon!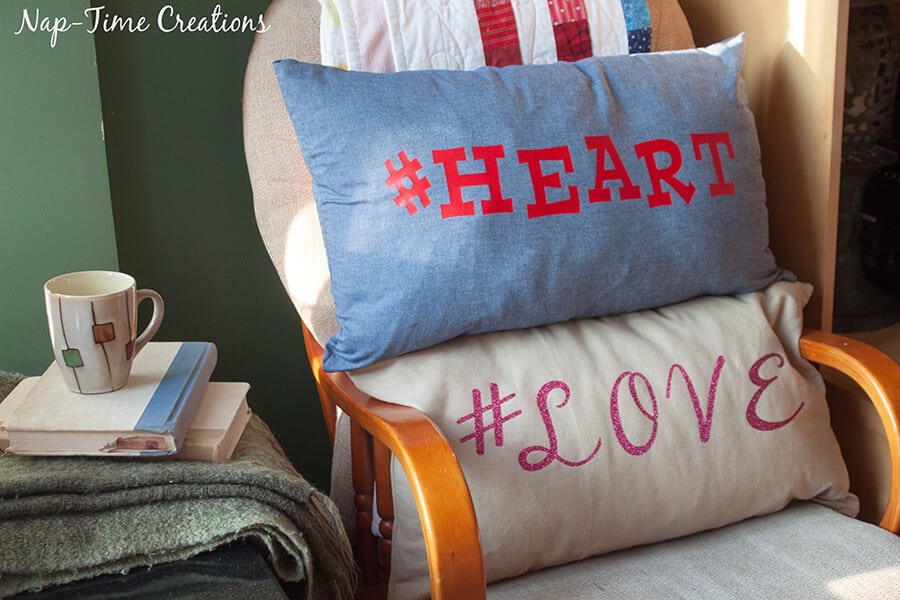
The files are ready to cut after download {already in mirror} You can adjust the size of the text for the size of your pillow. 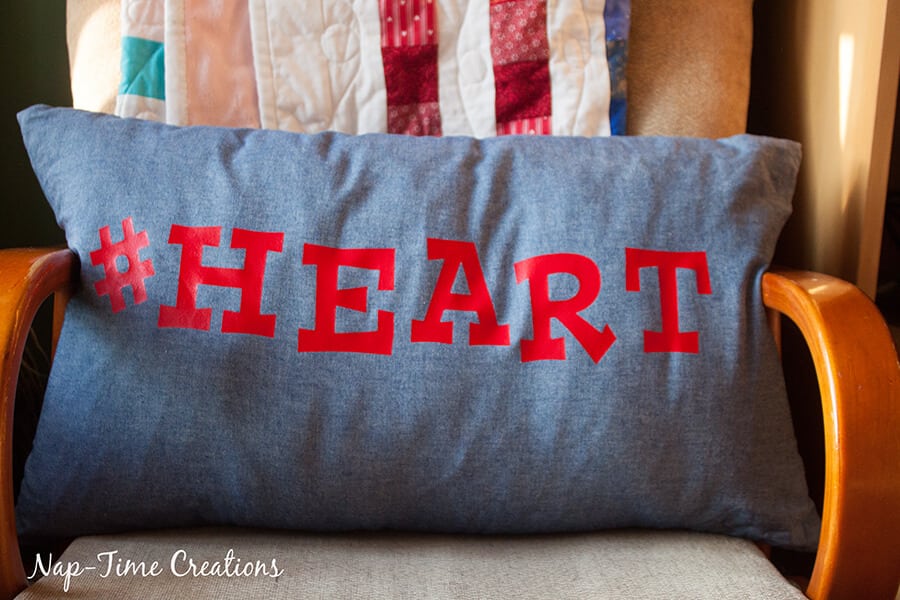 You could easily just iron the Valentine Hashtags on any pillow case you already own. That’s the super easy version of this project….
Want to sew you own pillow cases? Here’s a simple way to make a zipper pillow case. I added the zipper so I can change out the case for the next holiday. If you want to make a simple pillow case that doesn’t have a zipper, you can check out this pillow tutorial. Okay, first start by choosing your pillow size. Here’s my pillow form size.
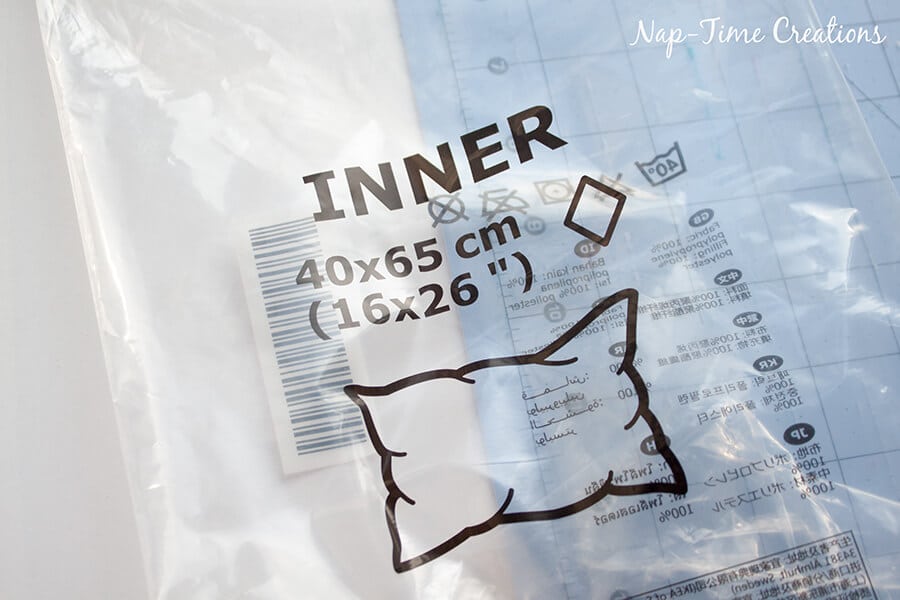
Cut 1 piece of fabric 1 inch small than your form. 15 x 25. Then cut 1 more {the back} 1 inch longer {to add seam allowance for the zipper} 15 x 26. 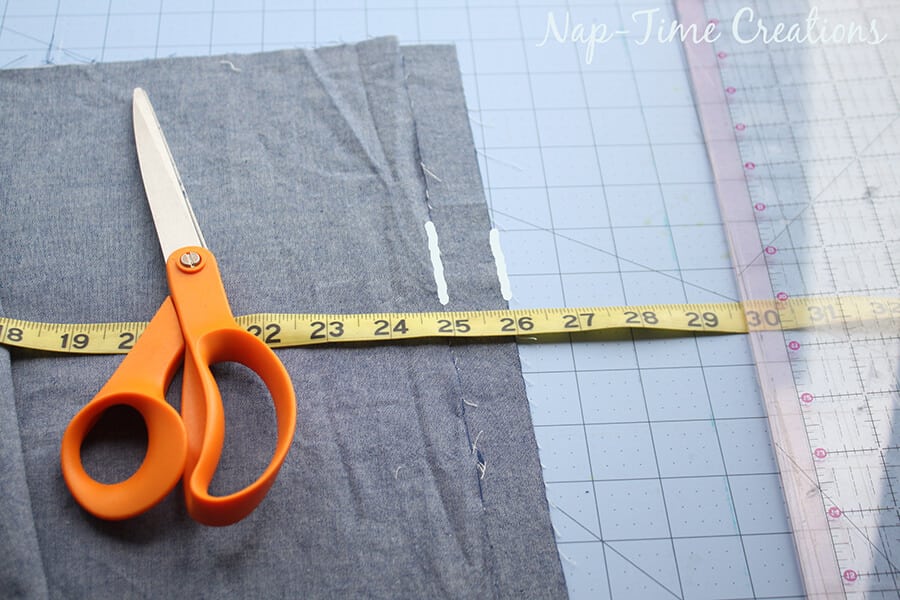 We will start by adding the zipper to the back of the pillow case. Cut off 3 inches of the back fabric {the longer one}
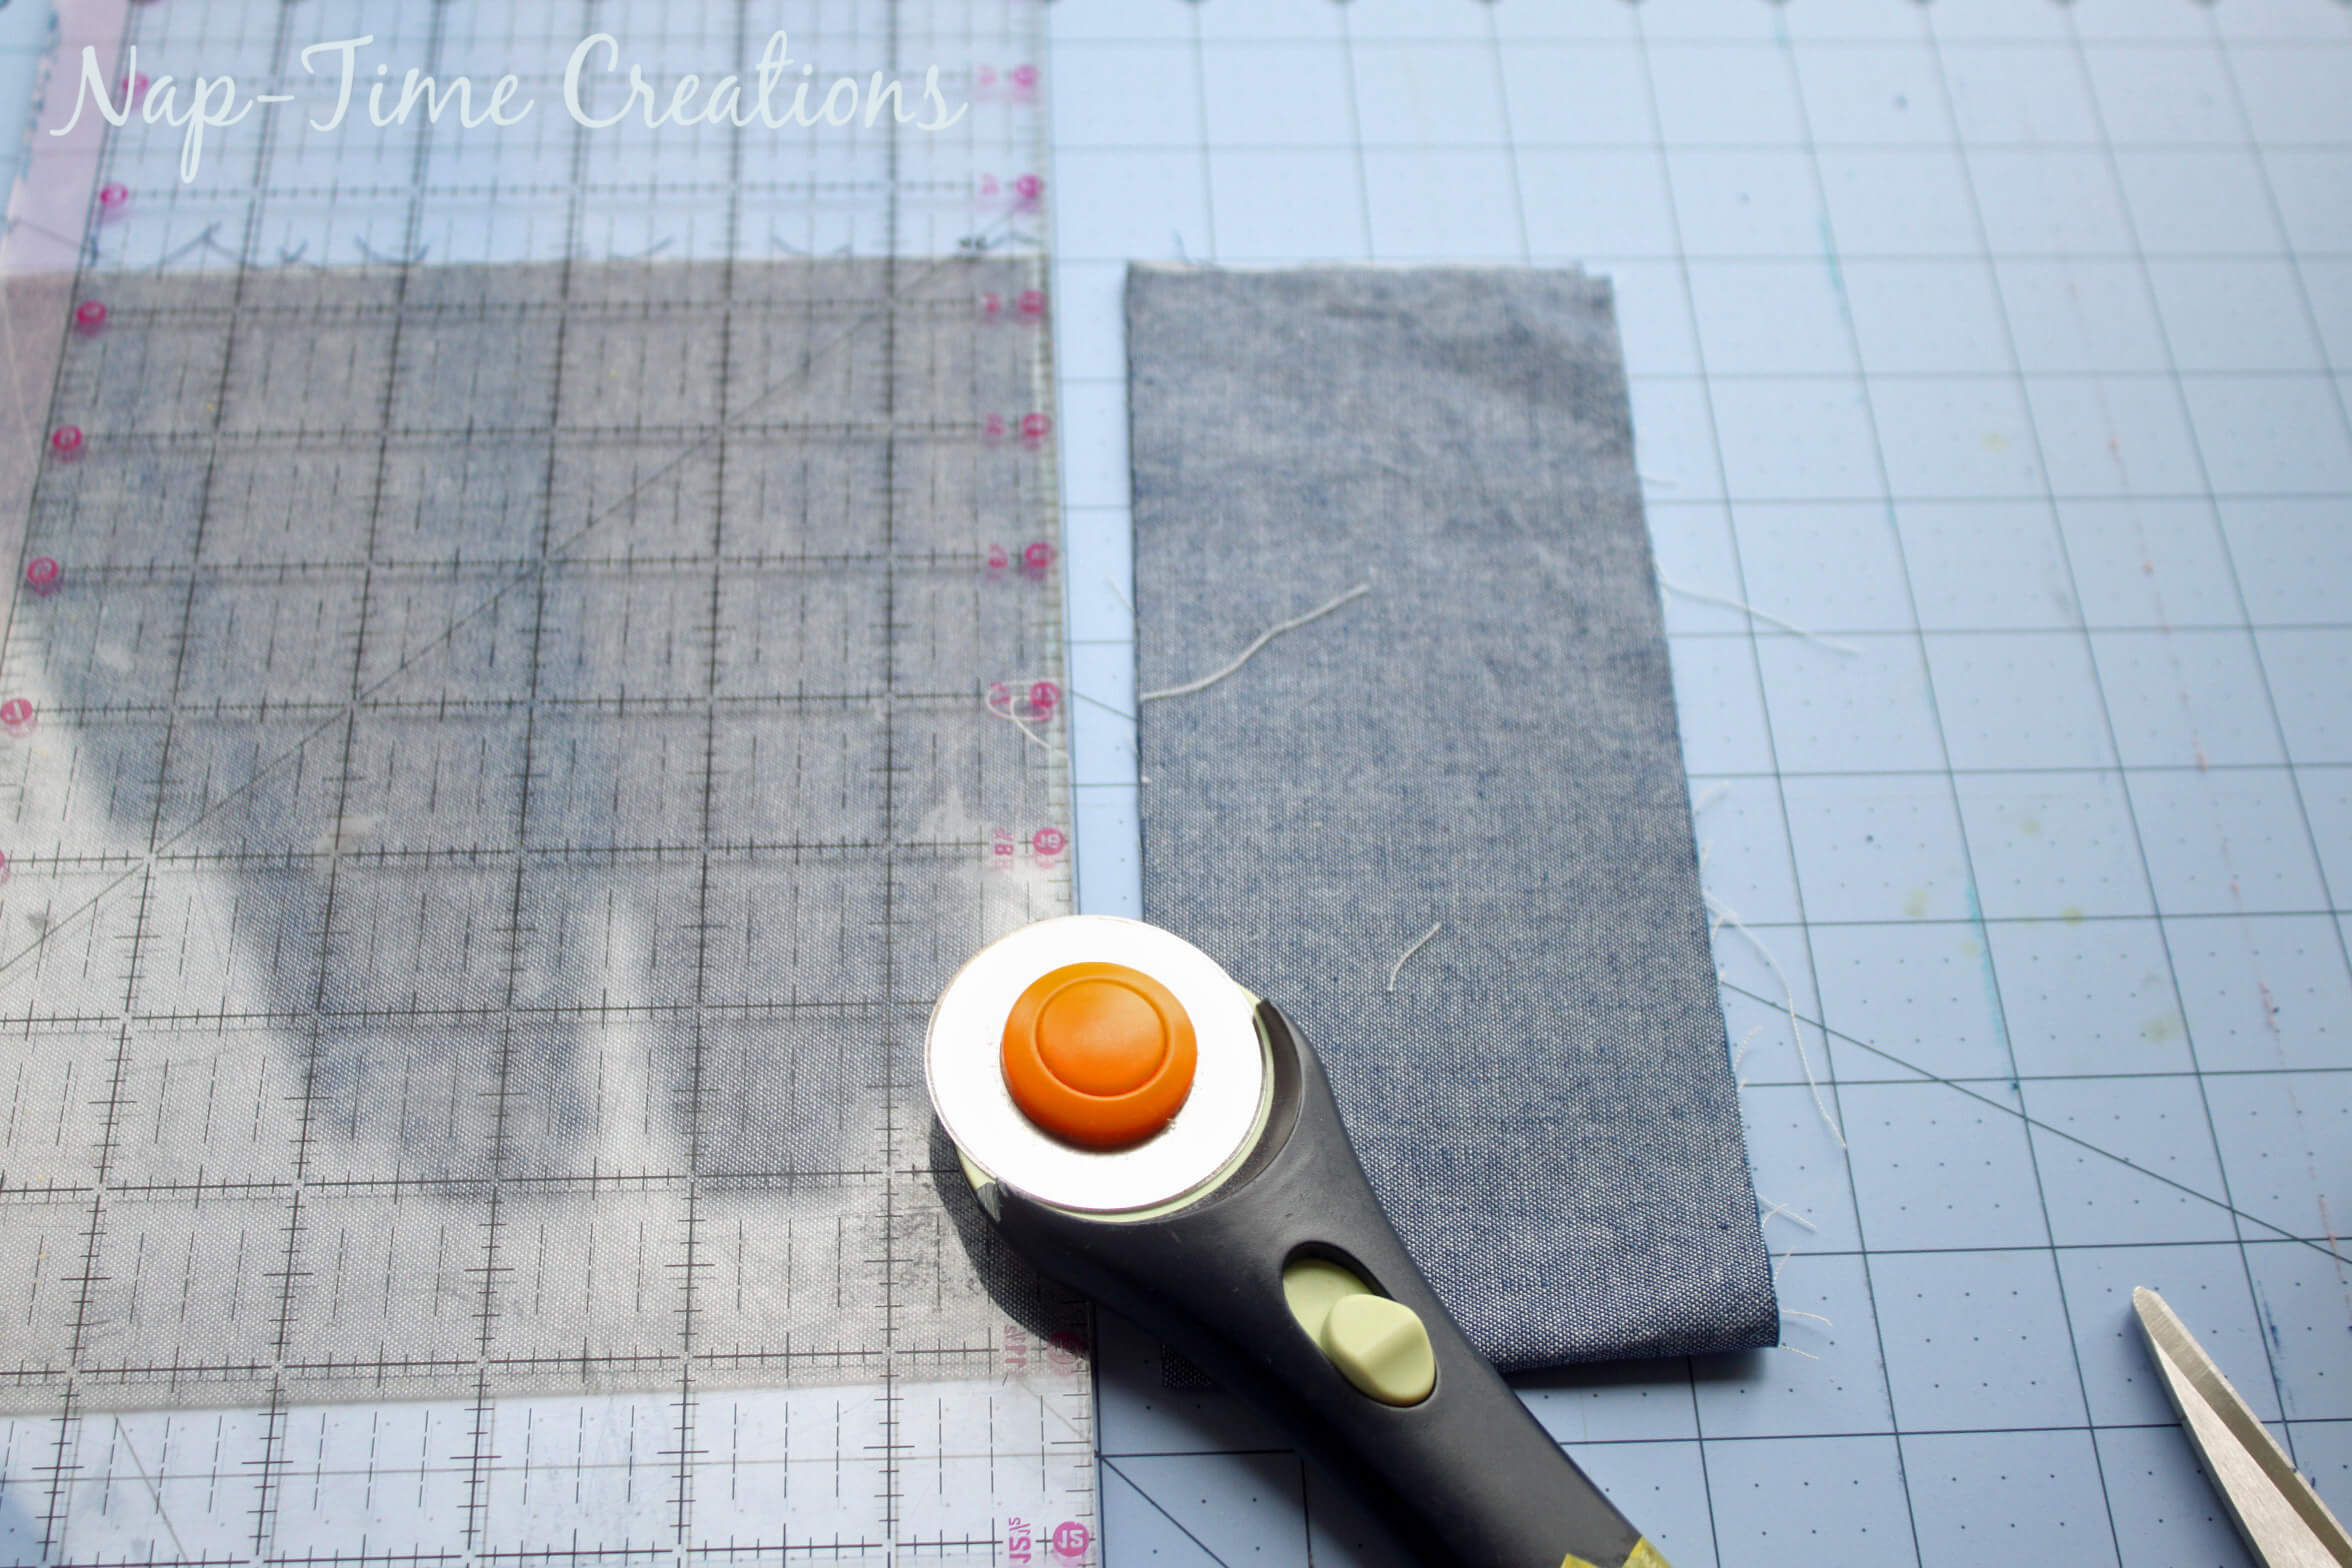
Sew the small and large pieces of the back with right sides together. Use a 1/2 inch seam allowance. Sew with a long basting stitch. 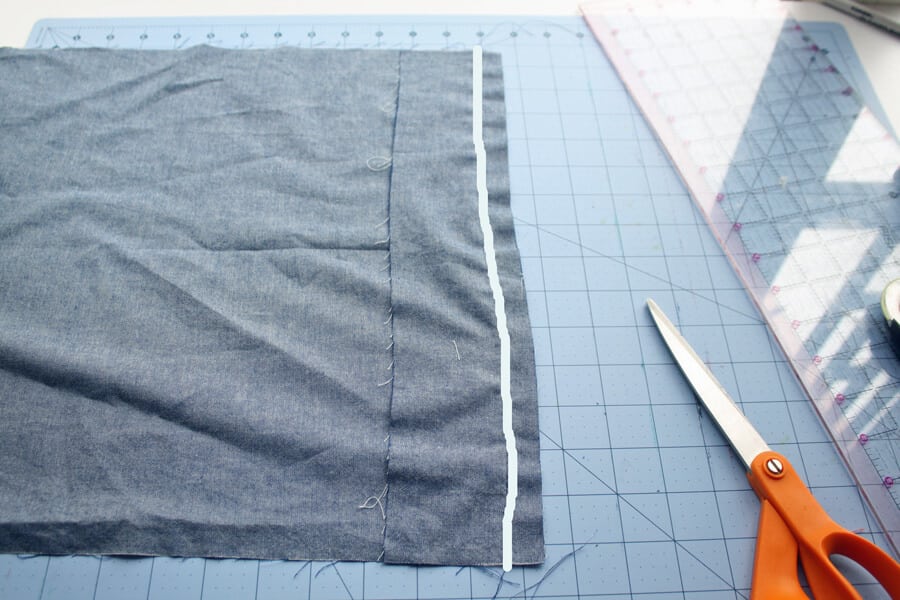 Press the seam allowance open.
 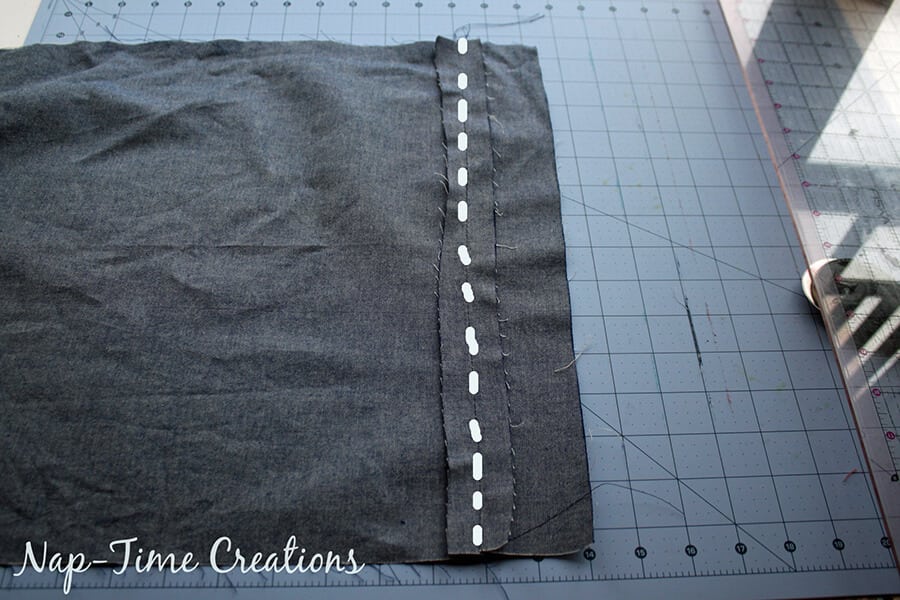 Place the zipper face down with the zip lined up on the stitches. Pin the zipper to the seam allowance ONLY, not to the main case. You zipper can be as long or short as you want. It must create a big enough opening for the pillow form to fit inside. The zipper can be no longer than 2 inches shorter than the seam length. You need at least 1 inch on the top and bottom for sewing the case. I just used a zipper from the stash, it was just long enough.
 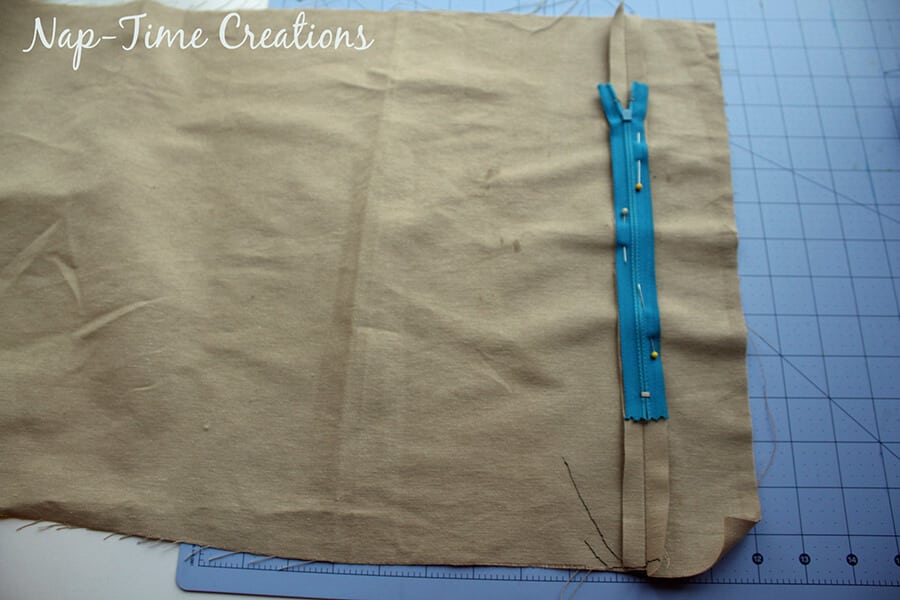 Like this…
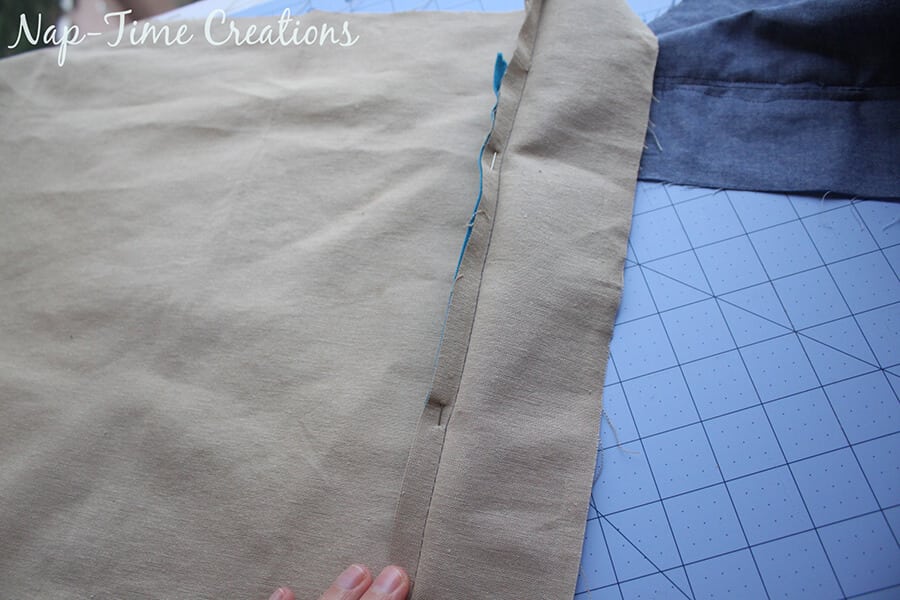 Reinforce the stitching above and below the zipper. Use a regular length stitch over your basting stitch to secure the seam.
 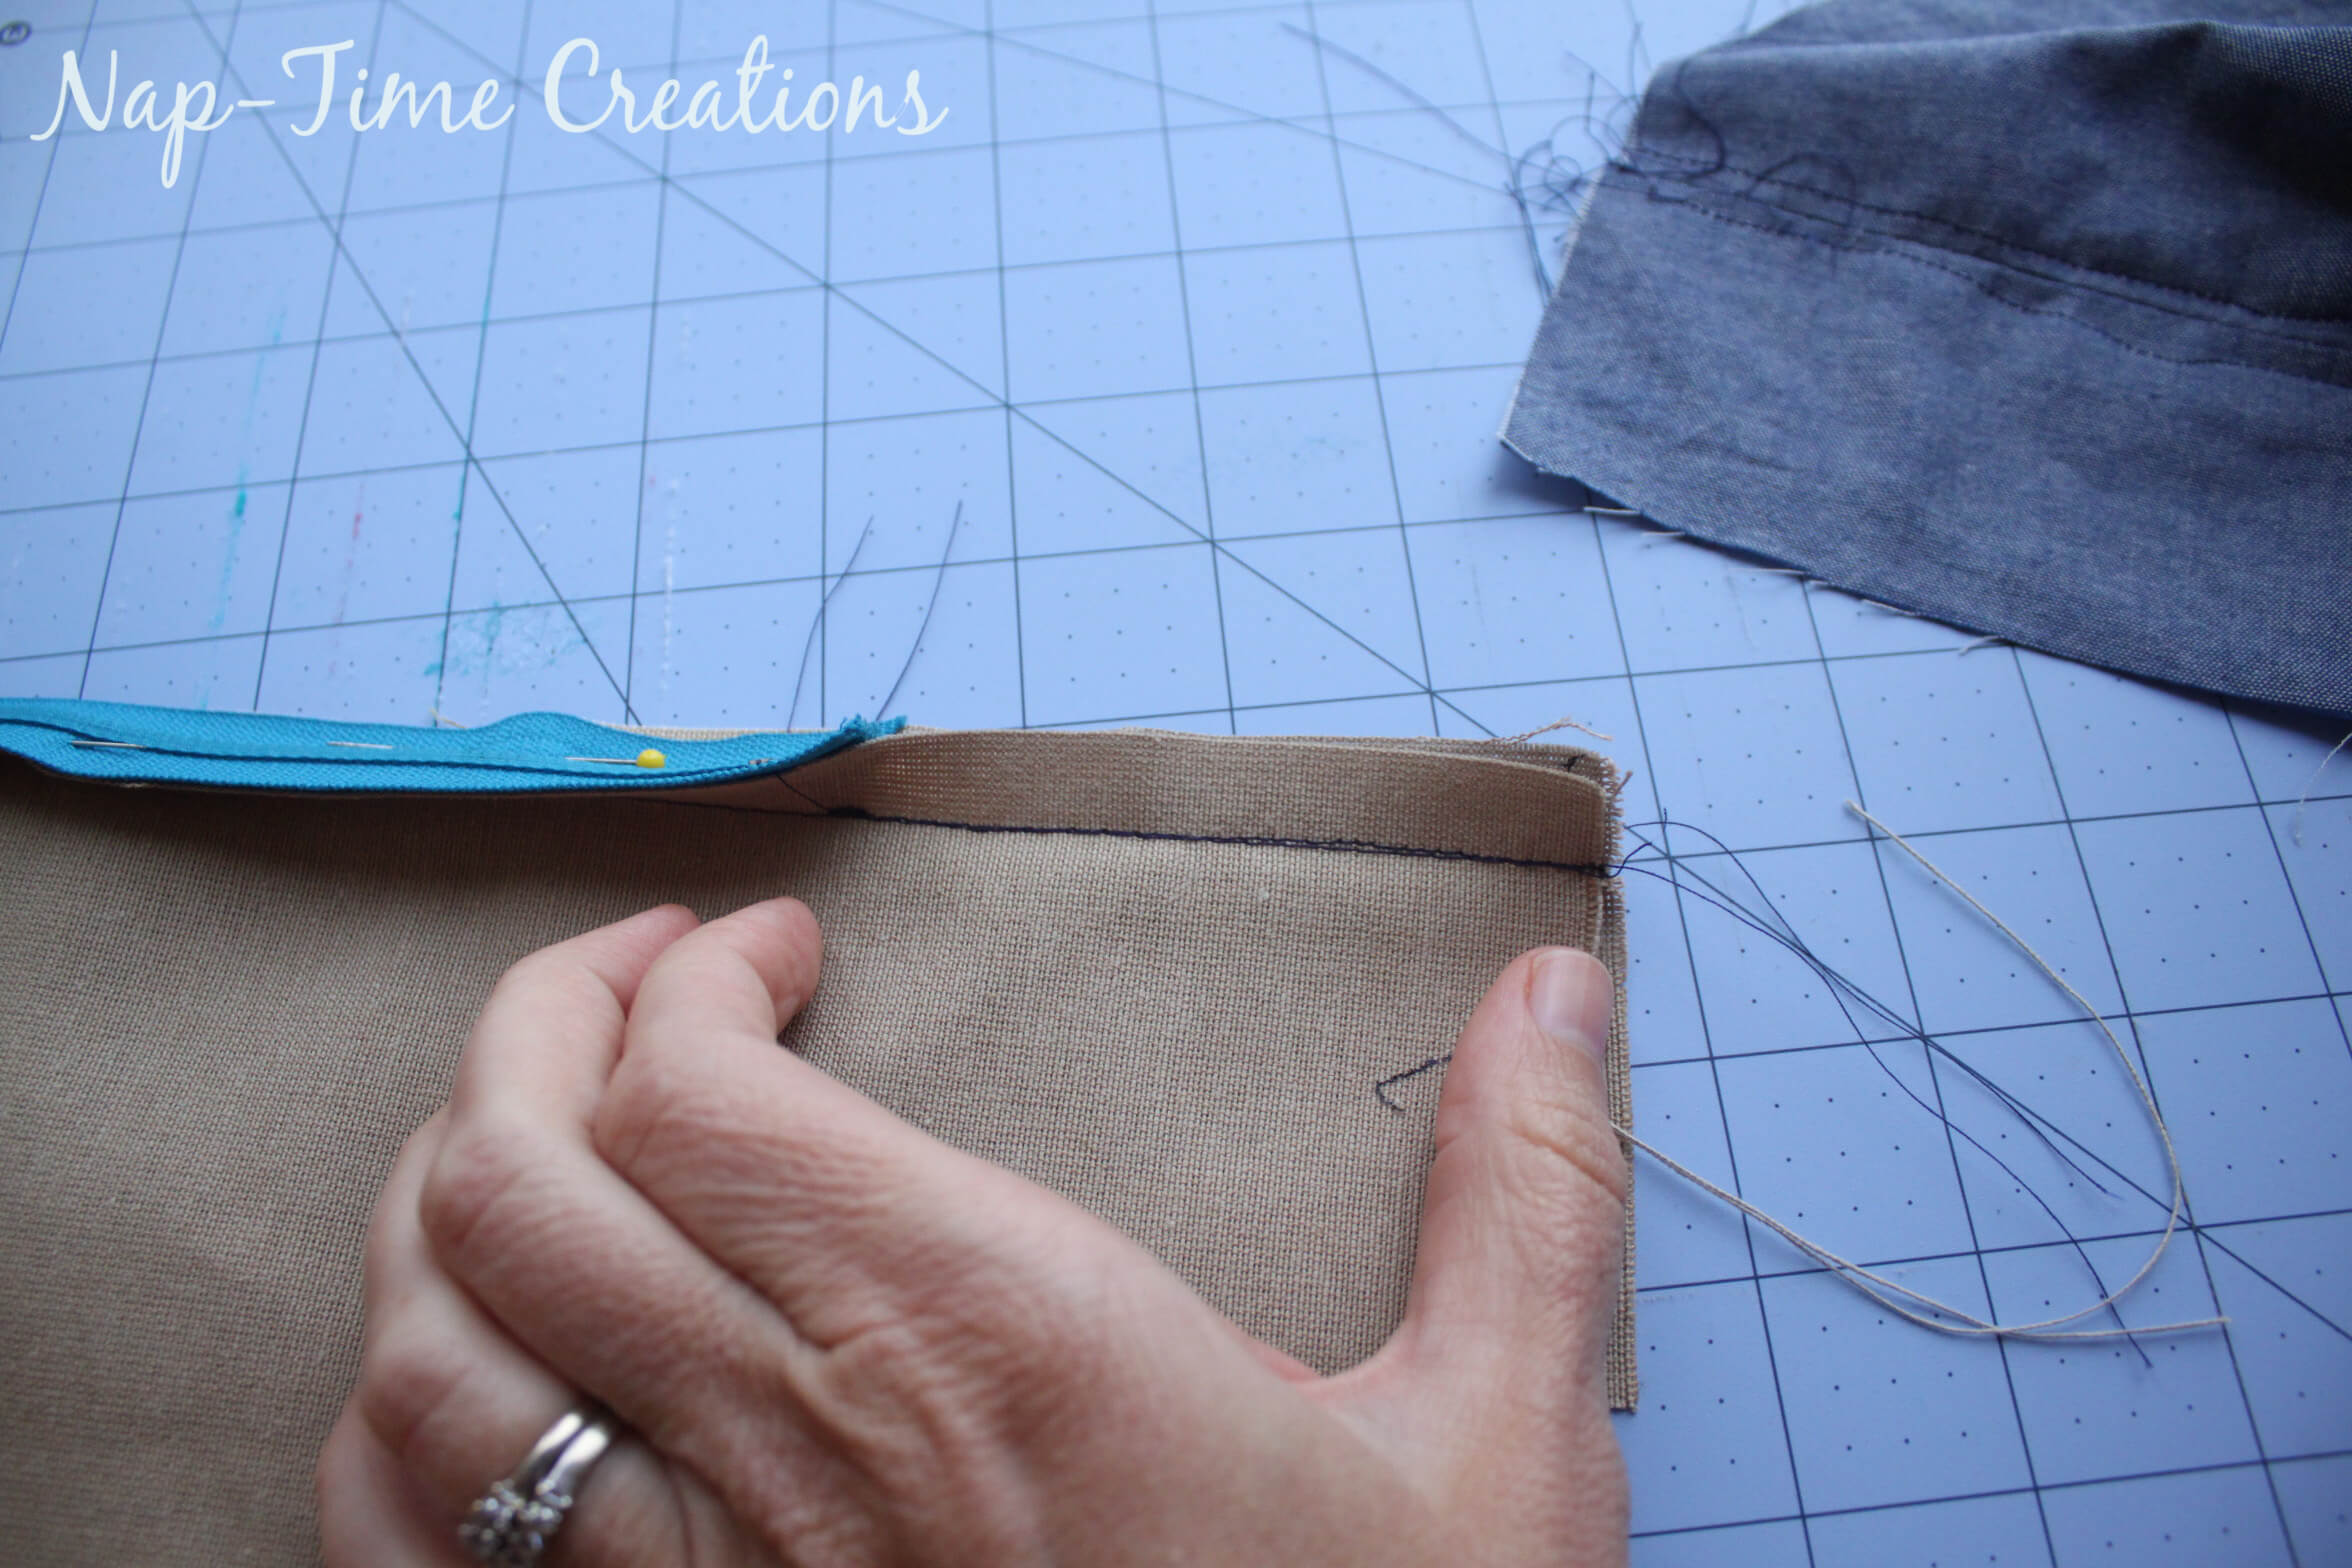 Sew the zipper to the seam allowance as close to the zipper as possible.
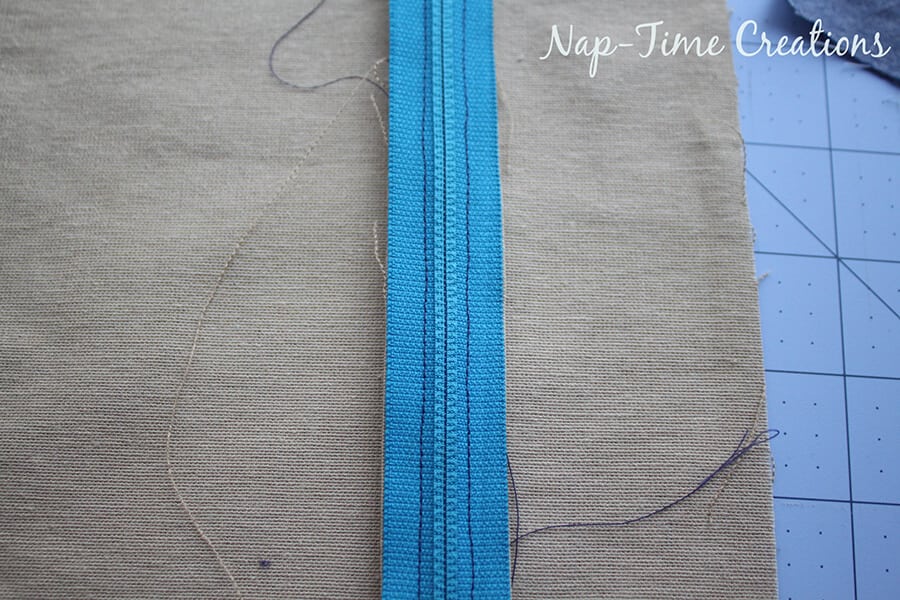
Turn the pillow case to the front side and pick out basting stiches from top to bottom of the zipper. 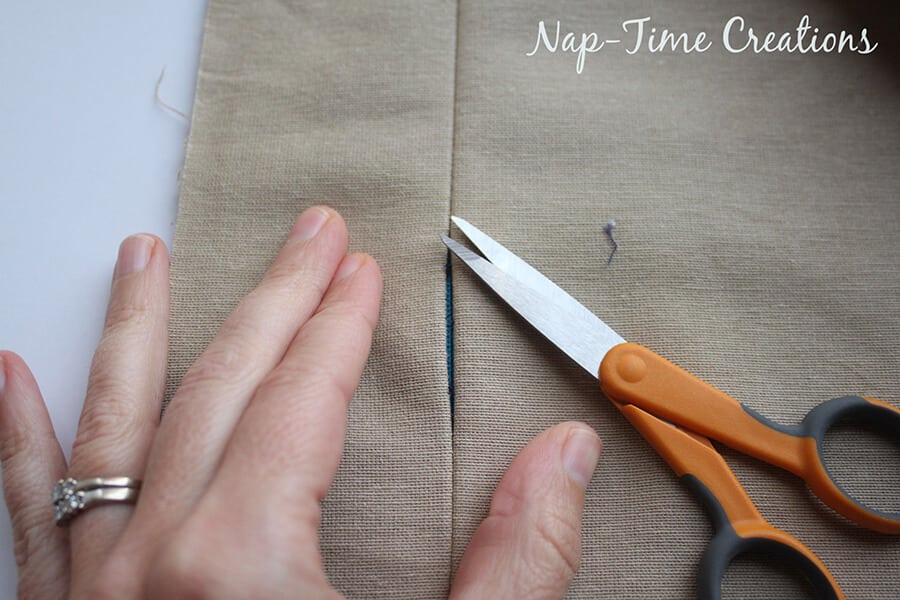
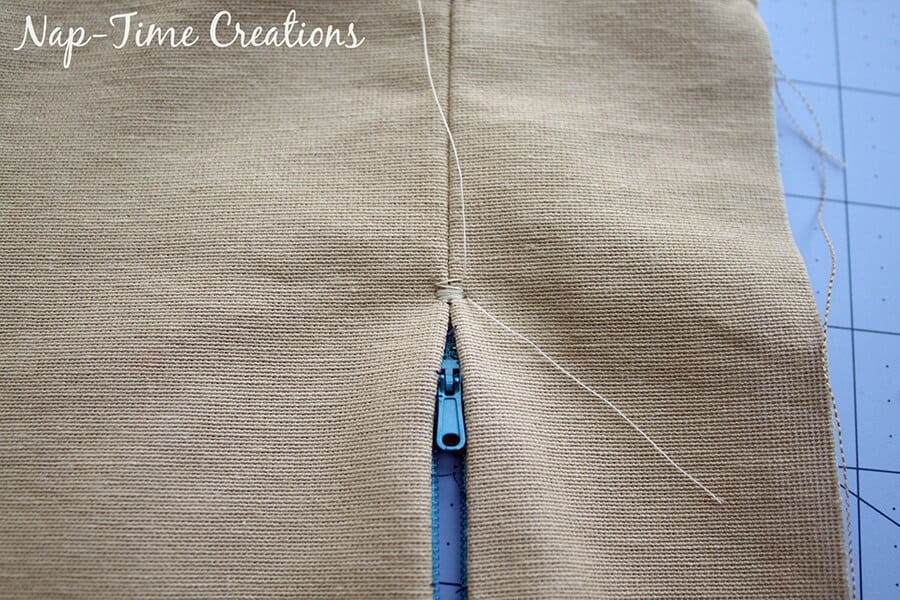
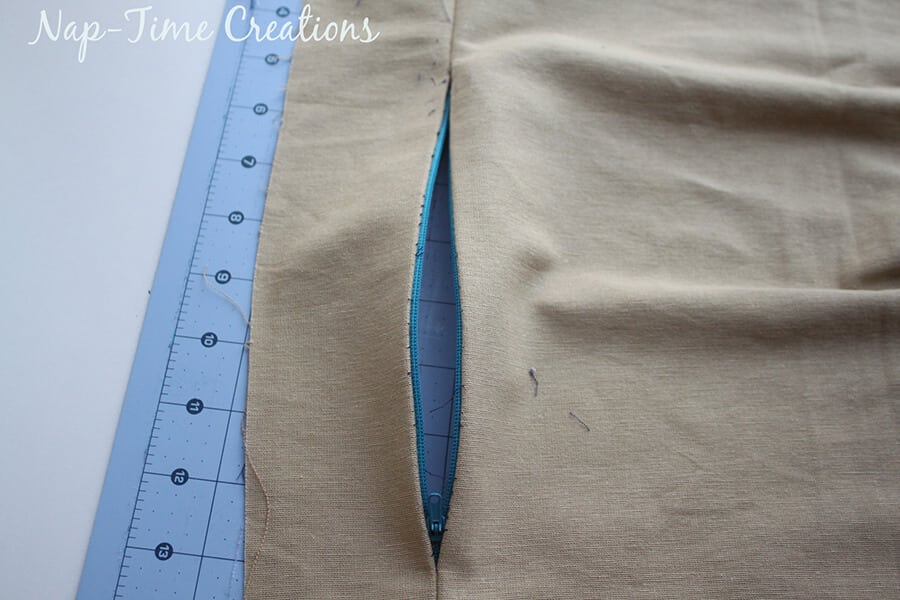 Re-enforce the top and bottom of the zipper with a zig zag stitch. Open up the zipper and leave it open! You need it open so you can turn the case right side out.
On the front of the pillow case iron on your vinyl hashtag or hearts design. 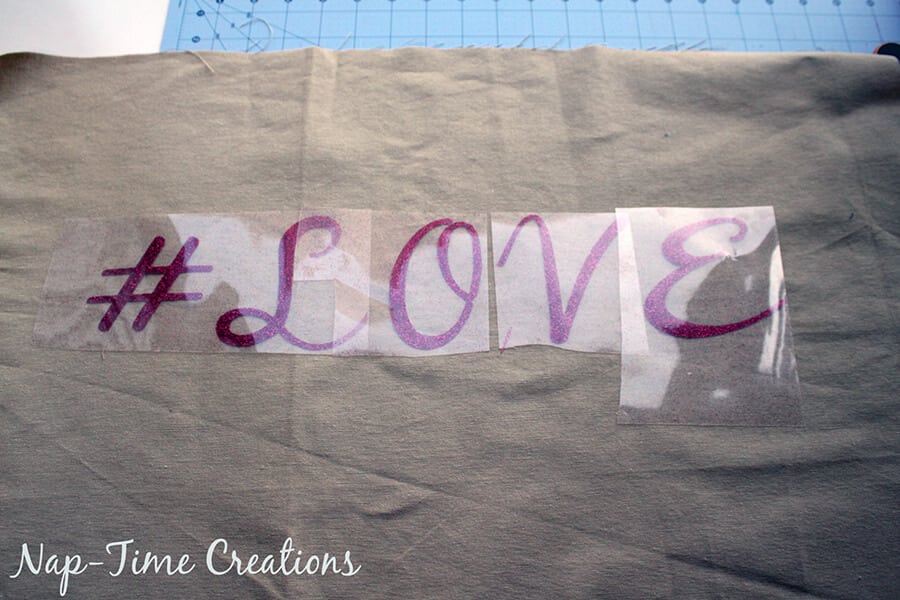 Place the two sides right sides together and sew around the outside. Make sure the zipper is open!
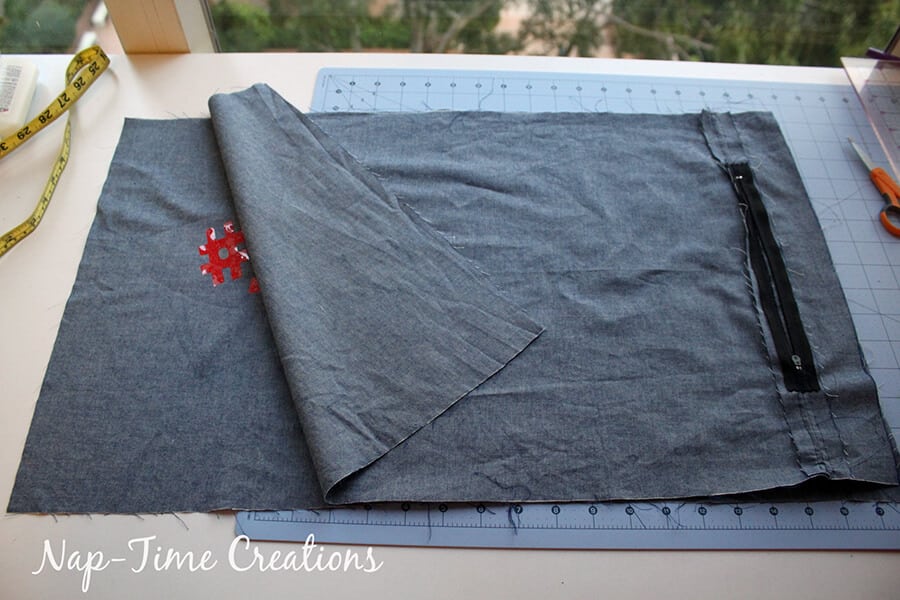
Turn using the zipper opening and stuff in your pillow form. Here’s how the back looks.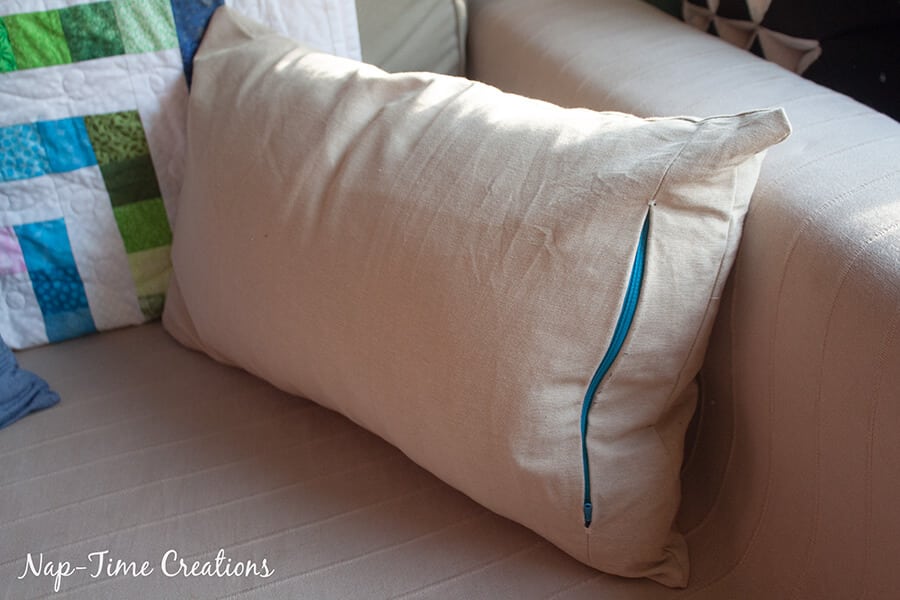 Make up a few and add to your living room couch or chairs for an easy and cute Valentines decoration.
Other fun pillow sewing tutorials


Rhonda says
Hi am unable to open the files for the Heart . Love and row of hearts. Could you please make them PDF if possible .
Thank you
Emily says
Hi, do you have the silhouette software? They only open with the that program..
Laurie says
These are so cute! Thank you for sharing the tutorial with us at Snickerdoodle Sunday! Pinning and tweeting to share.
CD Loken says
I couldn’t sew a button on straight if you paid me to-but i ADORE your pillows! Thank you so much for sharing at the Wonderful Wednesday Blog Hop!
Kilim Pillow says
Perfect DIY gift pillow for Valentine’s day. Exciting idea. Thank you!