
I love a good Throw Pillow with Piping.. they brighten up any room… In this post I will give you some tips for sewing throw pillows PLUS how to make your own piping.. then your cute accents can match or contrast your pillow perfectly.
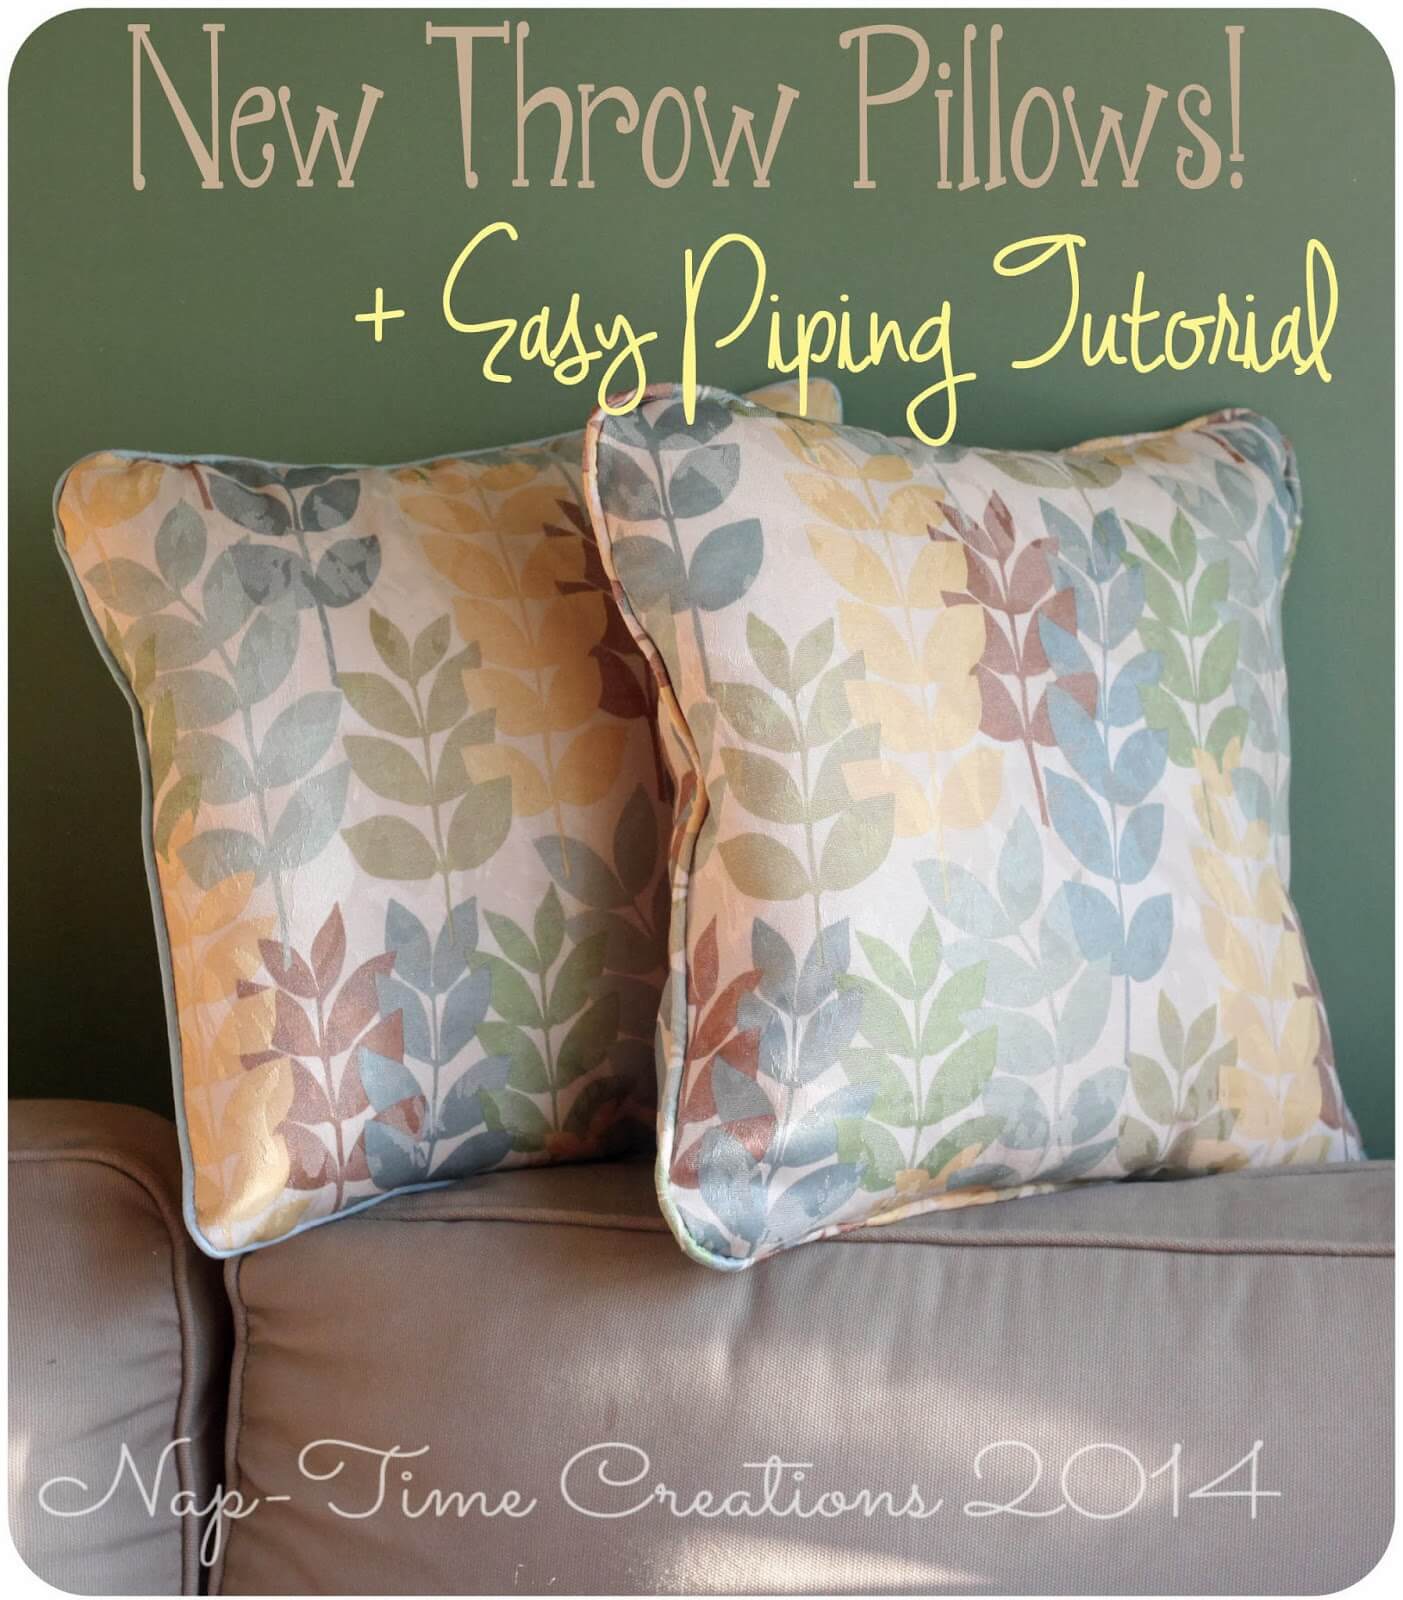
Sewing a Throw Pillow with Piping- tutorial
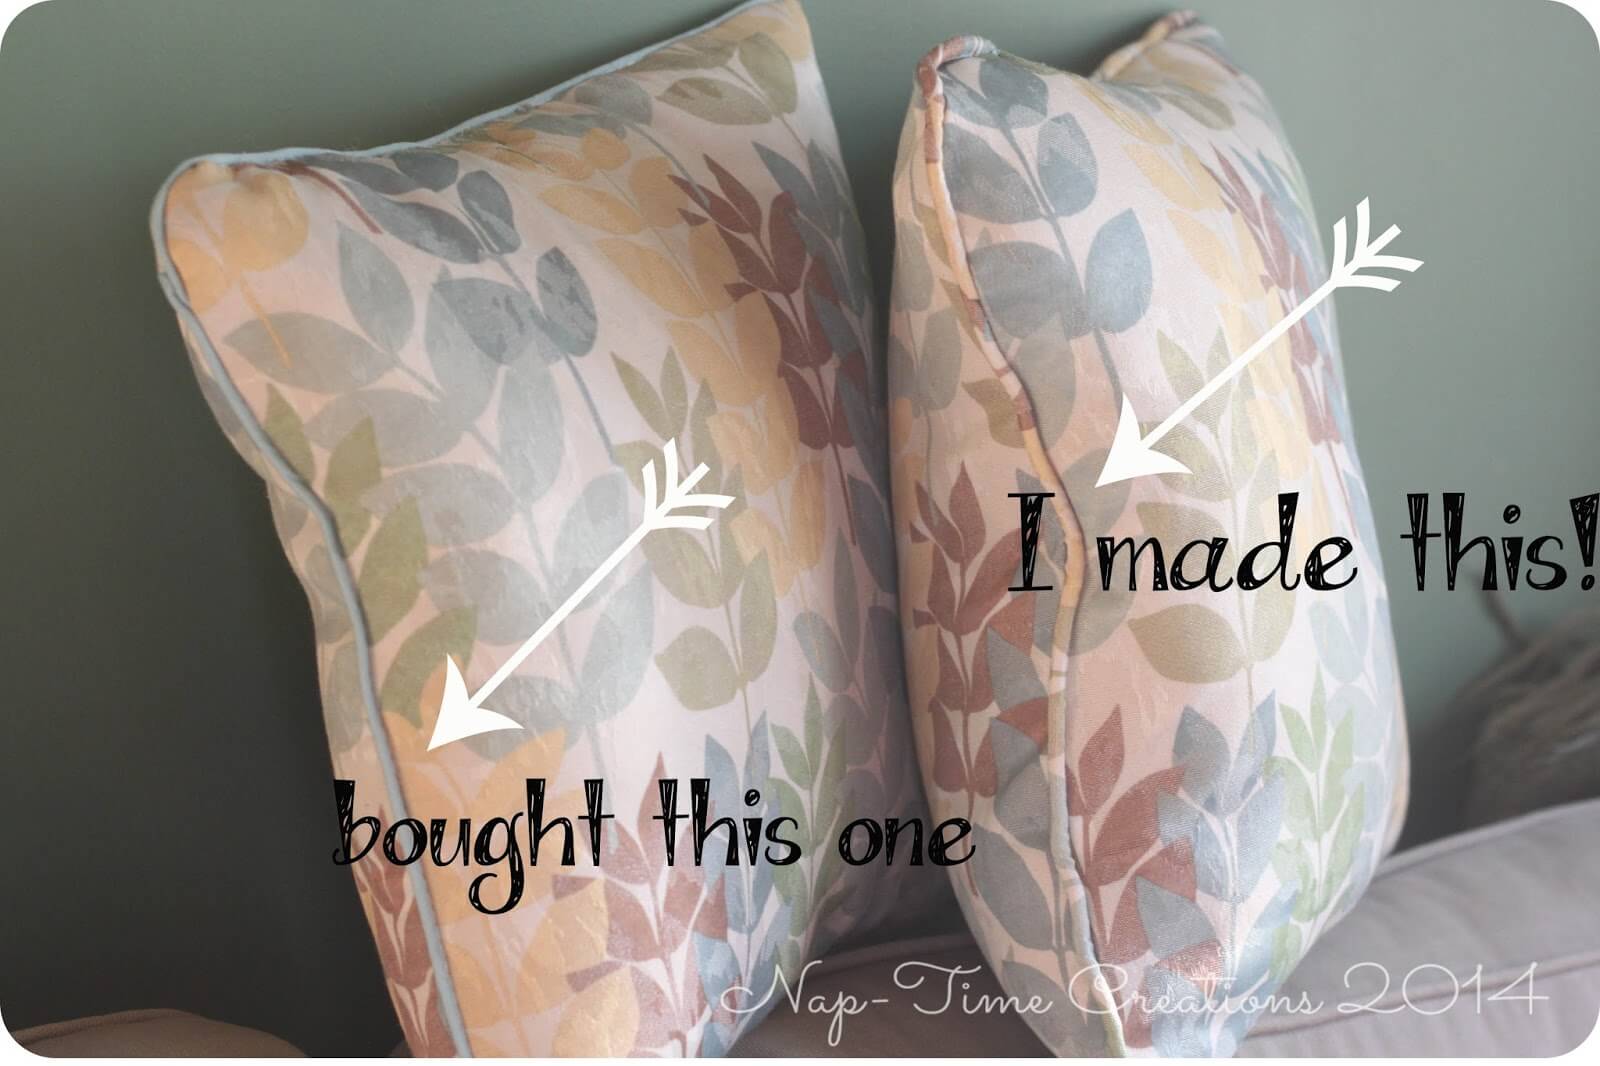
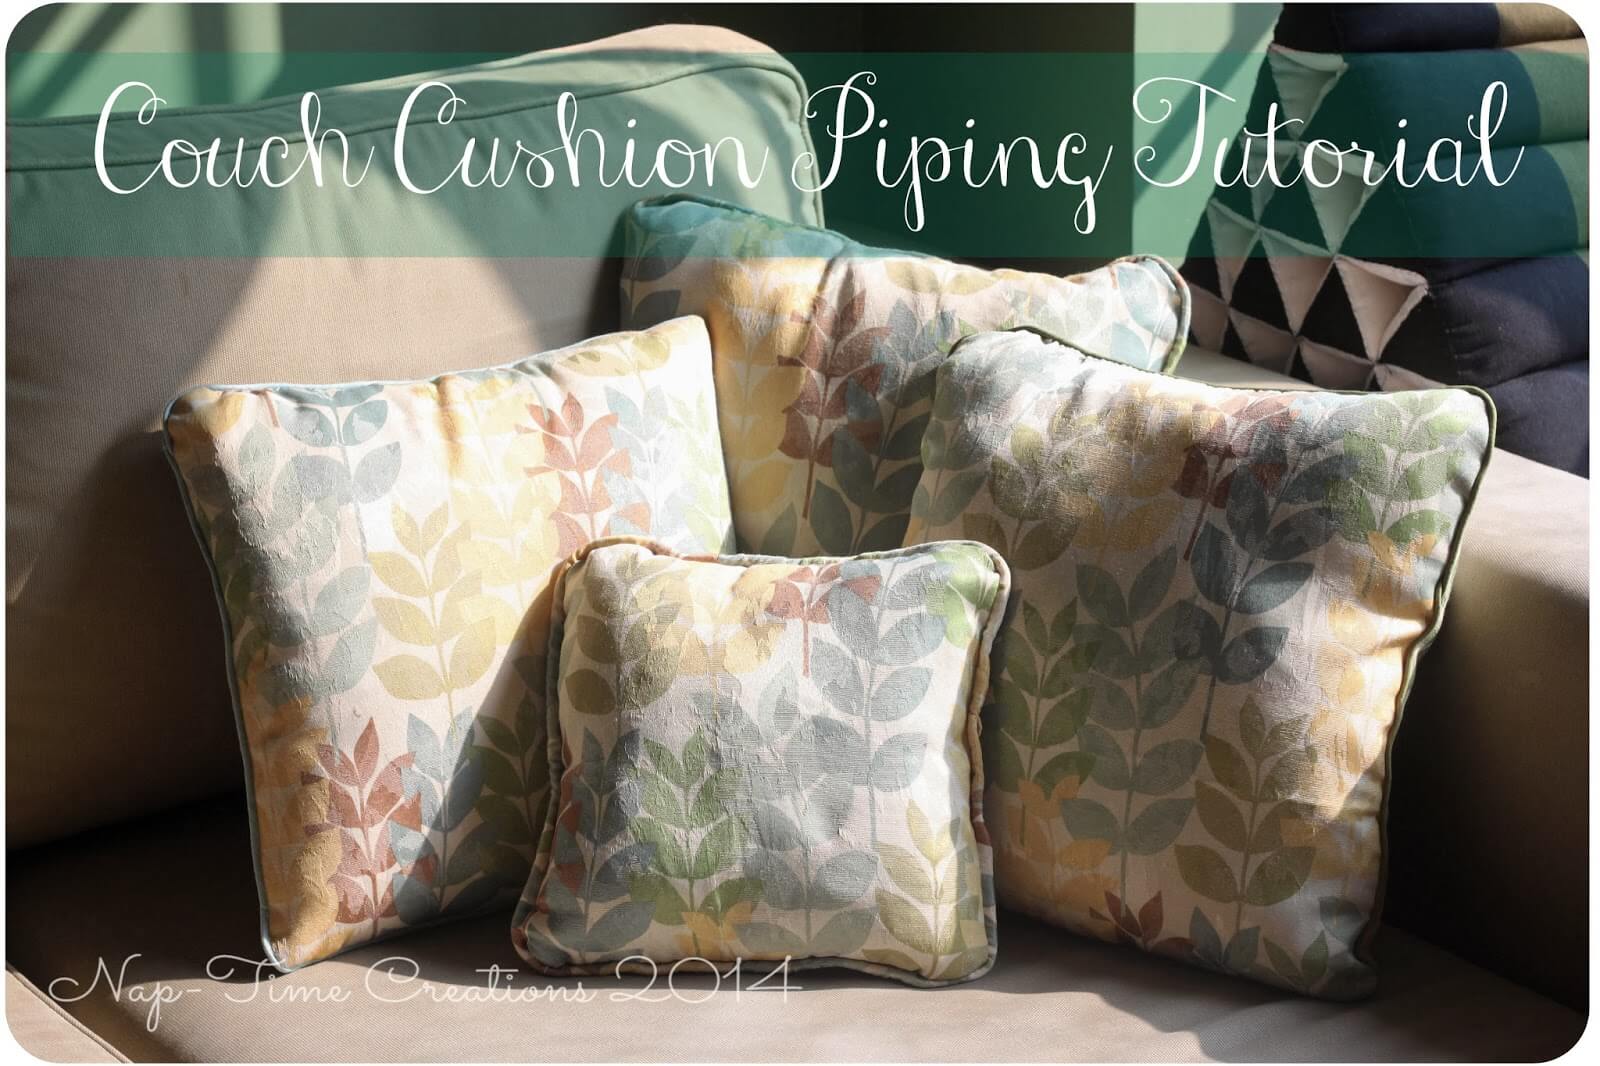
Did you read yesterdays post about DIY piping? Today I’m going to give the full tutorial using that piping to create stylish throw pillows for your couch. I don’t know about you, but I get board with my house decor… and since I can’t afford a new couch every year… I entertain myself with new pillow covers to mix things up! I sewed up four new pillow covers and used pre-made piping for two, and my own piping for the other two… Here are the different looks.
Have you sewn with piping? This was actually my first project and it was super simple.. Not sure what I was afraid of for so long. These pillow covers are a great way to start your own piping journey.. Grab some fabric and a pillow form and lets get started!
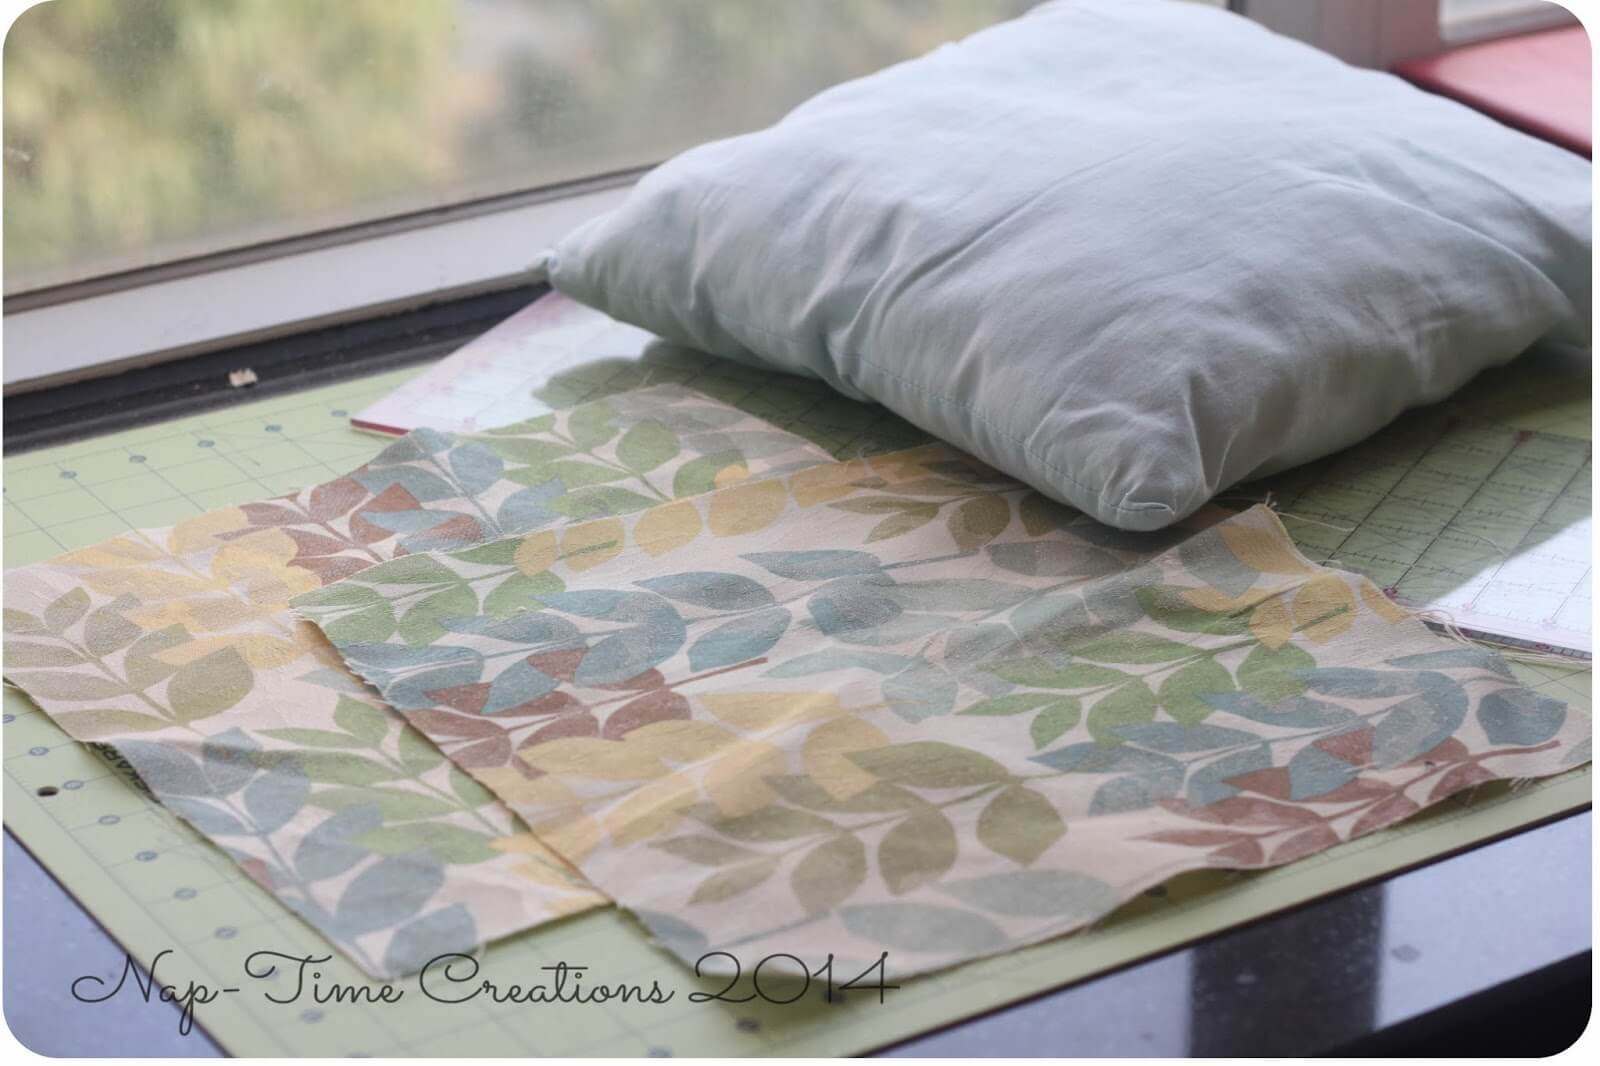
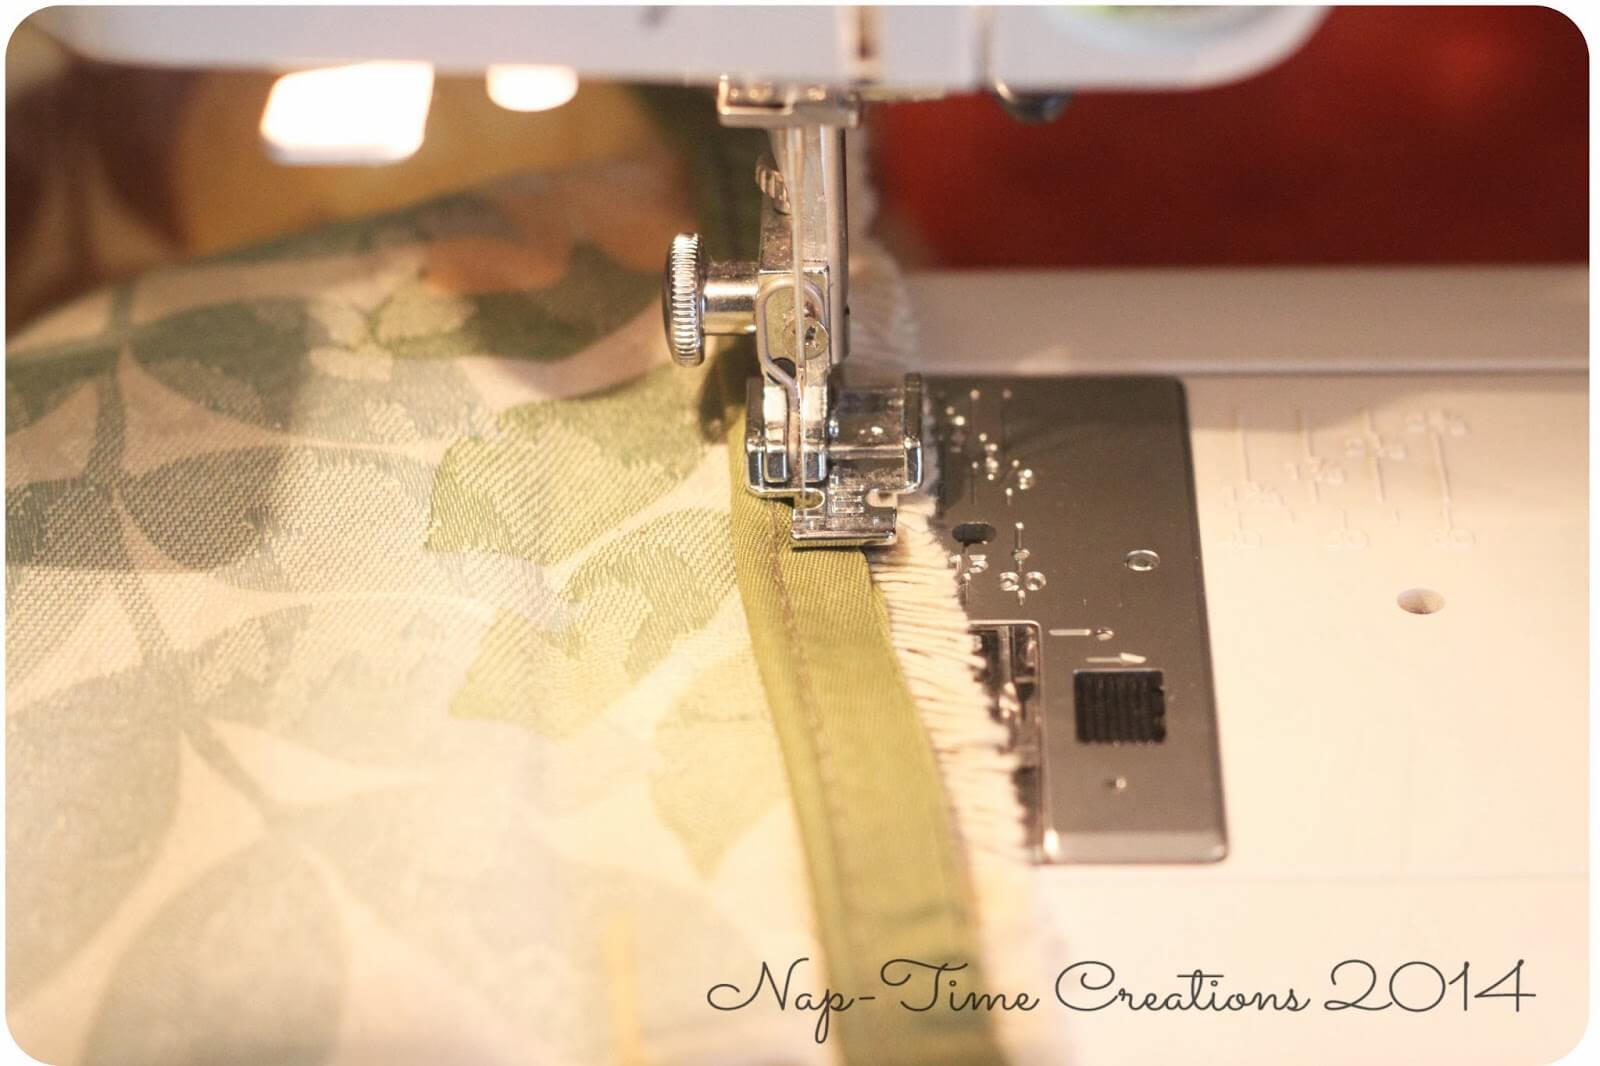
Add 1 inch to the size of your pillow form and cut two pieces of fabric that size. {for my 14″ form, I cut 15″ square fabric} Next attach your piping {homemade or bought} to the edge of ONE piece of the cover. I start by folding over the edge of the piping.

Pin and sew around. I rounded my corners as I sewed the piping.

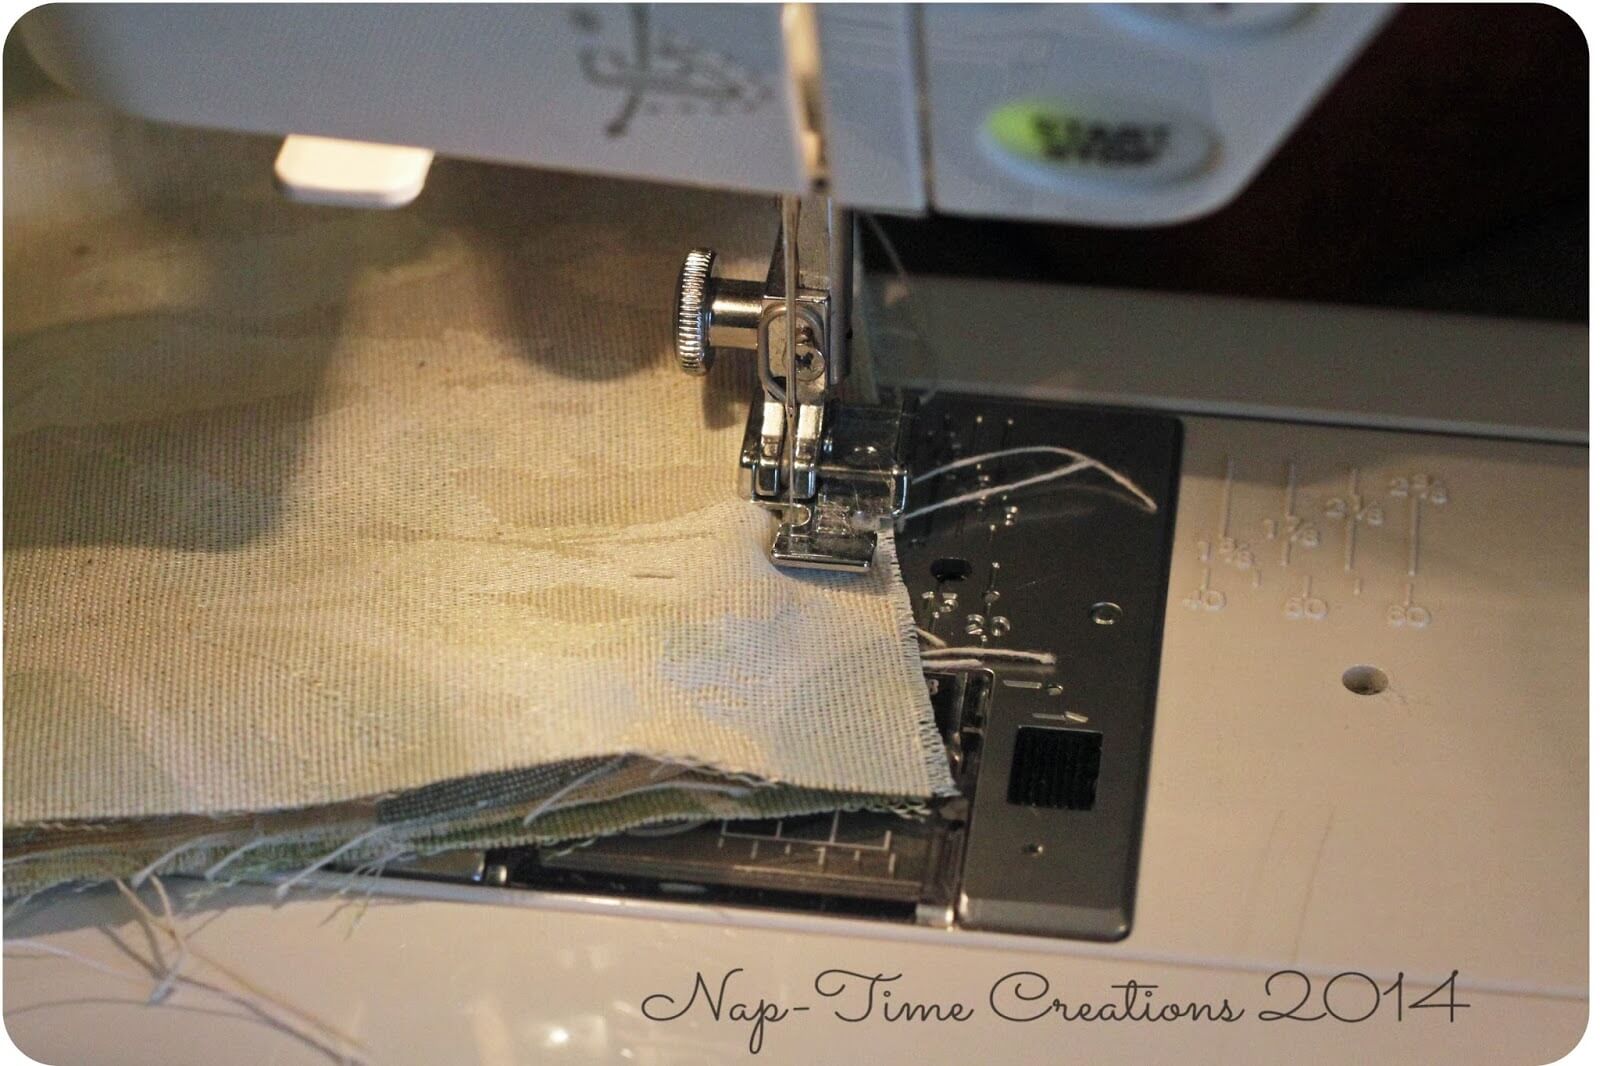
Use a zipper foot. ALSO, set your needle to the LEFT to get closer to the piping. Remember to fold over the piping again when you complete the circle.
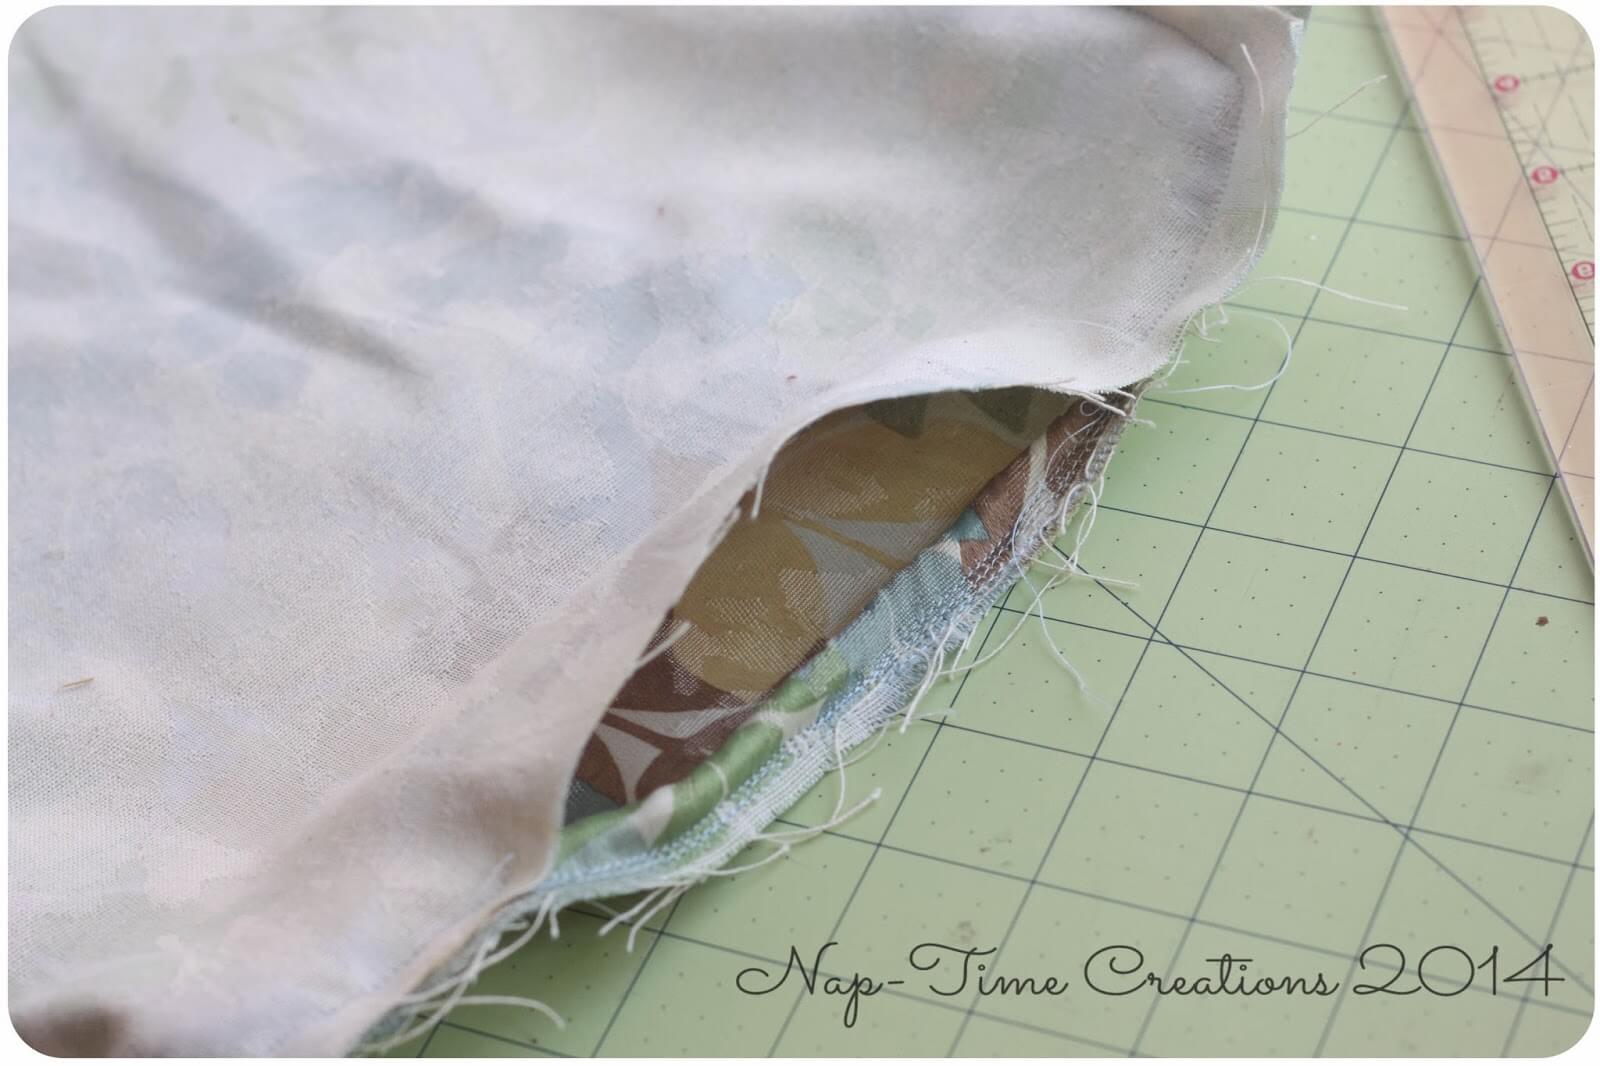
Now, place the second half of the cover right sides together and sew around again. Use your fingers to feel the piping and sew as close as possible to the lump {ha!} Remember to leave an opening to put the pillow for in.
Stuff your pillow form inside the hole and stitch closed. I hand sewed this part, but you could probably do it with your machine as well.
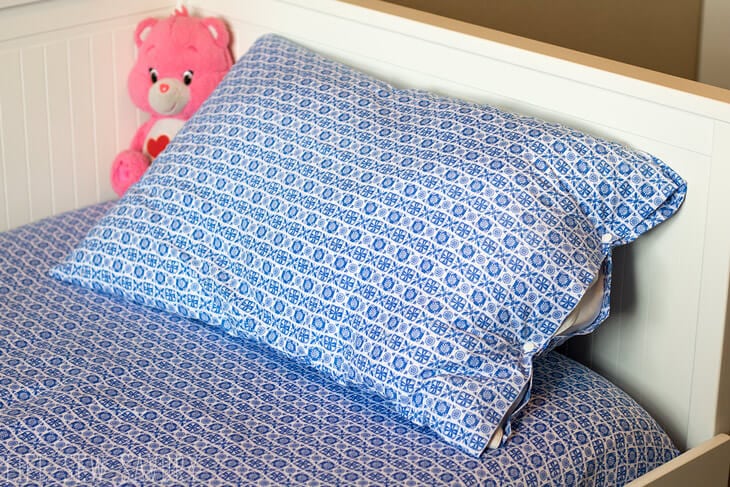
Here they are all finished! So pretty right? I just love them all. {however, I will admit that I don’t love my fat homemade piping so much on the small pillow. It looks better on the bigger size pillow}
and just to keep it real, here’s what my couch looked like two moments after I took the lovely photo above. {yep! I live in a house of boys!}

Here are some other pillow tutorials to try-
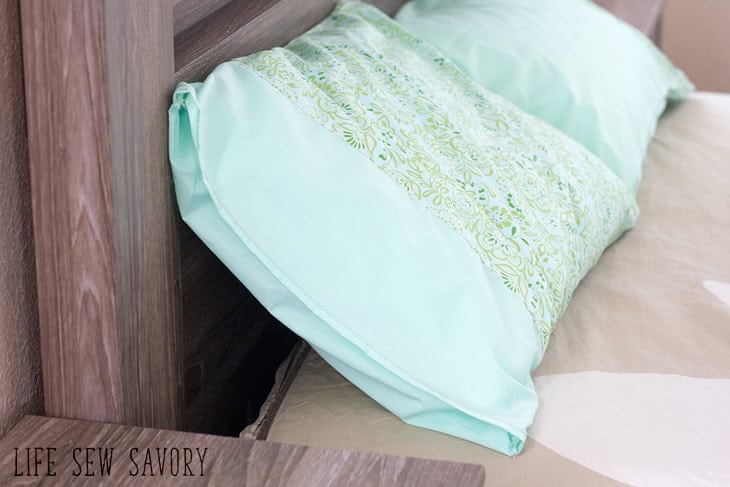
Envelope style pillow tutorial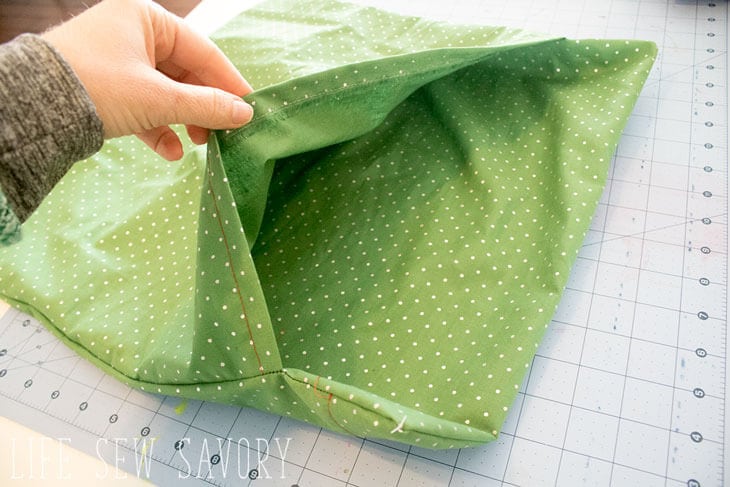
Reading pillow with book pocket


Diane Balch says
Really nicely done.. the piping makes really polishes the pillow.
Designed Decor says
I am impressed! Have always been afraid of the piping, now I think I will give it a try? Great tutorial!
Kristin @ Dizzy Busy and Hungry! says
These are beautiful!
Jessi @ Practically Functional says
Wow, great job with that piping! Pinning, and thanks for sharing at Creativity Unleashed!
jacoblady90 says
Do you show how to make the piping? In one of your photos of your couch there us a triangle type something sitting one the back of the couch what is it and what is it for? Looks very interesting!
admin says
Yes! The next post in the series {which should be linked on the pillow post} shows how to make the piping. it was SO much easier than I thought. The triangle pillow is from Thailand and is a cushion on our window sill ;o)
Chelsea says
Thank you for the post! I am also happy to see that I am not the only one who put a sectional chaise in front of a bay window with a seat. Our house came with a HUGE (for the space) bay window in the living room and we just said “Oh well! Put a couch there!” Now I am researching sewing my own pillows for the said couch AND bay window! Thank you!
Cheryl Lawson says
Beautiful job! I love making pillows but can’t say that I love making the piping. It does make a huge difference though and is well worth the time. Enjoyed your post. Hope you and your family had a very Happy Easter! ~Cheryl
Debrashoppeno5 says
Great tutorial. I love adding piping around pillows. It adds a custom look.
candy says
Thanks now I know how to put piping on. Found you on Inspire Me Monday Linky Party.
Nancy says
Love the fabric on your pillows. Where did you find it?
Jann Olson says
I’ve done this before. It is a bit of work, but worth the extra effort! Thanks for sharing with SYC.
hugs,
Jann
Bea says
I’m loving your tutorial as well as your beautiful range of cushions which you have created. Well done and best wishes for the future!