This shop has been compensated by Collective Bias, Inc. and its advertiser. All opinions are mine alone. #DDIcedCoffeeToGo #CollectiveBias
As we enter the busy back to school season I’m sharing a car seat back organizer sewing tutorial and some tips for getting my family up and going on busy school mornings. Keep the car and your life more organized this school year.
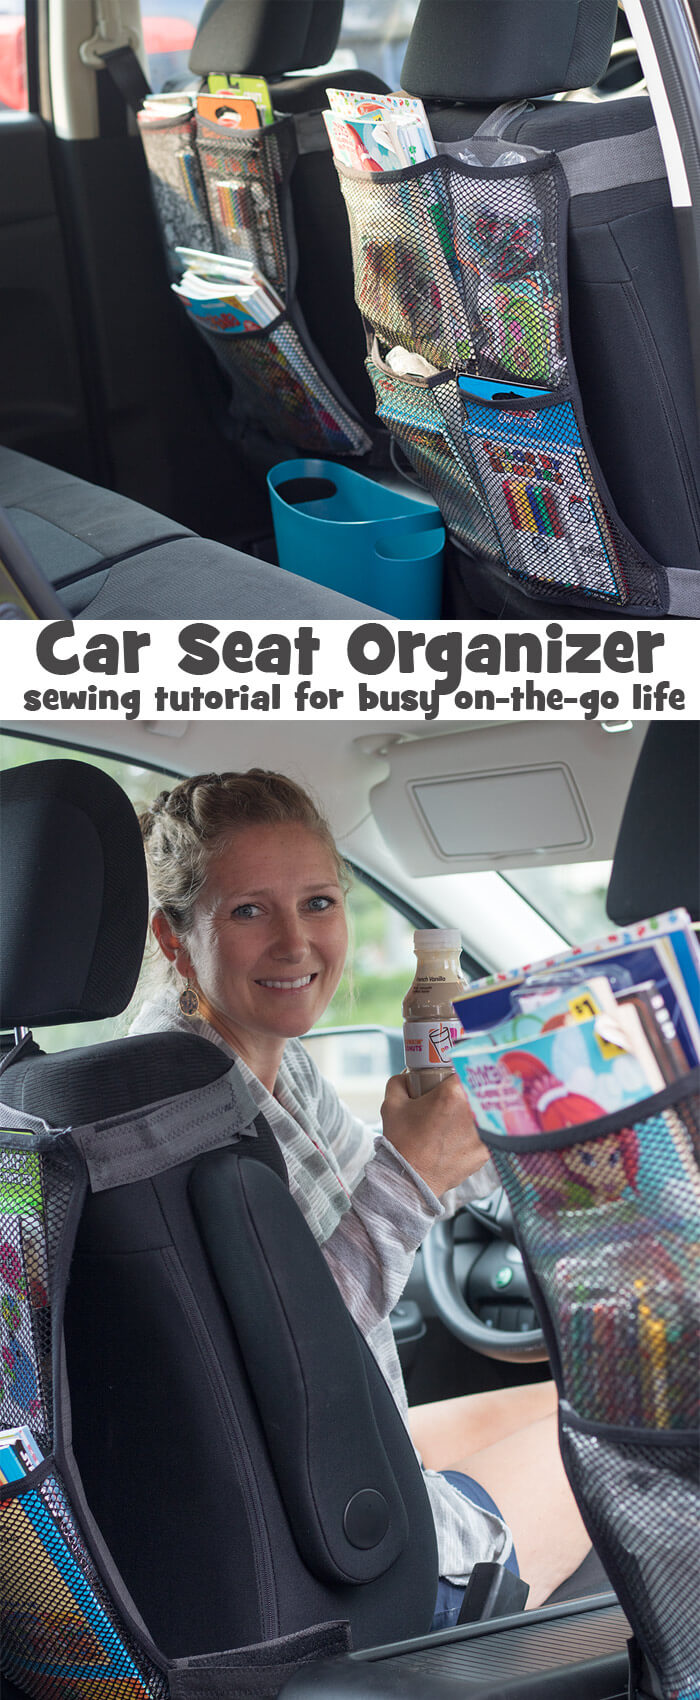
Car Seat Back Organizer – Organizer your car
Today I felt like we spent a good chunk of time in the car. Do you have those days? We ran errands {did our back to school shopping} and spent time at the library on this rainy day. As I gear up for another year of school for the boys I’ve got a few things that I’m using to keep our life running smoothly and an organized car is huge on my list. I cannot handle a messy car and when we spend so much time in ours we need this backseat oganizer for all the kids things. And a garbage can… every car should have one right? {haha}
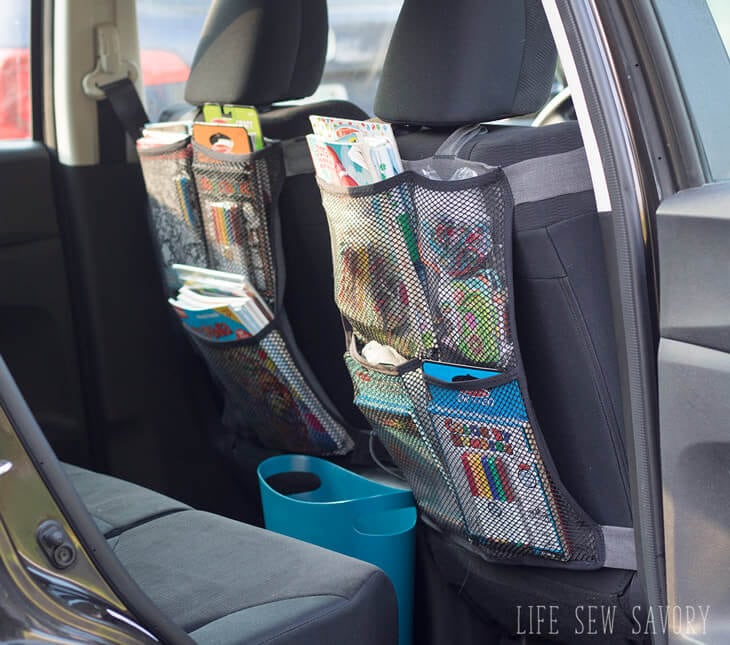
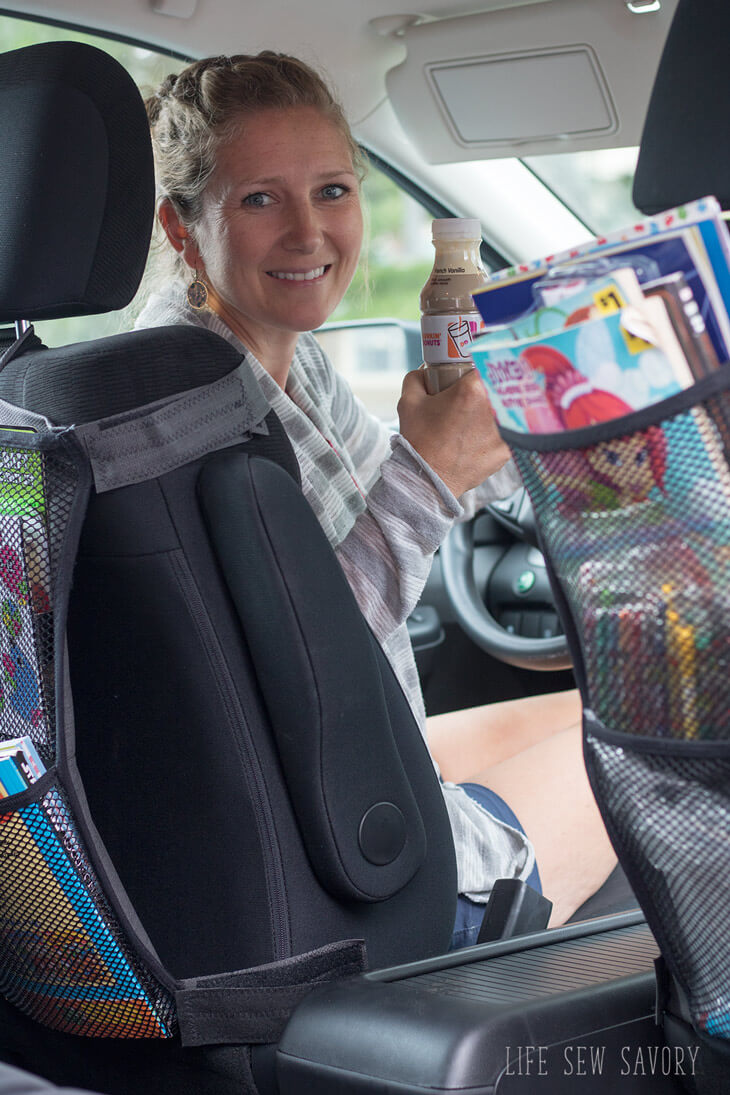
My daughter and I spend the most time in the car as we have to do the round trip school runs. Right now we live 30 min. from the boys’ school, so we need a lot of car entertainment for Rose. We move WAY closer the end of the month, but for the first few weeks of school we are doing a lot of driving. I’ve got these backseat organizers stocked to try and avoid car whining. To keep myself from whining I’ve stocked my fridge with Dunkin’ Donuts® Iced Coffee from Kum & Go® – Mama needs her coffee! {haha} These two in the car keep us all happy. Dunkin’ Donuts® Iced Coffee comes in four amazing flavors – Mocha – French Vanilla – Original – Espresso – you should try them all. Find them at your local Kum & Go®.
Seat Back Organizer Sewing Tutorial
Okay… let’s make one! I’ve been eyeing these on amazon for months and finally decided to just make my own seat back organizer, and I LOVE how they turned out.
You will need 1 yard vinyl, 1 yard mesh, 5 yards wide Fold Over Elastic, velcro and the measurements of your car seat. This will make you TWO seat organizers. You can find a vinyl similar to mine here.

I measured the back of my car seat and cut the vinyl 1″ less than the width and a couple inches shorter than the length. I also doubled over my vinyl to make it more sturdy. You will have enough vinyl left to cut 1.5″ inch strips which we will use to attach to the seat later. Cut the strips and set aside for now.
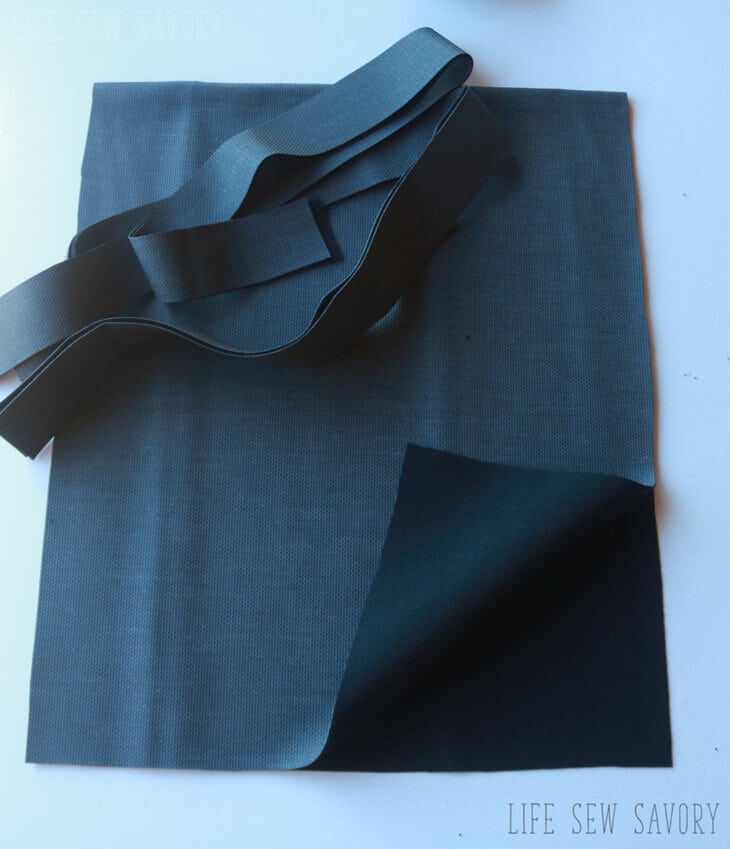
Here’s my seat back organizer laid out. Width and length measured according to the side of the seat. The length is DOUBLE and then folded over. I’ve got the fold on the top of my organizer. Cut two pieces of the mesh – each about half of the organizer length and same width. I kept the salvage edge of the mesh on the bottom of each pocket.
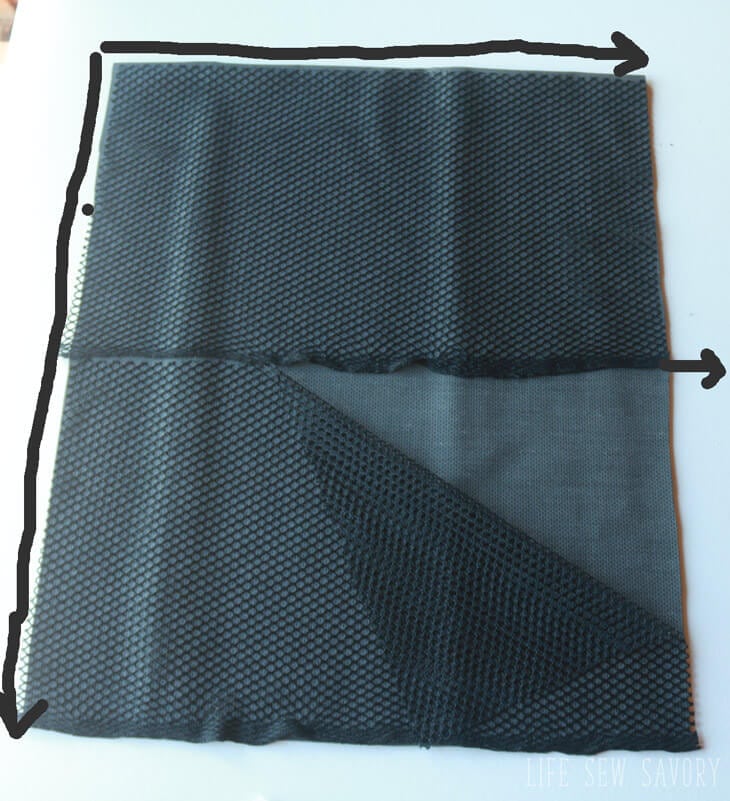
Cut two pieces of FOE each 1″ shorter than the width. This will give some tension to the top of each pocket. Fold the elastic over the top of each mesh pocket and sew. I used a wide zig-zag stitch to sew.
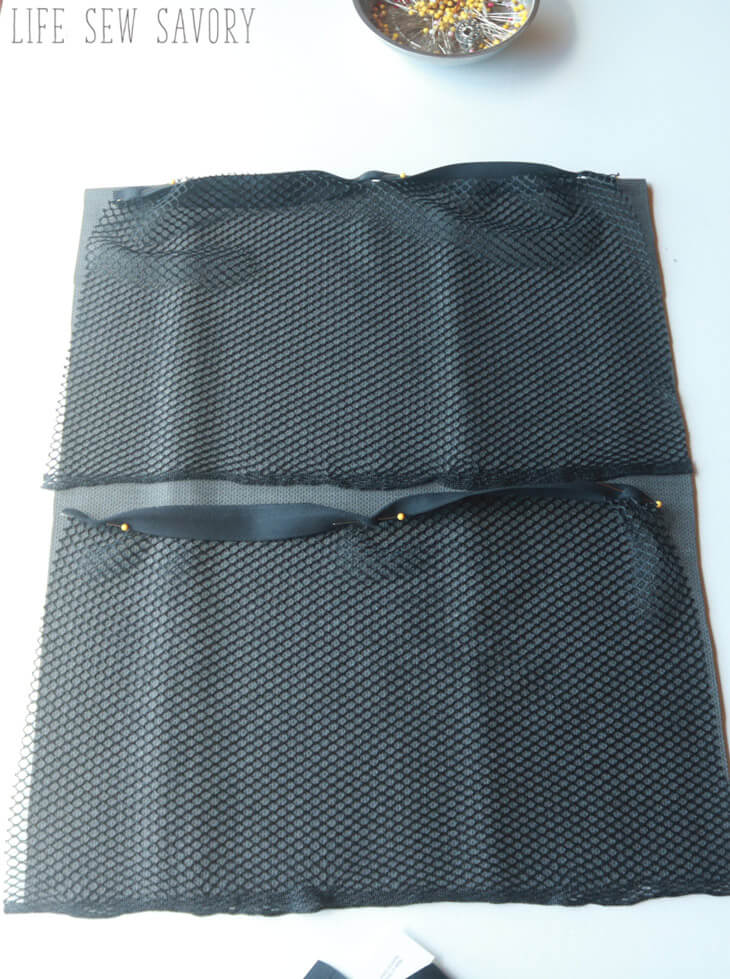
Pin pocket on sides {stretch the top} and bottom. Add a pocket divider line where you want. Stitch the top pocket first.

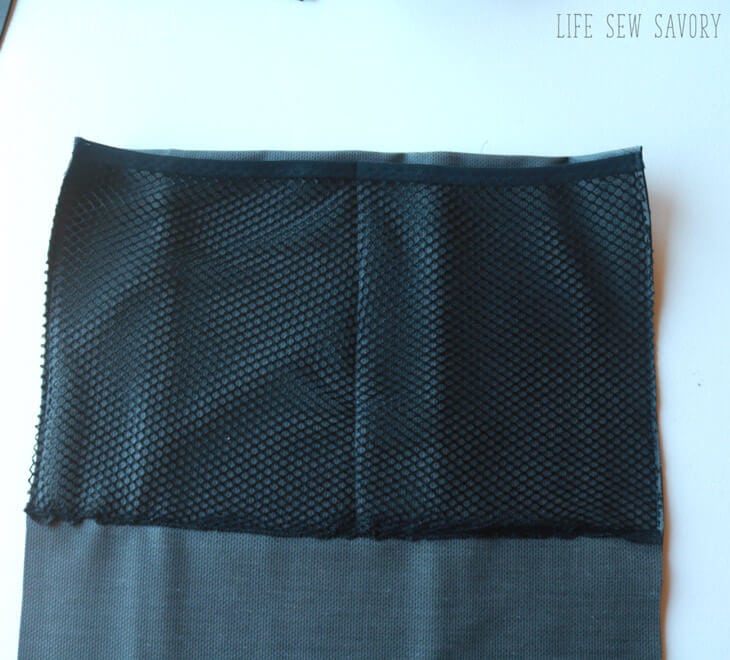
Pin and sew the bottom pocket, adjust the pocket sizes as you want.
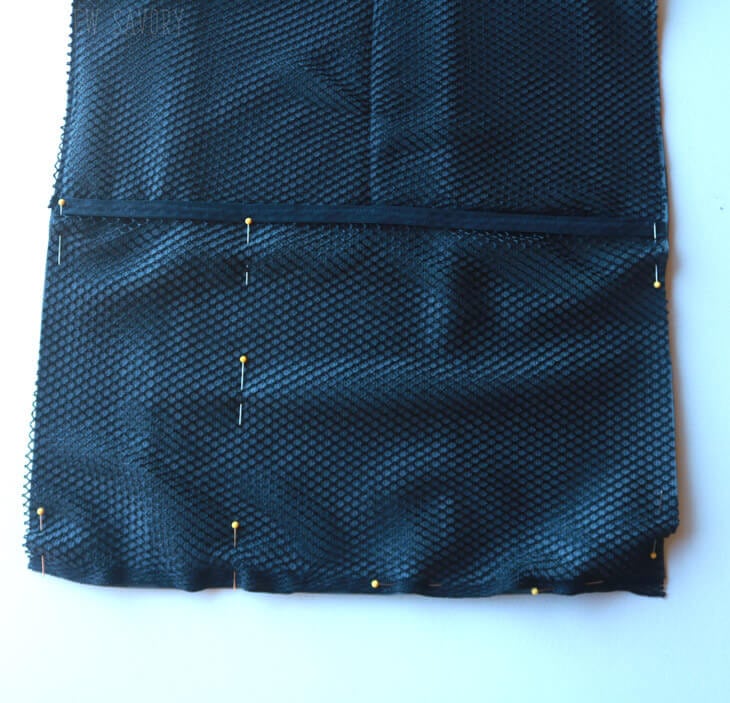
Finish the raw edges with more FOE. I just sewed it without stretching. This finished the edges and gives a nice structure to the organizer.
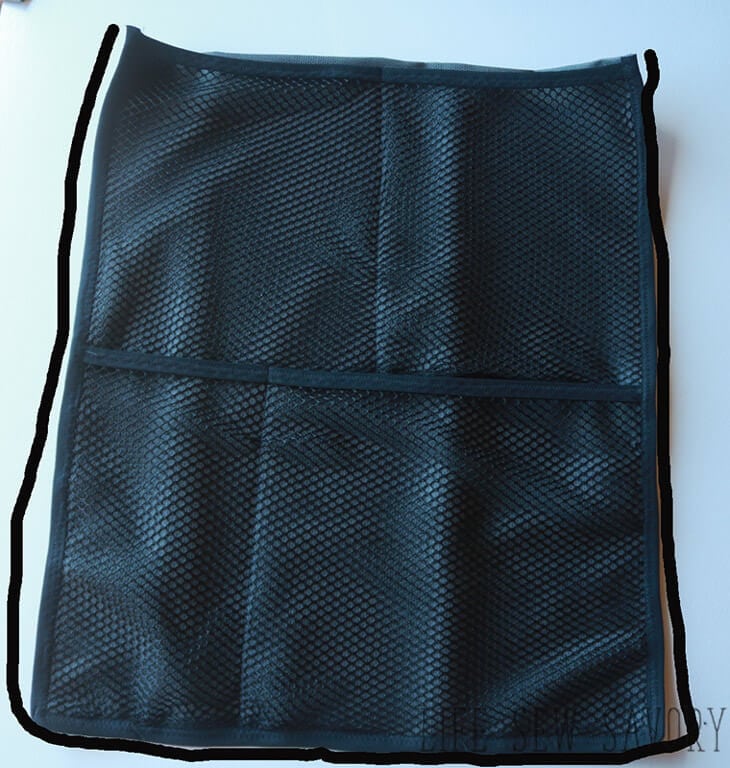
At the top and bottom sew straps to the four corners of your organizer.
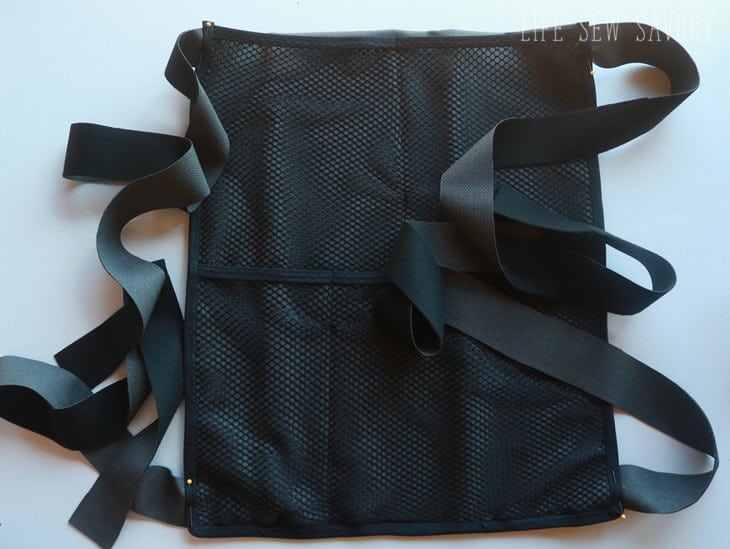
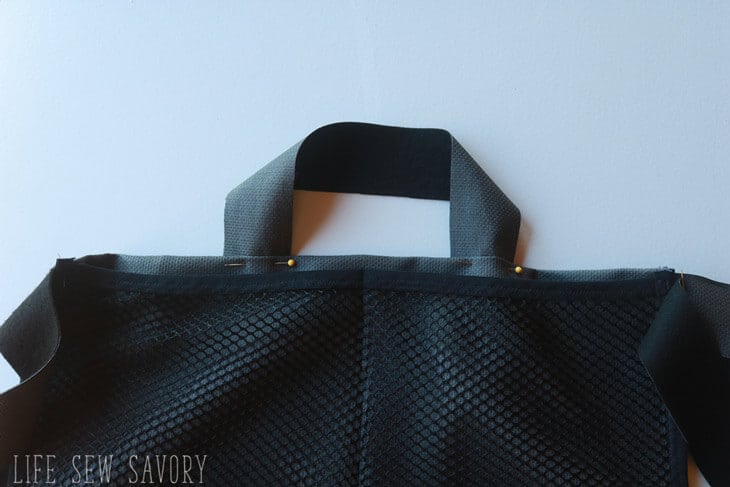
Measure from the top of your car seat around the headrest base and add a support at the middle of the top. You want this to be pretty right for support.
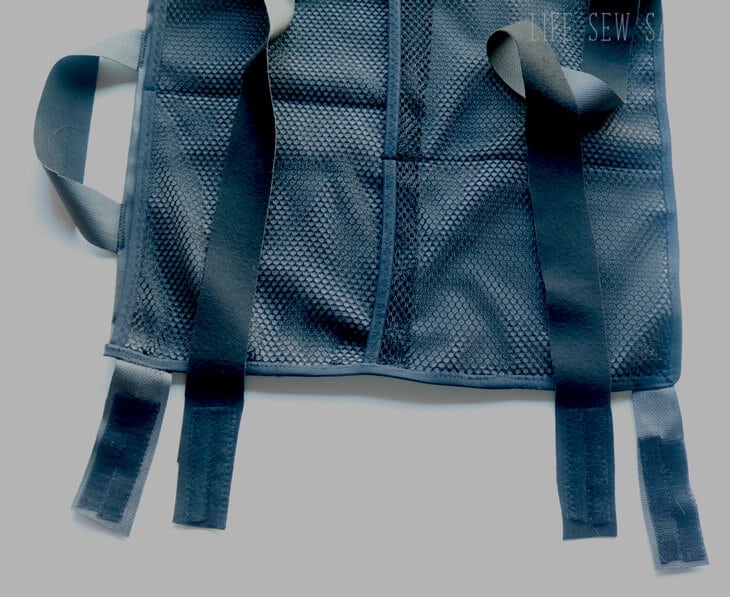
I took my organizer out to the car to measure the straps. I pulled the straps around to one side to mark where the velcro would be. One side of the straps is short {just goes to the side of the seat} and the other is much longer as it goes all the way around the seat. My vinyl was soft and matched the car pefectly. I don’t notice the straps on my back at all.
SO much amazing storage right? I’m wondering why I waited so long to make a seat back organizer for our car. Now I need to make another set for my husbands car!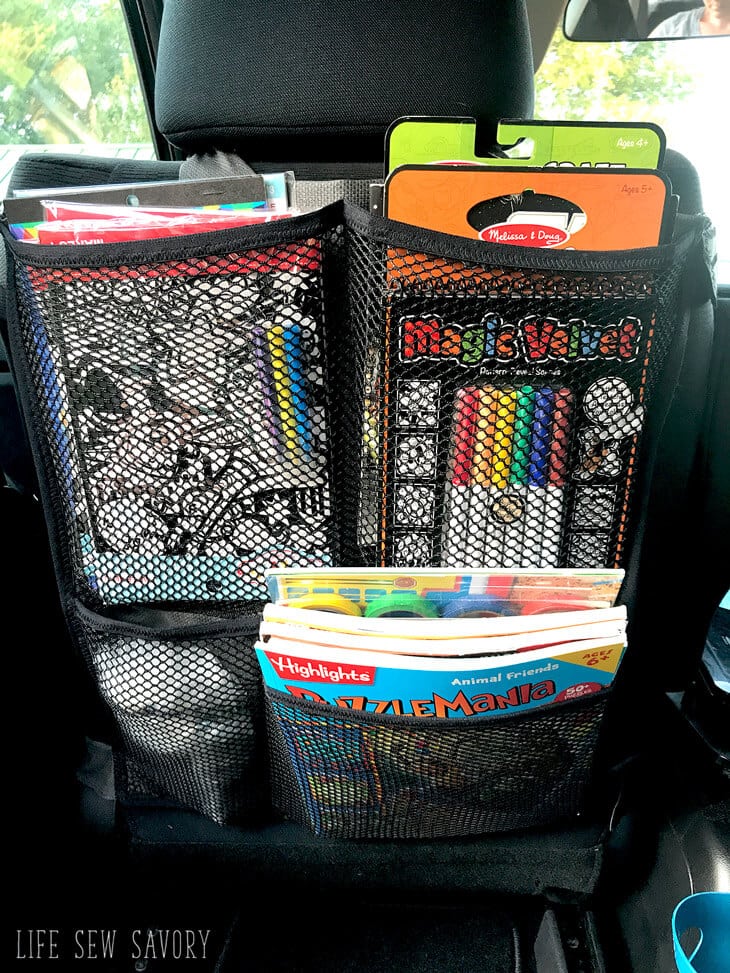
There you go! Some of my tips for keeping the family happy and running smoothly in the car. Activities for the kiddos and Dunkin’ Donuts® Iced Coffee for me! {after I took these photos I noticed I’m not wearing my seatbelt, but I’m also not really driving and the car is not even running – I always wear a seat belt} thought I would mention that before someone comments about it!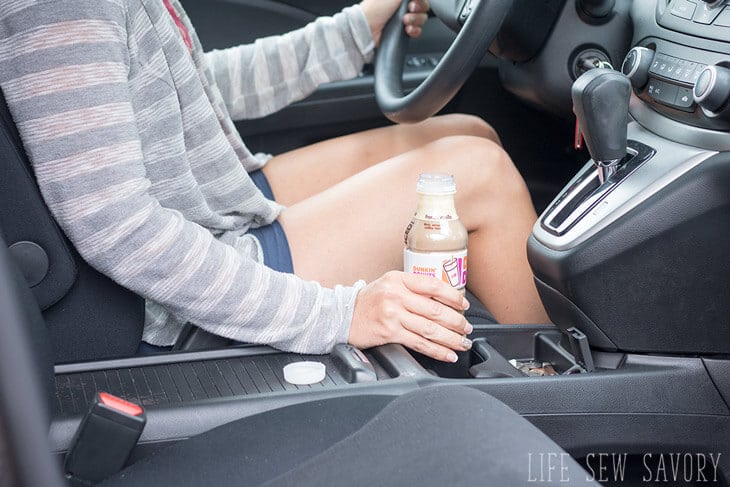
Grab your own Dunkin’ Donuts® Iced Coffee at Kum & Go® and sign up for their reward program for great deals while you are there! Have you tried Dunkin’ Donuts® Iced Coffee ? Which flavor is your favorite? I loved the French Vanilla. 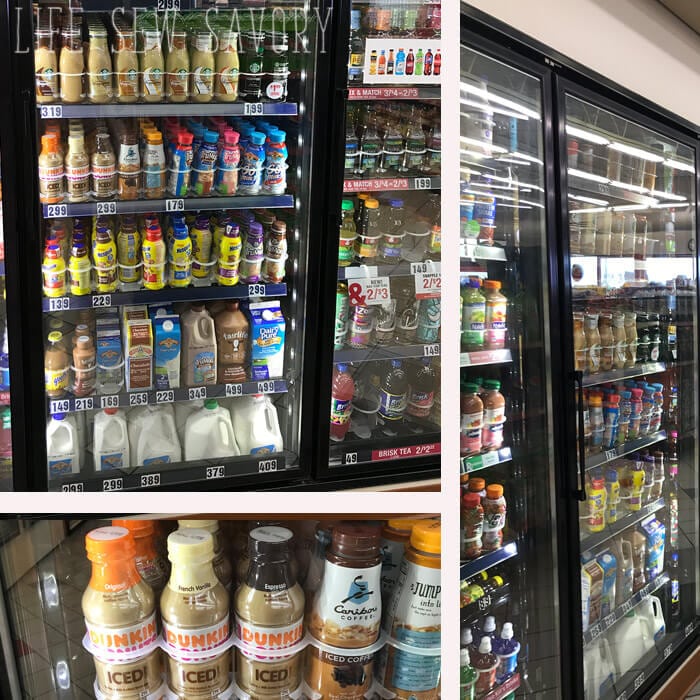






MartieD says
I was wondering what kind of vinyl you used on this project? Did you, by chance, buy it at Joanns? Is possible to post a link to it?
Thanks.
click here says
WOW!..I will do this for my car too.so that it will be benefitial thank you so much for this post.Its so nice idea and creativity is too good.