Hello! I’m Krysta. Normally you can find me sewing over at Cocoa Pie Creations, but today I am excited to be sharing here as part of the Summer Sewing Series, Sew Many Books!
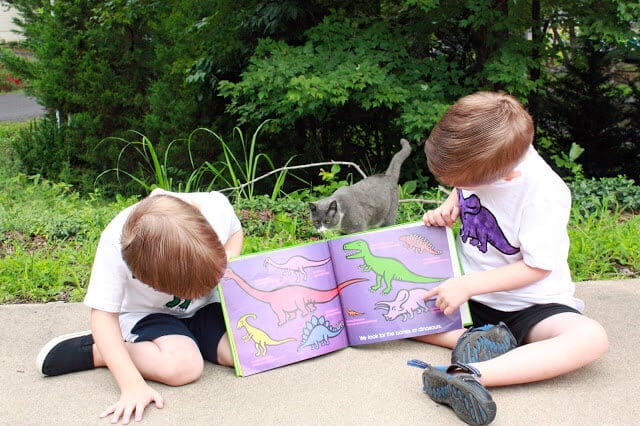
In my non-sewing life I am mom to three little boys – 4-year-old twins and a 2-year-old. They like all the typical boy things…robots, cars, pirates, and of course, dinosaurs!
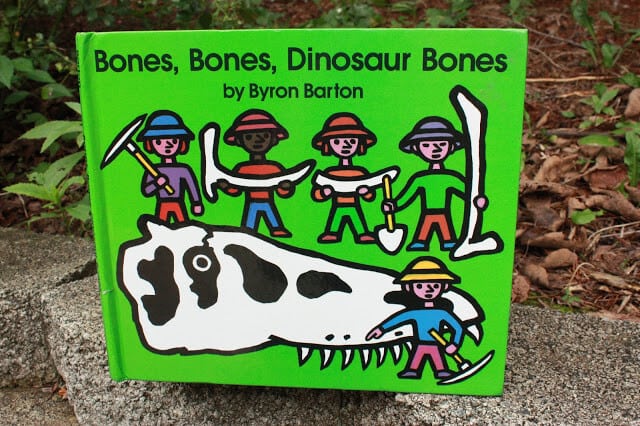
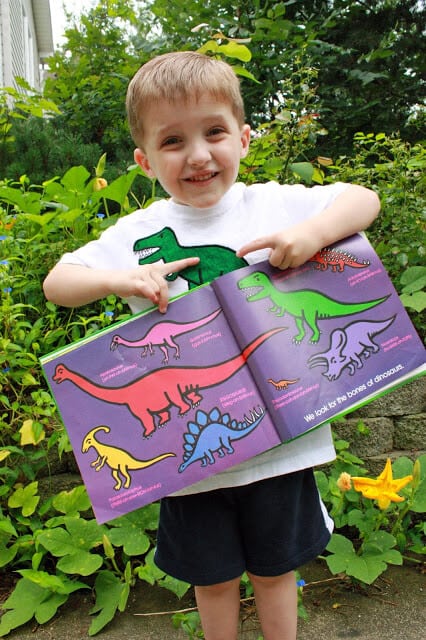
One of their very favorite books is actually a very simple one called Bones Bones Dinosaur Bones by Byron Barton:
It is full of very simple illustrations in bright, bold colors. My boys have me read this book to them numerous times a week. I practically have it memorized!
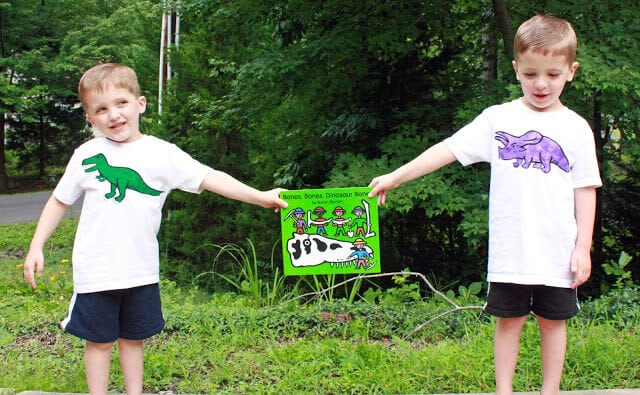
To really bring the book to life for them and translate it into clothing they could wear and enjoy, I decided it would be awesome to take one of the fun, graphic illustrations from the book and applique it right onto a shirt for them to wear with pride 🙂
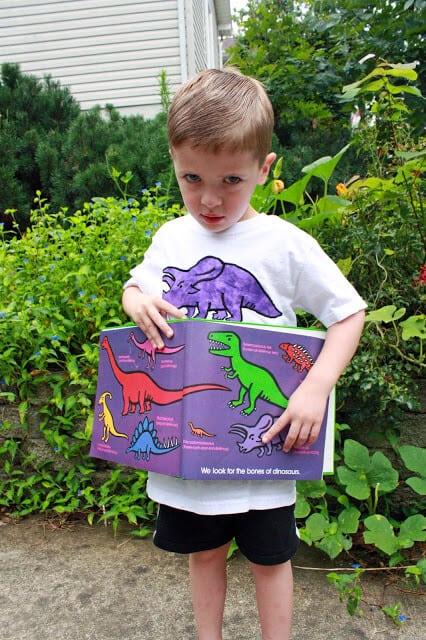
My son A’s favorite color is purple, so the Stegosaurus was a given.
And R, well, he just likes to be the strongest, toughest guy in the crowd, so T-Rex was an easy choice for him:
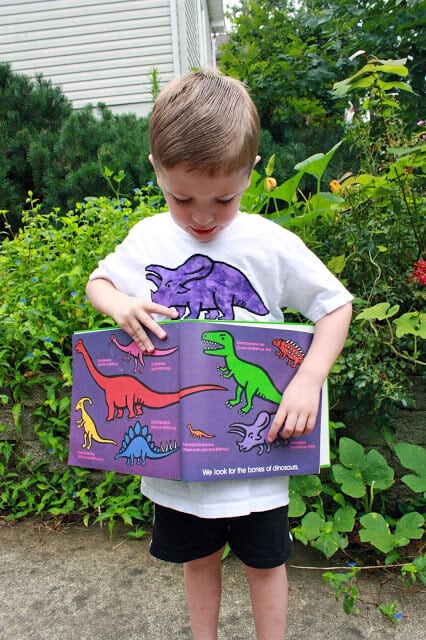
(And this is just an example of what happens when Mom asks to take one too many pictures!):
Would you like to try your own illustration applique?
Here is a brief photo tutorial of how I made mine. If you have any questions, please feel free to email me!
Appliqueing an Illustration onto a Knit Shirt
Find your illustration and make a copy of it, sized to the size you want it to be on your shirt (I scanned mine and enlarged it to fit an 8×11 sheet of paper horizontally). Cut it out on the line.
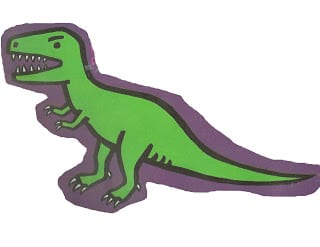 |
| This is the image of my scan when I printed it from my computer. I used Photoshop to enlarge my image. I then just cut my image out on the line. |
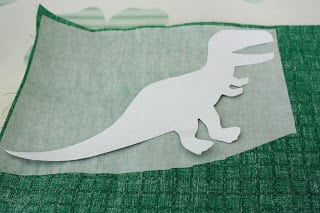
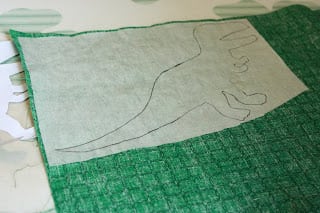
Cut a piece of fusible web (I use Wonder Under) to the size of your illustration. With a DRY IRON, fuse it, rough side down, onto the WRONG SIDE of your applique fabric.
Turn your cut out illustration over onto your fused piece of webbing so that it is facing the OPPOSITE direction of the way you want it on your shirt and trace it onto the fusible webbing.
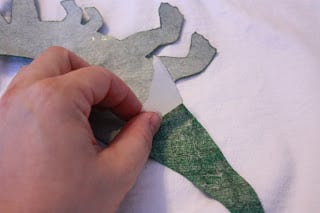
Cut out your traced image and peel away the paper backing, leaving the now-fused webbing to the applique image.
With a dry iron, press your image onto the front of your shirt.
.
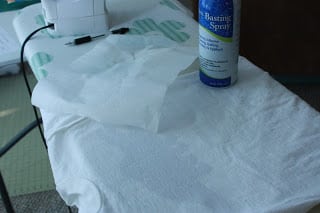
At this point, you will need stabilizer. You can purchase a fusible tear away stabilizer, or you can use a temporary spray adhesive to secure regular, non-fusible stabilizer to your shirt. You just want your stabilizer to temporarily fuse to your appliqueing area so that the fabric doesn’t stretch while you are appliqueing.
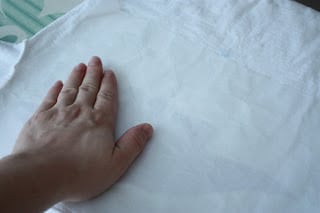
Turn your shirt inside out, spray lightly with basting spray over the area where your illustration is fused, and smooth the stabilizer over it, WITHOUT stretching the fabric.
At this point, you are ready to start appliqueing. I would recommend practicing your stitch length/width on a piece of scrap fabric before you start on your shirt.
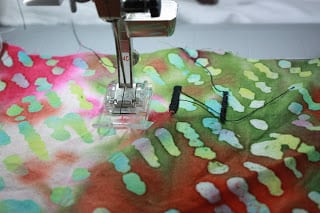
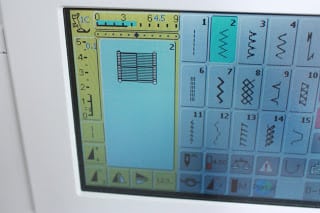
I ended up using these settings on my machine: stitch length = 0.1, stitch width = 4.5. Your machine will vary. Basically, set your machine to do a satin stitch.
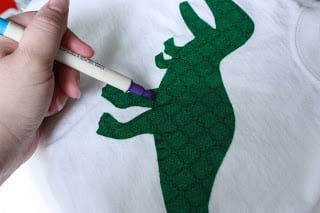
With a disappearing marker, mark any areas on the inside of your design that will be appliqued. You don’t want to forget these details!
Applique any inside areas first, that way you can catch the edges into the main edge stitching. Continue satin stitching the edges until the entire design is finished. Tear off your stabilizer from the inside of the shirt and you are finished!
A few hints for appliqueing onto knits:
~For this project, or any really, the simpler the design, the better.
~ Pre-wash your shirt if you are using a purchased shirt.
~ Do NOT stretch the fabric at all as you are appliqueing Fusible stabilizer is a must.
~You can use regular cotton or polyester thread, but you will get a better result if you use machine embroidery thread.
~I used a contrasting thread and a very wide satin stitch to mimic the outlines on the illustration. You can use a matching thread if you want, and also use any width of satin stitch or button hole stitch to applique your design. It really just depends on the look you are going for.
~ Go slowly at first and take your time. Never pull your fabric through the feed dogs. Just let your machine feed it at its own pace. It will seem to be moving very slowly, but you want your stitch to be as smooth as possible.
Wow!! Krysta! So fun! My boys would love this too! Great tutorial. Head on over to Cocoa Pie to see all her other amazing sewing projects. Make sure you enter the $50 Fabric.com giveaway and Cole’s Creations Pattern Giveaway!!!
Enter your email address:
Looking forward to seeing you around the blog…. don’t be a stranger!







amy mayen says
Great appliqué tips! I’ve never had much luck…but I didn’t know to use a different thread. The tshirts turned out great!
Susan says
What a clever idea! Making projects from kids books. I love the Cat in the Hat dress too. Thanks for sharing this, Emily!
Have a great day!
Susan
@SugarBeans.org
crazylittlethingss says
Great projetc! The final resulte turned out super cute. Greetings from D’arc Creations!!
Navy Wifey Peters says
The dinosaurs look great! Such a a great idea making clothes based on children’s books!
Navy Wifey Peters @ Submarine Sunday Link Party
KatieQ says
Thanks for sharing your technique. The shirts look great!
The Thompsons says
Love it!!
Jessica @ Sunny Stitching says
Cute appliques…my son would love these!