inside- Find a free shorts sewing pattern to make the best mesh sports shorts for your kids. My boys live in these all summer long.
School is out and we are in summer mode. This means my boys are wearing shorts every day, and usually mesh sports shorts are the first choice. We have them dress up for school {no sports wear} and so when school is out they are super excited to dress casual all summer. I’ve been sewing this free shorts sewing pattern in mesh for years and it’s a hit every summer.
Free Shorts Sewing Pattern –
This DIY shorts pattern is not new, but it’s been totally redone to make it even better. The new version is a bit roomier, has one size more, and has some new side options as well.
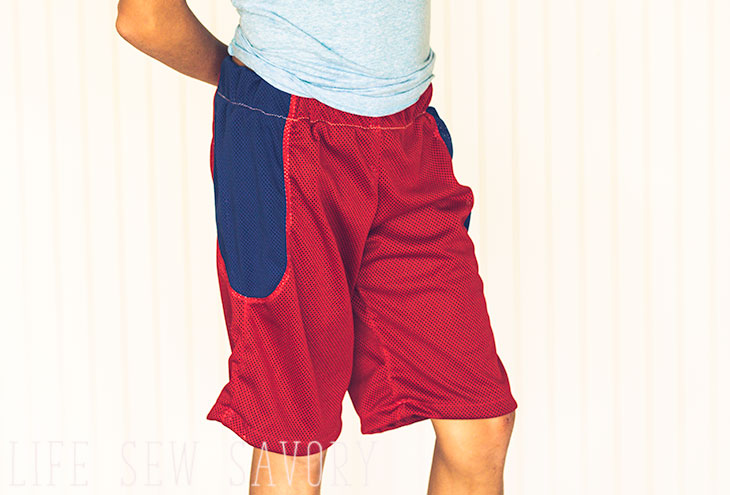
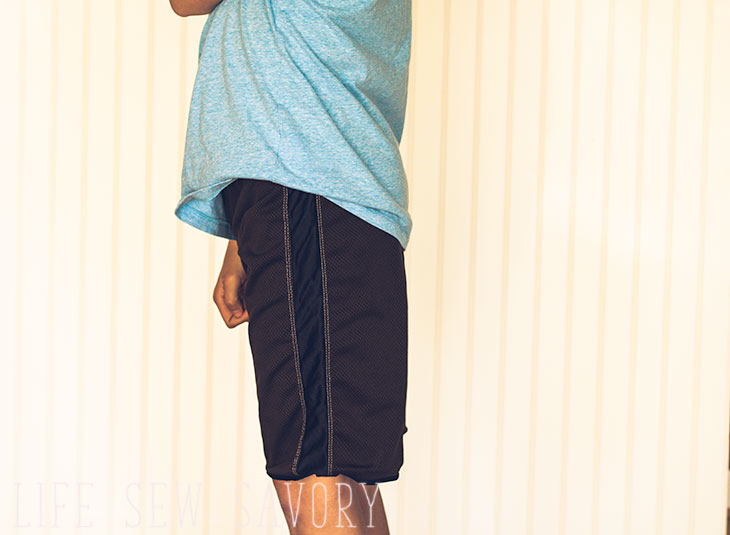
I really do love this shorts pattern because it is so versatile. You can add curved side cut-outs, stripes on the side or bottom and also make them lined or unlined.
Here are some other shorts patterns you may enjoy from my site –
- Girls Knit Shorts
- Womens Board Shorts
- Boys Cargo Shorts
- Womens PJ lounge shorts
- Girls Short leggings for summer
DIY Shorts with Mesh
You really can make this Free Shorts Sewing Pattern with any stretch fabric, but my favorite is mesh. If the mesh is open you will need to line it. A more closed mesh can be made unlined. I’ve made it both ways over the years and my first version of these sports shorts were reversible.
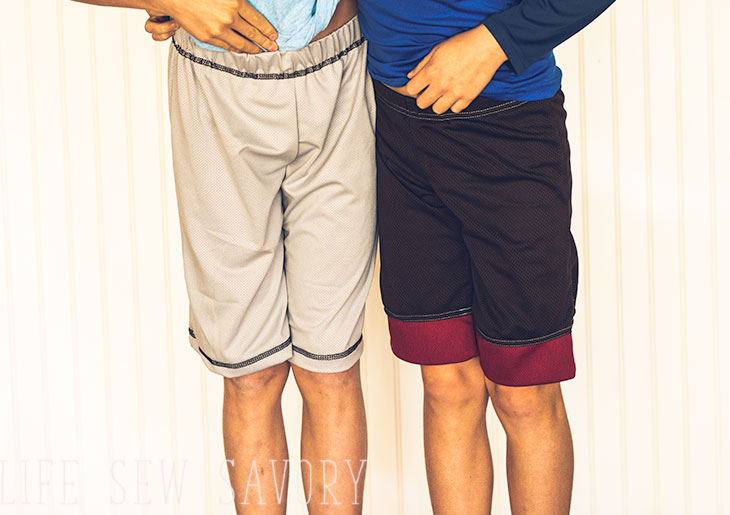
You could still make these reversible, but I haven’t been making them like that in recent years. Here are some of my fabric recommendations for this shorts pattern.
Mesh Shorts Fabric
Here is an example of tight mesh that doesn’t need to be lined HERE.
And here is some mesh that has bigger holes and needs to be lined HERE.
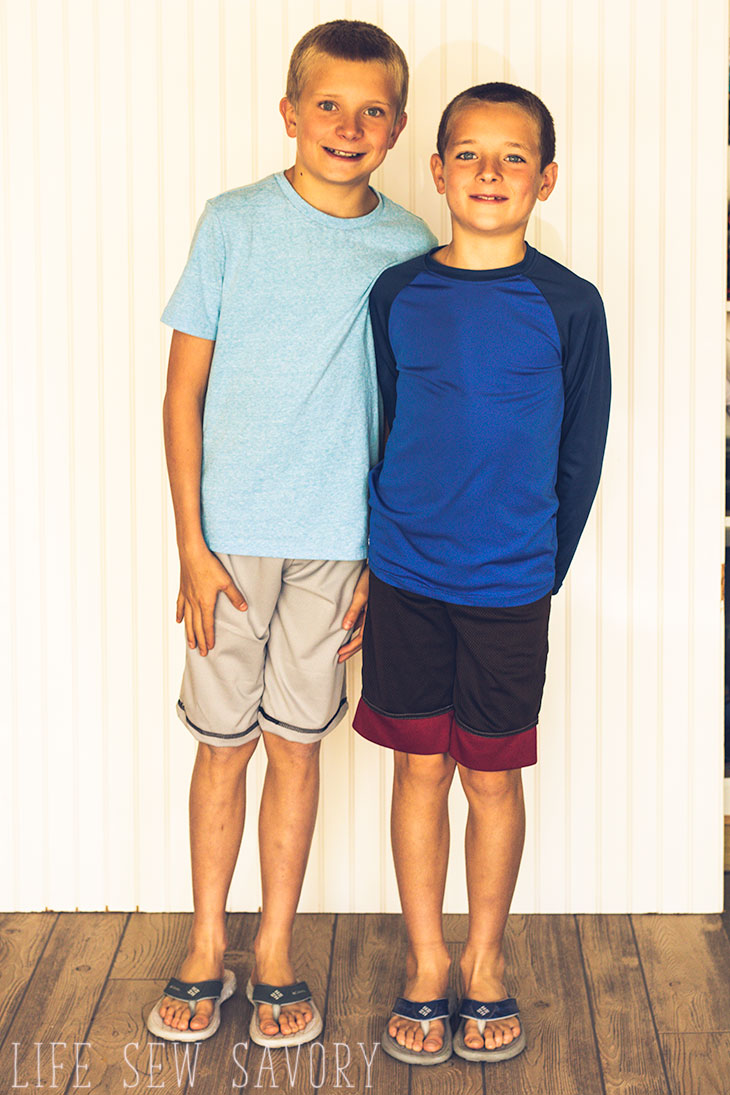
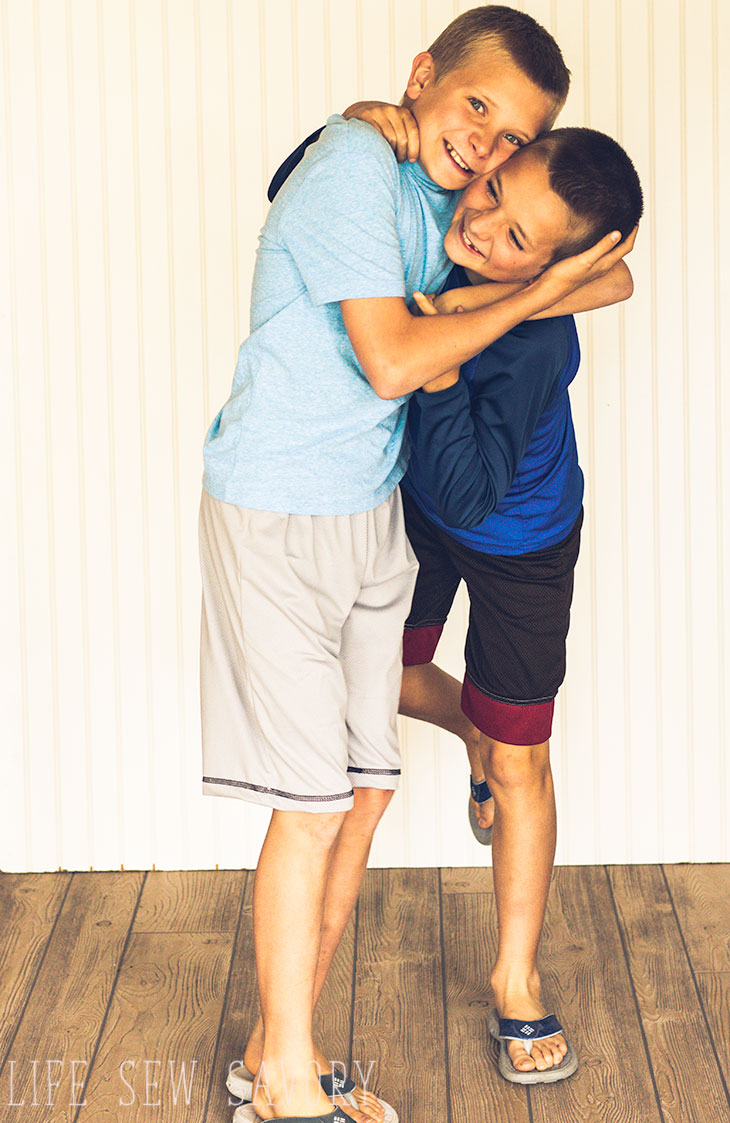
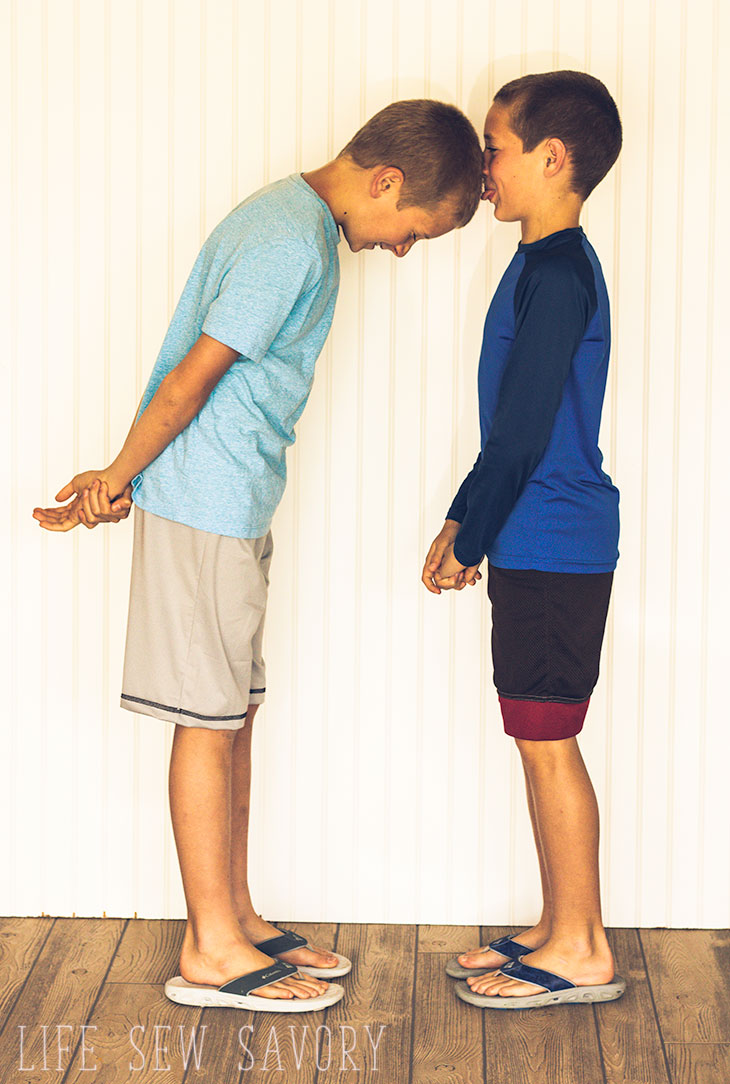
These two can’t agree on anything! One says yes, and the other will say know, one says stay and the other says go! Thankfully we have a little tie breaker in our family, but I do love these crazies! Thankfully they agree that I made good DIY sports shorts and they love wearing them. Happy kids, happy mom!
{ps – photos shoots with these two is like mom torture….}
How to make shorts –
You will need 1/2-3/4 yard of mesh fabric as described above. If you want to line the shorts you will also need some stretchy lining fabric. This is the stretch lining I use.
Use the links below to download the free PDF sewing pattern in size 2-12Y. Print at actual size or 100%.
PREMIUM PATTERN HERE {PRINTABLE INSTRUCTIONS}
After you print, trim the pages and tape together so it looks like this. If making the three smallest sizes you would not have to print pages 8-12.
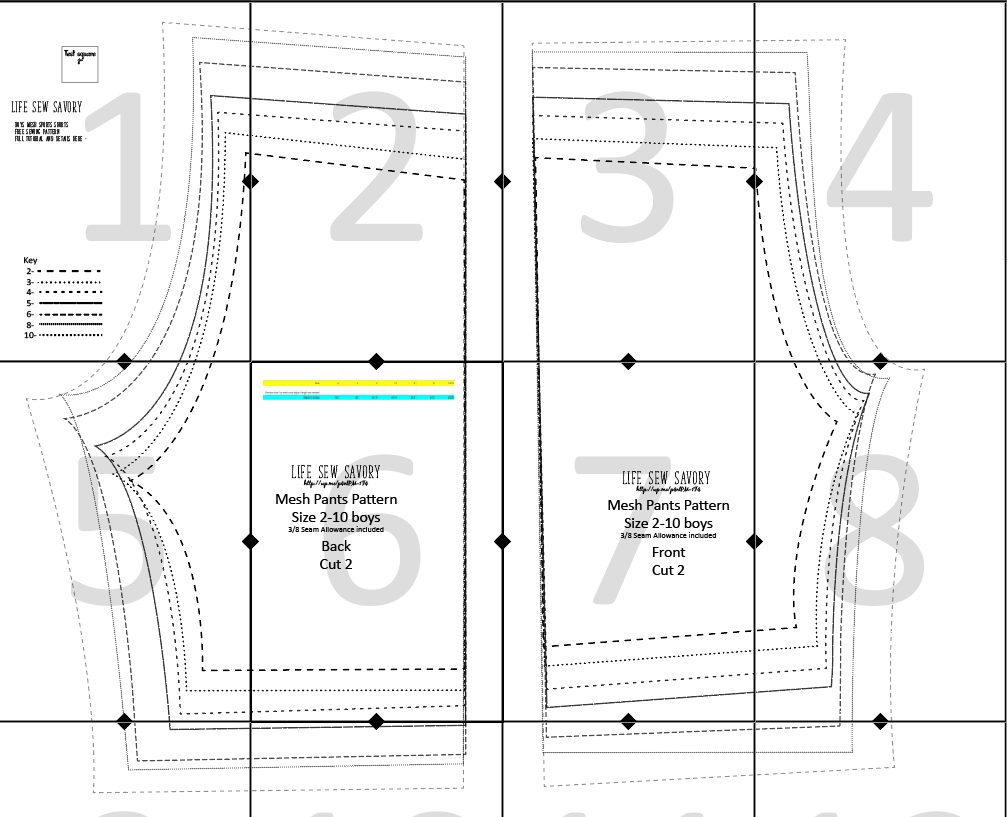
Use this size chart to decide size and cut the pattern or trace to size.

You will now need to decide if you are going to add detail to the sides and if you need to line them. I would recommend buying tight mesh so you don’t have to worry about lining, but I will give you instructions for both.
Gather your supplies –
- Printed pattern cut or traced to size
- 1/2-3/4 yard mesh fabric
- lining fabric if needed
- 1-1.5″ wide elastic {I like to use 1″ for the smaller sizes and 1.5″ for the larger sizes and that is what I am using here.
How to sew shorts
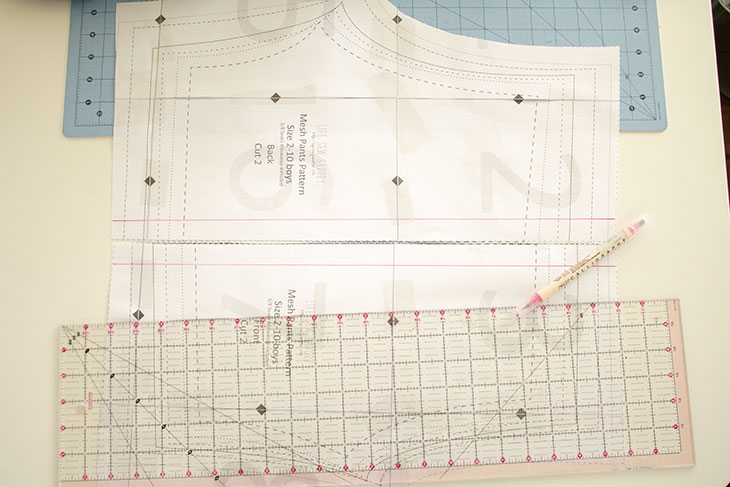
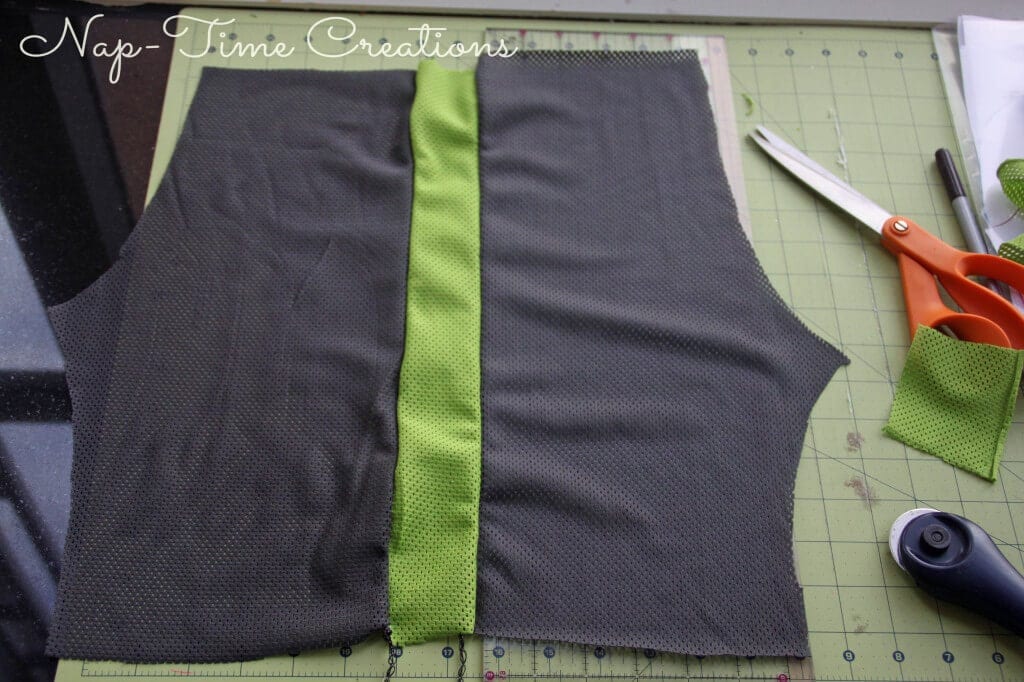
After you decide about lining choose your design. If you are just making plain {like the grey ones in these photos, skip ahead} Here is my drawings for the side strip. Place the front and back together so the side seams touch, then tape together. Mark and cut your side stripe. {you will need to remember to add seam allowance where you cut.
And here is the side cut out. This one I just free handed. Cut less than half the top width and about 2/3 of the way down the side. Cut out this shape and remember to add seam allowances when you cut from fabric.
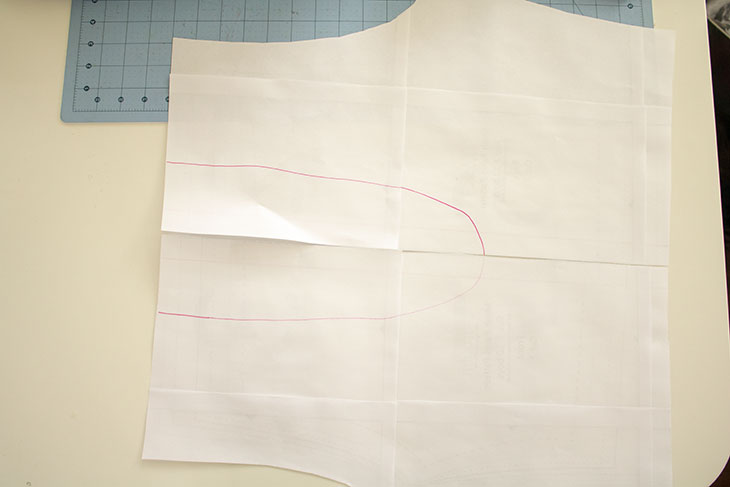
TIP **** if you are cutting a lining fabric cut out the lining BEFORE you cut up your pattern for the insert or side stripes. You want whole panels of the lining.
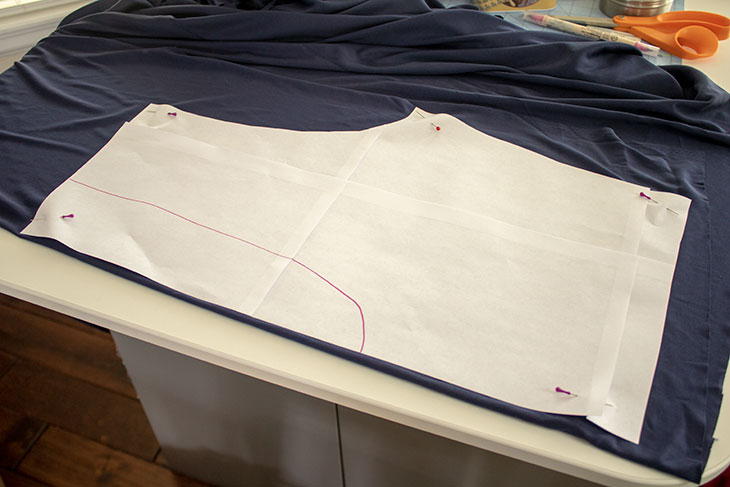
Here is my added seam allowances to the side panel and main shorts pieces.
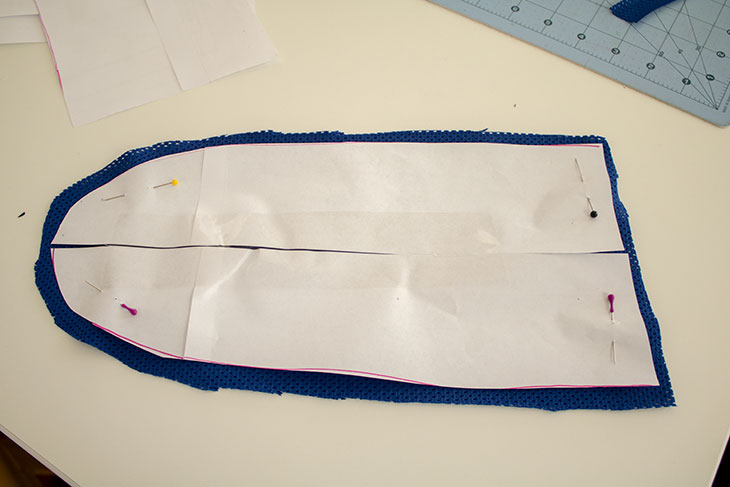
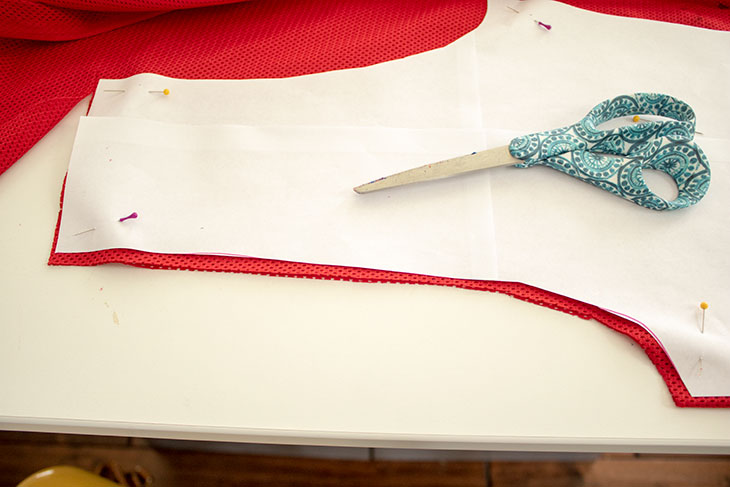
And here is what you should have when you get ready to sew up these shorts. 2x front and back + elastic for plain shorts. 2x front and back main and 2x front and back lining, side panels + elastic for lined shorts with side cut out.
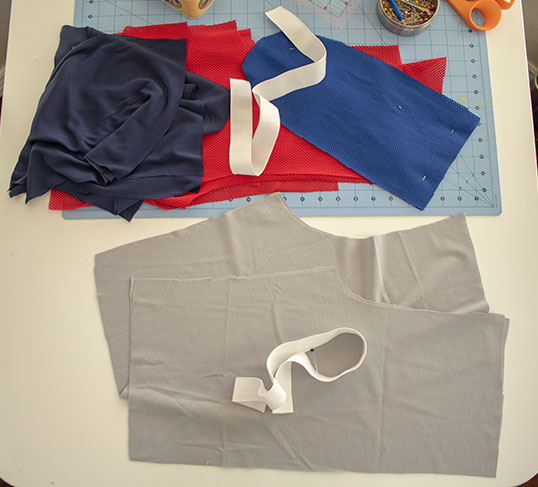
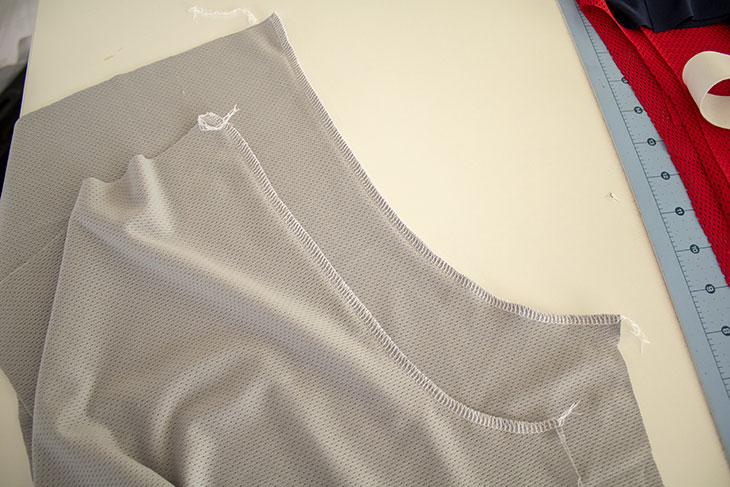
- With front pieces right sides together, sew the curved center front seam. Repeat with the back pieces. All versions of the shorts start with this step.
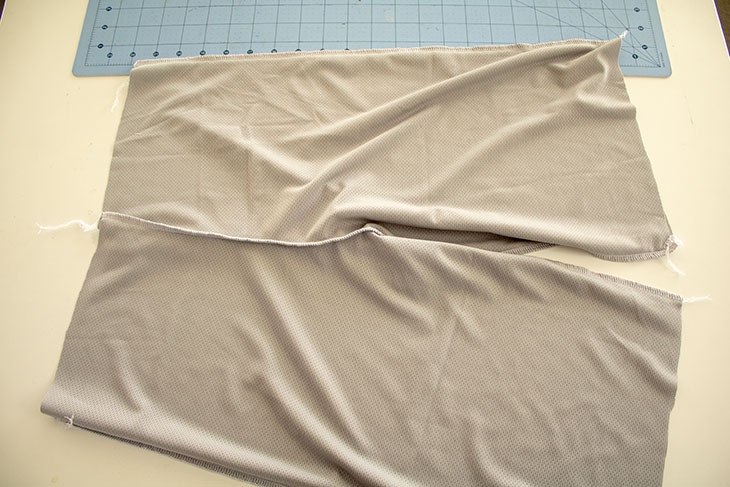
2. Fabric right side together sew the side seams and inseam. If you are adding a side strip or cut out skip to step 6. If you are lining the shorts sew the lining the same as step 1 and 2.
3. If you are adding a lining place the wrong sides of the shorts together with the mesh outer on the outside of the shorts and then treat as ONE piece for the next steps. {ie. pin both layers over together for hem and casing} see steps 9 and 10 for these steps with lining.
Fold over the top of the shorts to the inside and sew to create an elastic casing. Leave a 2″ opening to thread the elastic through. You will also want to turn up a 3/4″ hem on the bottom of each leg opening. Measure your shorts for length before you hem. Hem and sew the elastic casing with stretch stitch, zig-zag or coverstitch. The width of the elastic casing will be determined by if you are using 1 or 1.5″ elastic.
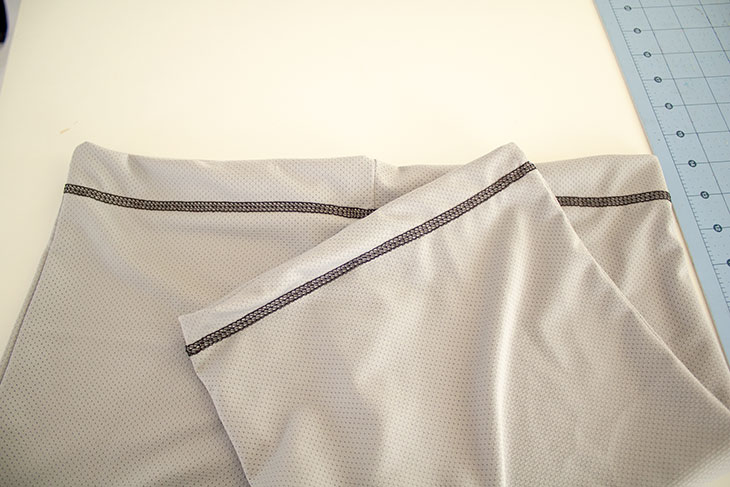
4. Thread the elastic through {careful not to twist} I love my bodkin! and then overlap and sew the elastic together. Pull the elastic circle back inside the fabric and sew the opening closed.
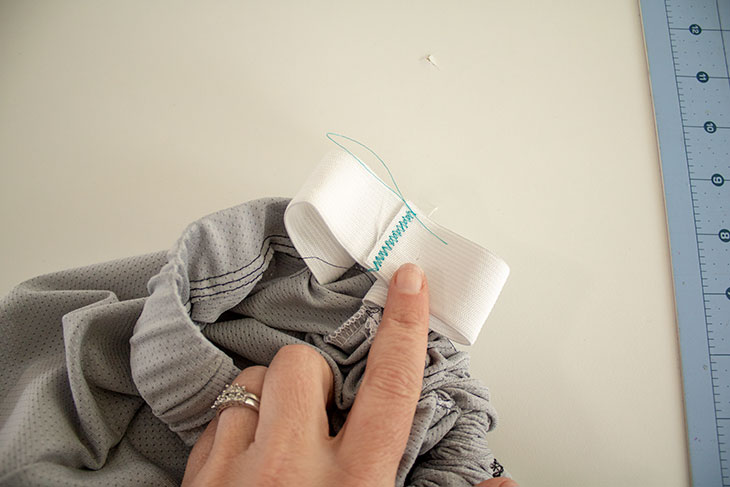
5. Finished version of the basic shorts. 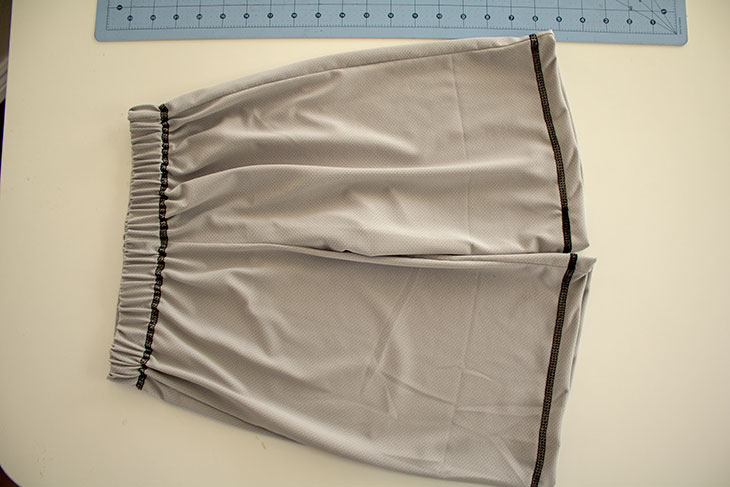
6. Sew the side seams of the shorts. If adding the cut out you will just sew the bottom part of the side seam below the cut out.
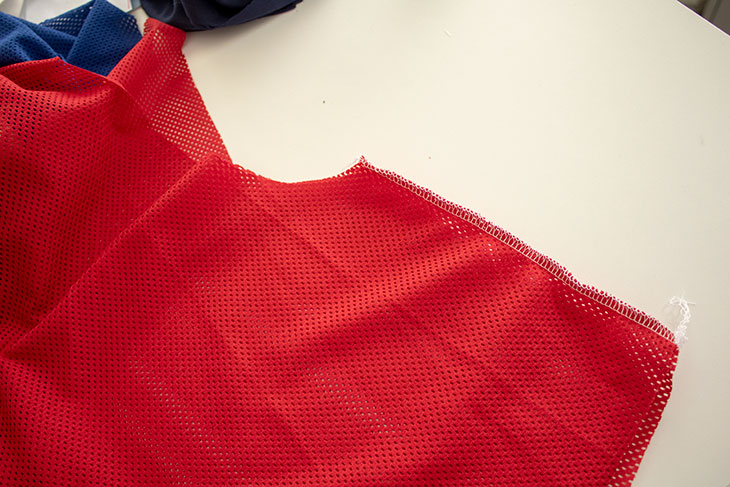
If you are adding the side strip you will be sewing the side seam twice.
7. For the cut out match the bottom middle of the curve with the side seam you just sewed. Pin or clip up both sides of the curve to the top of the shorts. If the fabric is too long trim the top angling from the lower front to the higher back.
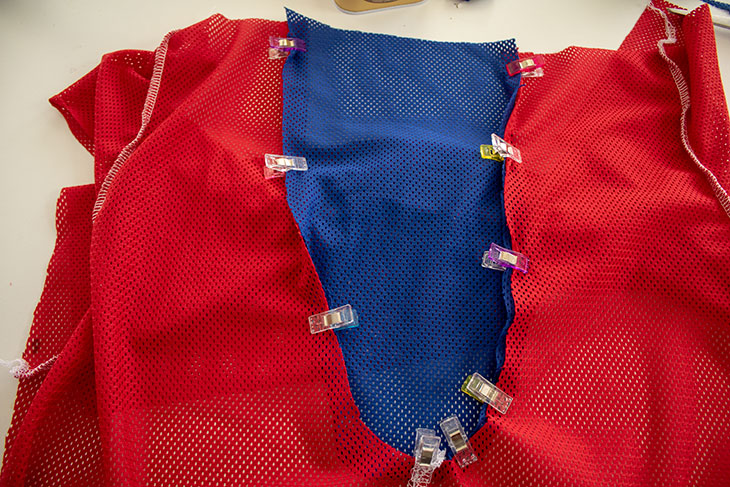
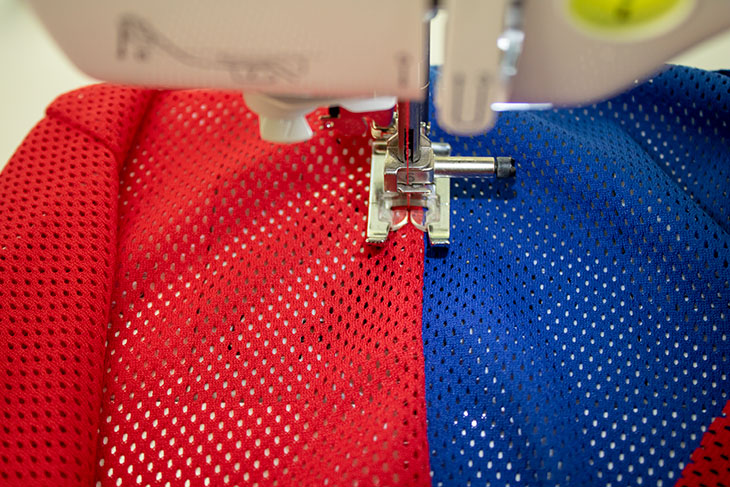
I would recommend top-stitching around the curve of the cut out. I turn the seam allowance out towards the main fabric and then stitch.
8. If sewing a lining sew it according to steps 1 and 2. The lining should not have the details that the outside does.
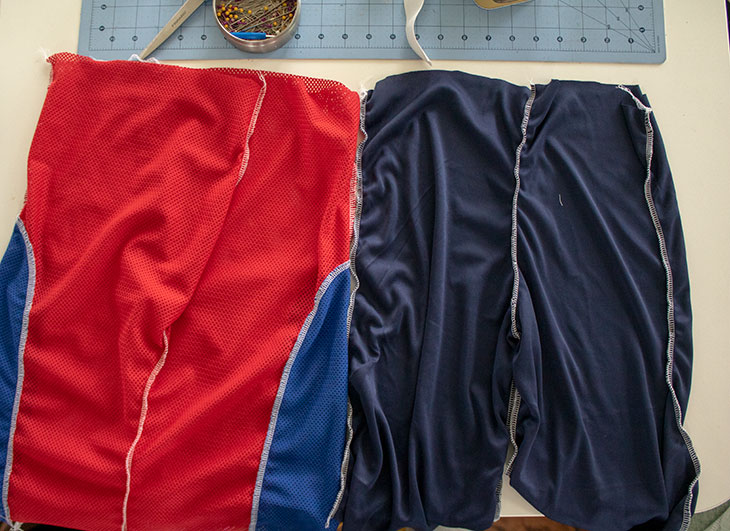
9. If you are adding a lining place the wrong sides of the shorts together with the mesh outer on the outside of the shorts and then treat as ONE piece for the next steps. {ie. pin both layers over together for hem and casing} Fold over the elastic casing for either a 1″ or 1.5″ elastic. Measure the waist of your child for size.
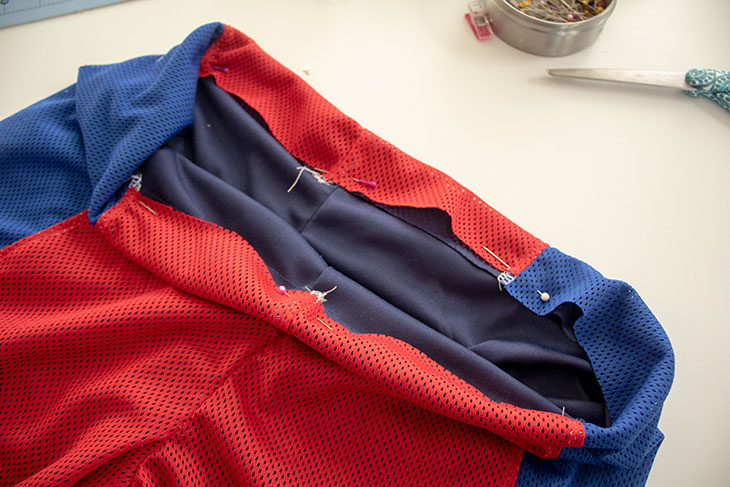
10. Turn under a 3/4″ hem on leg bottoms. Both casing and hem should be stitched with a stitch that has some stretch.
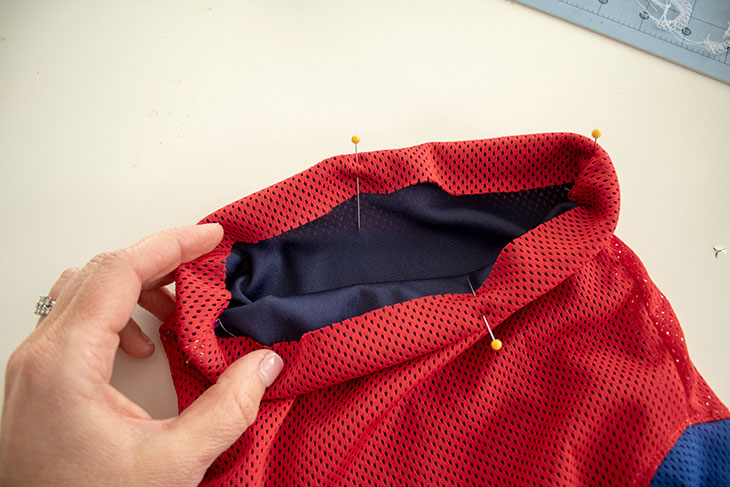
Wahoooo you did it!! Make sure to share photos in our FB group HERE.
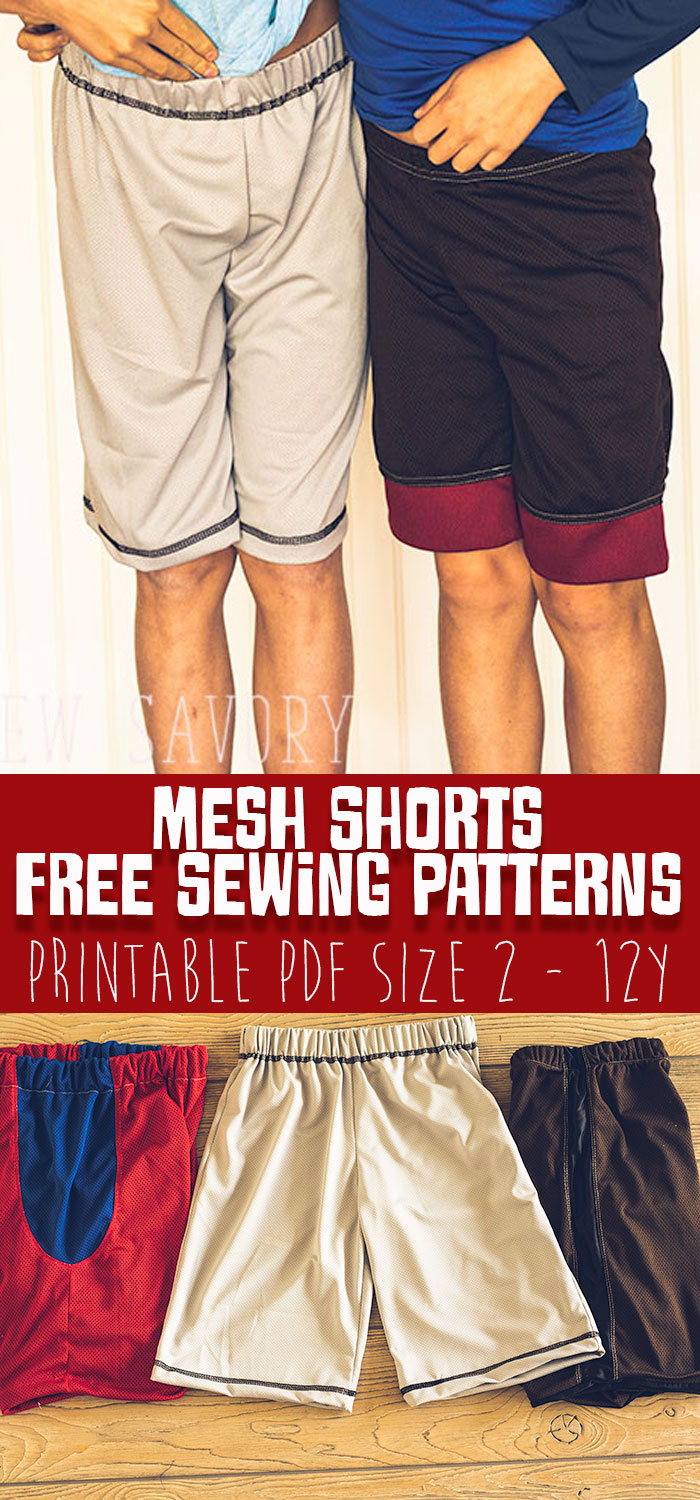
And one last link to go download the pattern in case you missed the first one.




brenda says
i am curious to know if you have ever attempted to create a pattern for an adult suze “ballcap”?
Peg Sullivan says
What timing. Just wanted to get a boys short pattern for my Ggrandson to send as he is to have a new baby sister soon. Since I made a dress for her, I thought why not shorts for him. Love your patterns. Have used tees and pants from you and always get good fit. So clever you!
Pegeth
Charrière Patricia says
bonjour
alors je ne sais pas ou vous trouvez le patron car tous les liens me redirigent vers la même page impossible de trouver ce patron
Cathy says
my machines HATE mesh! I am having skipped stitches on both my serger and coverstitch. Changed needles on both, checked tension discs, changed all kinds of things-any recommendations? I bought a bunch of mesh and its like torture to sew it up! Other than that, great pattern!