Inside: Follow this DIY laptop sleeve sewing tutorial to make a gorgeous leather/pleather sleeve for your laptop/tablet.
I’ve wanted to make a new laptop case for awhile now. This floral one has been serving me well, but I’ve been thinking it was time for a new one. Some friends and I are all sharing back to school sewing tutorials today, so I decided to make a new padded laptop sleeve to share with you all.
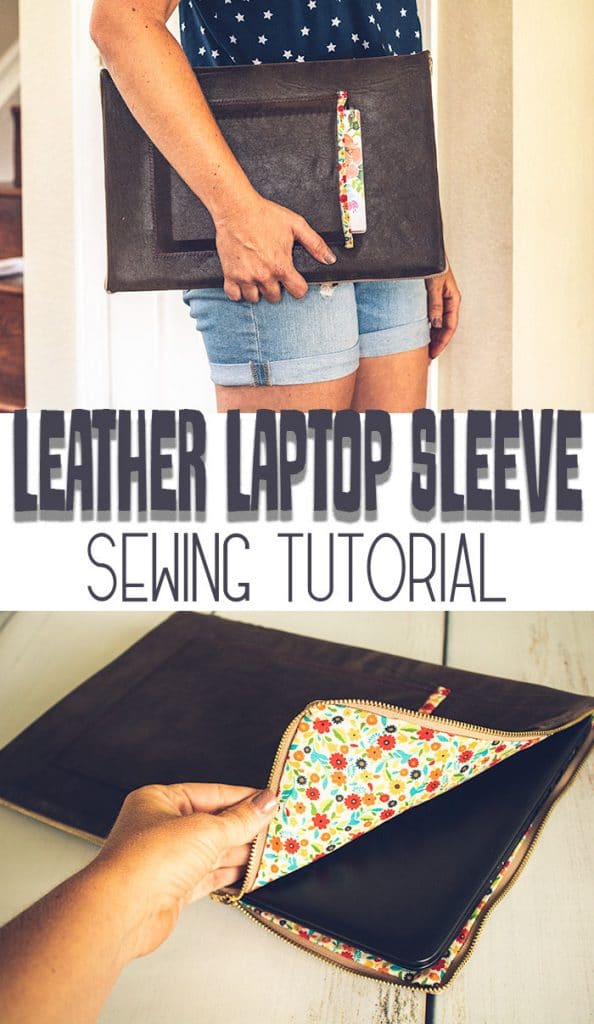
DIY Laptop Sleeve Sewing Tutorial –
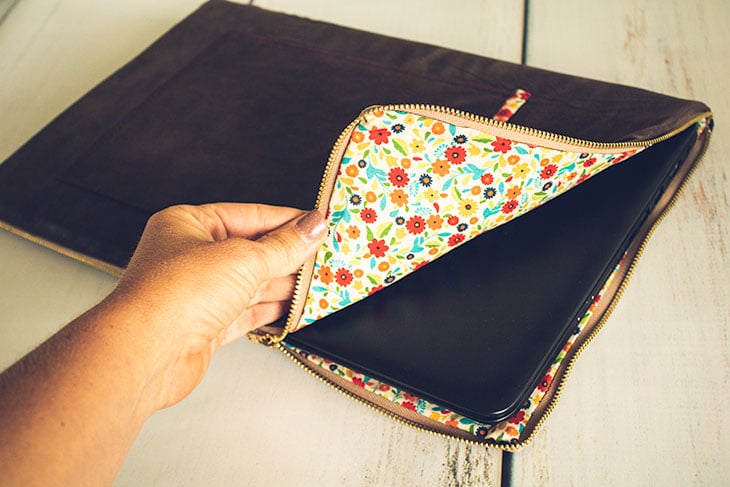
I found a super long zipper that I wanted to use for this laptop case, so I wanted to use faux leather and fabric that would be equally as fun. The result is pretty great!
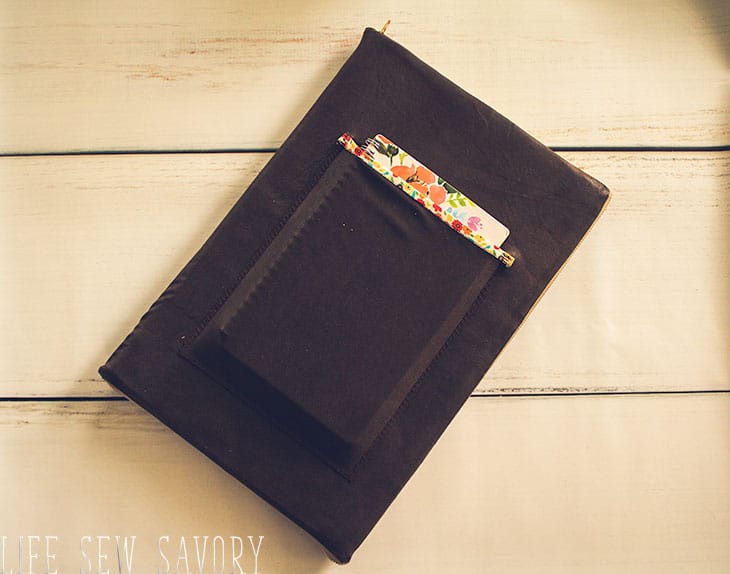
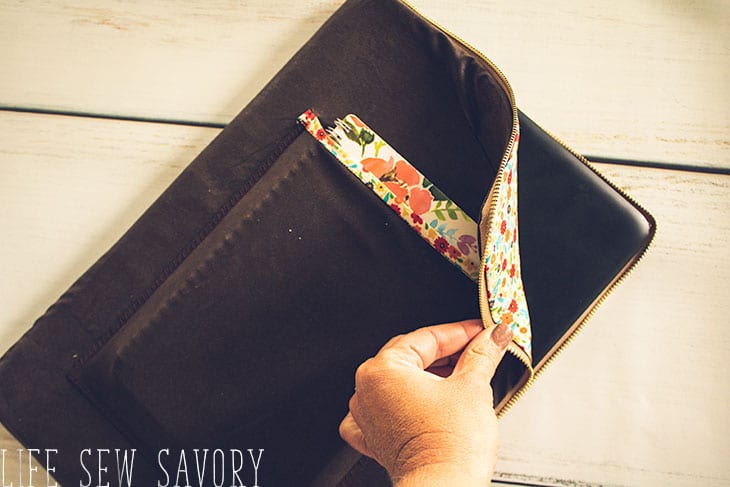
When I travel I like to have a padded laptop sleeve/case to keep my computer safe. I almost always take my planner/calendar book with me as well, so I added a pocket to my DIY laptop sleeve to make it just what I needed.
Other Laptop Sewing Tutorials to check out-
Back to School Sewing Tutorials –
Before we get to the full sewing tutorial let’s check out all the other amazing sewing projects you can make for back to school.

- DIY Mousepad by Heather Handmade
- Period Essentials Bag by Phat Quarters
- Tote Bag with Tablet pocket by Vicky Myers Creations
- Pencil Pouch from Apple Green Cottage
- Sandwich Lunch Wraps by Sisters, What!
- Cotton Snack Bag by Swoodson Says
- Ear Bud Pouch by Orange Betty
- Book Weight and Fabric Bookmark by Mom of Five Trying to Survive
- Wallet, Key Chain, Coin Pouch from Sew Simple Home
Alright! Let’s get into this tutorial – how to sew a laptop case. This tutorial fits a 15″ computer. If your’s is a different size you can adjust.
Supplies Needed:
- 36″ metal zipper {should be long enough to go around 3 sides of your laptop}
- 1/2 yard of pleater/leather
- 1/2 yard of lining fabric
- Fabric for pocket
- Double Sided Fusible Foam Interfacing
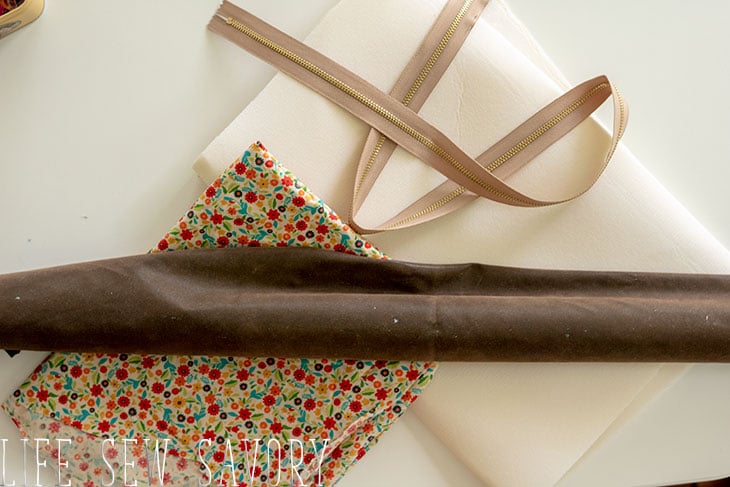
1. Gather your Supplies
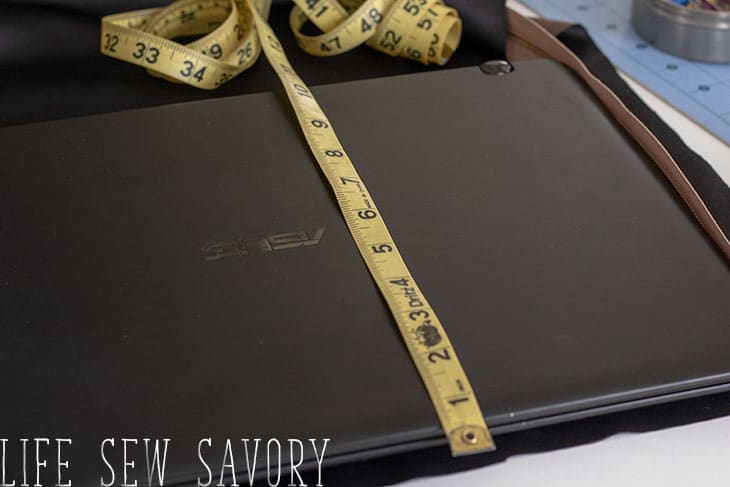
2. Measure your computer – the specific dimensions in this tutorial are for a 15″ laptop. You can easily adjust for your computer size.
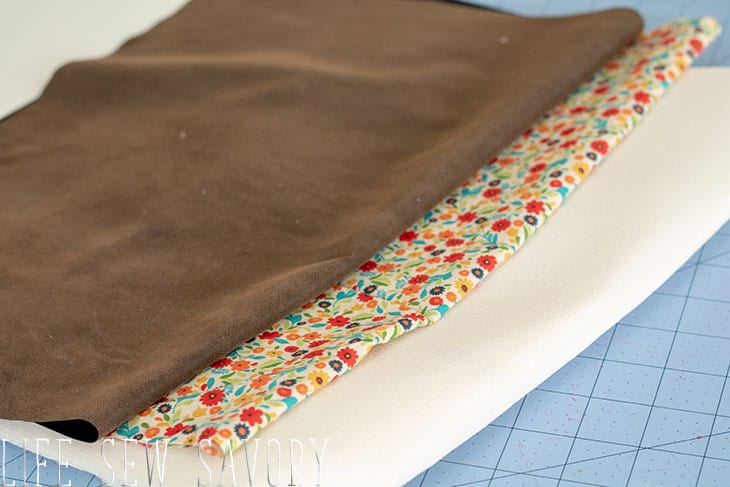
3. Cut the outside of the case {leather, pleather or canvas} and lining piece 16.5″ x 21.5″. Cut the padded interfacing 1″ less so 15.5″ x 20.5″.
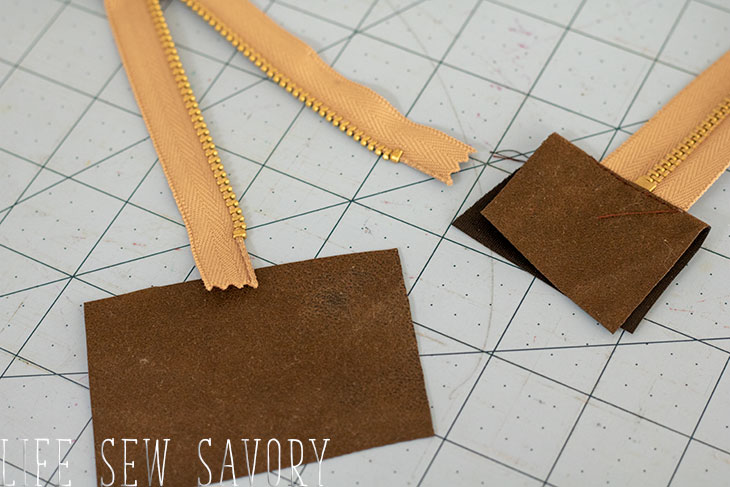
4. Prepare the ends of the zippers by adding small fabric tabs. I used the same fabric as the outside of case. Fold a small rectangle in half with wrong sides in and then side directly below the zipper teeth on both ends of the zipper.
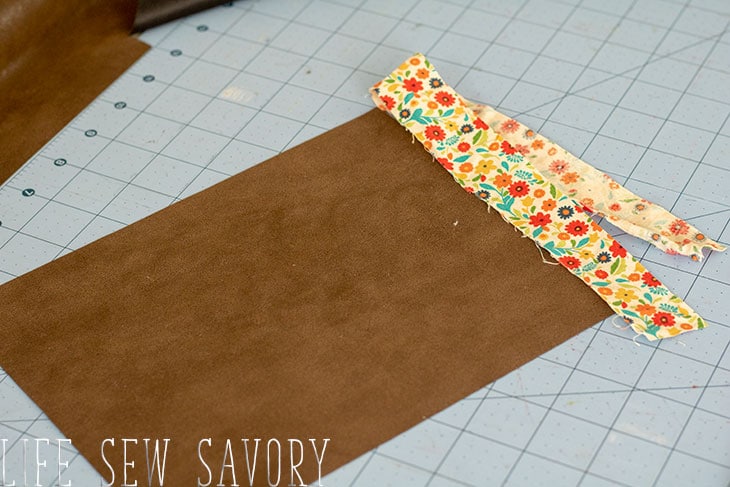
5. If you want a pocket on your zippered laptop sleeve cut a pocket of the pleater and then fabric from the lining. This fabric should be 1.5″ wide and a few inches longer than the pocket as shown above.
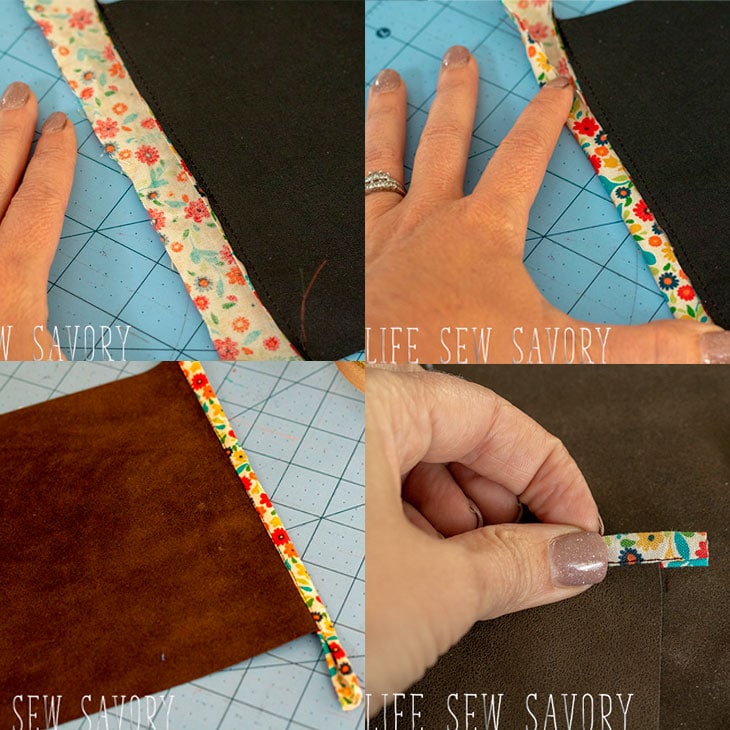
6. Sew one raw side of lining fabric to pocket with right sides together. Flip pocket over to the back side and press binding and seam allowance towards top edge. Fold binding fabric over to meet the seam allowance, then fold the double layer of fabric over to the back of the pocket.
Pin or clip fabric, then sew along the edge, close to where the fabrics meet. Trim the sides of the binding to just a 1/2″.
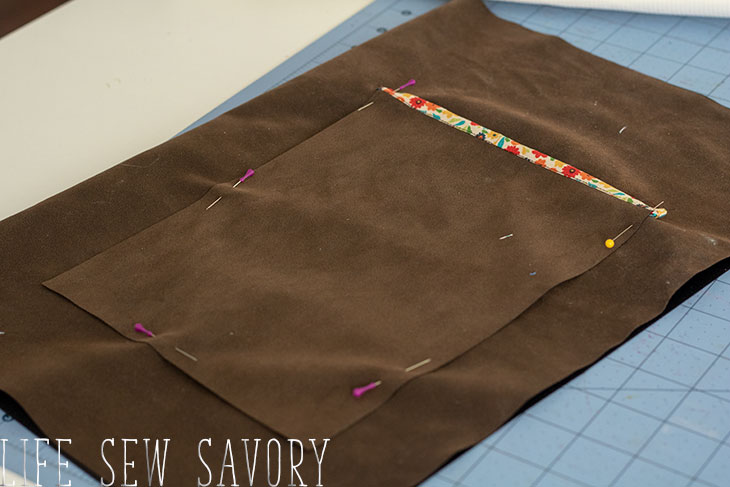
7. Fold the case outer fabric in half, and then pin the pocket onto one side as shown.
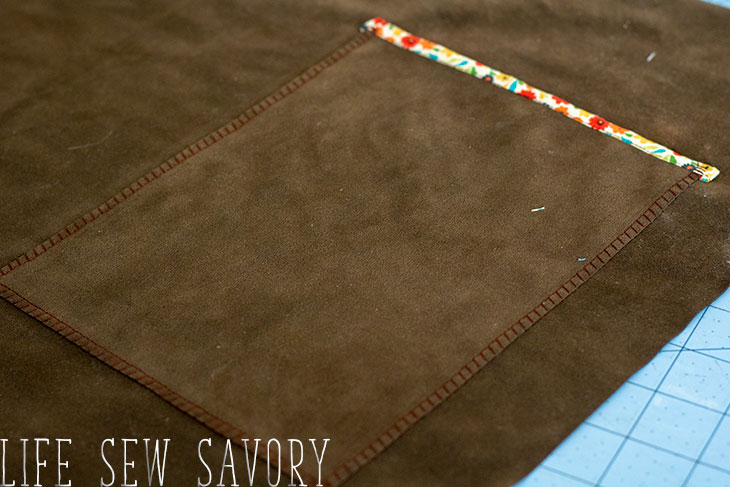
8. I used a decorative stitch to top-stitch the pocket in place. My pleather will not fray, so I didn’t finish the edges of the pocket any more than this.
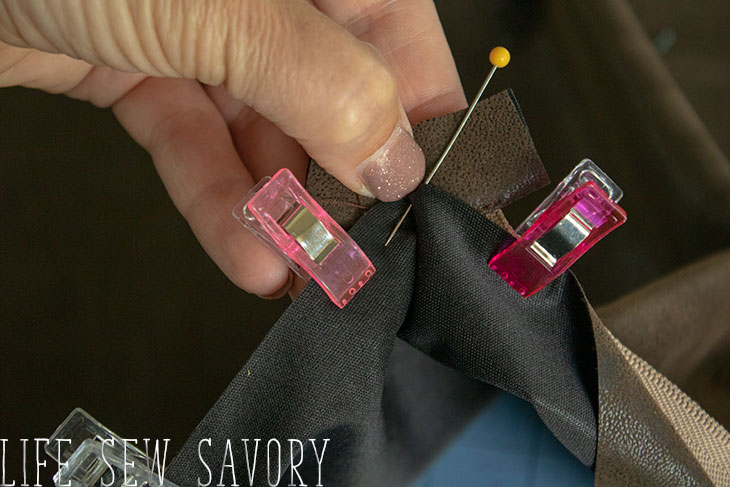
9. Find the center of the laptop sleeve outer fabric and mark with a pin. Place the center of the zipper tab on this mark. Pin in place {we may need to adjust later, but this will get us started!
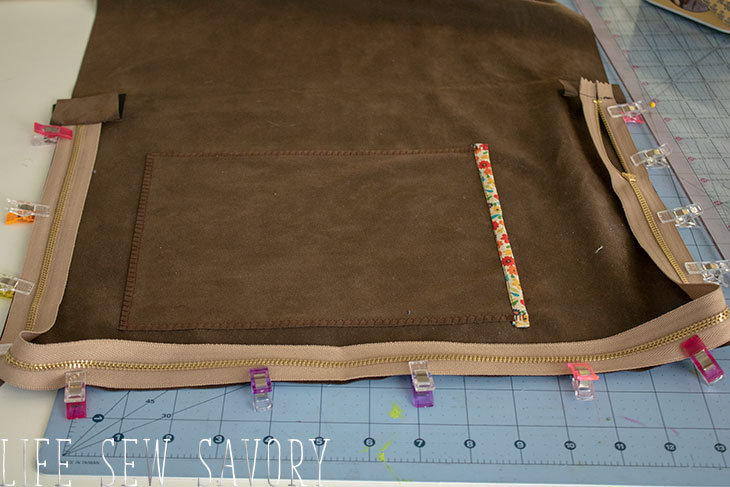
10. Pin {or clip} zipper in place from the center mark all around 1/2 of the case until you get to the other center mark. The right side of the zipper should be on the right side of the fabric.
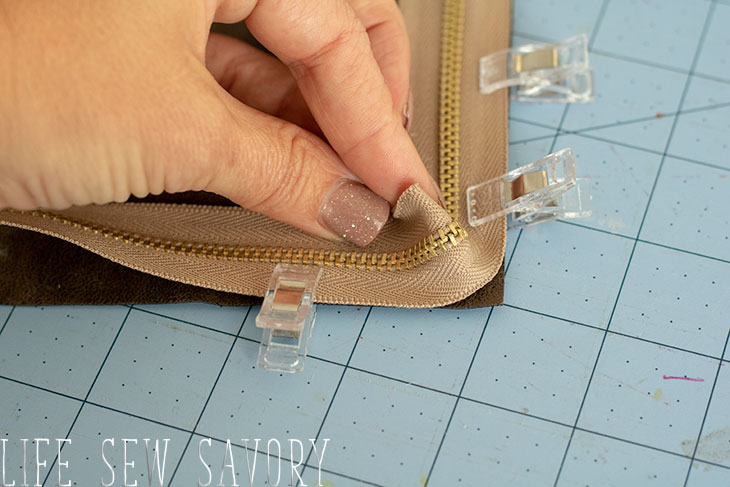
11. Easing the zipper around the corners is a bit tricky. Don’t pull the zipper too tight when pinning. Give yourslef ease to sew the corner. It will be just slightly rounded.
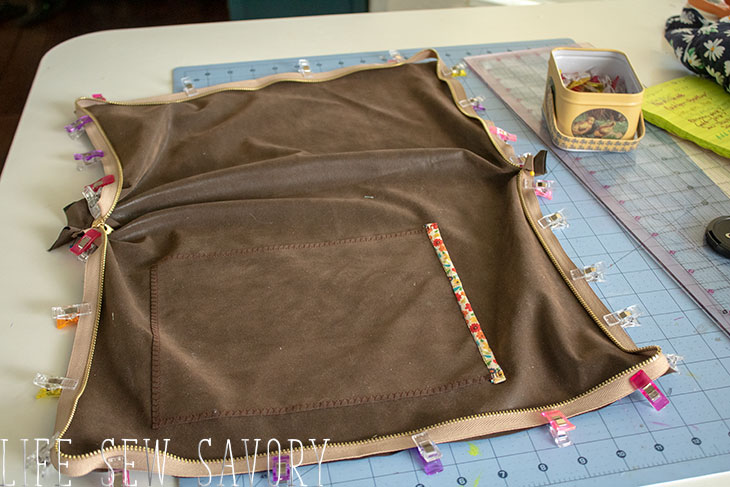
12. Now open up the zipper and pin on the other side of the laptop case as well. It should all lay flat except for where the zipper taps meet the center marker. You will have to really pin to get that spot to all lay flat.
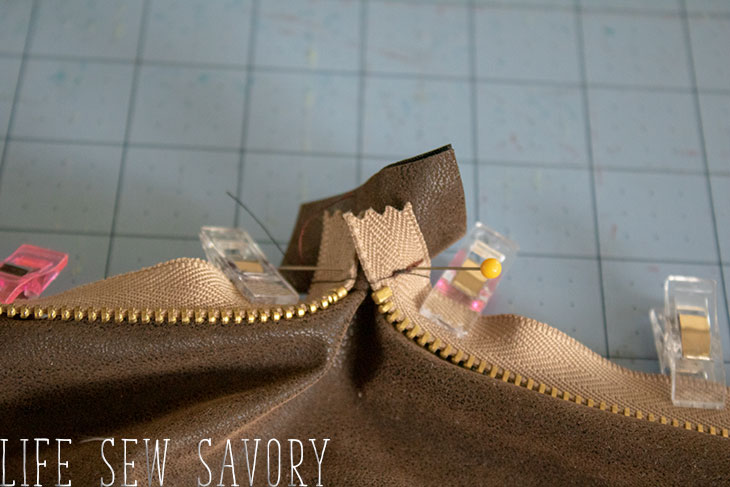
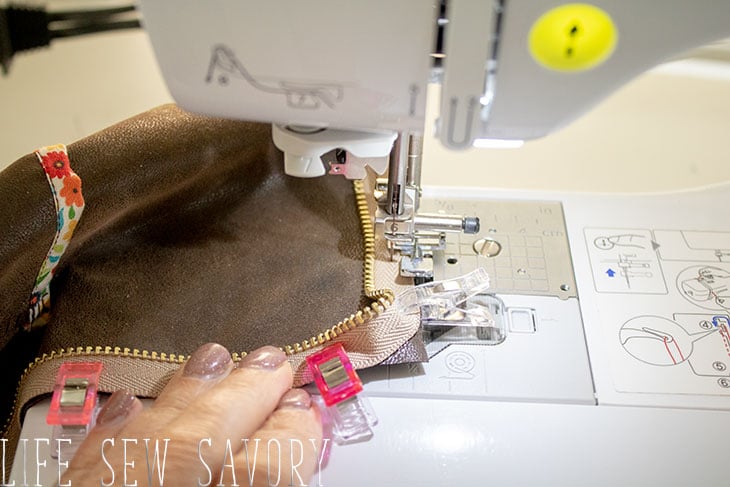
13. With a zipper foot, stitch the zipper all the way around to attach it to the main fabric. Ease as you go around the corner of the zipper. When you sew by the zipper tab, you should sew a |_| around the tab to square the corner there.
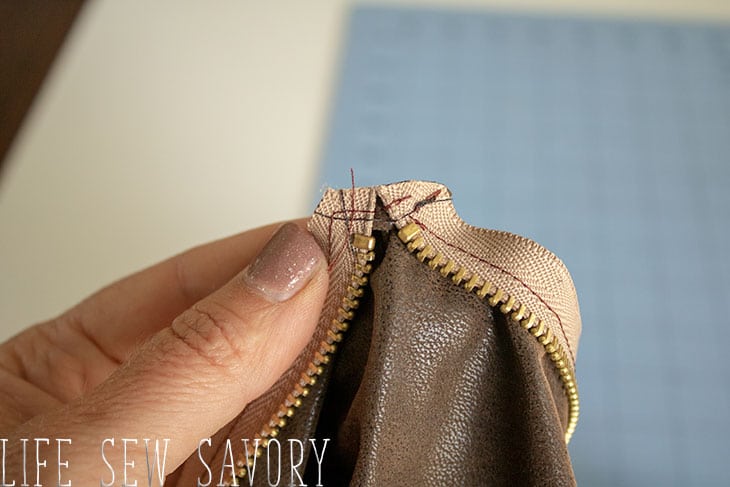
14. After sewing trim the seam allowance and extra tab fabric off the the ends of the zipper.
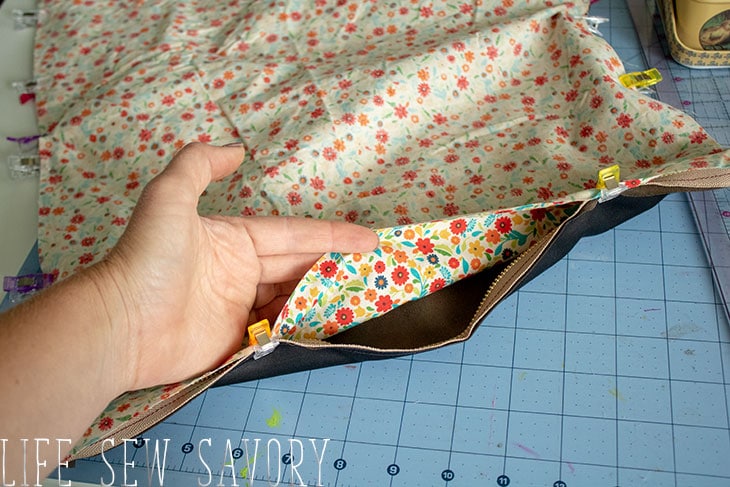
15. With right sides together lay the lining fabric right sides together and pin the edge. You will have three layers. Outer fabric, zipper and then the lining. When you sew leave and opening to turn as shown.
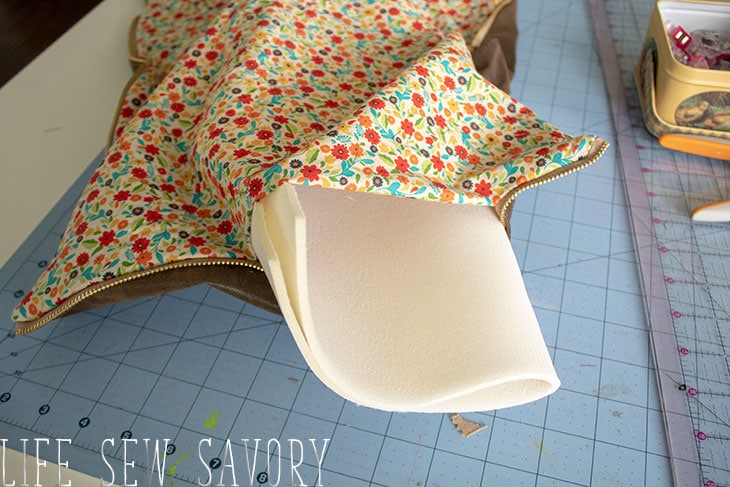
16. Turn the case to the right side through the opening then insert the padding. Fold the interfacing in half then insert through opening. Once inside unfold and maneuver to fit inside the fabric. It should lay flat and reach almost to all the sides.
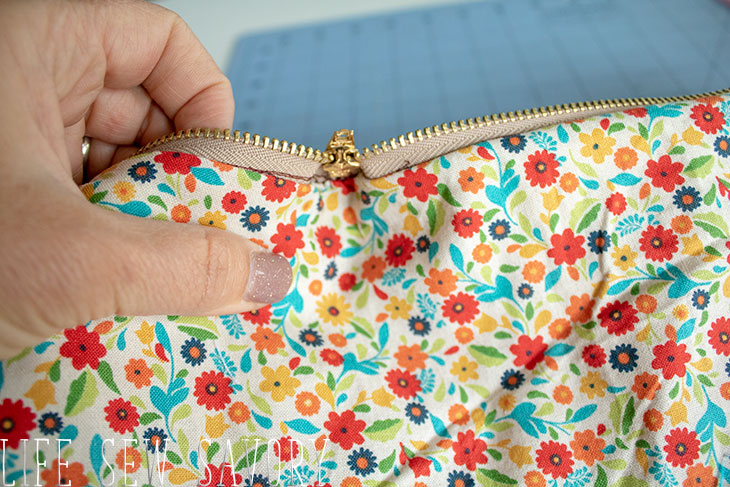
17. The one spot that will not lay flat is on the pull tab side of the zipper. Really smooth the interfacing and fabric in this spot.
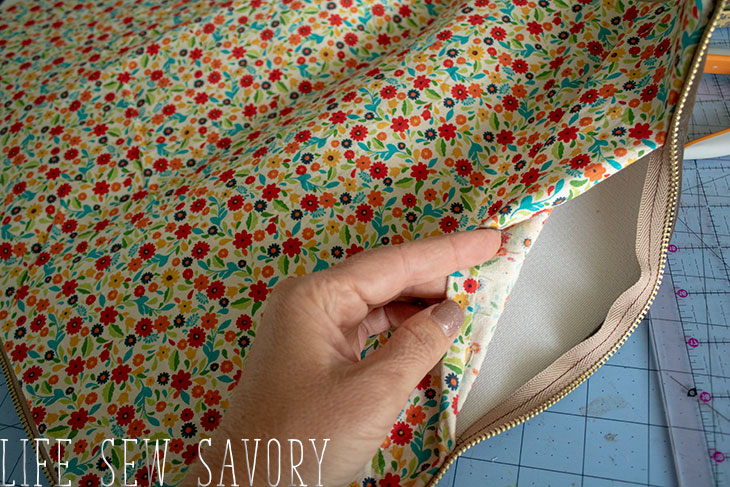
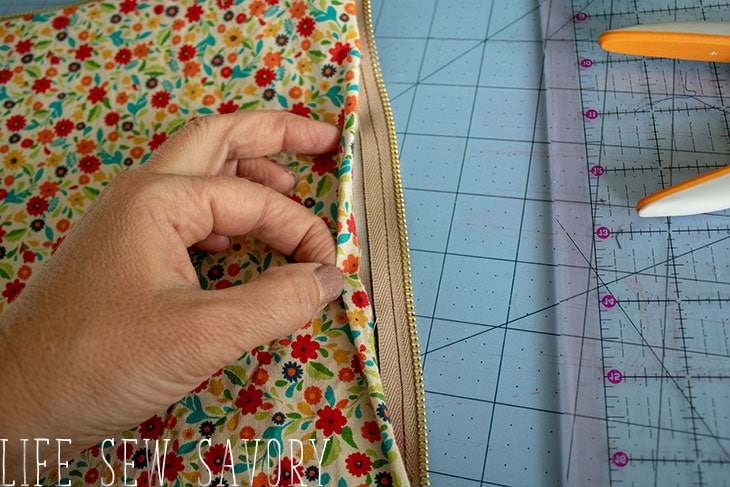
18. Close the opening by folding in the seam allowance then stitching to the zipper. I used a needle and thread to hand stitch in place. This way I didn’t see any stitching on the outside of the case.
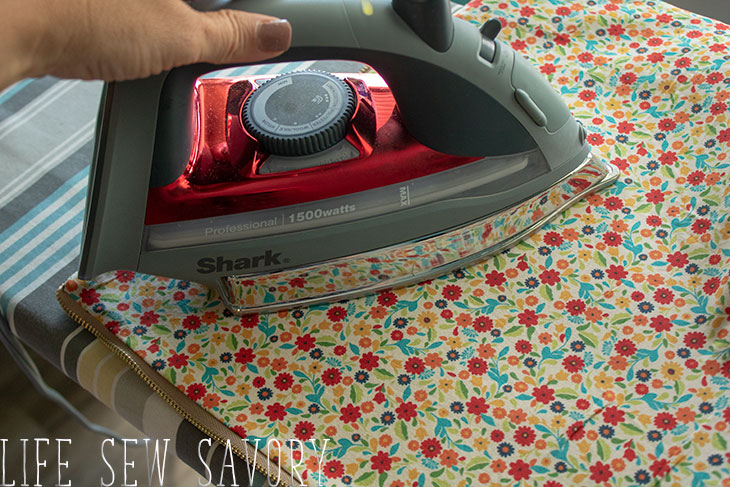
19. Press with HOT iron to fus the interfacing. When pressing on the pleather/leather side put a scrap fabric or dishtowl between to protect the fabric. Do not iron directly on the pleather/leather. Smooth all wrinkles before fusing.
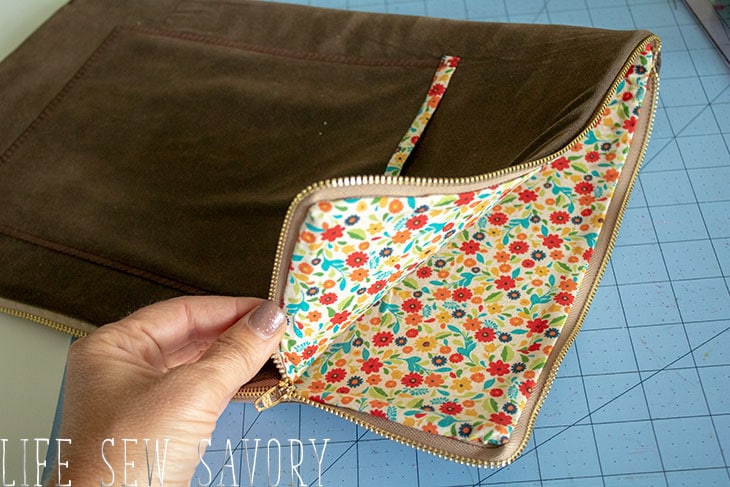
20. Now you have a gorgeous, customized DIY laptop sleeve that not only looks great but that will protect your computer when traveling or out and about.


Vicky Myers says
I love this project, especially as it is suitable for men/boys as well as women/girls – change up the bias binding and lining you are good to go 🙂
Alex says
Thanks for the verbose instruction! I made myself a similar sleeve from some 200T polyester and foam.