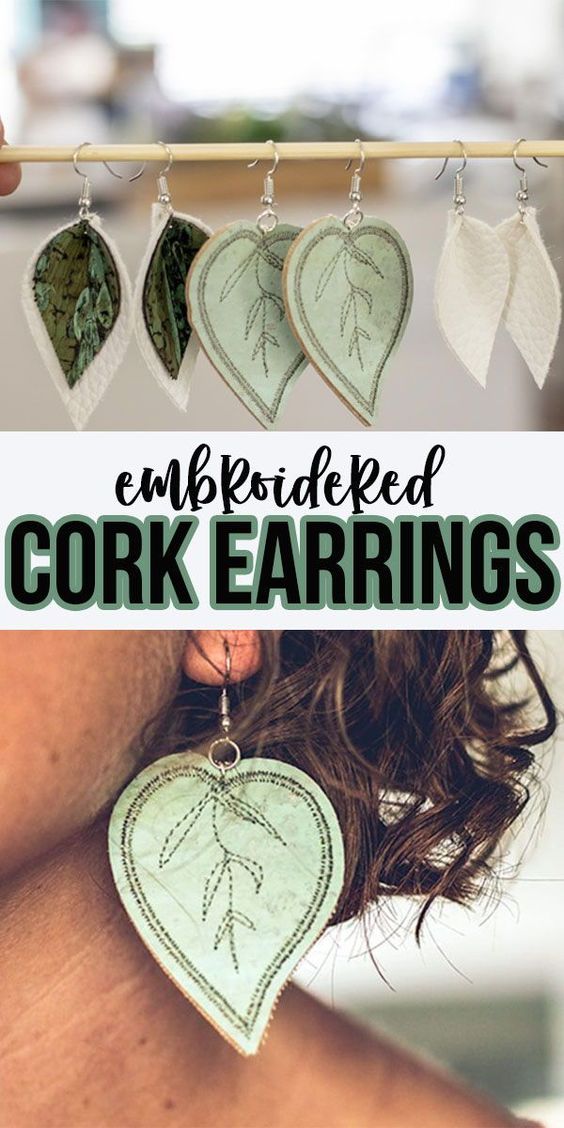
inside: learn how to make beautiful embroidered cork earrings. Hand or machine embroider for a gorgeous result.
I was recently in costco wearing these earrings and the checkout lady asked me if I had bought them from a local artist… Yep, me! {haha} That was my affirmation that these cute cork earrings were as cute as I thought they were. You know how we always think everything we make is great, but I’m not always sure how others view it… anyway, I really think these are a winner and you should make your own faux leather earrings too.
 Embroidered Cork Earrings –
I know these were make with an embroidery machine {and my scan n cut too!} but you can also make this with hand embroidery and cutting. You will find tips for the hand version below. The video gives the full details for the tutorial, but I’ve also got some picture for you as well. {disable your ad blocker to see the post video}
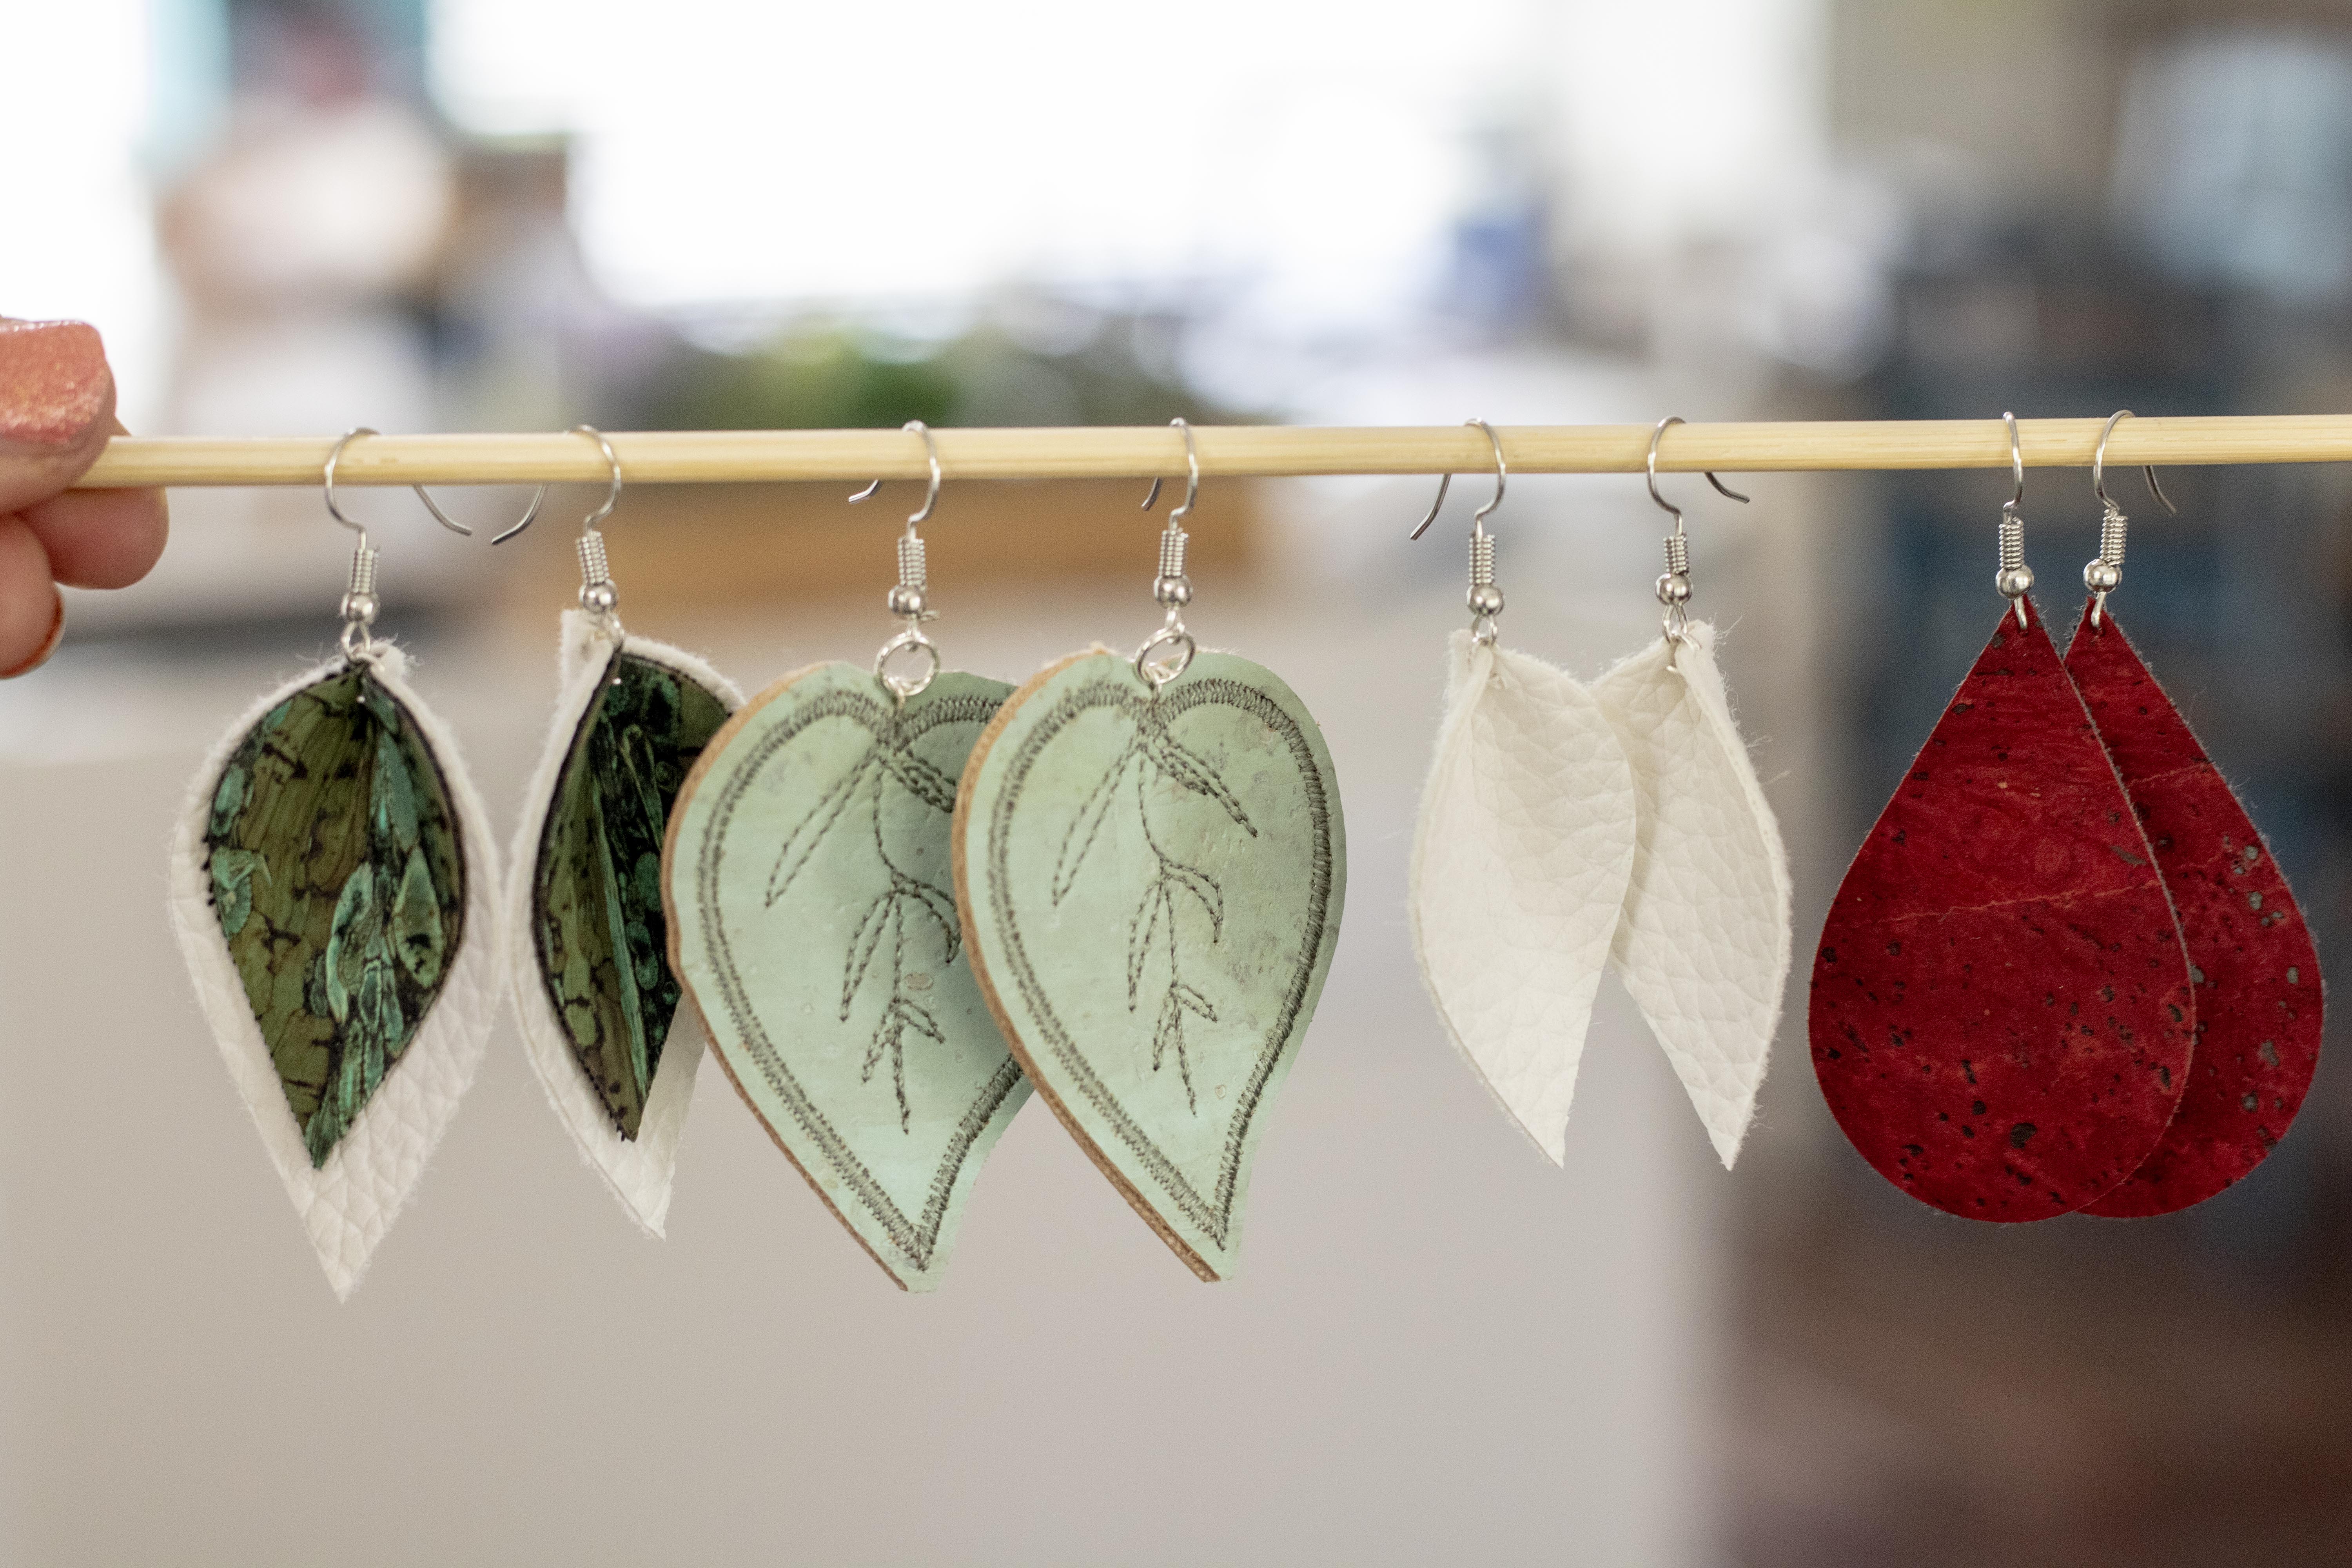
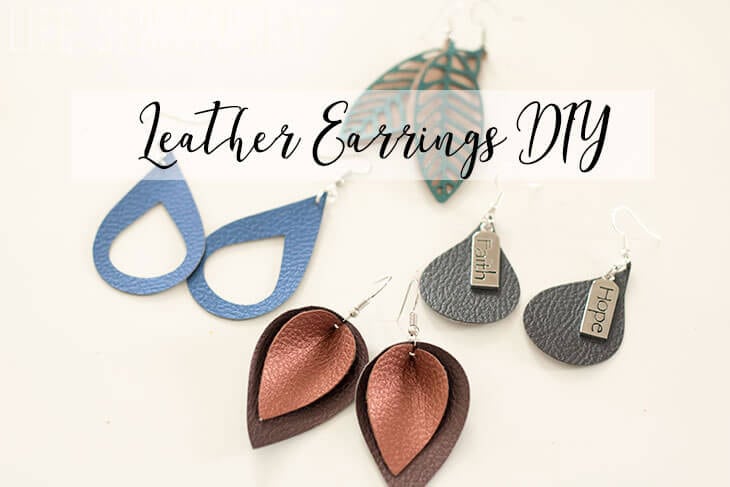
I’m going to focus on the embroidered pair of earrings in this post, but if you want to get my faux leather earring template free you can see this DIY earring post. 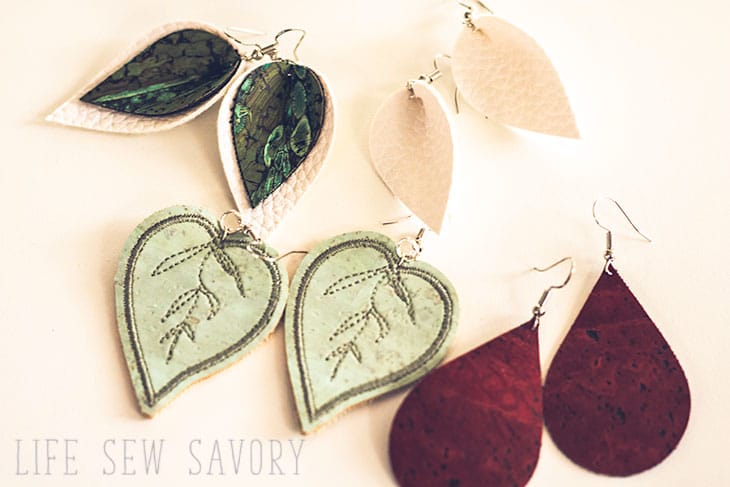
I go on kicks of making my own earrings and this time I thought I would try a little bit of embroidery on the shape. It turned out so cute and I’m excited to share this tutorial with you.
How to Make Your Own Earrings –
Supplies –
- Cork Fabric from Amazon or Fabric Funhouse
- Earring hooks and jump rings
- Embroidery thread for hand or machine embroidery
- glue
- Scan N Cut and Embroidery Machines {optional}
- Sticky stabilizer
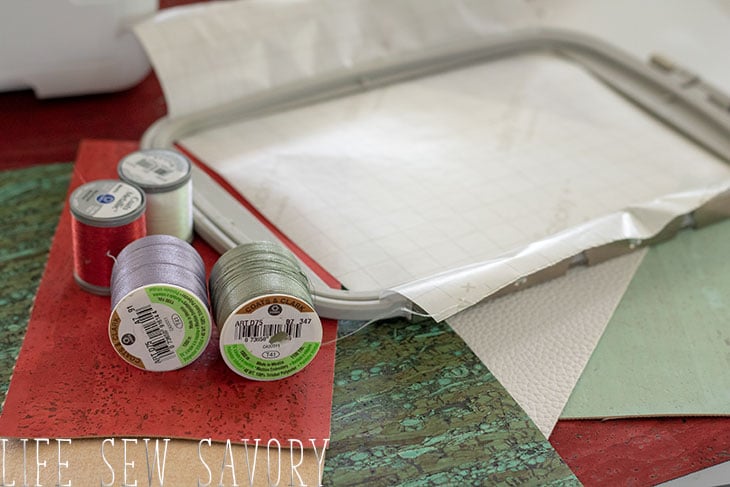
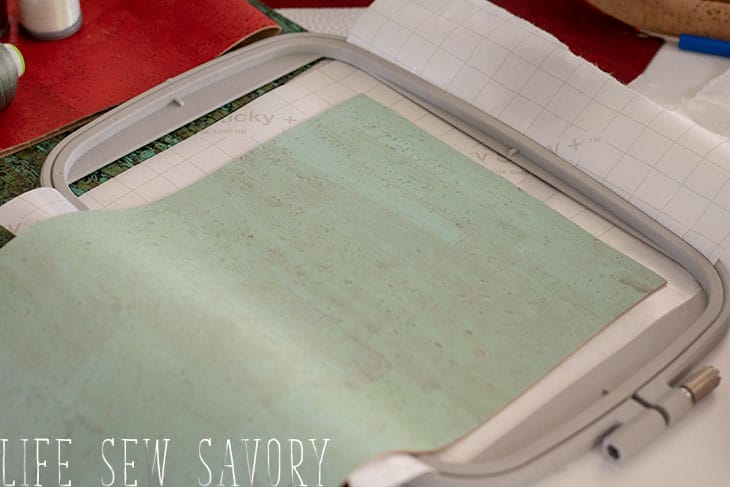
If you are going to make this project by hand you would still want to use the stabilizer to place the cork in a hand embroidery hoop – once there you can add any sort of hand stitching design you want.
For machine embroidery you will want to hoop the cork as shown below. You cannot place the cork in the hoop normally as the hoop with distort the cork and it’s really too thick anyway.
Choose your design. I found these little leaves that were one of the built in designs on my machine. You can also check out all the amazing design from Ibroidery.com. Make sure to resize the design small enough for earrings.
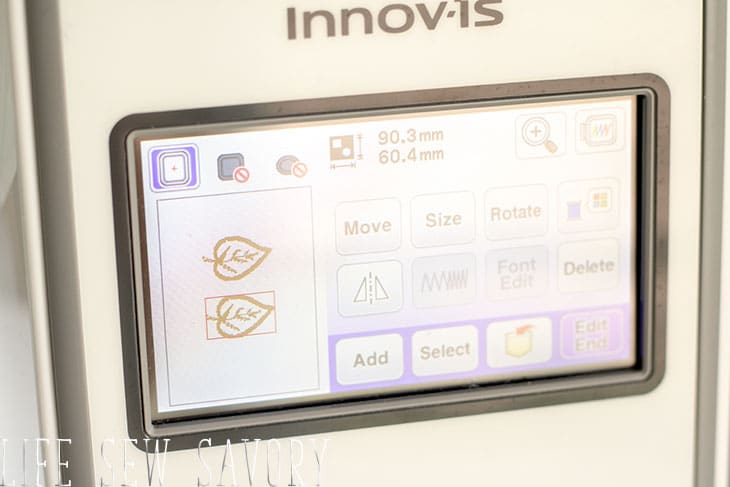
Embroider the design two times on the cork. Remove the cork from the stabilizer.
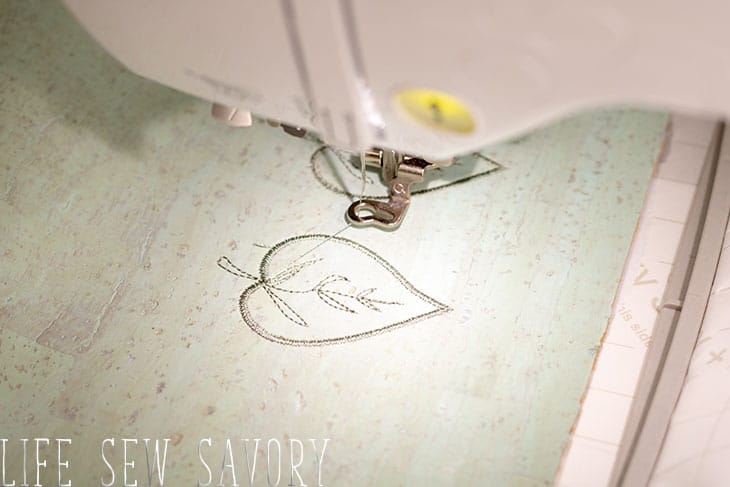
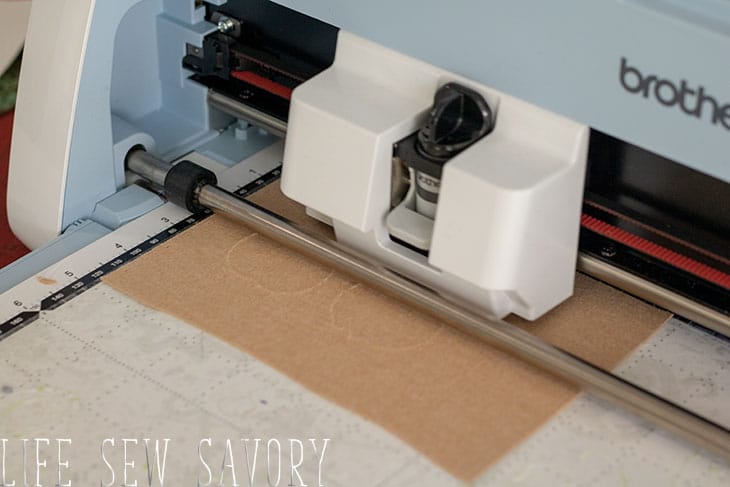
You can hand cut out your design at this point or use the Scan N Cut to trace and then cut your shape. There are more details on this in the video, but here are the basic steps.
Use your Scan function the Scan n Cut to scan your design, preview the scan, then delete any strange shapes or bumps in the shape. You can offset the cut so that there is a small border around the design like I did below. I cut off the stem of the leaf on purpose when I cut out the design.
Do a test cut with the cork, but the auto blade on the Scan n Cut dx sliced through mine perfectly.
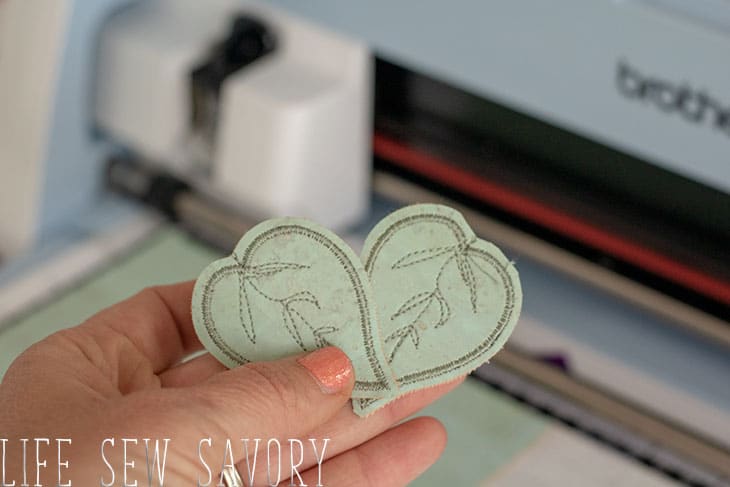
Re cut the same shapes on the other side of the cork to create backs for the earrings that are the opposite shape.
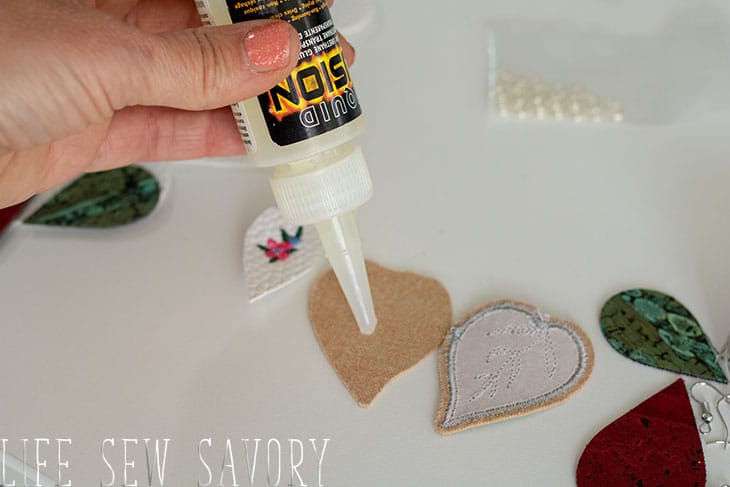
With wrong sides together, glue the two pieces of cork together.
Use an awl to poke through both layers of cork. Then attach to your earring hooks, or necklace, etc…
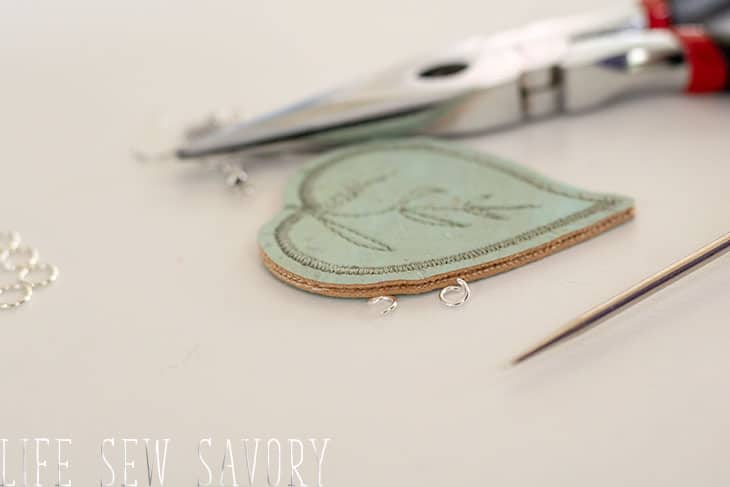
Use two jump rings to secure the cork to the earring hooks.
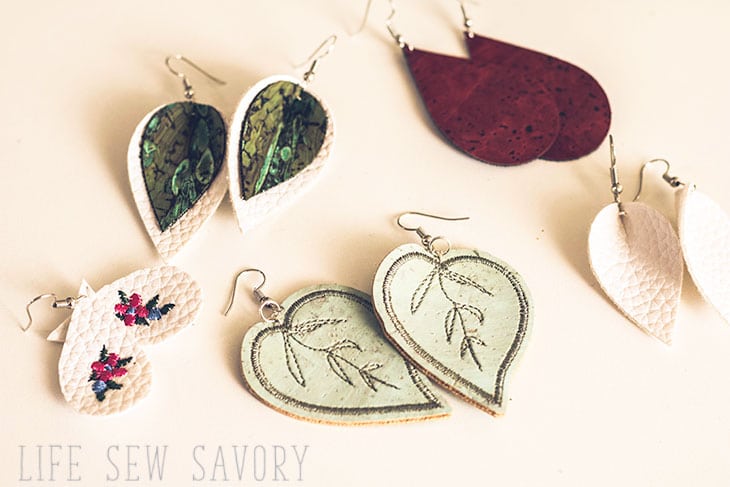
make beautiful earrings from cork with this DIYEmbroidered Cork Earrings
Materials
Instructions
Easter Earrings with faux leather
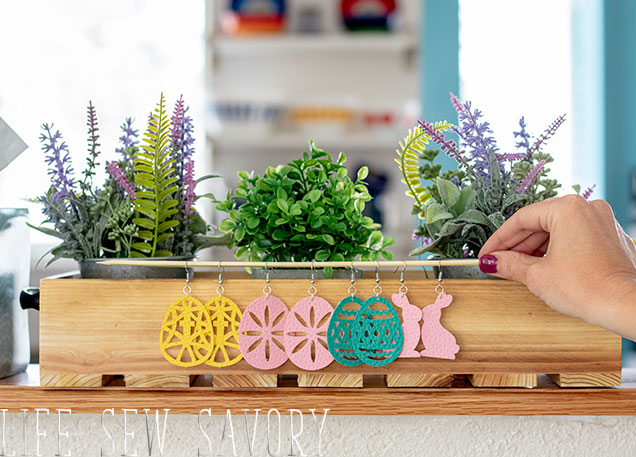
Pleather earring tutorial – with free shape file




Lee Ann Shumard says
This is a great idea! Thanks so much! I love following you and really enjoy all your sewing segments! Thank you!
Emily says
thank you for your kind words!