inside: Use this cuff bracelet tutorial to make gorgeous wrist cuffs. Make for yourself or share with friends. Fun DIY with photo and video tutorial.
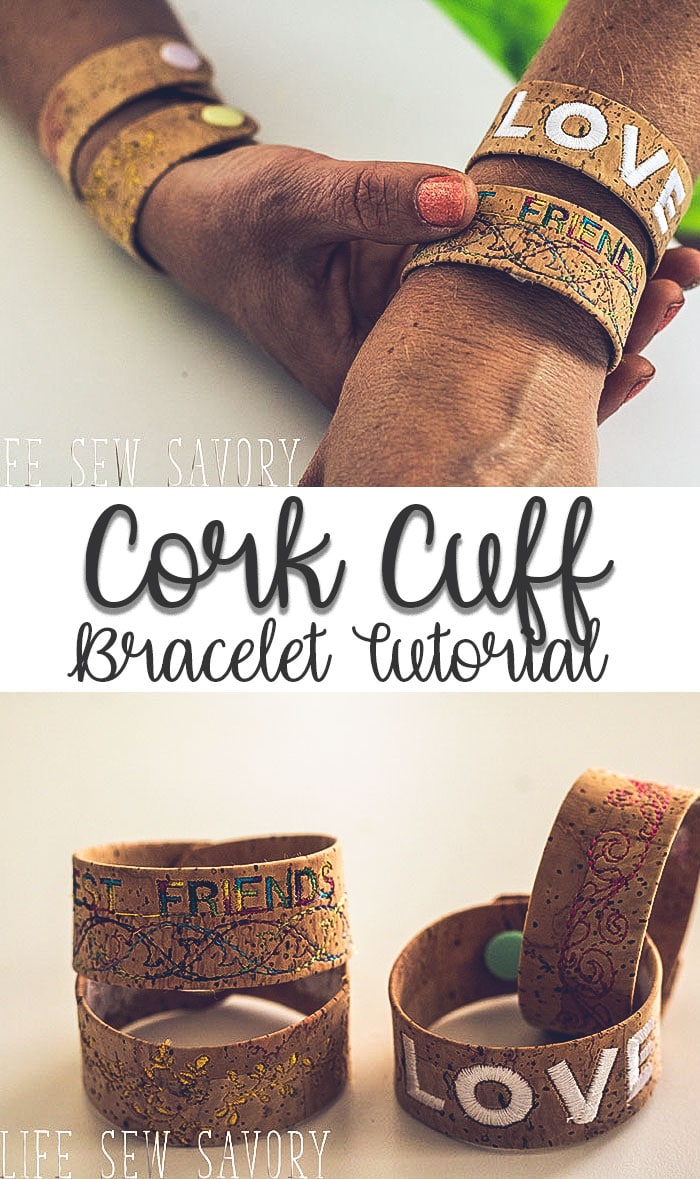
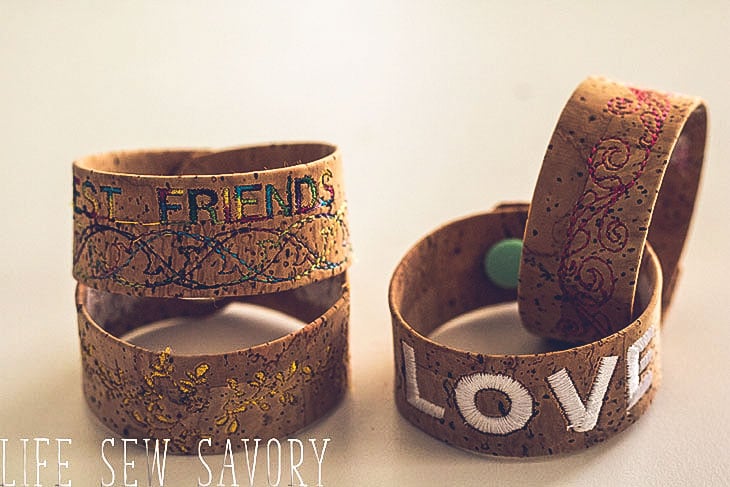
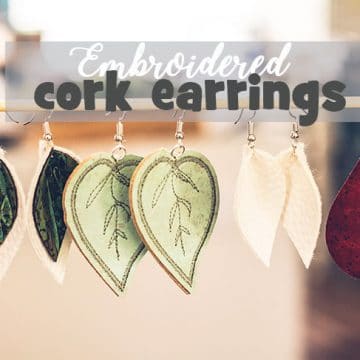
I’ve been trying more and more fun projects with my embroidery machine and these fun cork cuff bracelets were one of the projects I recently tried. The cork was leftover from this tote bag and from an It’s Sew Easy episode I recently filmed. When I saw the scraps I knew they would be so cute as cuff bracelets, and here is the tutorial so you can make some too.
Cuff Bracelet Tutorial –
These cuffs turned out even better than I imagined. I like the long floral designs as they worked really well for the cuffs. But, the words turned out great as well. I don’t think you can really go wrong and you will soon be making these for all your friends and family. My daughter has been wearing these as anklets… I need to make some smaller ones that fit her wrist.
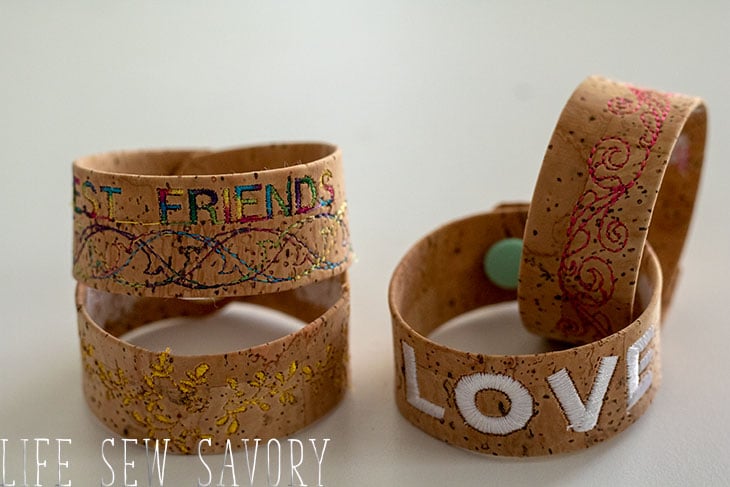
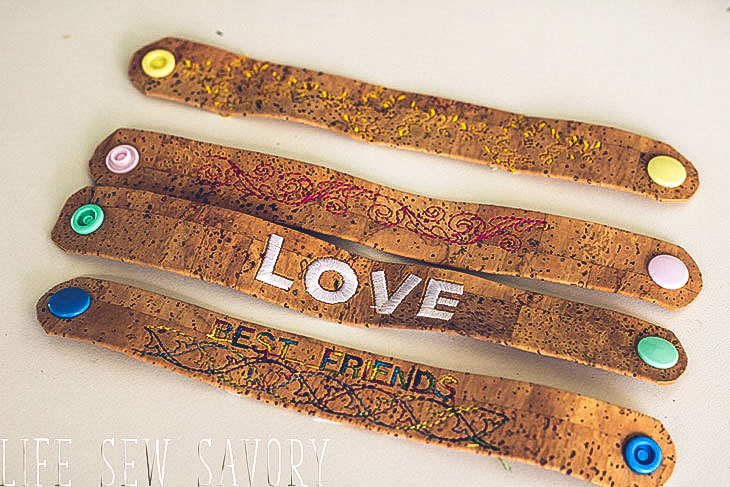
It was fun to choose coordinating color snaps to complete the cuff.
how to make a cuff bracelet –
supplies:
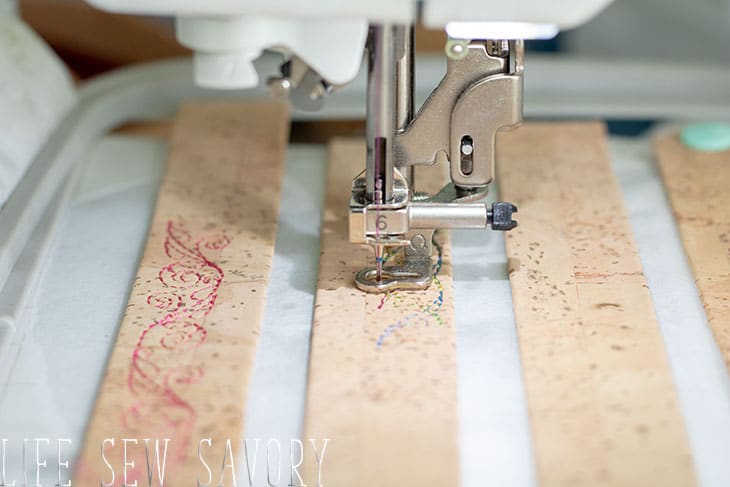
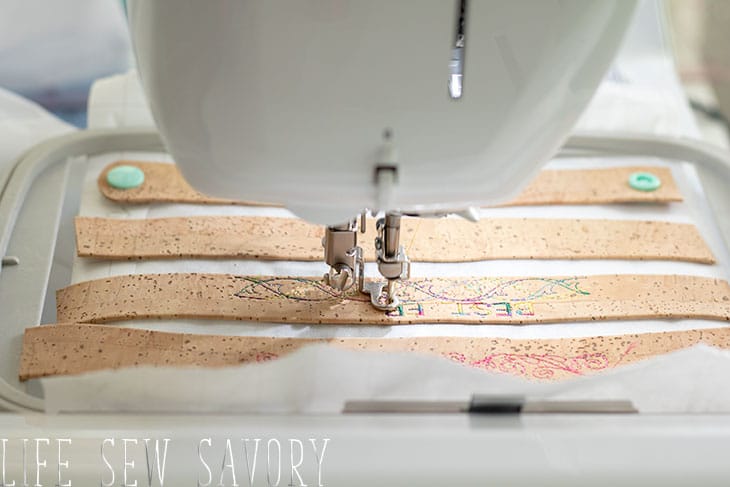
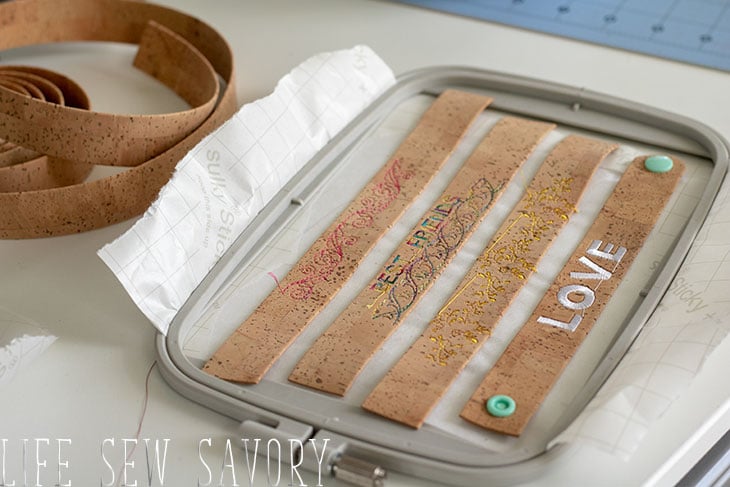
You can see below that one of these already has the snaps on, but I did find it easier to embroider first. I was able to put four cork strips in my hoop. Use sticky stabilizer to hoop the cork. Use the grid on the stabilizer to make sure the cork is straight.
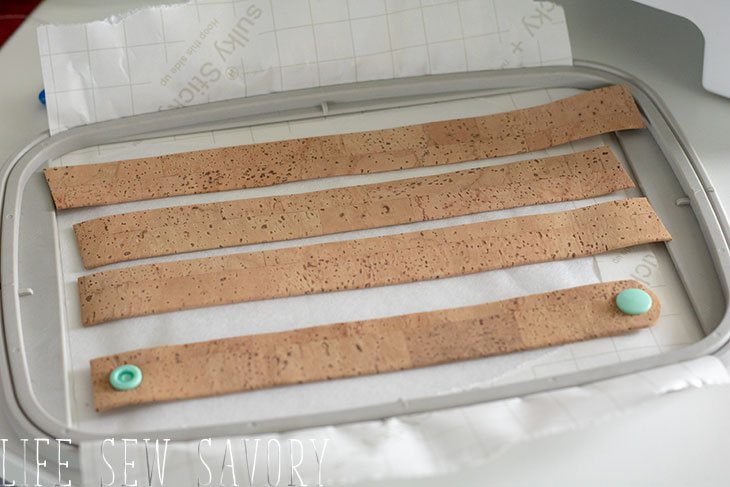
Your embroidery machine should have a way to align your design over the strips of cork. On my Brother machine I can move the needle with the arrows on my screen as I set my design. I used built in designs on my machine for these bracelets. Borders {or parts of them} make great cuff designs.
After the embroidery is finished pull the cork off the stabilizer. Pick off as much of the stabilizer off as you can.
Measure and trim the cork cuffs to your desired length and then add a snap to both ends. I rounded both ends of the bracelet.
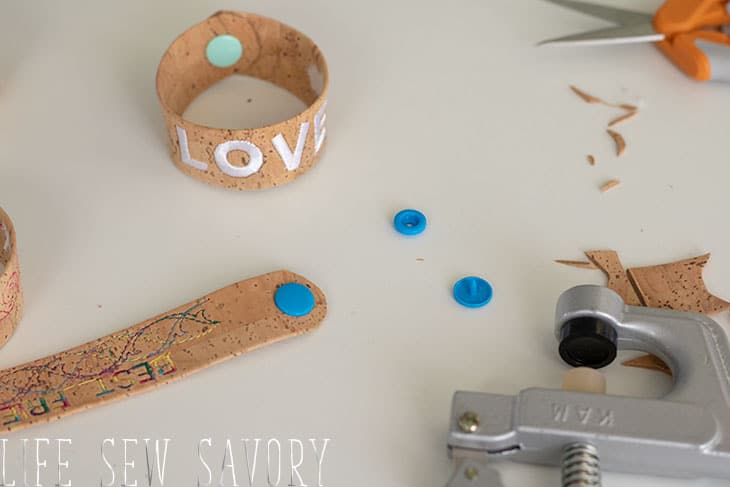
Look at how cute they are? What will you put on your cuffs??
Other cute accessory tutorials you may enjoy –
Perler Bead Bracelets





Arnelle says
What kind of needle did you use?