inside: Sew this amazing boxy tank free sewing pattern for style and comfort all summer long. Wide shoulders and a straight body give this tank a loose fit perfect for all things summer.
I once had a tank from the store that had a higher neckline and wide shoulders… I loved it and wore it until the fabric was thin and frayed. It’s been in my project boy for over a year waiting for me to recreate this fabulous tank top. I realized this spring that my boyfriend tee without the sleeves was basically the look I was going for… So I made a few changes to the pattern pieces and came up with this great boxy fit tank top free sewing pattern. ENJOY!
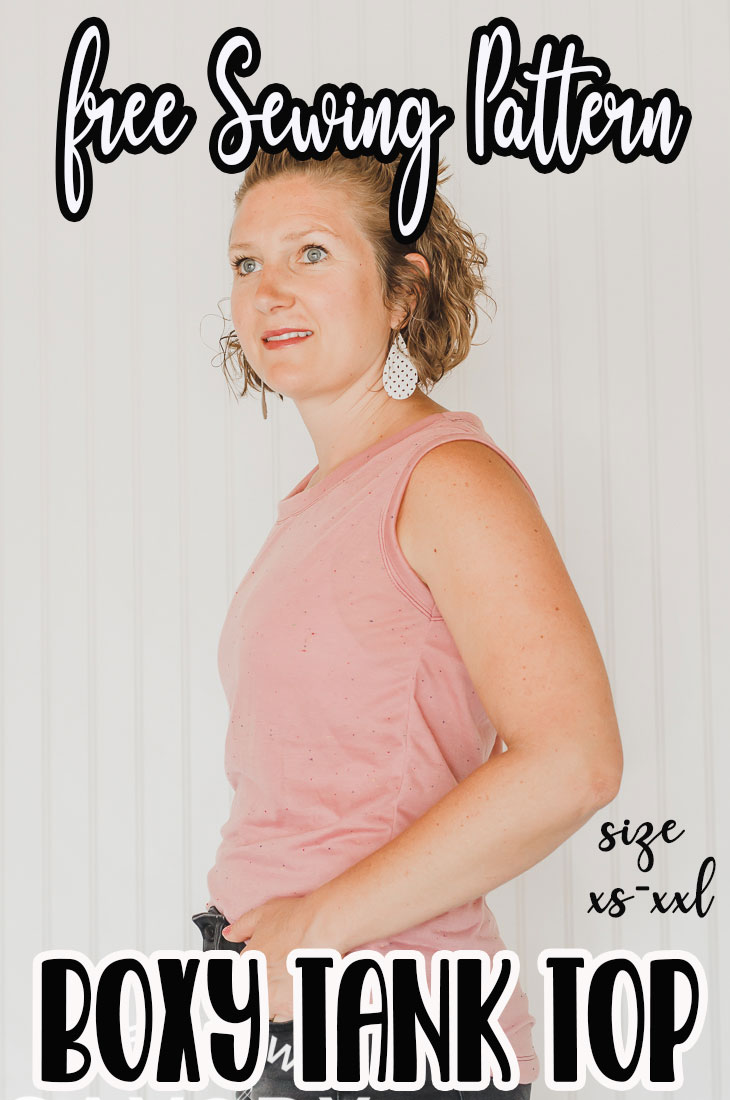
Tank free sewing pattern details –
Let’s first talk about my favorite features on this tank top. I love the higher neckline and the more fitted arm openings. The body part fits pretty loosely and I think this tank is fabulous for everyday or workout wear.
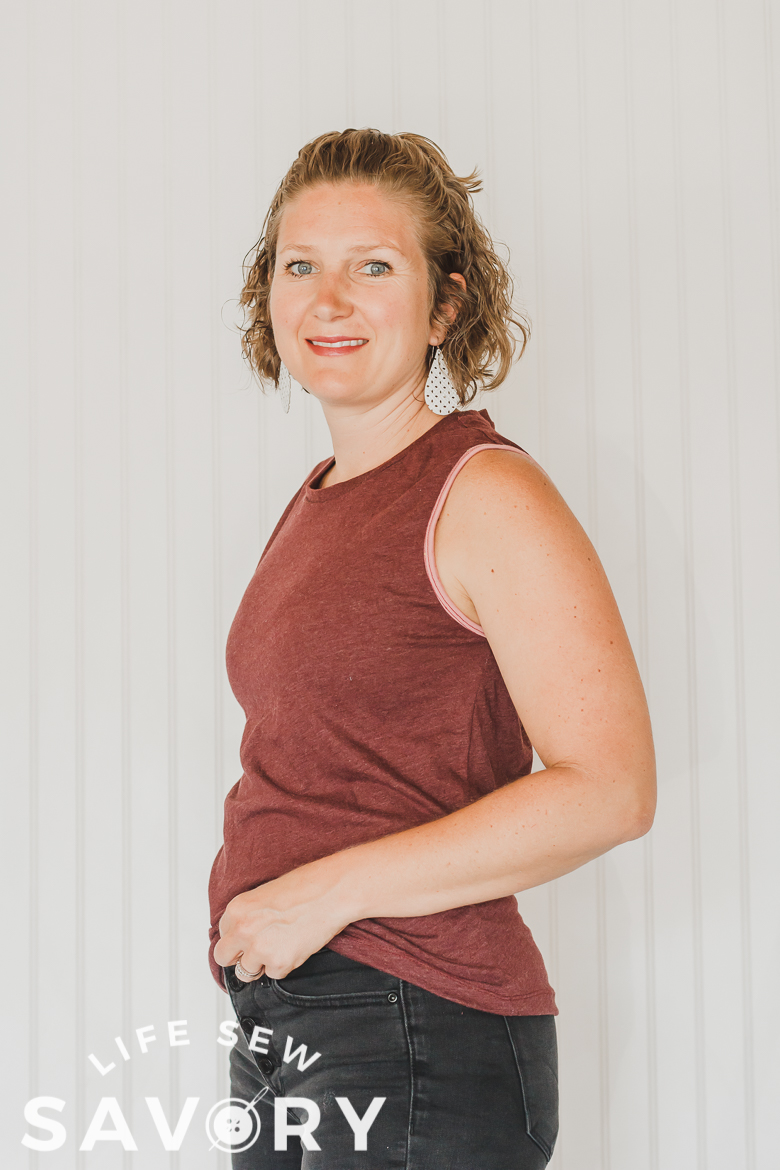
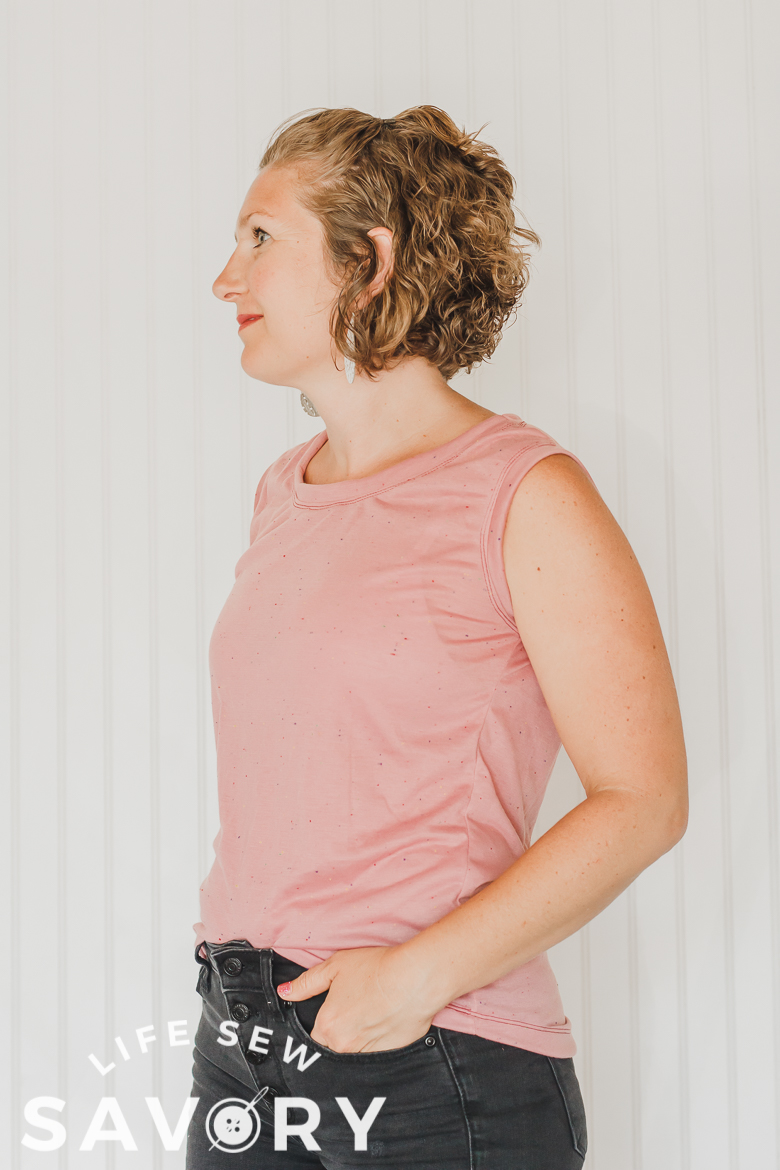
Before we go any further I have to mention that while I love this tri-blend t-shirt fabric for the shirt {pink version} I forgot that this 2 way stretch fabric does NOT make good bands! So while I recommend this type of fabric for the tank, I would use a different fabric for the bands at the neck and arm.
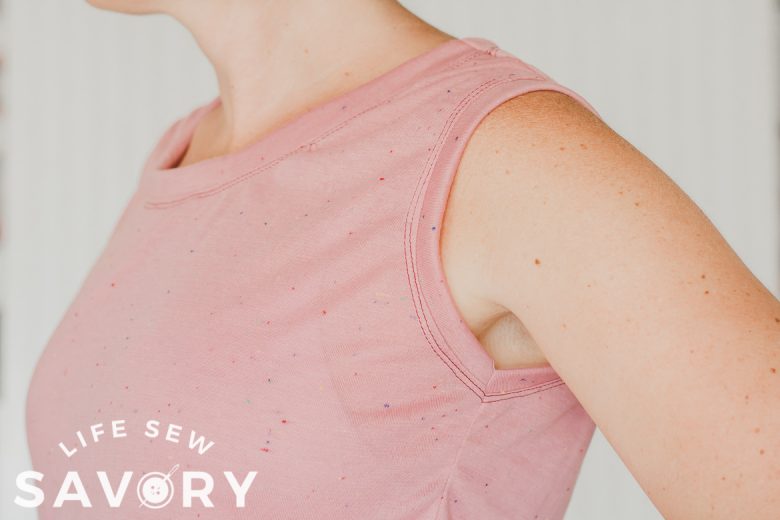
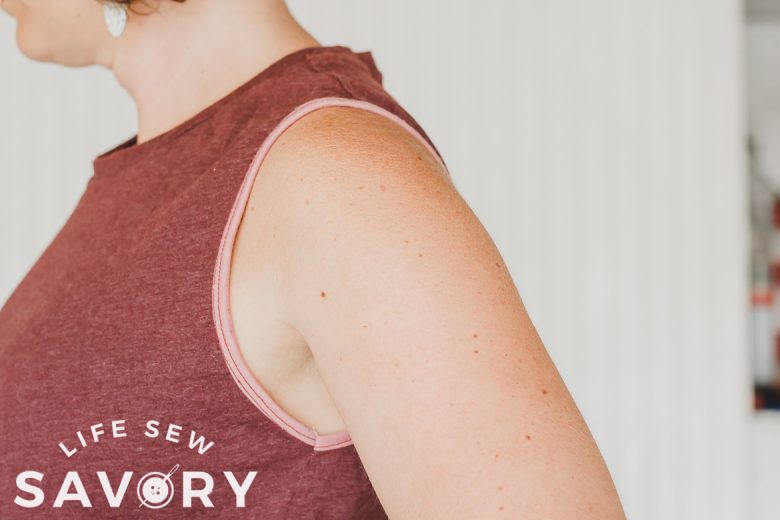
I’ll say it again! I LOVE the neck and arm cut on this tank. I don’t have to wear a cami under and the cut is just perfect. You can cut it a bit lower if you want {I’ll show you how below} But I made one version with bindings and one with bands and I they are both amazing.
Confused about the difference between bands and binding and how to sew each method? Check out my bands vs binding post here.
I also was able to create the maroon version from one of my husbands old t-shirts that he gave me to play with. A comfy upcyle that was SO easy – I will also show you how to create this in the tutorial.
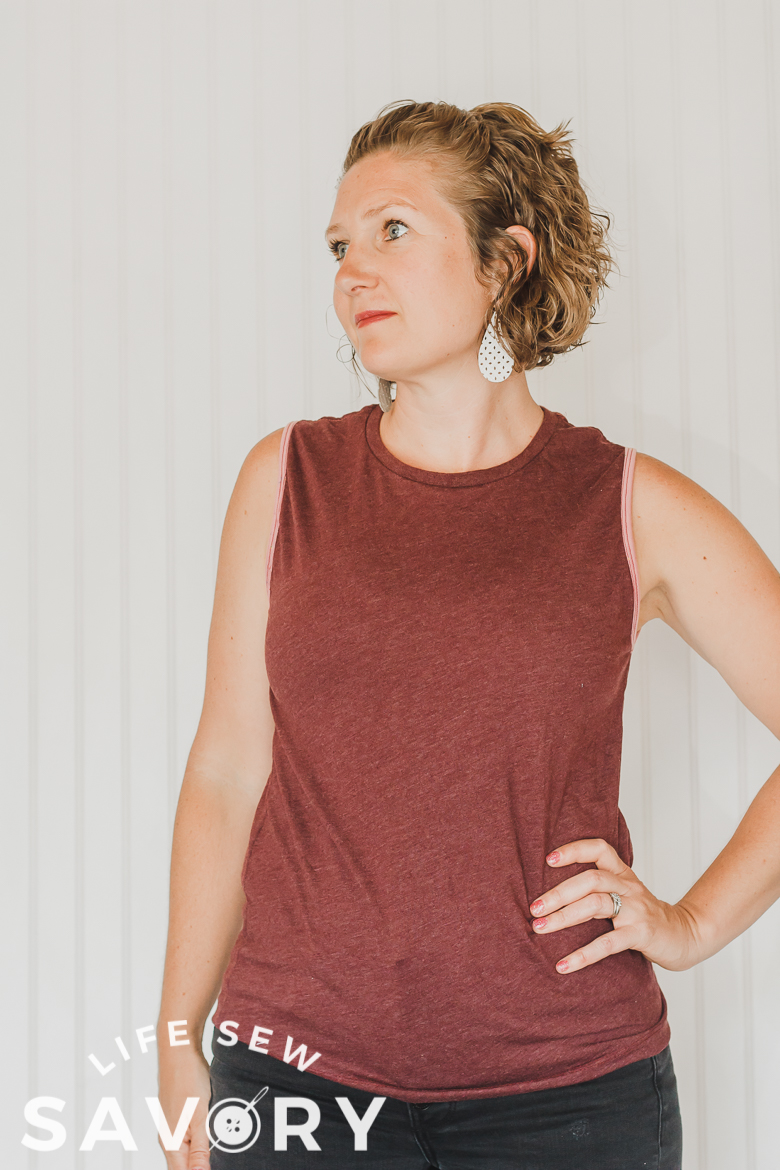
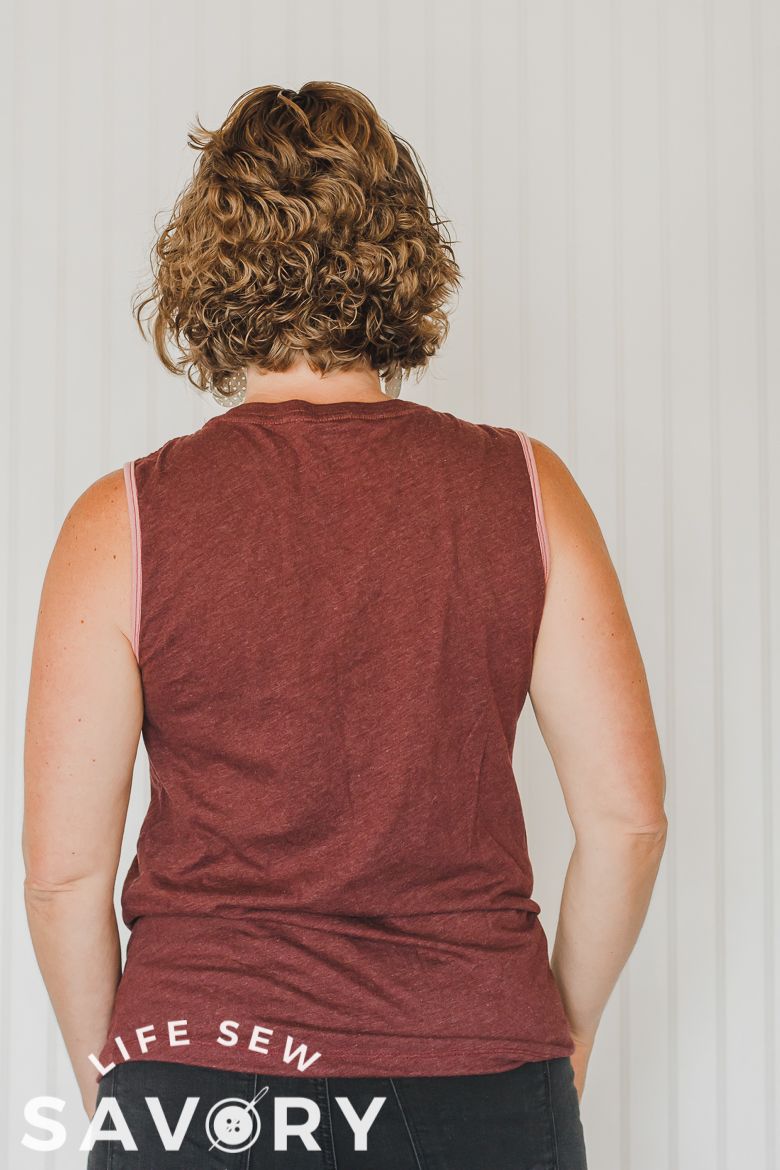
Ok, so the small changes I made to the boyfriend tee to create this look {the pattern pieces I’ve included here already have these modifications, but if you have already printing the original pattern and want to do yourself you can} I shortened the shoulder 1/2″ at the arm side and then scooped out the armscye one side smaller on the pattern. I also raised the neckline to the higher version {the boyfriend tee has two neck versions}
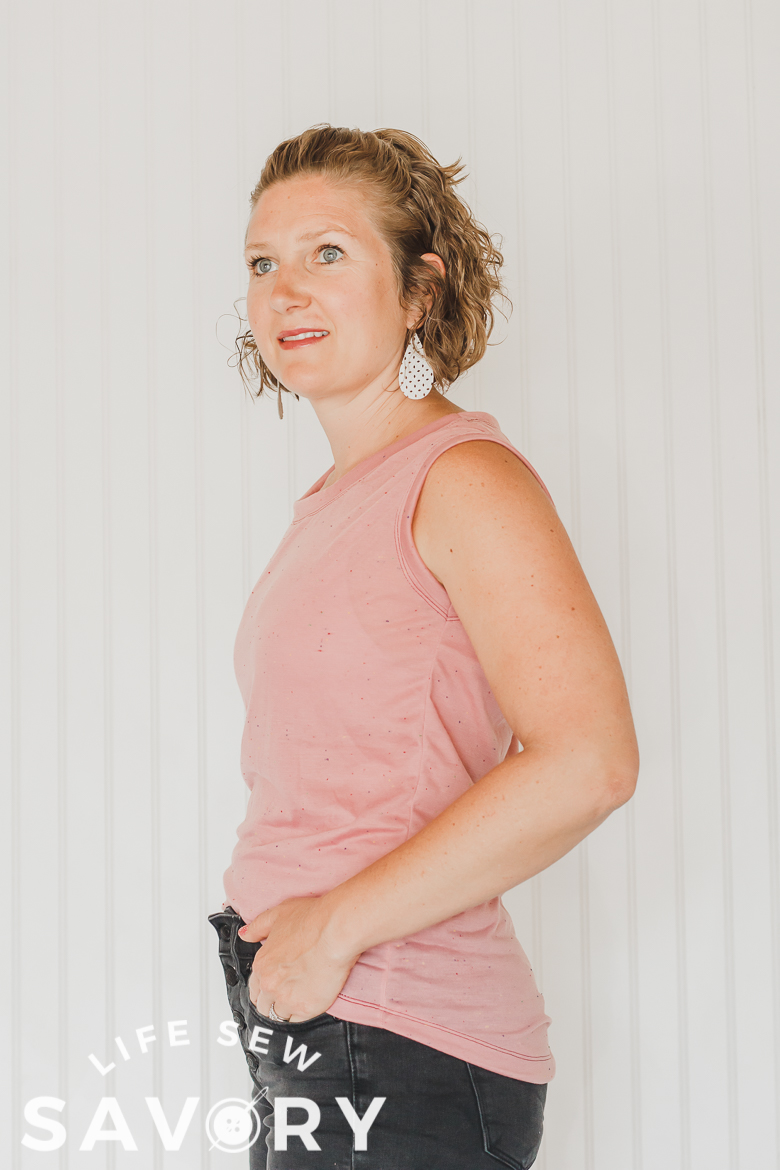
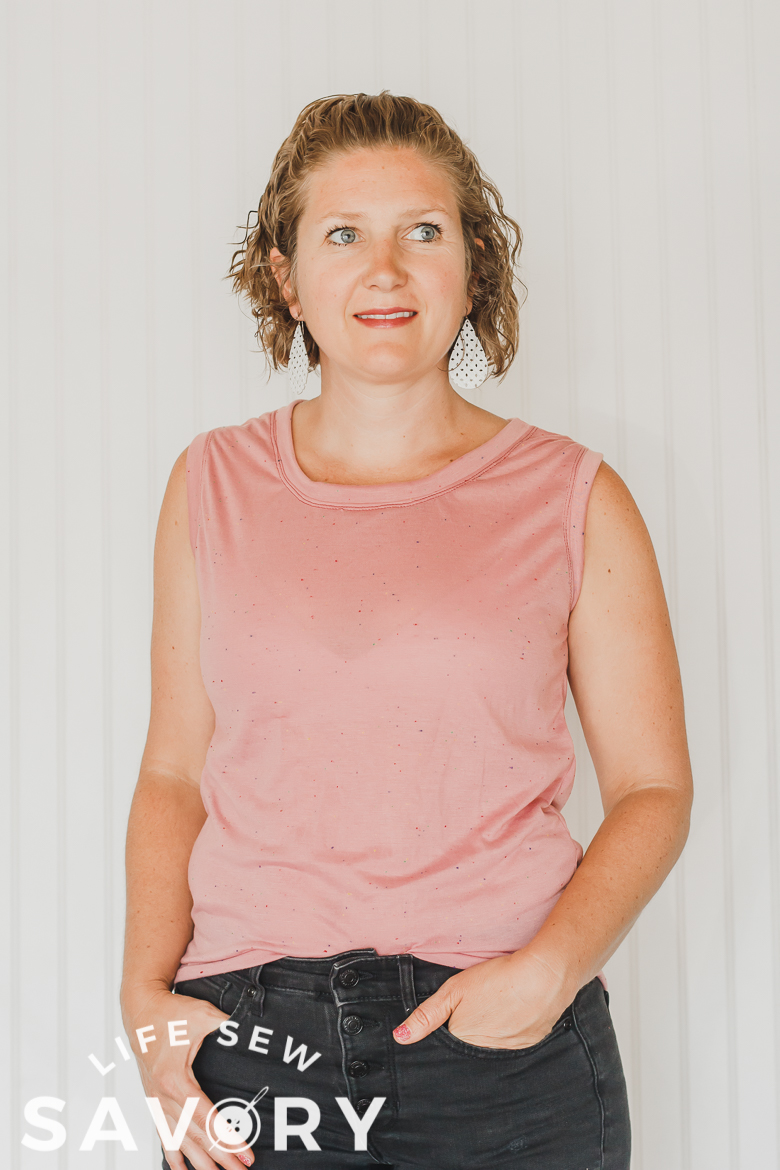
On this pink version I cut the hem in a high low style and like how that turned out. It’s super easy to add this hem version – see my high low hem tutorial here. The only element that is missing from that original store bought tank I loved is a split hem on the side. I may have to try that on another version soon.
Other tank tops you might want to sew:
Can you tell I love tanks? I live in them all summer long! Most of mine are my own designs by now.
Pdf tank top pattern download-
Ok! Now its time to go print the free pattern. Like I mentioned you may be able to modify the boyfriend tee on your own if you already have that printed that pattern. THIS VERSION has all the modifications already done for you.
Lightweight knit fabric works great for this tank pattern. I used a 2-way stretch t-shirt knit for the pink and the darker is an upcycled men’s shirt. Any fabric you would use for a t-shirt would work for this tank.
Need helping with printing and assembly? See my post about PDF patterns. THIS POST will also help if you need account help on my site.
Use this picture to help you assemble your pattern pieces.
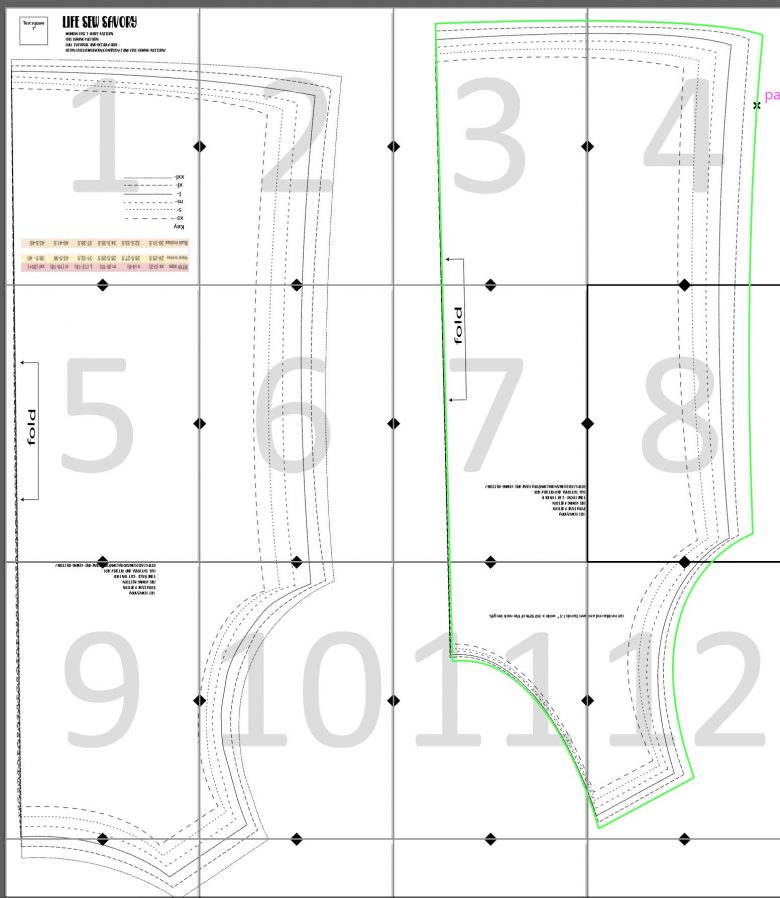
The size chart is on the pattern pieces, or you can use this chart here to determine your size.

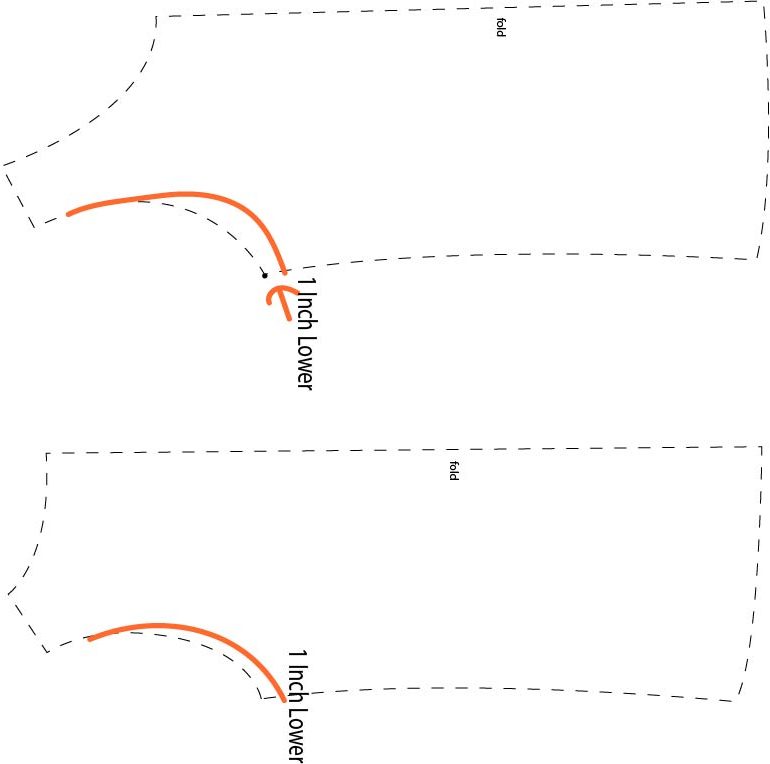
The pattern as printed has arm openings like my photos above. If you feel like you need more room at the under arms, I would lower the arm opening 1″ and scoop it out more as shown here in the orange.
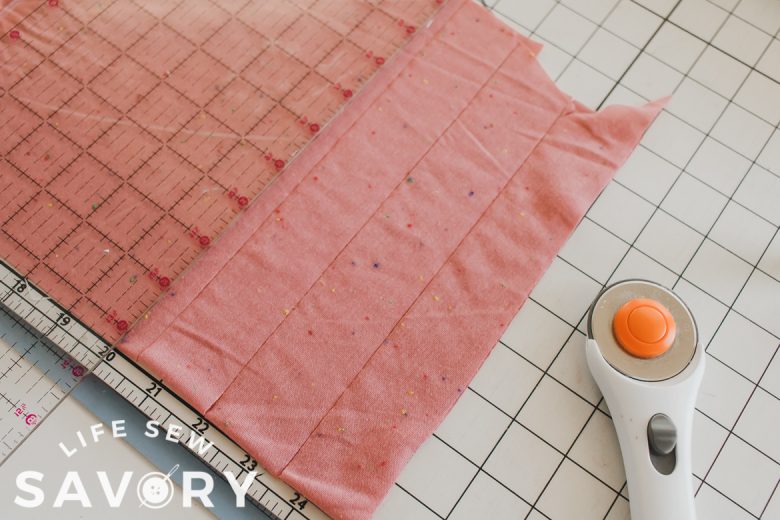
Cut out the front and back AND cut bands for the neck and arm holes. I cut my neckband 1.75″ and the arm bands 1.5″. The thickness of bands is a personal preference and can also depend on your fabric. I cut my bands 85% of the length of the neck/arm openings, but if you need more tips for this check out my post on perfect neckbands.
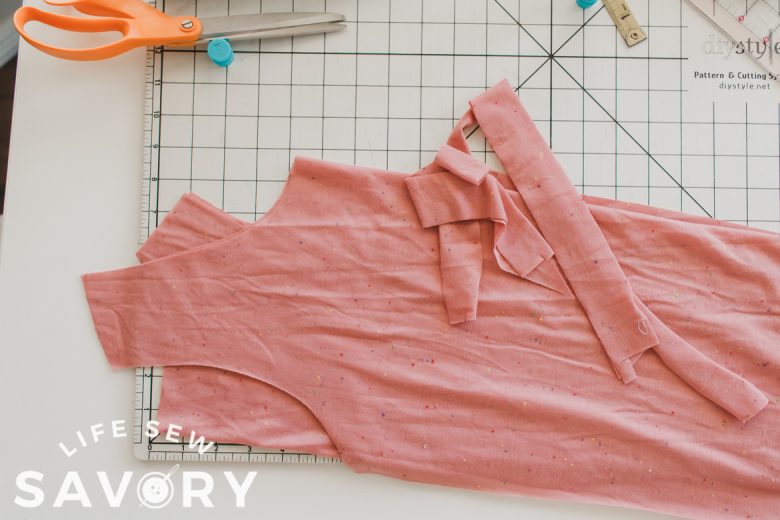
Sew one shoulder seam connecting the front and back. Then stretch and sew the neckband onto the neckline. Top-stitch with a coverstitch or twin needle. Then sew the other shoulder seam with right sides of fabric together.
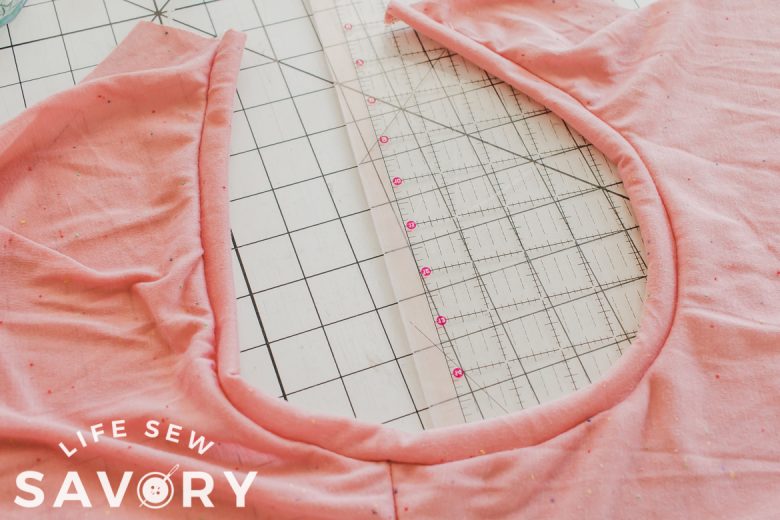
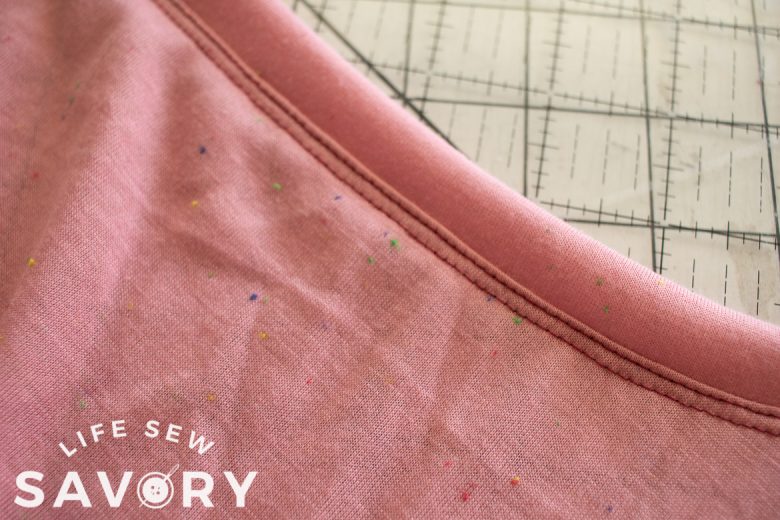
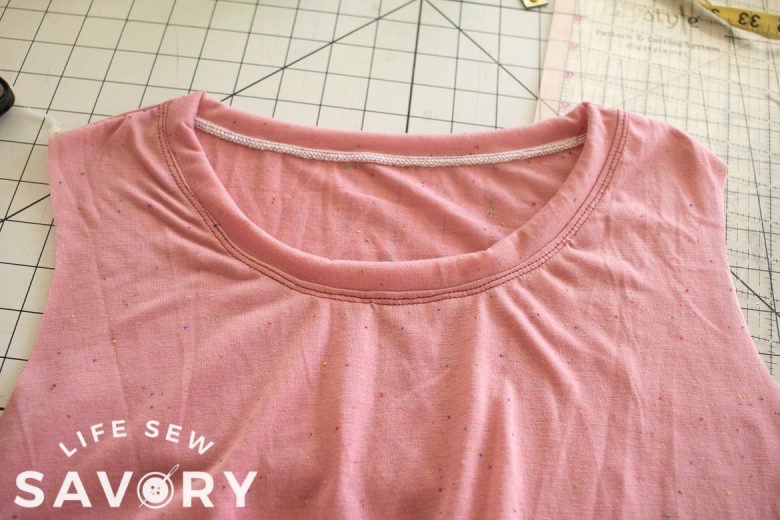
Stretch and sew the arm bands to the openings and top-stitch if you want. Place the tank right sides together and then sew the side seams. Trim the hem to desired length or add a high-low hem. Turn up a 3/4″ hem and sew with a stretch stitch or coverstitch.
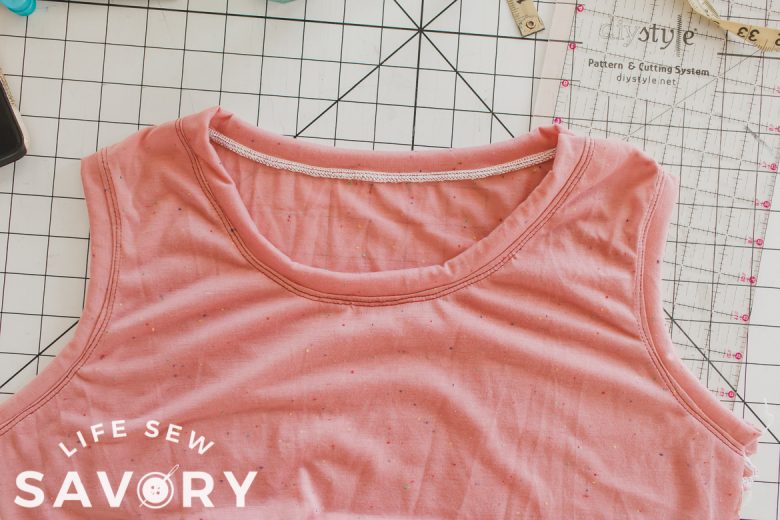
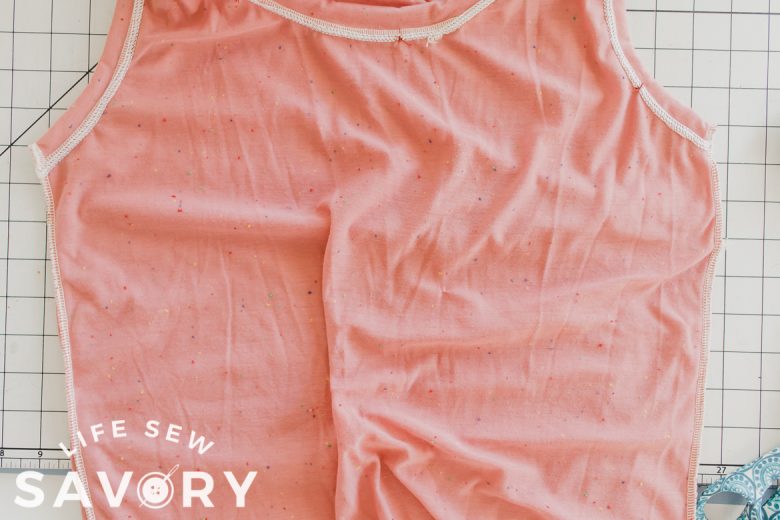
Okay, let’s talk about how you can make this tank from a mens shirt. You will want to make sure the shirt is several sizes larger than you wear… {if it’s a shirt that already fits you, just recut the arm openings and add new bands!} I was able to cut a womens small tank from a mens L shirt.
Mark the shirt center {pin below} Lay the fold line on this center mark. Cut around the half of the shirt cutting ONLY the top layer of the shirt. {leave the back alone}, flip the pattern over and cut the other side of the tank.
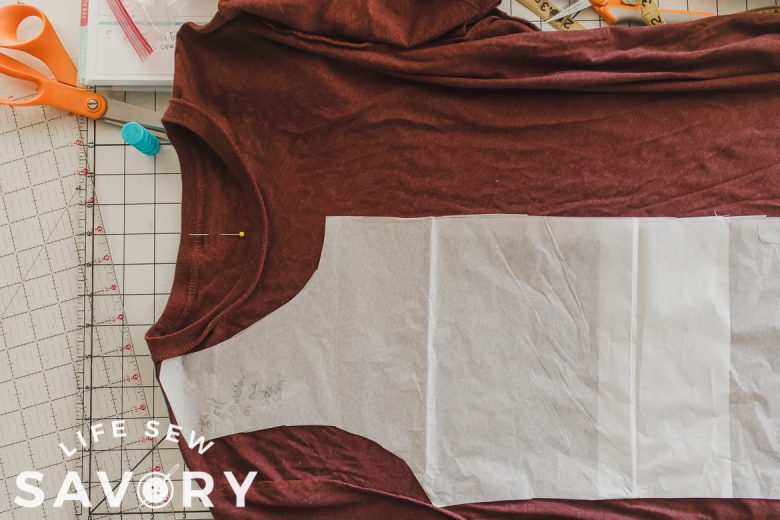
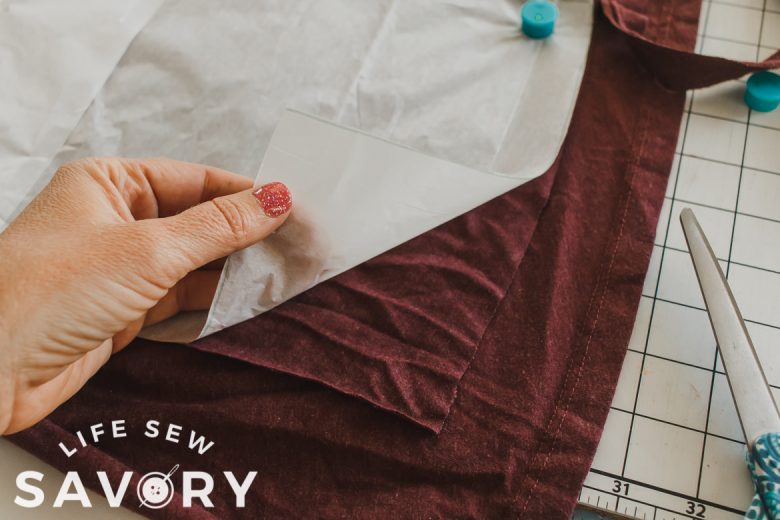
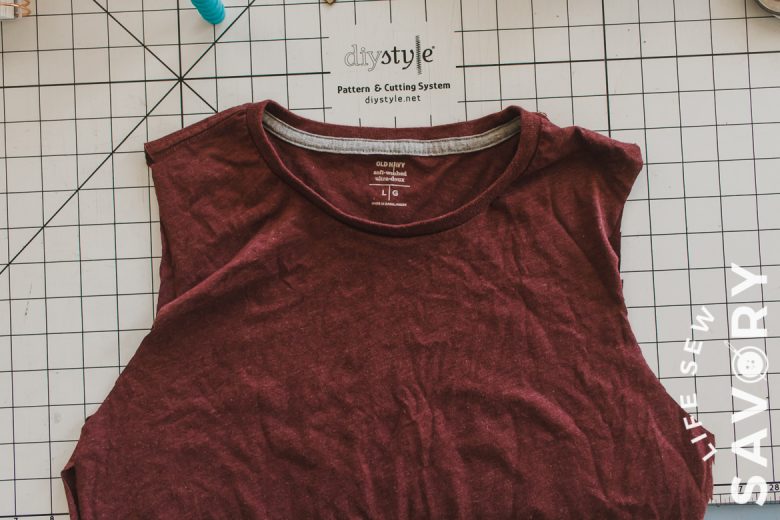
Open up the shirt at the original shoulders {do not cut the shoulders} I was able to fold the back in half, then I cut out the back using the tank pattern.
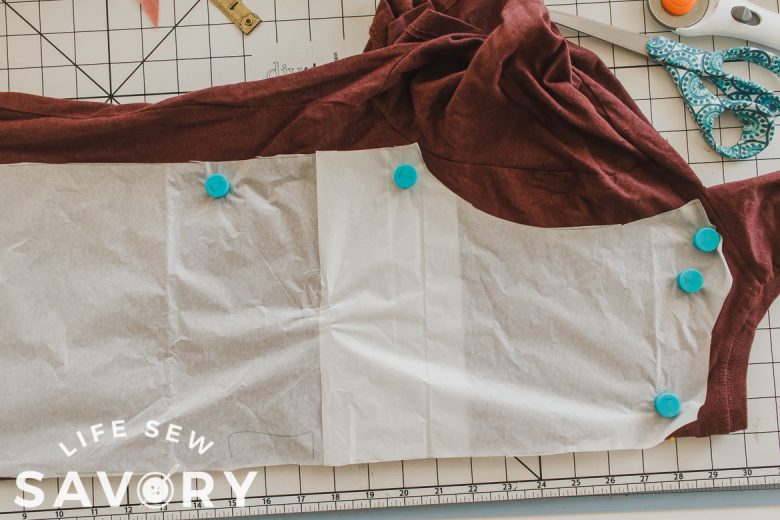
Here I’ve kept the neck and shoulder of the original shirt. Add bands or bindings to the arm opening to finish.
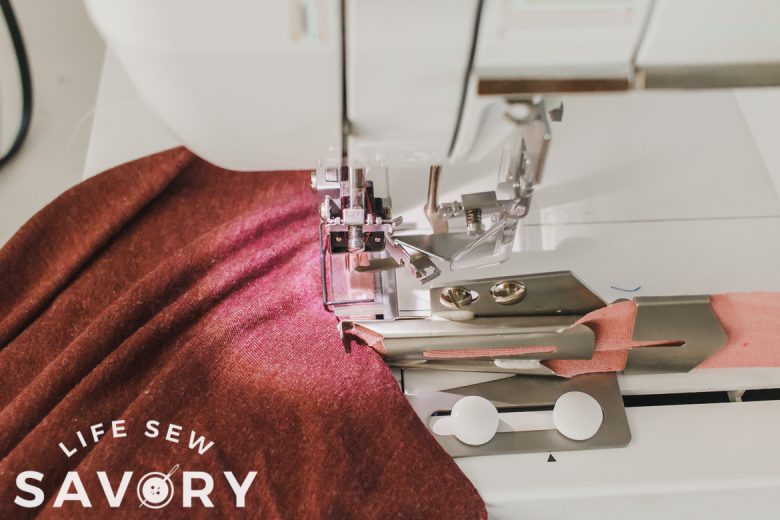
I chose to add a binding using the attachment on my coverstitch. You can also create bindings using the method in this post. After I finished the arms, I sewed the side seam and hemmed the bottom to finish. This one I hemmed straight across, but did shorten just a bit.
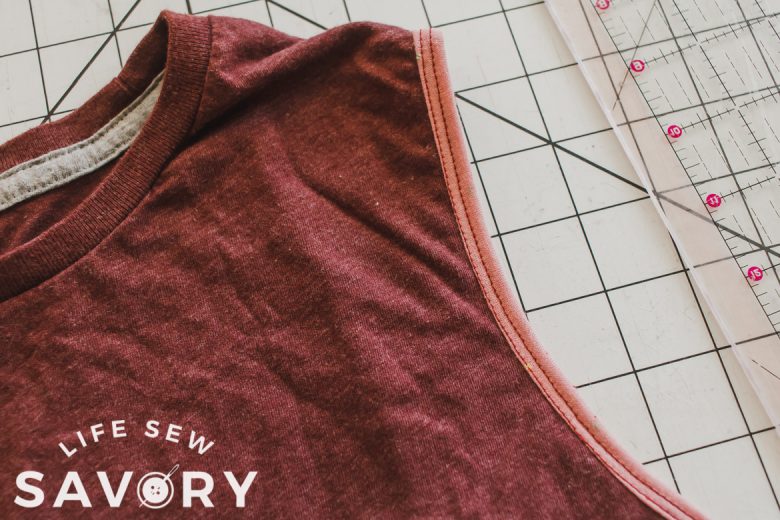
ok! Now that you have two fun ways to use this pattern to create a tank top I hope you will give it a try. Make sure to share photos if you do make one!









Heather says
I’m curious to find out where to buy ribbing, bands & binding. I always see tutorials that use these and the colors are so pretty! When I look at my local store, they either don’t have them or the color selection is so few, or don’t match. Do you have any thoughts or suggestions? Thanks!
Emily says
I just use any fabric with good stretch recovery. I don’t worry about it being ribbing.
Kathy Chandonais says
Thank you so much for this tute. I have made another pattern (the Simple Summer T) and when I tried it on, I did not like the scooped neckline, and can’t wait to try this one. Also, I was able to find your video about necklines on You Tube – VERY informative, since I have had nothing but problems lately with necklines after returning to sewing garments instead of quilting.