inside: Learn how to make a DIY rope basket with this sewing tutorial. PLUS dye cotton rope with Marabu Alcohol Ink from Darice.
{Post sponsored by Darice, but all options and tutorial are my own thoughts}
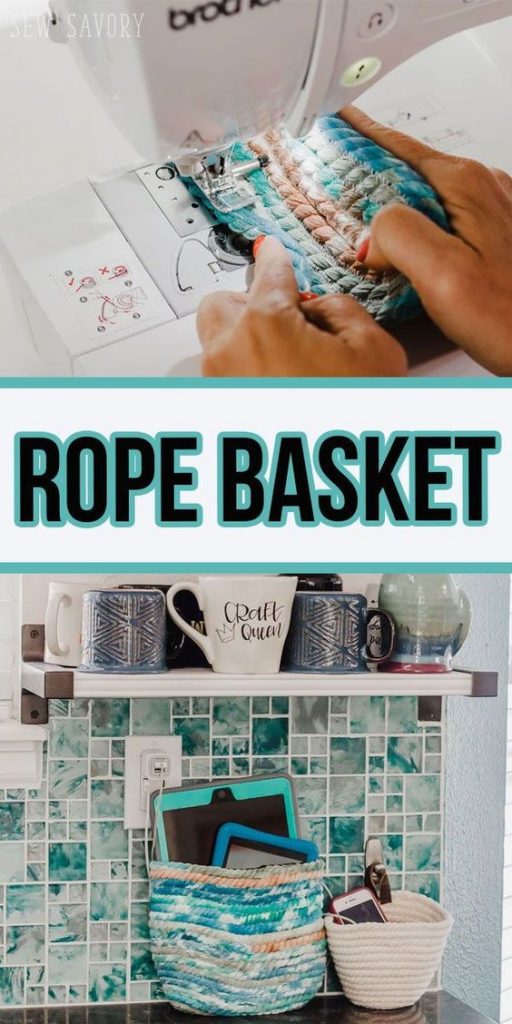
I’ve been wanting to make rope baskets for a very long time! Probably years since I saw this DIY idea and wanted to try it. I was given the opportunity to try Marabu Alcohol Inks from Darice and I knew that making a DIY rope basket was the perfect project for the inks and me!
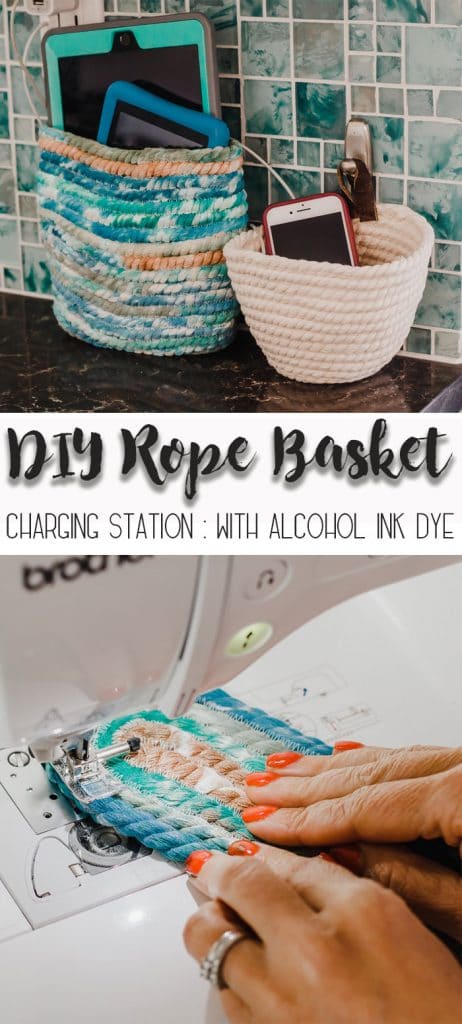
DIY Rope Basket
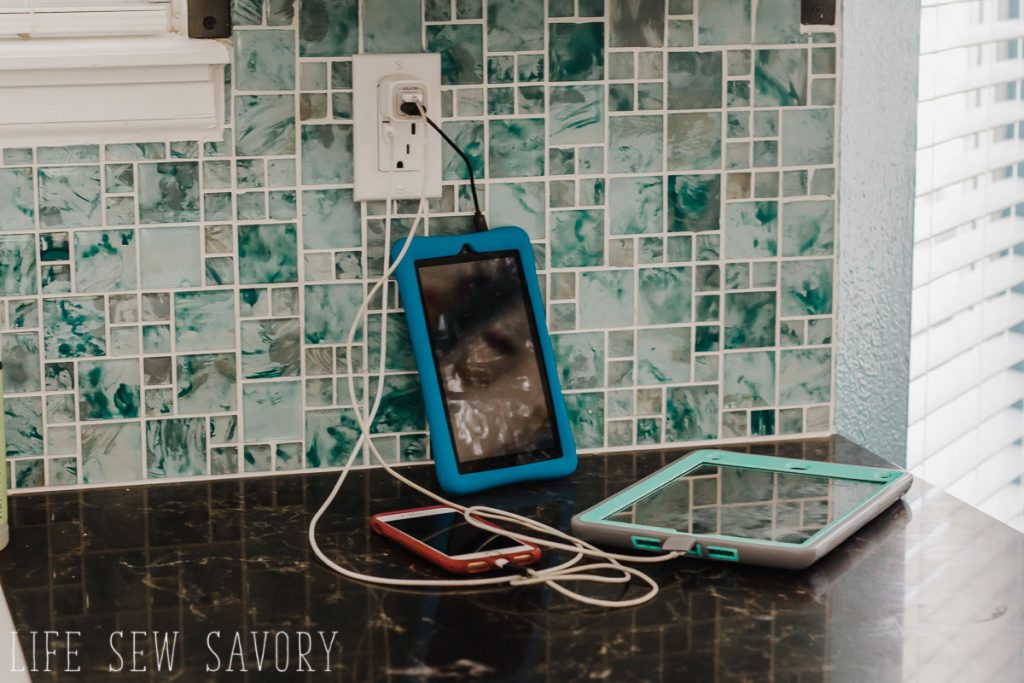
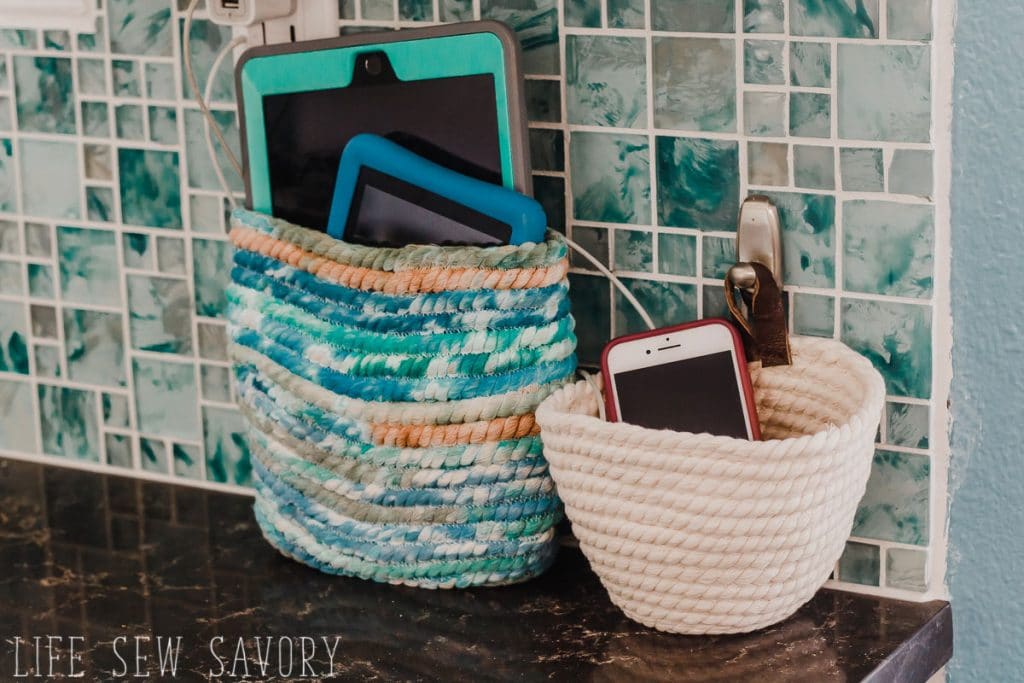
Since we redid our kitchen in the spring I’ve been wanting to make a basket of rope or fabric for this space next to our sink. We end up charging all our phones and devices here and I don’t love the mess… I know this photo isn’t too bad, but it just gives you an idea… but in a smallish kitchen any mess is too much for me.
I love the final result! SO Much better and my new hobby is going to be making rope baskets… ALL.THE.BASKETS! Seriously, in the last day I’ve made three, because it’s fun and now I need about ten more {haha}
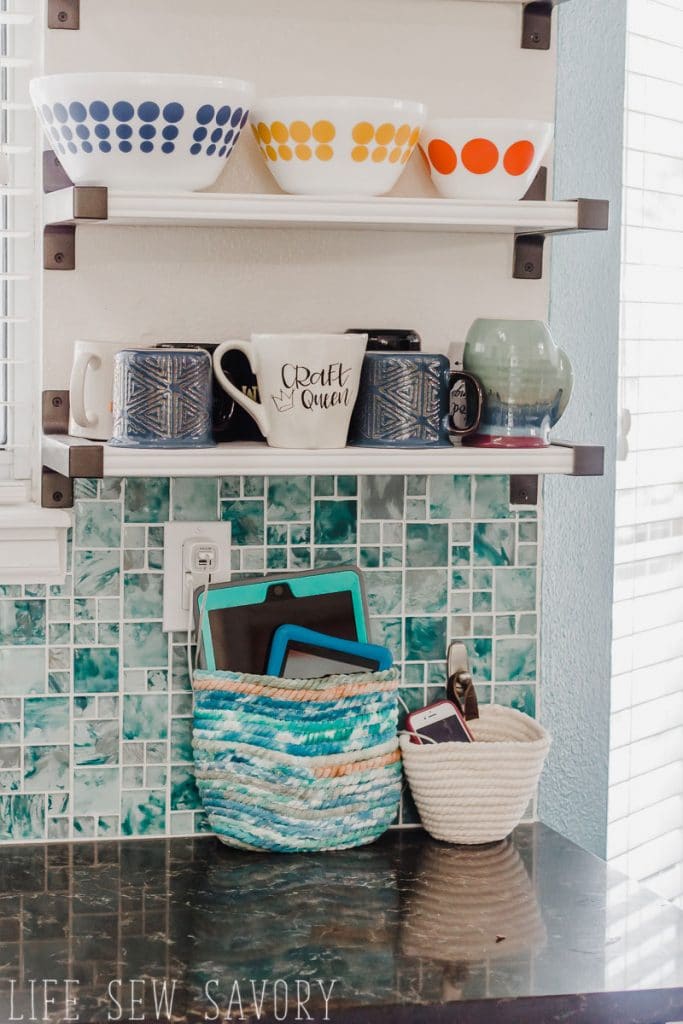
Did you see how gorgeous that colored basket is? I used super fun alcohol ink dye {my first time using it!} and I love how it turned out and how fun it was to dye the rope. Today I’m not only going to show you how to make a rope basket, but also how to dye the rope if you want.
Supplies needed:
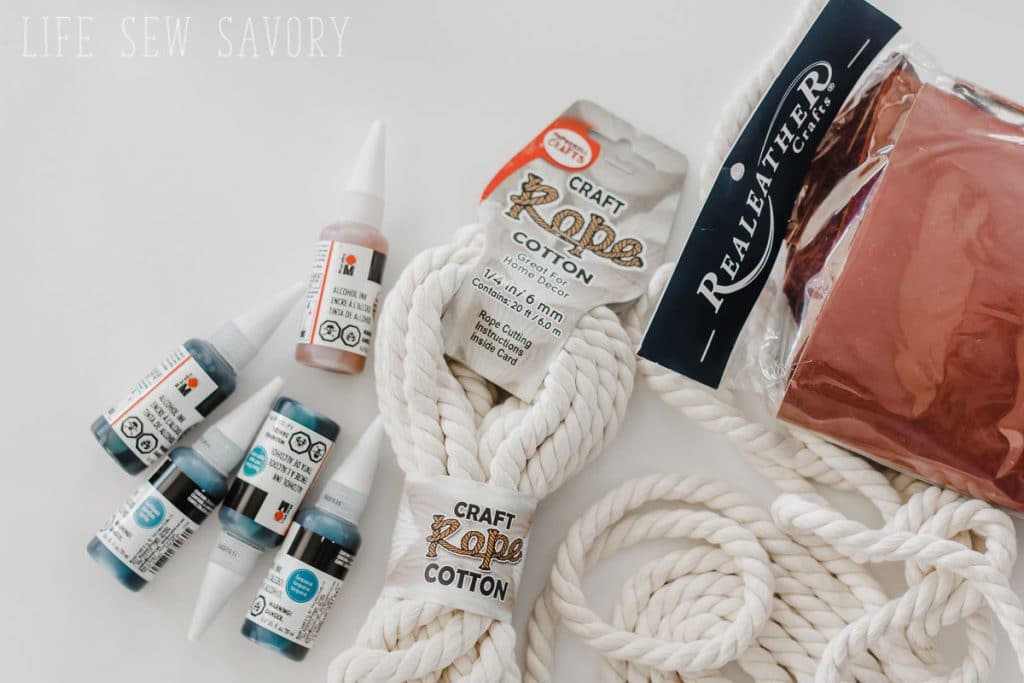
- Craft Rope {I used two for the large basket and one for the smaller basket}
- Alcohol Ink in various colors
- Ink Extender or Alcohol
- Leather for handles if you want
- Sewing machine that can zig-zag
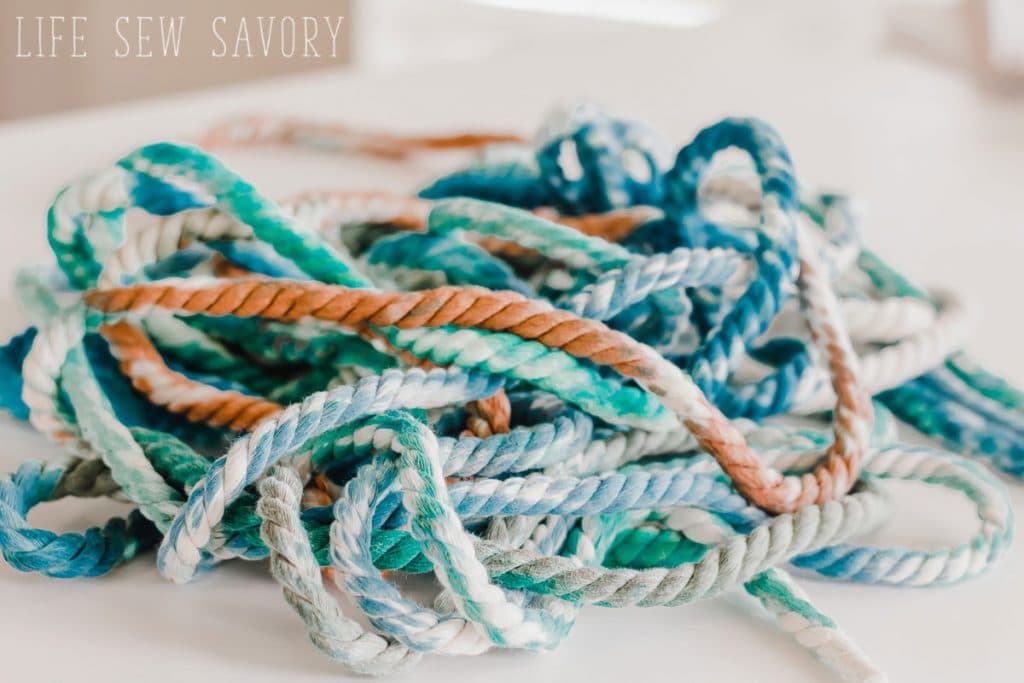
First up, let’s talk about dying the rope. You could sew the basket first, then squeeze the ink on in a design to decorate… This would allow you to only have color on the outside.
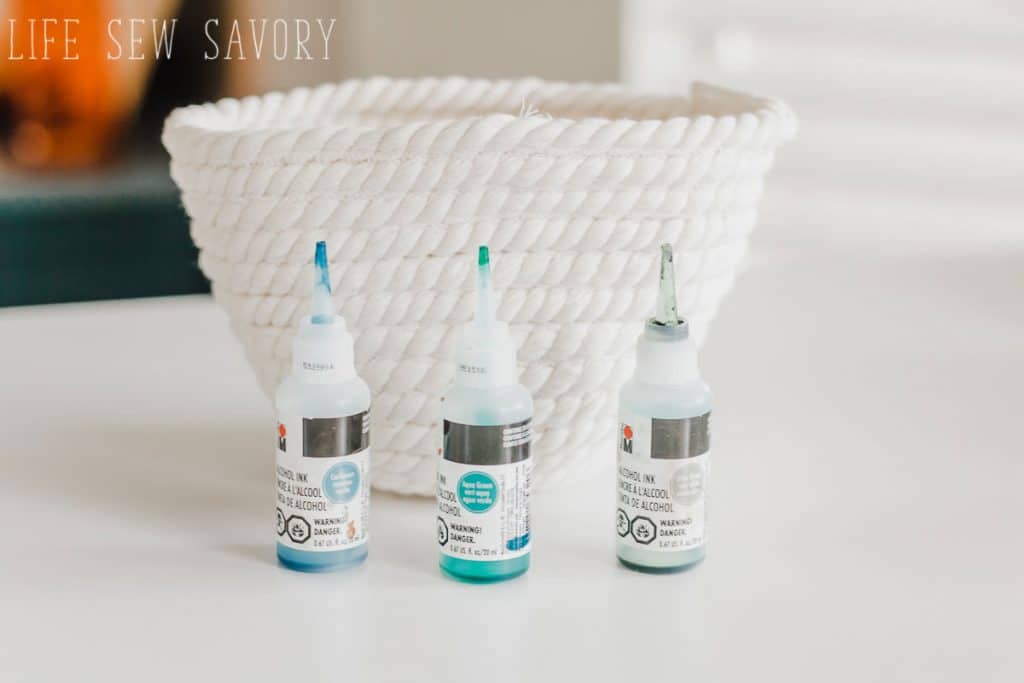
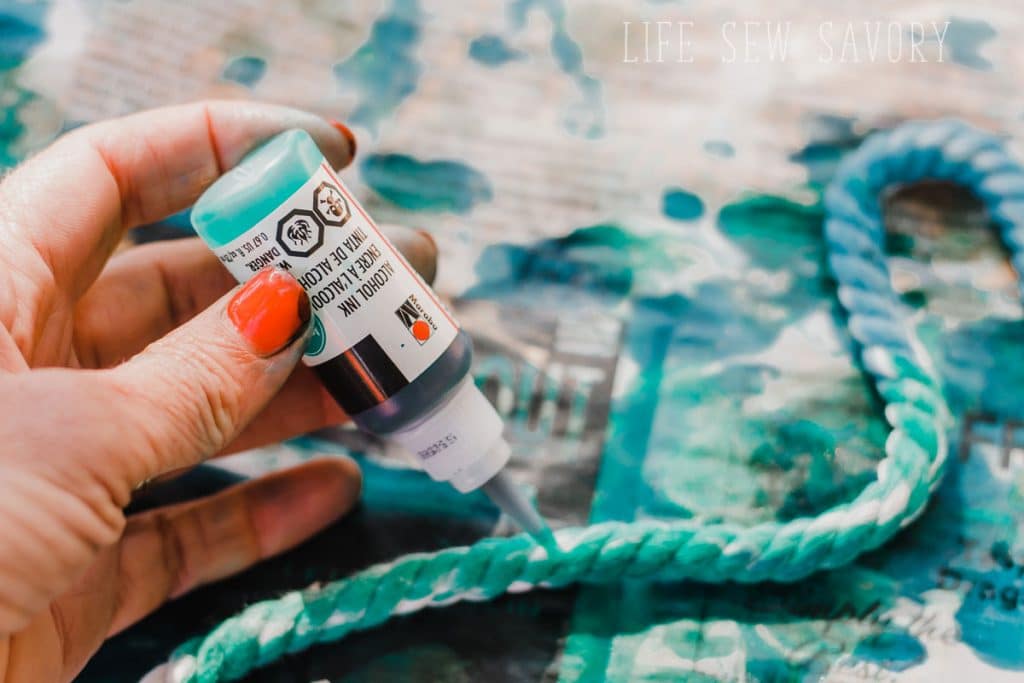
I wanted to try coloring the rope before I made it into a diy rope basket. You have a couple of options… you can put the alcohol ink directly onto dry rope. This ink dye is SO fun, the colors are vibrant and rich. I would suggest wearing gloves… I didn’t and regret it {true story} {haha}
I was smart enough to do this part of the project outside on the driveway with newspaper down…
After I tried putting the ink on dry rope I decided to try soaking the rope in alcohol first to see what that would look like. You can also use Alcohol Ink Extender for this. I just had rubbing alcohol on hand and it worked well. I soaked sections of the rope, then put ink on that section before moving on.
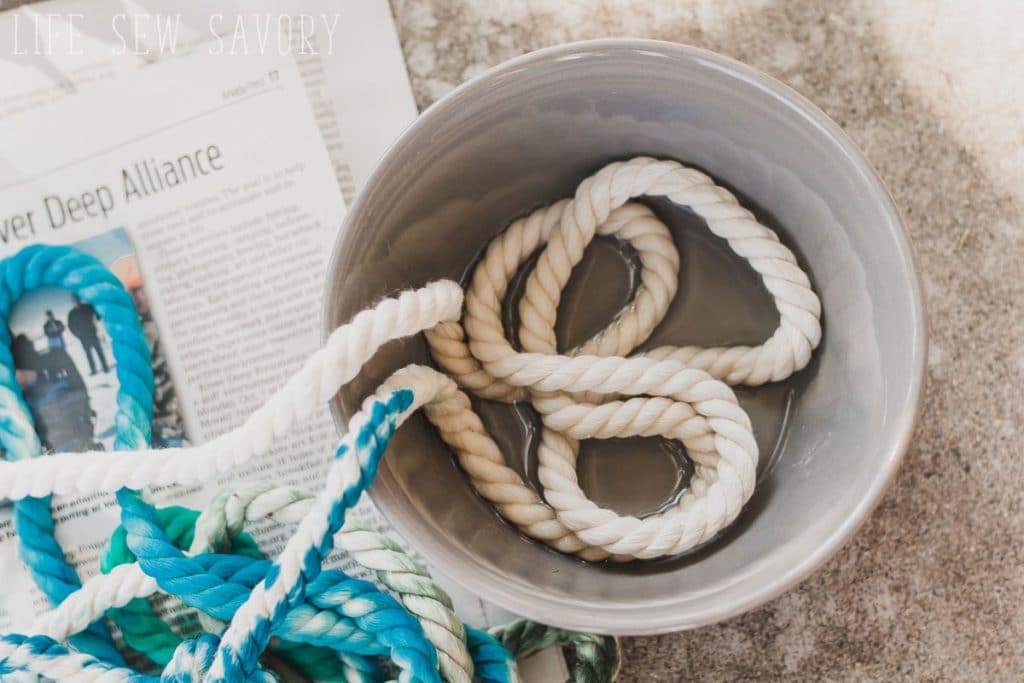
Let the rope dry overnight. I think the colors of the ink are just amazing!
How to Sew a Rope Basket –
Now we can get sewing ! Decide on the shape of your basket… circle or oval? I wanted a more oval shape so I started the bottom of my basket with long straight rows. For a round basket you will start curving in a circle right away.
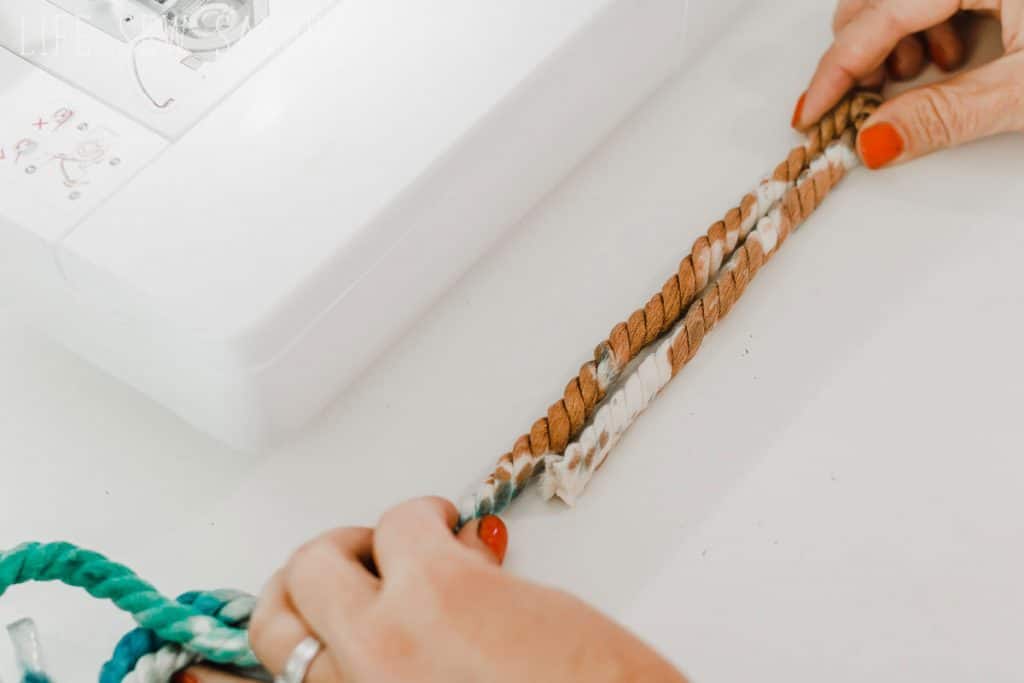
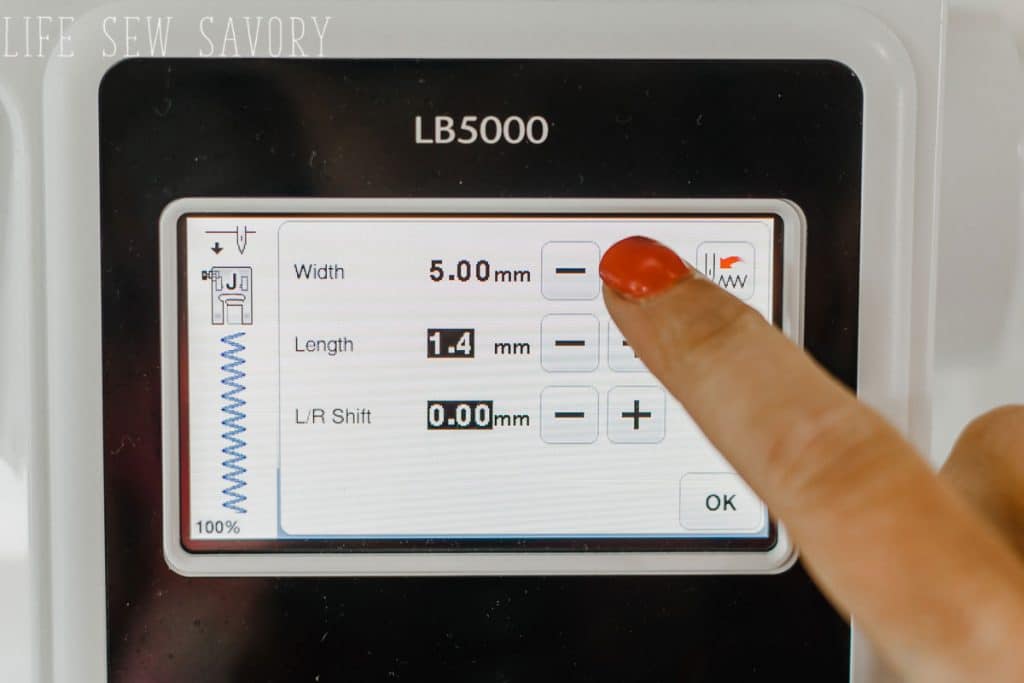
Set your machine to a wide zig-zag stitch for sewing. This will help to secure two ropes under each stitch.
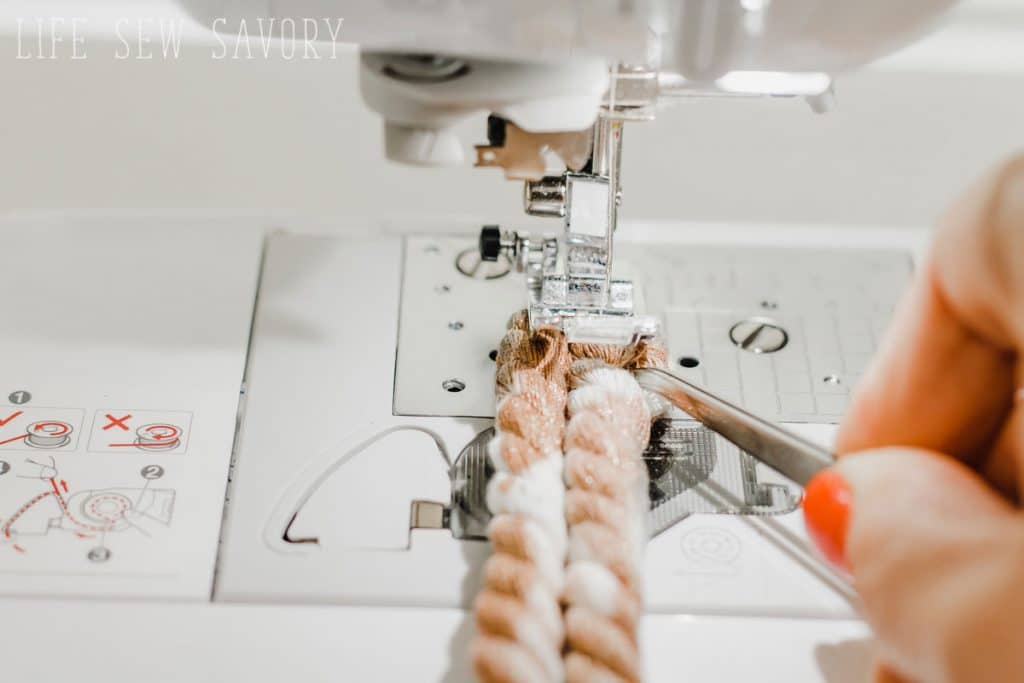
Depending on your machine and rope you may need to use tweezers to help push the rope under your presser foot. Once I got started it was fine. Sew the two straight ropes together. When you get to the end, pivot and turn around the corner, sewing the rope around and back down the long side.
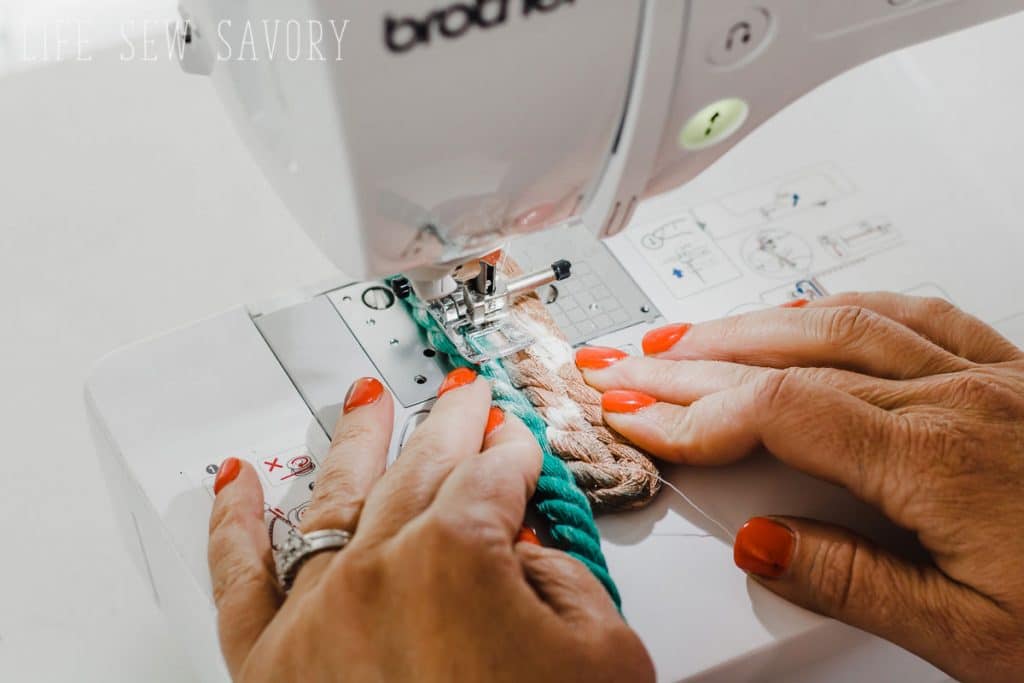
When you have the flat bottom to the desired size, begin to lift the rope, turning the basket to the side while sewing. You will also slightly raise the loose rope as you sew. See my left hand? My finger is lifting the rope on the left a bit over the rope on the right. This helps start to create the sides.
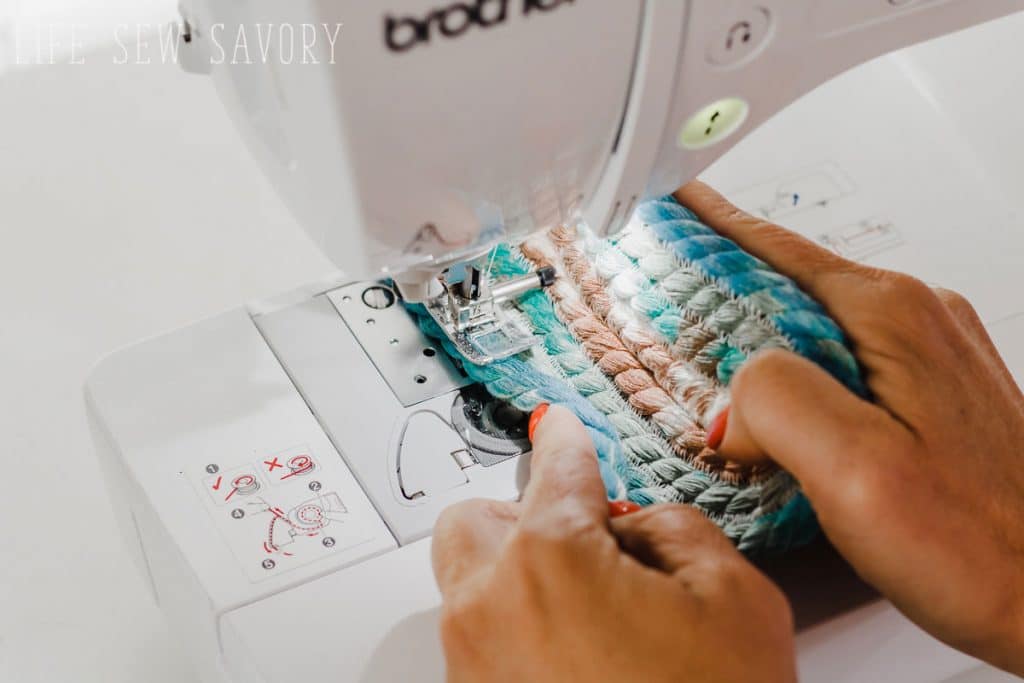
Then you just continue around and around. Keep the basket on the side to keep sewing the rope in the correct position.
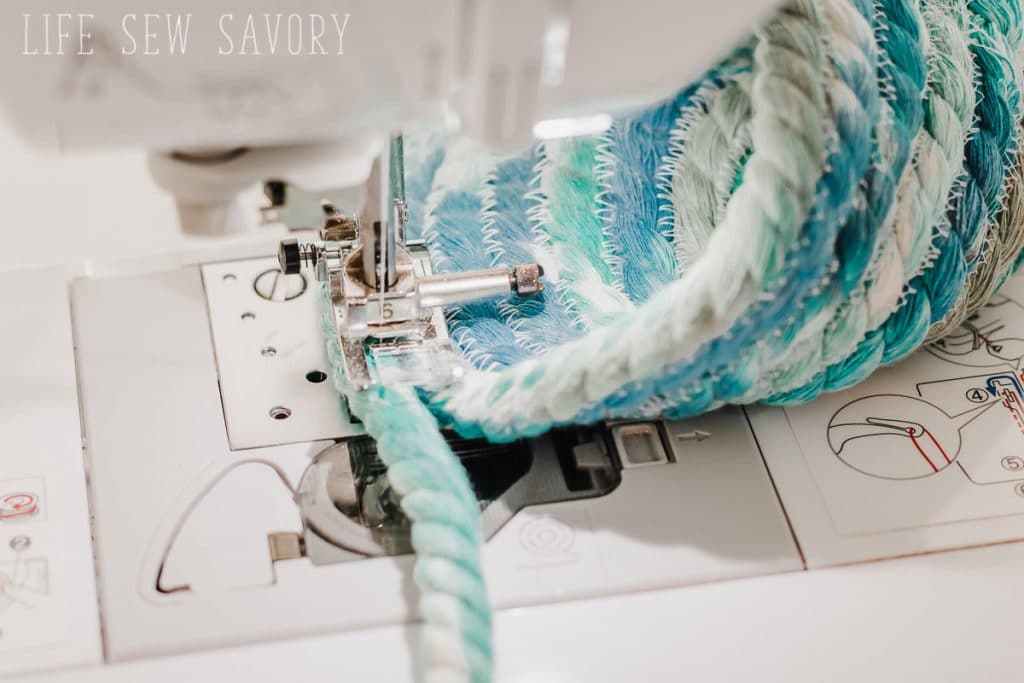
If your basket gets to big to sew as above, you can move it to the other side of the needle to keep sewing. Secure the end of the rope to finish and trim any extra.
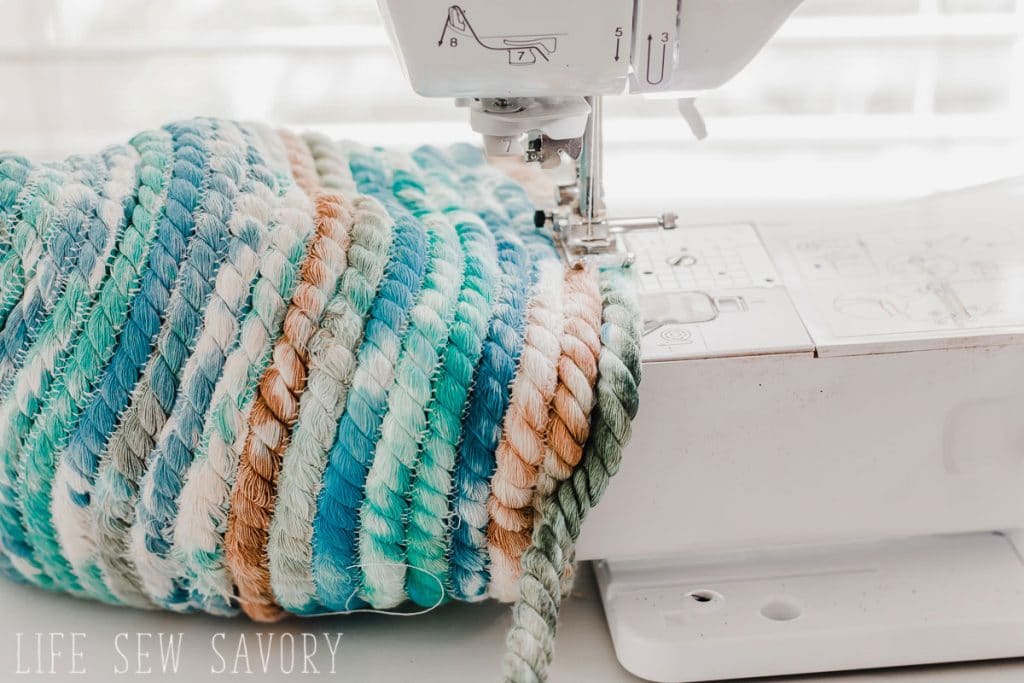
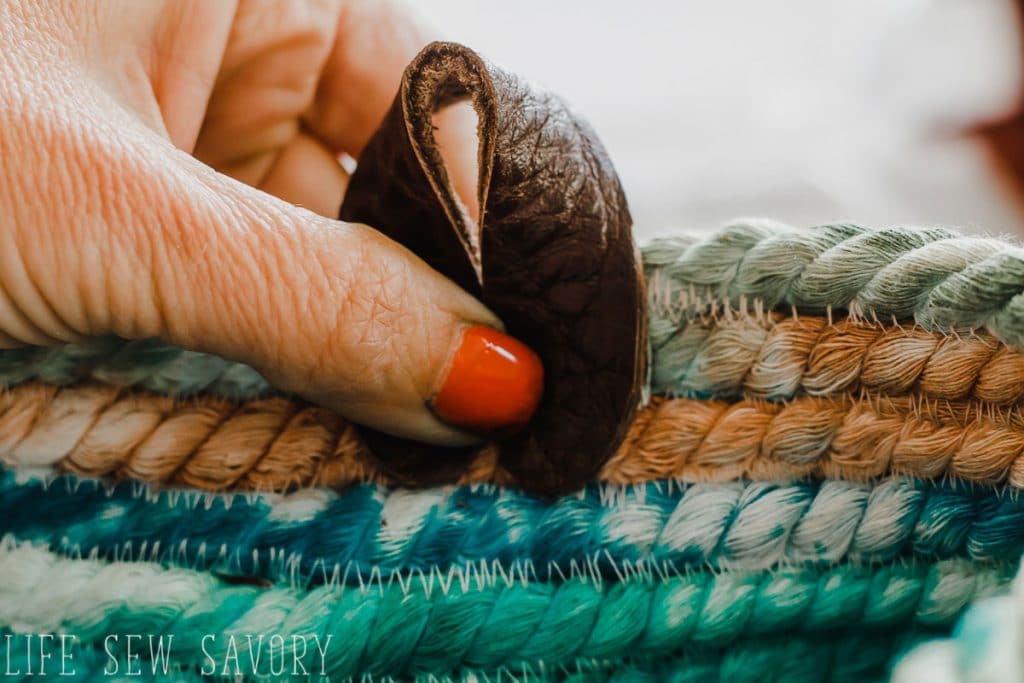
Create handles, hangers, or loops with leather or more rope and sew to the side of the basket.
There you go! Beautiful rope baskets for your kitchen, bathroom or any room! I made these while my kids were at school and my daughter came home and just kept talking about how pretty I was making the house! I love them too.






Scarlet says
I love the rope basket tutorial. They are so pretty and I never would have thought of that myself. The way you colored it came out so nicely too! It makes a great way to disguise tech while it charges!
susan hart says
Fabulous baskets! Great instructions, thank you. I could use these in every room, really a feww in every room.