Inside: Learn how to sew a shirt using this DIY tutorial from a shirt you already own. This super comfy sweater shirt can easily be created by copying the shape of a shirt you already own. Video and photo tutorial.
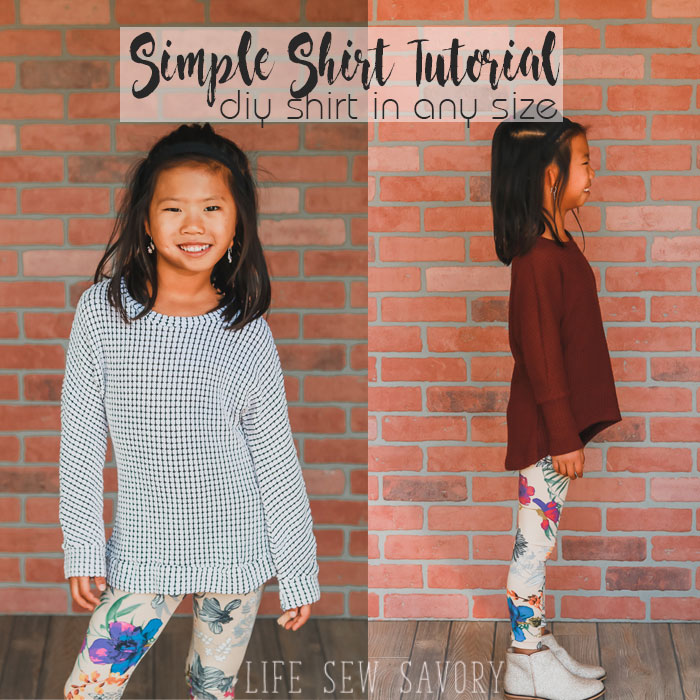
I have SO many gorgeous fall fabrics right now I’ve been playing around with different patterns and tutorial to go with them. This shirt tutorial is so simple and a pretty easy sewing project. I simply copied a shirt my daughter already had, used fabric with great drape and ended up with two cute shirts! Now I have plans for many more.
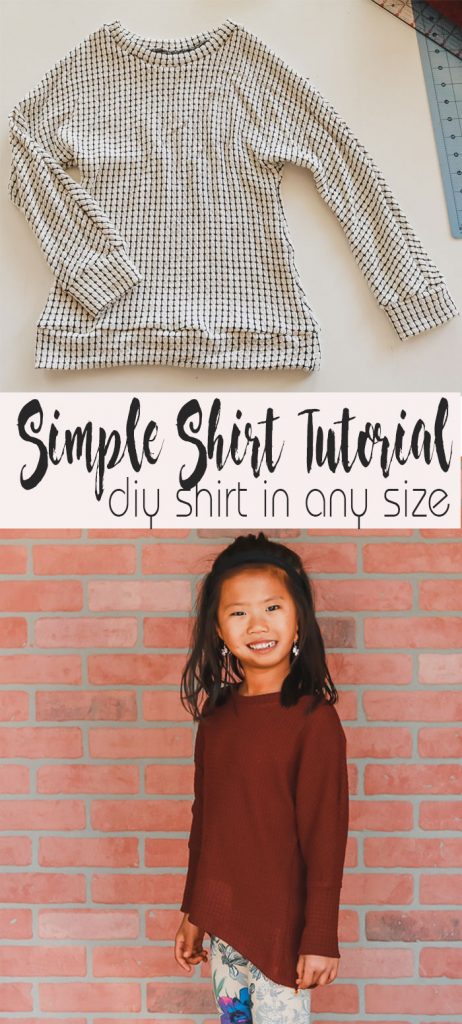
Sew a Shirt DIY Tutorial-
Basically this shirt is one piece in the front and one in the back {plus cuffs}… it doesn’t get much easier than that, but I would say this style looks best with sweater knit, waffle knit or other thicker, drapey fabric. A stiff knit or too thin of fabric and this style will look strange.
Here is a full video tutorial {disable your ad blocker if you are running one to see it}
I’ve made two of these simple shirt so far, both with different variations. In video and photo tutorial below you will see the style with cuffs on bottom and sleeves.
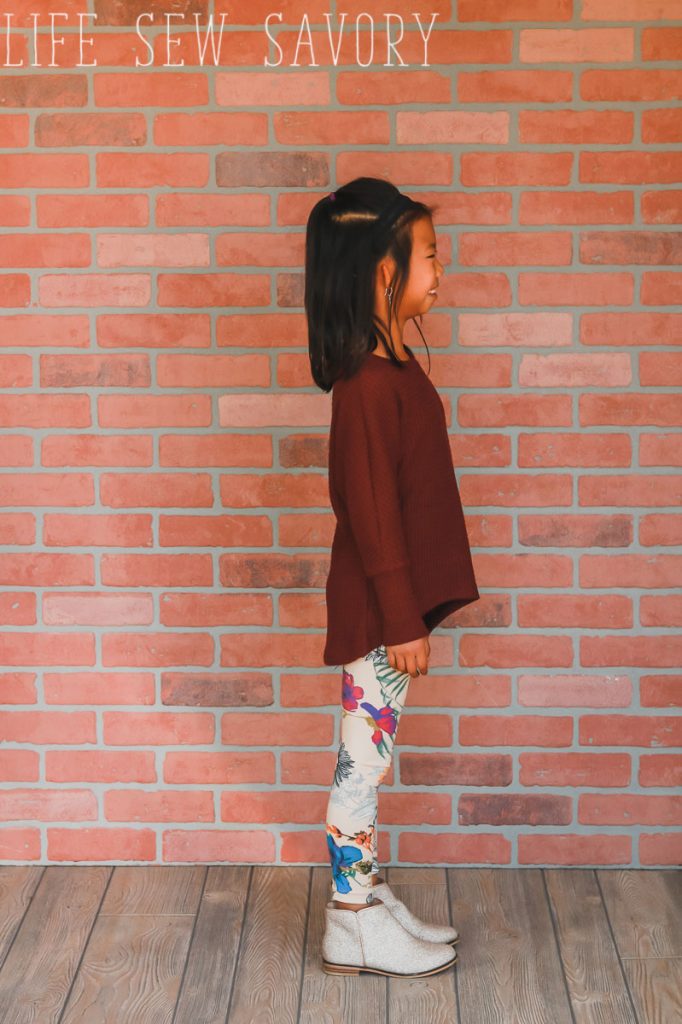
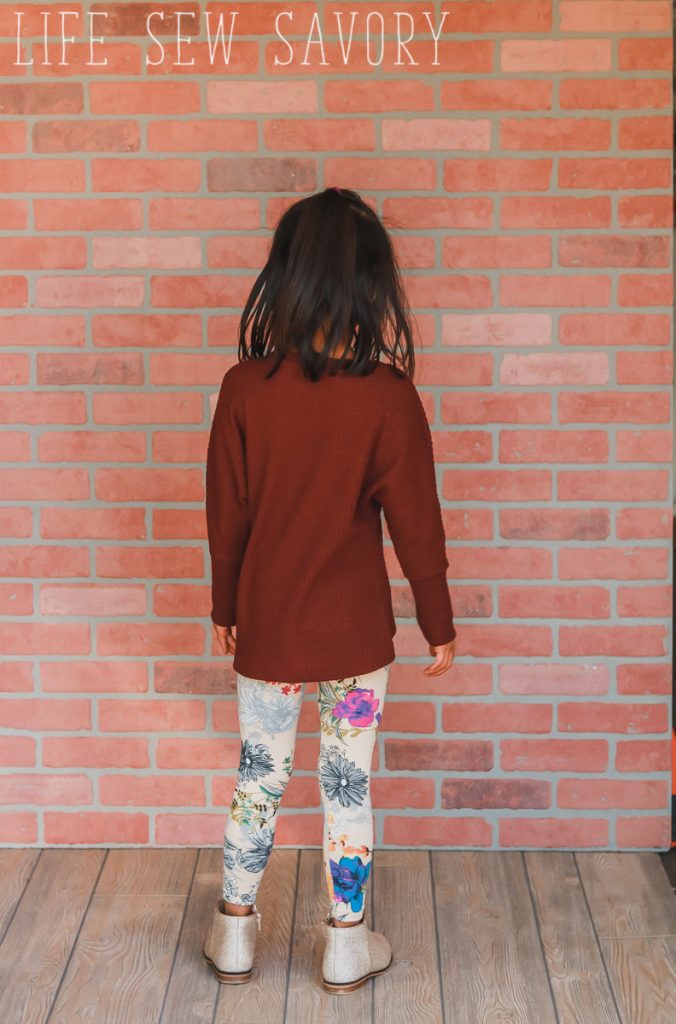
The maroon one I only added sleeve cuffs {longer ones as I didn’t have the width of fabric} a high low bottom hem.
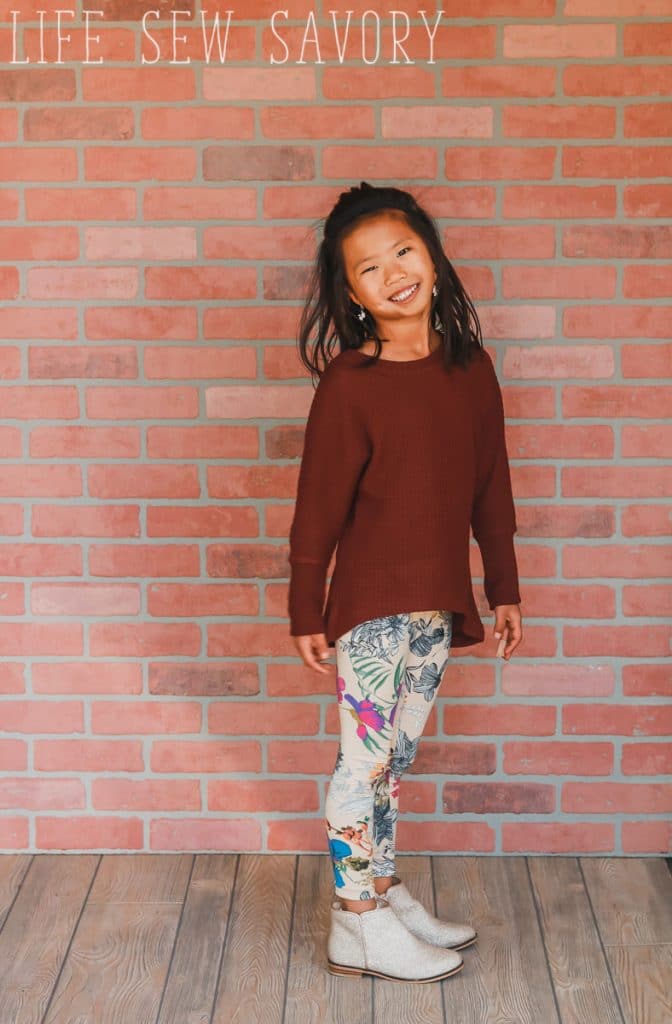
I’ve been super into adding high low hems to lots of shirts lately… You can see my tutorial for creating this type of hem here. It’s the perfect look for wearing with leggings.
Grab my Free LEGGING PATTERN HERE, as it pairs perfectly with both of these sweater shirts. If you aren’t sure where to start with fabric I did link to a recent fabric post near the top of this post or search fall fabric on the site to see my picks!
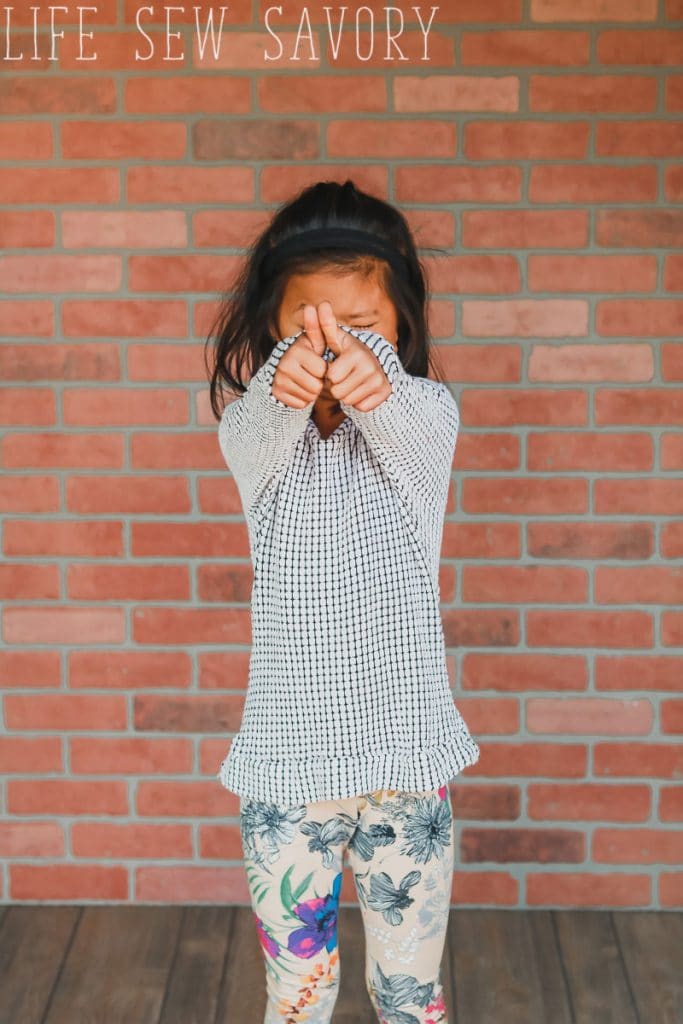
Okay! Let’s sew a shirt! You can see the style more clearly when the arms are spread.
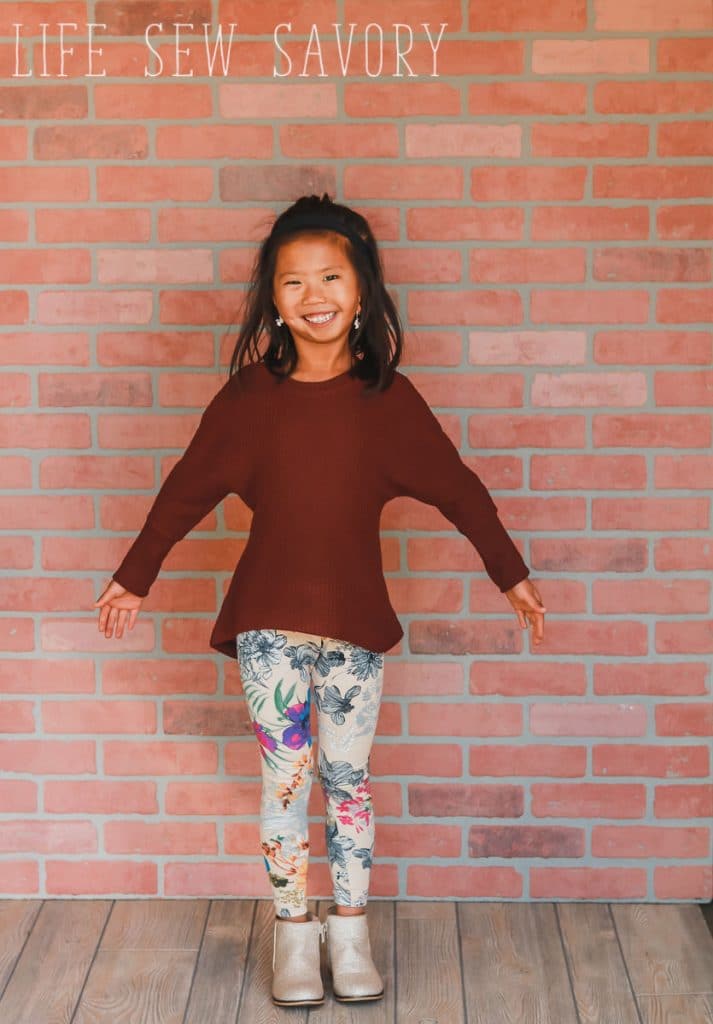
Copy a shirt to make a sweater –
I had a circle skirt that I had used while filming It’s Sew Easy and didn’t love it, so I decided to turn it into a shirt for Rose. I had just enough fabric, but if are aren’t upcycling you will need about a yard to make a small child’s shirt.
Layout a shirt that fits your child well in sleeve and bottom length. Lay it flat on two layers of fabric. Spread the arms wide from the body of the shirt. If you put it too close you will not be able to lift your arms in the new shirt. The shoulders may look slightly bunched, but give plenty of room between the body and sleeve.
Sew all seams with a stretch stitch or serger. {looking to use your serger with more confidence? Check out my class}
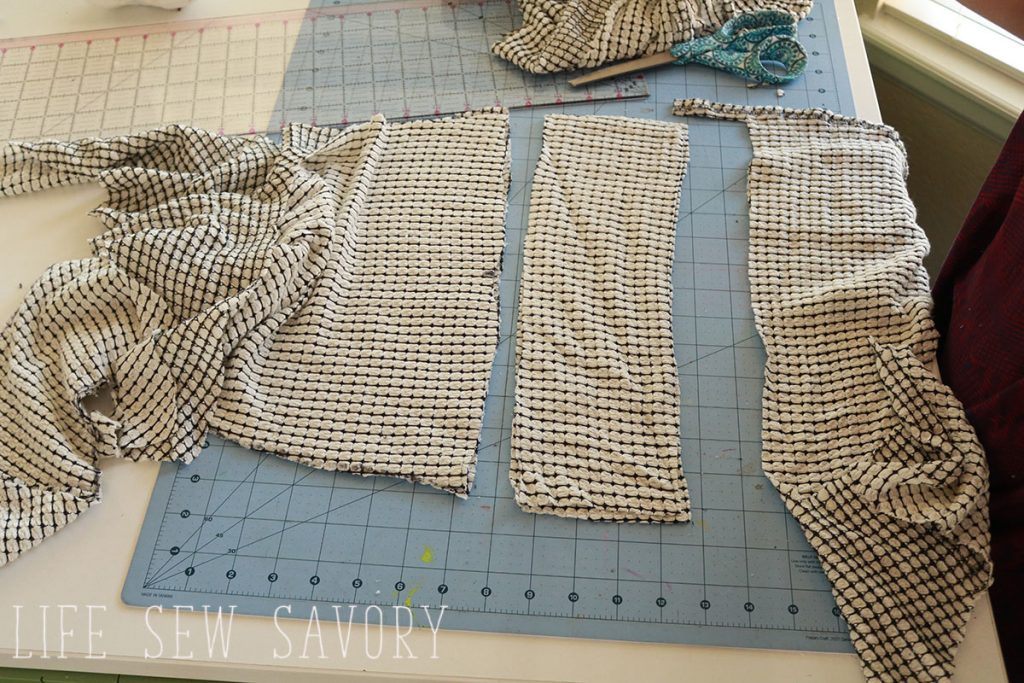
Use a fabric marker to trace half of the shirt. Give a generous seam allowance and add a big U under the arm. You can lower the U for a more “wing” look and on the maroon shirt my U is a bit lower.
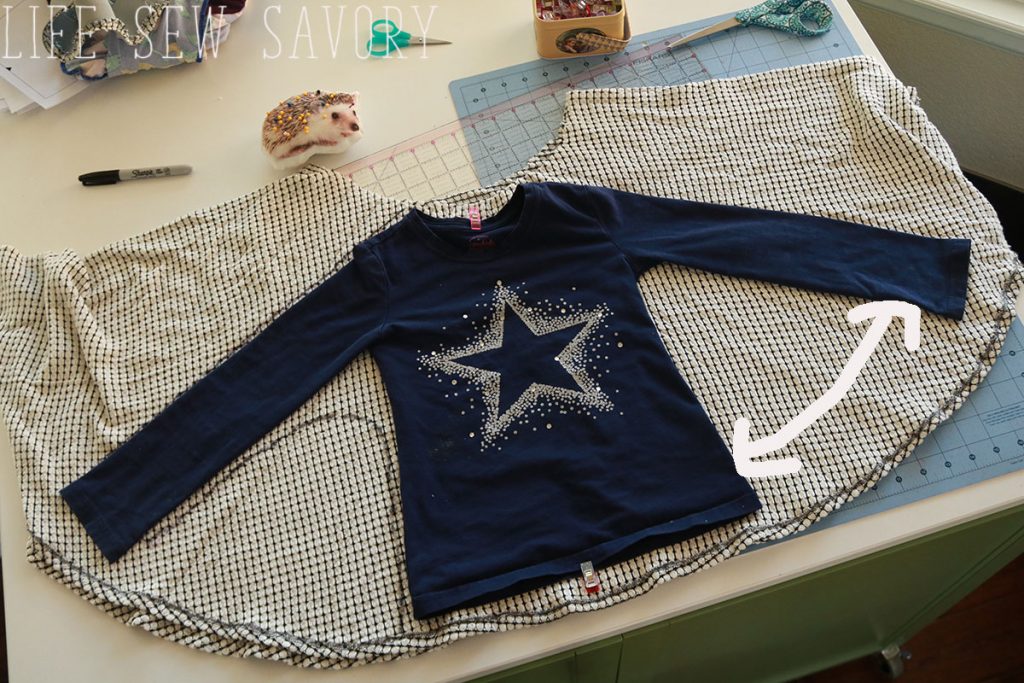
Cut out the shirt on the line only to the half way mark. If you have the fabric you can lengthen the shirt to your liking at this point.
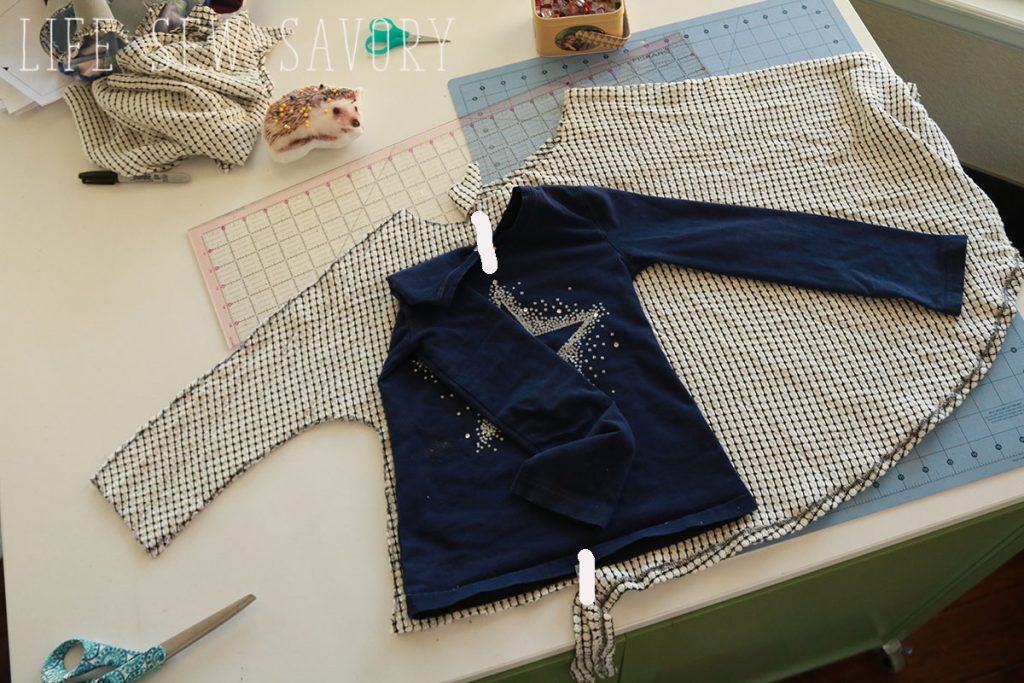
Fold the shirt over and cut the second side of the shirt.
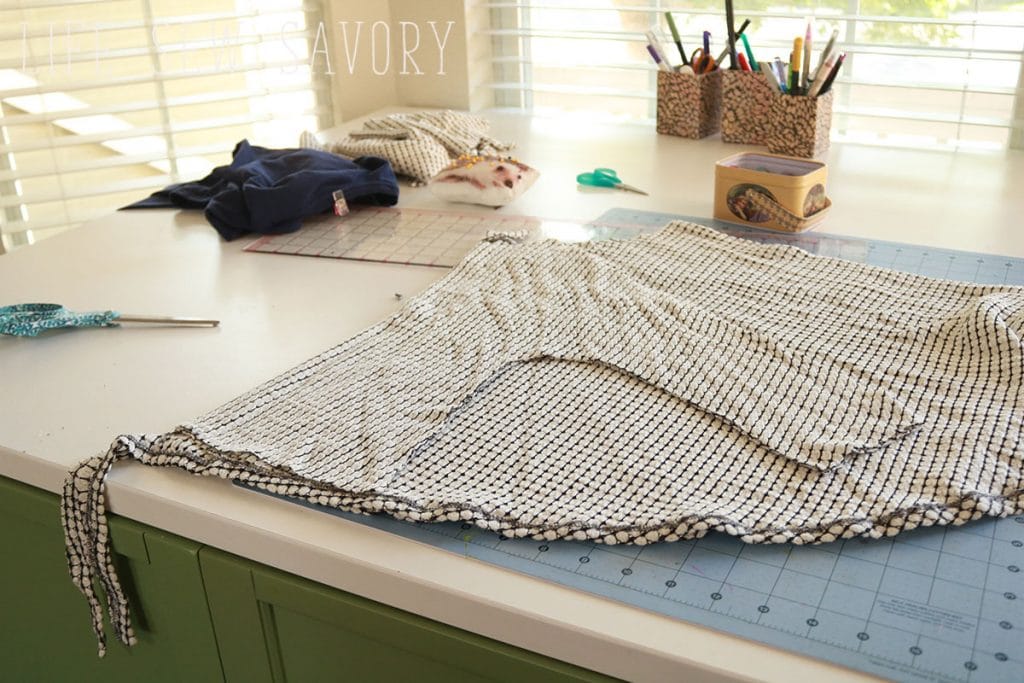
You now have two identical pieces. Cut one to be the front by lowering the neckline. Also adjust the front/back hems if needed.
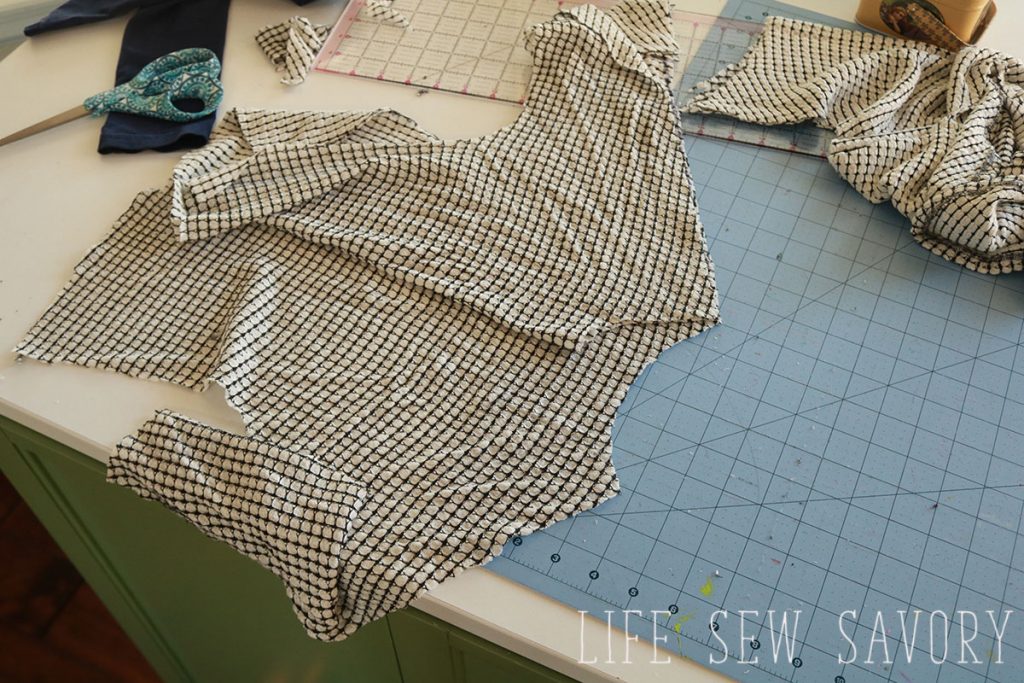
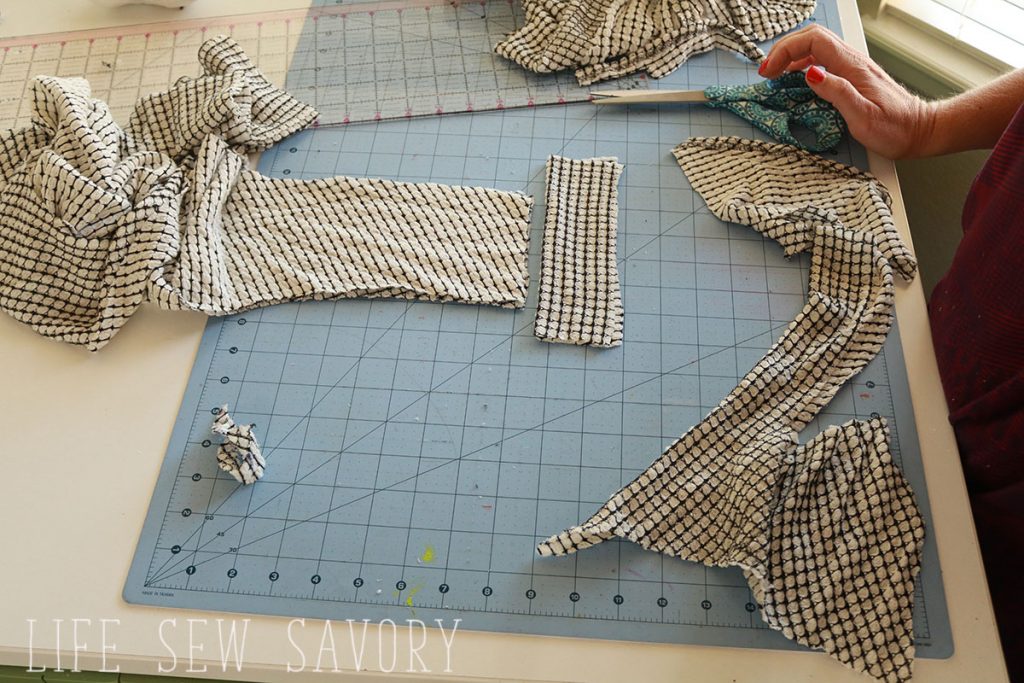
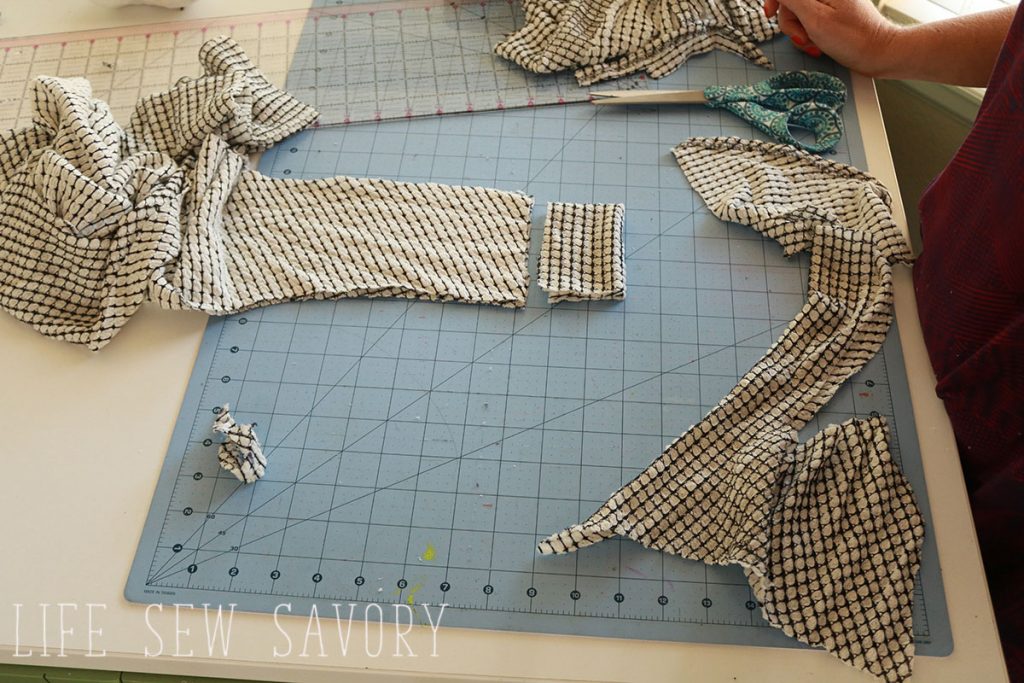
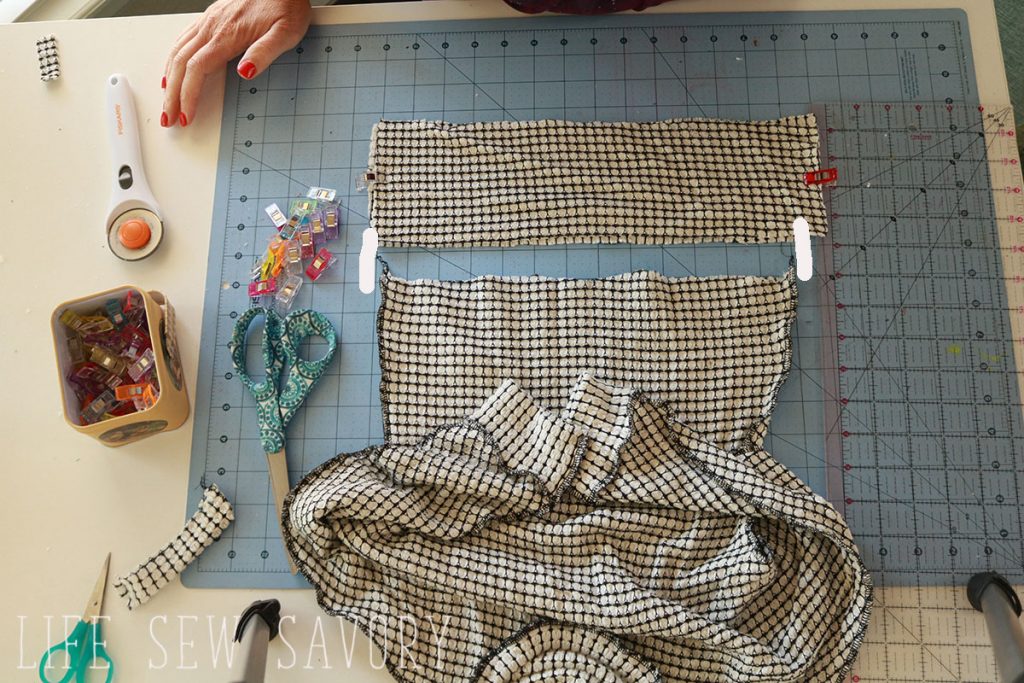
If you are adding cuffs/bands cut them now. I cut a front and back bottom band for this version because my fabric was too short to lengthen. My sleeve cuffs are a bit smaller than the sleeve ends to add a nice finish to the sleeve.
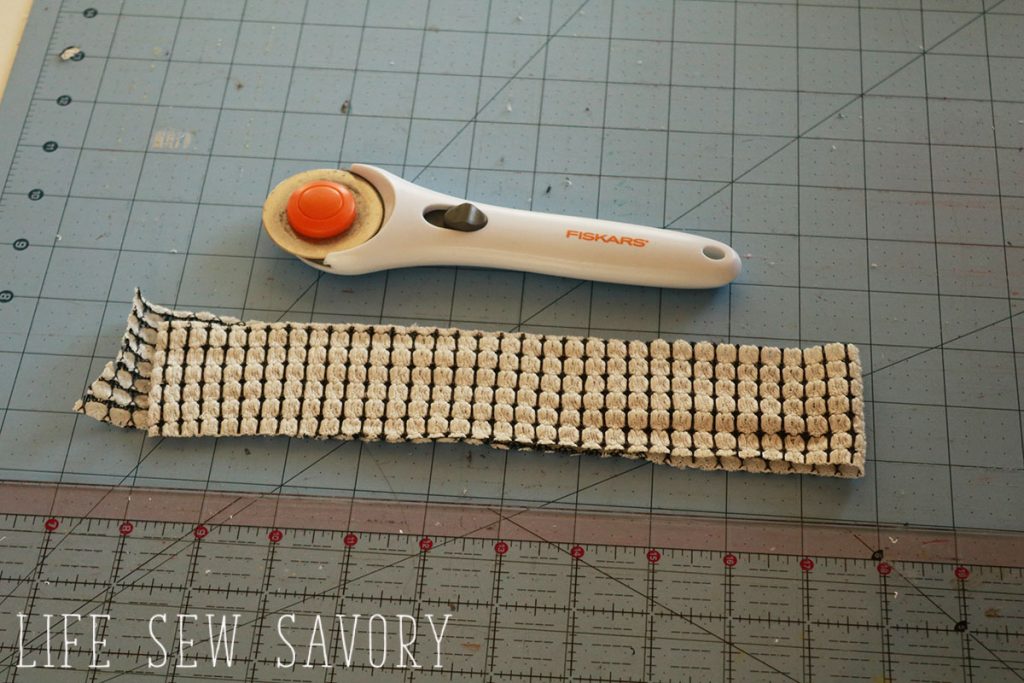
Also cut a neckband. With sweater knit and waffle I cut my neck bands a bit wider than normal. This one is 2″ wide x 90% of neck length. Cut longer than you need and adjust later.
Sew one shoulder seam with right sides together.
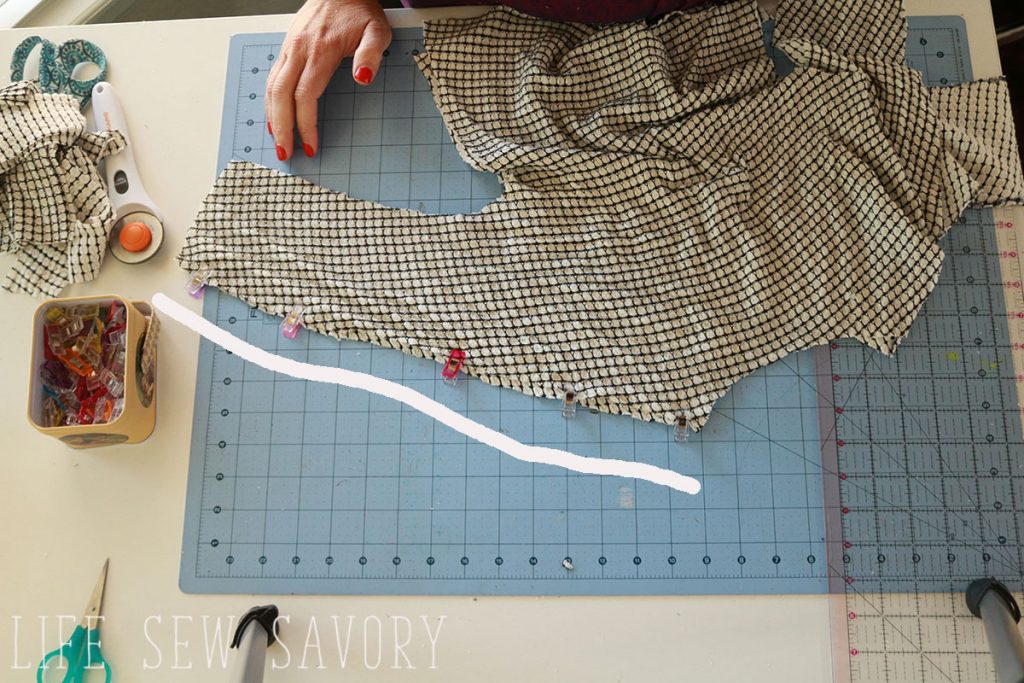
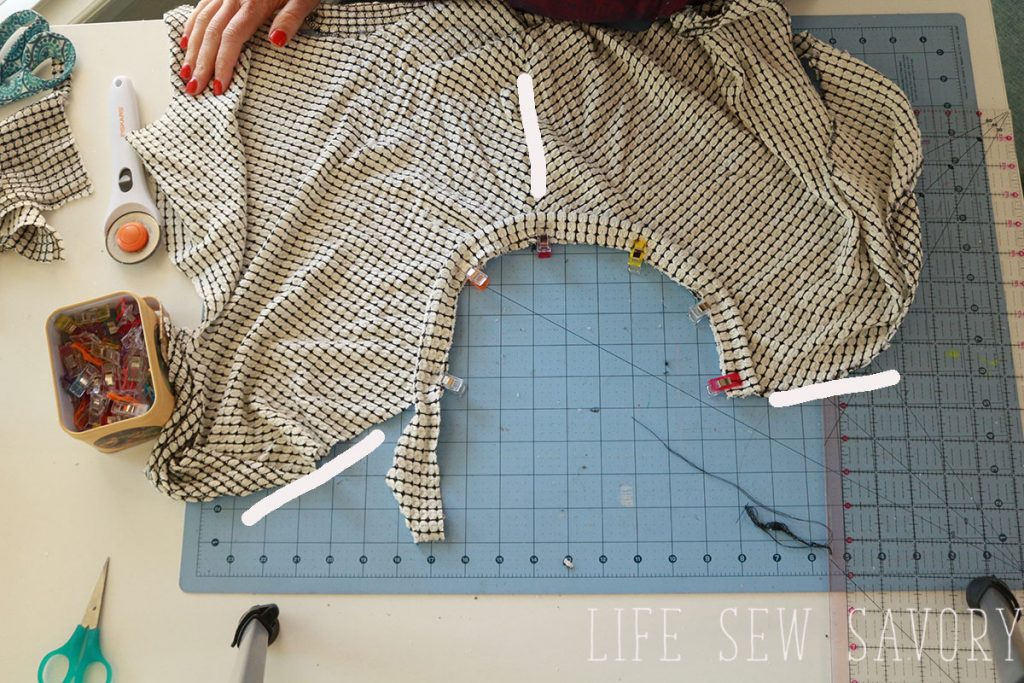
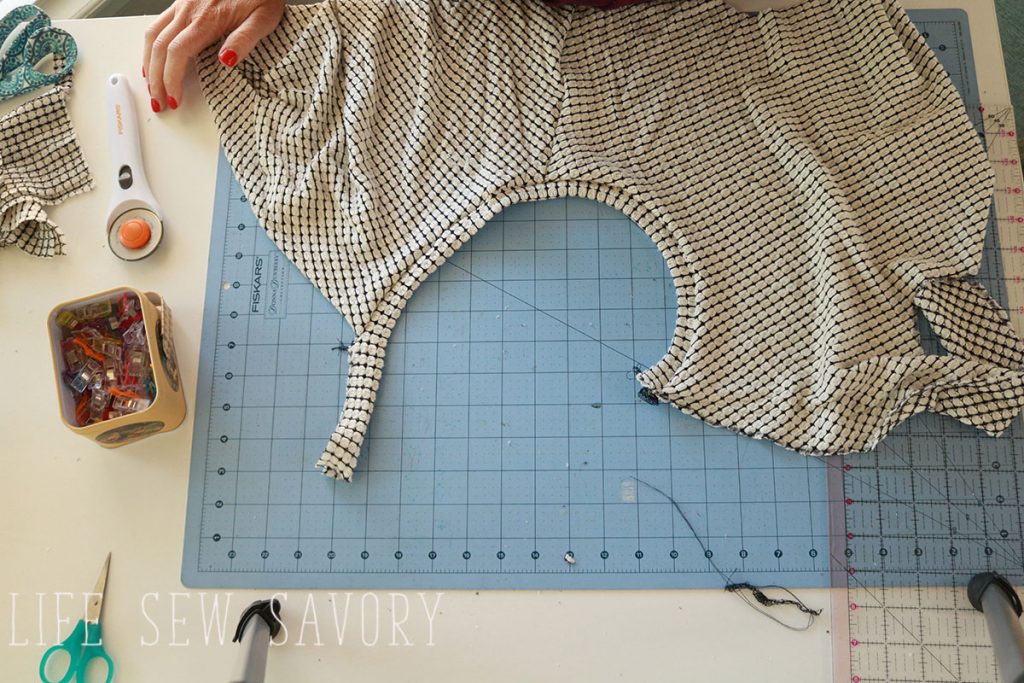
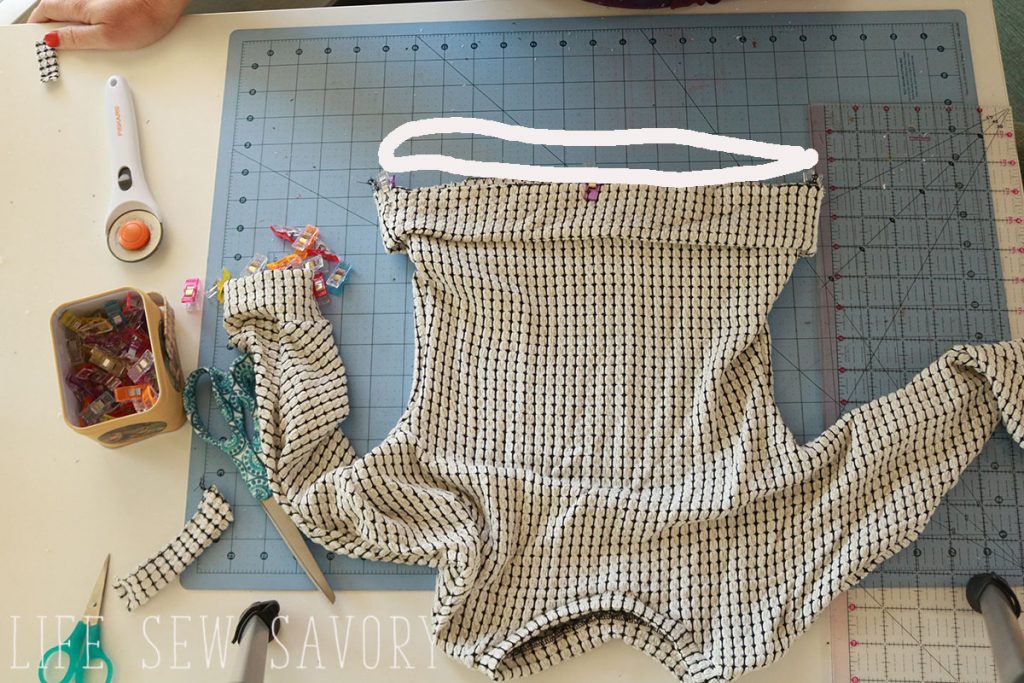
Pin and sew the neck band in place. Fold the band in half with wrong sides together and stretch along the neckline. Top-stitch if desired.
Sew up the other shoulder seam and finish the seam allowance at the neckline if you used a serger. {I like to pull my threads back through the other threads = see video}
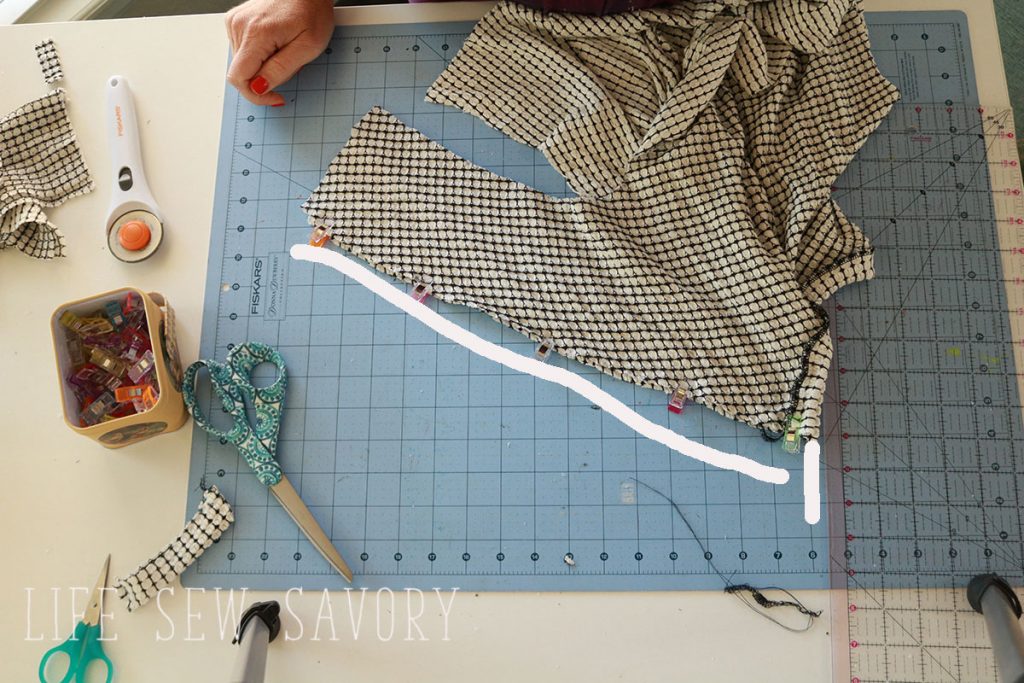
Fold the sleeve cuffs together with wrong sides touching and stretch to fit the sleeve ends. The more you have to pull the tighter your cuff will be. Sew both sleeve cuffs.
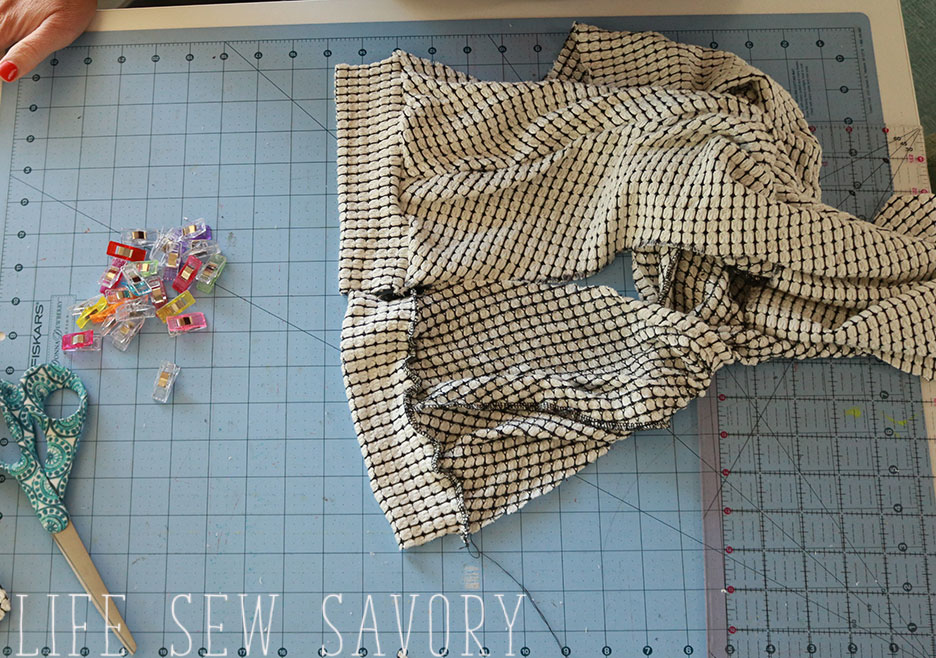
Stitch up the sides seams starting on both sides at the sleeve cuff and sewing down.
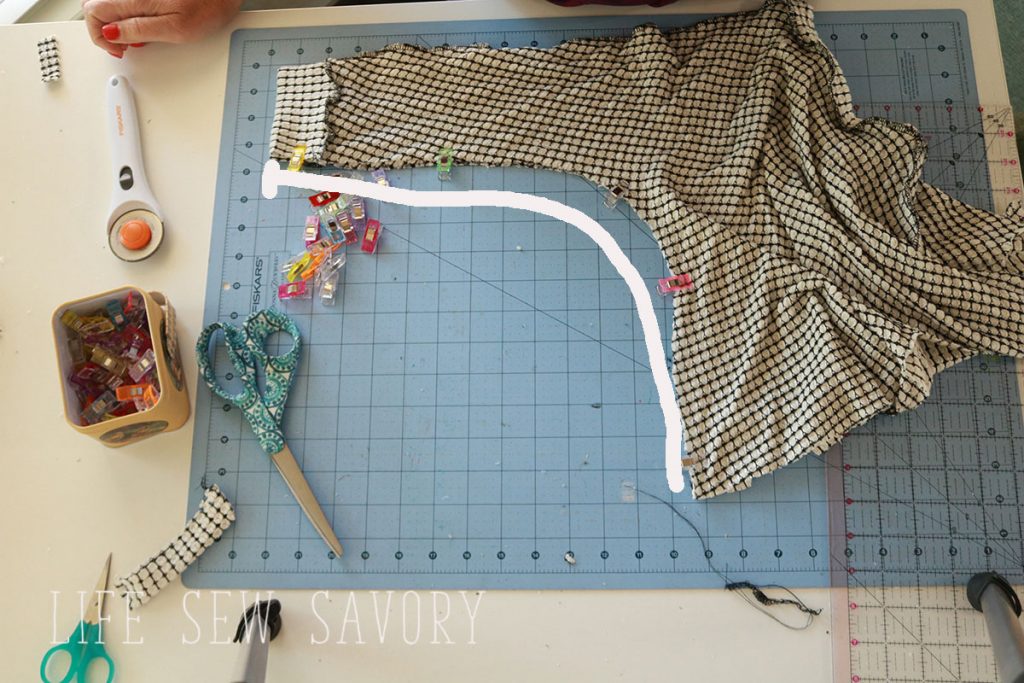
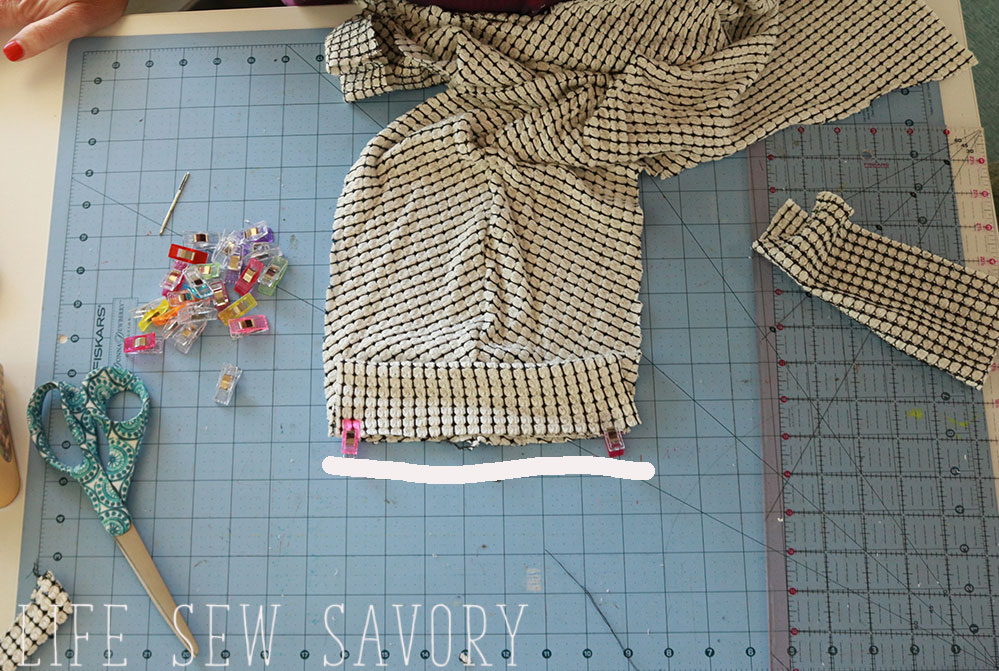
Place the front and back bottom band together and sew the short sides. Fold in half and then sew the raw edges to the bottom of the shirt to finish.
You did it!! Super adorable easy sew shirt – check!! Use this sew a shirt DIY tutorial to make all sorts of fun fall/winter tops for your little ones and yourself! I’m planning to make on it my size really soon.
A little thumbs up for you! Well done!!





slavica vučinic says
Thanks! You are great :)Huge from Serbia 🙂
Dee Kay says
Hi Emily,
I love the idea of this basic shirt and I see some possibilities to at little flairs of style which I am excited about (so if I make 3 of them, they look like different shirts rather than the exact same shirt in different prints). But I have one question. I have a 38DD chest, and I am a more sturdy built kinda girl (well, I am 53, lol), but not obese and I hate clothes that are a tent with a neck hole and arms, because they just make me look larger than necessary. So, if I wanted a little more of a slim fit, given my large chest (I have a 38″ upper bust and 35.5″ lower bust at my rib cage), can I make a larger size for my front and a smaller size for my back and will it work OK, to make room for my bust but not be too tent-like in the back? I have discount muslin, so I can make a mock-up, but before I even waste that, I would like to know if you think it might work based on your experience, or if you know right out of the gate that it will be a complete flop. Thank you for all you do, and I love the way many of your pieces are simple enough for us less experienced sewists, but also leave room for alterations and embellishments. It’s pure genius. Hugs from CA, Dee
Dee Kay says
**I forgot to say: I have a 6″ full bust adjustment.
Jill says
Just want to say your model is adorable!!