inside: Learn how to sew a loose bell sleeve with this slash and spread sleeve hack. Use a favorite sleeve pattern to create this fun full sleeve look with a little creative sewing hack. Beautiful sleeves with a quick sewing hack.
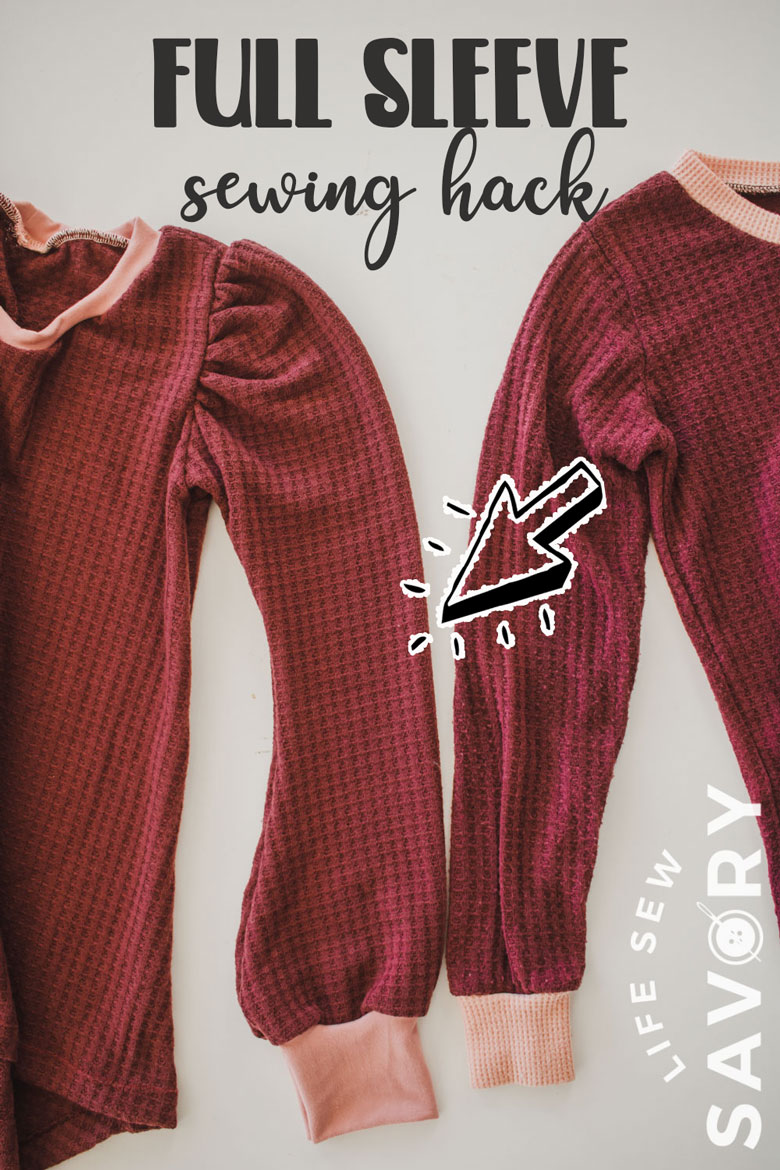
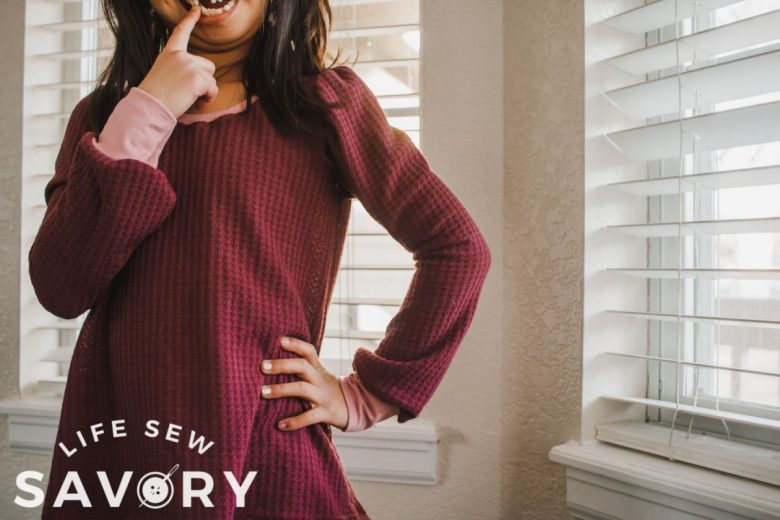
It’s another fabulous sewing hack! I’ve been filling Roses closet with items made from existing patterns, but with small hacks to make the pattern a bit different. In this sleeve hack I’m going to show you how to slash and spread a sleeve pattern to create a new look for the sleeve. Below you can see the difference from the original sleeve to the slash and spread sleeve hack version. The sleeve is fuller on both the top and bottom of the sleeve and just beautiful.
Sewing A full Sleeve
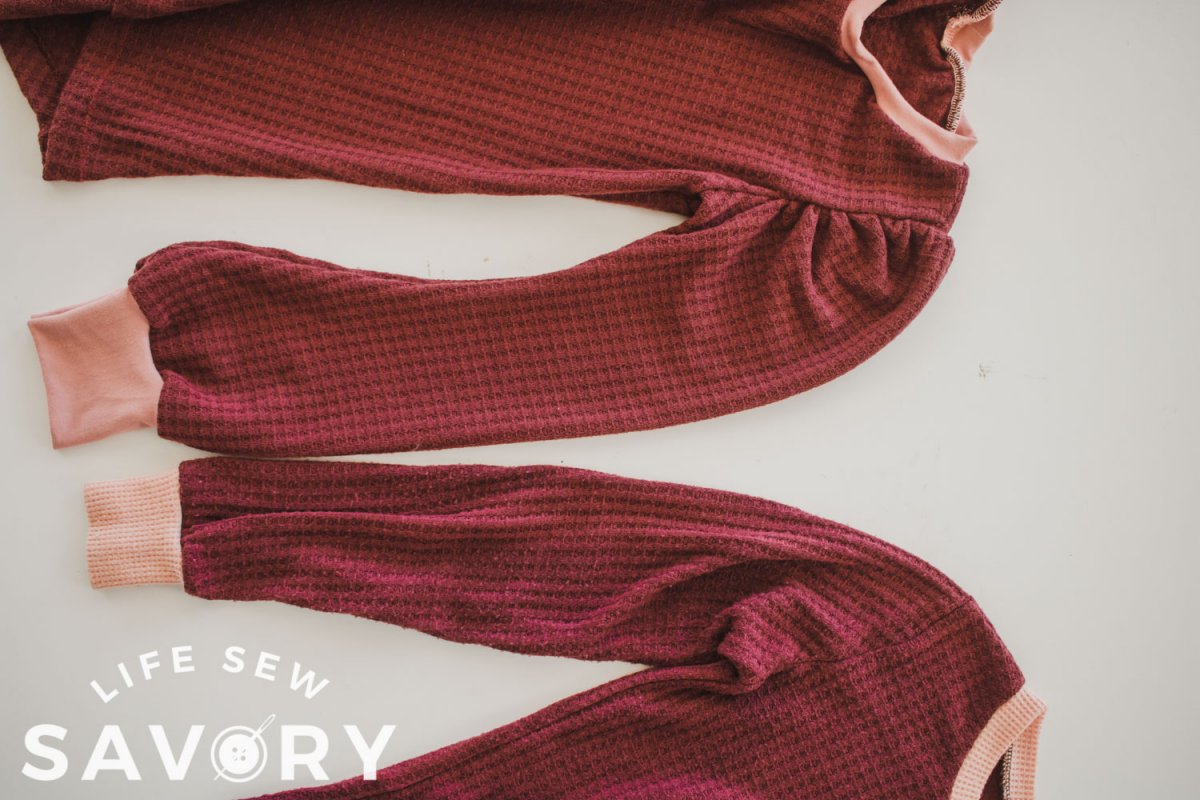
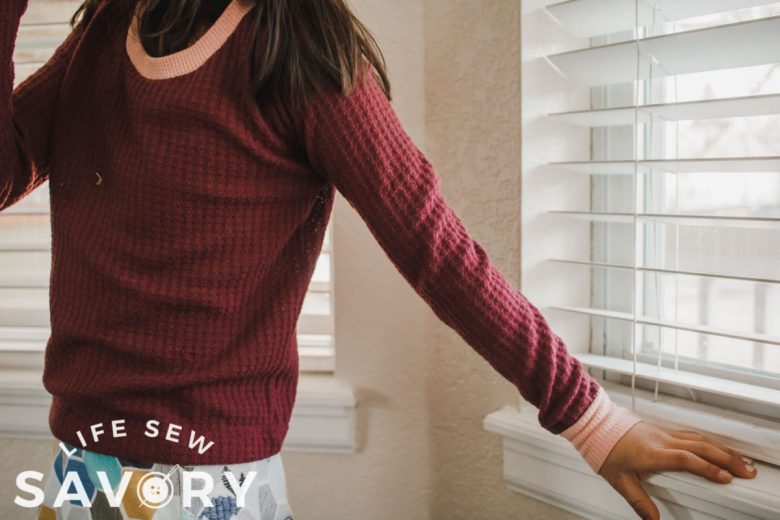
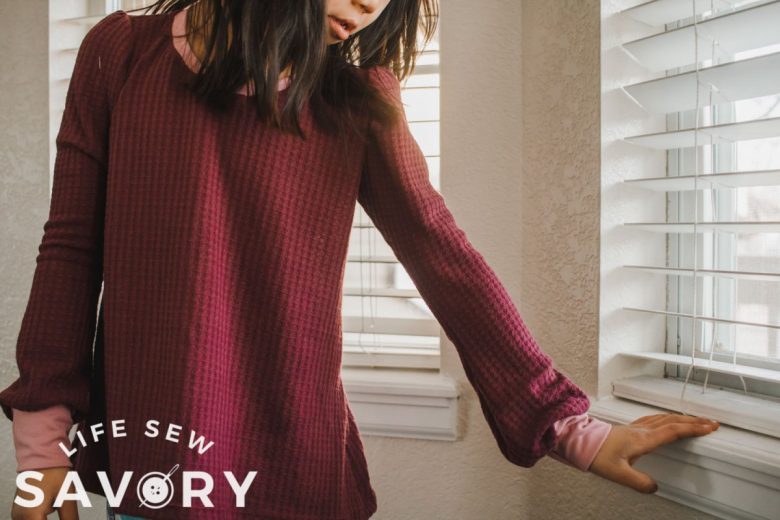
I have a couple of side by side photos for you to see. Both sleeves were sewn from the same original sleeve pattern. The left side is the more fitted sleeve and the right side is the slash and spread sleeve hack option.
This sewing hack creates a fuller top and a fuller bottom gathered with a cuff. My daughter loves the final look and this shirt is one of here favorites.
Fuller sleeve supplies:
- T-shirt pattern – here is my free one
- fabric – my favorite winter picks, like this waffle
- Cuff tutorial if needed
If you like the look of the fuller top, but not the bottom you can easily just use one part of this tutorial to create the sleeve look you want.
Slash and Spread Sleeve hack
Grab my free tee sewing pattern or another pattern you love and let’s get sewing. Start with the basic sleeve from your pattern. This one has a front and back, but we will be turning the sleeve into one that is the same on front and back.
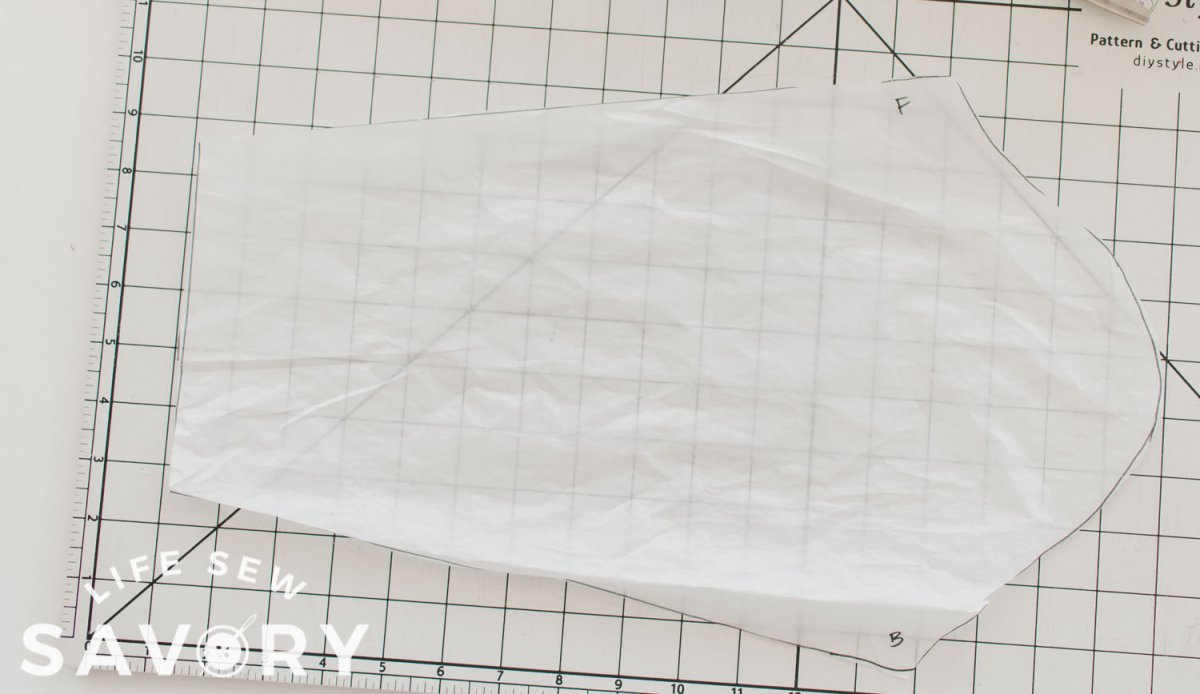
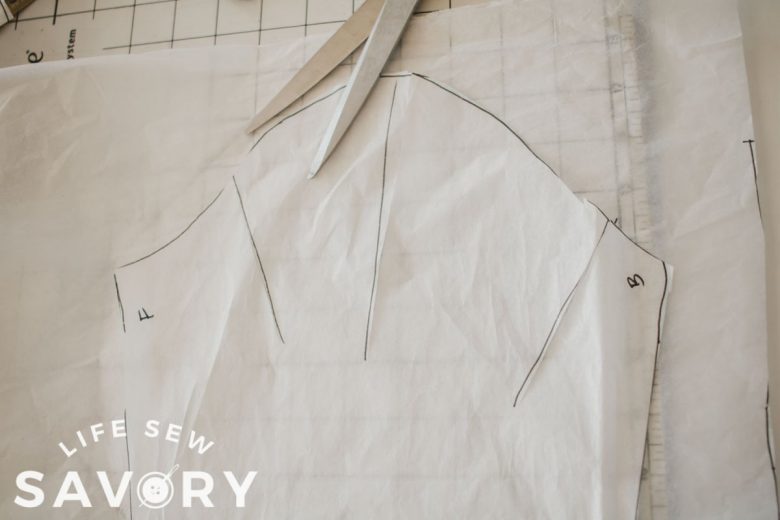
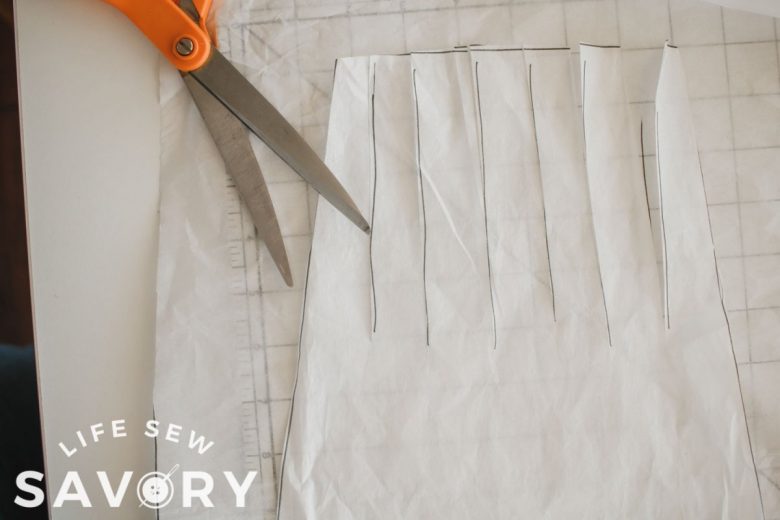
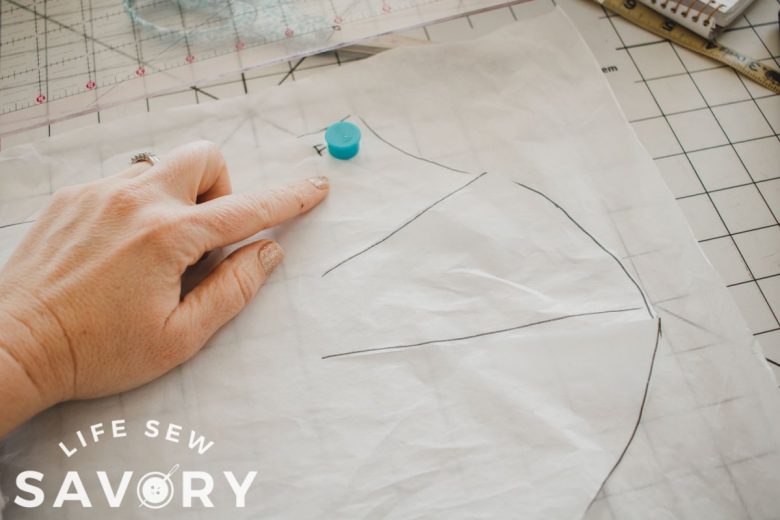
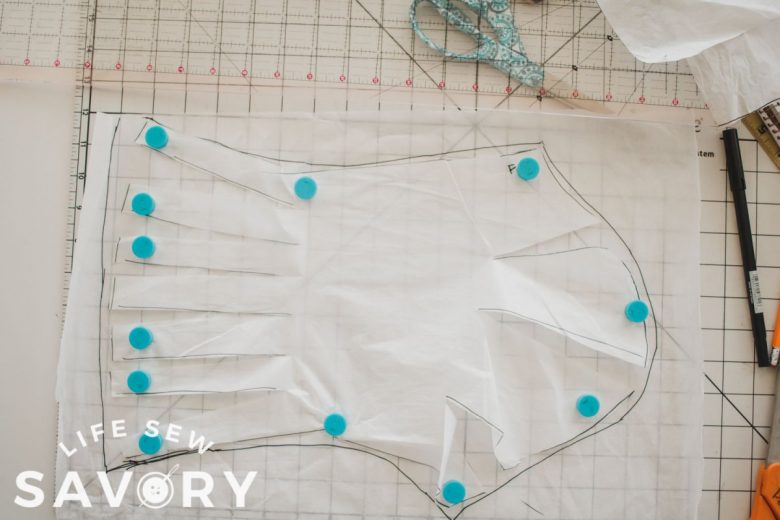
You will need the original pattern plus tissue paper for a new sleeve shape. I traced the original piece on tissue paper as well. Make 6″ cuts in the top and bottom of the sleeve. The more cuts you make the more you can spread the paper. I cut three on the top, but I probably should have added more to make the spread easier.
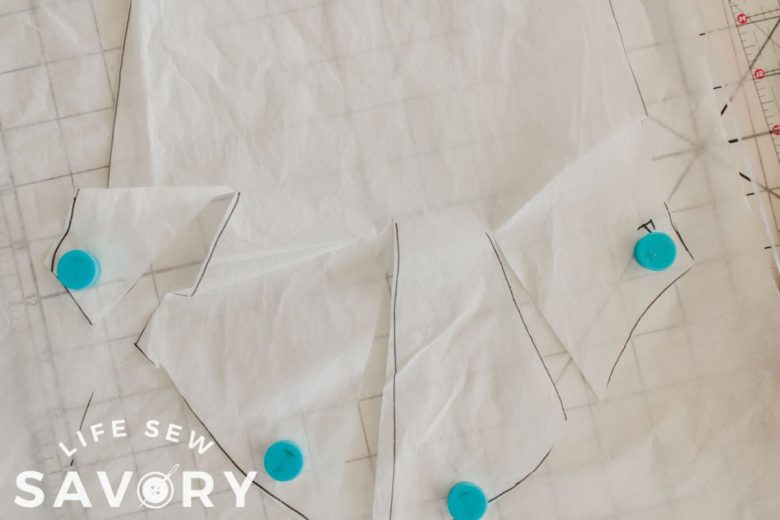
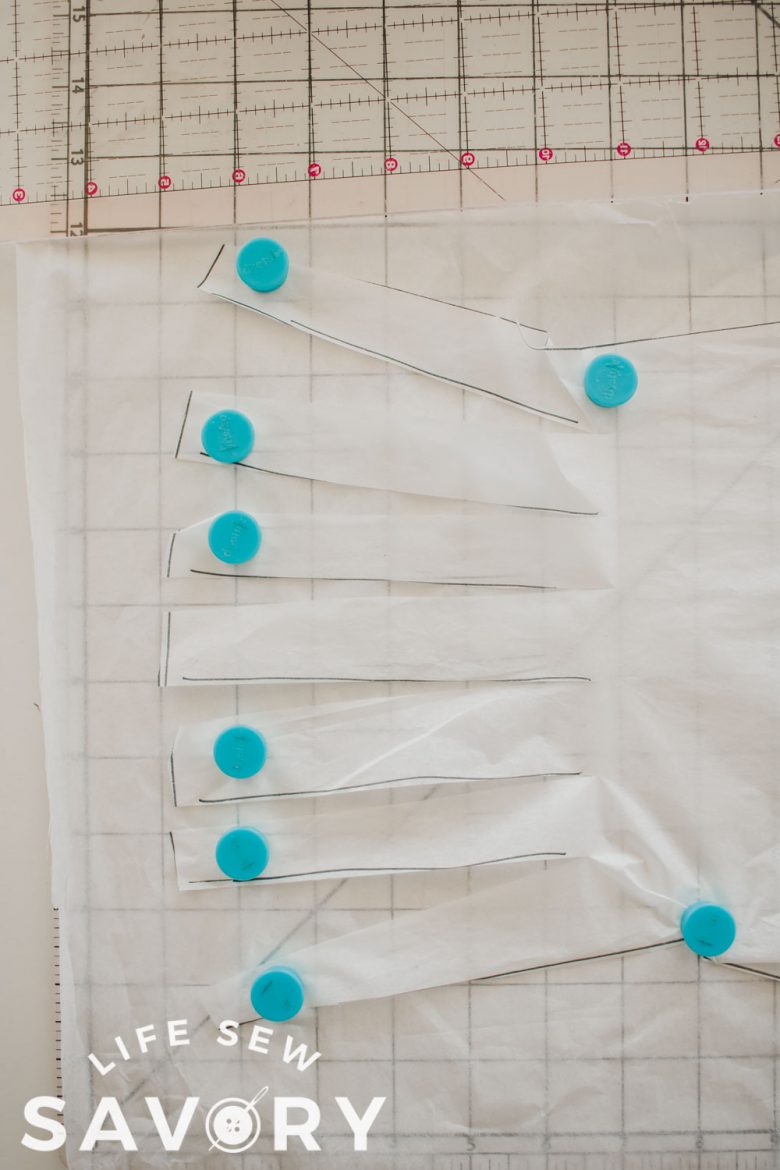
Use a pattern weight or magnet to held down one end while you pull the tissue paper to spread open the curve and the bottom of the sleeve. Pull the the slash marks open and hold down as you do each one.
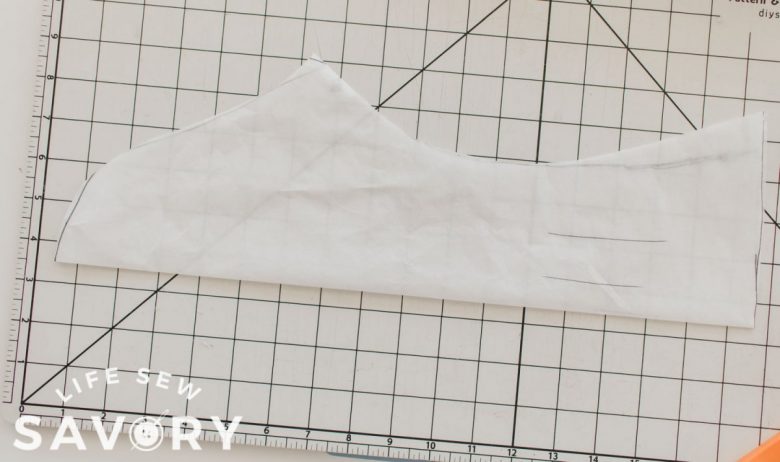
Trace around the new sleeve shape. The more you open the top and bottom the fuller those parts of the sleeve will be. Cut out the new sleeve and then fold in half. Even out the sleeve sides by folding in half and creating a symmetrical sleeve.
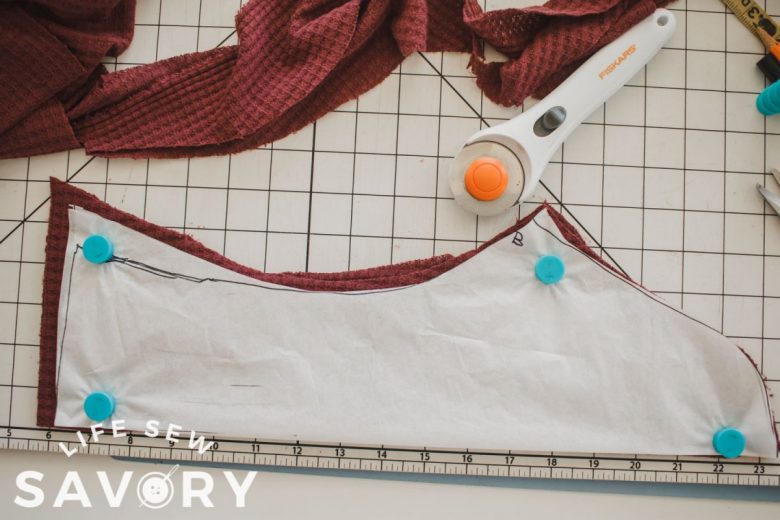
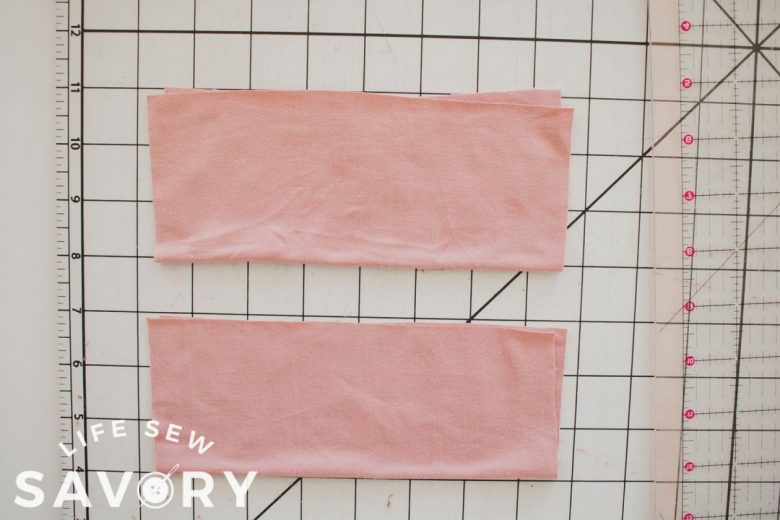
Grab your fabric and cut out two sleeves. Now we have to cut the cuffs as well. The bottom of the sleeve is quite wide at this point {mine is about 12″ wide} But we want to use the cuff to gather the sleeve in tight. For a medium size girl the cuff should be cut 5-6″ wide. Also cut 5-6″ tall for a nice cuff size. You will adjust the width for the size of the shirt you are sewing.
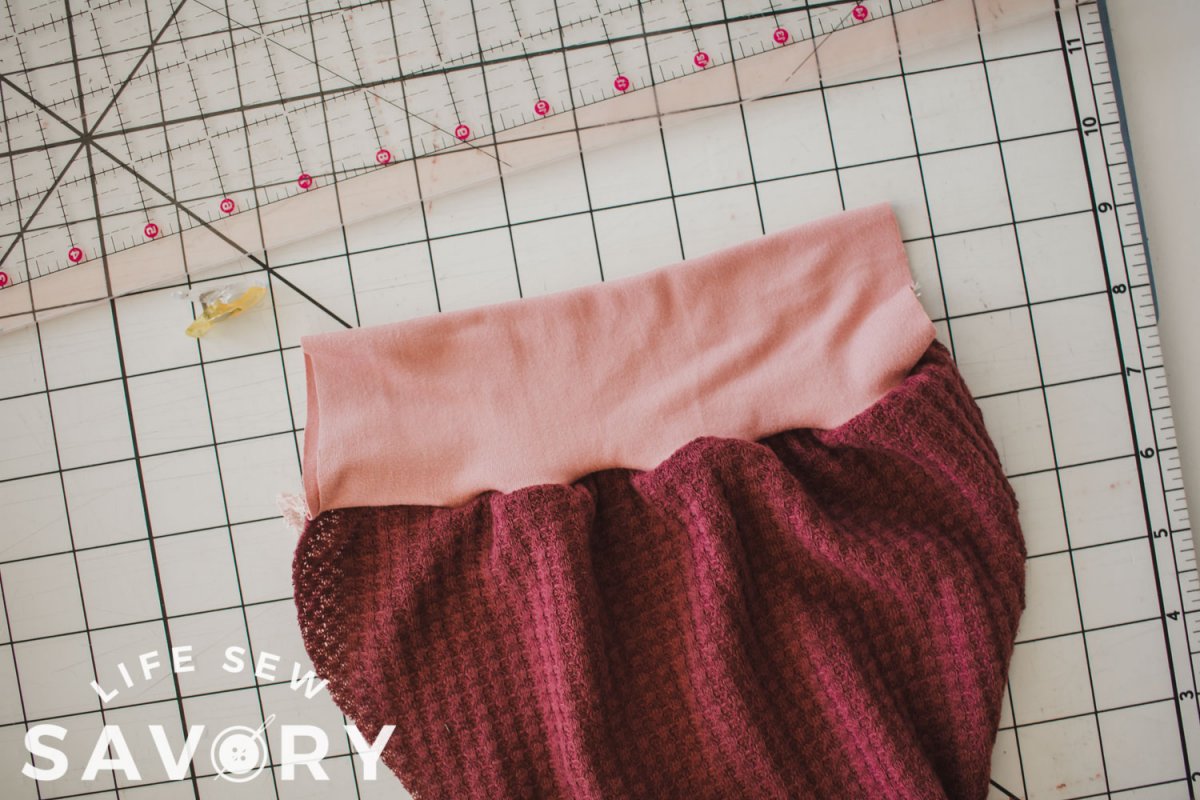
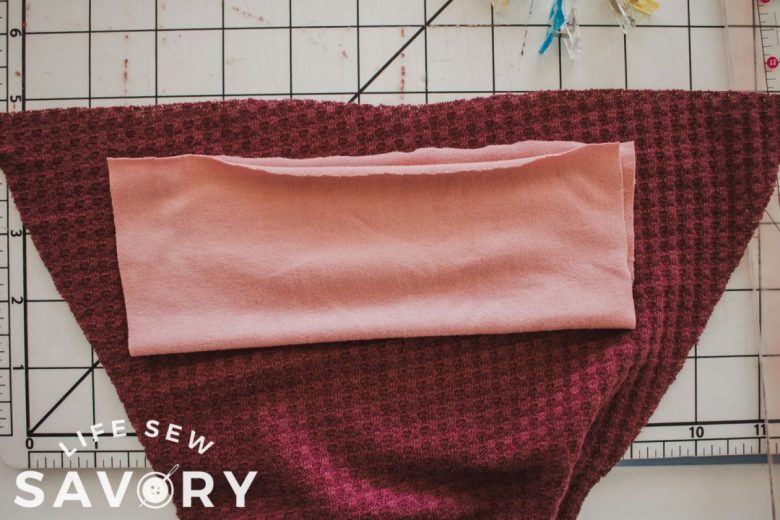
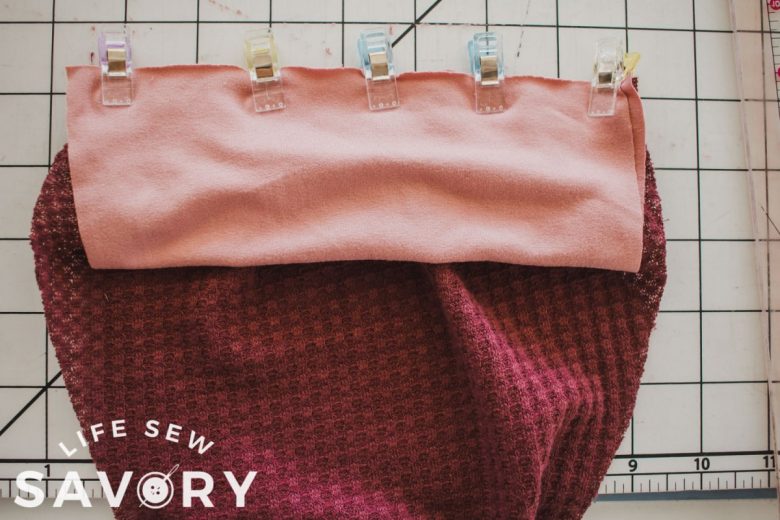
Now we will stretch the cuff to gather the bottom of sleeve. If you cannot stretch your cuff to reach from side to side of the sleeve you will need to sew a gathering stitch on the bottom of the sleeve to make it smaller before you stretch the cuff. Need help with gathering? check out this gathering tips post.
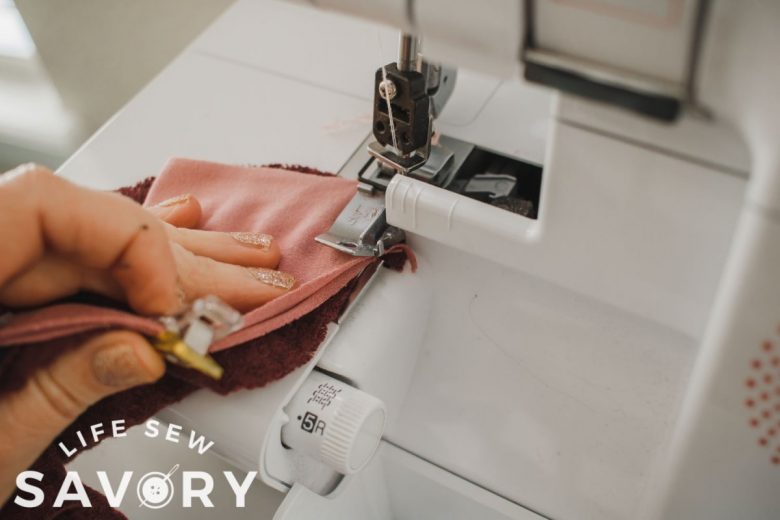
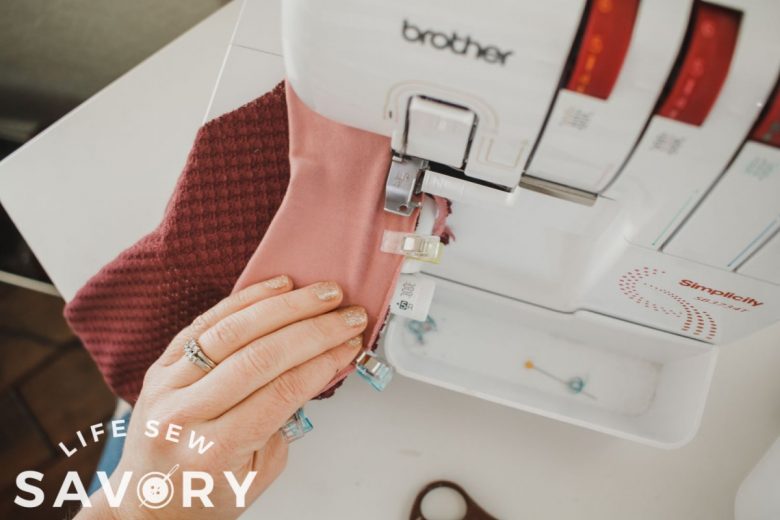
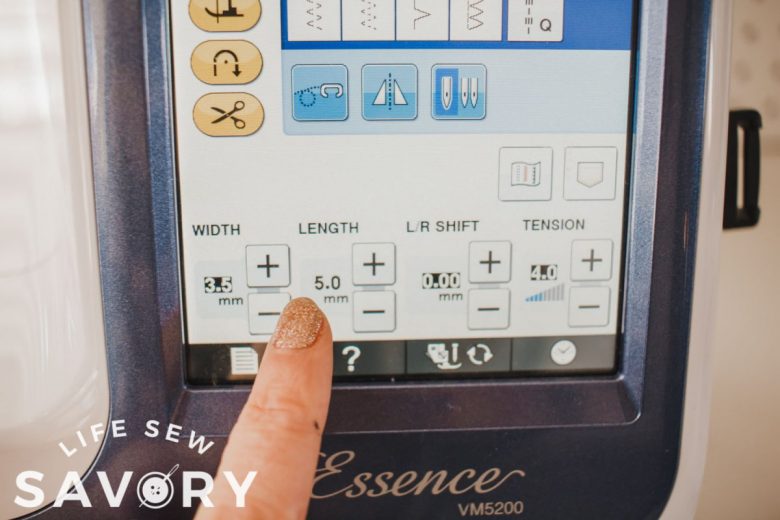
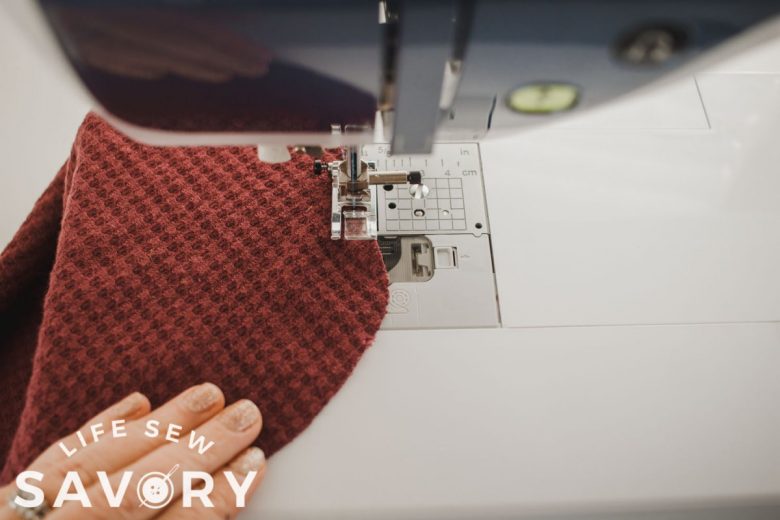
Use a stretch stitch or serger to stretch and sew the cuff the the bottom of the sleeve. You want to make sure this seam is really stretchy since you are pulling the fabric as you sew and my daughters hand will be pushing through the cuff, so it needs to be a strong seam.
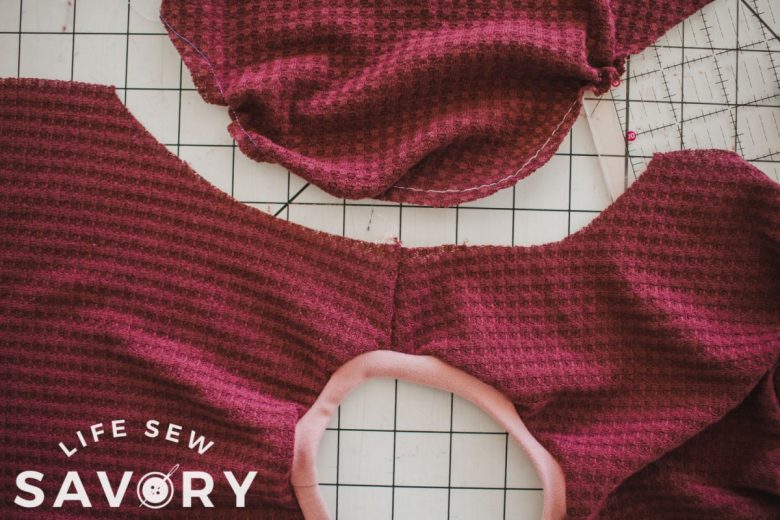
The sewn on cuff looks amazing and gathers the bottom of the sleeve perfectly.
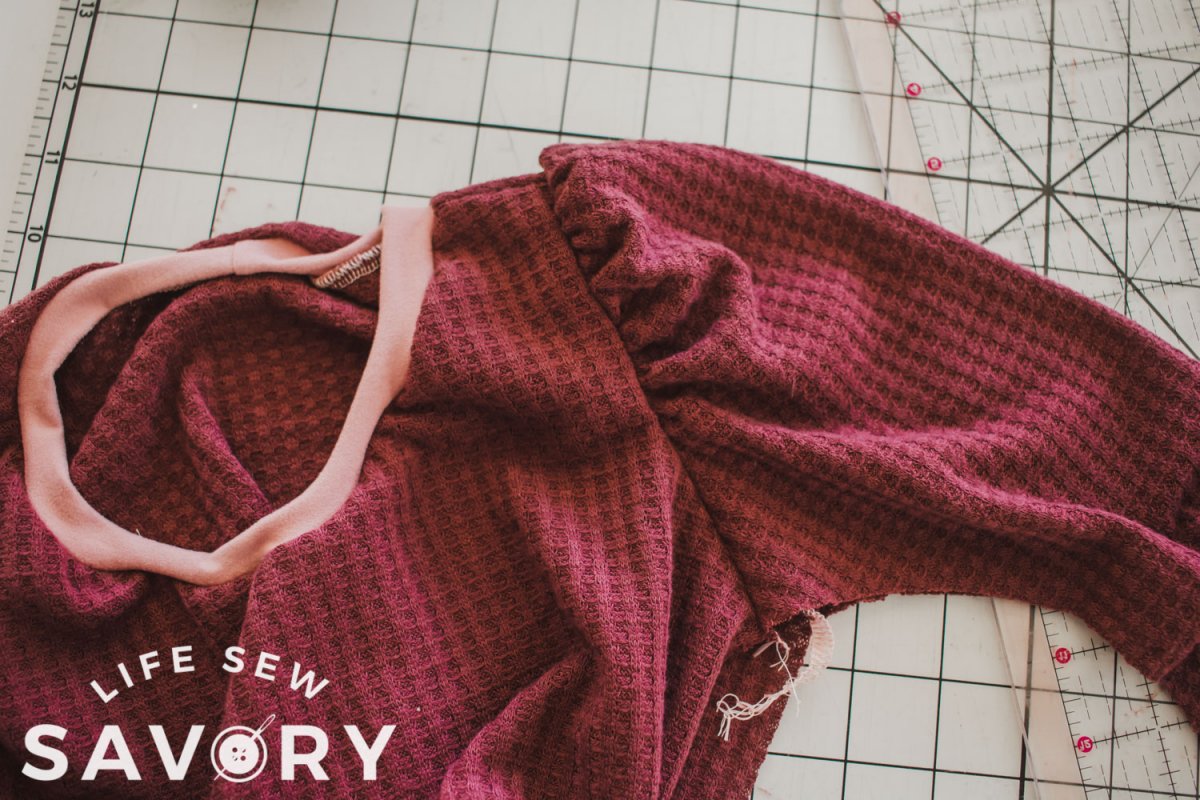
Now we need to gather the top of the sleeve as well. Our slash and spread hack has created a much fuller top to this sleeve, so we will now need to gather it to fit back into the shoulder.
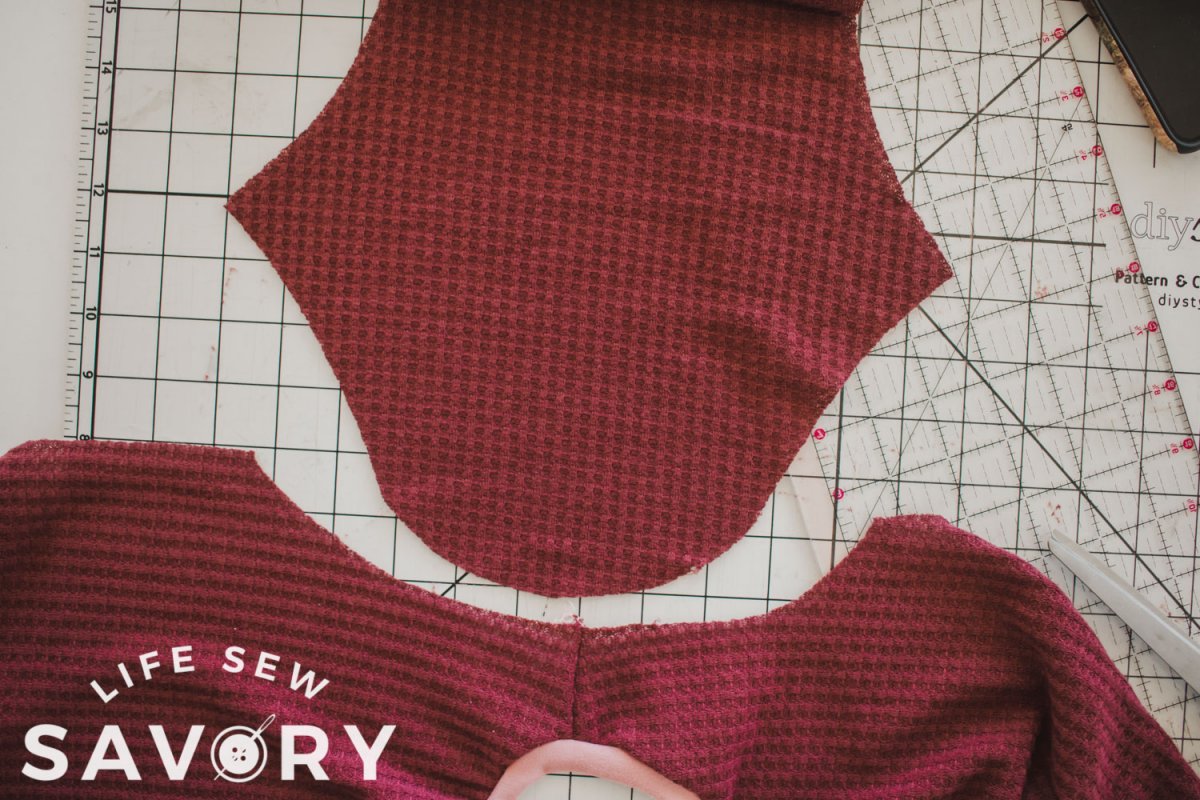
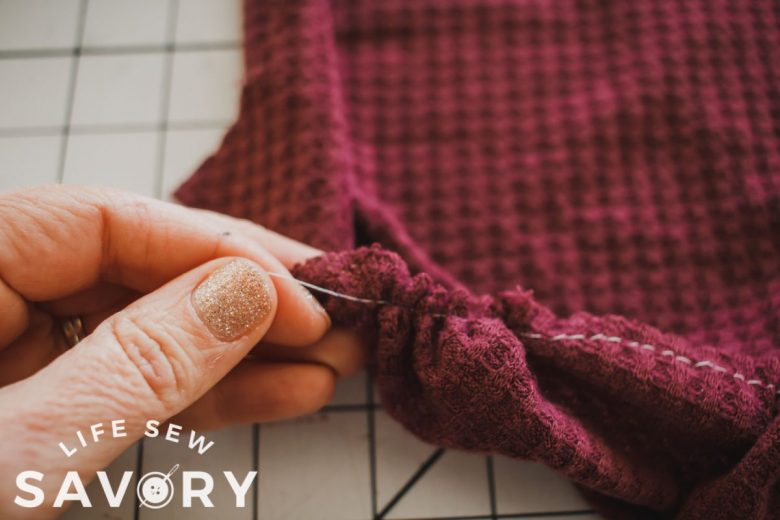
Set a long gathering stitch and sew a gathering stitch along the center 2/3 of the sleeve. You do not need to sew from end to end.
Once you have the gathering stitch sewn pull the bobbin thread to gather the top of the sleeve to fit the shoulder.
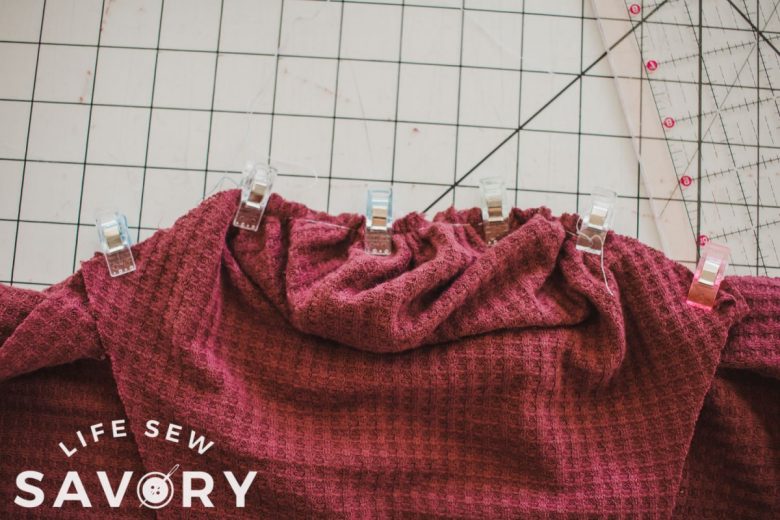
When you have the sleeve the right size pin or clip the outer sides of the sleeve and then work your way towards the center keeping the gathers even as you go.
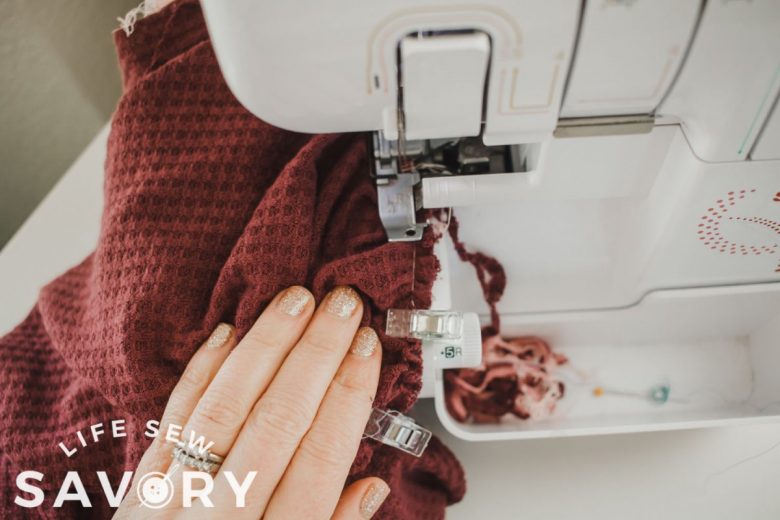
Sew this seam again with a knit stitch or serger.
Your gathered sleeve top should look puffy and amazing at this point. If you can see your gathering stitches you will want to remove those at this point.
Finish the shirt by following the rest of the steps in the sewing pattern.
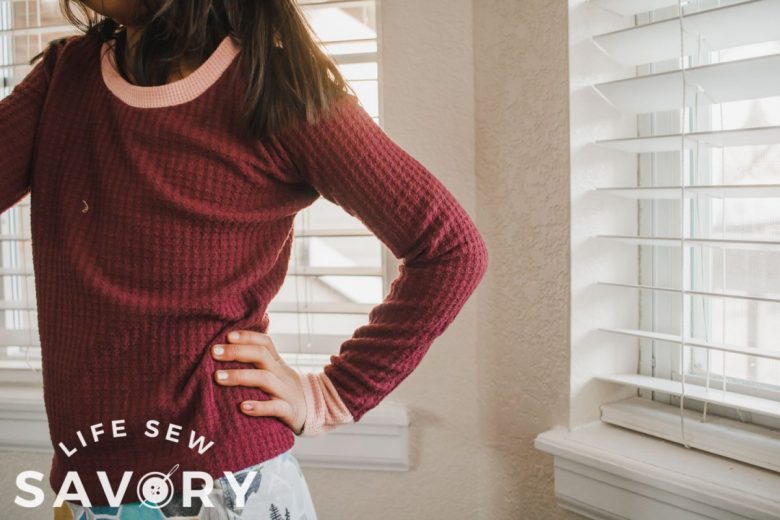
Here’s how awesome your new full sleeve looks! You can also see another comparison of the original and new sleeve.







Leave a Reply