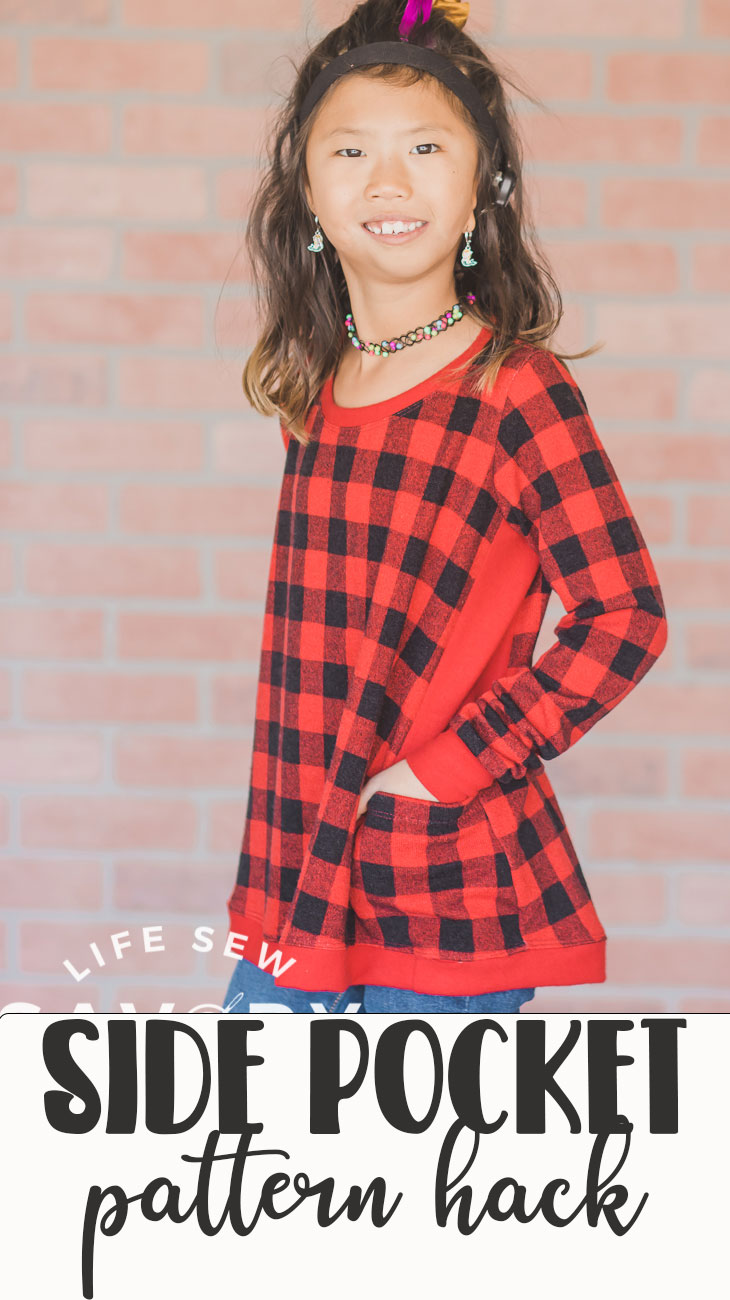
inside: Learn how to add a shirt side pocket with this sewing hack and tutorial. Sewing tutorial to add side pockets to a shirt or sweatshirt for a cut and useful hack.
It pattern hacking time again! My favorite time! If you are new around here let me tell you how much I love changing up patterns I already own to create new looks – I love it so so much! Todays look was inspired by a shirt I saw online {somewhere….} Side pockets on a sweatshirt? So cute! I can’t wait to show you how easy it is to add a shirt side pocket {or two!}
Add a shirt side pocket –
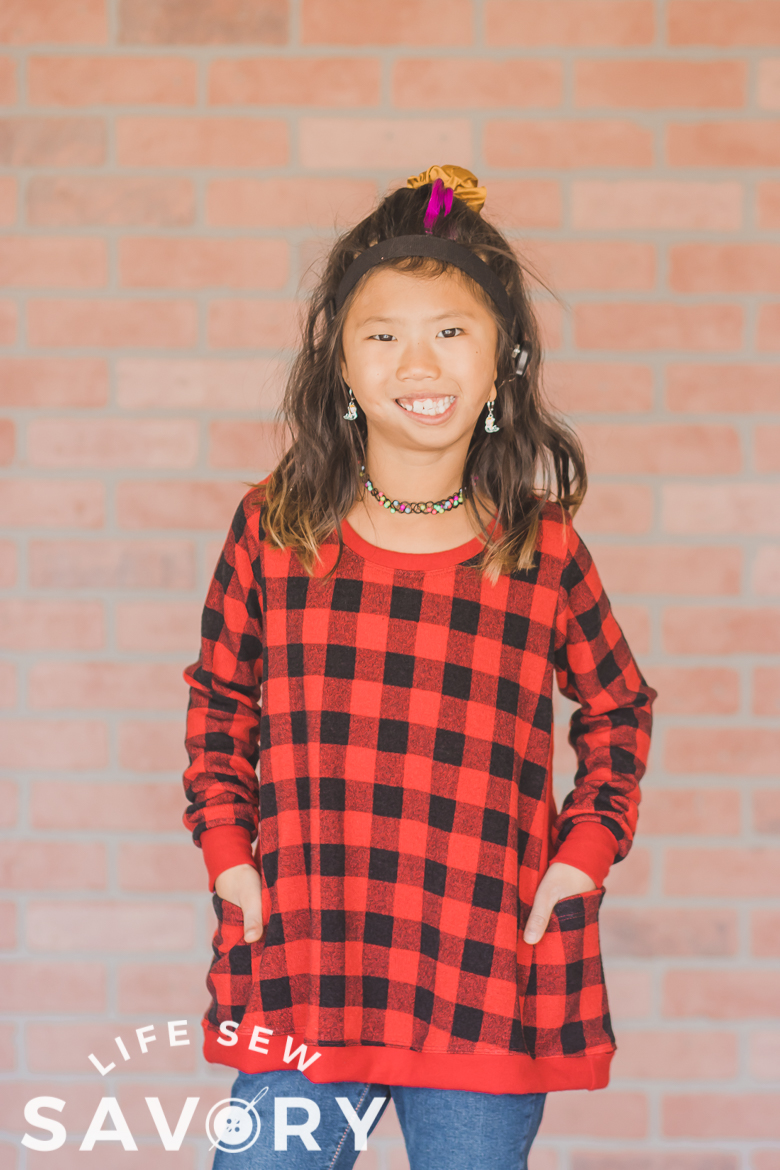
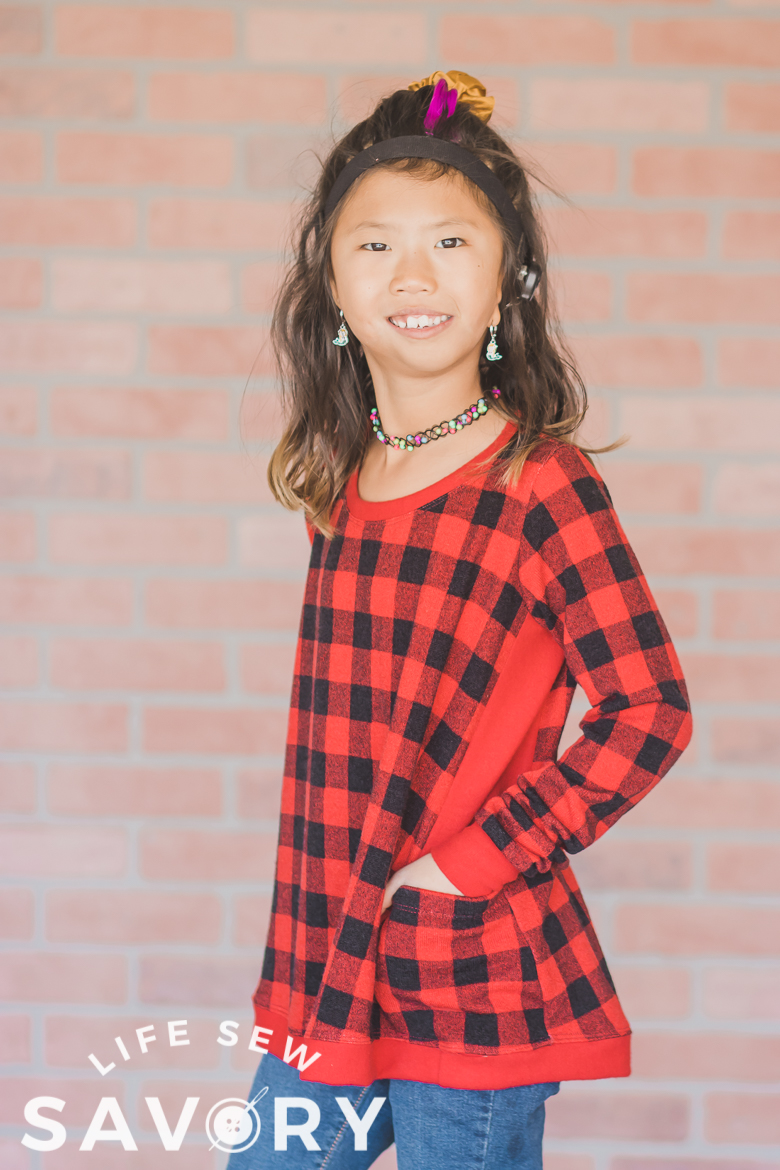
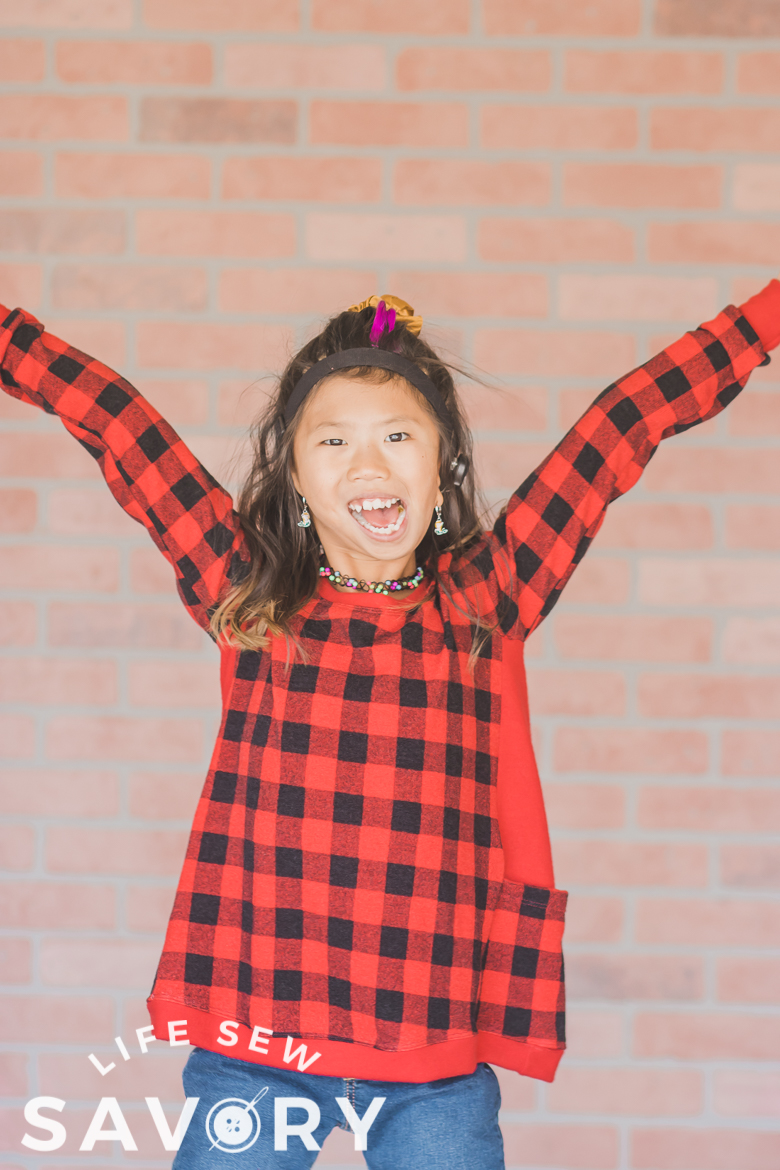
I’ve got a quick little video attached to this post, but the real tutorial will be below… the video is just a fun teaser of the project… Before we get into the details let’s take a closer look at this sewing hack and the results.
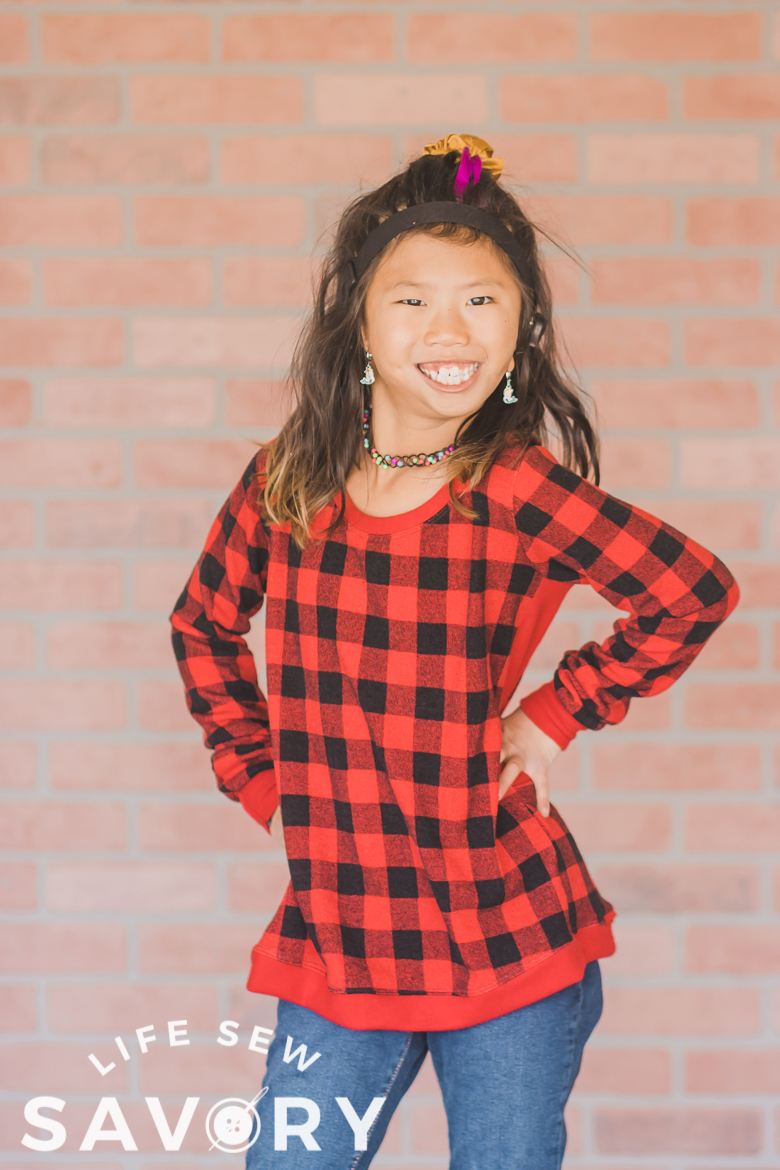
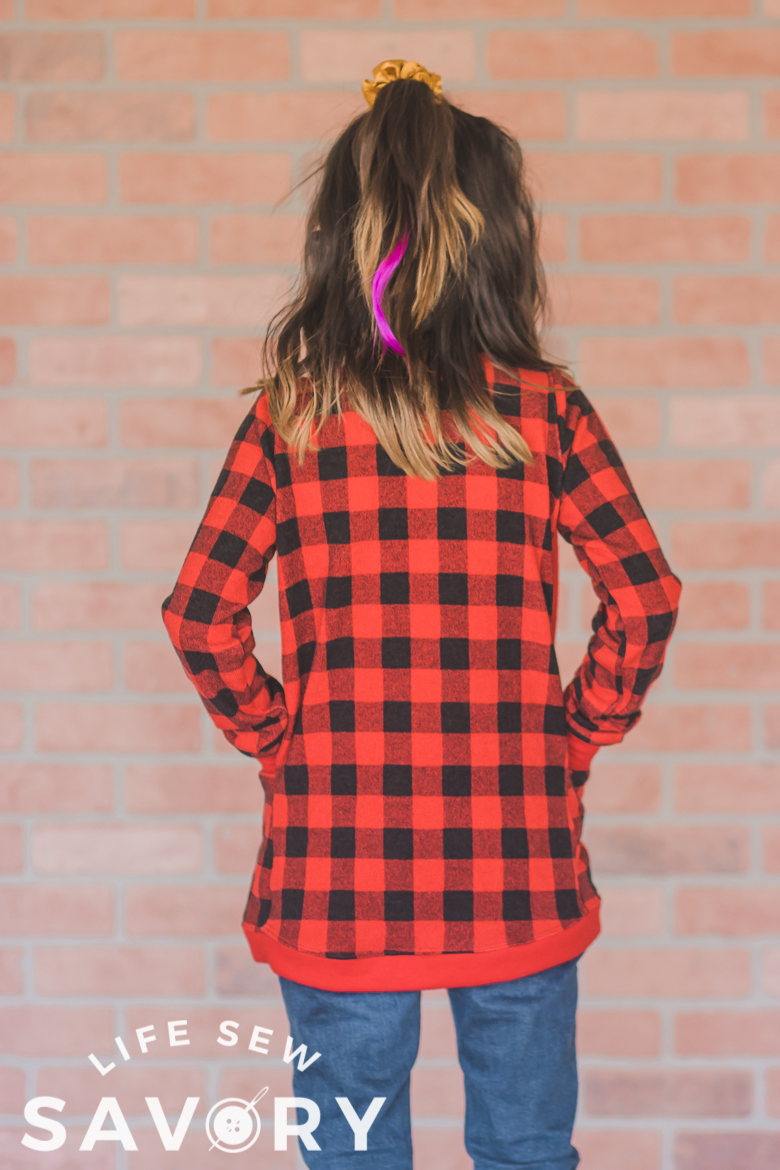
For the shirt base I used my girls swing tee, but I’m excited to try this with other tops as well. The swing tee works well as it has a fuller bottom and is a bit longer. The free sewing pattern comes in both short and long sleeves sizes 4-16Y. I didn’t lengthen the pattern pieces, but I did add a bottom band, which adds a small amount of length.
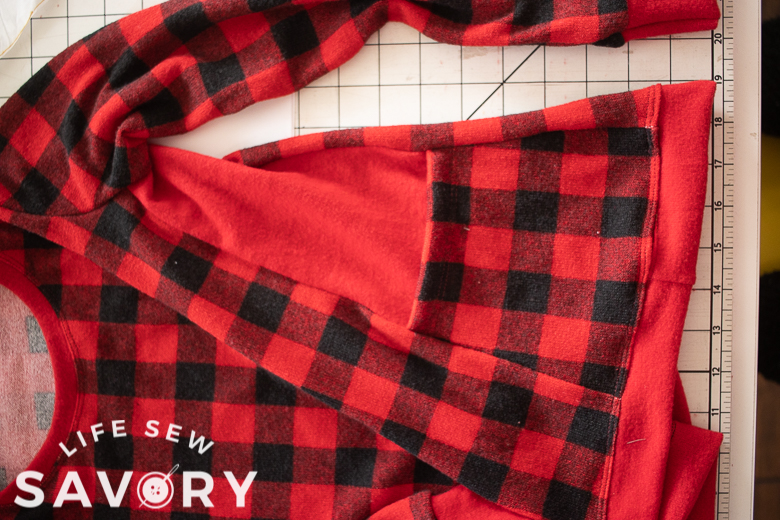
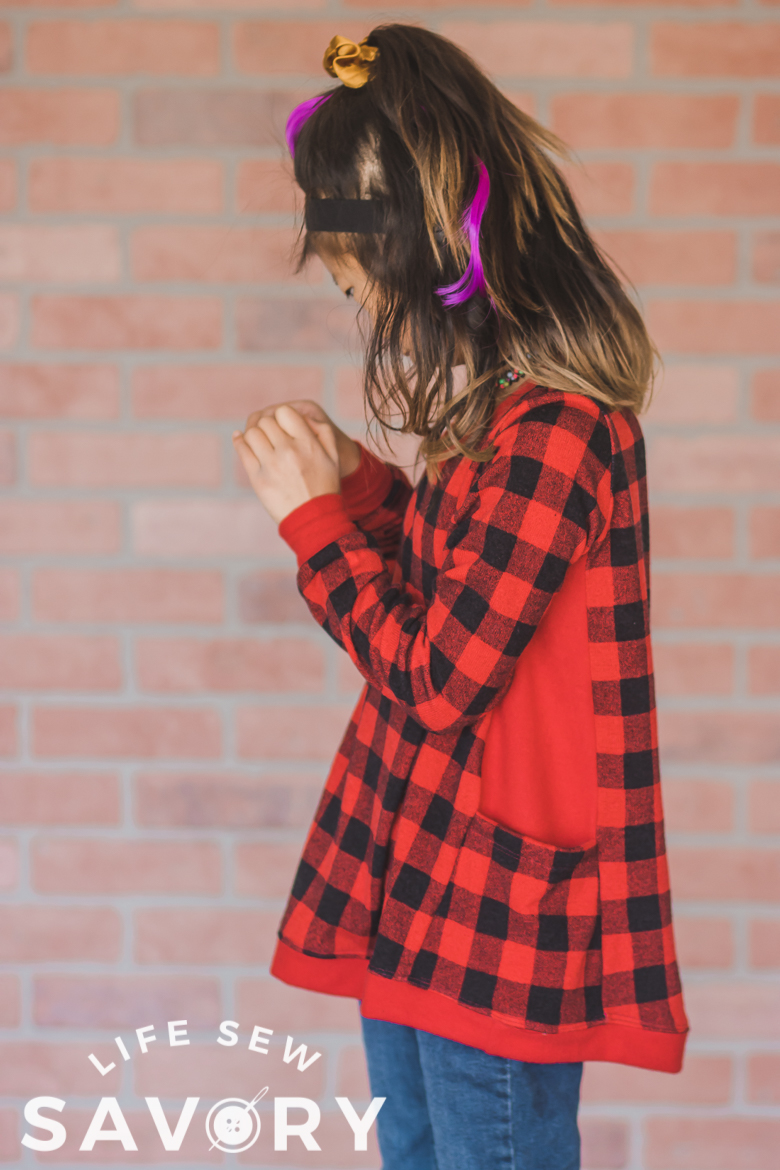
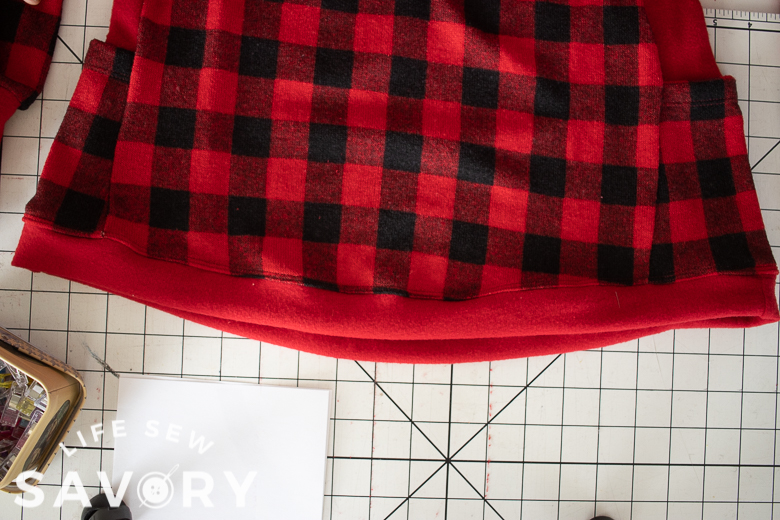
I also added cuffs to the sleeves and forgot to cut off some sleeve length, so these sleeves are plenty long. I probably should have added the thumb cuff hack since I had length. I added side panels to both sides of the shirt and then pockets on the bottom of the panel. I’ll show you how to cut your pattern to create this side piece with pockets.
Sewing hack adding pockets-
Let’s sew some pockets!
Shirt side pocket hack supplies
- Shirt/Top pattern {I used the swing tee. Long sleeve free pattern here – short sleeve version here
- trace pattern onto tissue so you can cut it up.
- Follow shirt directions for cutting other pieces – bands, cuffs, neckline…
- Fabric – I used beautiful Hacci from Raspberry Creek Fabrics
- I also think this hack would work great with sweatshirt fleece and French terry…
All seams should be sewn with a serger or knit stitch.
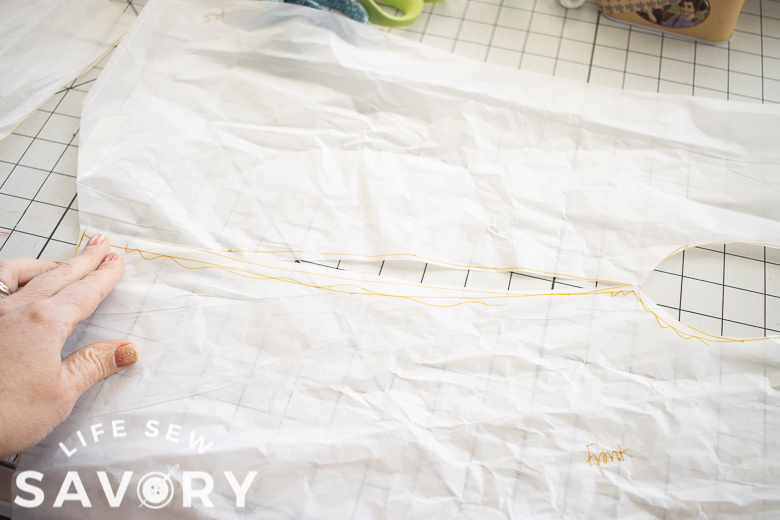
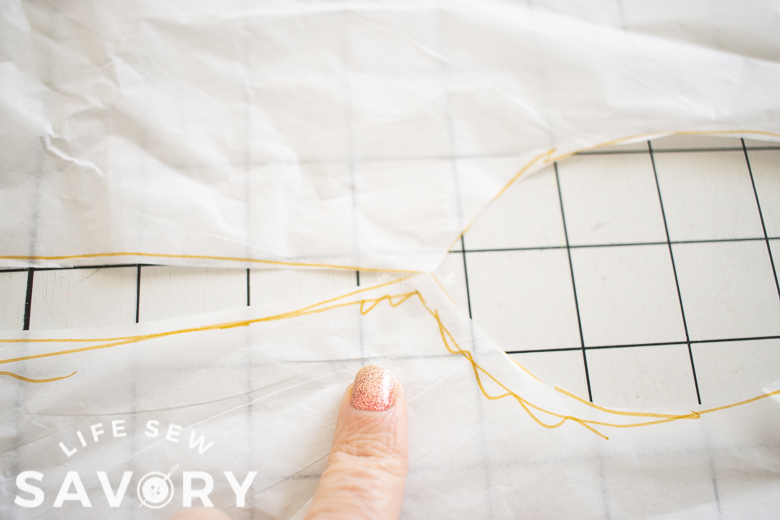
To begin, let’s alter the pattern. I like to trace my pieces onto tissue paper, so when I cut it up I haven’t altered my printed pattern. Match the side seams of the front and back. Because this pattern flares out at the bottom I did overlap the bottom about an inch to keep the side seams close together. Tape together at top and bottom.
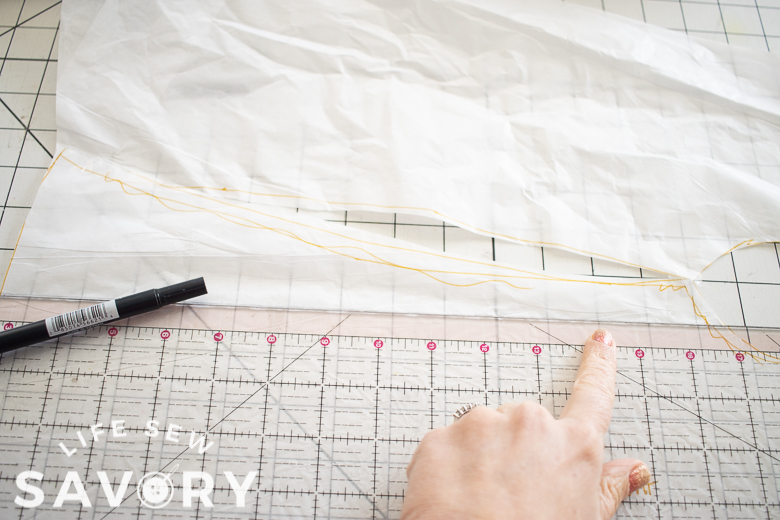
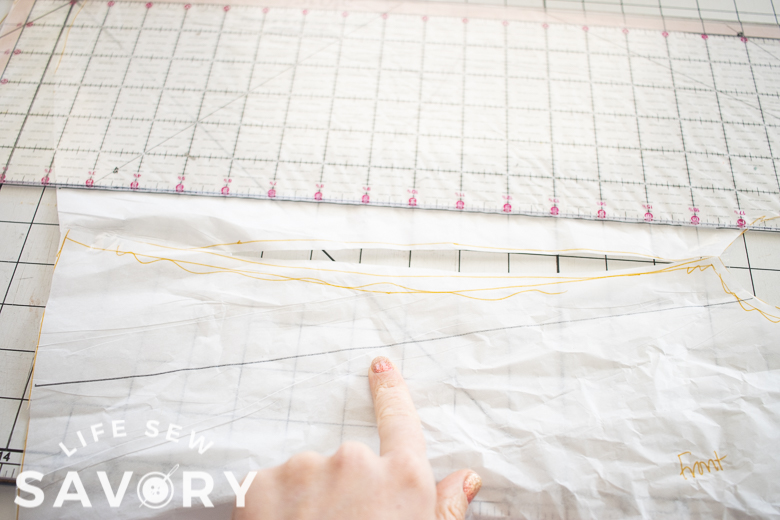
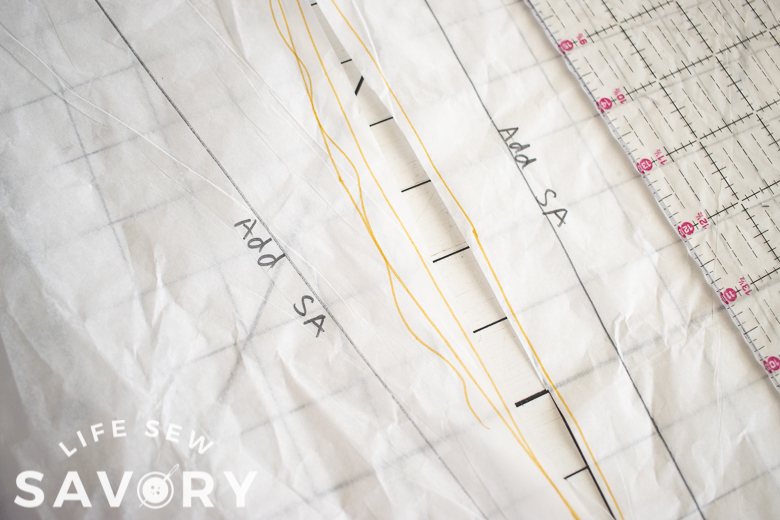
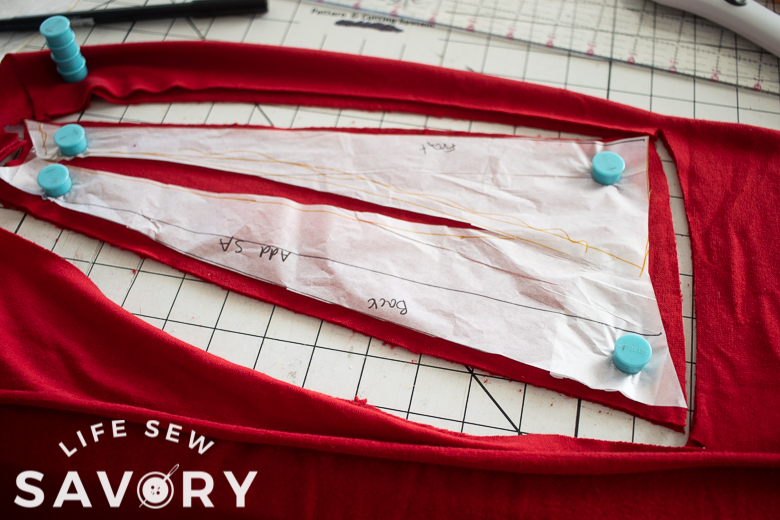
Now we want to create the side panel. I made mine narrow at the top and wider at the bottom. You want the bottom part to be wide enough for a pocket, make sure a hand could fit in it. I used a ruler to mark and draw a line on one side, then the other.
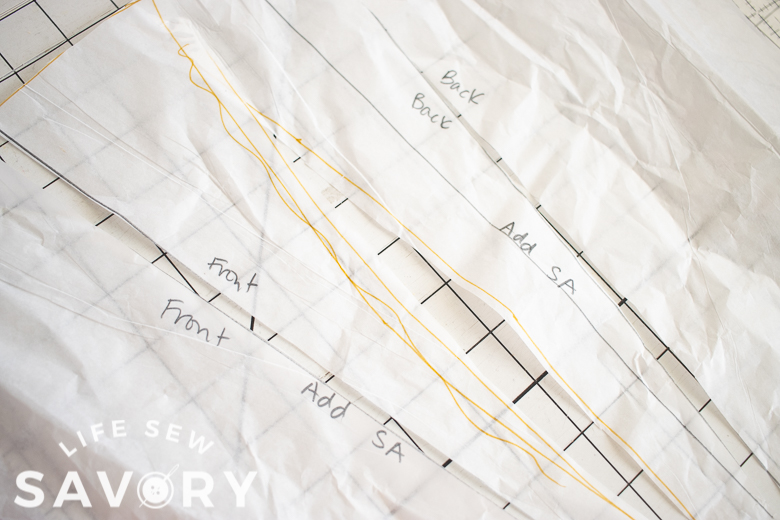
Here are my two lines. I also made sure to mark that I needed to add seam allowance when cutting the fabric. You will see in the second photo that I move my line more outward. I realized the panel was too small for a hand to fit. {aren’t you glad I test all these things for you – haha}
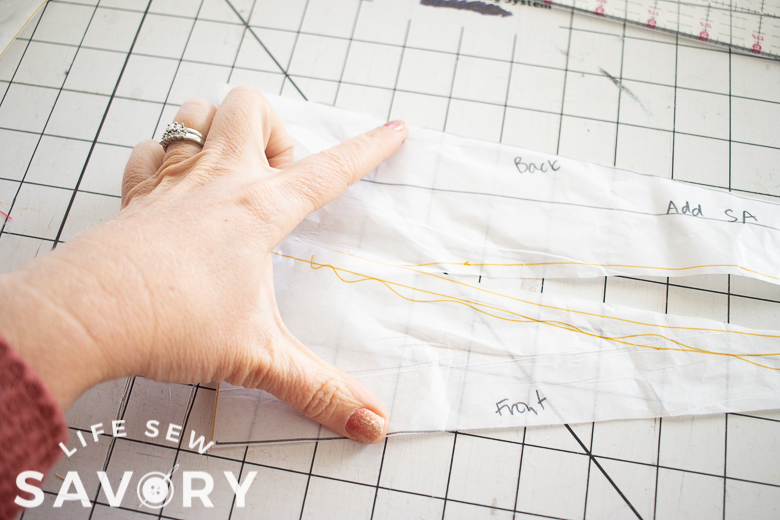
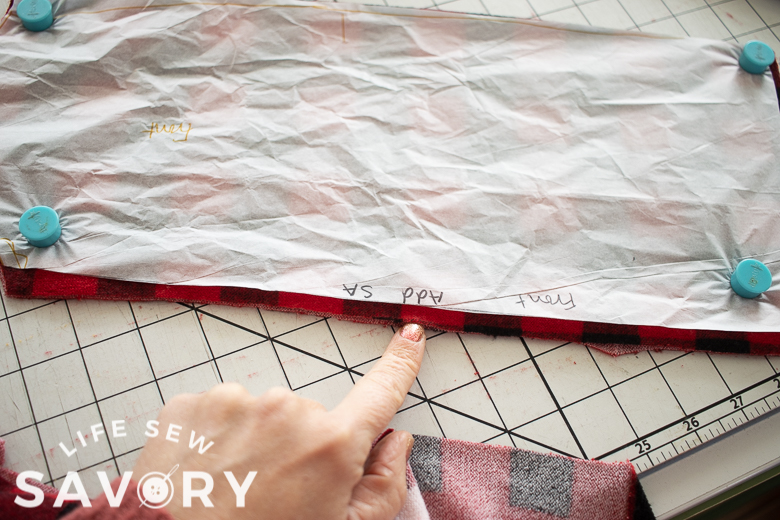
Again, make sure the bottom of the panel is wide enough for the hand to fit in. Then cut out two of these side panels with fabric in mirror. I folded the fabric right sides together, then cut two at the same time. Be sure to also label back and front so you can put it all back together.
You will note here that I rounded the bottom of the side panel. It was a strange shape due to overlap and taping. Feel free to adjust the hem shape if needed. Here you can also see I added seam allowance to both the main fabrics and the side panel.
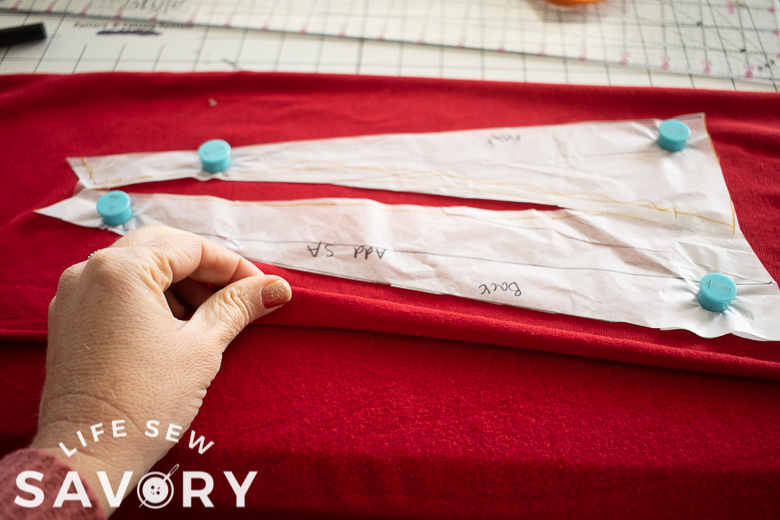
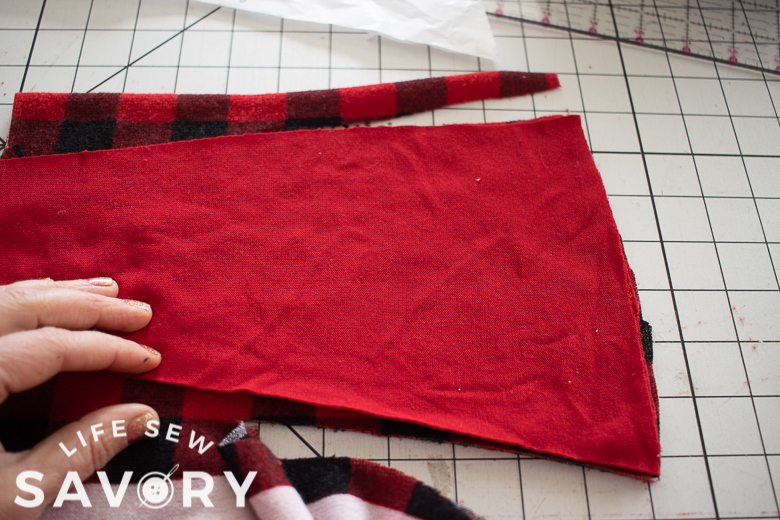
Now we need to cut the pocket to match the shape of the side panel. I placed my panels on top of the pocket fabric and cut to match. You want the pocket to be the same on the bottom and sides and then tall enough that you can hem the top before sewing. My pocket was about 6″ tall.
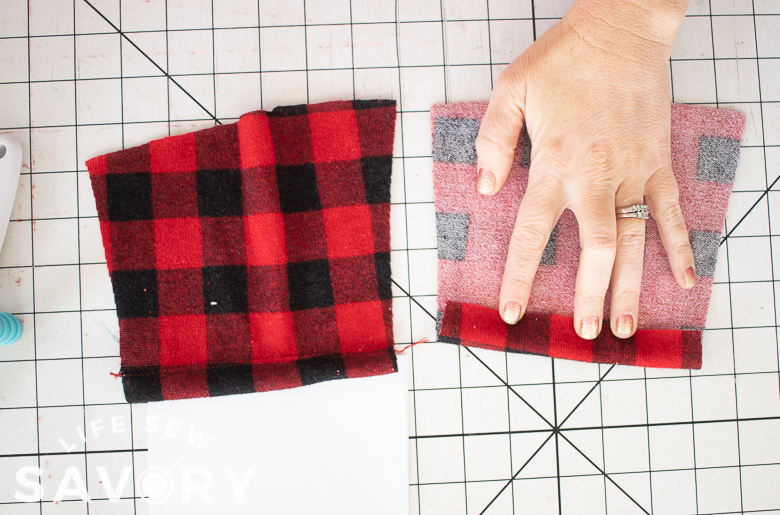
Start by hemming the top of the pockets. Fold back 3/4″ and hem with stretch stitch or coverstitch machine.
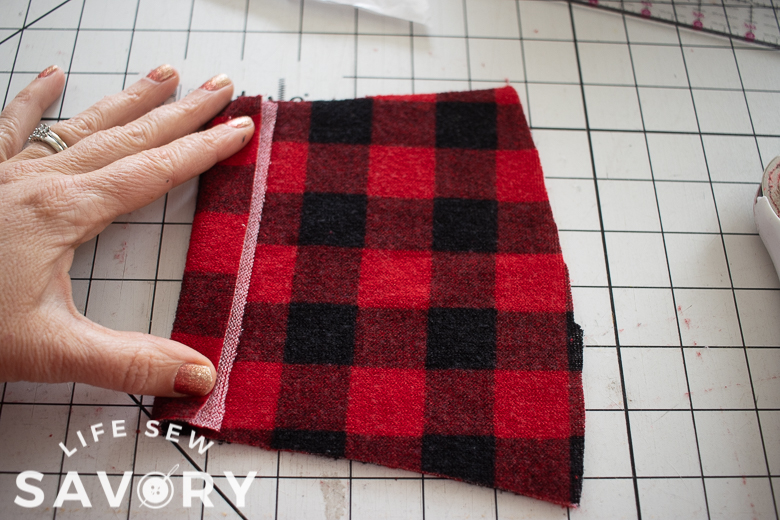
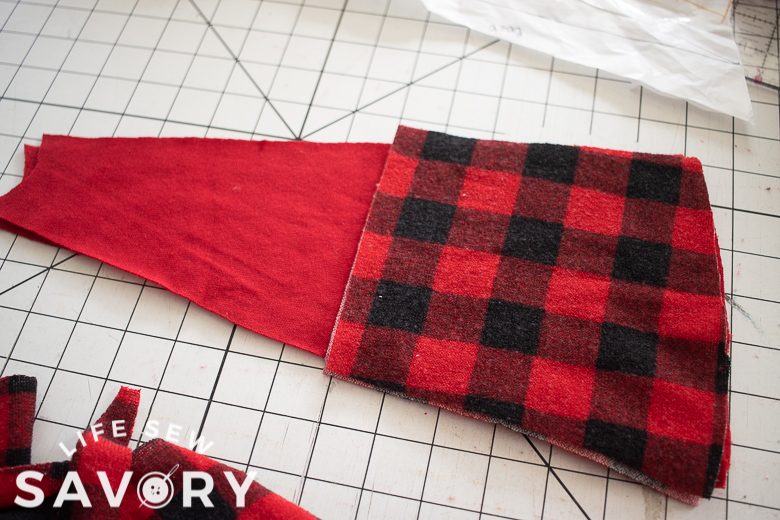
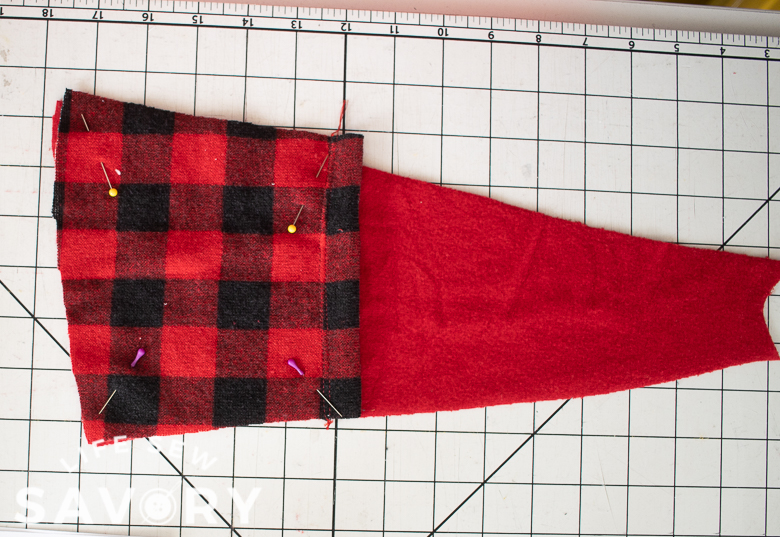
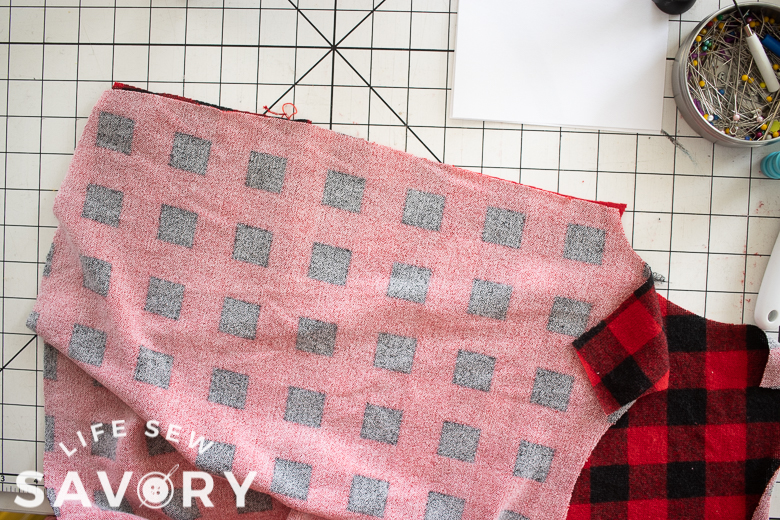
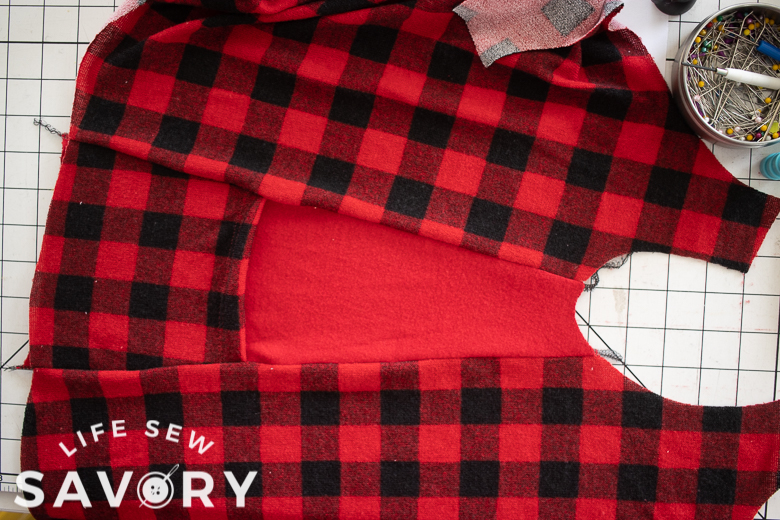
With right sides of fabric BOTH facing up, pin pockets to side panel and secure. Place the back side seam on the back side of the panel and sew. remove pins as you sew the side seam.
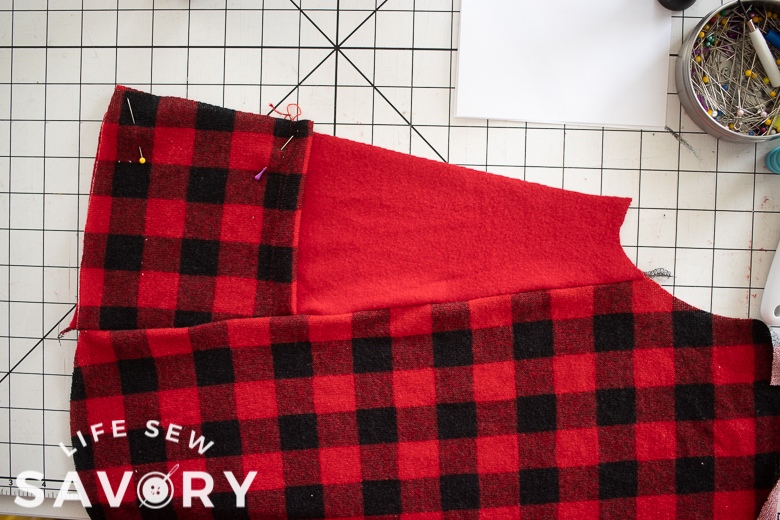
Match the front side seams and sew again. Open up and see your awesome pocket taking shape. Repeat to add the side panel to the other side.
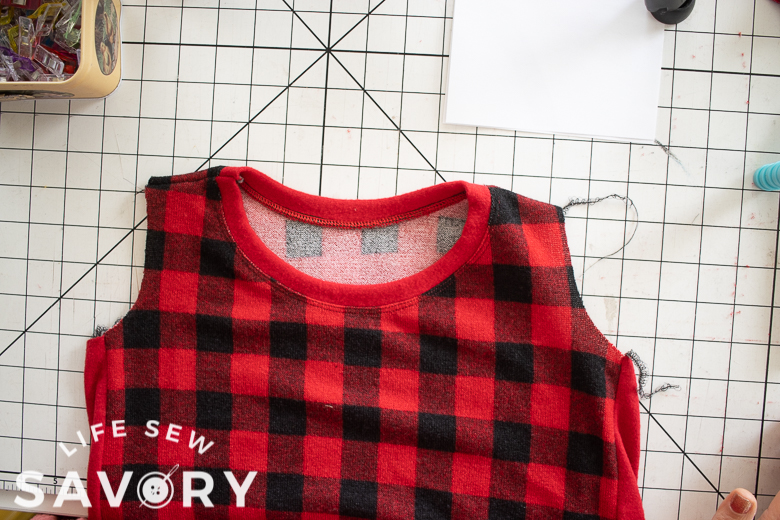
Sew one shoulder seam with right sides together. Open up the neckline and sew a neckband in place. Need help with your neckband? See this neckline tutorial.
Sew the other shoulder closed. Topstitch the neckband if desired.
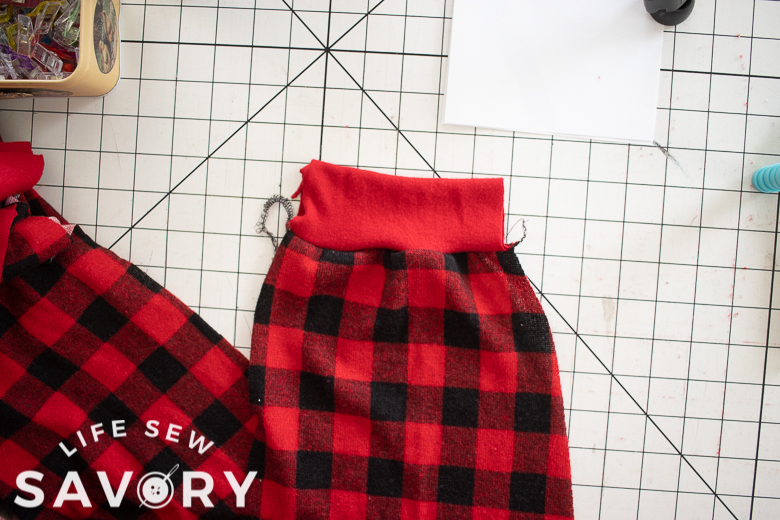
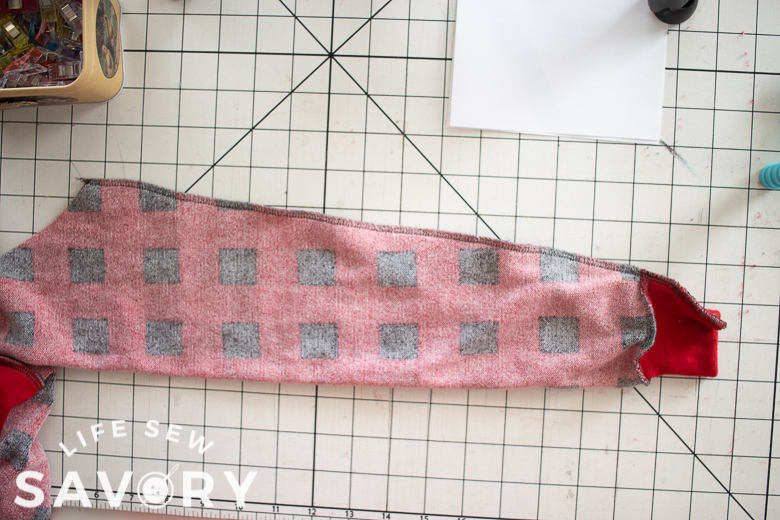
Hem or cuff the bottom of the sleeve. {I like to do this before sewing up the underarm, but up to you. Need help turning hems to cuffs? Check this out. Sew up the sleeve seam.
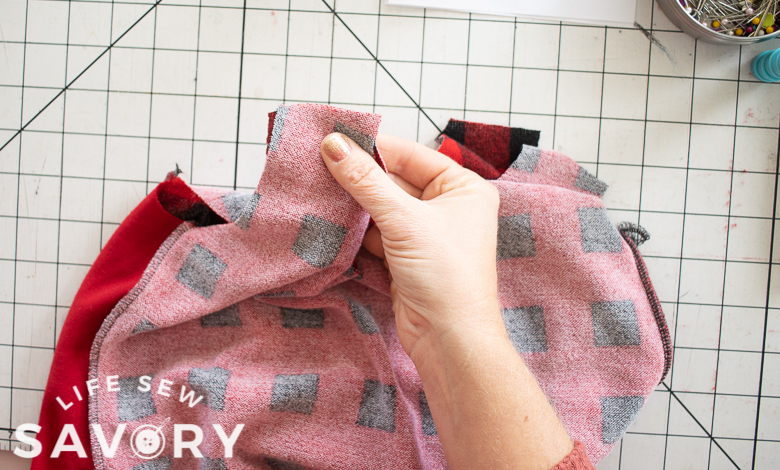
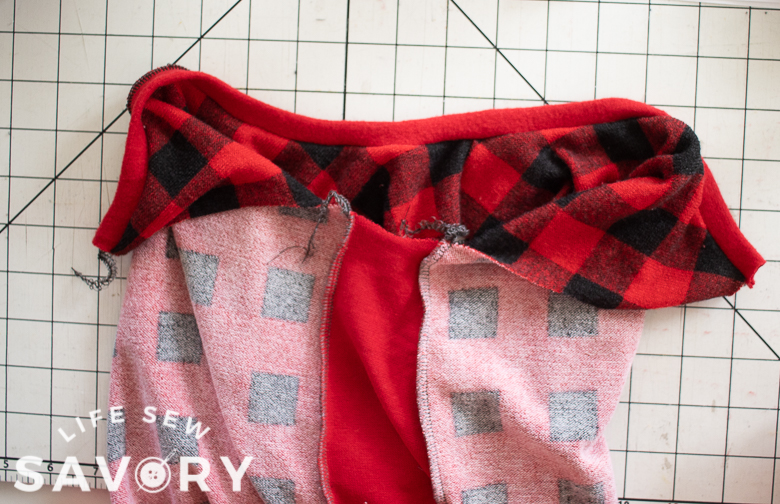
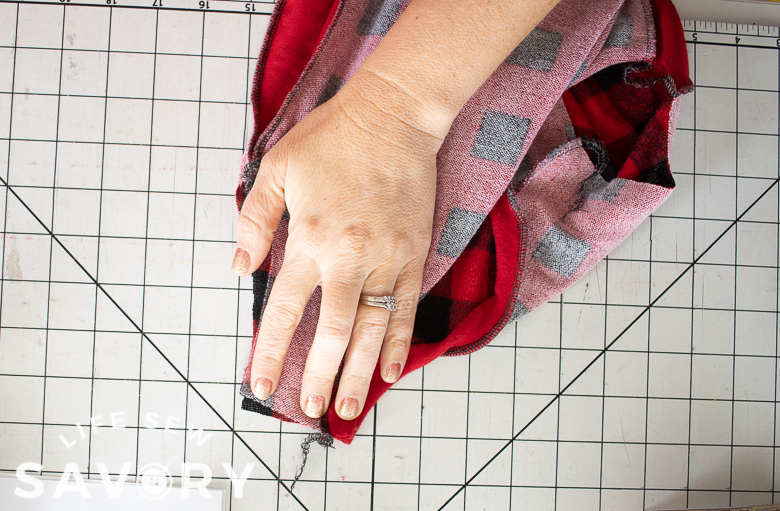
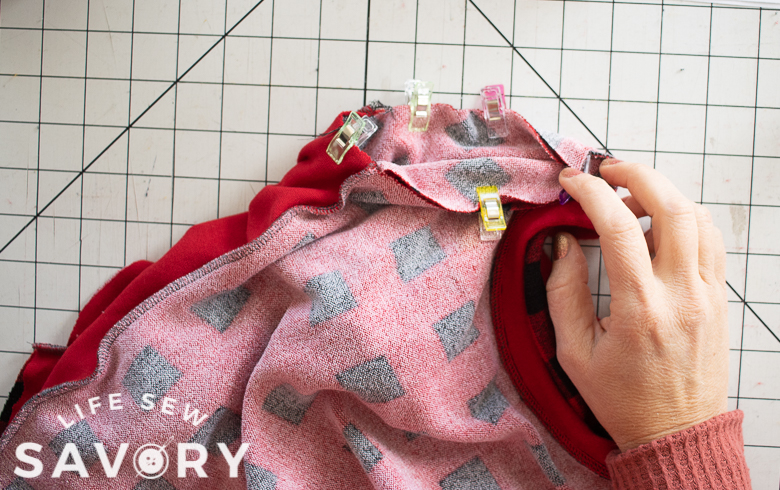
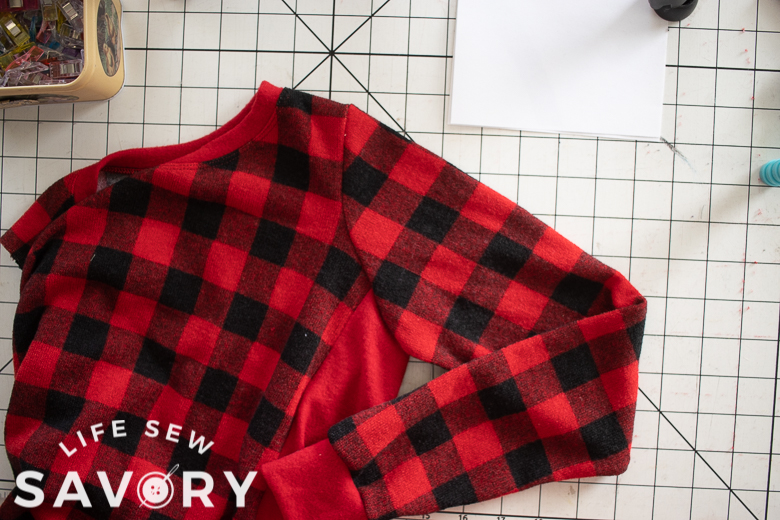
Match the top fold of the sleeve with the shoulder seam and the underarm seam with the center of the side panel. Make sure to also match the front and the back as they are slightly different {if you are using my free swing tee} Sew the circle to attach the sleeve in place. Open up and check out your awesome shoulder and sleeve. Repeat with other sleeve.
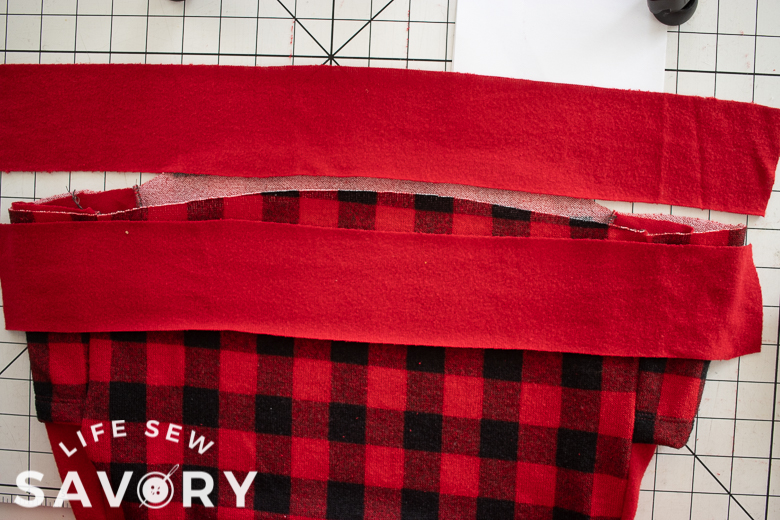
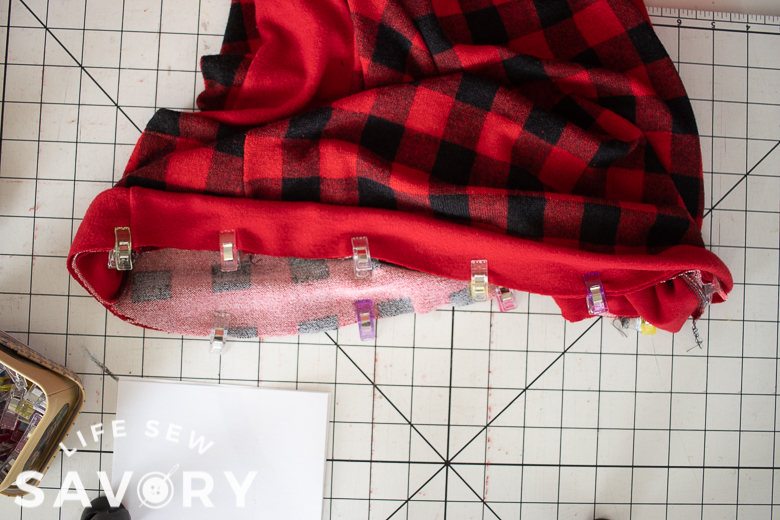
At this point you can either hem or add a band to the bottom of the shirt. I measured 3″ stripes of fabric for the front and back of the band. I sewed the short ends together, then folded in half and sewed to the bottom of the shirt. Top-stitch if you want and your shirt is finished!!
Looks awesome right? I can’t tell if I just love this fabric so so much or if this hack is as amazing as I thought it would be. Either way, this shirt is adorable and I can’t wait to make more {maybe one for me too!}






JANET C CAMPBELL says
Thank you so much for your patterns I have enjoyed sewing them for grandkids. Your daughter is so cute. and your family is so fun to see in their new clothes.