how to make a tooth fairy pillow, tooth fairy pillow pattern, DIY tooth fairy pillow, embroidered tooth fairy pillow
Inside: A full tutorial to sew a DIY tooth fairy pillow with embroidery. Fun to sew and for your little one to use. The tiny pocket makes tooth holding and money collecting easy.
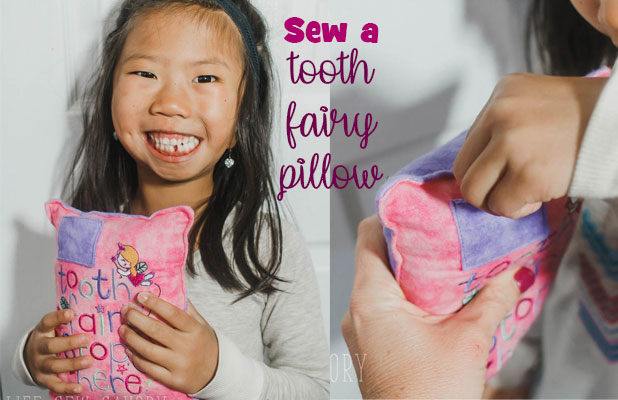
I made this pillow a few months again and this week Rose finally lost her first tooth! This is a day she has been waiting for. We first noticed her wiggly tooth a few months ago and when she came home from school earlier this week it was practically falling out on it’s own. Her brother played “dentist” and it was out in just a minute. Today I’m sharing a tutorial so you can sew your own DIY tooth fairy pillow.
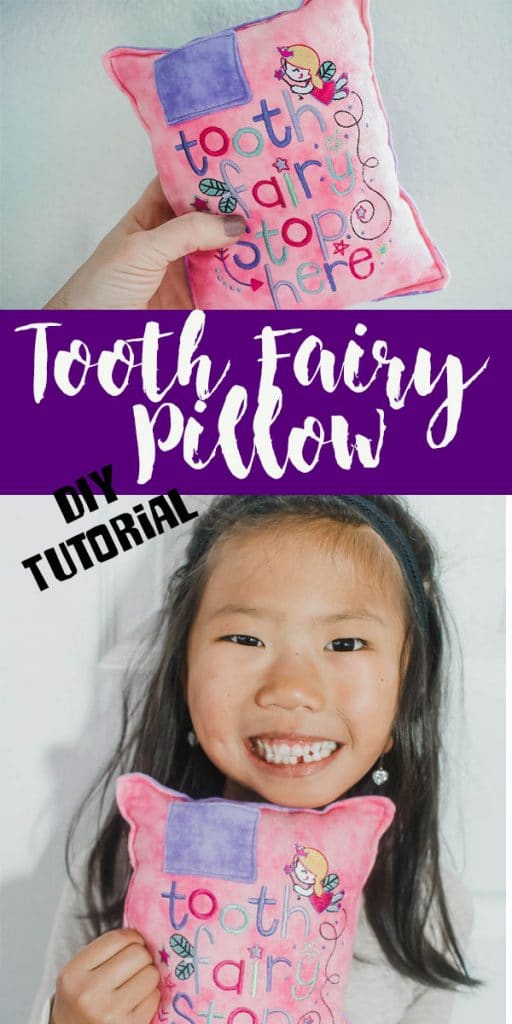
DIY Tooth Fairy Pillow
How cute is this pillow? I love this simple project and you can make it in any size you want. I used an embroidery file from Etsy as well, but you don’t have to use machine embroidery.
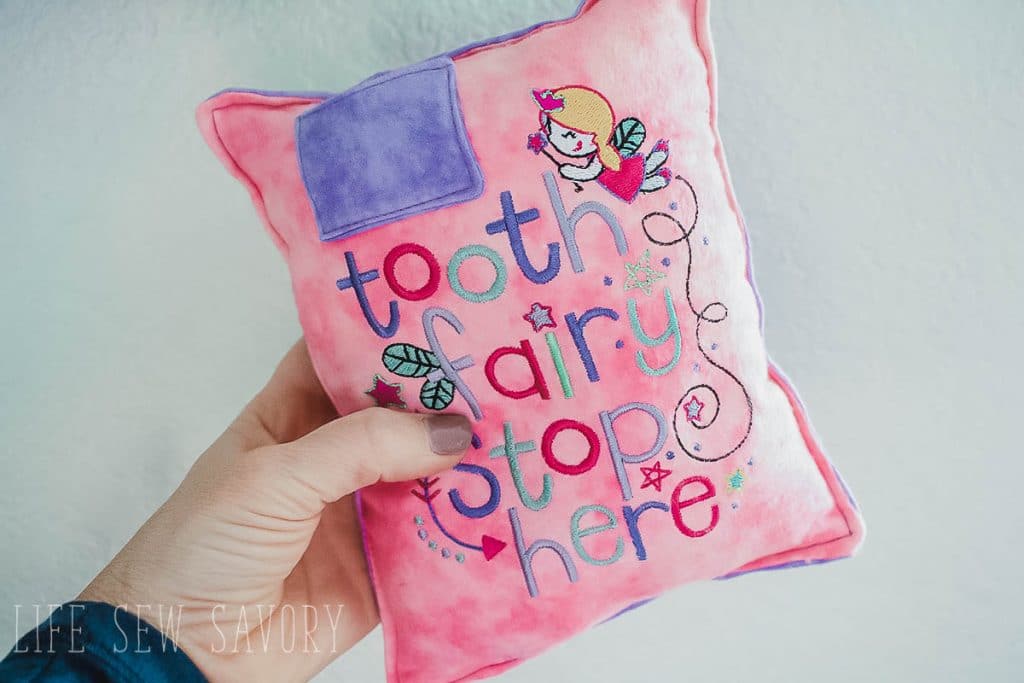
You could easily make this with a bit of hand embroidery or applique. The tiny pillow can be placed anywhere on the larger pillow and is used for tooth holding AND where I place the quarter. If you give more money you may need to make a bigger pillow. {haha!}
Supplies needed to sew a tooth pillow:
- Flannel or other soft fabric (fat quarters or small scraps)
- Embroidery design of your choice (any PES file of your choosing – I found this adorable tooth fairy design on Etsy)
- Embroidery Thread
- Embroidery Stabilizer
- Stuffing for pillow
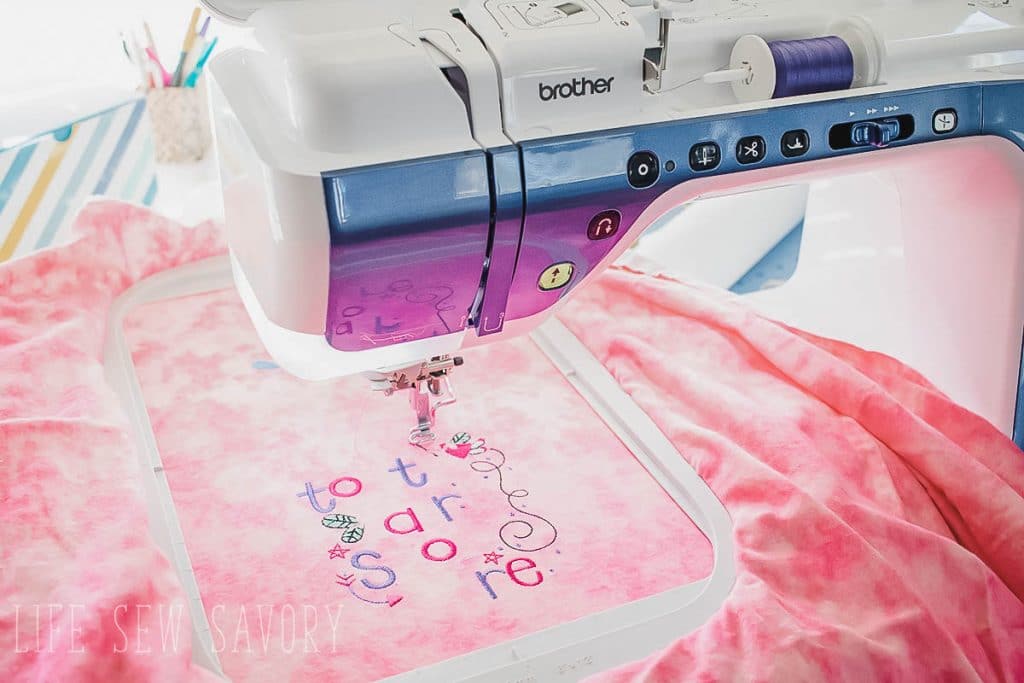
Begin by embroidering your design {hand or machine} onto the fabric. I used the file from Etsy above. Leave several inches on all sides of the design to make your pillow.
Cut a front and back pillow 7.5 x 9” (or whatever size you want your pillow to be.) I used two different colors of flannel for a cute, soft pillow to cuddle. Cut one more piece 2 x 4” for the tiny tooth pocket.
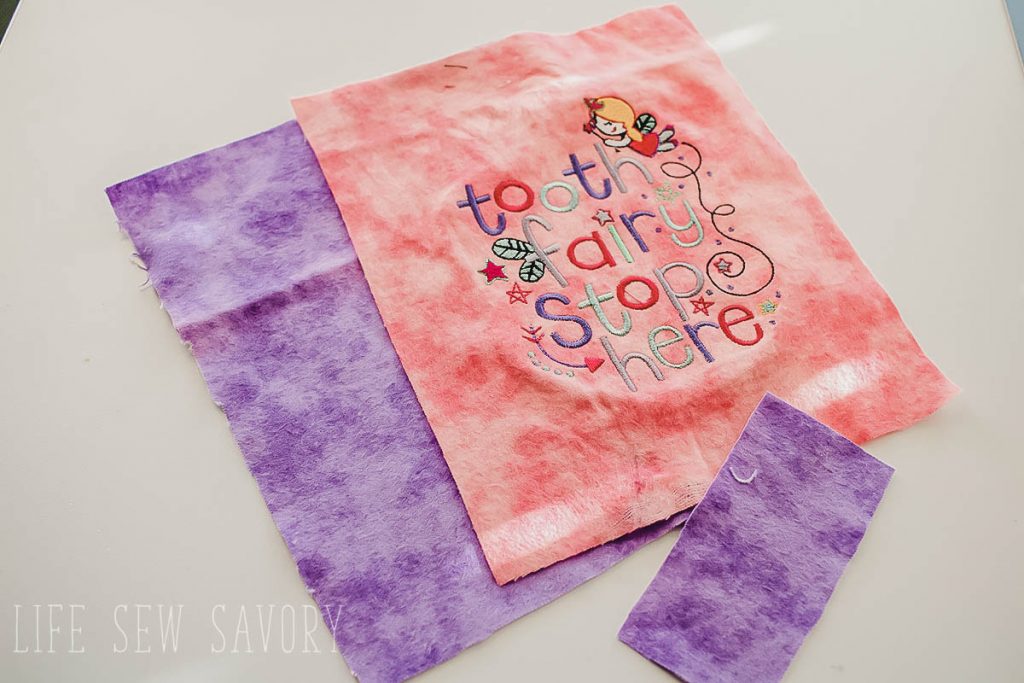
With right sides together fold the tooth pocket piece in half and stitch almost all the way around the raw edges. Leave a small opening to turn right side out. Sew with a ¼” seam allowance. You should have a tiny square.

Turn right side out after clipping the corner and press flat. Fold the seam allowance inside the turning opening and stitch shut.

Pin and sew the tooth pocket somewhere on the front side of your tooth pillow main piece. I put mine in the upper left corner. Stitch around the sides and bottom of pocket to attach to the pillow front.
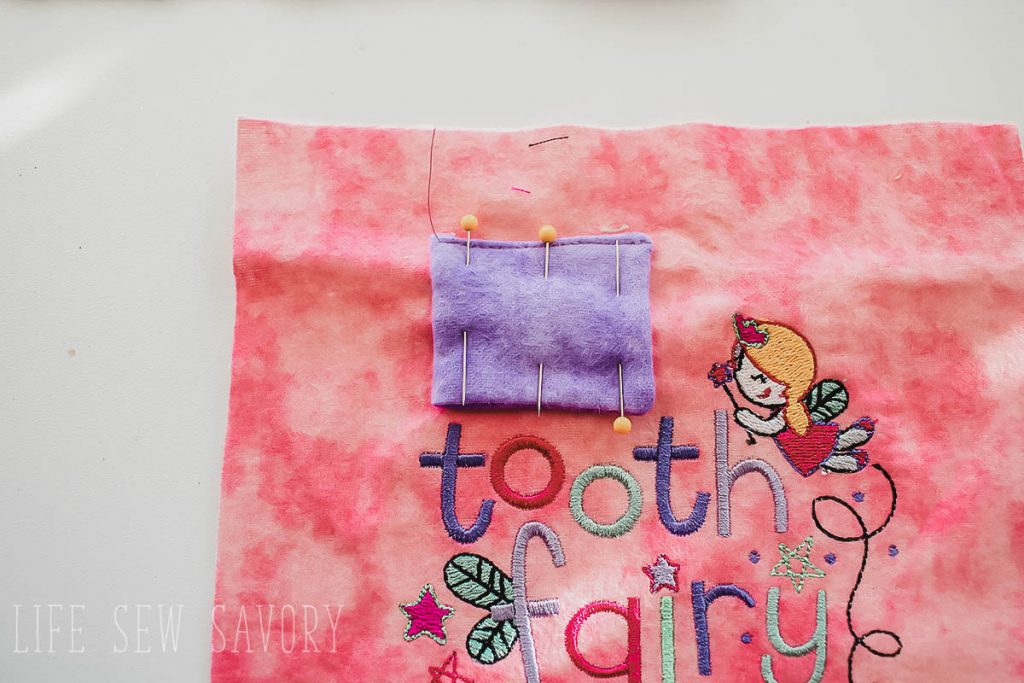
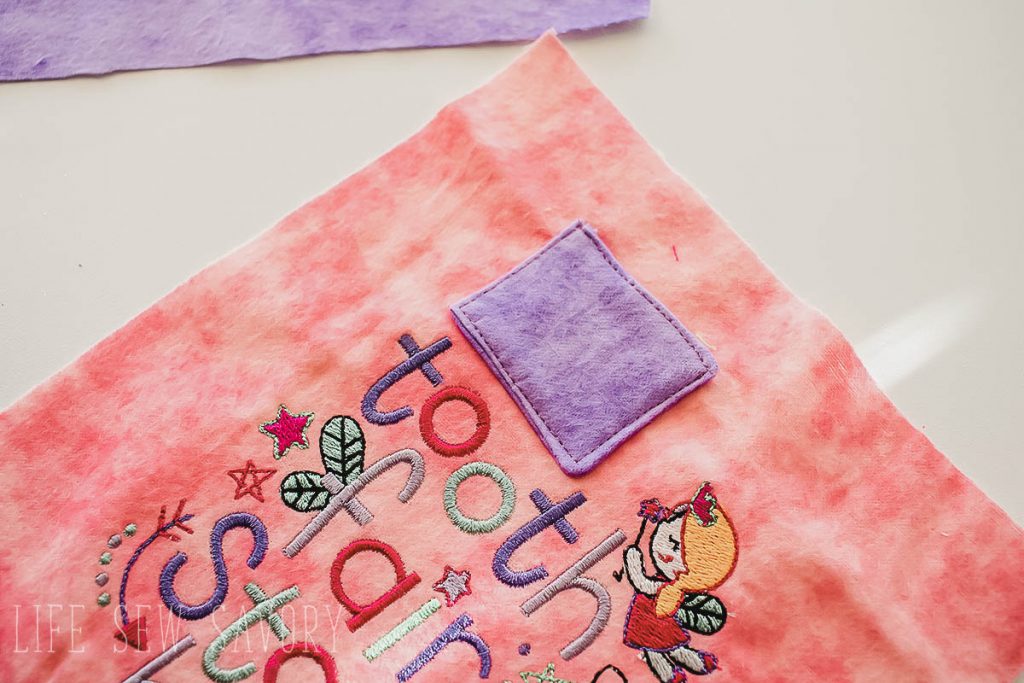
With right sides together place the pillow front and back together.
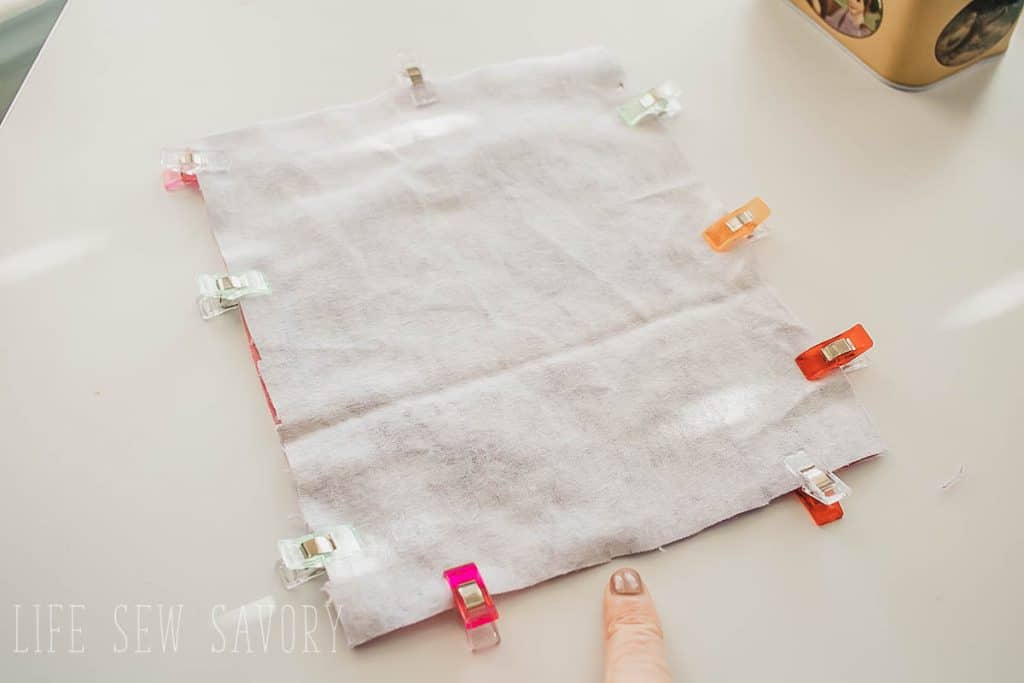
Sew with a ⅜” around the edge of the pillow. Leave a 3” opening to turn the pillow right side out. Clip the corners before turning.
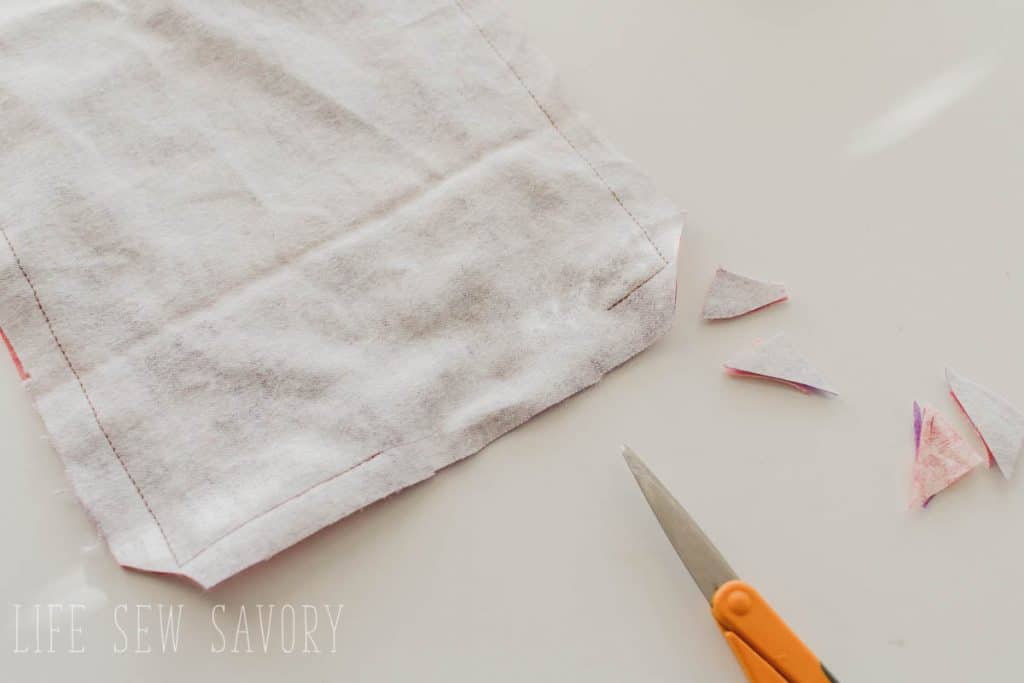
Use stuffing to fill the pillow to your liking. You can make it really fluffy or more flat, whatever you wish.
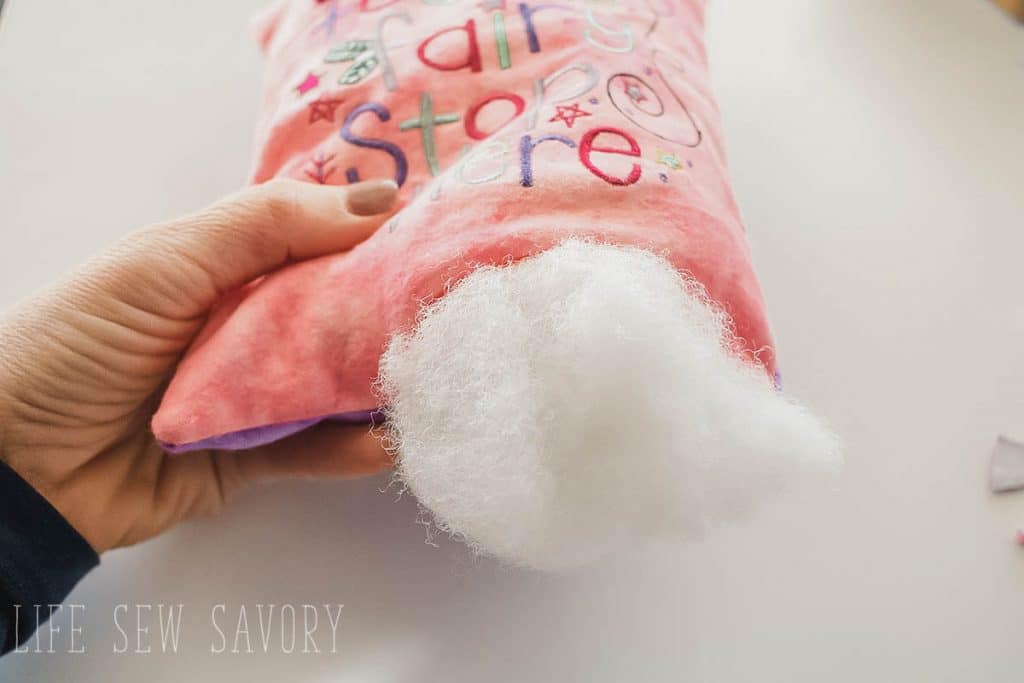
Once again turn the seam allowance of the turning hole inside the pillow. Pin the opening close and either hand stitch closed or sew closed with your machine. I chose to top-stitch all the way around my pillow.
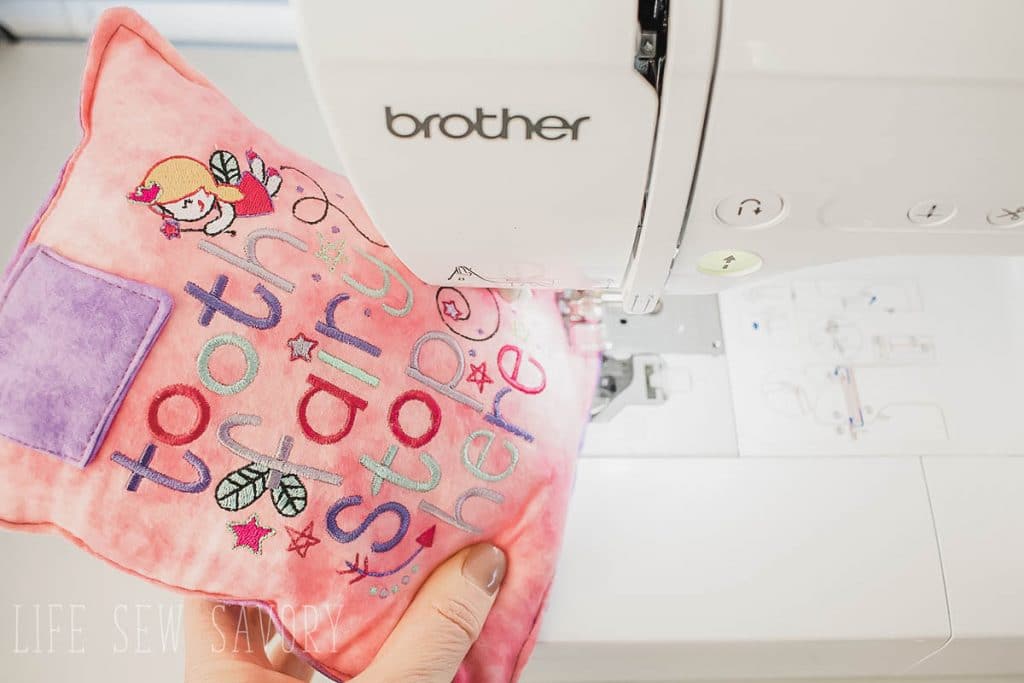
And that’s it! You did it! I made mine months before I needed it…. and then waited… You need to make it before your little ones looses their first tooth so you are ready to give it to the on their big day.
Obviously this one is geared more towards girls but you can use the same tutorial with different fabric and embroidery design to make one for boys or girls.

Here are some other fun projects to sew for your kids:




Leave a Reply