Inside: A free shorts pattern to make girls Bermuda style shorts. Learn how to sew shorts and make a cute pair of girls Bermuda shorts with this printable pattern and tutorial
**updated photos 9/2024**
I’ve been wanting to make this pattern for awhile now. Rose practically lives in summer shorties, but sometimes she needs some REAL shorts to go out. Or school when it’s still warm. These shorts are super comfy {elastic waist!} but are also a great length for playing around, or looking nice for going out. I’ve got a fun free shorts pattern for you today and I hope it works for you!
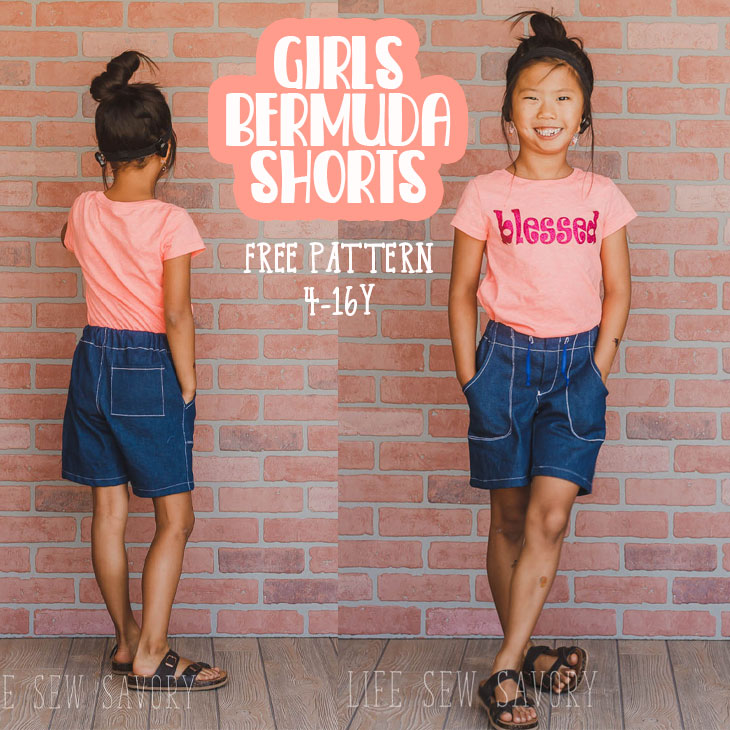
Free Shorts Pattern – Bermudas
This new shorts pattern comes in sizes 4Y – 16Y and the style would look great on girls of all ages. You can see the size chart below to see if this pattern will work for you.
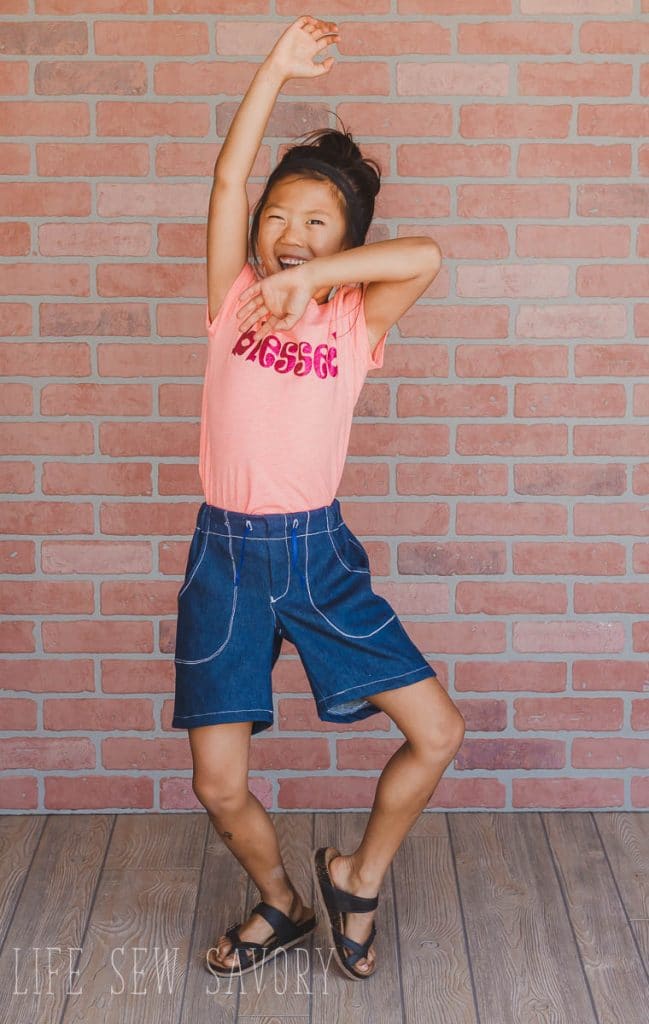
Like the Blessed shirt in these photos? Download the free svg file here to make your own.
4.5 years later I’ve finally made another pair of these shorts for Rose. Really I should be sewing a pair every year as they are the perfect school shorts!! Comfy, longer inseam and super cute!
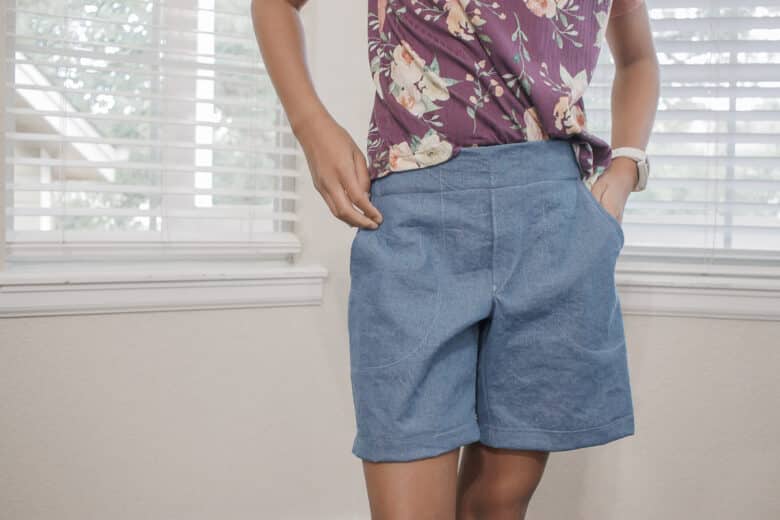
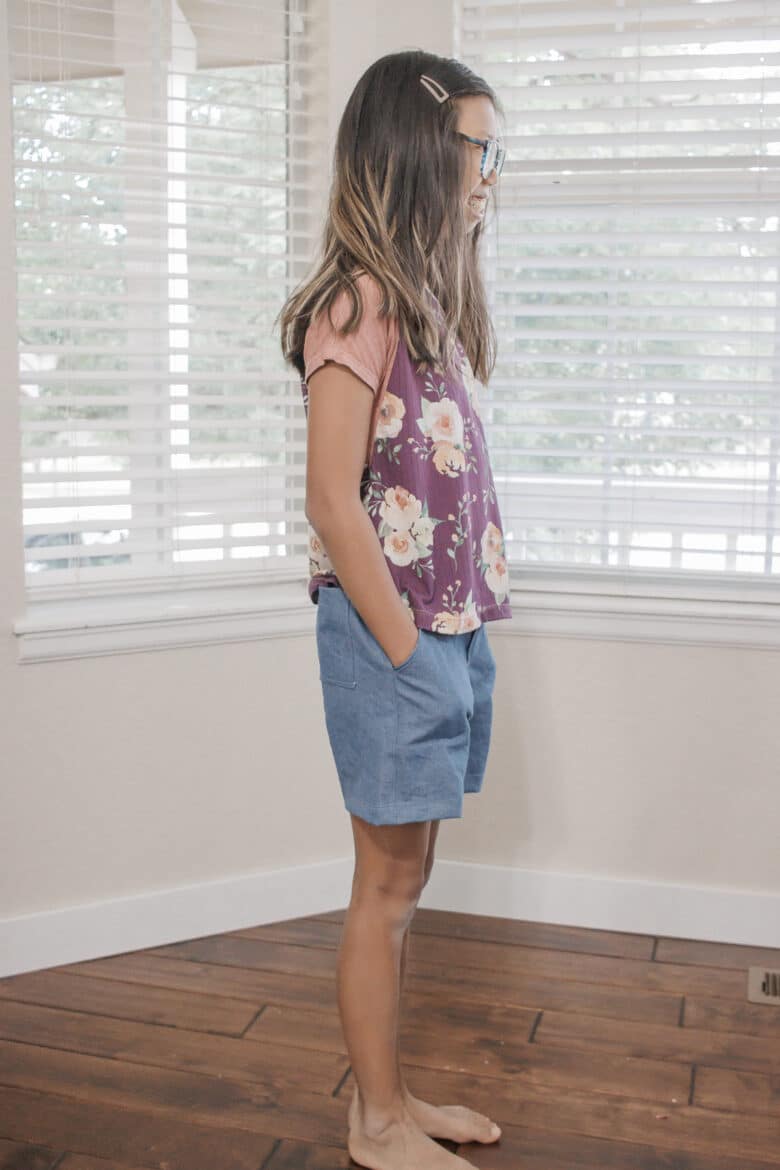
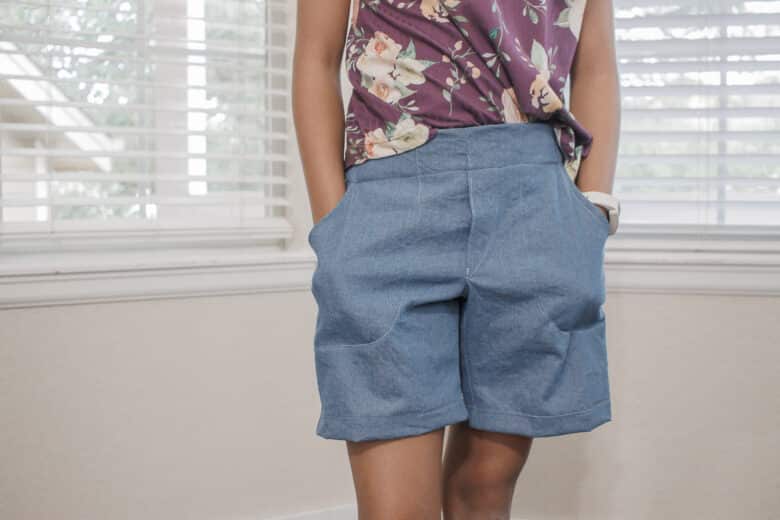
I let Rose pick out some fabric for this updated pair and she chose a light stretch denim from Hobby Lobby, it really sewed up perfect for these. She didn’t want obvious top-stitching for this pair, so I went a bit more coordinating on the thread.
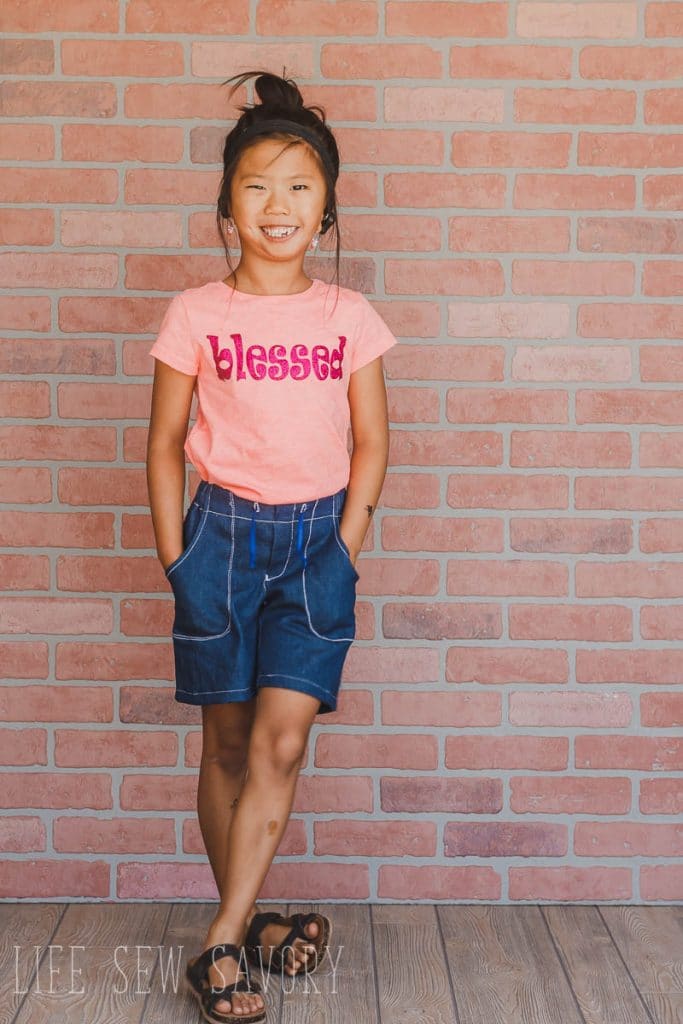
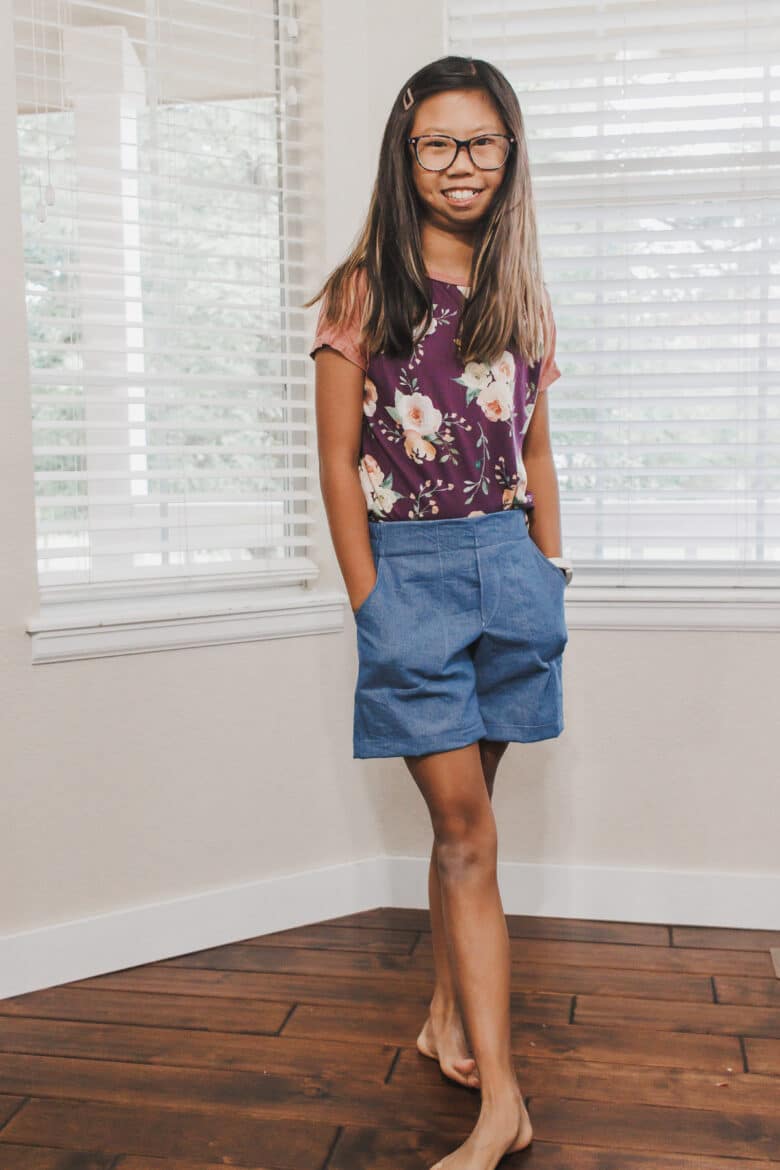
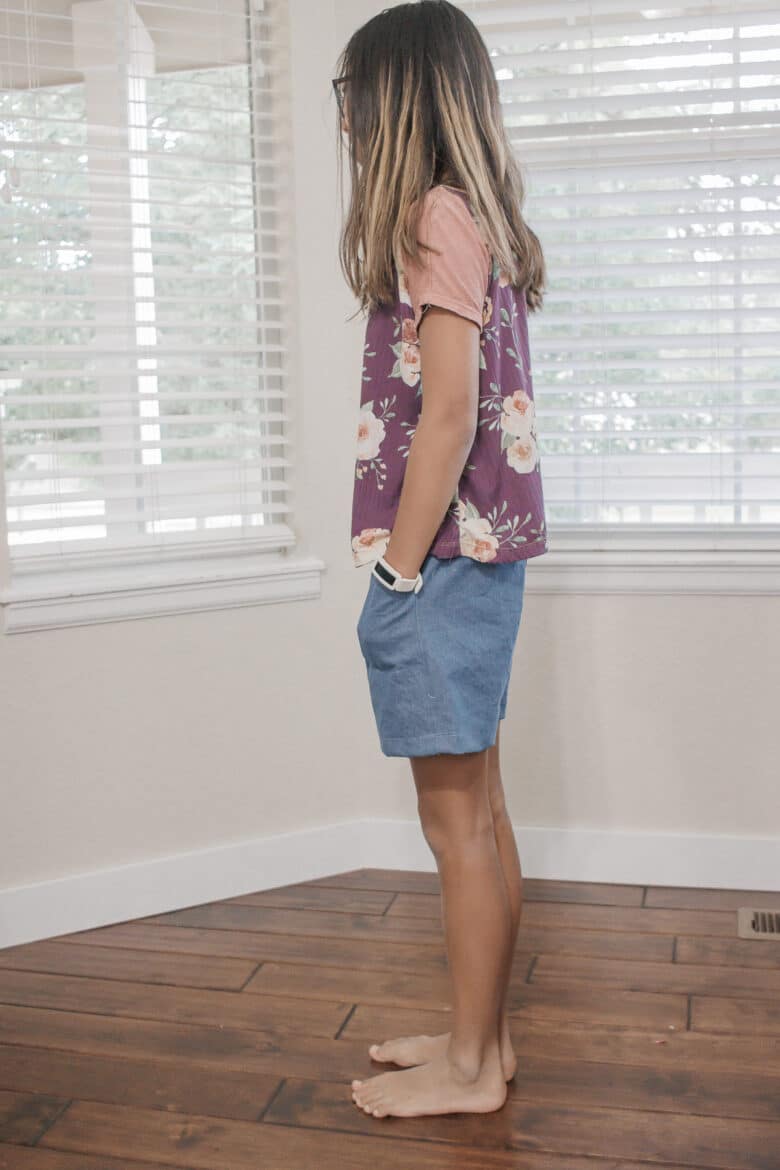
You can see in my latest version that I hemmed them just a bit shorter. Both are cute, but I’m loving the length of these new shorts.
Free Girls Shorts Sewing Pattern
I’m pretty pleased with how these shorts turn out. Rose love them! Pockets and an elastic waist are two features all my kids love and these shorts have both. Plus in a printable pdf pattern you can get sewing on these right away.
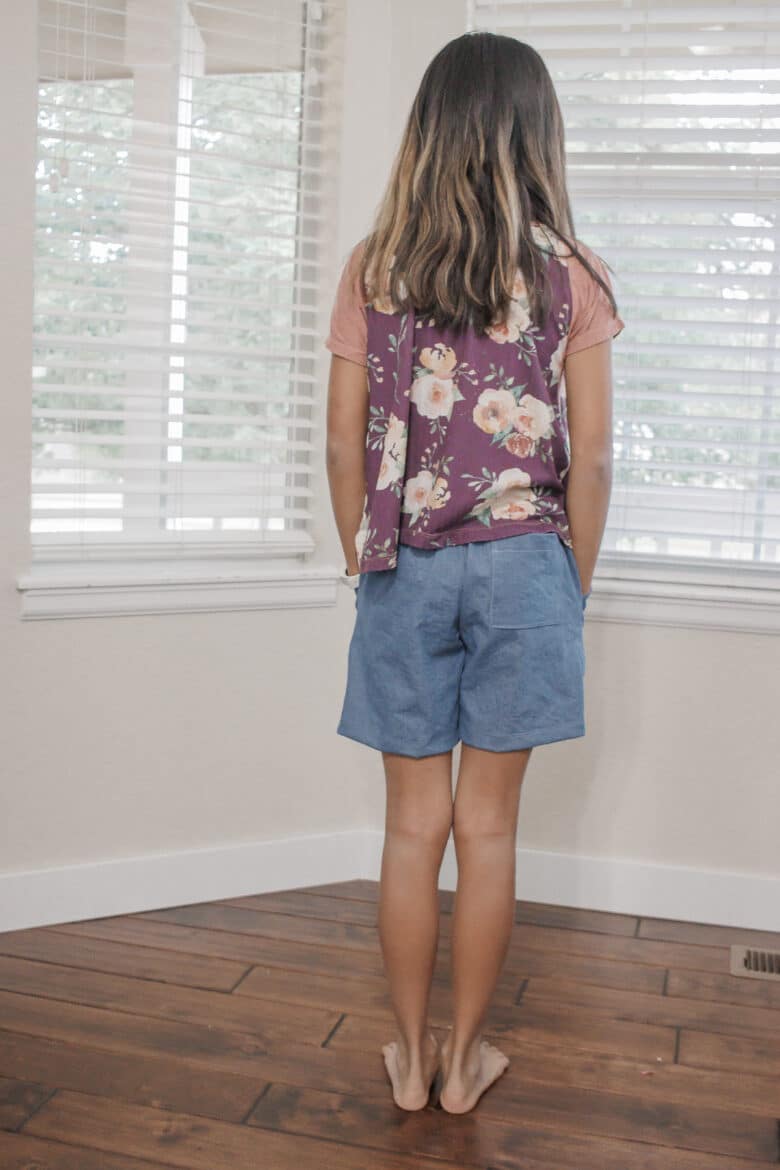
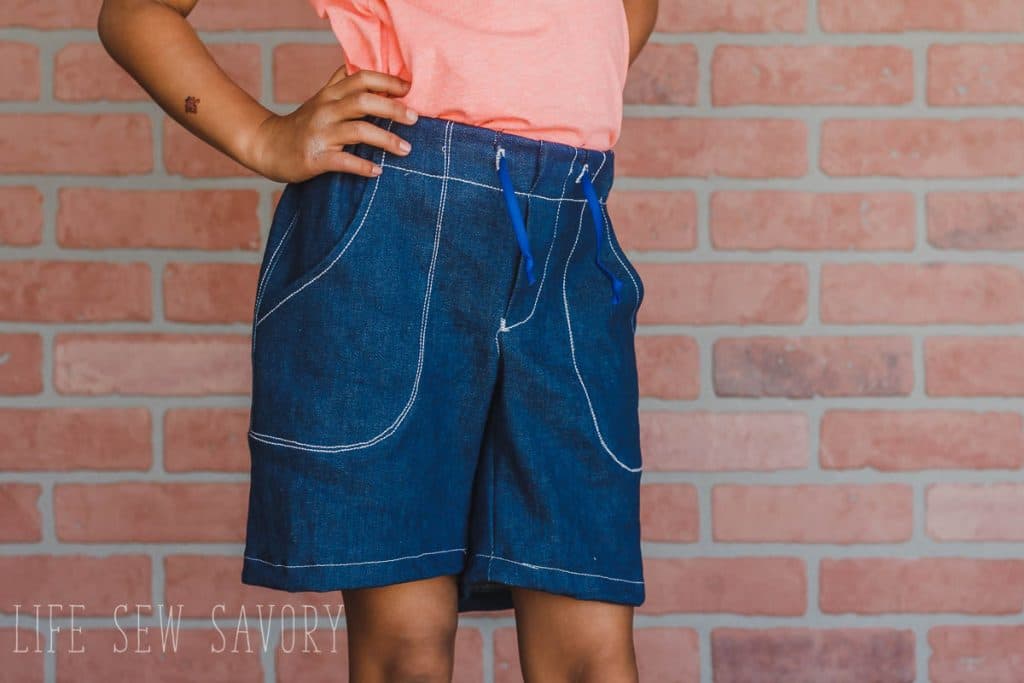
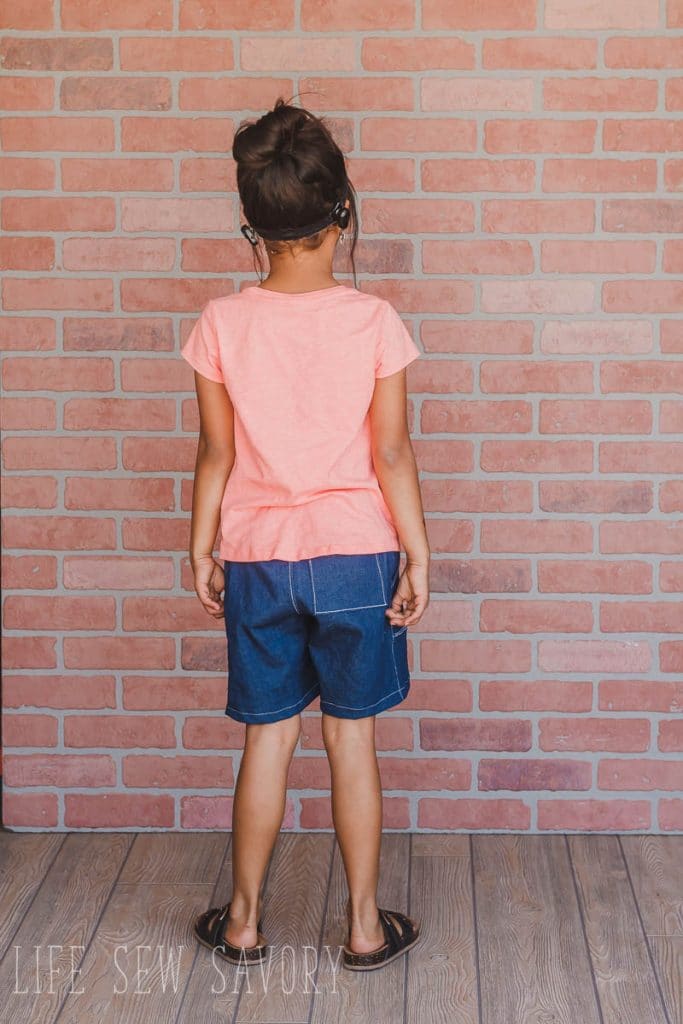
Rose is such a hard one to fit for bottoms! The reason she lives in leggings is because then fit! She is so narrow and tall it’s really hard to get the fit right. These shorts are the smallest {size 4} lengthened to a 6, she is 6.5 years old and of average height. You can see that the butt is a bit baggy, but otherwise the fit is great. I think these will fit most kids great.
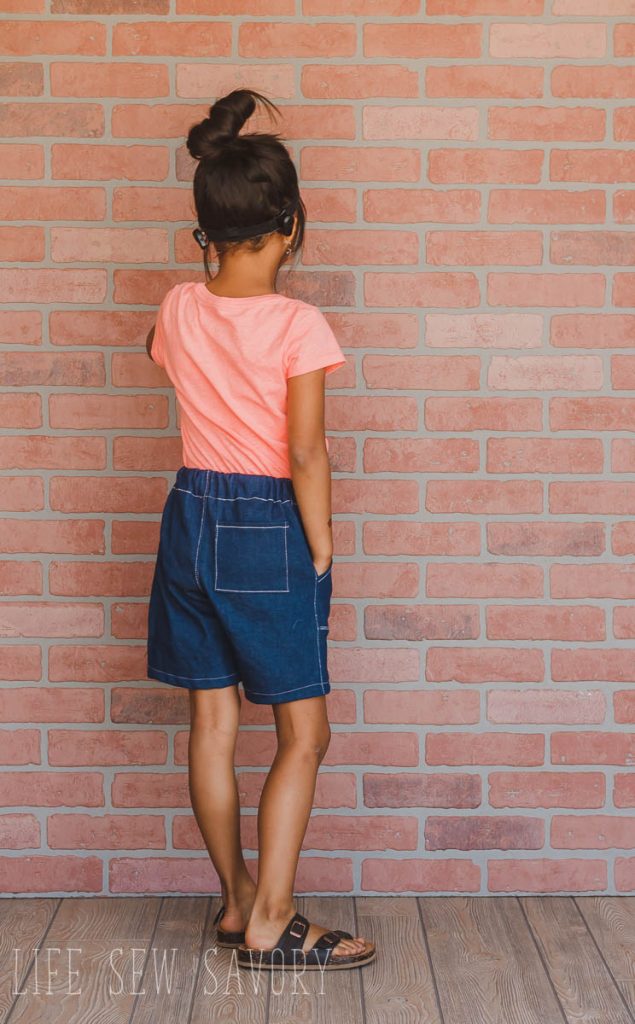
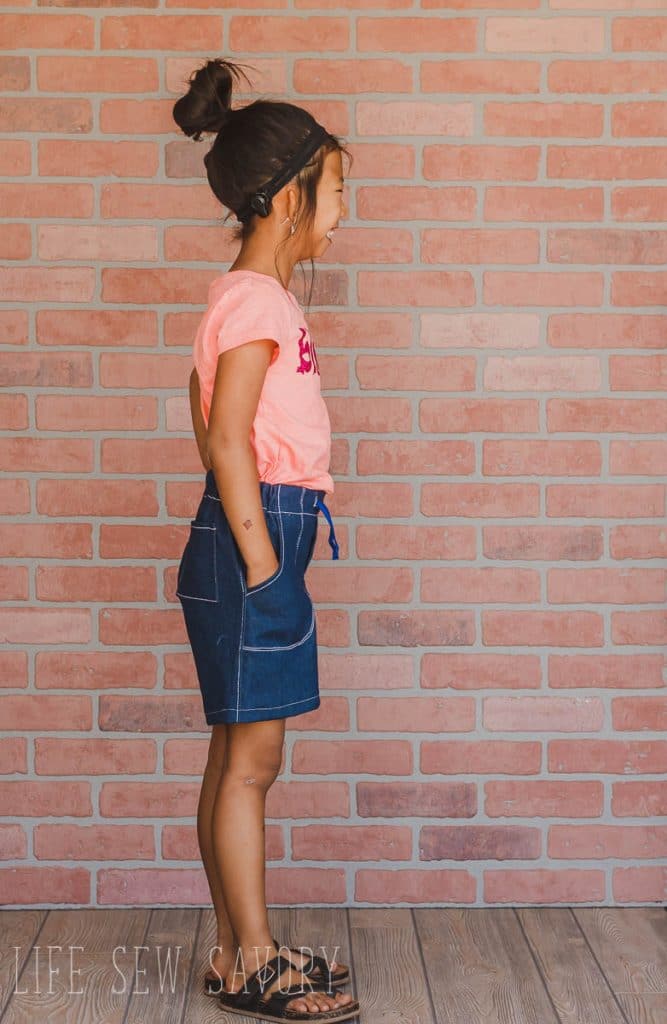
The newer version is a size 7/8 width and 10/12 length. They are plenty roomy still, but I love the look.
More free shorts patterns for kids
Before we just into this girls shorts pattern here are a few other printable shorts/skirt patterns you should check out.
Bermuda shorts sewing pattern
My suggested fabrics for these shorts is light denim {as I used}, twill, chambray or other medium weight bottoms fabrics. Here are a few links to great fabrics. You want the fabric to have some flow, but also some structure.
You can sew the girls shorts pattern with 1/2 yard of fabric for the smaller sizes and 1 yard of fabric for the larger sizes {60″ wide fabric} You will also need:
- 1.5″ wide elastic
- shoelace or bias tape for drawstring {optional}
- fusible interfacing {just a small piece}
You can download the printable shorts pattern from my shop here:
girls shorts pattern pdf
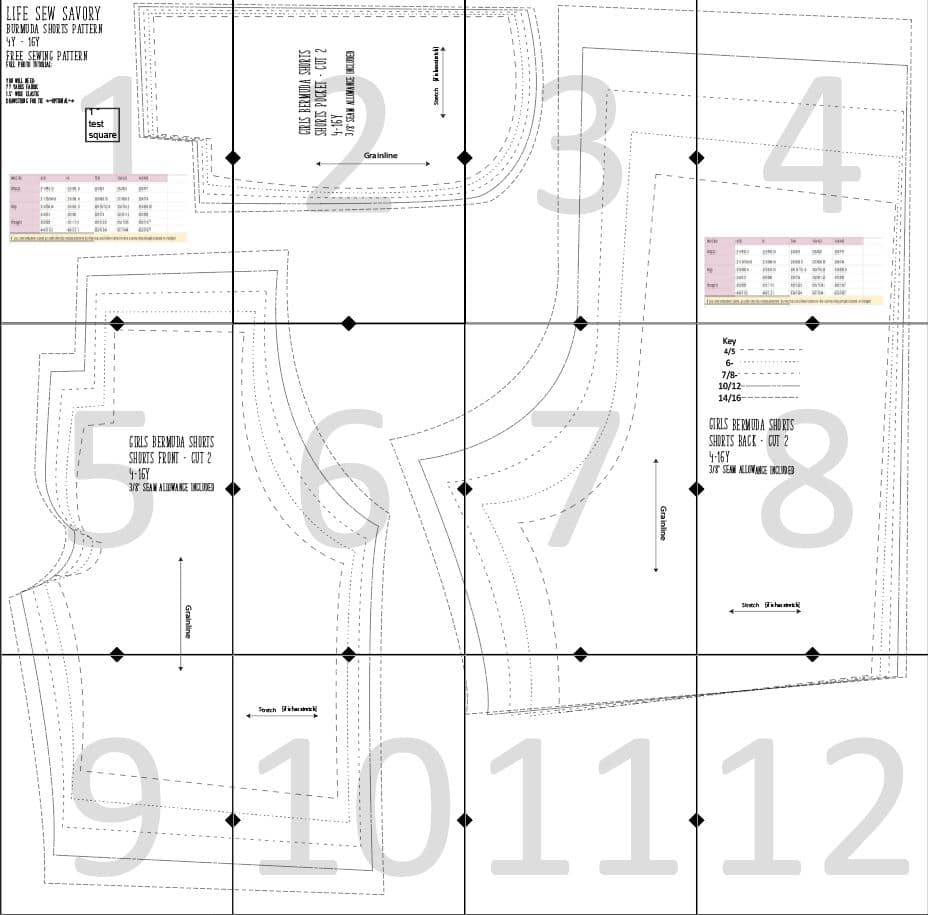
After you have downloaded the shorts pattern from my shop print and assemble. Need help with this process? See my post on everything you need to know about PDF patterns.
Refer to the size pattern to determine the size to make. Use Hip measurement {hip is the widest part of hips/butt area.} After you choose the size based on hip, adjust for height based on trying on or height reference on size chart. Here is the size chart and pattern layout guide for reference.

Elastic Cutting Guide:
- 4/5 – 13″ long
- 6 – 13.5″ long
- 7/8 – 14″ long
- 10/12 – 14.5″
- 14/16 – 15.5″ long
How to Sew Shorts
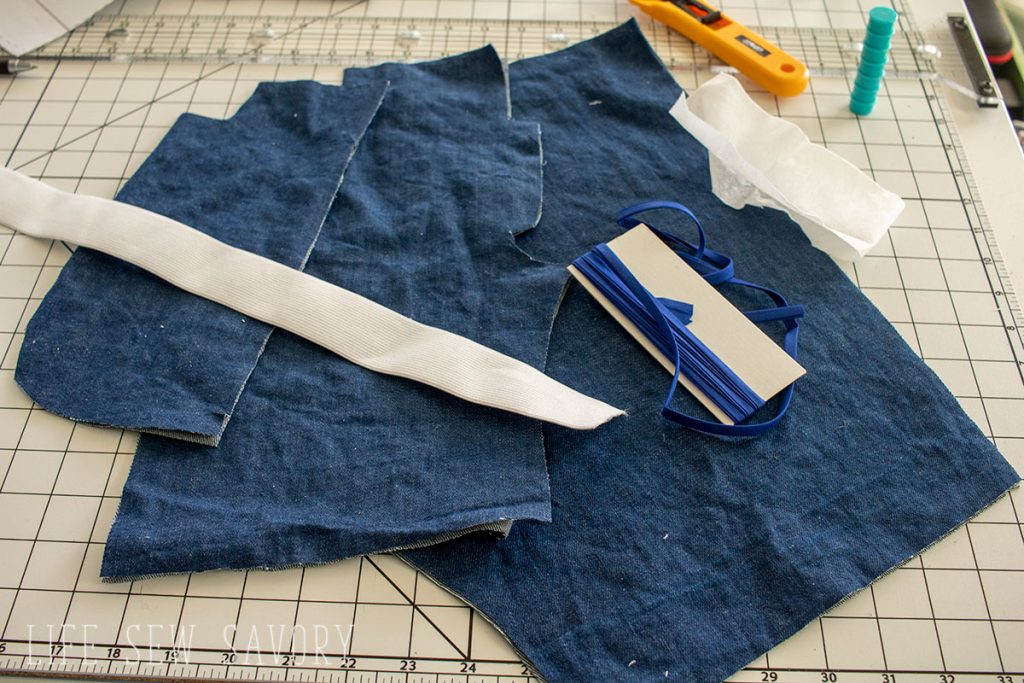
After you cut your fabric you should have 2 – pockets, 2 – fronts, 2 – backs, scrap of interfacing, Elastic cut according to above chart, bias tape or shoe lace for drawstring. Optional back pocket: 4×4″ for 4/5, 4.5×4.5″ for 6, etc… increase 1/2″ for each size.
NOTE: I used my machine triple stitch for all top-stitching.
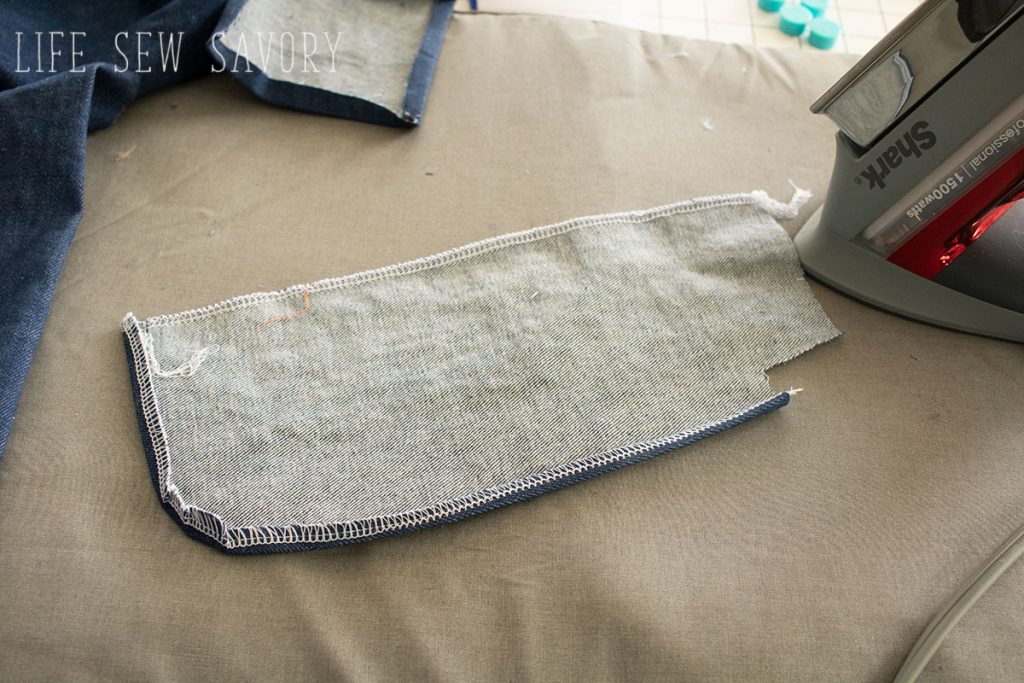
We will begin by prepping the pockets. On the two large front pockets you will finish the curved edge, first stitch the raw edge with a serger or zig-zag, then fold back and press seam allowance on the curve. NOTE: you can also just leave the serged edge as is and not fold it under, this will still make a nice pocket.
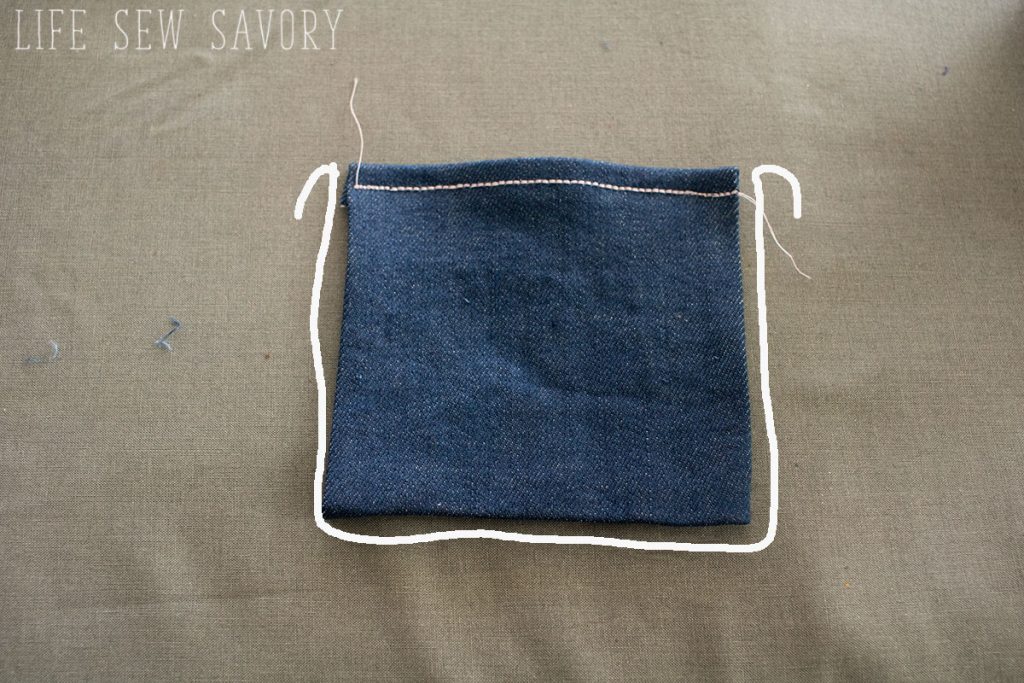
Oh the back pocket {haven’t cut a back pocket? see info above} Press back three sides and then fold over the top and top-stitch.
On the shorts fronts finished the curved edge with a serger or zig-zag then press back and top-stitch to finish pocket. Take the pocket from above and with both right sides facing down line up top and side as shown below. Curved edge will be towards the middle of the shorts.
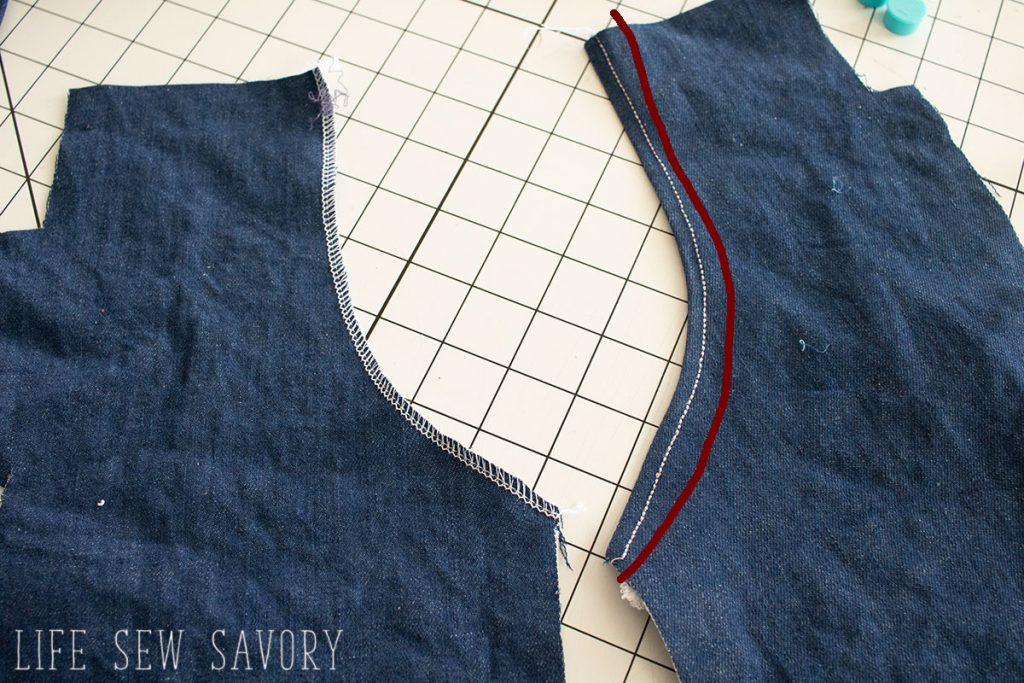
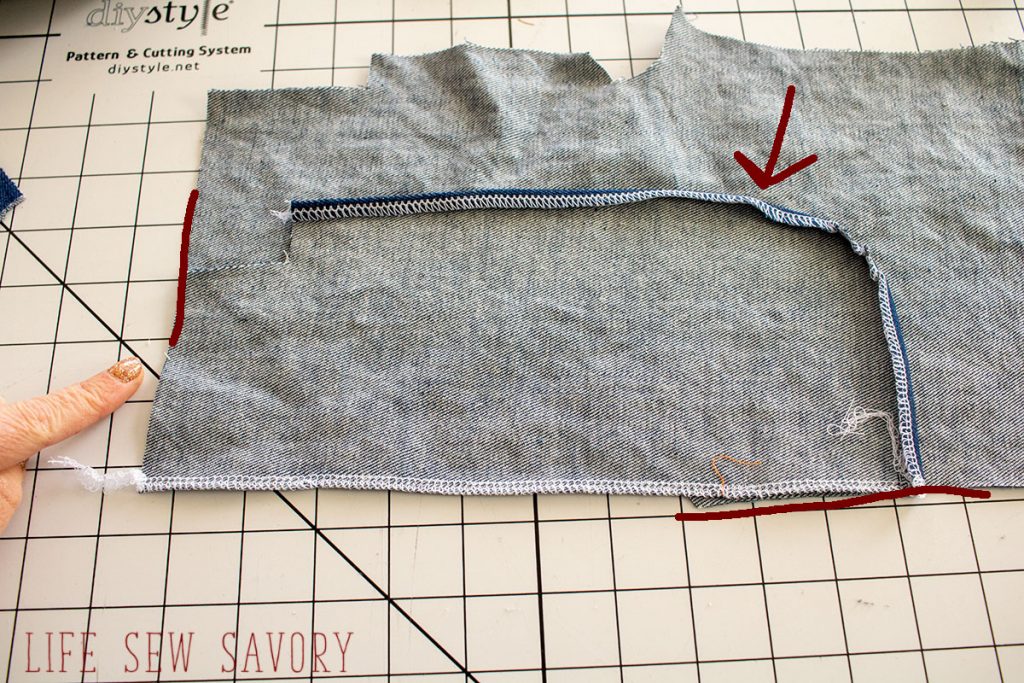
Pin the shorts pocket in place. I put my pins on the front of the pocket – as that’s where I sewed. Make sure the seam allowance is folded back as you sew. Single or double stitch to secure pocket in place and add decoration. Your sewing should go all the way to the top of the shorts {mine does not in the photo below and I had to fix that later!}
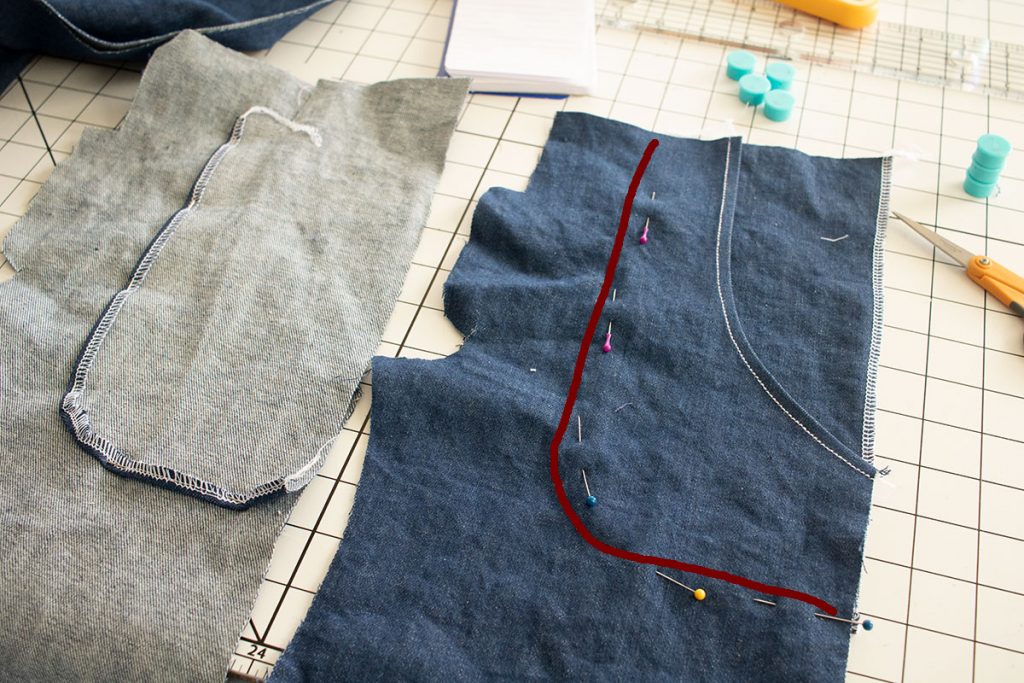
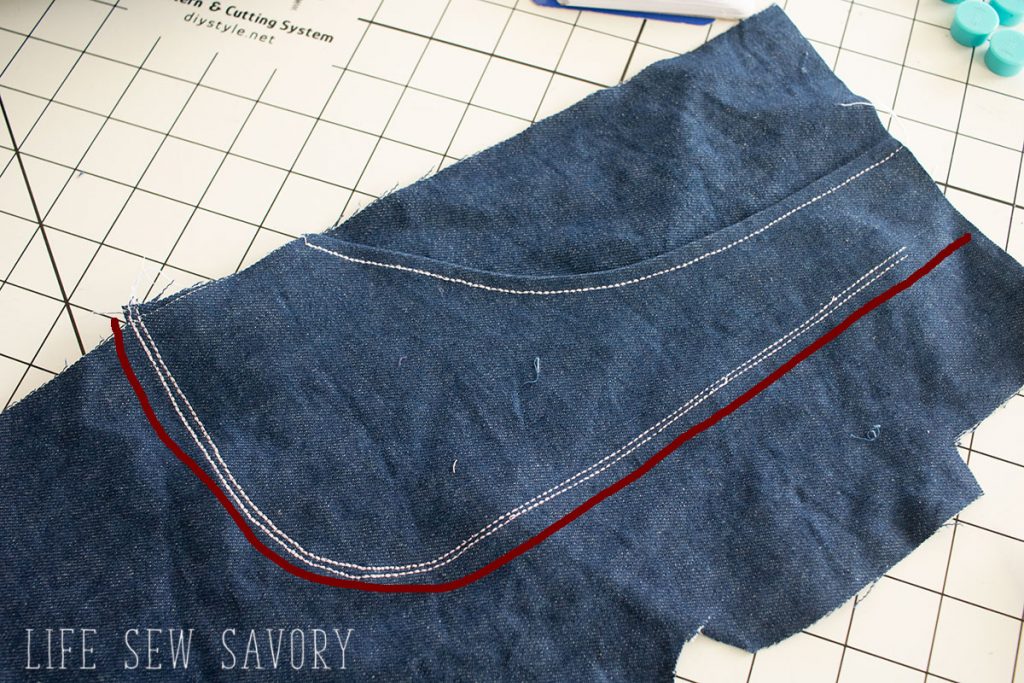
Place the back pocket on the right side of the shorts back. Line the bottom of the pocket up with the curve of the back piece. Pin and sew in place.
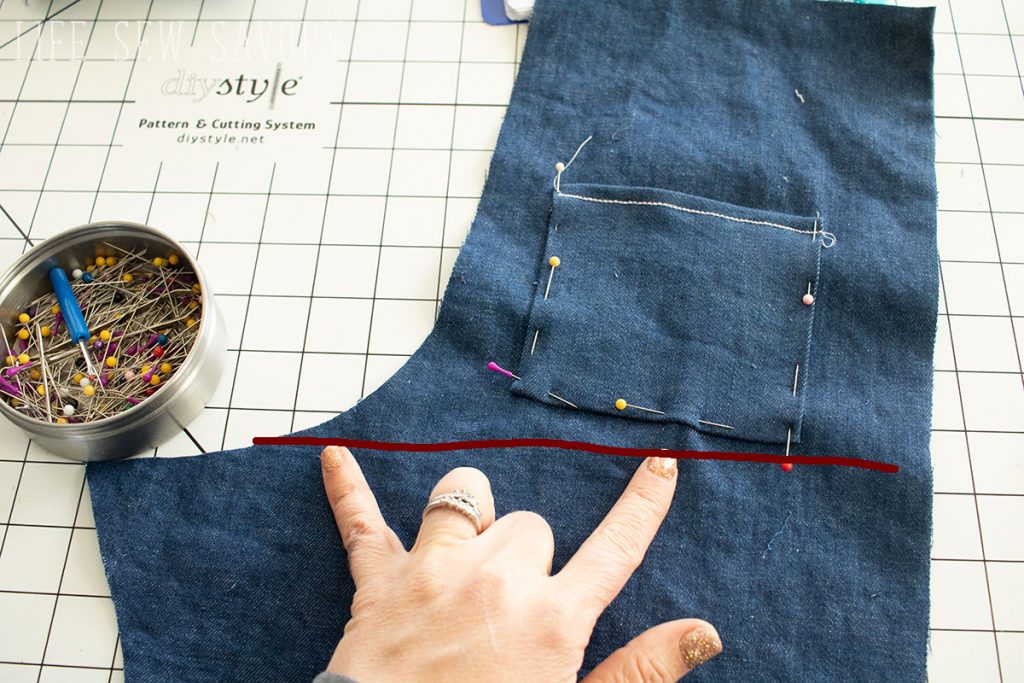
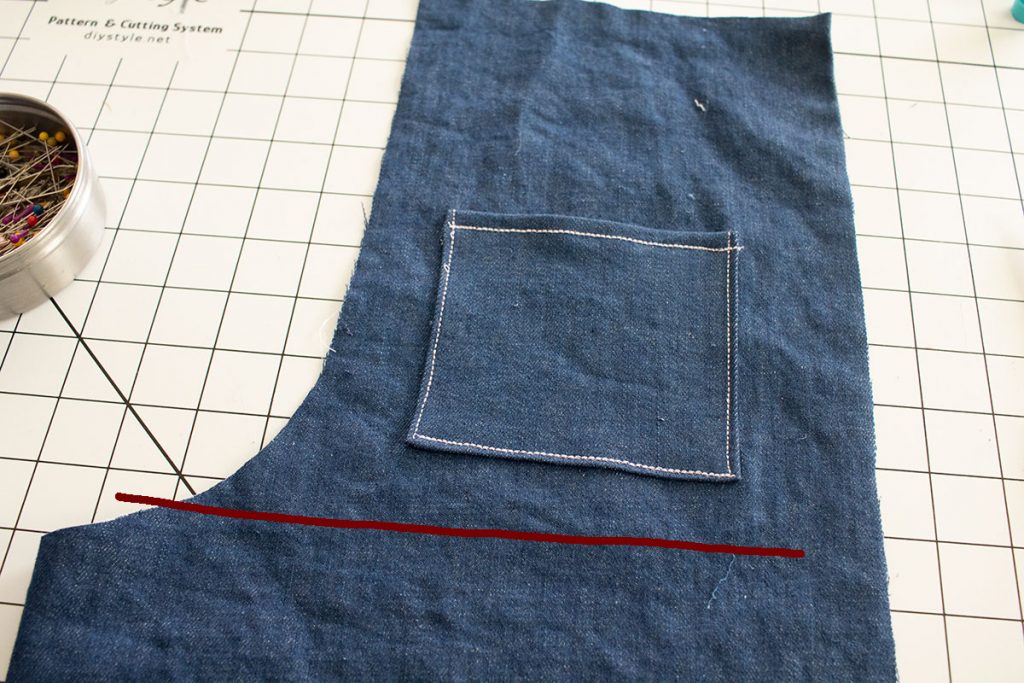
Place the back pieces right sides together and sew curved back seam. Top-stitch if desired.
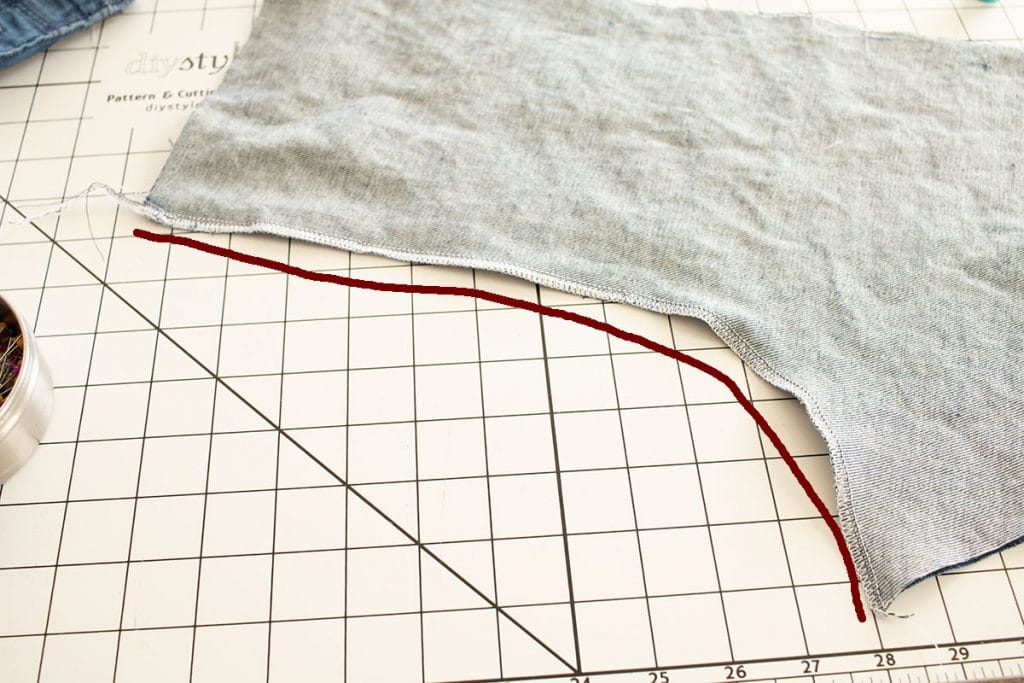
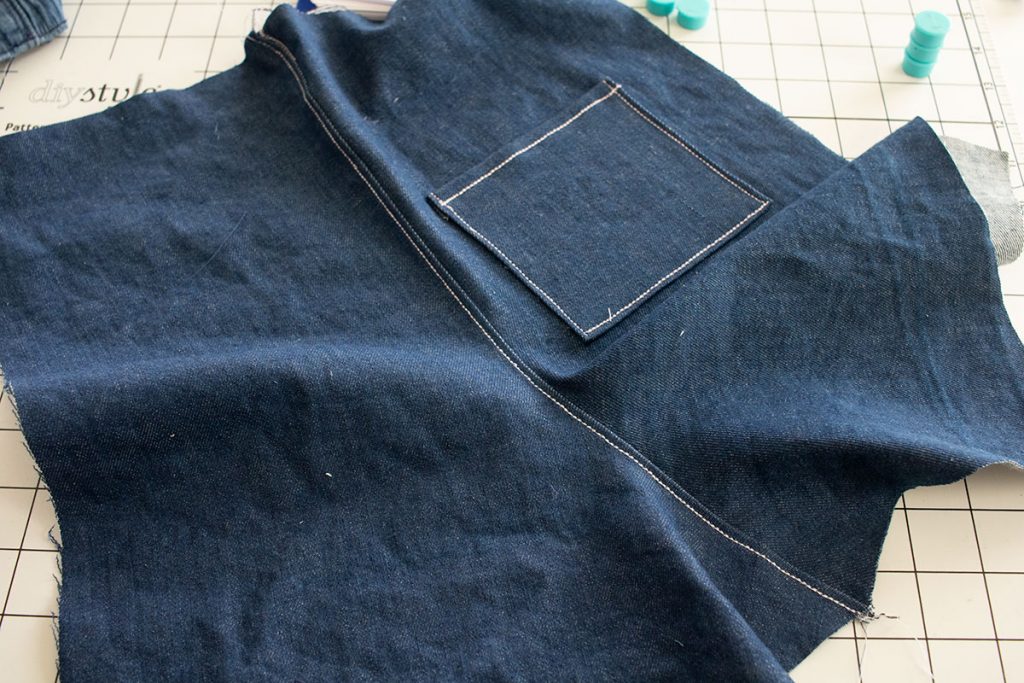
On the front secure the outer edge of the pocket to the front by stitching the pocket to the front as shown.
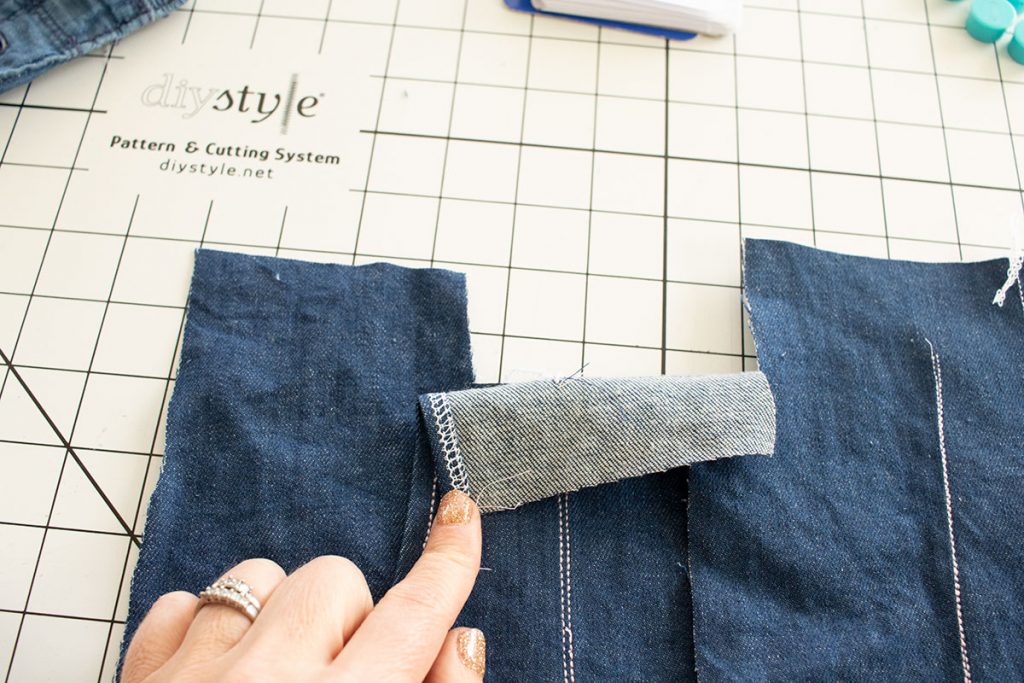
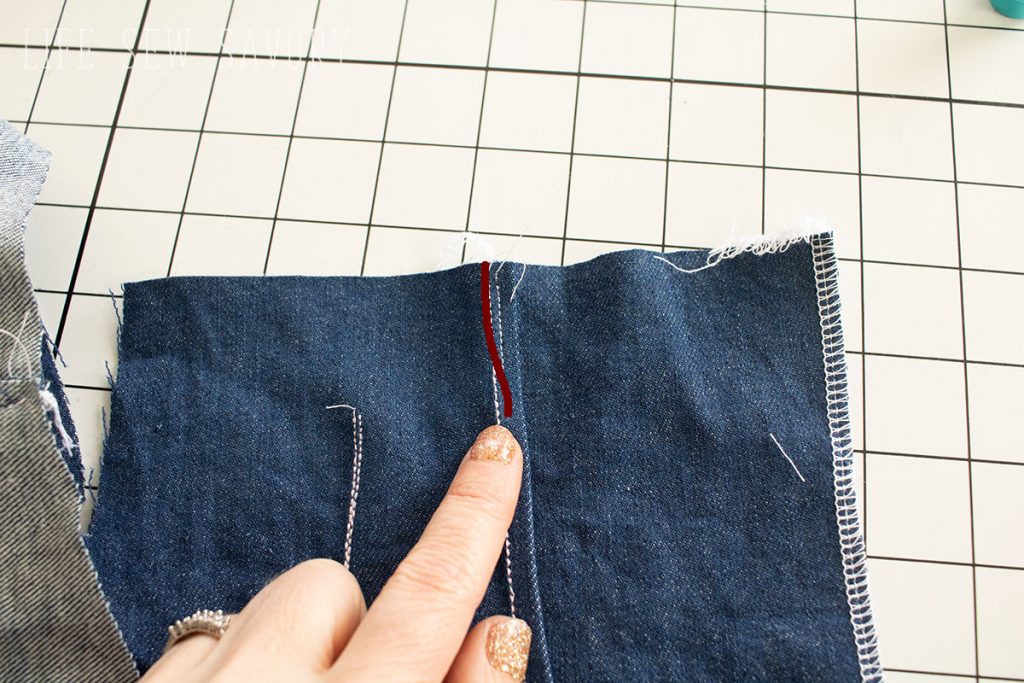
Place the pocket fronts together and sew this edge as shown here.
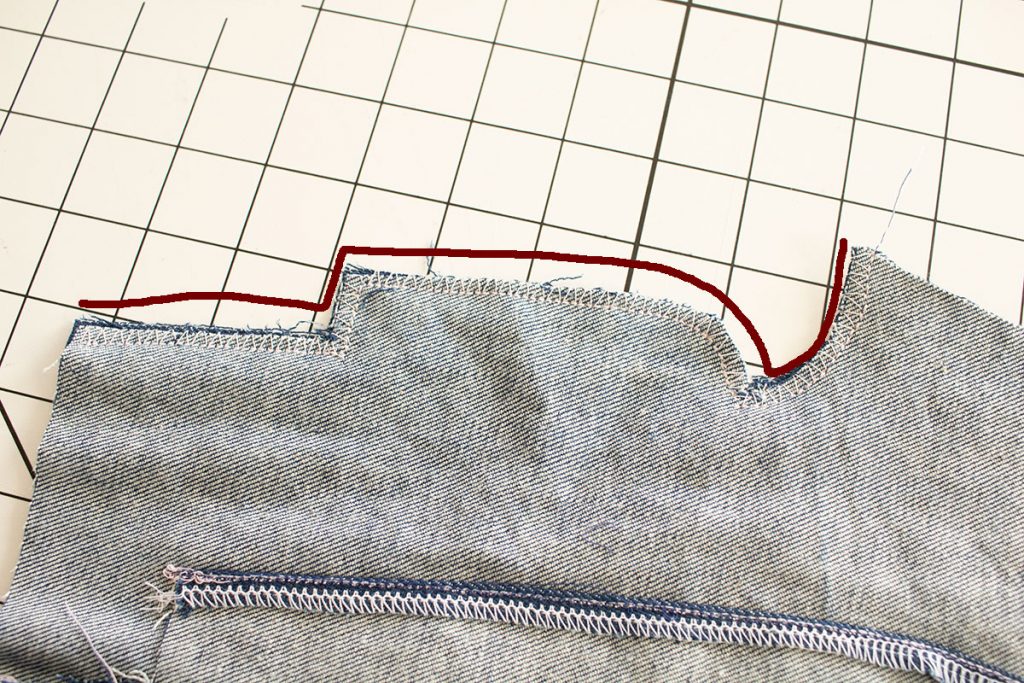
Turn shorts to right side and fold faux fly to shorts right. Pin in place. Sewing on the RIGHT side of the shorts, top-stitch the fly by feel and create a decorative stitch and create the faux fly look. Top-stitch all the way down the front. NOTE: I like to zig-zag at the base of the fly to reinforce the corner.
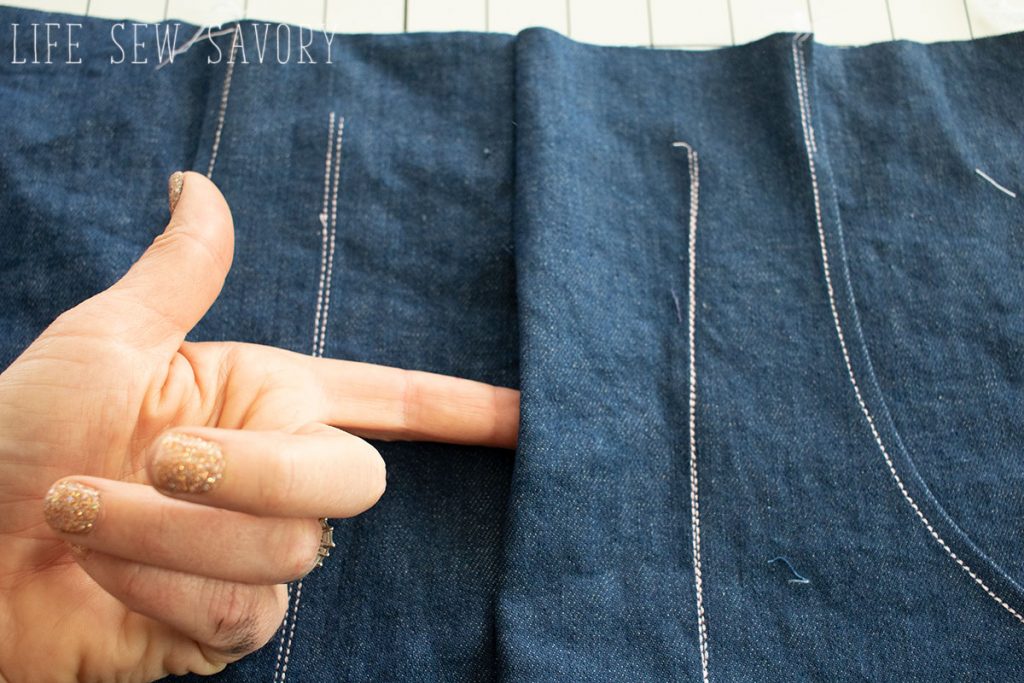
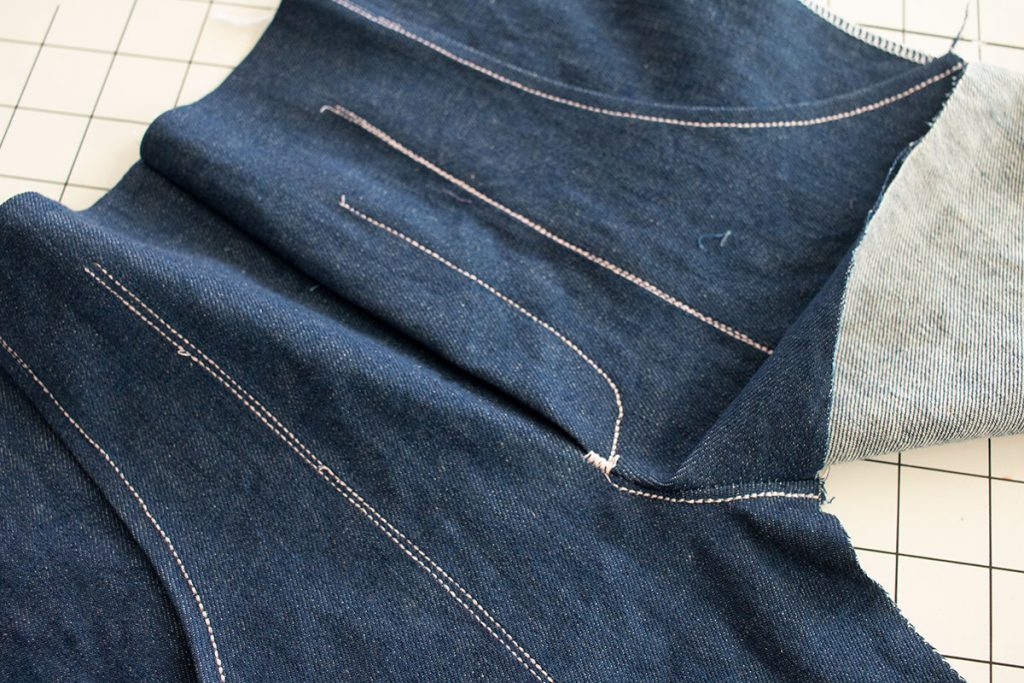
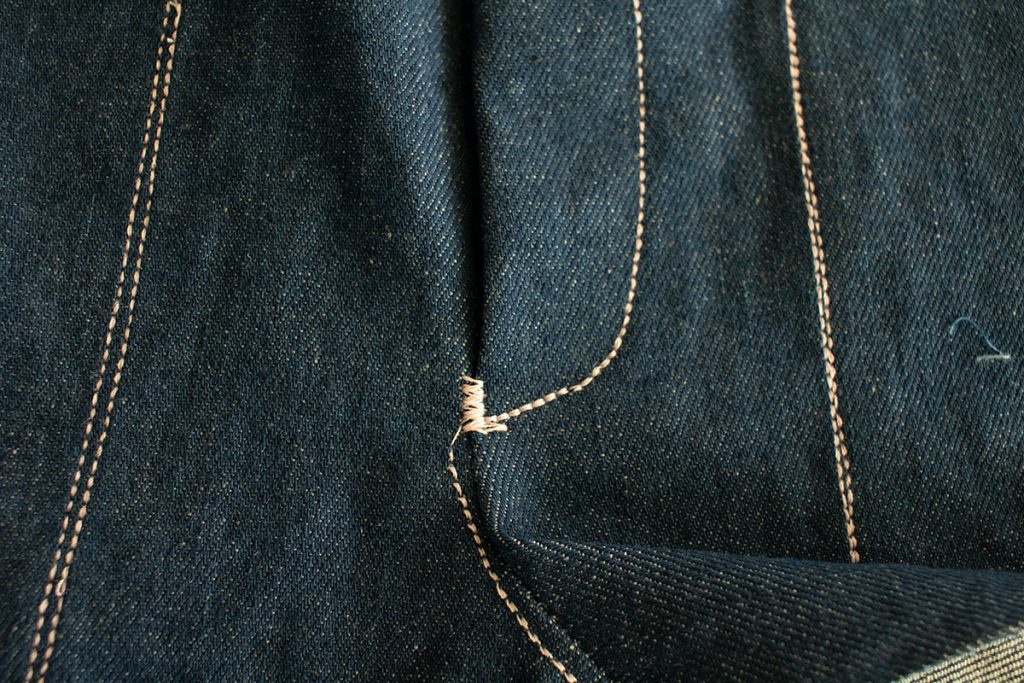
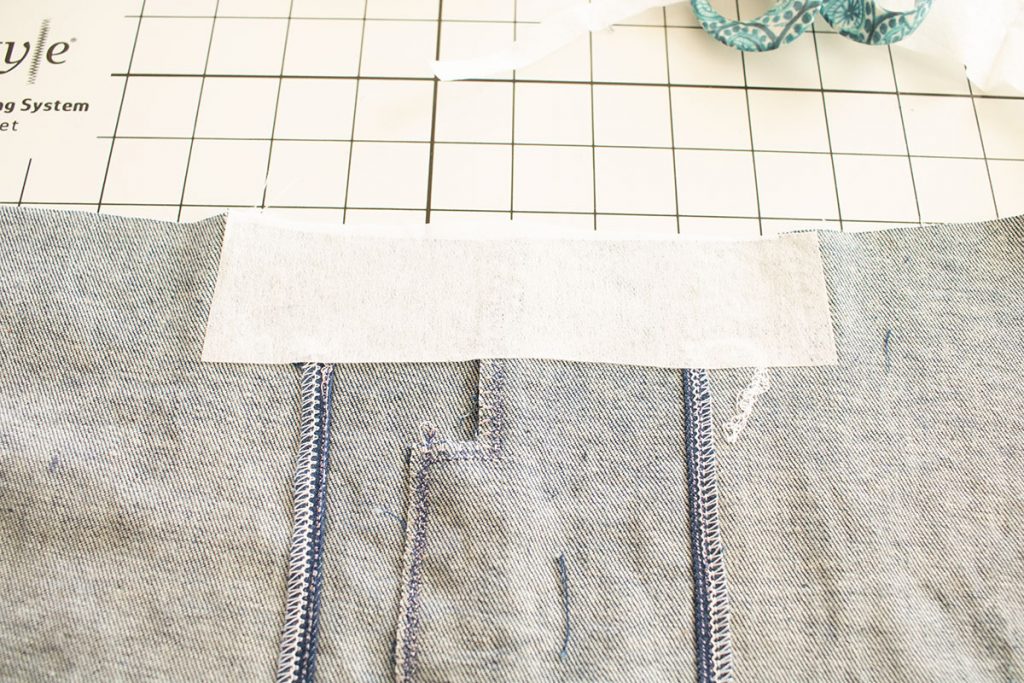
On the back of the front, measure the area between the pockets and note the edges. Cut and fuse interfacing to this rectangle to reinforce the flat front of the shorts. Use med/stiff interfacing. NOTE: on the new version I sewed I did not add a drawstring. I just added the interfacing and elastic, but no string.
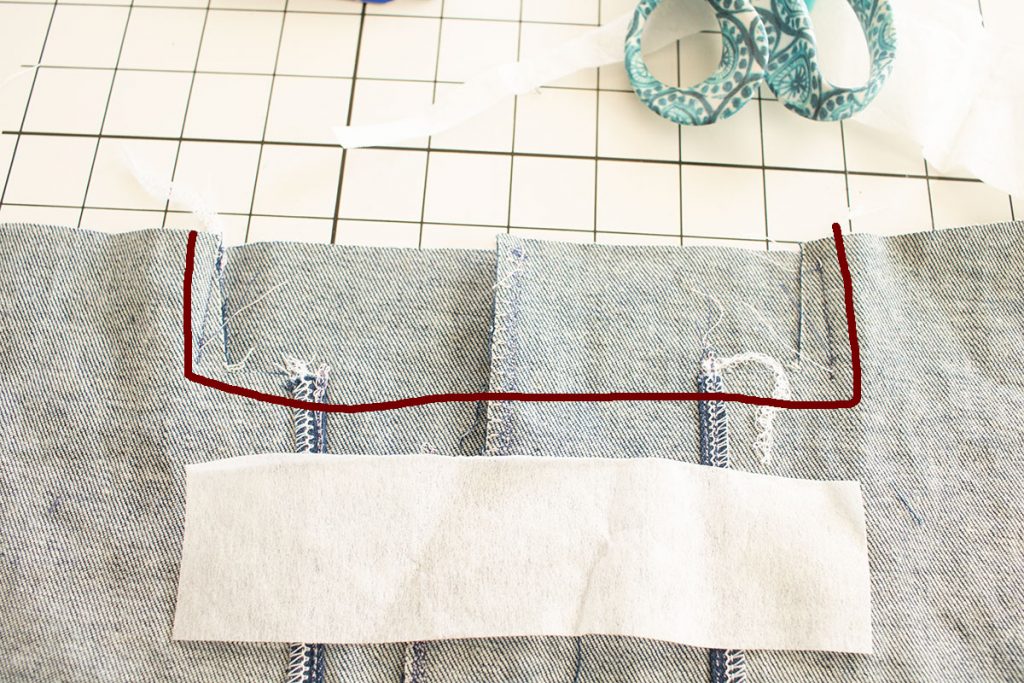
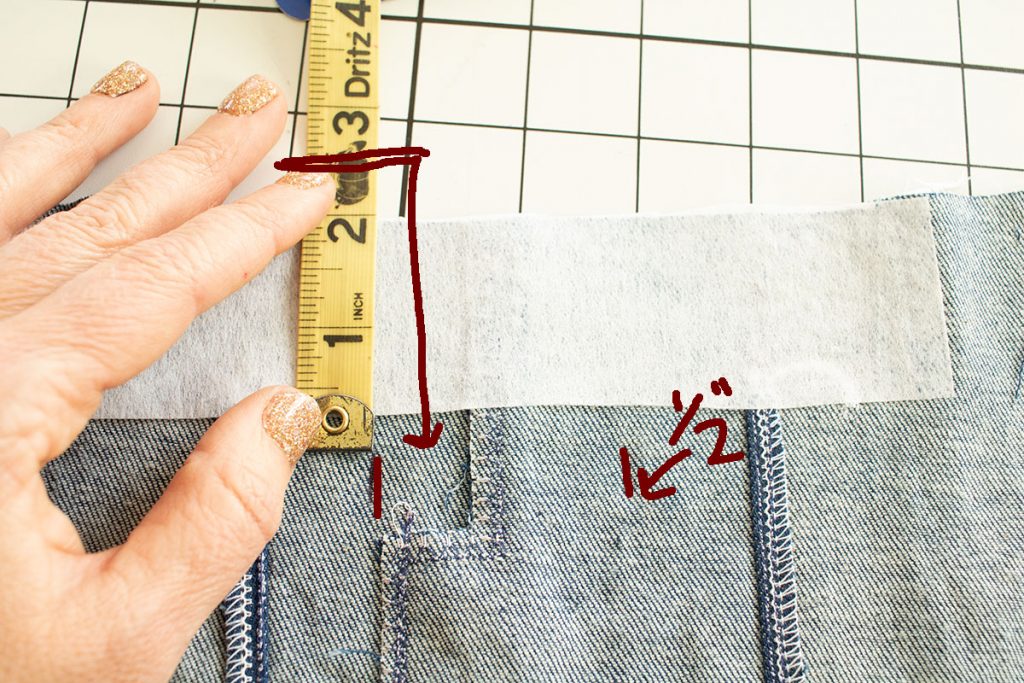
On either side of the front fly measure 2.5″ inches down and mark 1/2″. Sew a small button hole here on either side of the fly with the top of the hole 2.5″ from the top of the shorts. If you have not extended your pocket top-stitching all the way to the top, do so now.
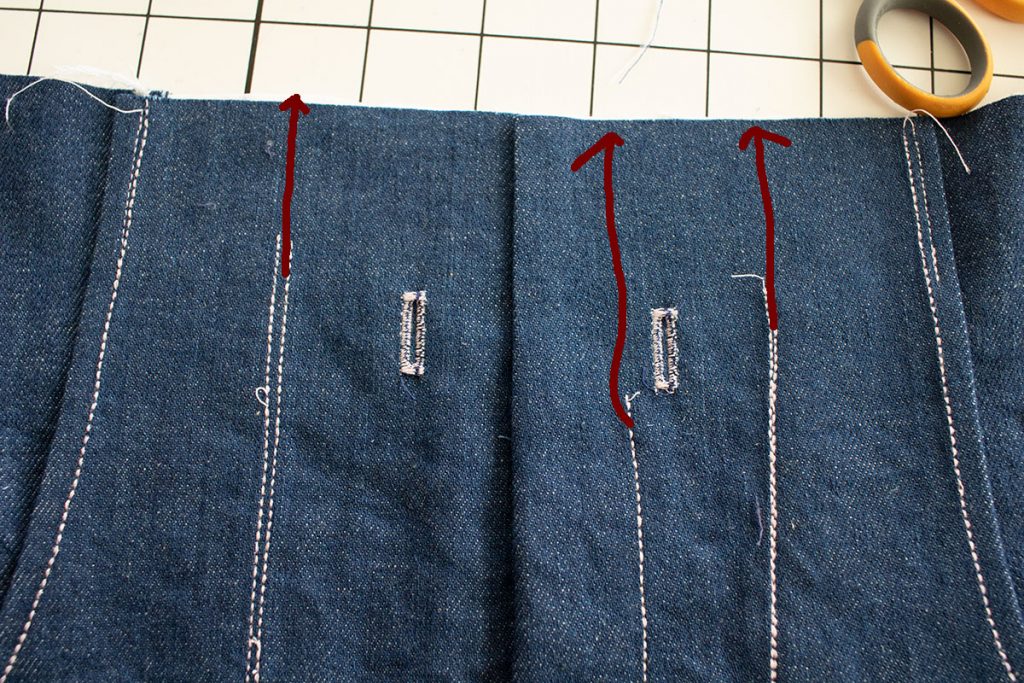
Place shorts front and back together and stitch side seams and then top-stitch.
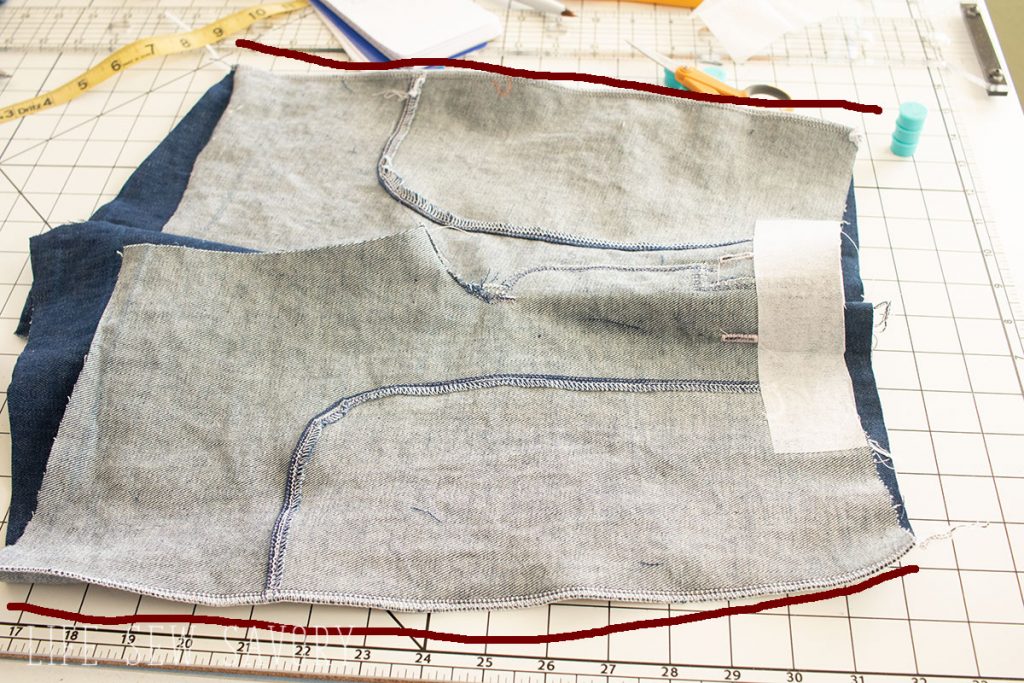
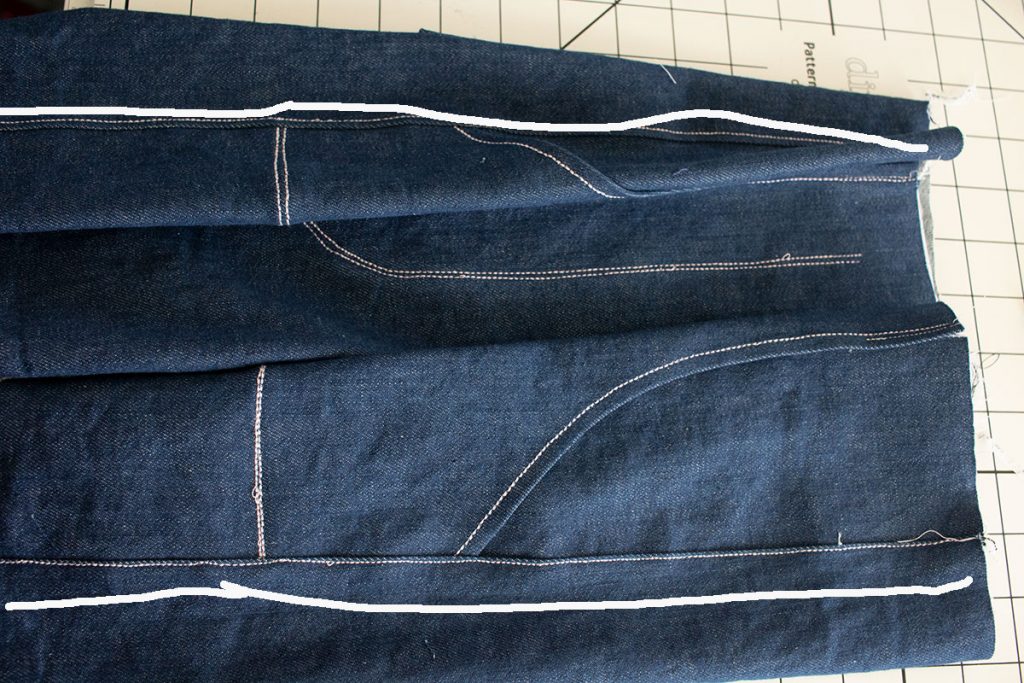
Sew inseam, matching center seams on front and back.
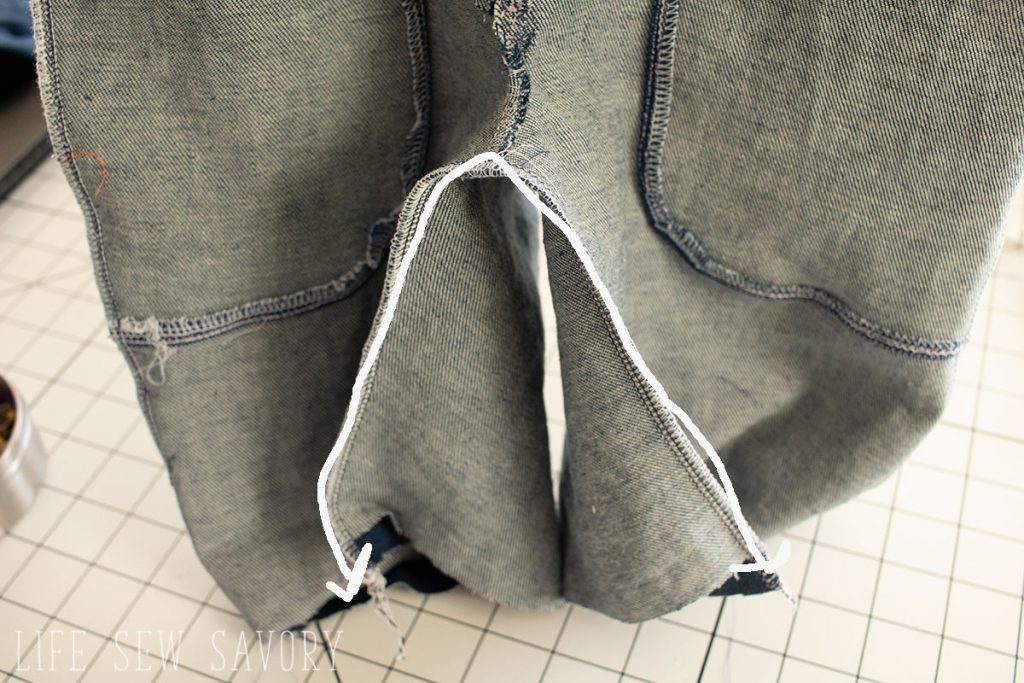
Press over 1/4″ on top of shorts. Then fold over another 1.6″ and secure. You want the casing just wider than the elastic. I clipped the casing over first, then added pins on the right side of the fabric, making sure the initial 1/4″ was still pressed under. NOTE: on the version I just sewed I serged the top edge, then just folded it over to create the casing.
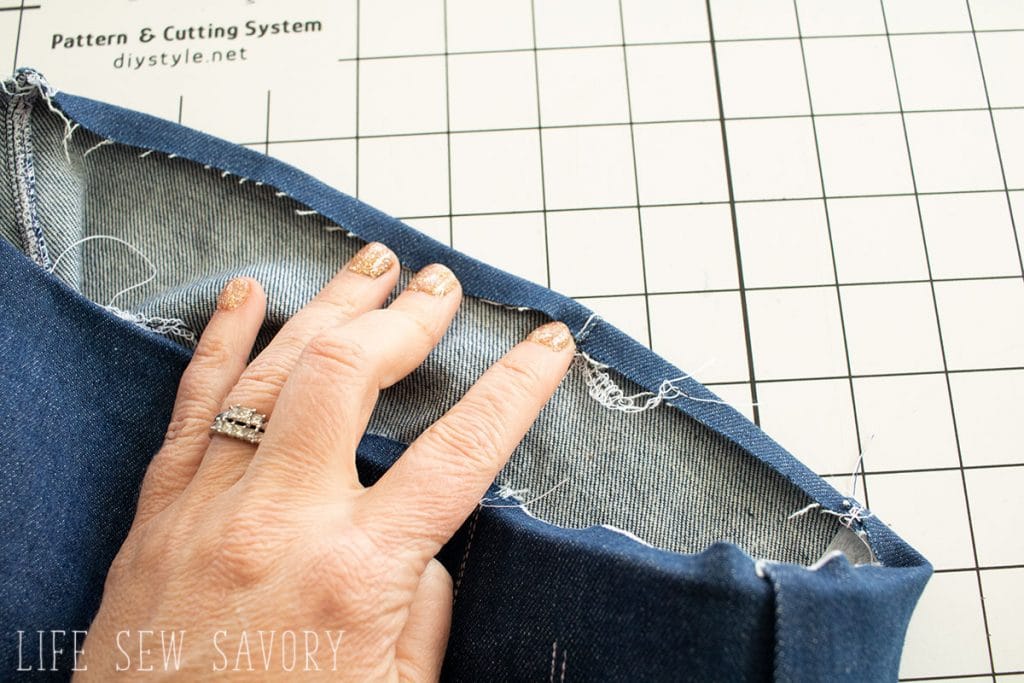
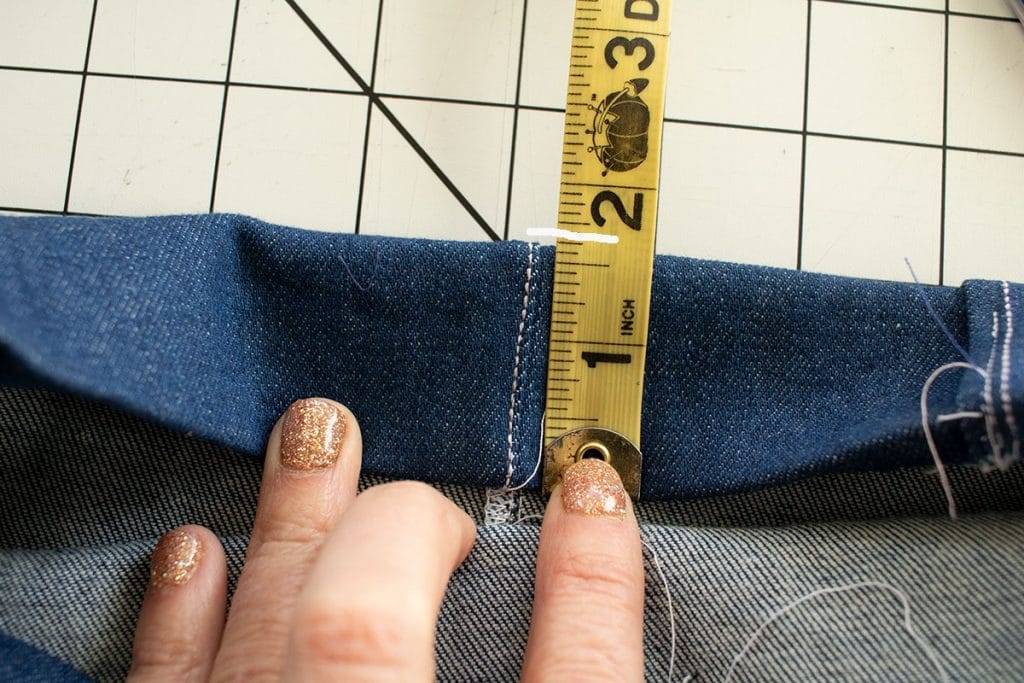
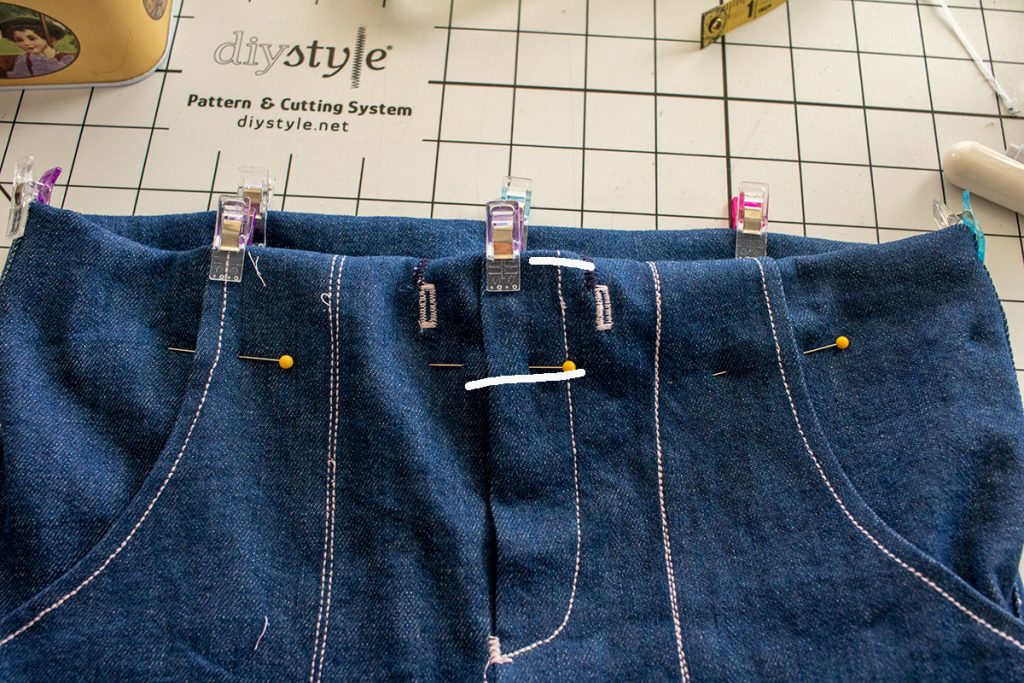
Sew around on the bottom of the casing to create. Leave a 2″ opening on the back center seam to thread elastic.
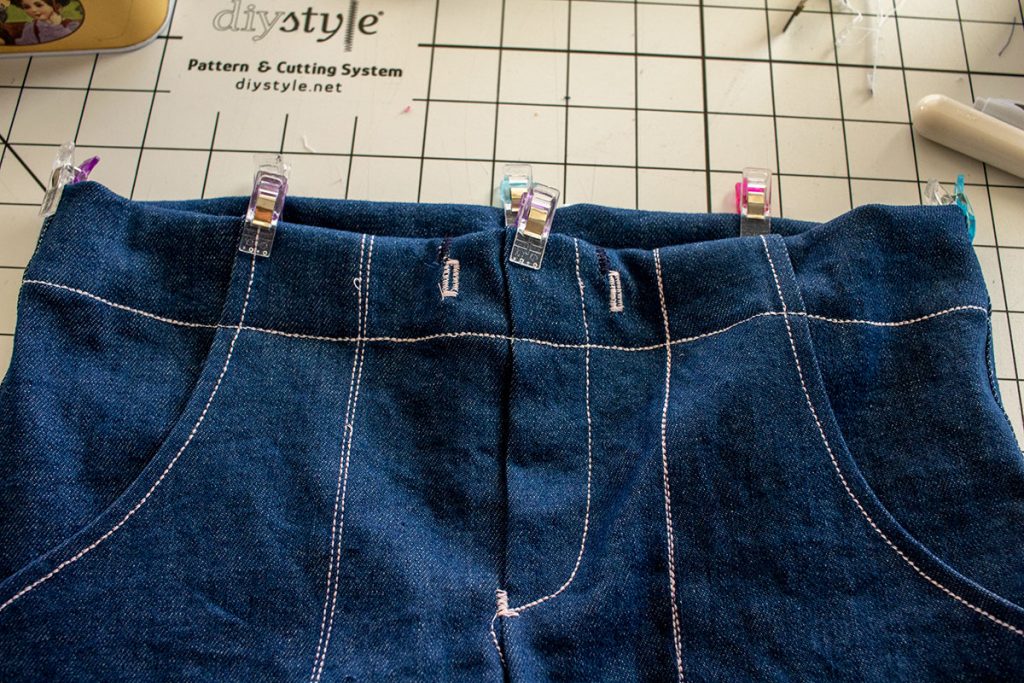
If you haven’t already cut elastic here is the cutting guide.
- 4/5 – 13″ long
- 6 – 13.5″ long
- 7/8 – 14″ long
- 10/12 – 14.5″
- 14/16 – 15.5″ long
Add ties to the end of the elastic. Stitch in the center of the elastic. The ties should be 10″ long {you can trim later} tie a knot on the end of the tie. I’m using an elastic bodkin to thread. Put bodkin or safety pin on the drawstring.
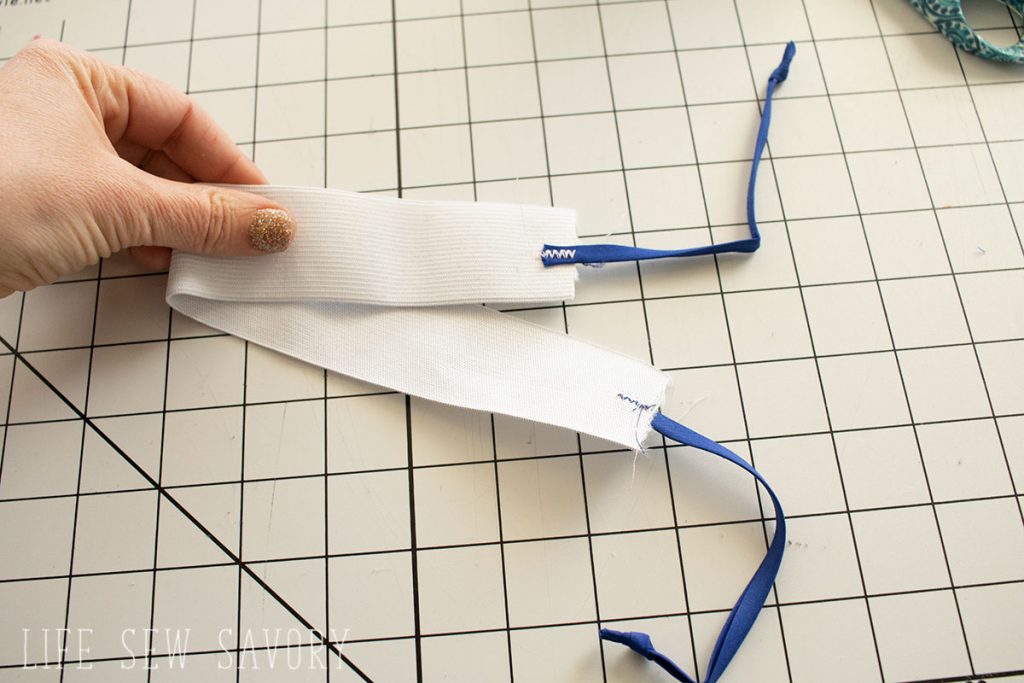
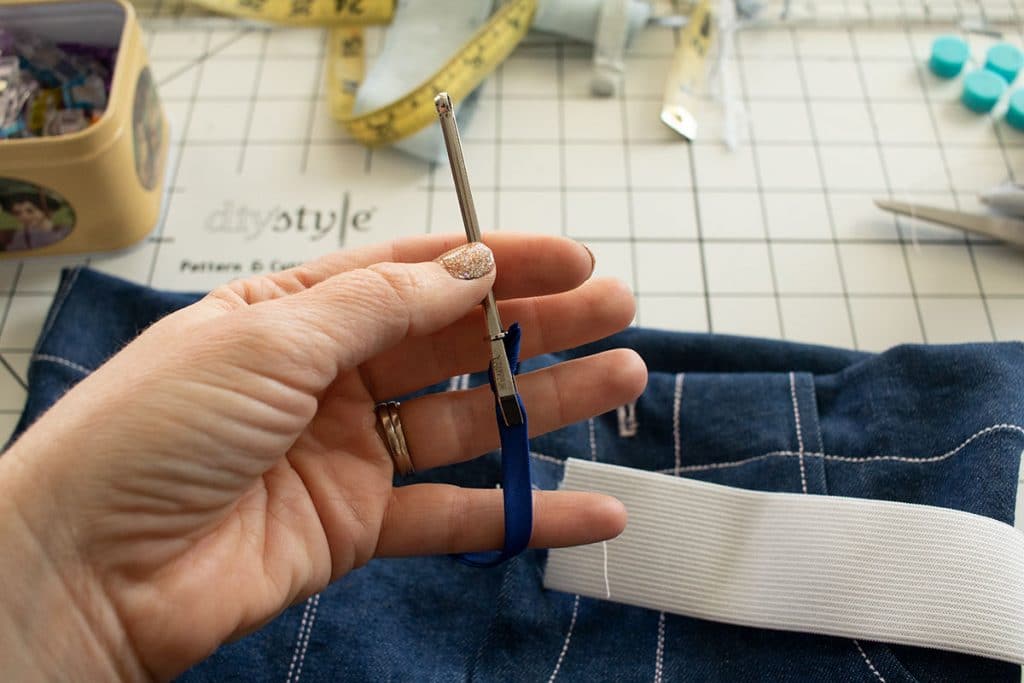
Pull elastic from back through casing around to one side of the center. Pull the drawstring through the hole on that side of shorts.
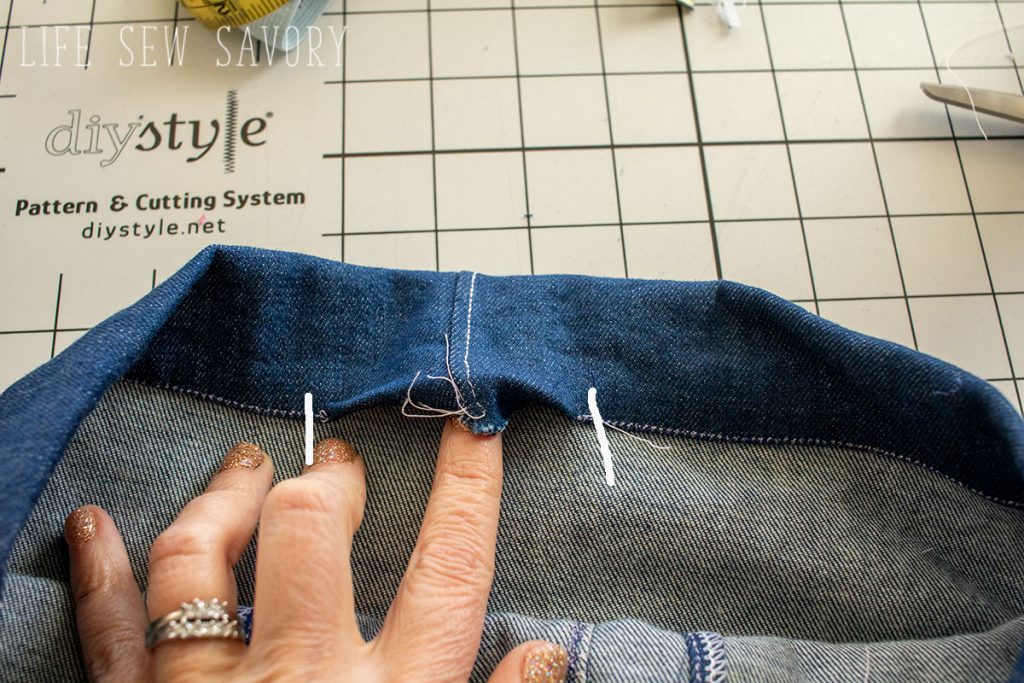
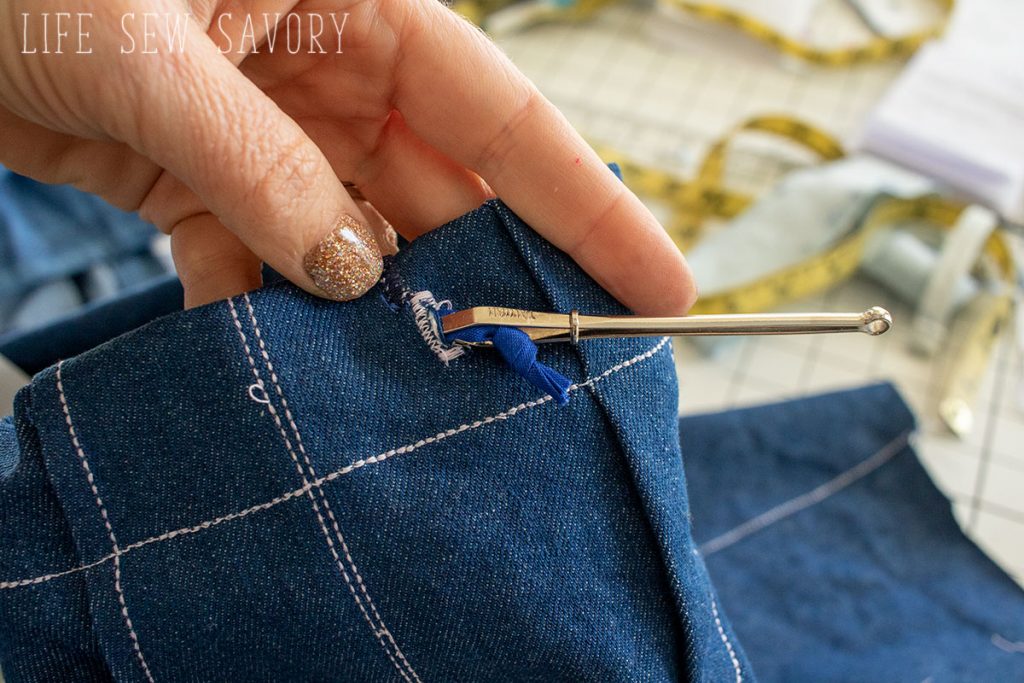
Pull drawstring through the hole and pin the elastic edge to the outer edge of pocket as shown here. Go back to the other end of the elastic and pull through the OTHER side of the casing and out through the drawstring hole. Secure elastic edge on outer edge of pocket with a pin.
At this point you can try on and tighten the elastic if needed by pulling on drawstring and re-pinning. SEW the elastic in place by stitching over the top-stitching on pocket. The front of shorts from pocket to pocket is flat front and the rest is gathered with elastic.
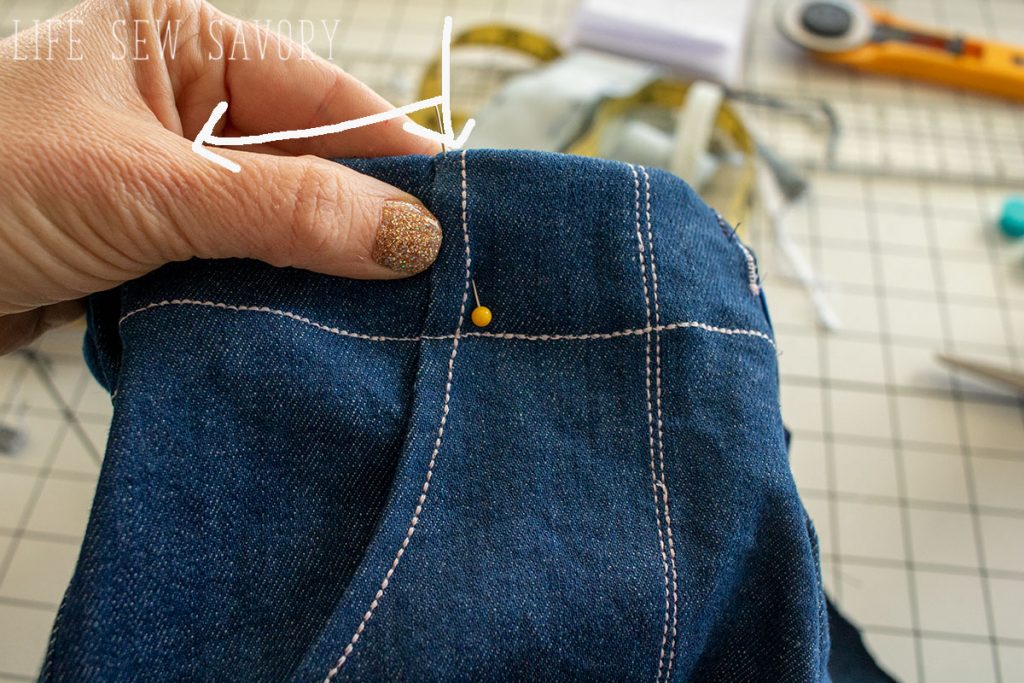
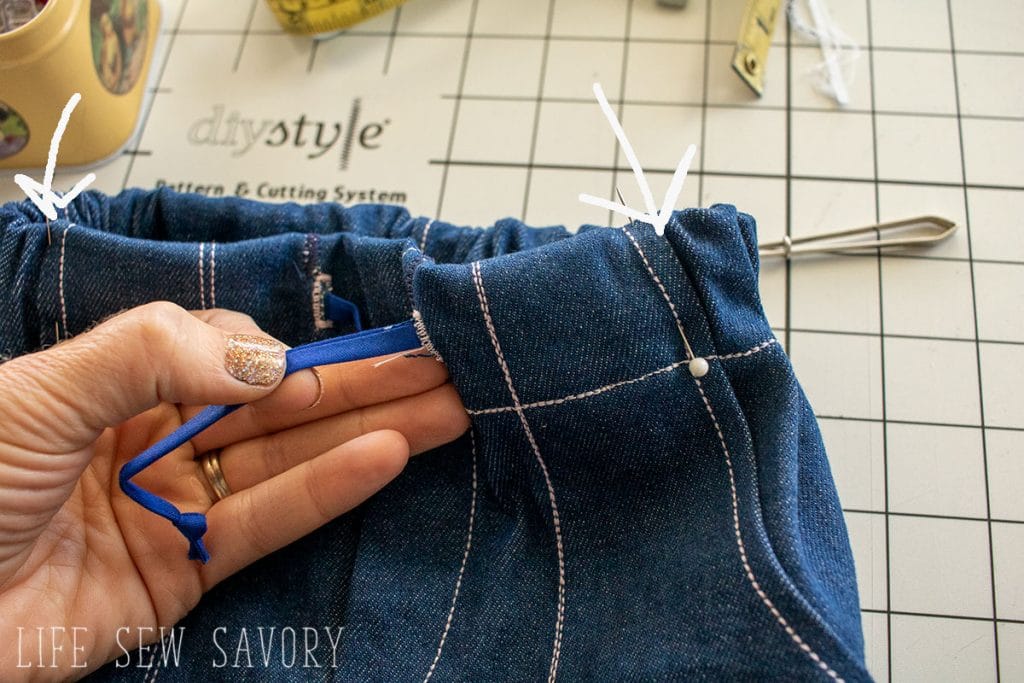
Close the hole at back of shorts with same stitching.
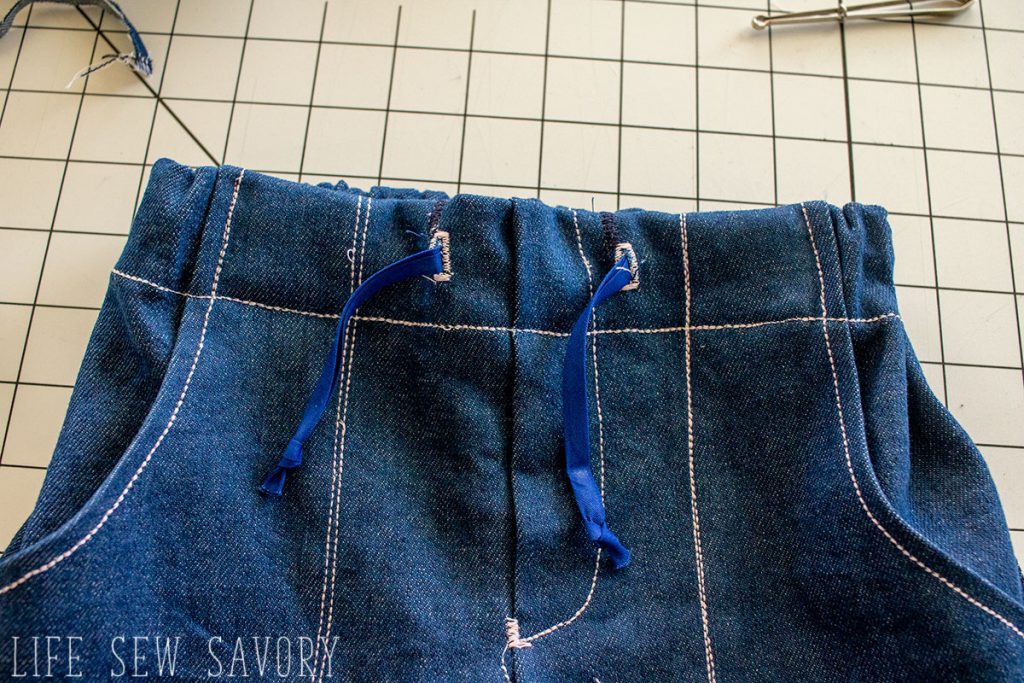
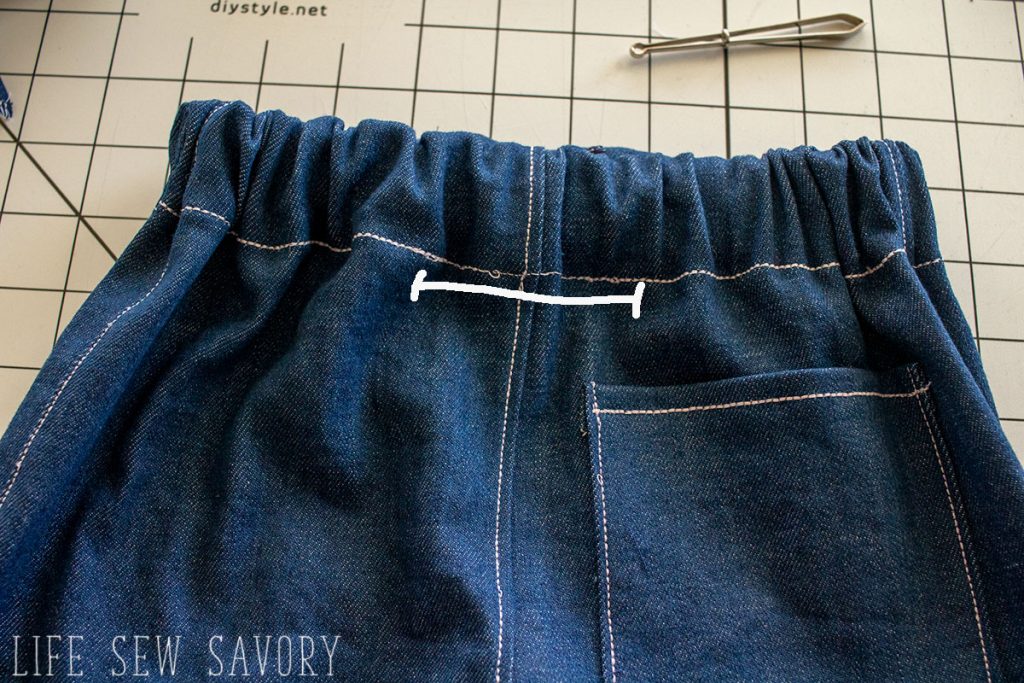
Tack elastic in place {so it doesn’t twist} at top-stitching marks. Hem shorts by finishing raw edge with serger or zig-zag then folding up 3/4″ hem. You can try on before hemming to decide length if needed.
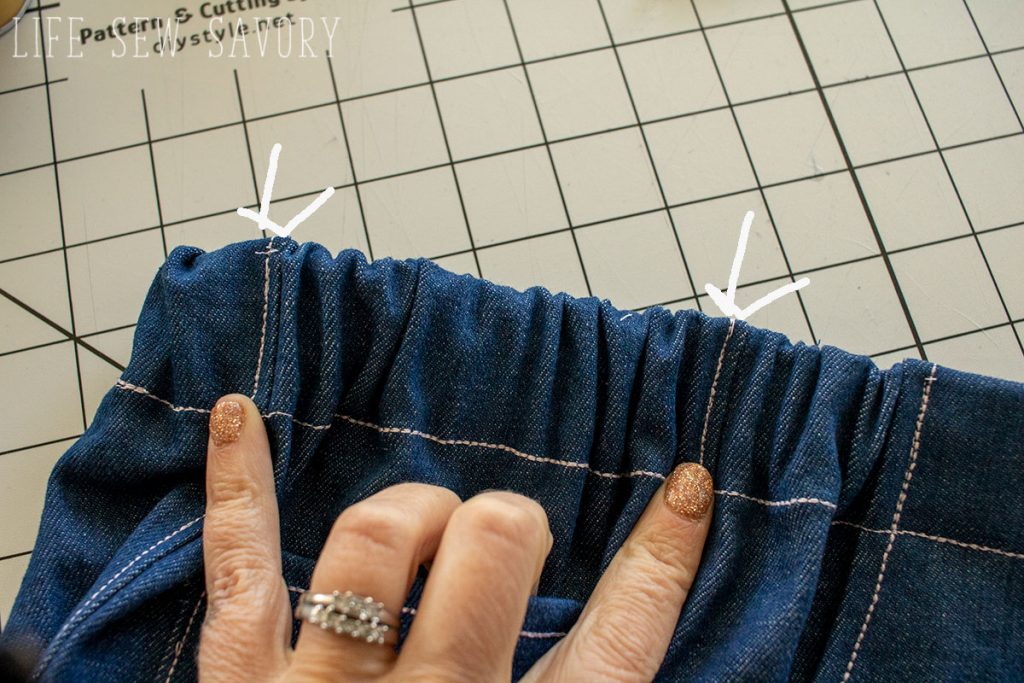
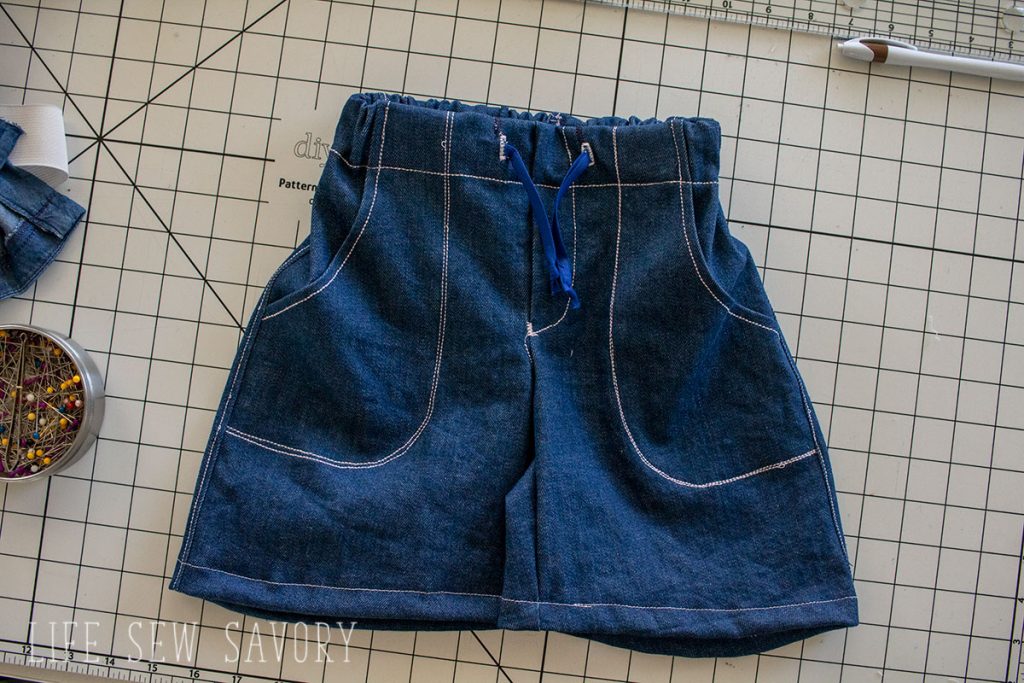
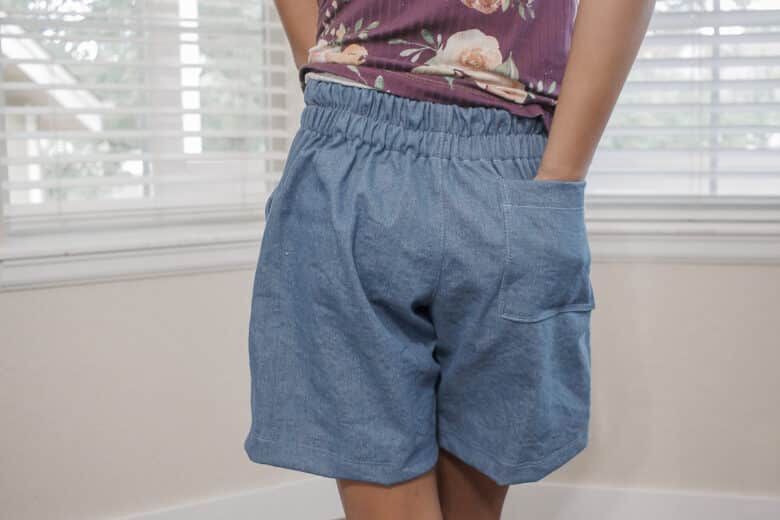
Here is the flat front of the shorts and the back with an added row of stitching to keep the elastic in place. I stretched the elastic as I sewed down the middle of the elastic. I love the look of elastic like this and have been top-stitching my elastic like this more and more.
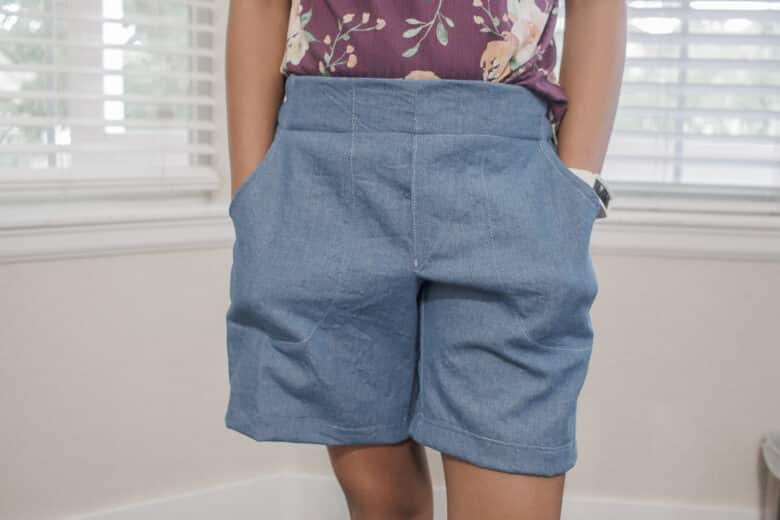
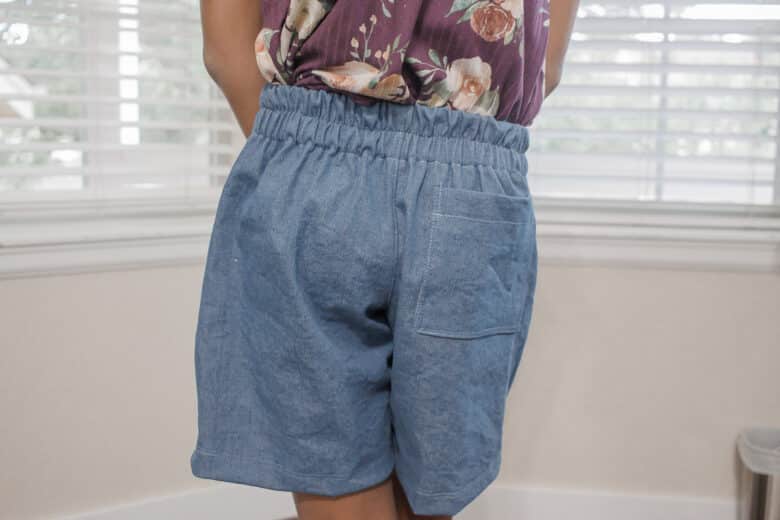
All finished! Don’t you feel amazing! I bet your shorts look amazing too!! Rose asked to do a funny pose when we finished out shoot and this is what she came up with. A celebration pose for us all!






Sheila Robson says
Thank you Emily, this is SO timely. I’ve just finished clothes for two of my grand-daughters, and I now need to make things for the other two. I have some lightweight floral denim I was looking at the other day and wondering what to make – you’ve solved it for me with the Bermuda shorts pattern.. I’ll let you know how it goes, but everything else from you that I’ve tried has been brilliant. (Love the Sweet Rose dress, I’m always recommending it.)
lauren Roberts says
Hi, I’m looking forward to making these. I wasn’t sure from the pattern or instructions if the seam allowance was included? If so how much was allowed?
Thanks
Charity Dušíková says
Hello, it’s not in the tutorial, but it is printed on the pattern. A 3/8 inch seam allowance is included.
Emily Smith says
Unfortunately, with my minimal experience sewing, I found this pattern extremely hard to follow.
Michelle Mitchell says
I have years of experience and struggled with the instructions, but I was happy to find a free pattern. Your comment is older, but if you decide to try them again look to youtube for some tutorials. I made a few changes to the pair I made. I cut additional pieces to make the front pockets so that the pocket hung free inside the shorts. It also made it MUCH easier to finish the curve on the shorts front pocket area. I put the eyelets for the drawstring a little closer together.
I used a lightweight dark denim for the shorts and a super cute bright pink with white polka dots for the pockets.
Debbie griffin says
Thanks Emily! I have been wanting to make shorts with this exact style pocket for me. And now I know how to do it!you’re great.
doreen HARRIS says
HelloEmily
Thanks for the free Pattern, Just have one question, the back legs when finished sewing up the sides seem longer than the front legs, I was making the size 10/12 years Why is that and put the pieces together right, how can I turn up the hem if the front and back are not the same length, Did I do something Wrong
Doreen
Emily says
Sometimes the patterns seem to come out like this on some sizes. I just end up trimming the longer side.
Jessica Hancock says
Thank you for the free pattern. I would like to be able to print the instructions for this pattern however i am struggling to do so. Would you happen to have a PDF for instructions so it can be easily printed and not need the computer while sewing?
Thanks, Jess
Emily says
Hi! The way I can offer these patterns for free is by making money off having you come to my site for the instructions. Unless I offer a paid version of the pattern, there isn’t a printable option. This pattern does not have a printable version.
Mai Ferguson says
Wonderful tutorial and pattern thank you very much❤️
Giovanna Taylor says
When cutting the fabric do you have to turn the pattern to the wrong side to cut the second piece? So basically one is cut on the right side and one with the pattern turned to the wrong side?