inside: Learn how to trace an image in canvas workspace with this simple tutorial. Tracing an image can help you create custom cut files for craft or heat transfer vinyl.
My kids are always volunteering my custom t-shirt making skills to their friends at school, so when my middle child came home and asked if I could make team shirts for the volleyball tournament, I said yes {haha} During homecoming week out middle school has huge outdoor volleyball tournament and any/all kids can enter a team. My sixth grader and his friends decided on a “thing” theme and I helped them create fun shirts.
How to create a custom shirt with ScanNCut
Over the years I’ve made many many custom shirts for the kids. A super hero shirt for a school theme day, a rip off school spirit wear shirt, shirts for birthday gifts, matching sibling shirts, and so much more! If you are looking for fun shirt inspiration, be sure to check out my whole ScanNCut menu.
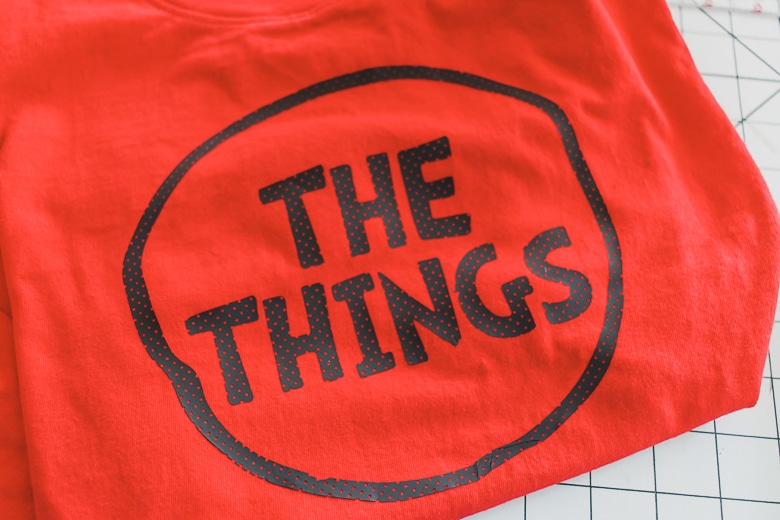
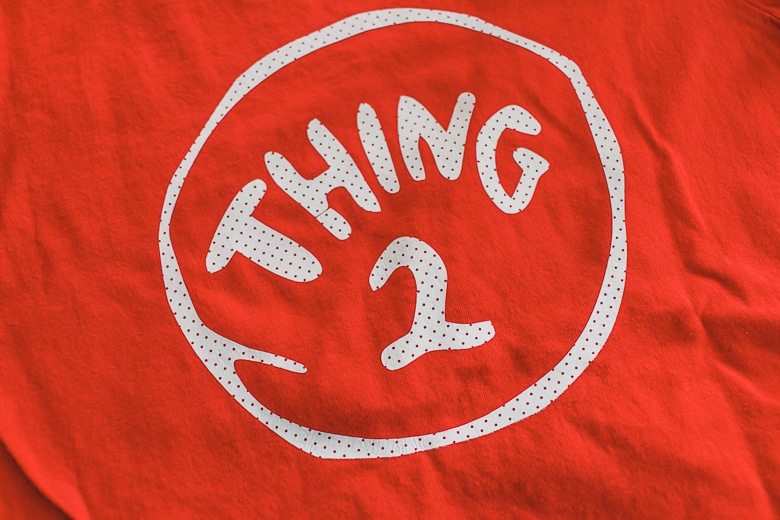
For this image tracing project I created shirts that said “the things” on the front and “thing 1”, “thing 2”, “thing 3”, etc on the backs.

The front of the shirts were all the same and the backs were each different. I’m going to share how I traced a clip art image to create these fun theme shirts with my Brother ScanNCut. I also found this fun mesh like vinyl on clearance to the shirts were super affordable to make, AND they turned out so cute.
How to trace an image
Okay, let’s talk supplies. I was going to just grab cheap shirts at Walmart, but they didn’t have the size/colors I needed. So I found these super affordable t-shirts on amazon here. These French Toast shirts have limited colors, but if you find a good color, they are a great option.
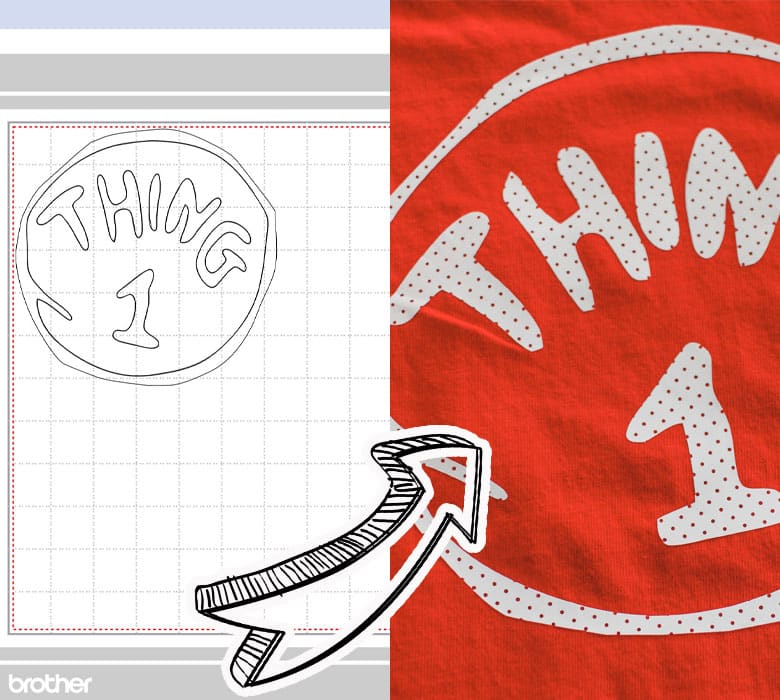
Okay, so the video in the post give you a quick overview of the process, but I’m also going to walk you through tracing an image in canvas workspace here. First, you want to find the image you want to trace. I find free clip art or designs. Do not use designs that are for sale or the intellectual property of other designers. The image on the left is the clip are I found free online. I downloaded it and saved it to a file on my computer.

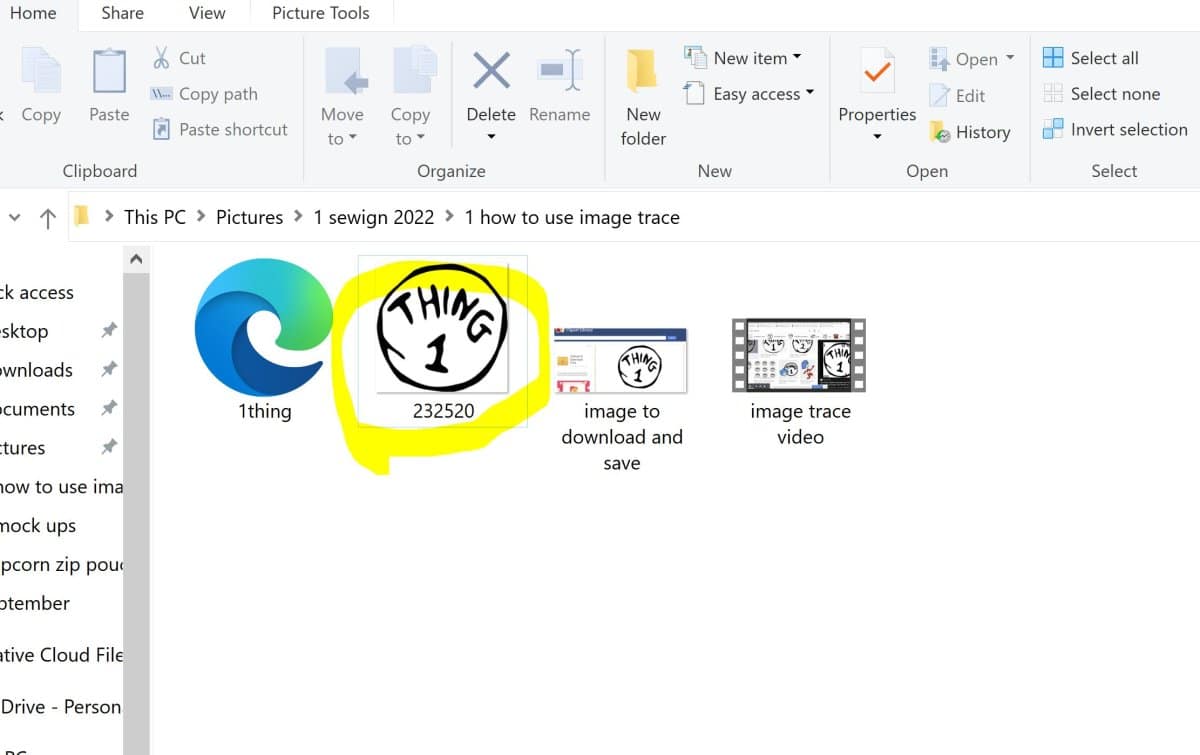
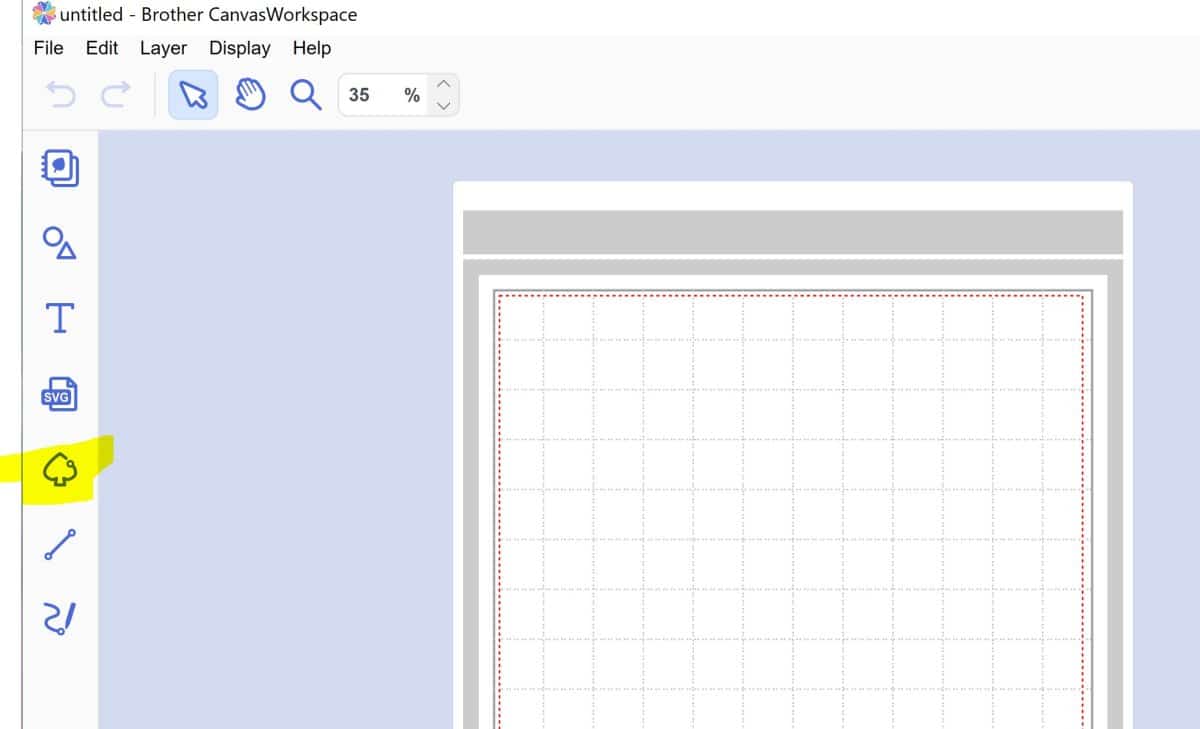
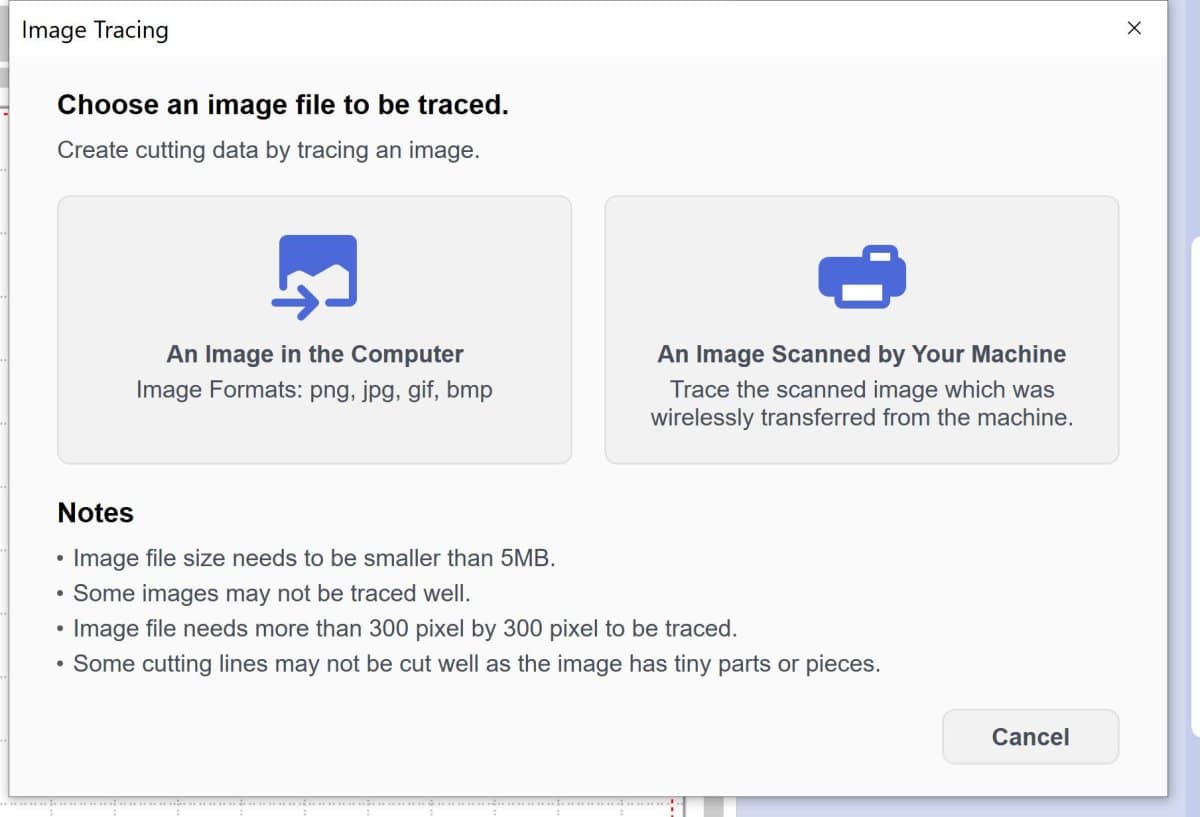
Open canvas workspace, and find the image trace icon on the left side of workspace and click it. It will open the dialog box to choose an image. I’m choosing the image in the computer button.
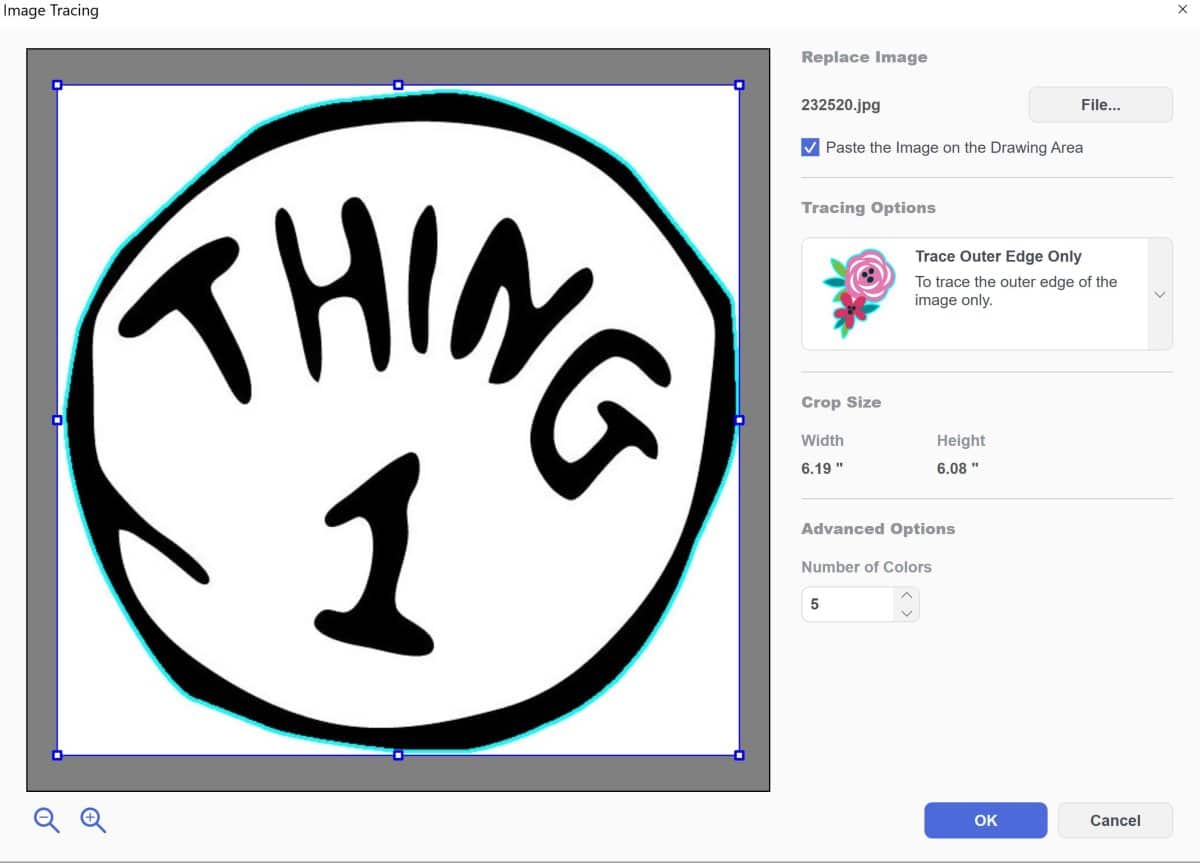
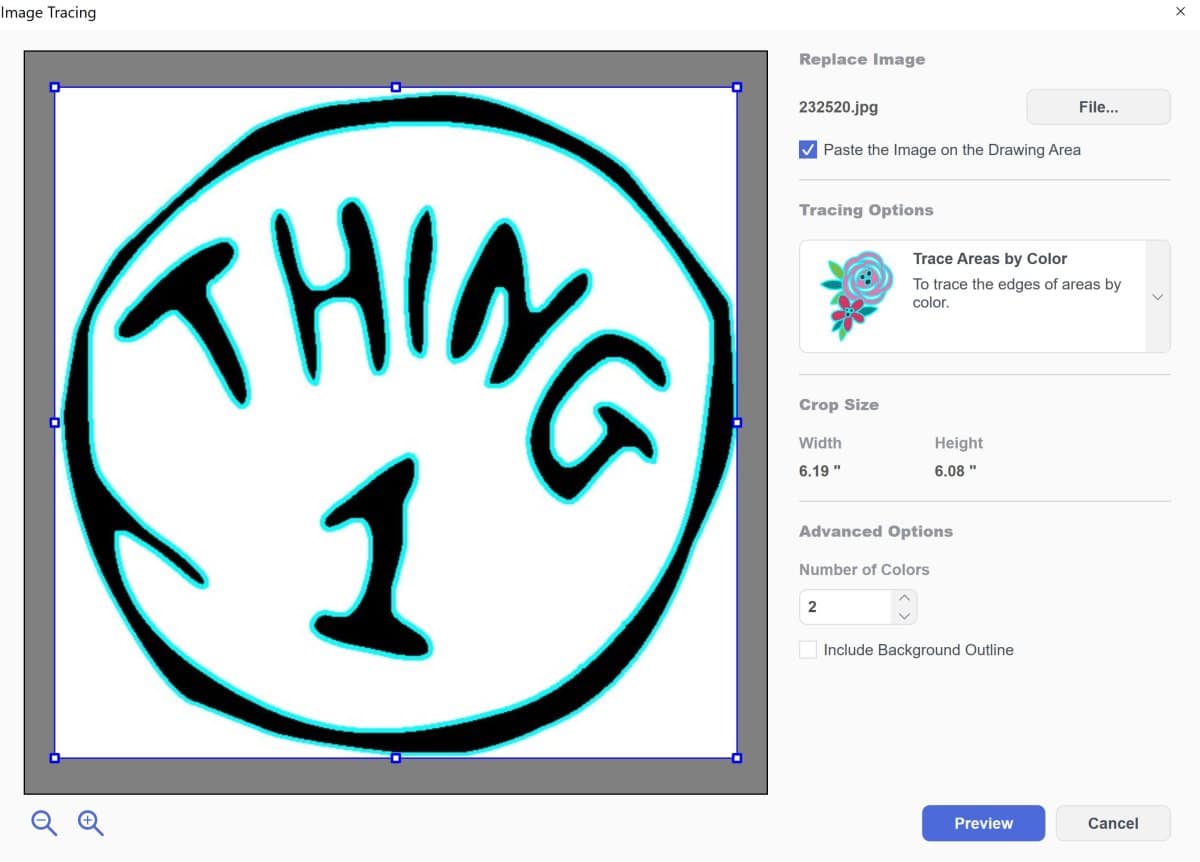
My “thing 1” image opened in the image trace function. You can choose the trace outer edge only or area by color. The area by color will trace the inside of the image as well. You can see the difference below. Once you have the lines traced like you want, hit the preview button, then OK.
Your image will open up. In the layers panel you can see your traced image and hide layers that you need. I hid the image layer so I could see the individual cuts.
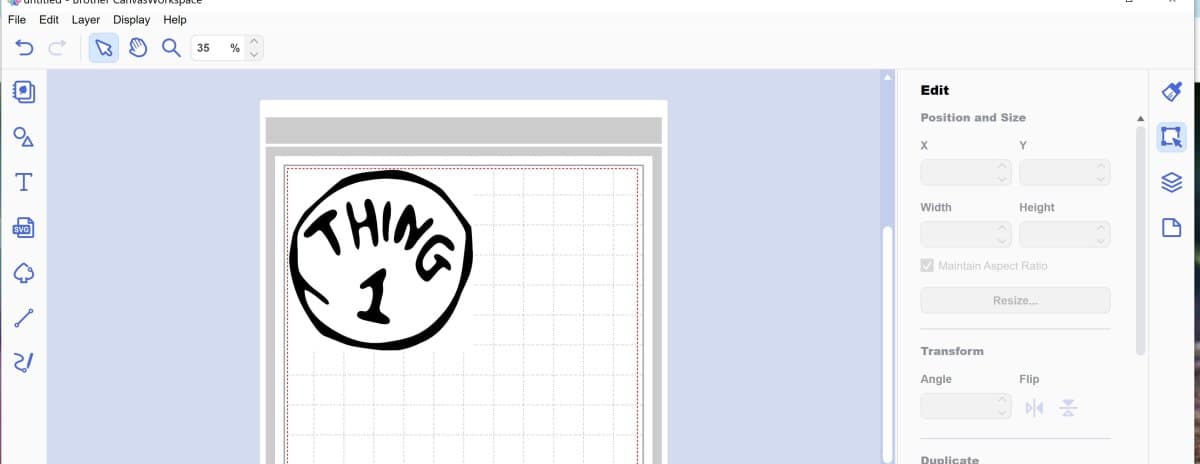
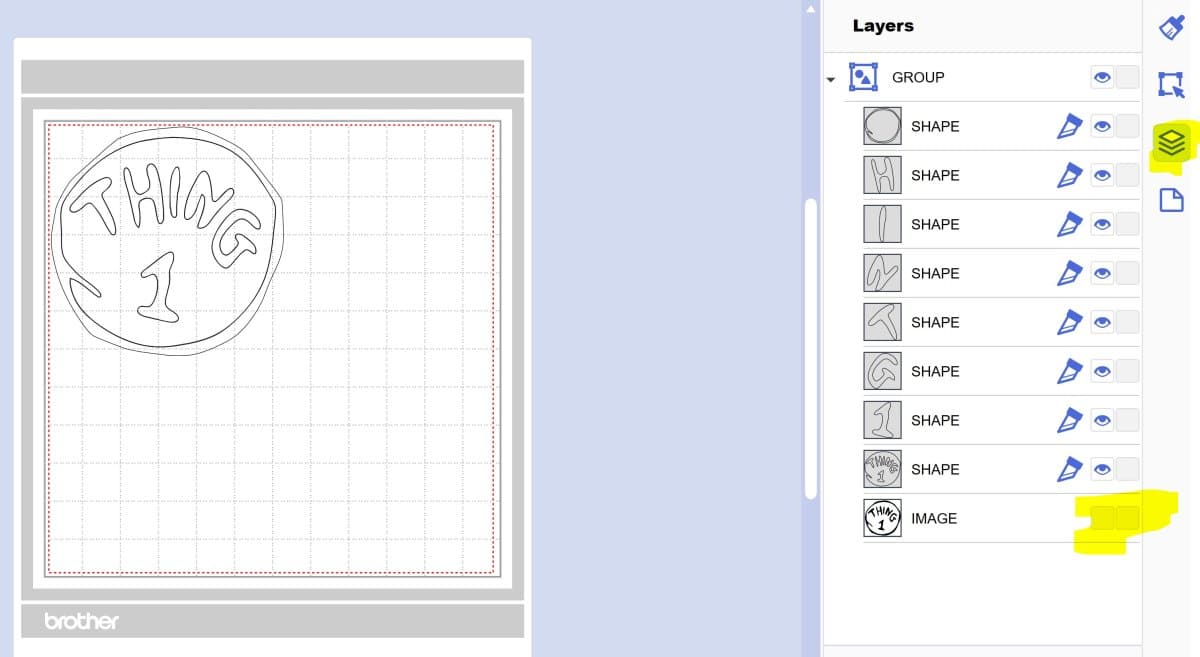
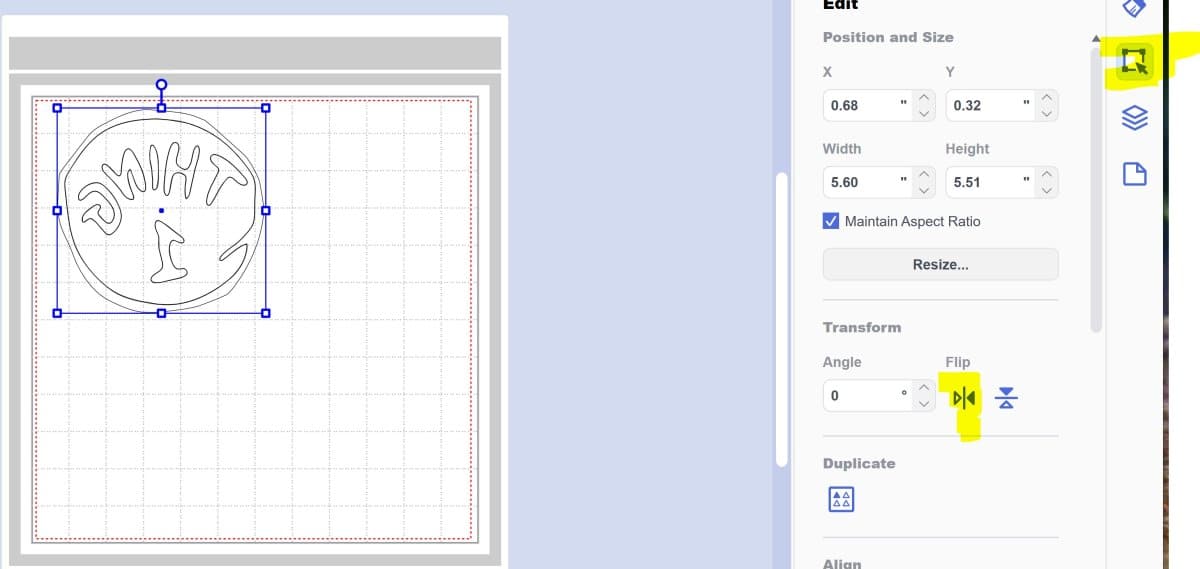
Then adjust the size as needed and remember to mirror the image if it has text so that when you iron on the vinyl it is the correct version.
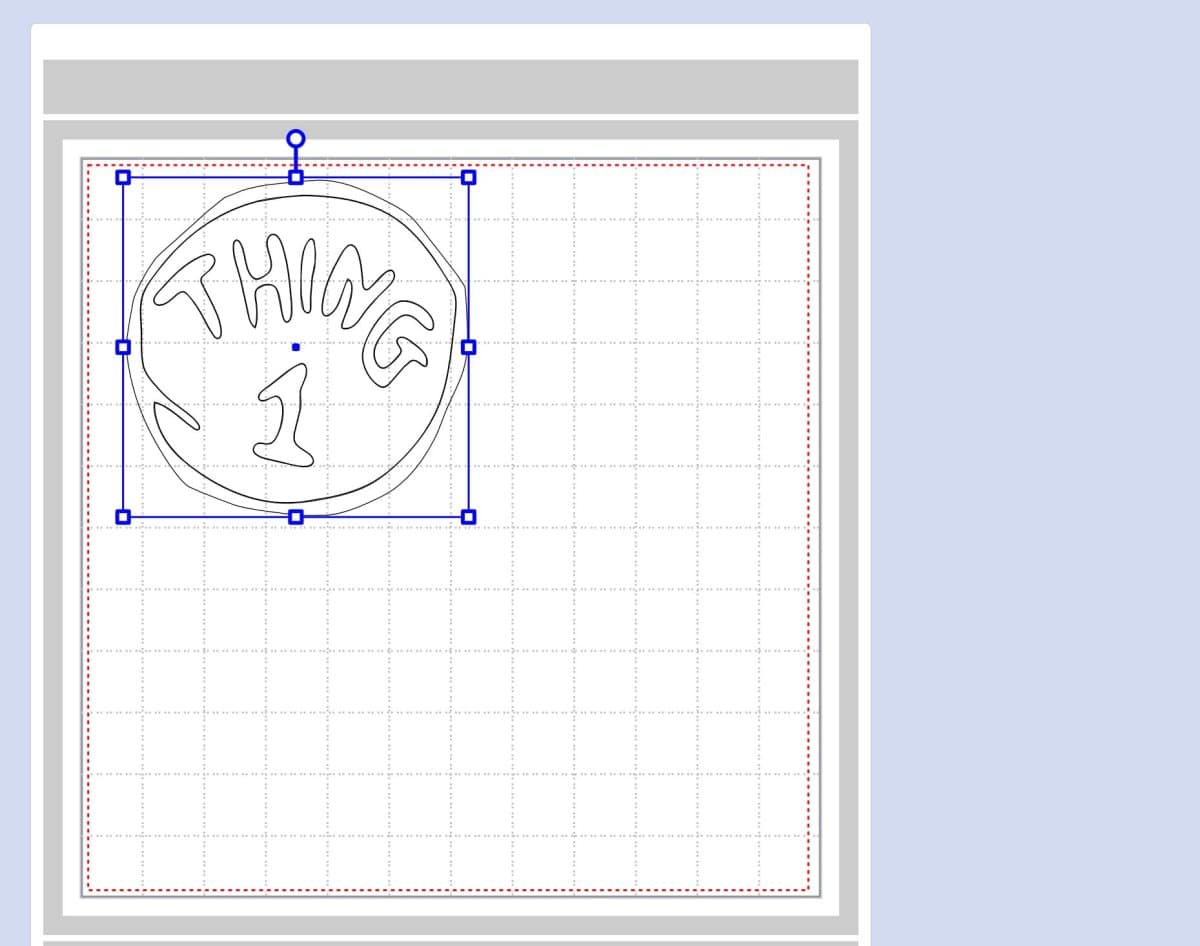
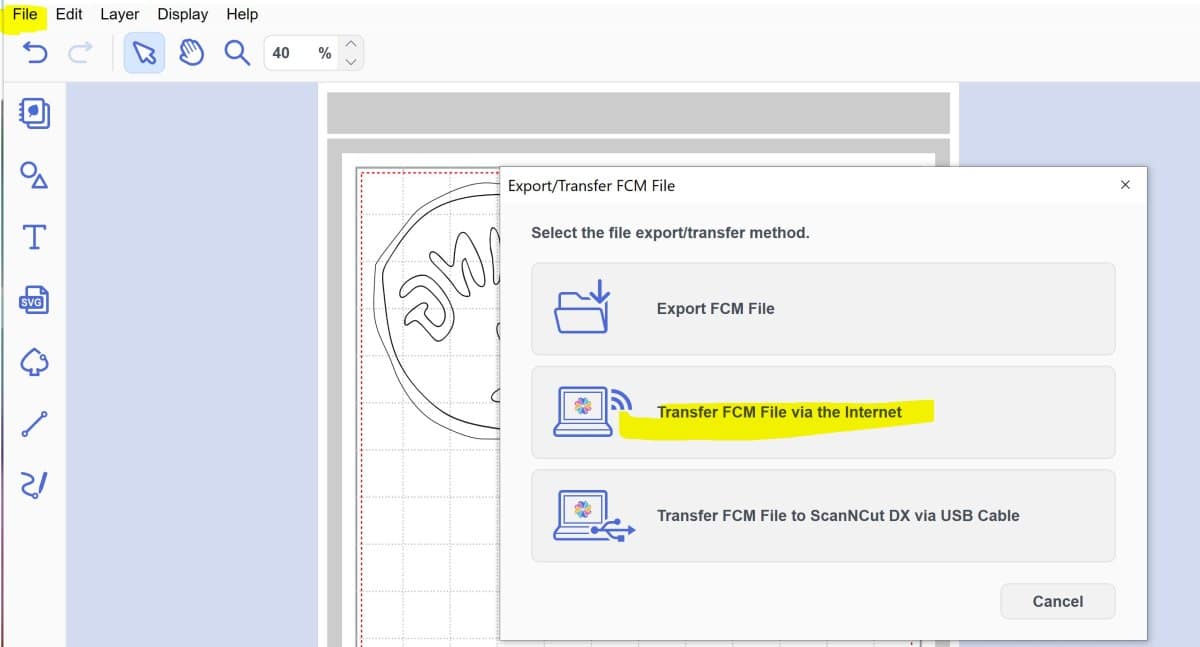
When everything is as you want it, hit file, then transfer via WIFI to your cutting machine.
Create custom shirts with ScanNCut
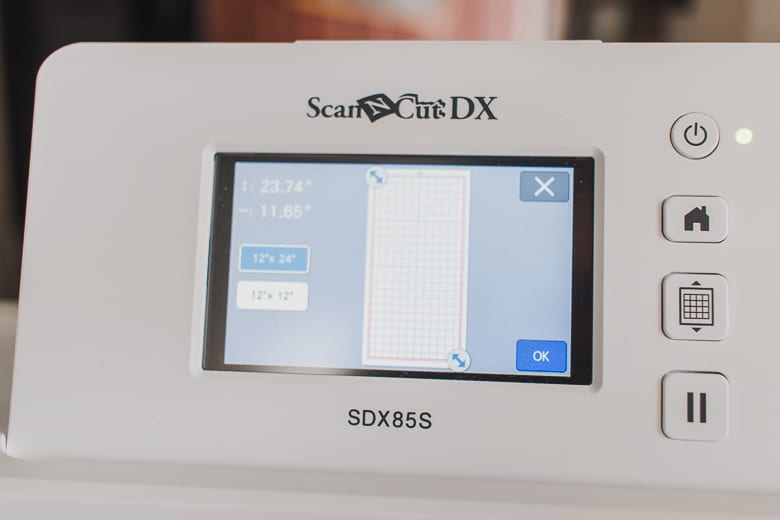
Once you have the new file in your cutting machine you can cut it from vinyl! I was trying to cut several at one time, so I loaded my 12 x 24″ mat in the ScanNCut.
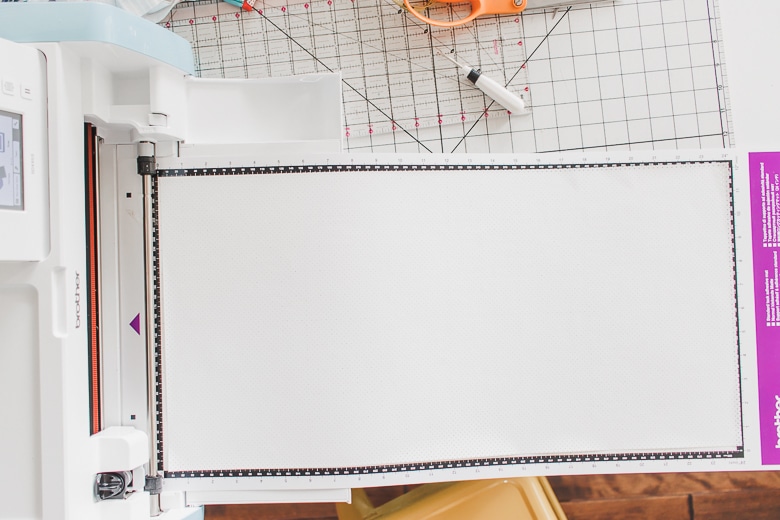
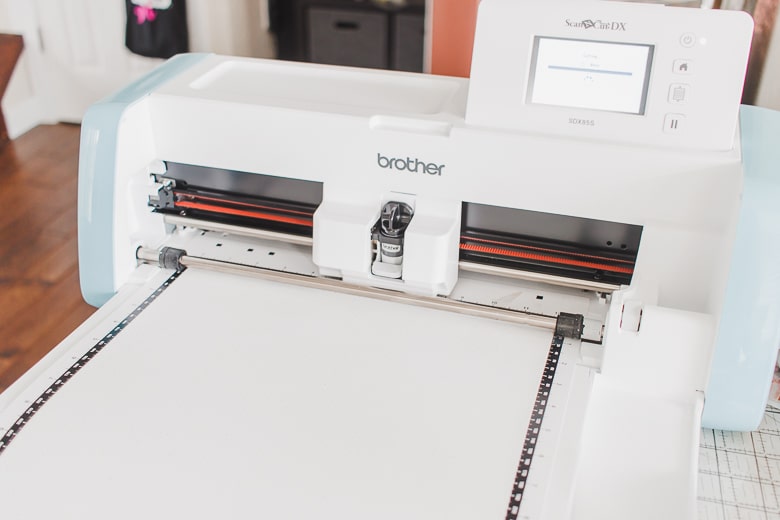
Cut the vinyl in your desired design, then weed {pick out the extra} vinyl.
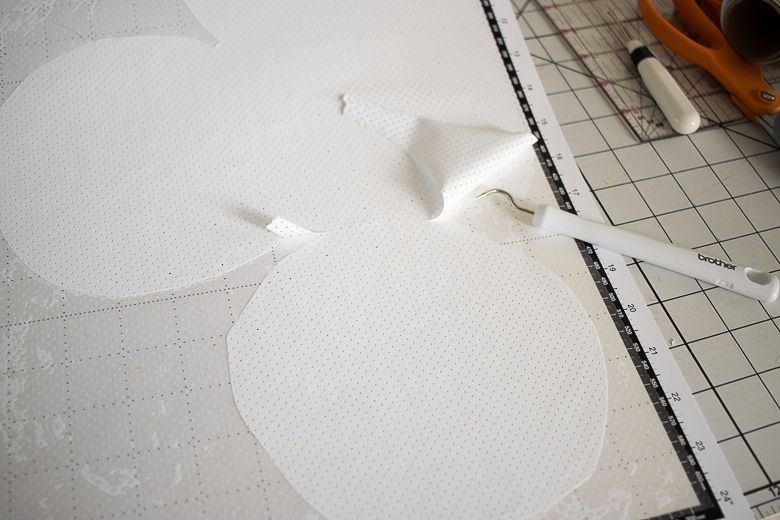
When you finished weeding the vinyl you can flip it over and use a heat press or iron to finish your shirt.
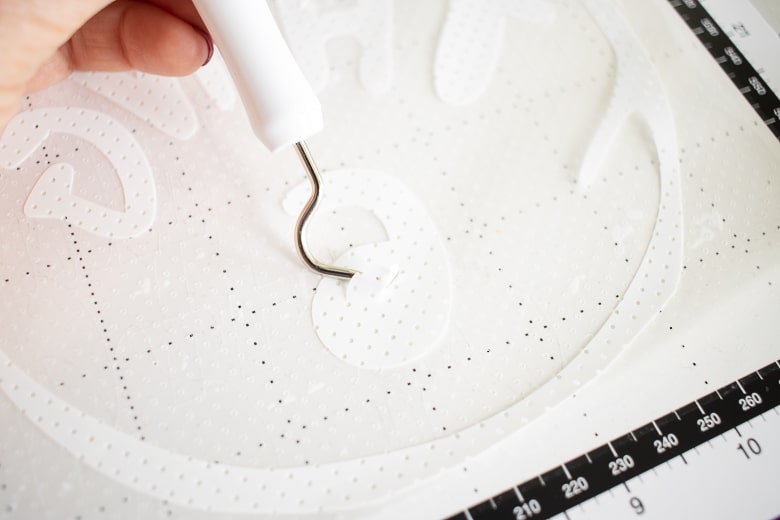
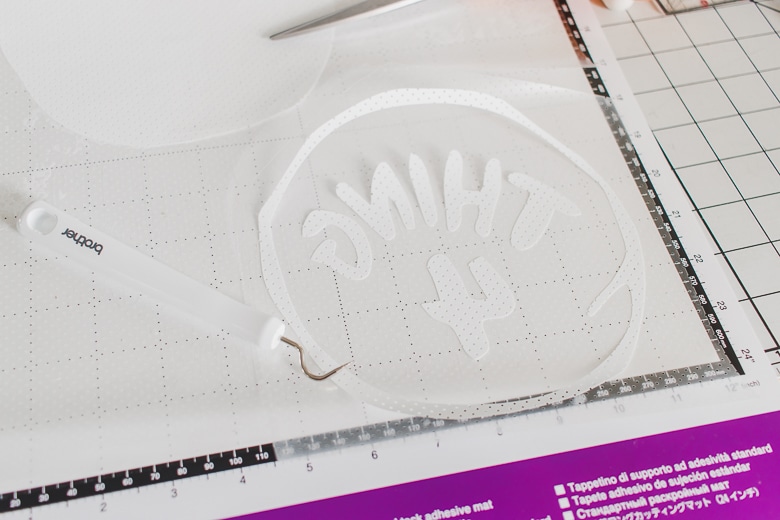
And that’s it!! Enjoy making so many custom shirts with any design you can dream. Before you know it your kids will be asking you to make team shirts for a middle school volleyball tournament.


Leave a Reply