inside: Use this free sweatshirt dress sewing pattern to sew up a cozy dress. Sweatshirt fleece is comfy and perfect for this loose fit stylish dress. Grab the free sewing pattern.
I saw a facebook ad for this cute sweatshirt dress last fall and saved it as inspiration. I’m finally getting around to make my copycat version of it and I think it turned out pretty cute! This sweatshirt dress uses one of my other free sewing patterns as base and I think the result is pretty great.
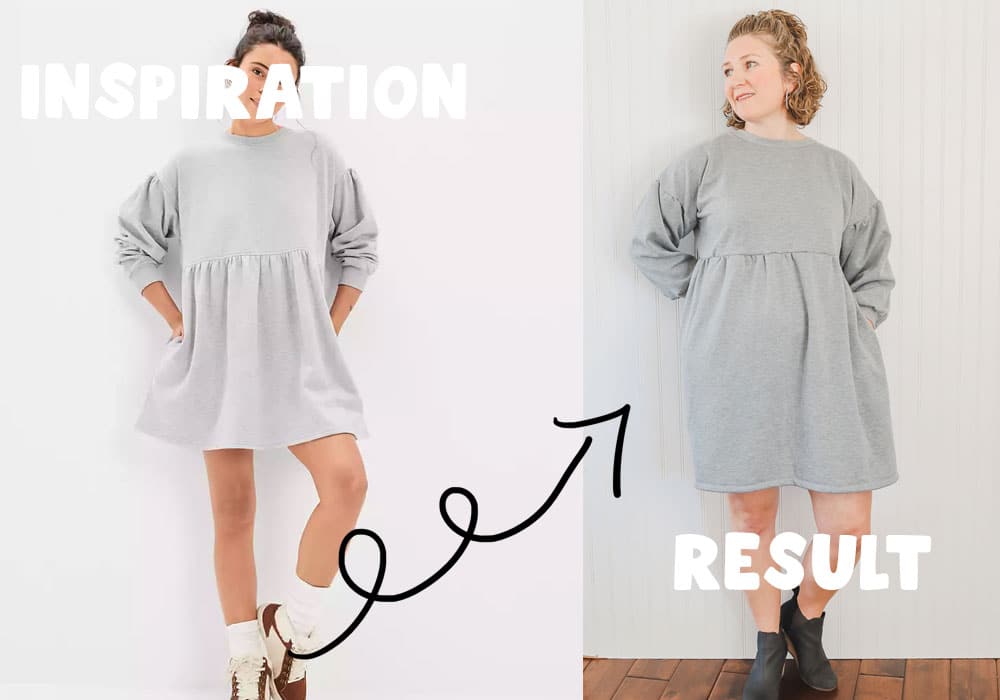
Free sweatshirt dress sewing pattern
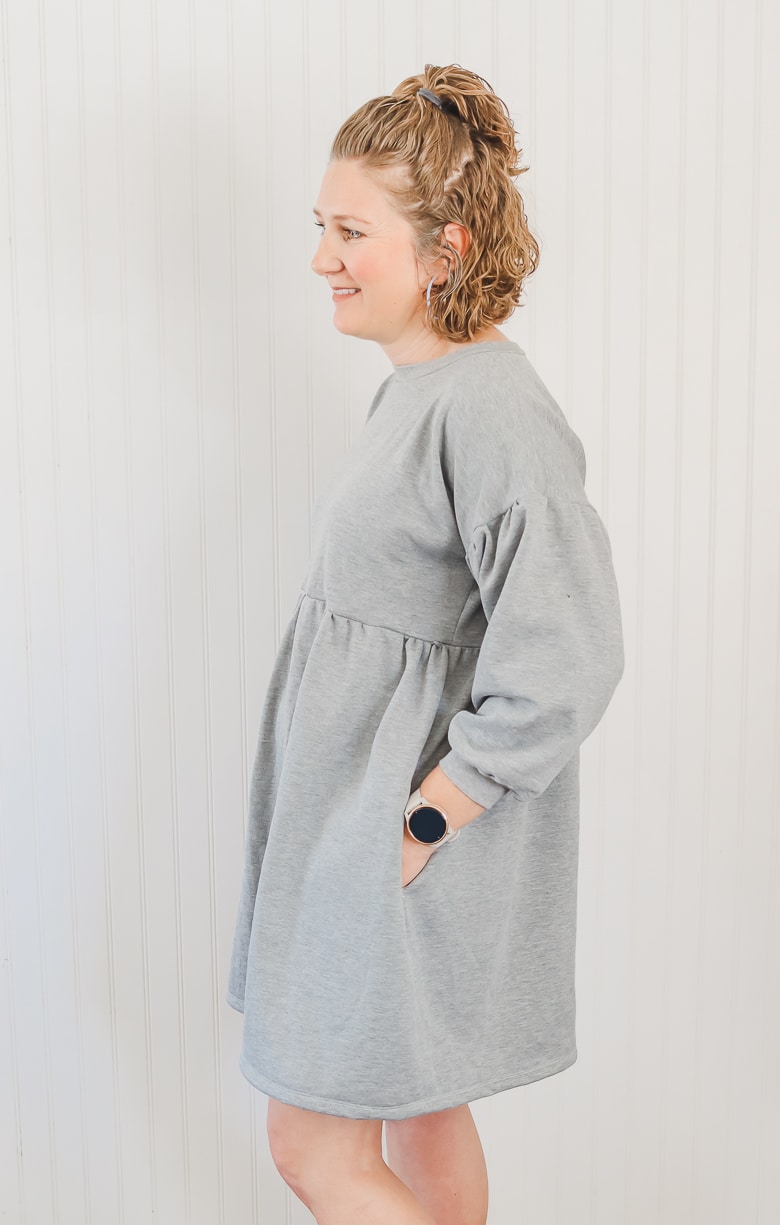
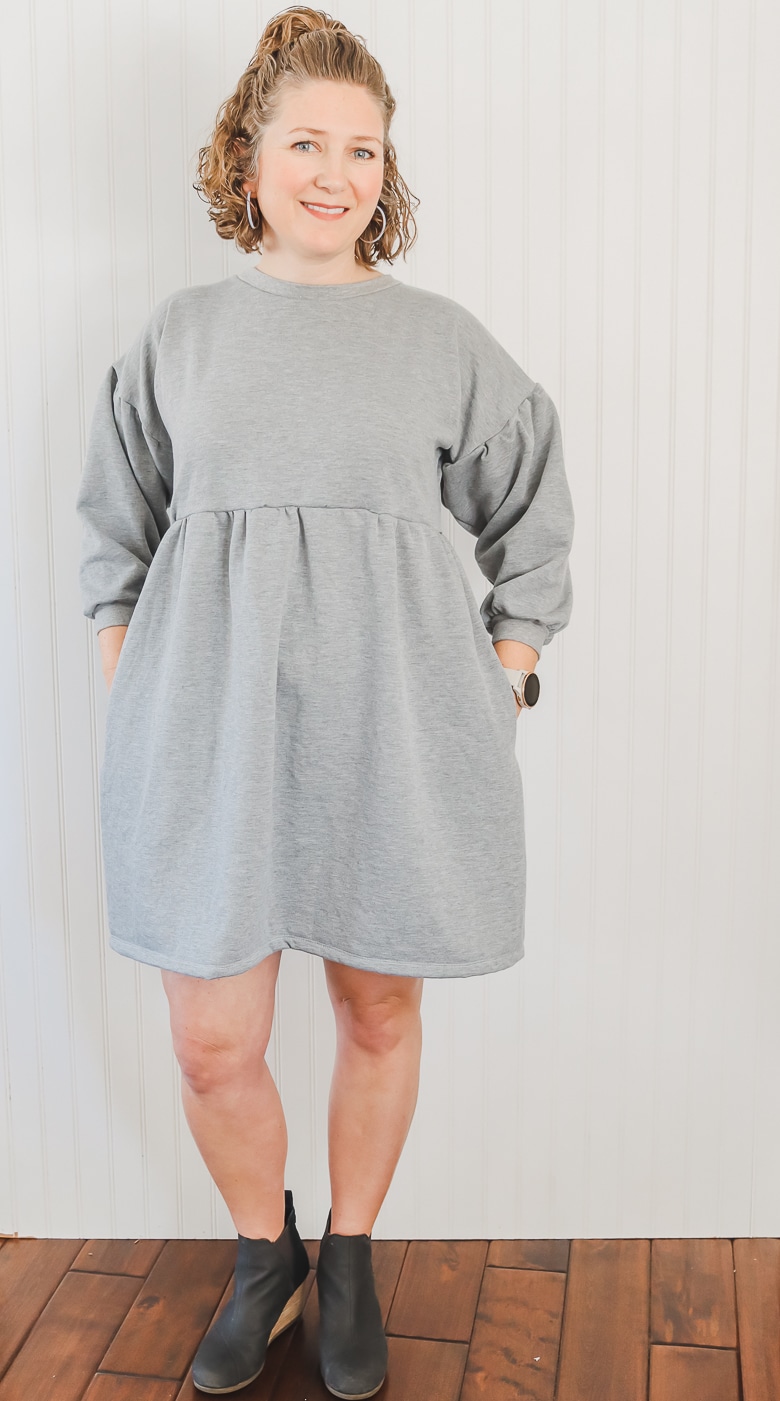
Ok, so obviously I didn’t make the exact same thing, but some changes were on purpose, and some I will do differently next time I sew a sweatshirt dress. And YES! I will totally be making another one of these because it’s so comfy and cute. AND… it’s has pockets!!
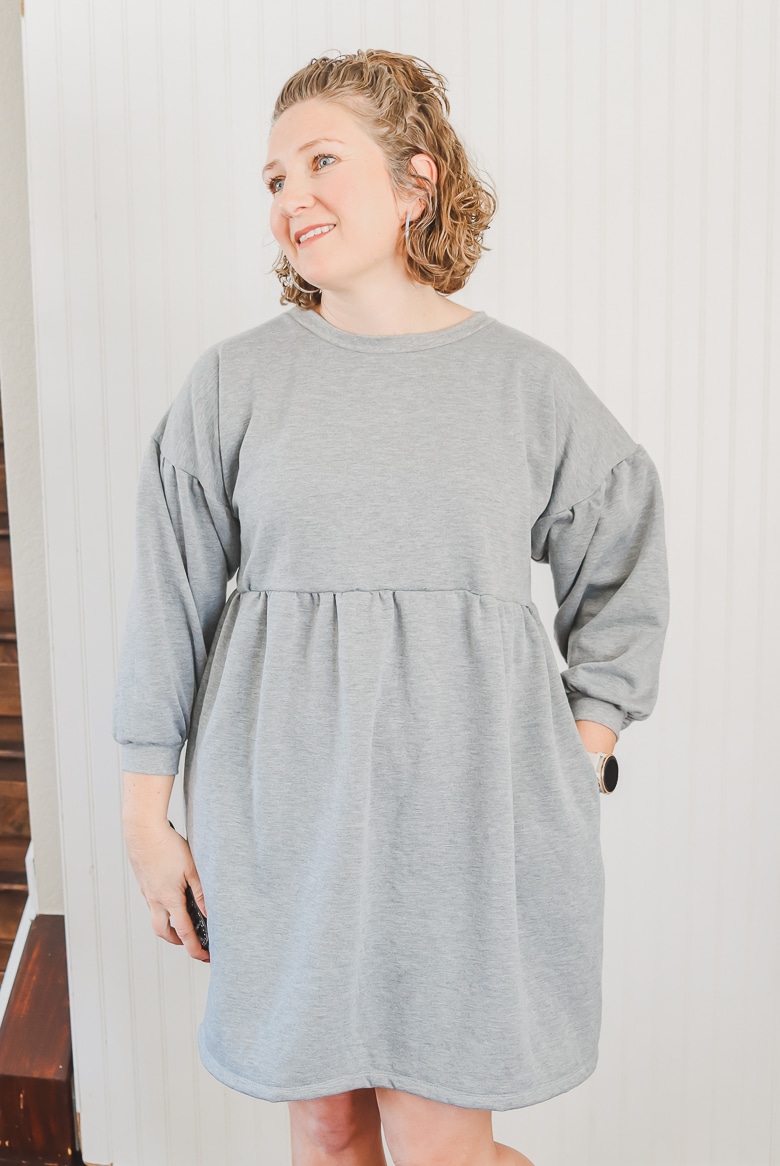
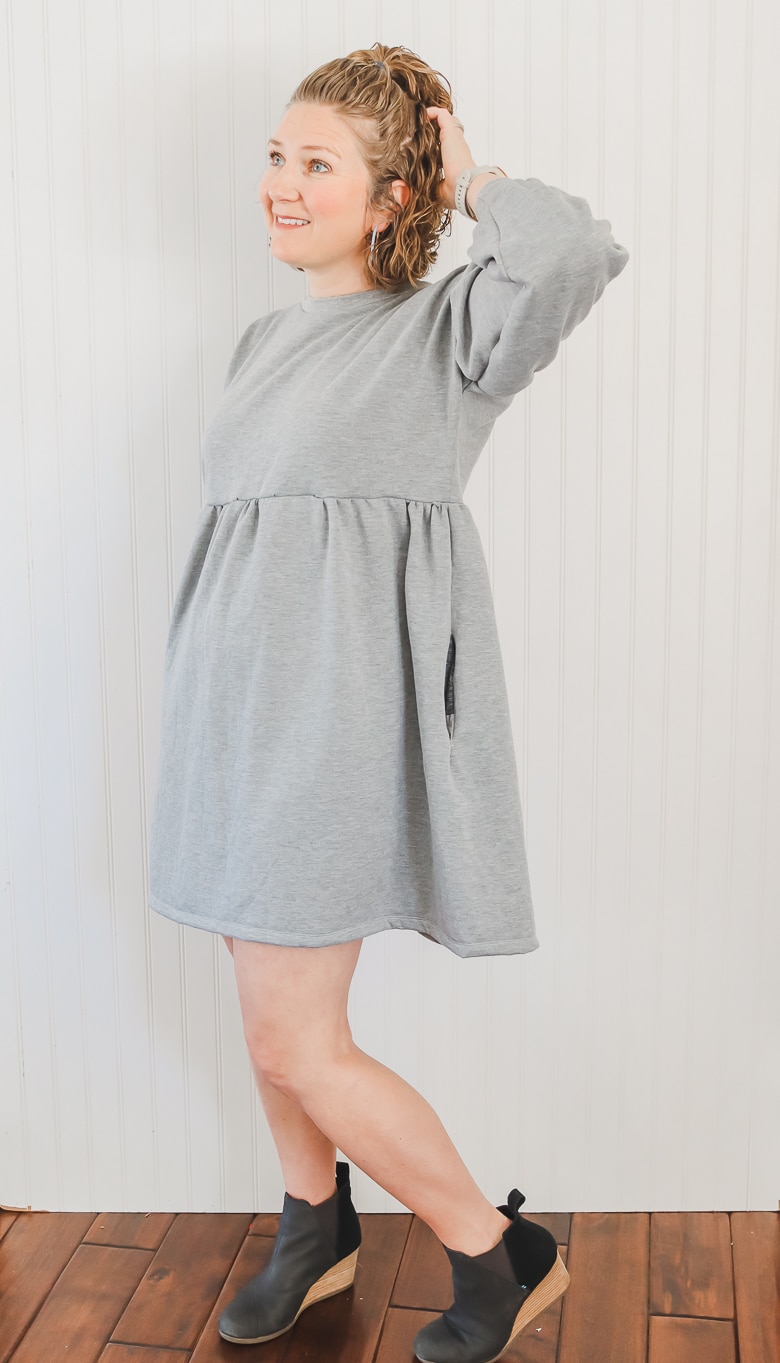
Mine is longer than the original on purpose. I started with it actually a bit longer than this, but after I finished I chopped off three inches and now it’s perfect for me. The sleeves aren’t quite long enough, so I need to refigure that for next time. I also would make the skirt more full, but I was out of fabric.
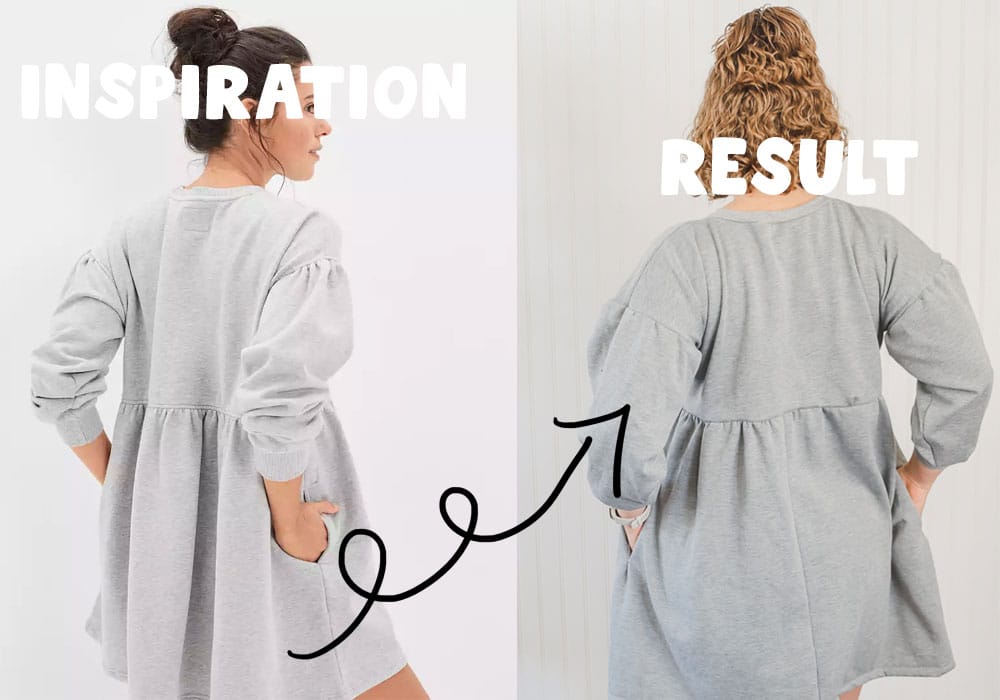
I’ve already ordered fabric for the next dress and made sure to get plenty so I can make a full skirt. I also gathered my sleeves evenly, but I think my inspo dress may have only gathers on the top of the sleeve.
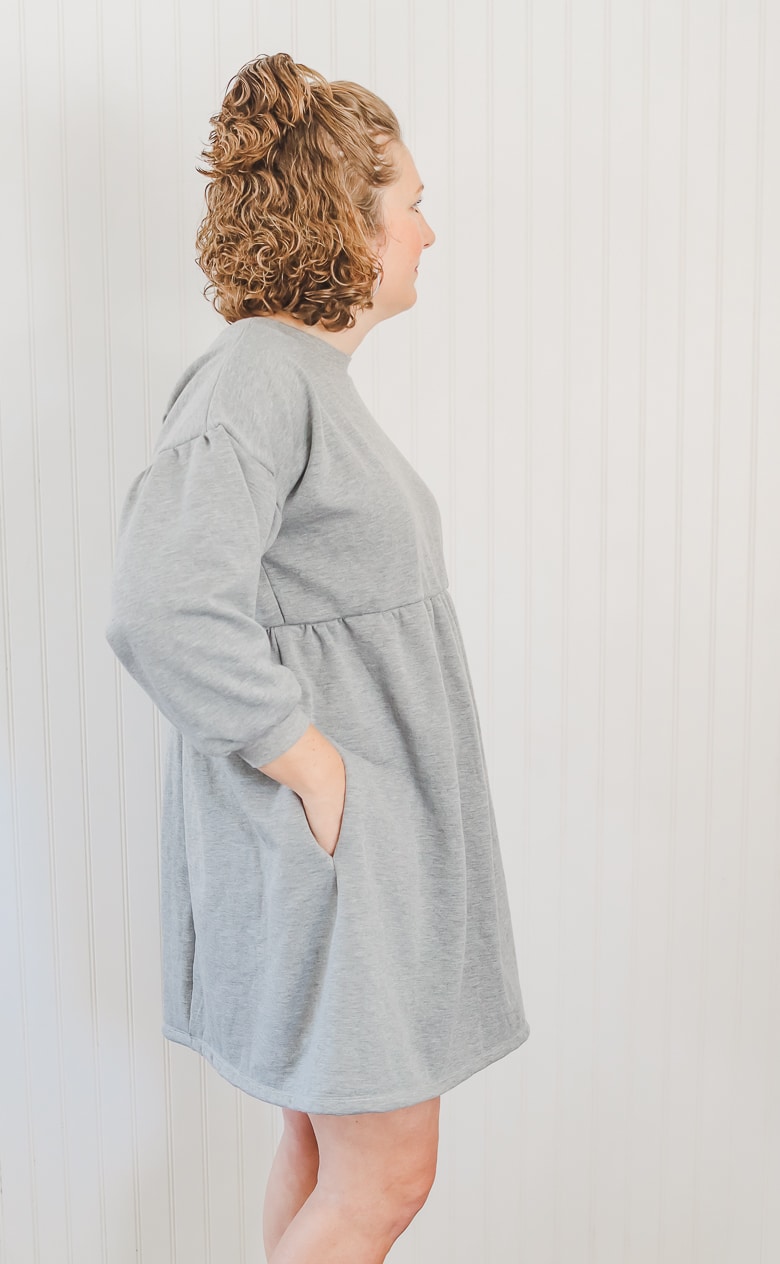
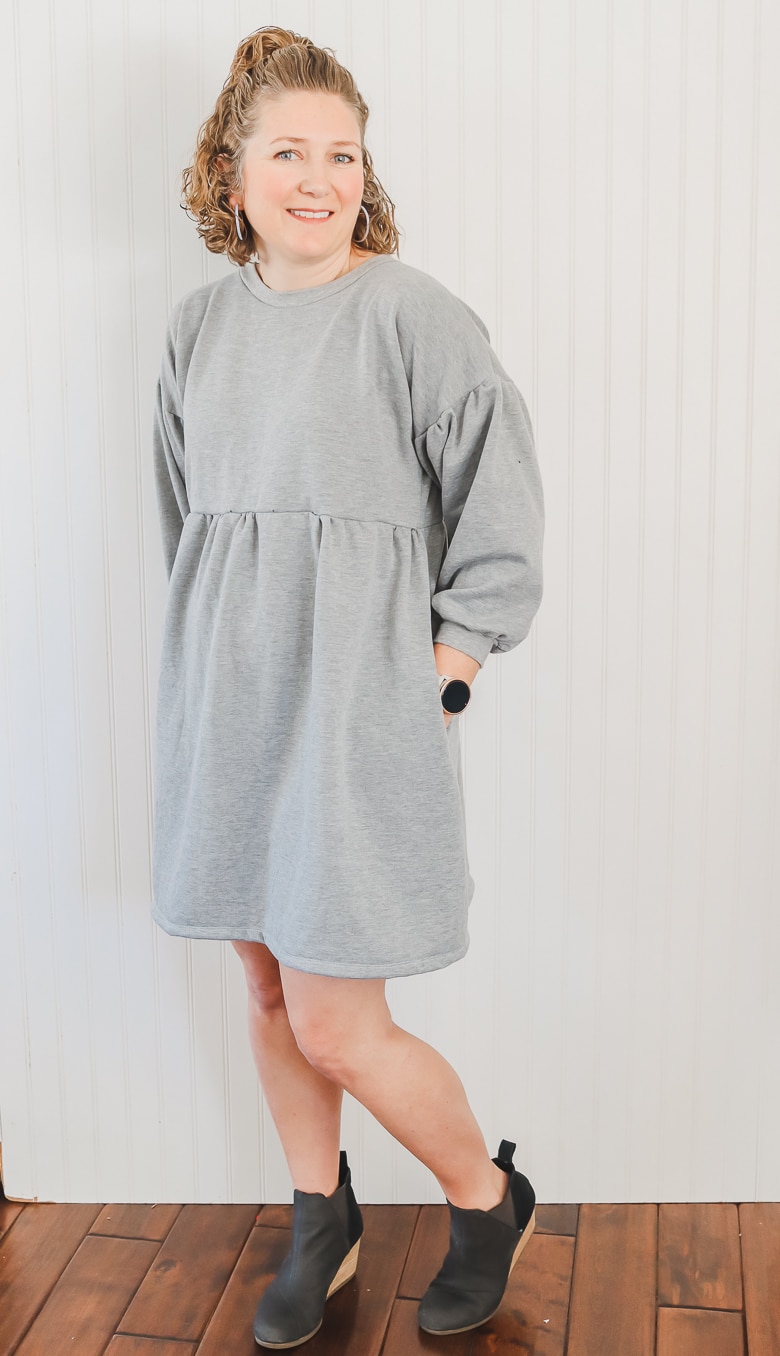
Overall, this first attempt is totally wearable and I love it enough to make another one {or three!} Check out my fill sweatshirt dress sewing pattern and tutorial below.
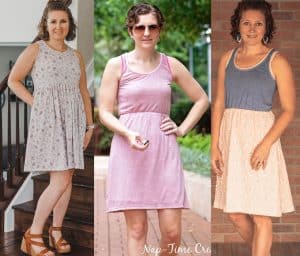
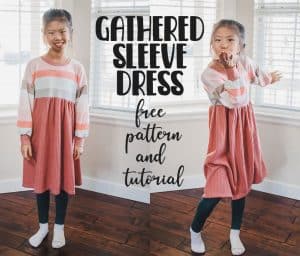
Other free dress patterns to try –
Sweatshirt dress pattern sewing tutorial-
Supplies you will need to create this look:
- 2-3 yards of fabric {depends on size needed and fullness of skirt}
- I suggest sweatshirt fleece I got mine at Raspberry Creek fabrics
- Ribbing for cuffs and neckband
- Free dolman top sewing pattern {with pocket template}
- This is actually the same sewing pattern as the loose fit gauze dress and we will use the same top piece as the sweatshirt dress bases.
I used a old shirt of my husbands for my ribbing and pocket fabric. So I started with that step. Cut up the shirt for neckbands and cuffs and cut out four pocket pieces. My cuffs and 5″ wide and my neck band is 2″ wide. Pocket template is in the dress download file linked above.
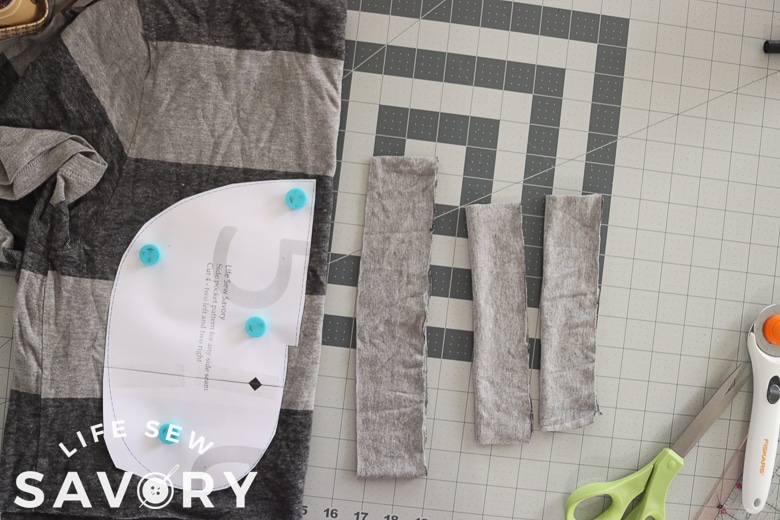
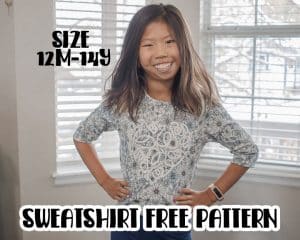
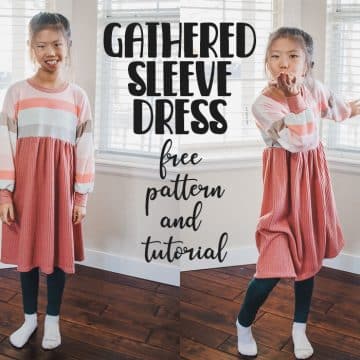
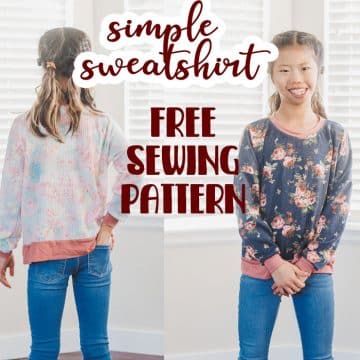
Then I cut the sweatshirt pieces from the pattern. You will be creating the sleeve yourself. {dont worry it’s simple!} Use the gathered sleeve sweatshirt tutorial to cut and sew the top of this dress.
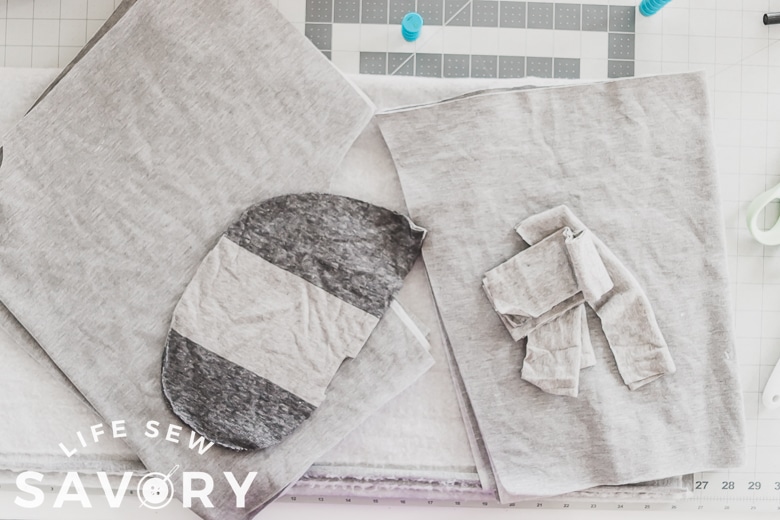
Again, to create the sleeves and get started sewing this dress, follow the gathered sleeve sweatshirt tutorial, but don’t add the bottom band. Come back here when the shirt is sewn except for the bottom.
At this point I would suggest trying on the top and deciding if you want to shorten it before adding the skirt. I took two inches off. Next time I will just cut it out two inches shorter.
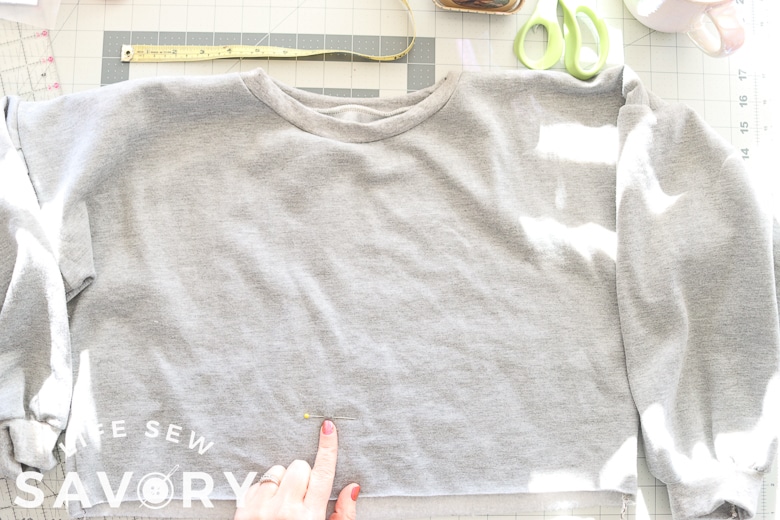
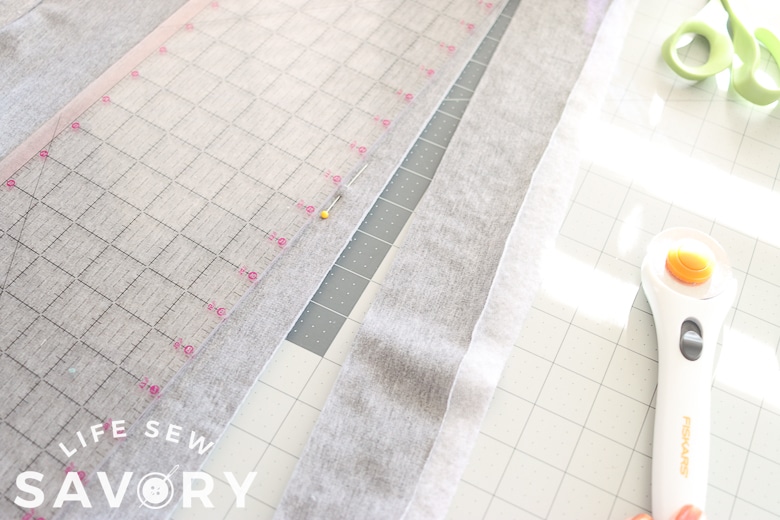
Time to cut the skirt piece/pieces. I just used one width of fabric {60″ wide} but I would like at least another 30″ of width in my skirt for a fuller look {next time} Measure on your body from your under bust to above the knee to get a skirt length. Cut the fabric that long. I cut mine 26″ long, but ended up taking off 3 inches later. Better to cut slightly too long, then not long enough though!
You will also need 4 pocket pieces if adding pockets. I used a thinner fabric for the pockets {my husbands old shirt}
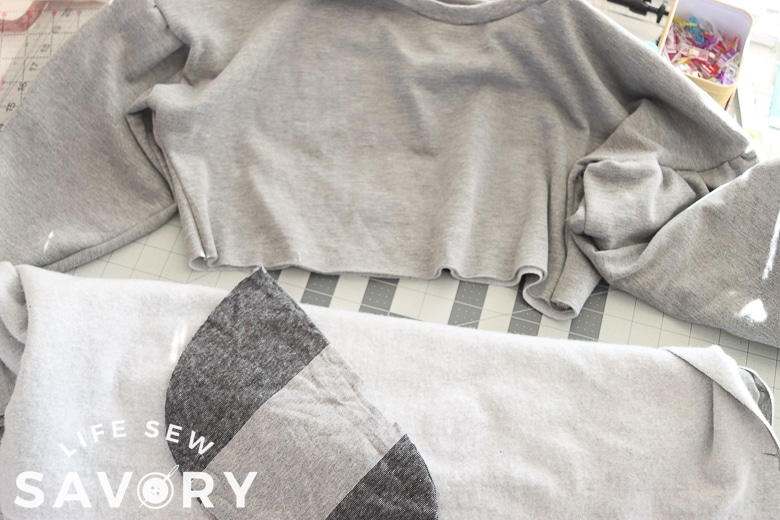
Now it’s time to add the pockets. If you are using two panels for the skirt you will just add the pockets at the side seam. I’m going to add them on a skirt with no side seams, but the process is similar.
If you just have one skirt piece, sew up the back seam so the skirt is a circle. For two pieces don’t sew the side seams yet.
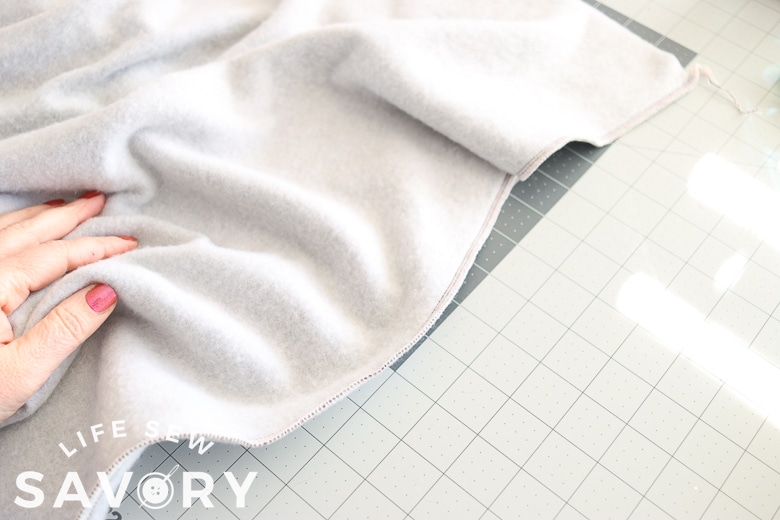
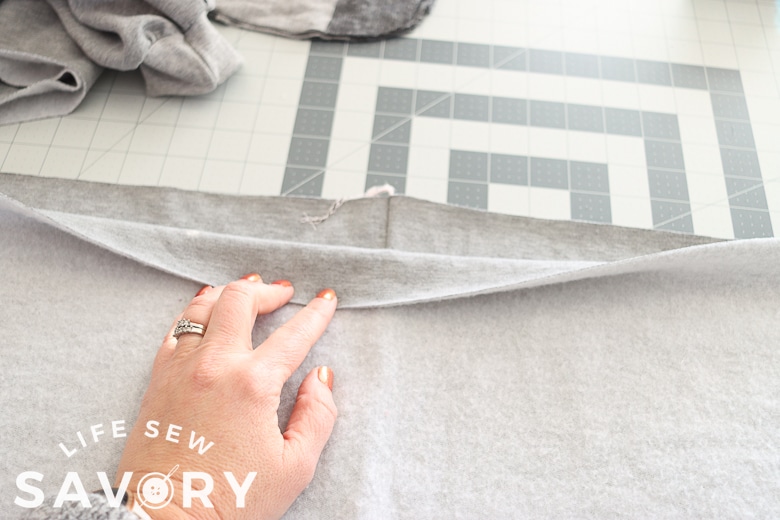
Decide on your pocket placement. I put mine 6″ down the side of the skirt so the pockets aren’t too high up. If you have a side seam, just lay the pockets right sides together on the sides of the skirt as far down as you want.
If, like me, you have no side seam, cut down the sides of the skirt. I cut the 6″ on top of the pocket, then the length of the pocket opening. Lay the pockets right sides together on this cut. The bottom of the cut should line up with the bottom of the pocket tab.
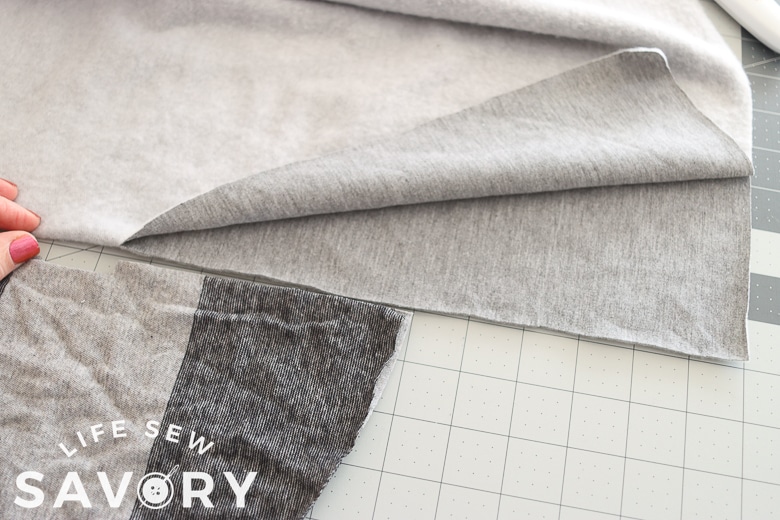
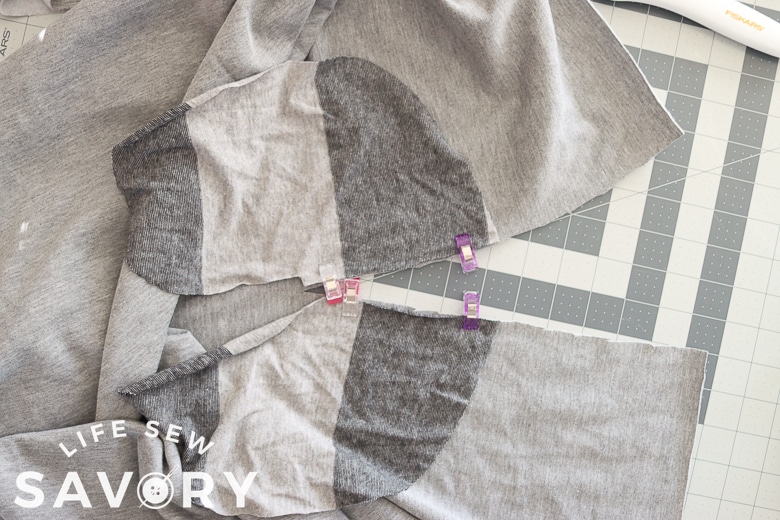
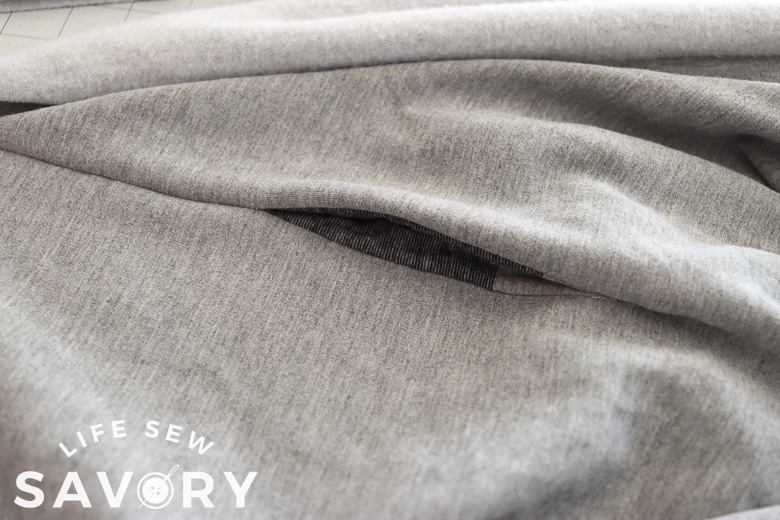
With a zig-zag or serger, sew the straight seam along the side of the skirt to attach the pocket. Then, open up the pockets so the stick out of the skirt and match right sides together. Sew the side seam of the skirt {full or partial} AND around the outside of the pocket finish. You can use a zig-zag stitch or serger for this step.
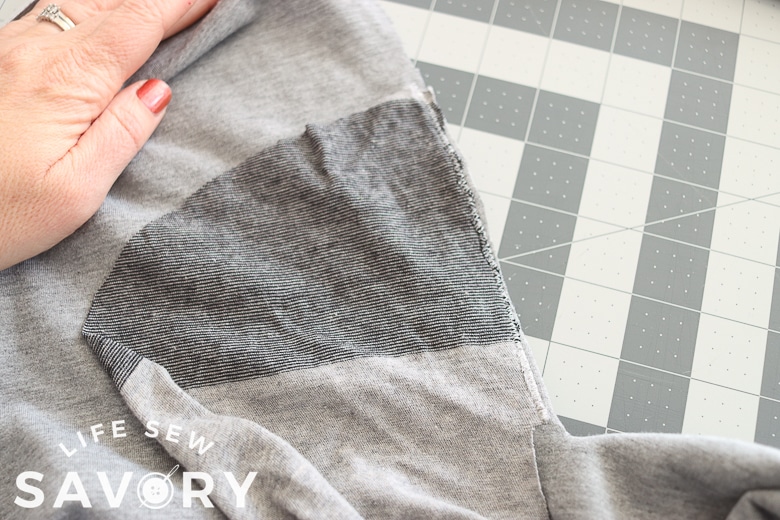
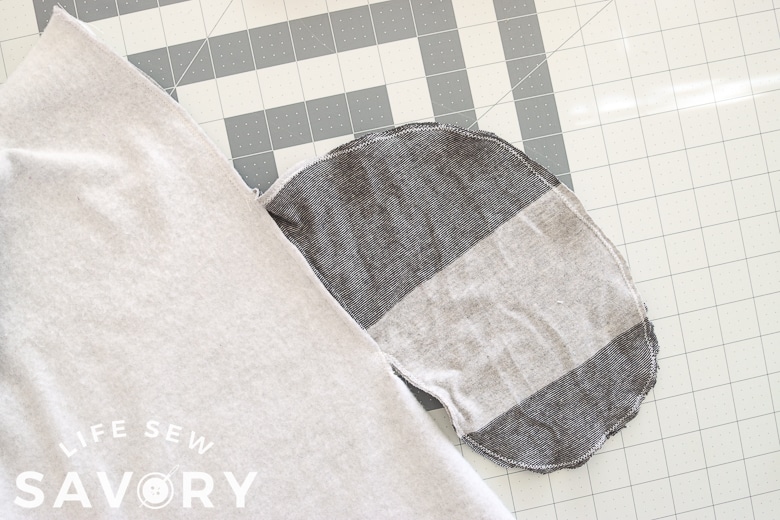
If you use a serger, I like to reinforce the corners with my sewing machine as well. Turn fabric to the right side to see your nice pocket!
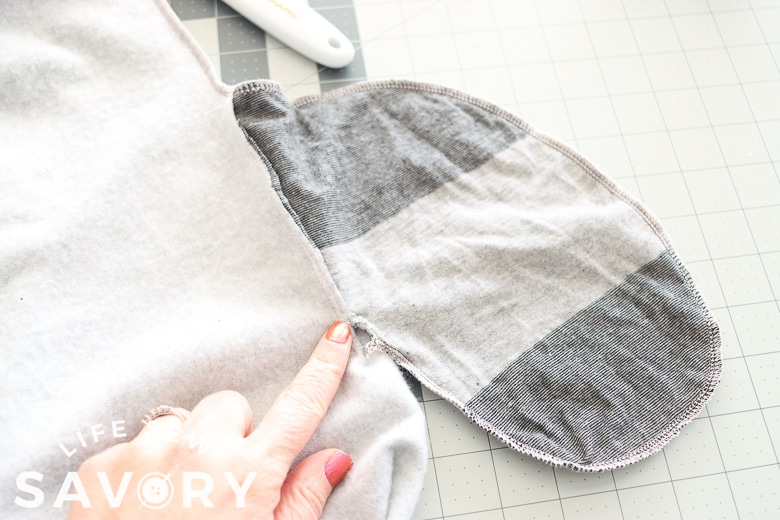
Now gather the top of the skirt to match the width of the top of the dress. Need help gathering? Here is my post on gathering tips.
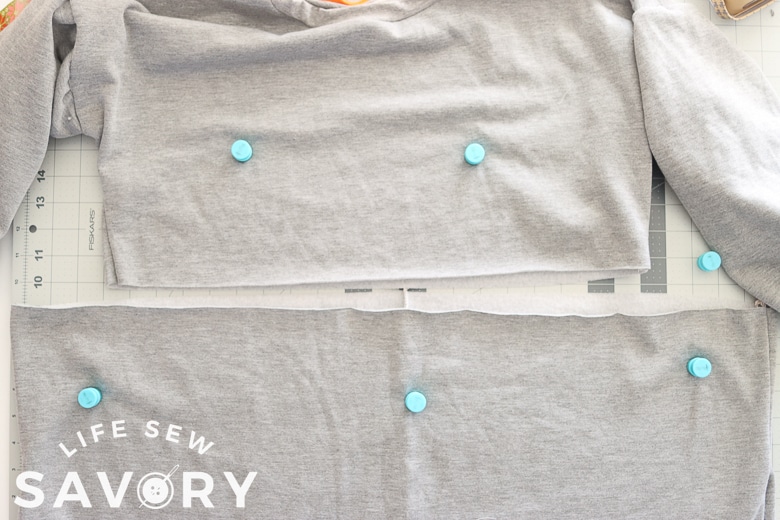
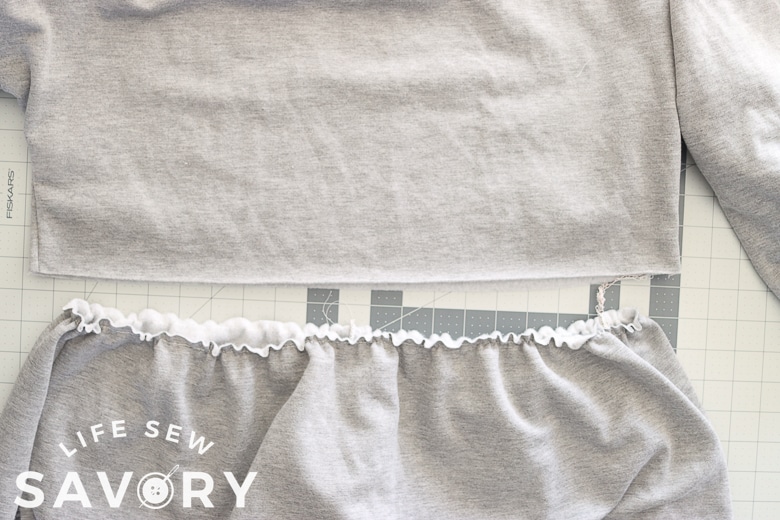
Pin or clip the top of the dress to the skirt with right sides together and sew.
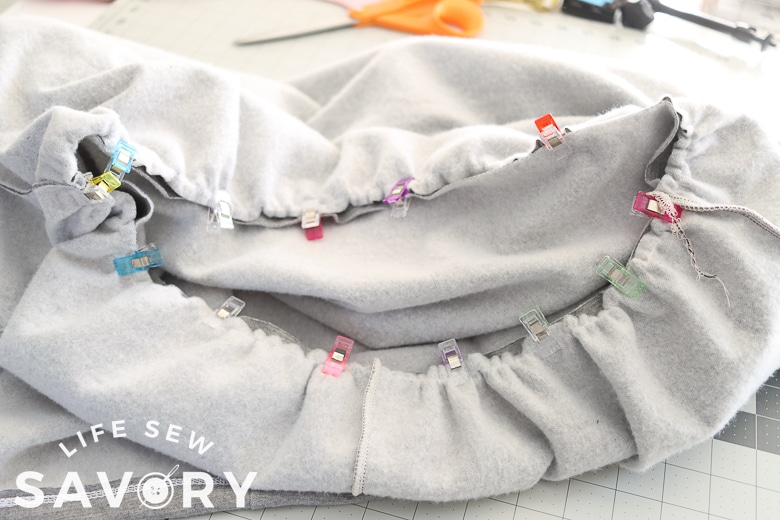
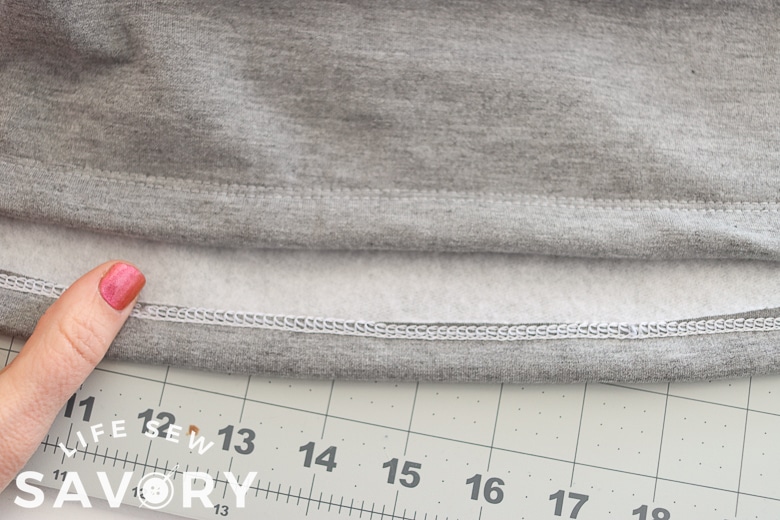
The final step is to try on one more time and decide on the dress length. Turn under about a 1/2″ hem and then use a double needle or coverstitch for a nice hem.
You did it!! Wear and enjoy! I know I will. Also make sure to share photos so we can see your beautiful creation.






Heather Hunter says
Hi Emily! Great tutorial! I have a couple of questions though: 1) you mentioned that you used the ribbing from your hubby’s old sweatshirt. If that isn’t an option, does the website you bought the fleece at sell ribbing?
Question 2) Before sewing the gathered skirt to the top, is there a way a wider band could be added? And would the stretch line be the same as the rest of the garment?
Thanks for sharing this website with us! I’m always inspired by you! You create such fun yet practical items!
Emily says
I just bought some ribbing from Amazon, but haven’t tried it yet.. it’s hard to find ribbing, but Amazon does have some options. Not sure what you mean about the wider band?