inside: Sew this free raglan shirt pattern for your kids. Classic fit with so many possibilities.
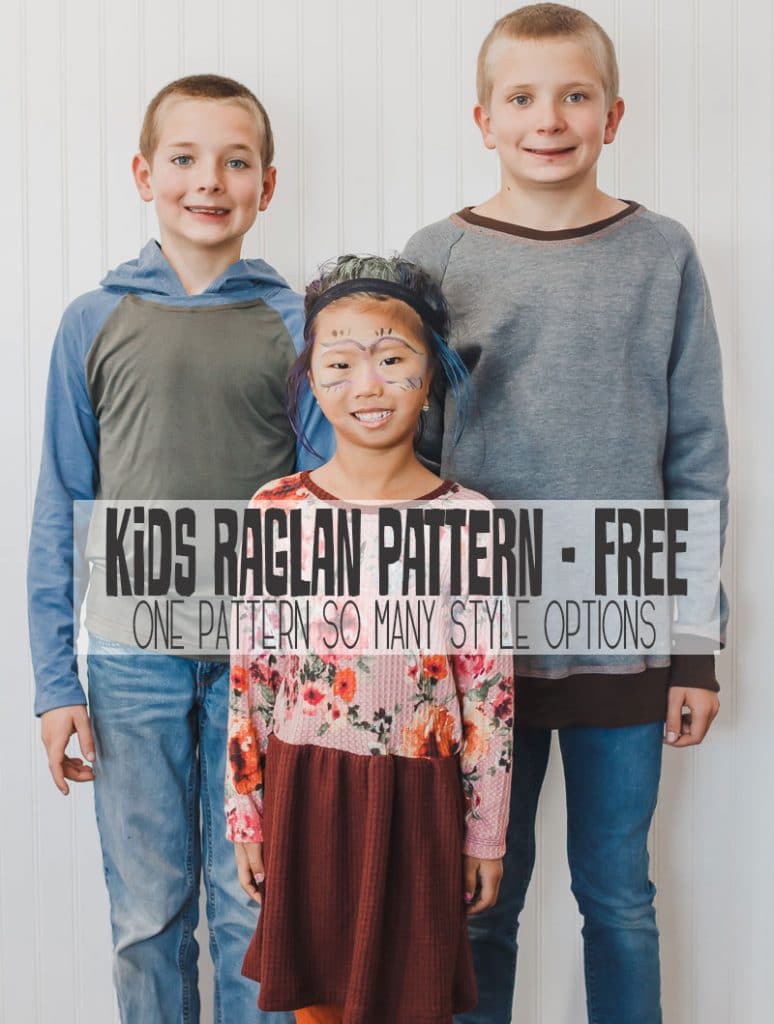
**The Free Raglan Shirt pattern updated 10/31/19** This photo is from the new updated version see this post for hack info on each of these outfits.
Today’s free raglan sleeve pattern sewing pattern is my first real multi-sized pdf pattern and it’s for kids size 18 months to 6t. {well, I did show off my skills with my free pj shirt... but this is even better!!} I even downsized the smallest size to fit a 1 year old. I needed size baby 4t and 6t and I created all the sizes in between to share with you! The second version of the free raglan shirt pattern included sizes up to 10, and as my boys have grown I’ve sewn all the sizes.
Join the LifeSewSavoryPattern Group for support on this pattern! Make sure to check out all my Free sewing patterns here.
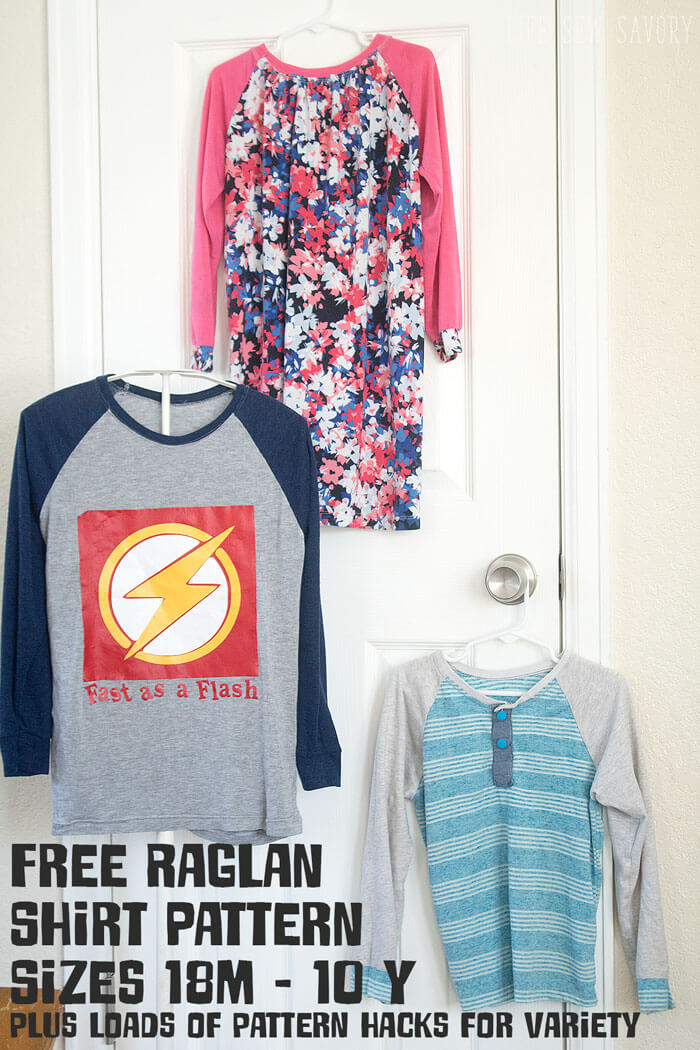
Free Raglan Sleeve Shirt Pattern –
You can grab the raglan tee 18m-10Y pattern here. Enjoy! The full tutorial is below.. I used my husband’s t-shirts for the sleeves… and you can see a hint of graphic here and there… My favorite fabric to use is any lightweight knit… I upcycle a lot of old clothing and also use fabric.com for great lightweight knit.

This Raglan pattern works great for both boys and girls and is a classic cut shirt. Here are several posts with hacks using this raglan pattern.
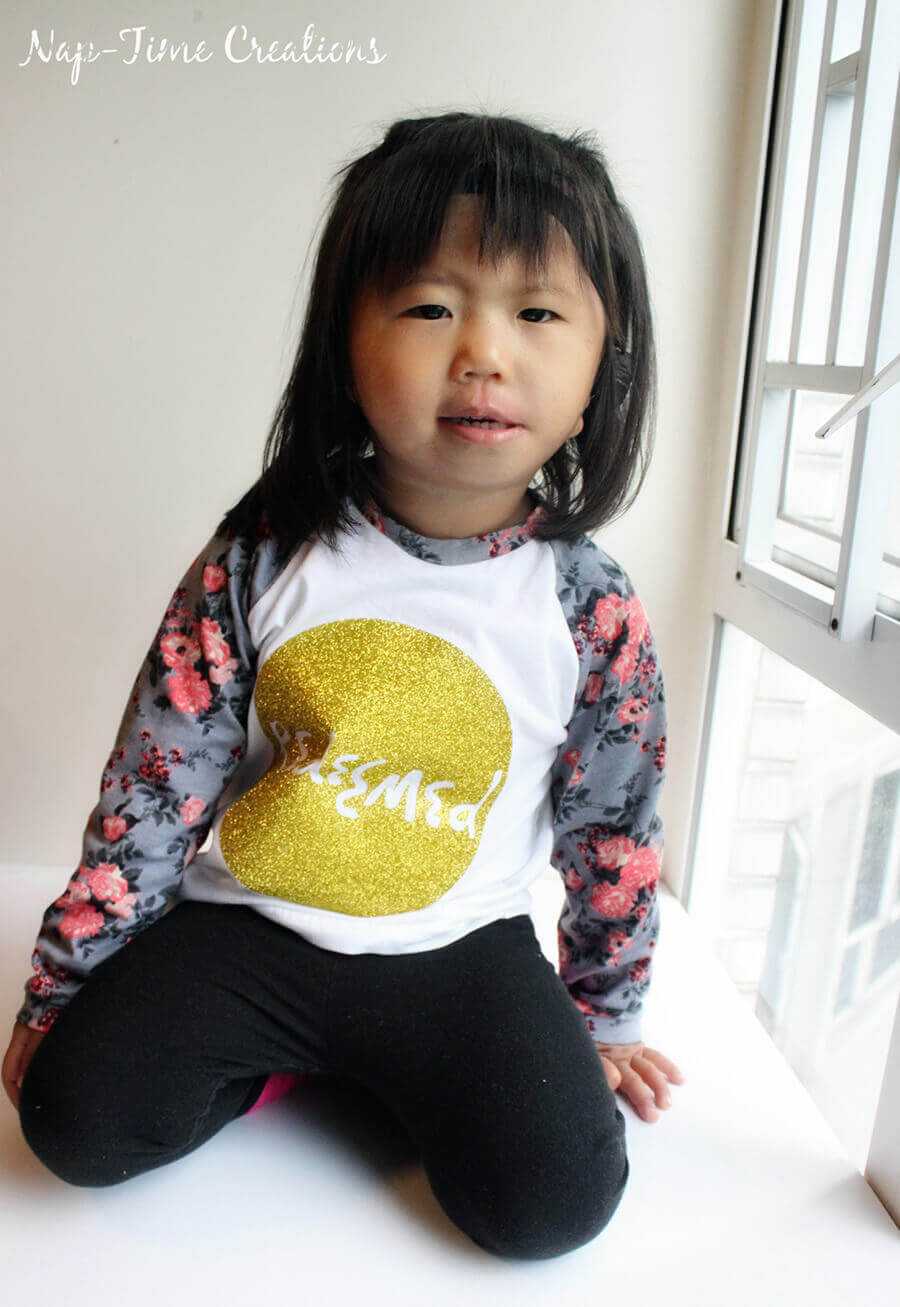
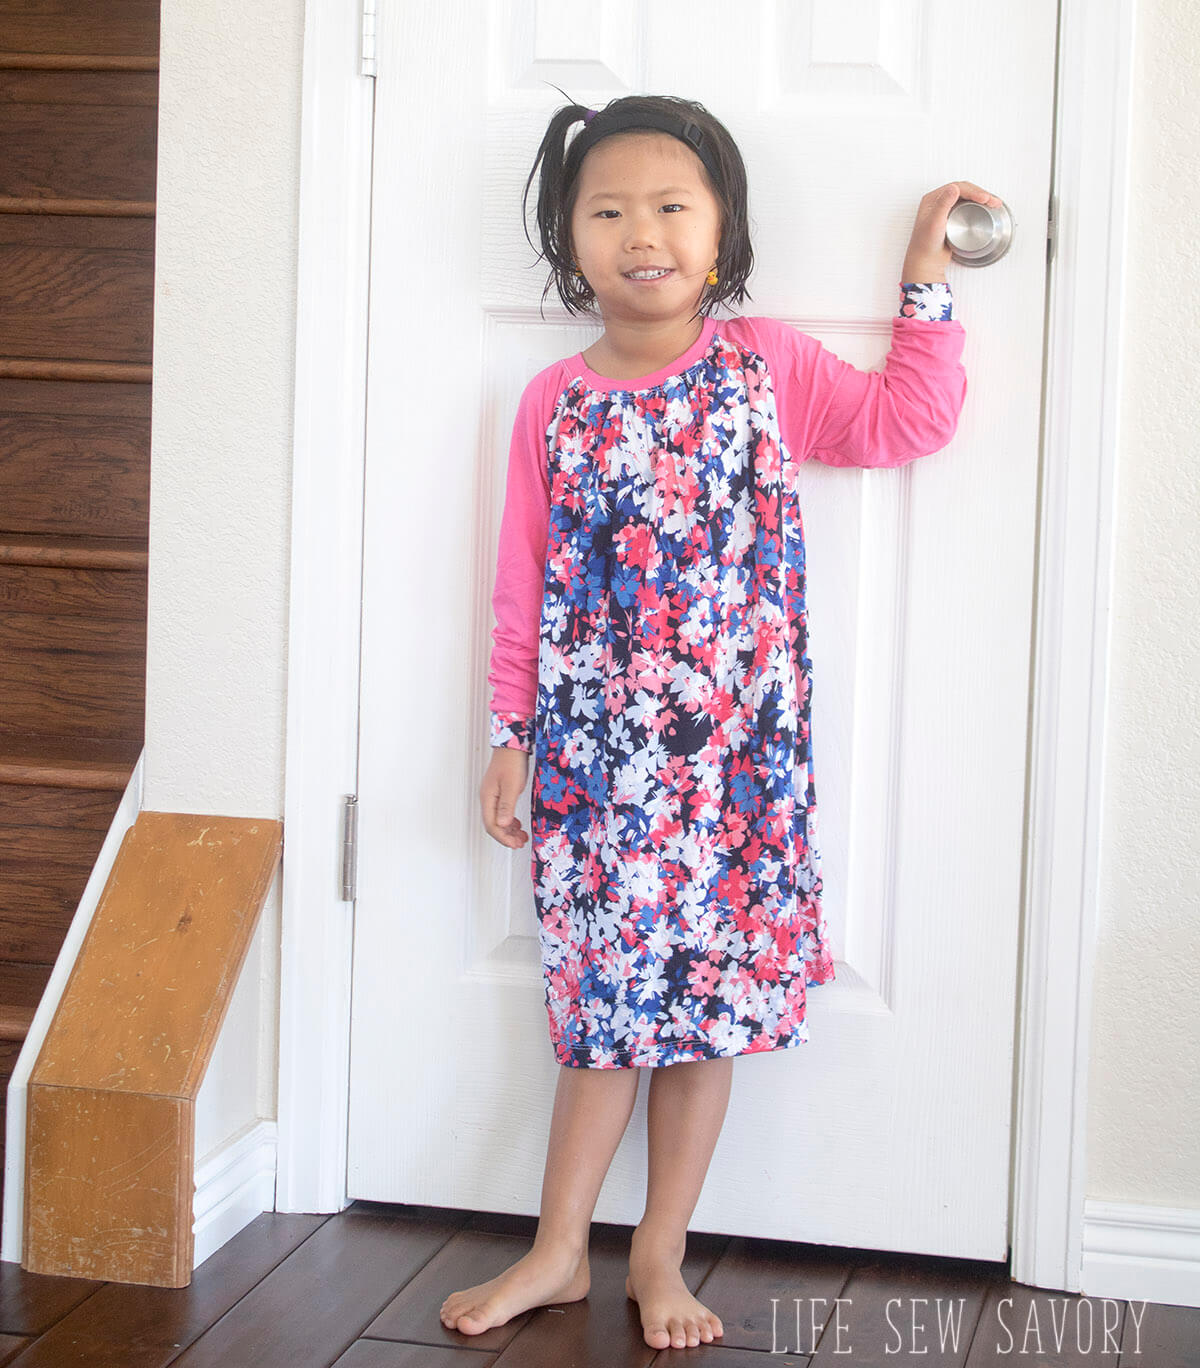
Need a specialized shirt {like one for super hero day at school?} add a bit of vinyl for a cool looking shirt. I usually order from Expressions Vinyl and cut it with my ScanNCut.
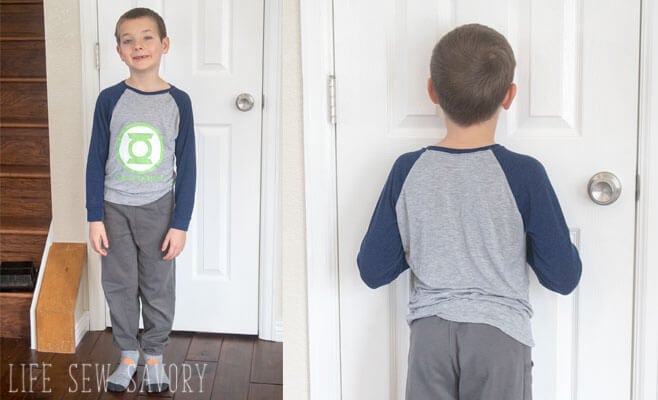
Lets get to making the raglan sleeve pattern!
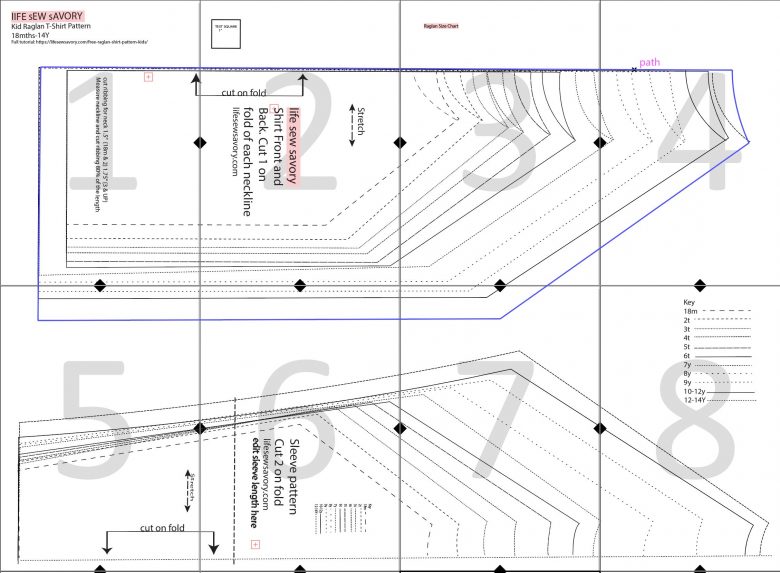
1. Print the FREE RAGLAN PATTERN, assemble the pieces… it should look something like below {I’ve made a few edits since this screen shot, but the layout is the same. Cut out the fabric following the stretch markings. A 1/4 in seam allowance is included! use this size chart to choose your size. The pattern gives dimensions for neckline up to the 6… for larger sizes you will also cut 1.5″ wide { I like a thinner neckline as seen in the blue/grey shirt, cut wider 2″ for a bit more neckline}. For all necklines I would recommend cutting the length at %80 of neck circumference. Ex: if the neck measures 10″ you would cut 2 x 8″ and stretch it to go around. This formula creates a nice neckline. If your fabric isn’t very stretchy, cut it at 90% of neckline.

I would recommend measuring the arm from neck to wrist before cutting. I thought my boys should have had a bit more length. You could also add a cuff to the sleeve. I used old t-shirts for the sleeves and a great striped knit.. check out the selection on fabric.com . The layout is now 8 pages with the larger sizes.
2. Take the front of the shirt {the lower neck side} and place one sleeve oon each side right sides together. Sew.
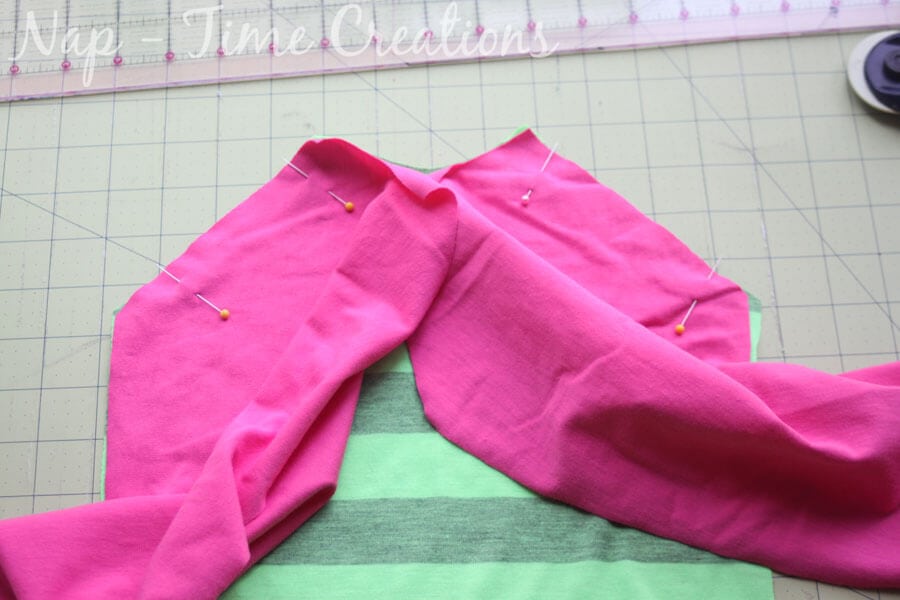
It should look like this…
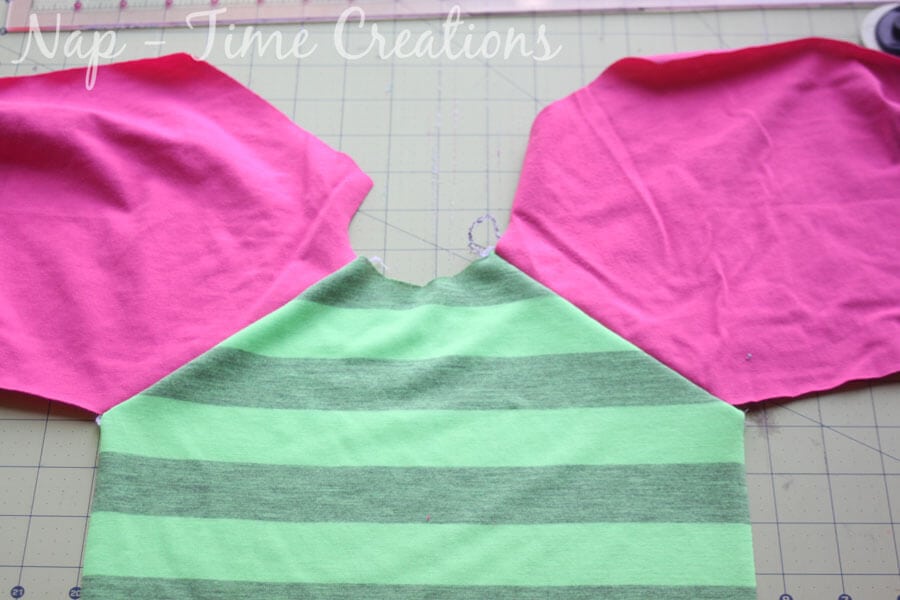
3. Sew the back to the arms, right side together. It should look like the photo below…. If you want to sew the neckline on an open neck, do not sew one side of the back.. and skip down to neckline instructions before completing.
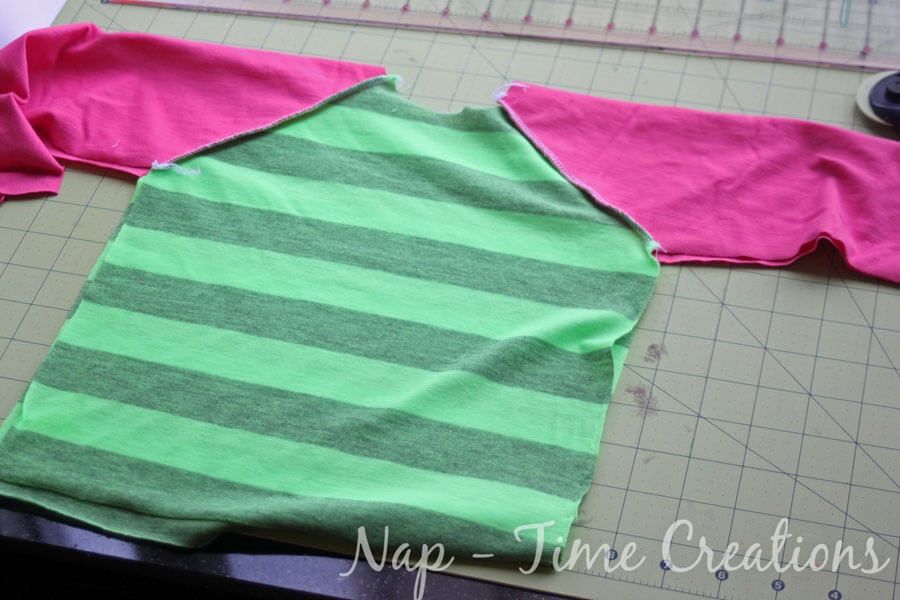
4. cut neck ribbing length as directed on pattern sheets. { The pattern gives dimensions for neckline up to the 6… for larger sizes you will also cut 1.5″ wide. For all necklines I would recommend cutting the length at 80 or 90% of neck circumference. Ex: if the neck measures 10″ you would cut 2 x 8″ {or 9″} and stretch it to go around. This formula creates a nice neckline.}
I used more of the same arm fabric OR a neck cut off another t-shirt.
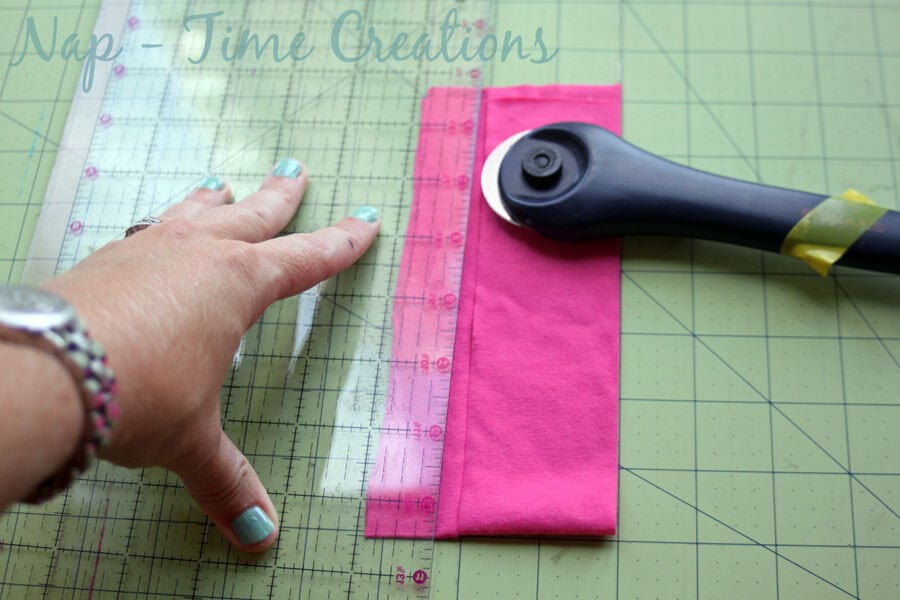
Instructions for sewing on an open neckline…Measure neckline and cut band…
Need more help with the neck band? Here is my post all about shirt neckbands…
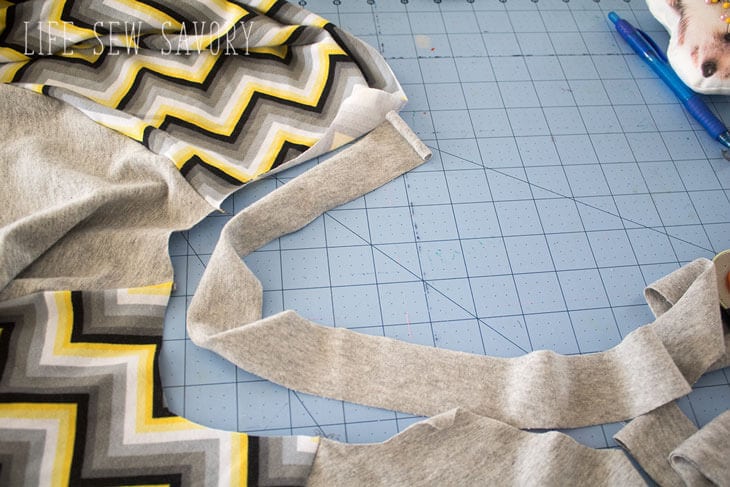
You will be folding the band in half before sewing. Wrong sides will be touching.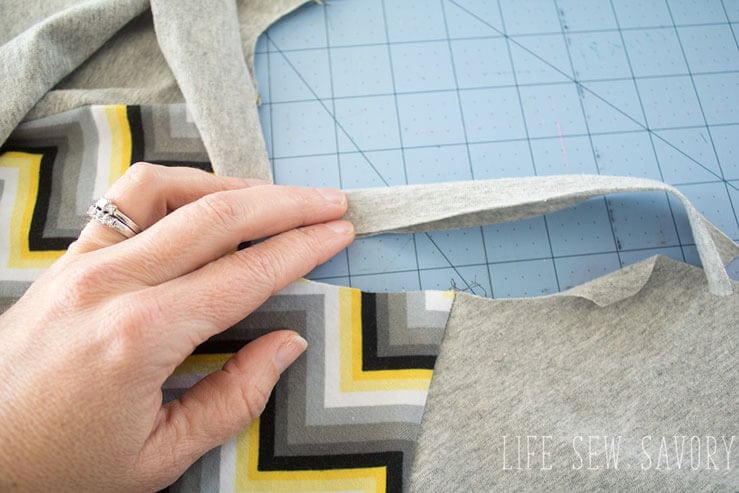
Stretch and sew on the band. You will be sewing through 3 layers of fabric, 2 of band and one of shirt. 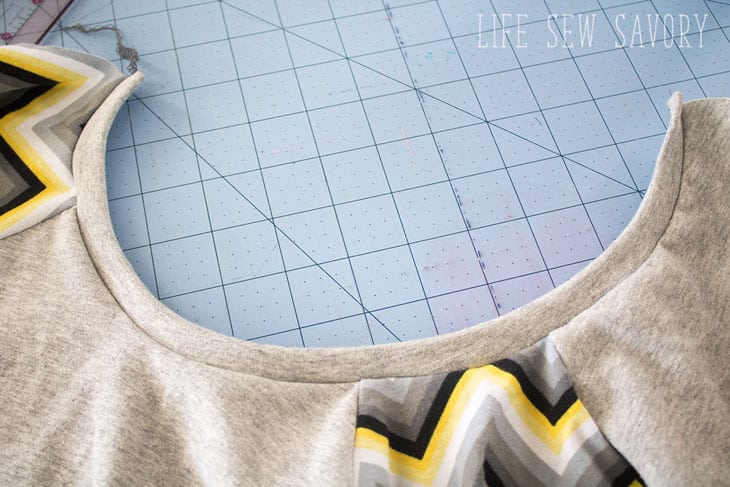
Topstitch {see below} then sew the open shoulder closed before sewing side seams.
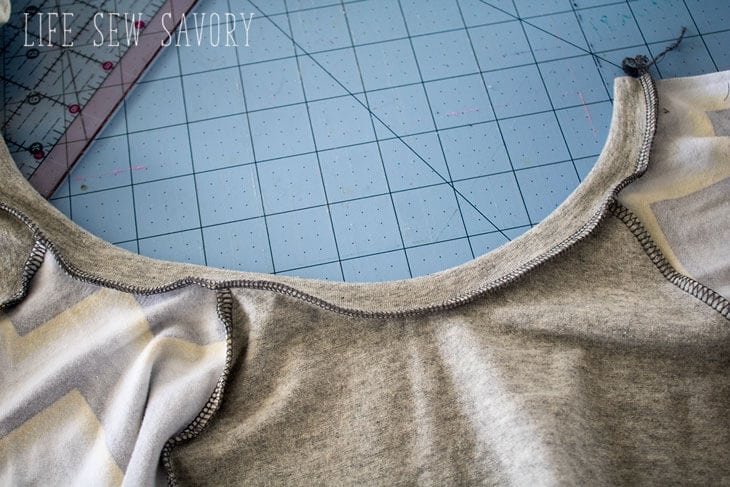
Instructions for band on a circle… 5. Sew the short end of the band right sides together as shown in the pic.
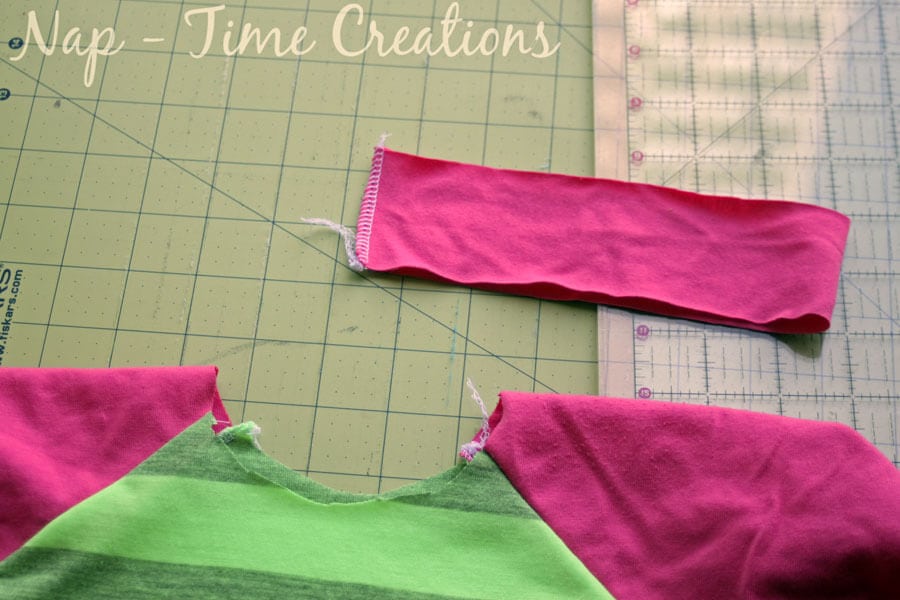
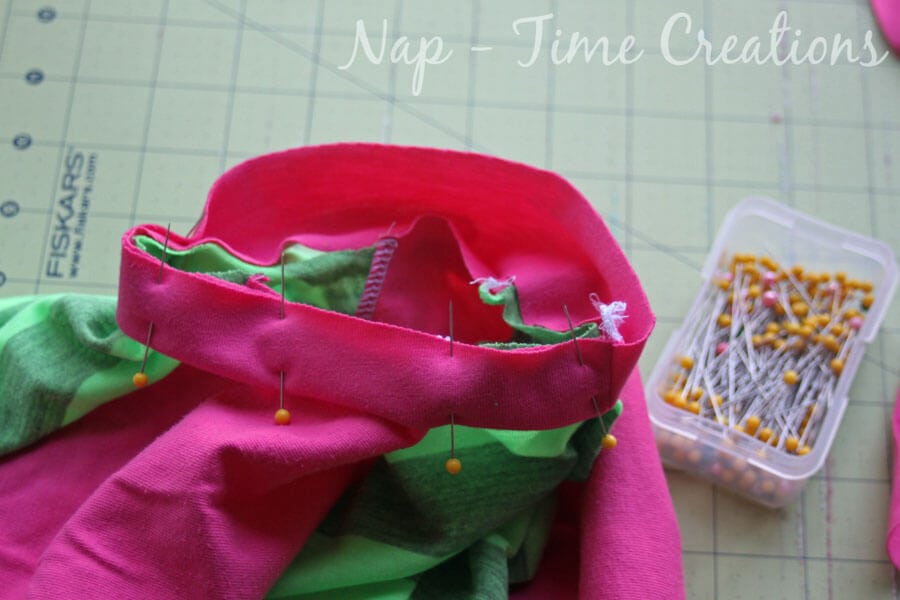
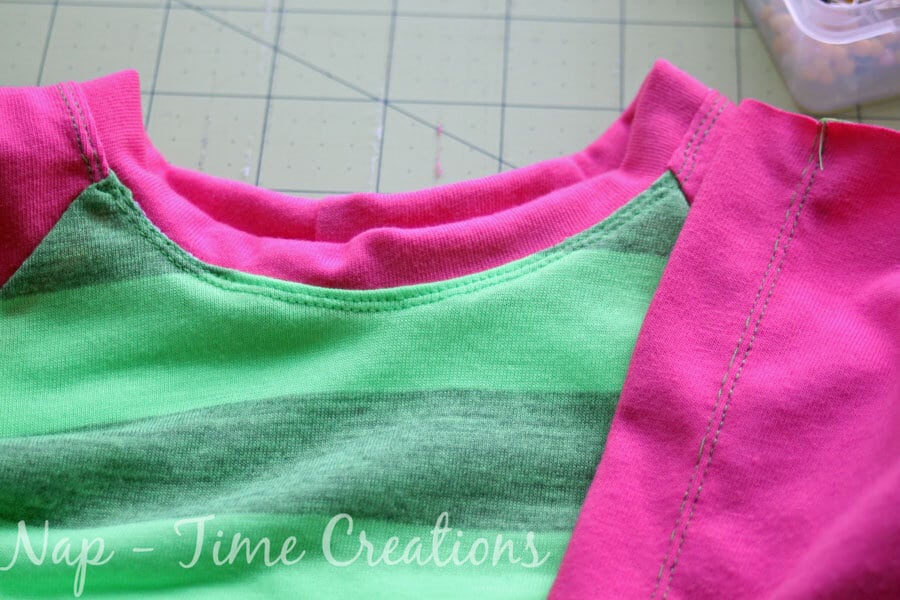
6. Fold the neck ribbing WRONG sides together, then pin, stretch and sew to the neckline of the shirt on the right side.
7. With either method of neckline. Top stitch around the neck using a zig-zag, knit stitch, or double needle {if using a double needle I would recommend woolly nylon in the bobbin.} See my video HERE for knit hem tips.
8. Turn the sleeves under 1″ and sew using one of the methods mentioned above. If the sleeve isn’t long enough, you can add a cuff now.
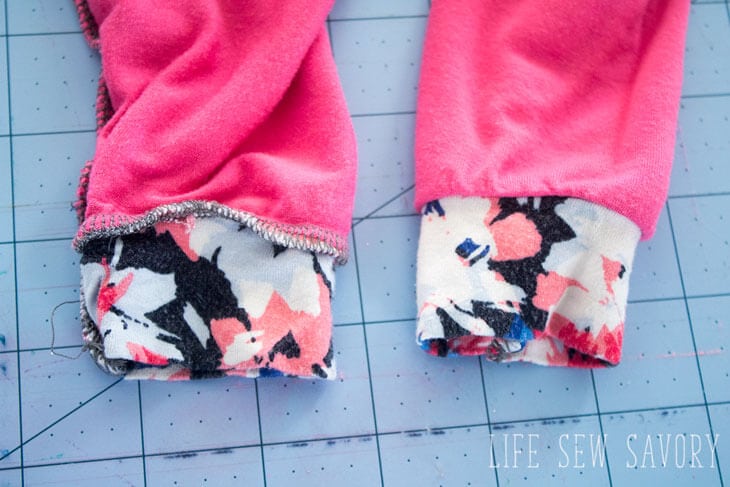
To add a cuff… cut 4 inches tall and not as wide as the end of the sleeve. I like my cuff to be smaller than the end of the sleeve to pull in it. Fold the cuff wrong sides together and then stretch and sew to the open end of the sleeve {before you sew the side seam} Here are finished cuffs.
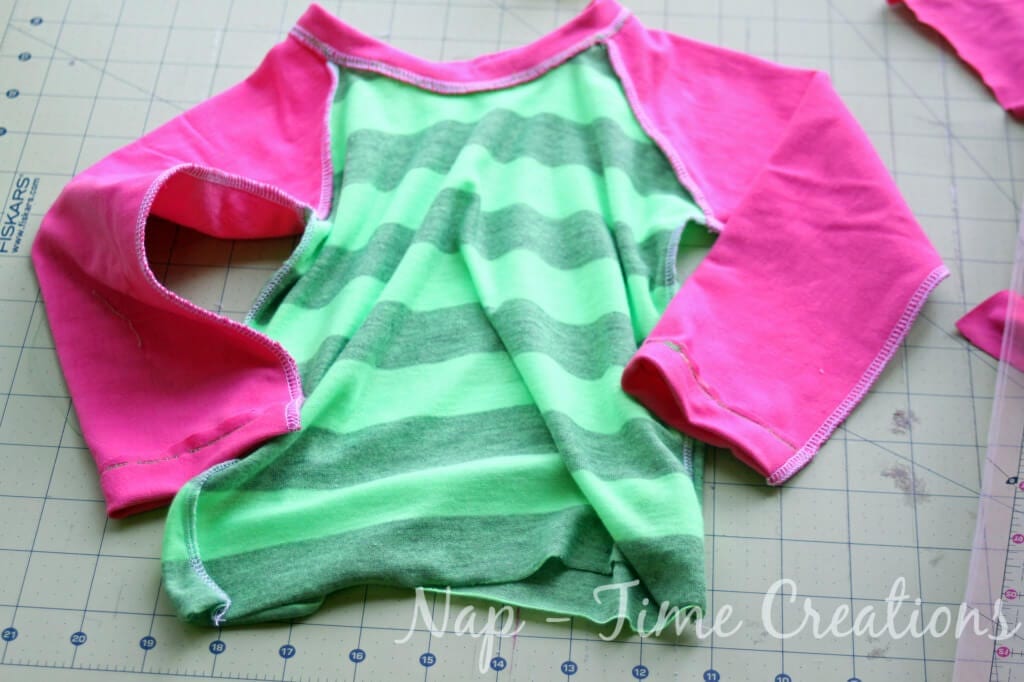
9. Sew up the side seams… it should now look like this..
10. Hem the shirt with a 1″ hem…
And there you are! Enjoy your raglan shirts!!!
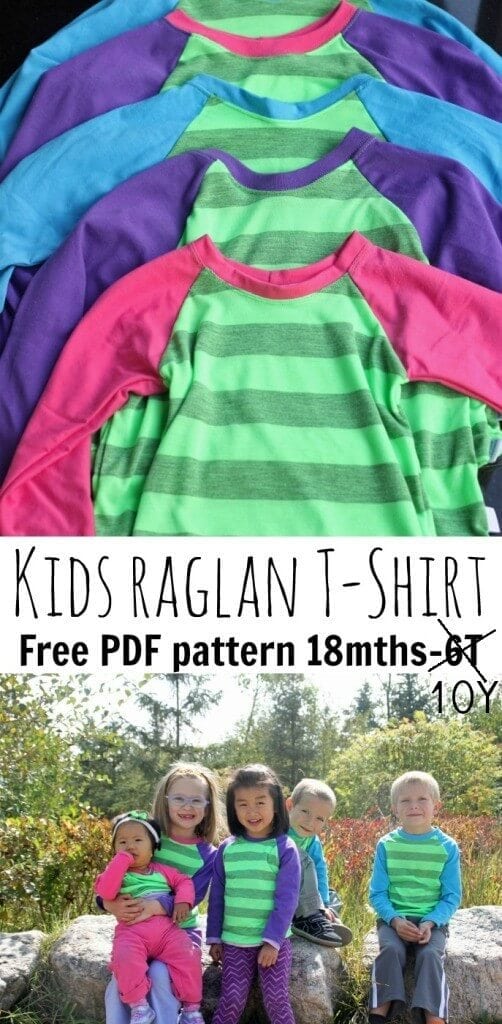
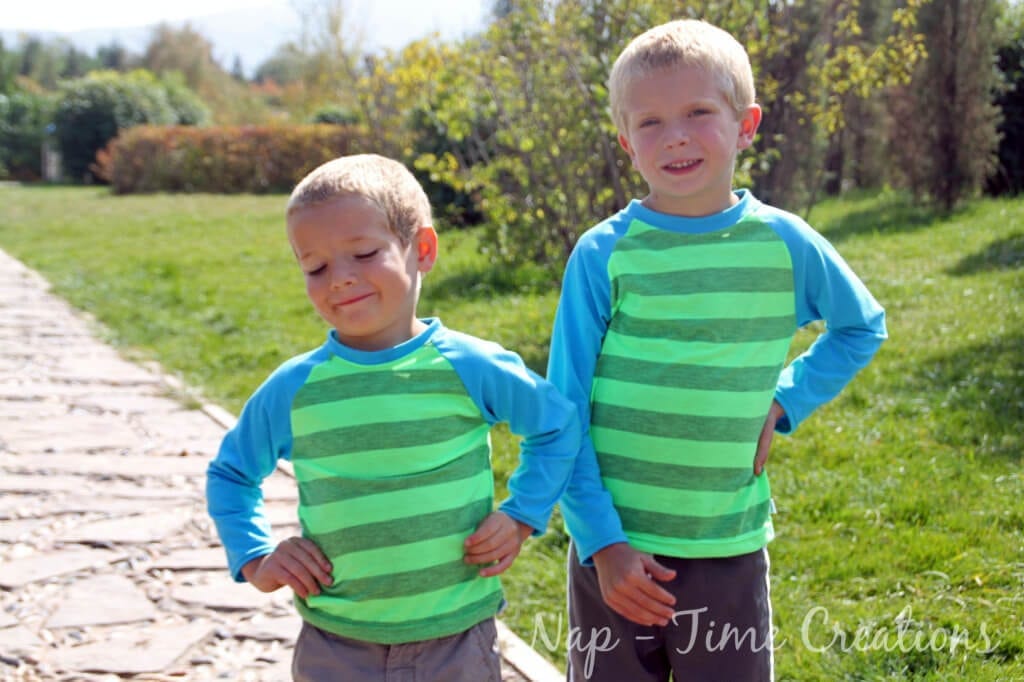
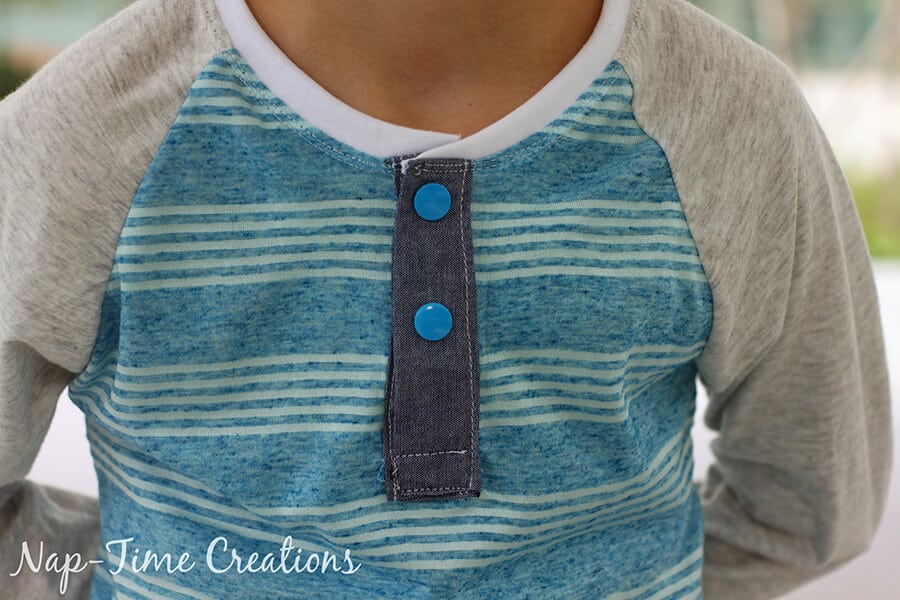
Now that you’ve made one…here some Raglan t-shirt variations.. you can use my free pattern as the base to create any of these amazing projects… {have a neato Raglan design? use this pattern to create a variation? Leave the link and I’ll add you to this list!} Oh, I recently made a raglan for me... love them!} You can also add a Henley Neckline to this free pattern..
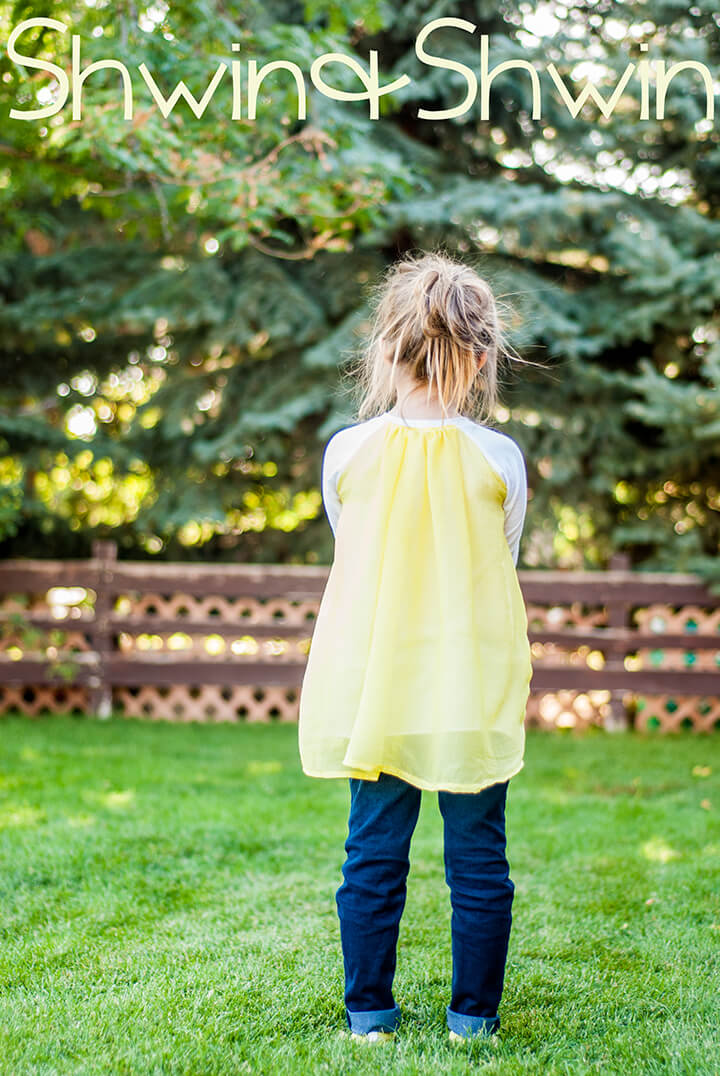
Flowy Raglan T.. by Shwin and Shwin
Offset Raglan Top on Sew Mama Sew
A Line Raglan by Oliver + S
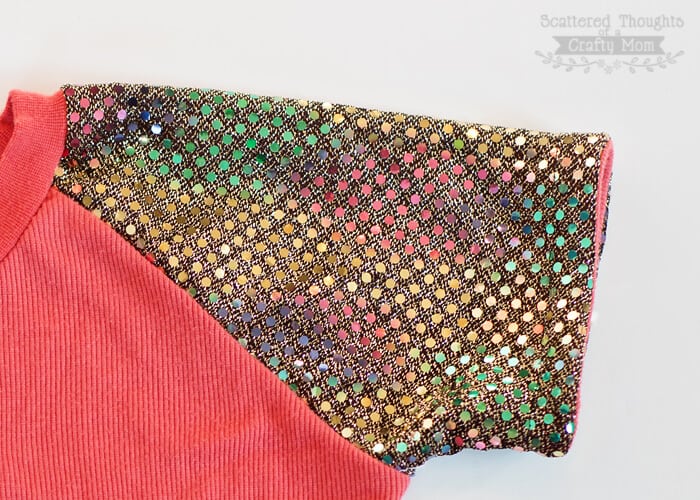
Blinged out Raglan {sleeve variation!} by Scattered Thoughts of a Craft Mom
Raglan Dresses by Whats Mummy up to?

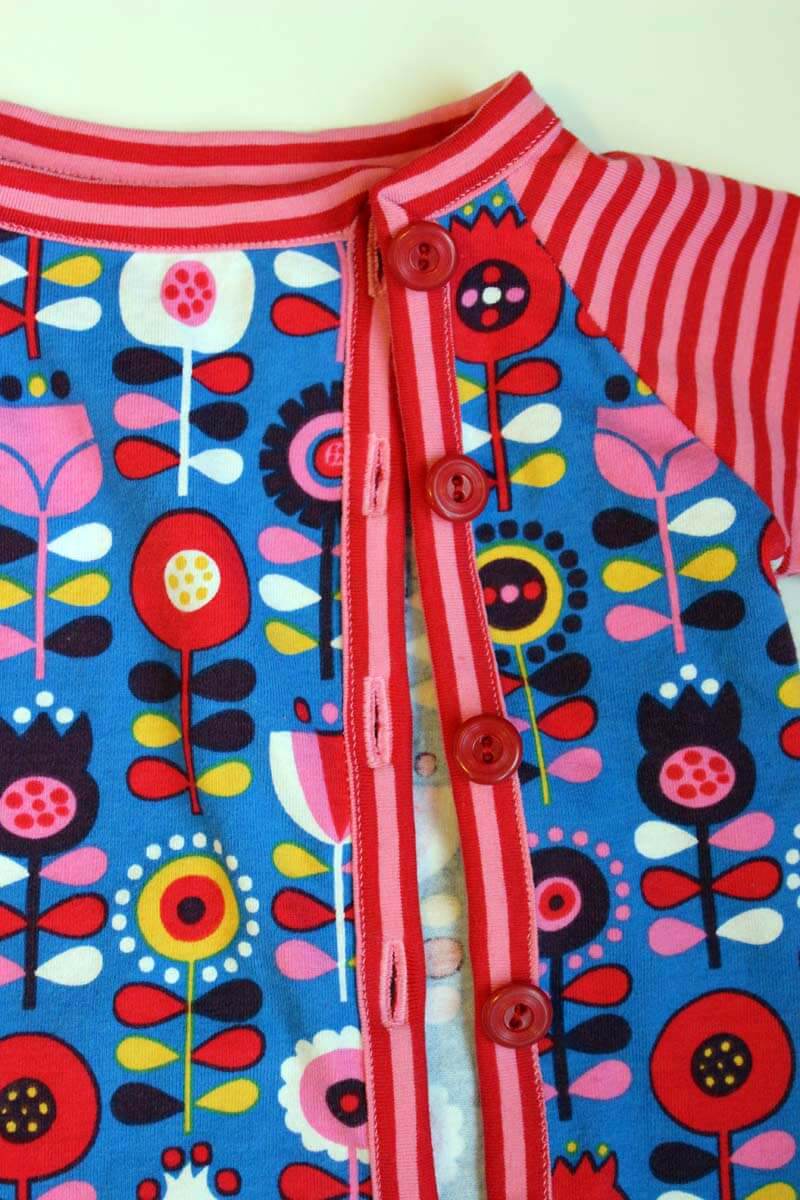
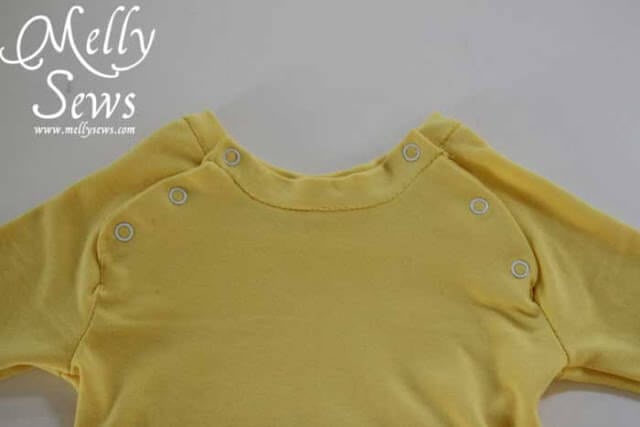
Button Shoulder Raglan by Melly Sews
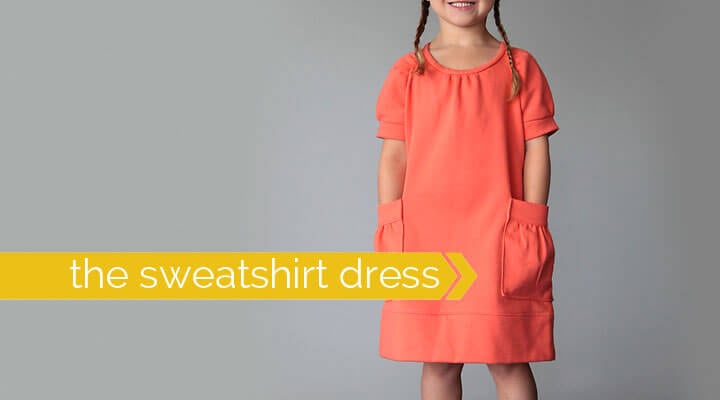
Gathered Raglan Dress by Its Always Autumn





JAN says
I would like to use this pattern for a rash guard and have added it to my cart. I want to order the swim fabric but I don’t see the yardage requirements. It doesn’t seem to be listed in the tutorial or maybe I missed the link?
Rose Martine says
Thank you for all your work on this site. Gloria enjoys carrying out investigation and it’s really easy to understand why. All of us hear all about the lively mode you convey vital things through this website and cause response from others about this point then our own child is without a doubt learning a lot. Enjoy the remaining portion of the new year. You’re the one carrying out a powerful job.
maryannne aldrich says
do you have a better printable version of the instructions?
Divya Bhaskaran says
Thanks for the free pattern. I am a newbie, and I was so happy that I could sew something by myself for my kids. The pattern is really easy to follow and my favorite and quick one to sew. I have made 3 so far.
Meredith says
Hi. Thanks for the pattern and tutorial. I’m making the shirt from scraps leftover from another project and I don’t have enough to do the full length sleeve. How do I “edit sleeve length” along the line indicated. Do I need to cut the pattern piece at the line and then overlap top and bottom and smooth out the step in the edge? So that I end up with the same cuff size, even if it’s an elbow length or 3/4 length sleeve?
Lin says
I would love to use this pattern but I don’t see why you need to collect all my personal information for a free product. I would be willing to share my email address but why should I need to give you my address and phone number? Guess I’ll make a similar pattern myself.
Emily says
You don’t have to fill in the address, or just make one up. I only need your email, the rest is optional.
Helen England says
Sorry if I’m missing something, but the size chart seems incomplete? It doesn’t say which measurements are which size. I am excited to make this for my daughter out of a cute tie dye knit!
Rose L'Huillier says
Hi – this pattern looks great, but what’s not clear to me is whether the paper size is A4 or some other size? I only have A4 available here, will that work? Many thanks.
Denise Lamper says
Should there be a pattern piece for the neck?
CATHERINE HARRINGTON says
Would it be possible to use a woven cotton fabric for the sleeve?
Susannah Tweddle says
Thank you so much for the brilliant patterns! I have used this one a few times to make tops and dresses for my daughter. Had to come back and get it again as she has grown (and I couldn’t find my original download). It makes a great A-line dress that becomes a t-shirt as she grows 🙂
Cecilia says
love