inside: Download and sew this oversized tee free sewing pattern. The perfect summer t-shirt to sew for summer. This pdf pattern is the perfect oversized summer shirt.
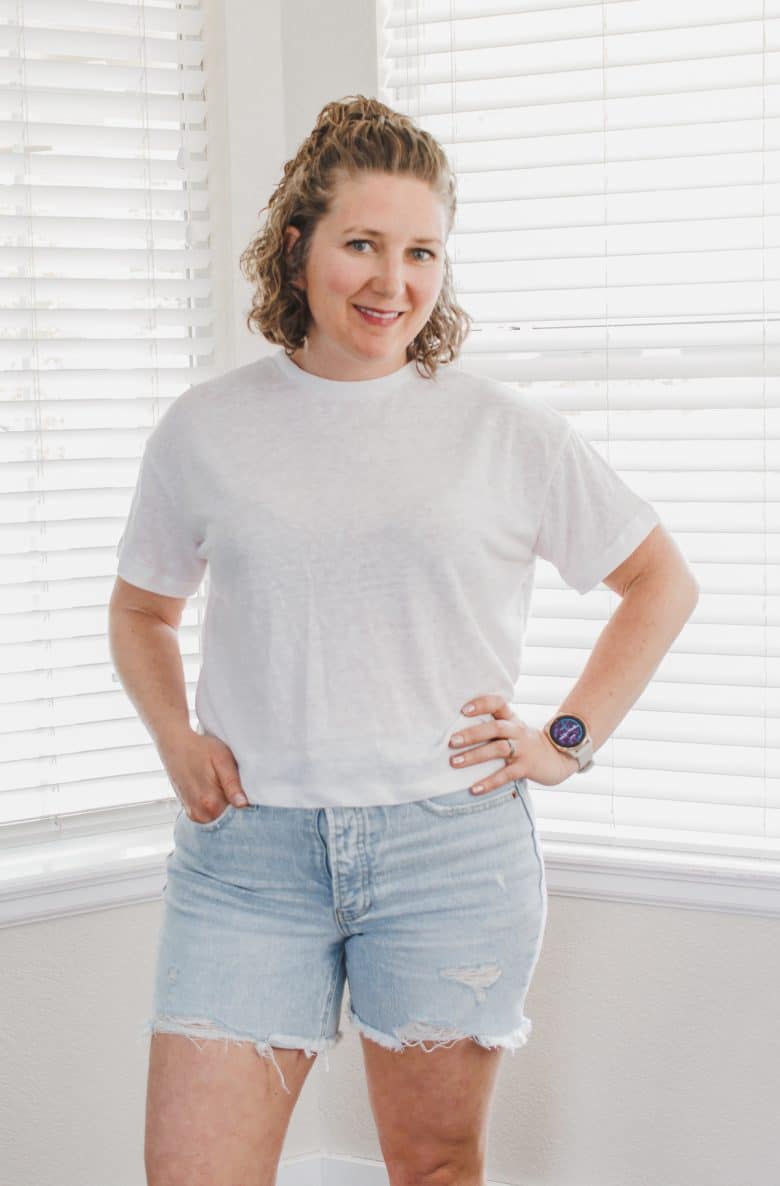
Summer is finally here!! I’m looking for some casual t-shirts to wear with shorts this summer and I’m super excited about this oversized tee free sewing pattern. I’ve already made two and I see more of these comfy shirts in my future. You are going to love how easy this shirt is to sew and how fun it is to wear.
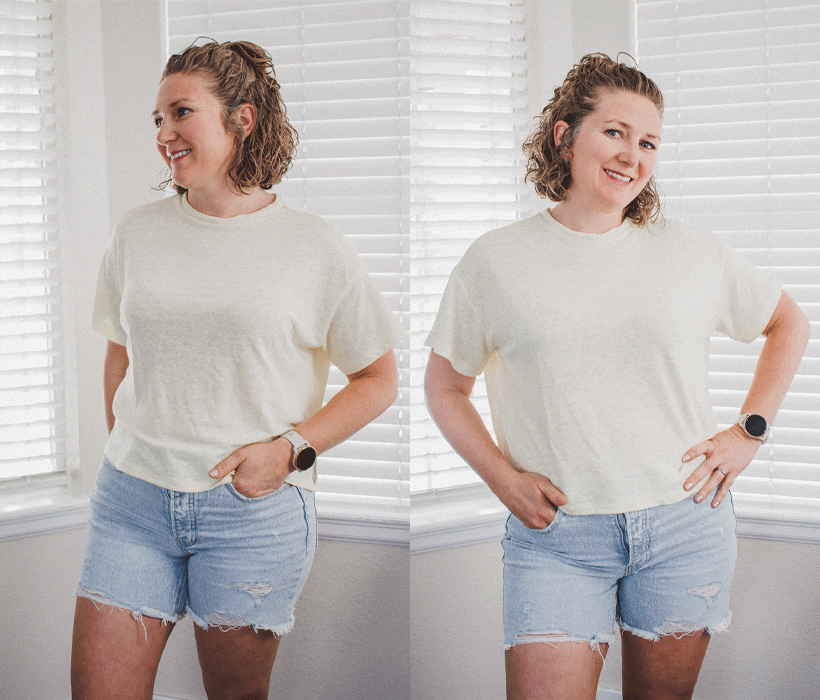
Oversized t shirt free sewing pattern
This pattern is so comfy and so easy to sew. I’m also thinking that I would like to size up on my next one to see how that feels as well.
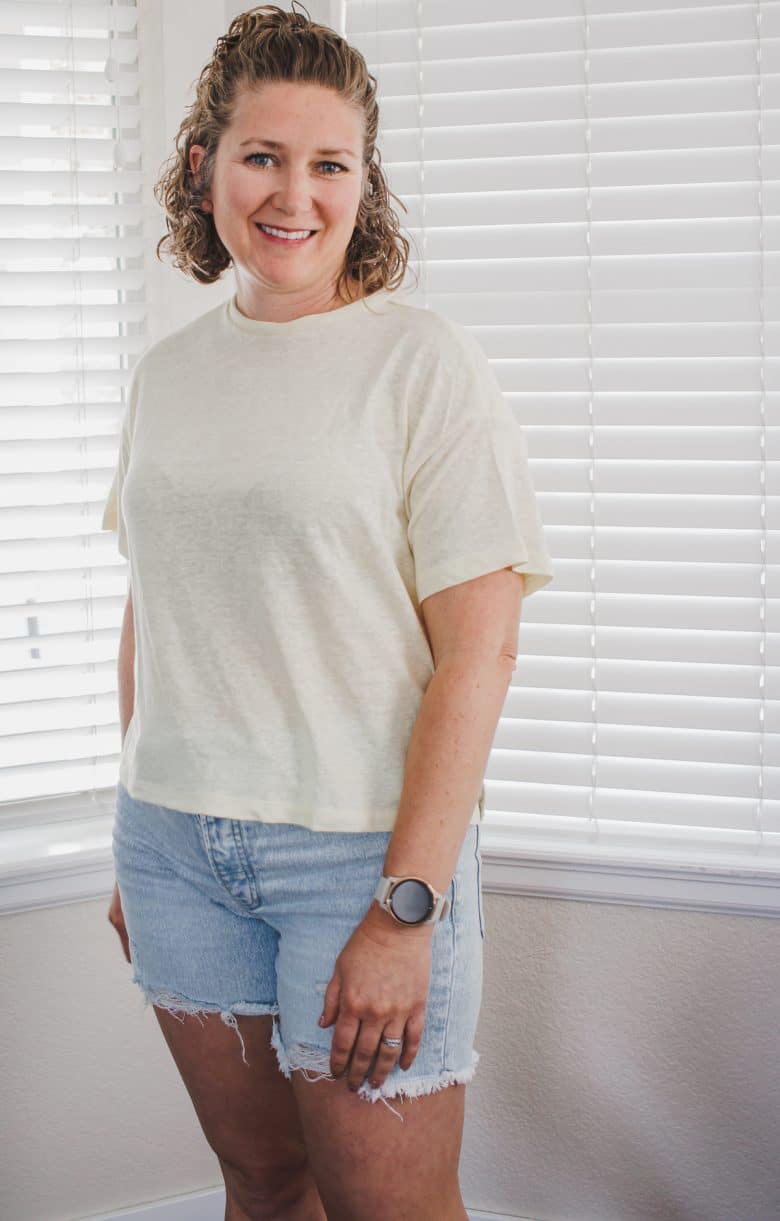
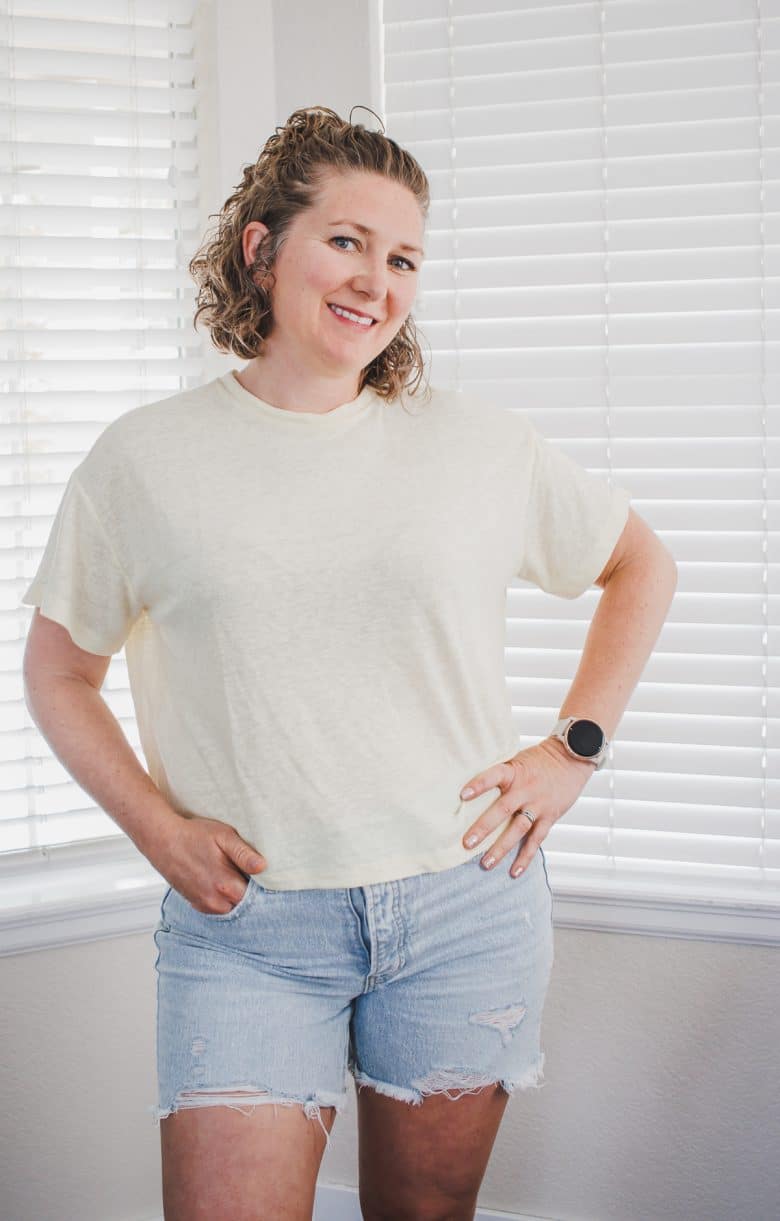
I used a linen knit blend for both the white and light yellow. I sewed my shirts with a small slit on the sides, but you can also sew this with just a straight side seam.
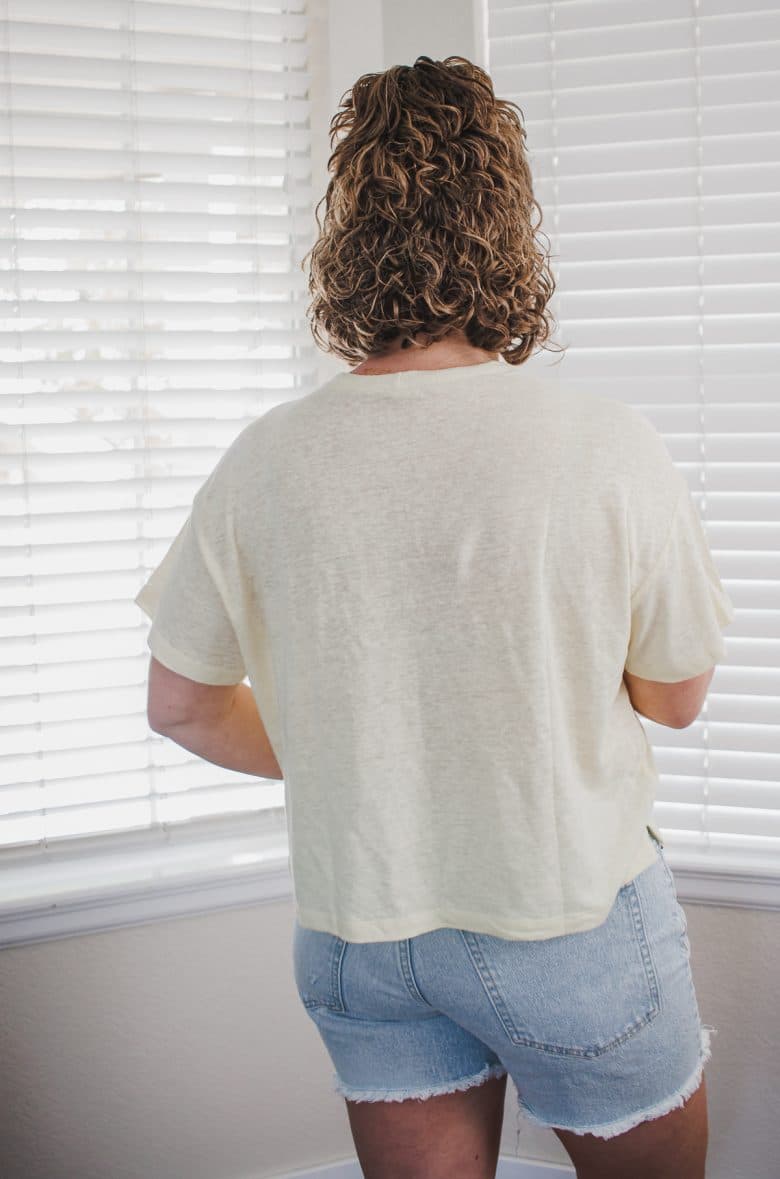
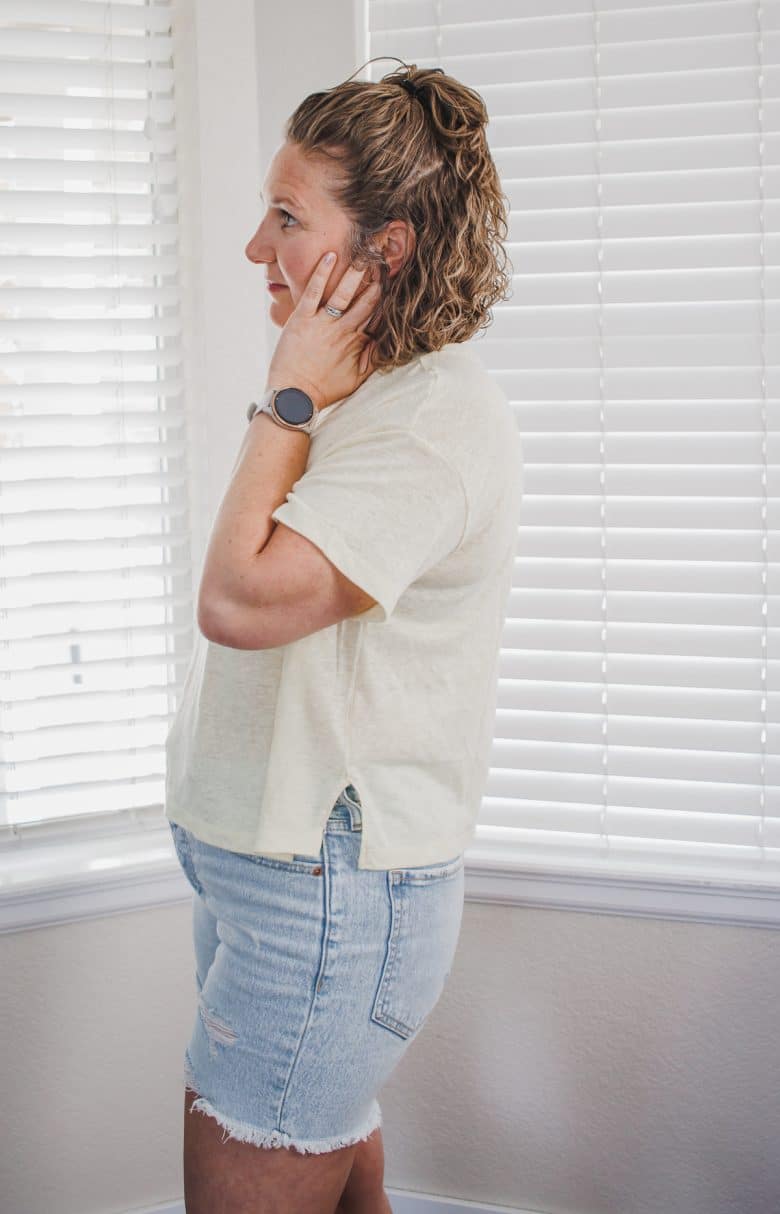
The length of this shirt is perfect for shorts or a skirt. And after looking at these photos I think I need a little tan on my legs.. {haha}
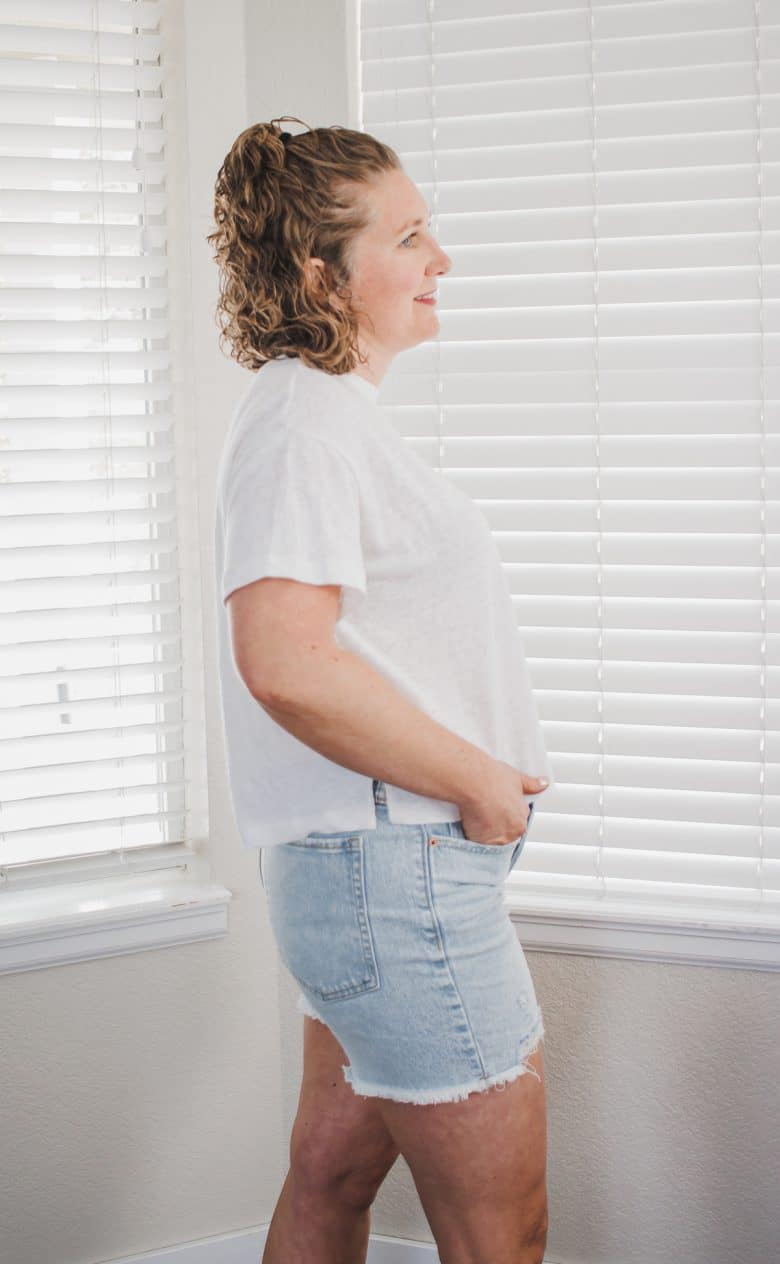
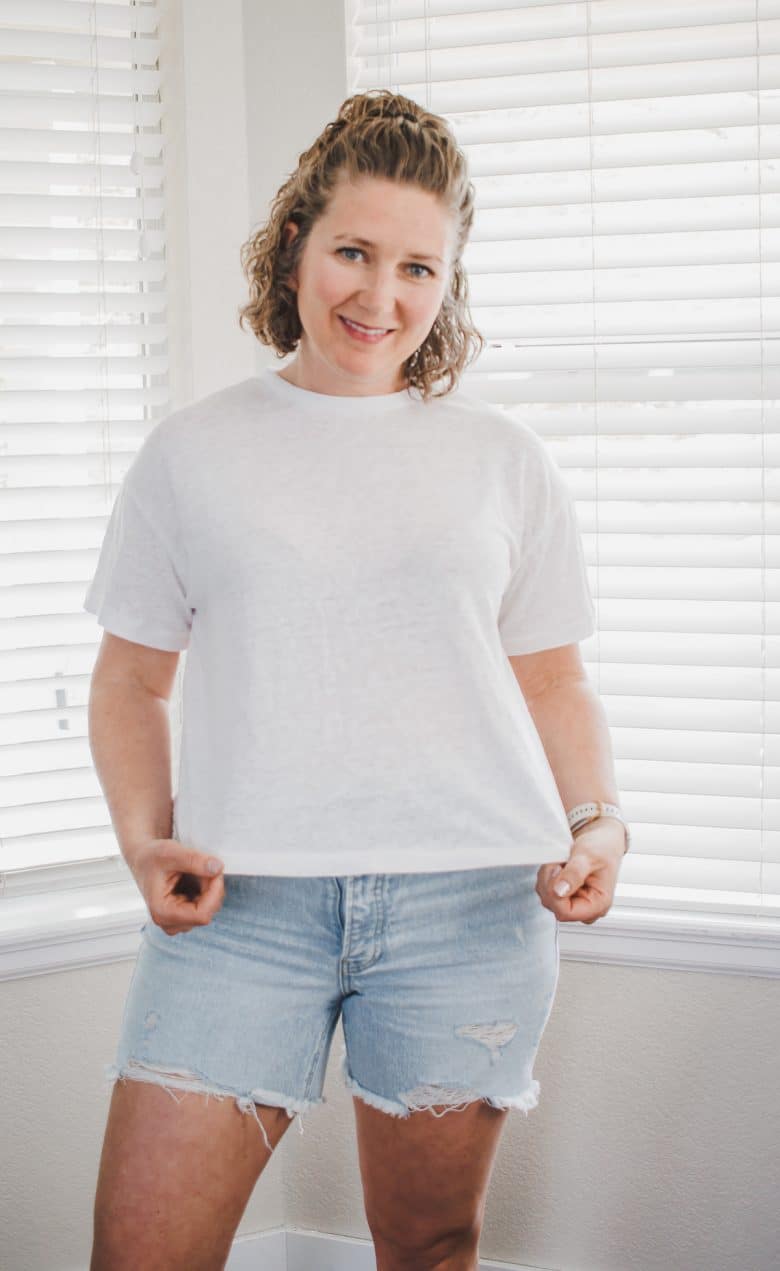
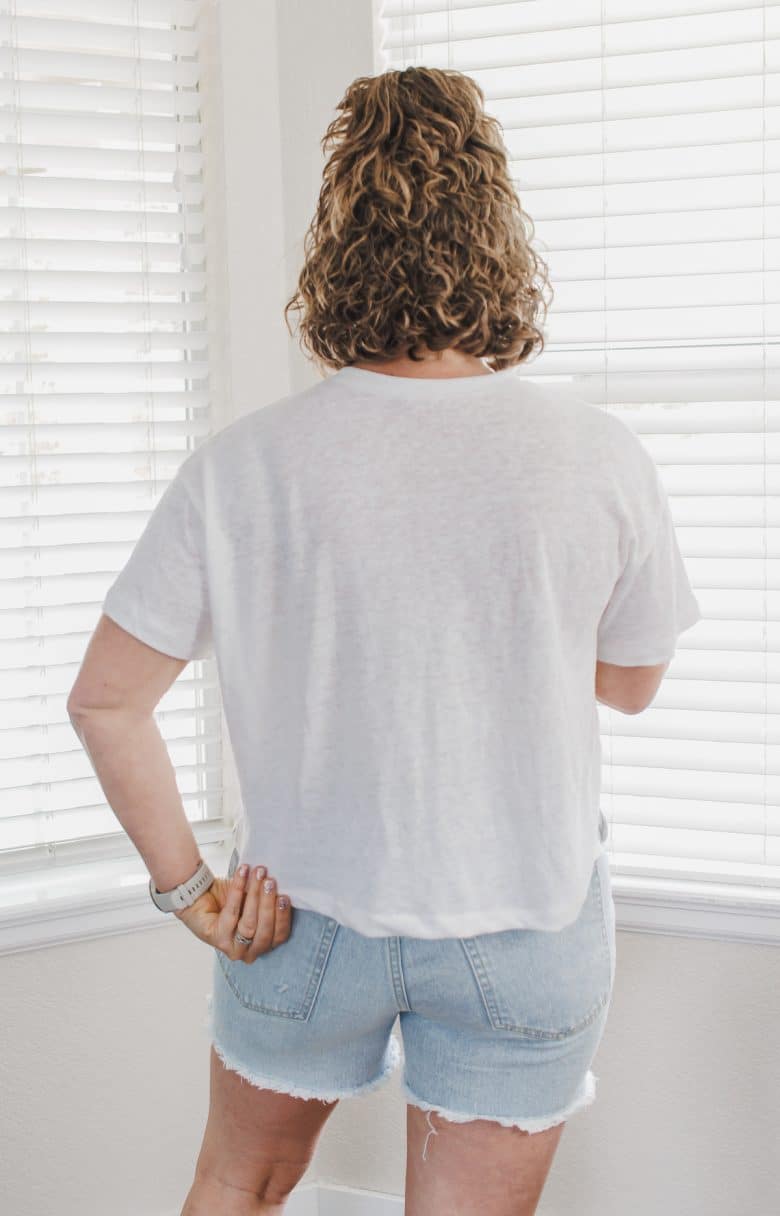
I have included a tutorial for a lower neckline as well. I didn’t sew one of these, but I think I will next time. The neckline won’t ever be super low, but I would like it just a bit roomier. I love the white version of this shirt!
Other free tees to sew
I love sharing free t-shirts. I’ve sewn a few over the years and shared free shirt patterns for the whole family. Here are a few of my favorite free t-shirt patterns to sew.
Fabric and Pattern to sew this shirt-
Looking for some fabric suggestions for sewing this pattern? here are my top two suggestions for fabric, but of course you can use any knit fabric you like. I haven’t made it yet with a slinky/stretchier fabric but I’m sure a more drapey fabric would also be great.
Download the free sewing pattern using the button below. This will take you to our shop where you can download this free pattern and many more.
Need help downloading and printing the fabric? Check out my pdf use tutorial here.
How to sew a simple t-shirt
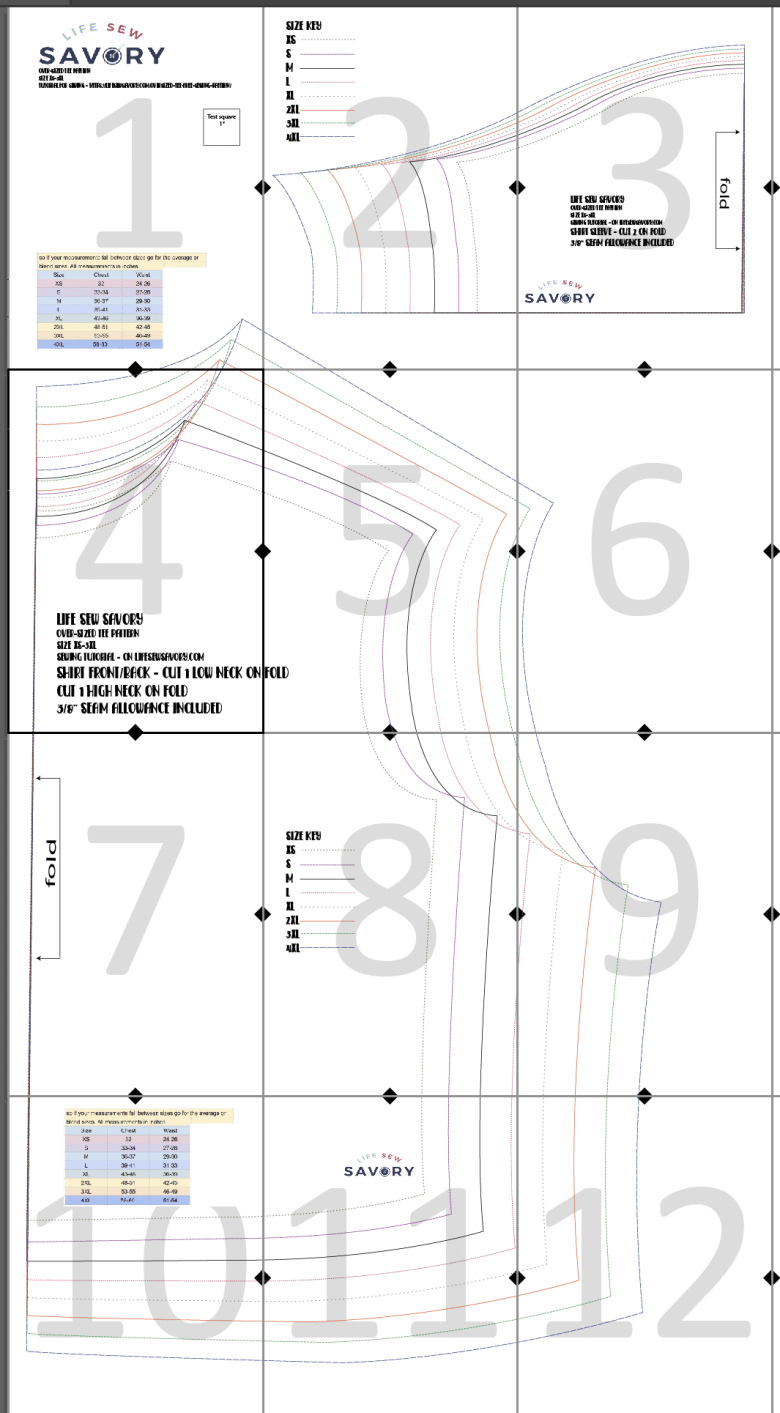
Ok! Make sure you download the free pattern above before moving on. Use the size chart on the printed pattern or see the chart below to see what size to sew. Here is the layout guide to show you how the pattern will go together.
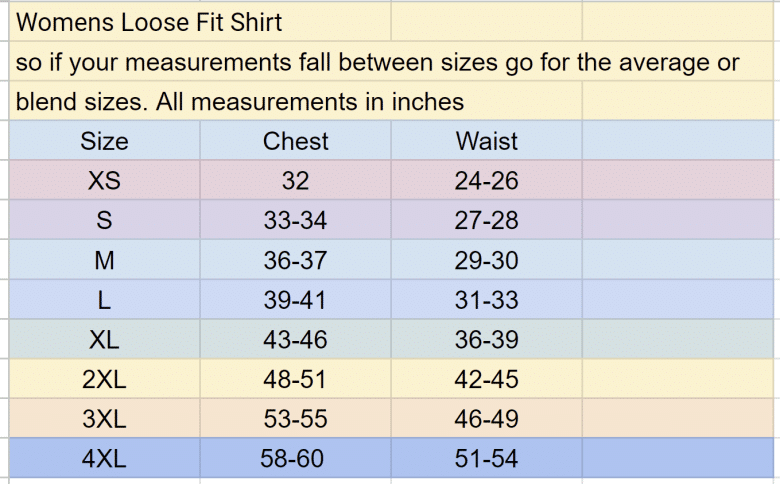
Size chart to determine your size. I would go by bust {this is over bust measurements}. I would not grade down to a smaller waist size, but you could grade to a larger waist size if you want a looser waist.
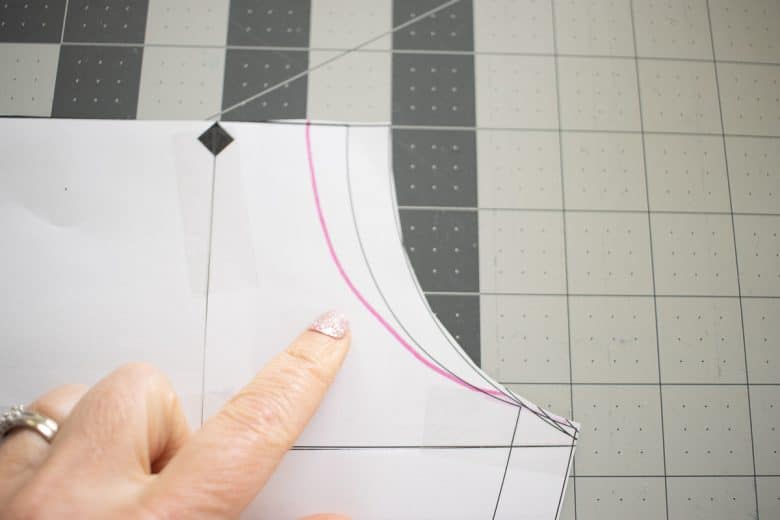
Ok! lets get started! You can sew the neckline as printed OR lower the front neckline by 1″. As directed on the pattern you will cut one shirt on higher back neckline and one shirt on lower front neckline. Lower even more if desired.
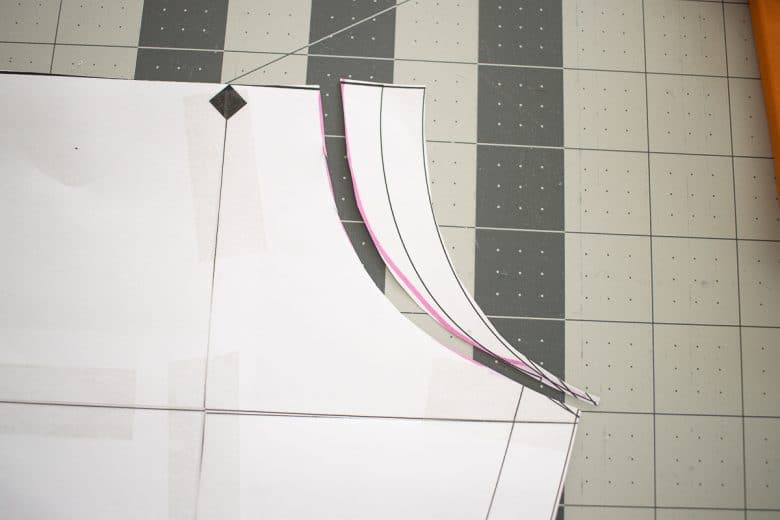
This is a super basic shirt to sew, but I will walk you through the steps.
- Sew one shoulder. Place front and back right sides together and sew with a serger or knit stitch.
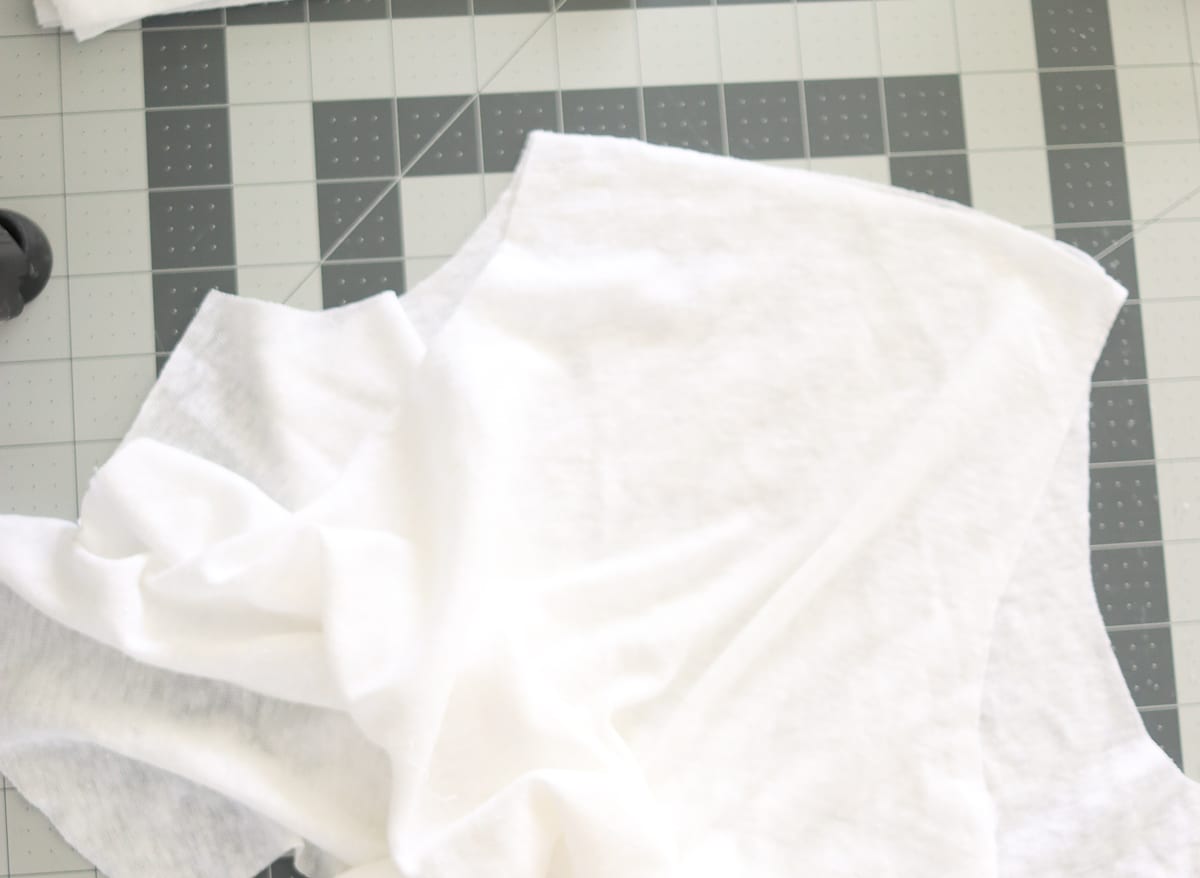
2. Hem the sleeves. Turn 3/4″ to back side of sleeve and hem with a coversitch or double needle. Need help hemming knit fabric. Check out this tutorial for how to hem knit fabric.
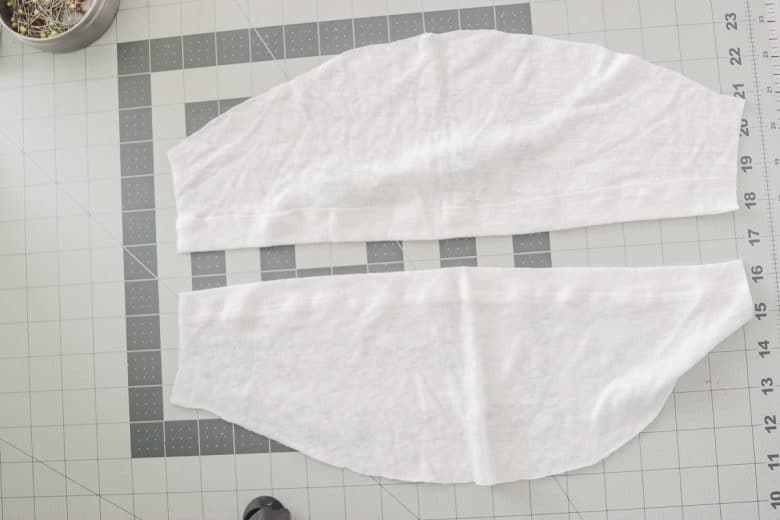
3. Cut a neckband to go on the neckline. I used a slightly wider band for this pattern, so I cut my neckband 2″ wide. Cut the band 85/90% of the length of your neck opening. Measure with one shoulder still open and sew the neckband in place. Need help sewing a neckband? check out this tutorial for the perfect neckband.
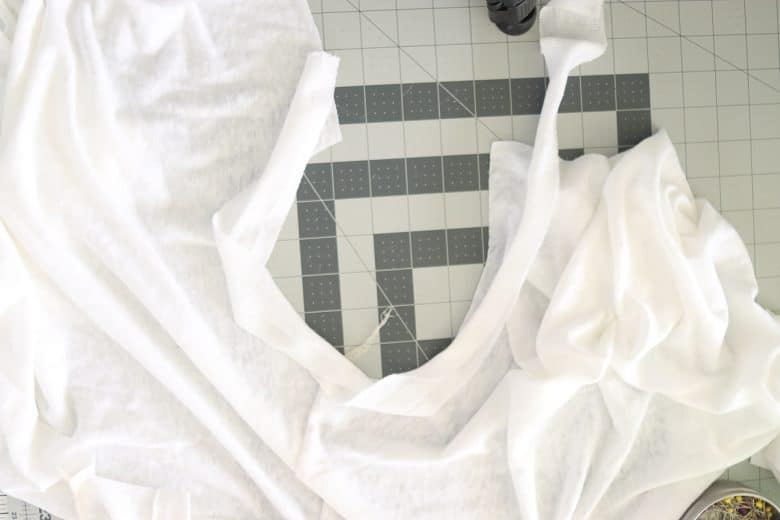
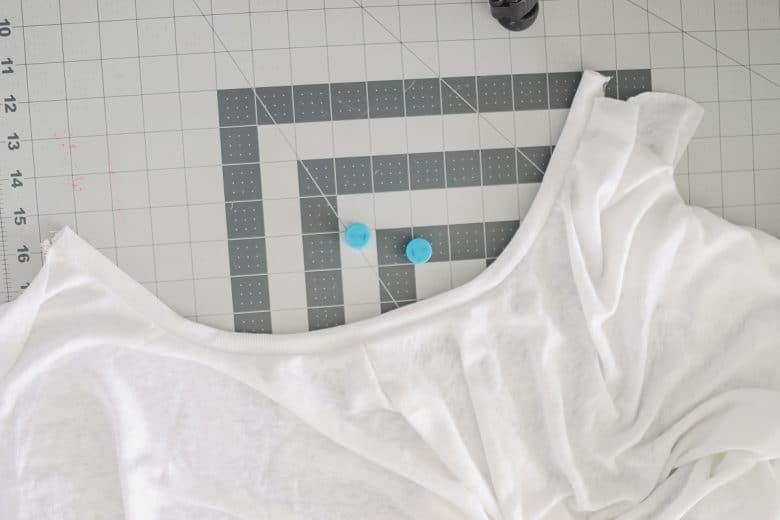
4. With right sides together sew the other shoulder together. Now the neckband is a complete circle.
5. Ease the sleeve into the shoulder opening. I pin both ends, then work my way into the middle. Ease the opposite direction curves together. Repeat with other sleeve.
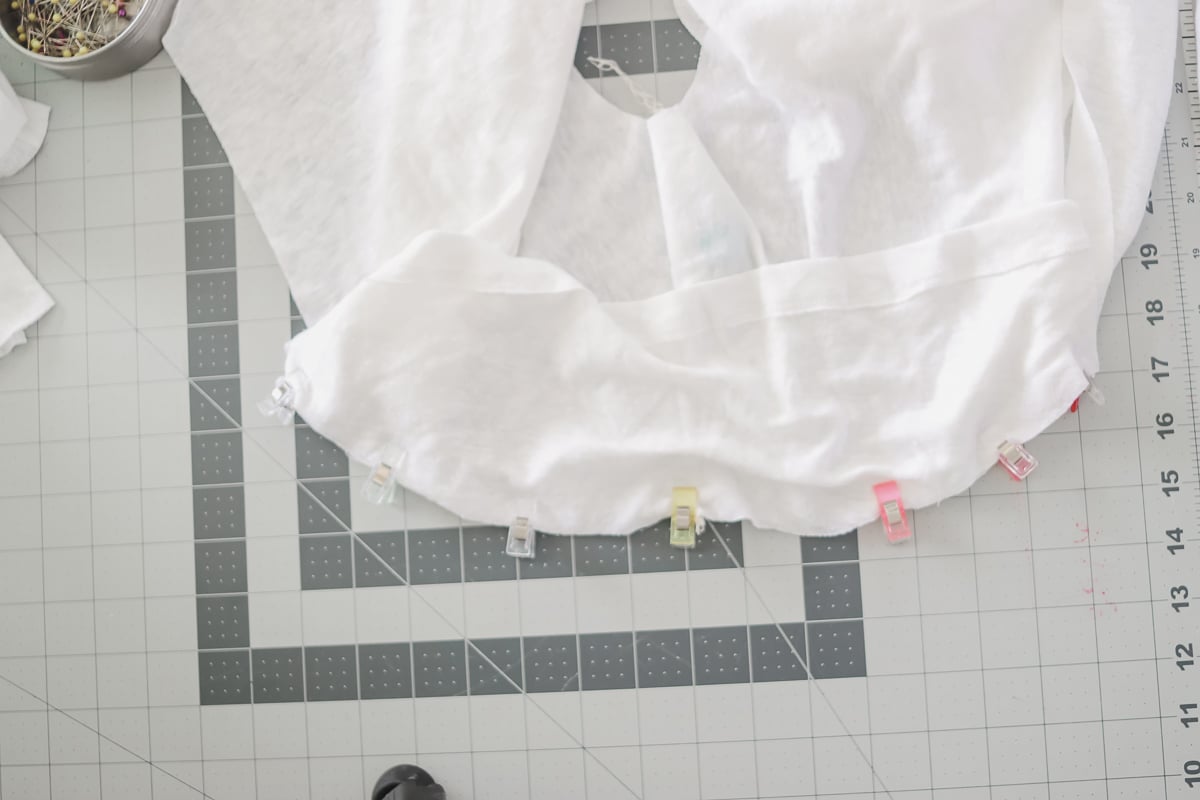
6. Before sewing the side seams finish the bottom 3″ of each side of the front and back of the shirts. Use a wide zig-zag or serger to finish this 3″. You will do this to the four individual bottoms. {NOTE: you can also just sew the side seam and not have the slit on the bottom.}
7. Now match the hem of the sleeve and the underarm seam and sew from the sleeve edge to the TOP of the finished 3″. So your side seam should stop 3″ above the bottom of the shirt.
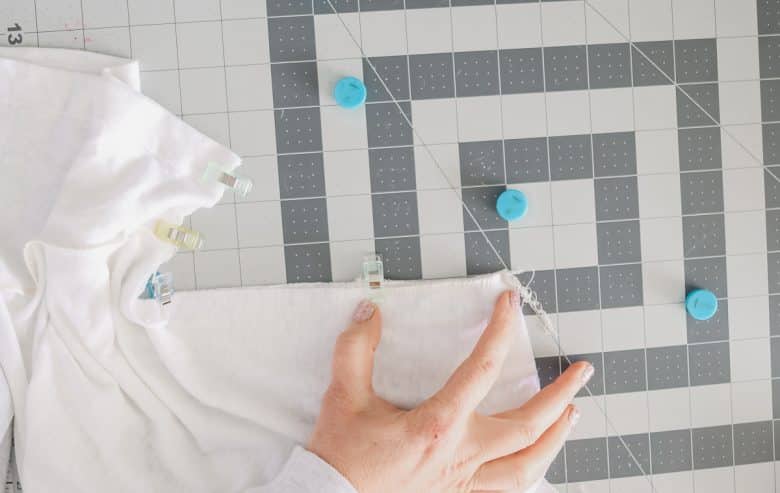
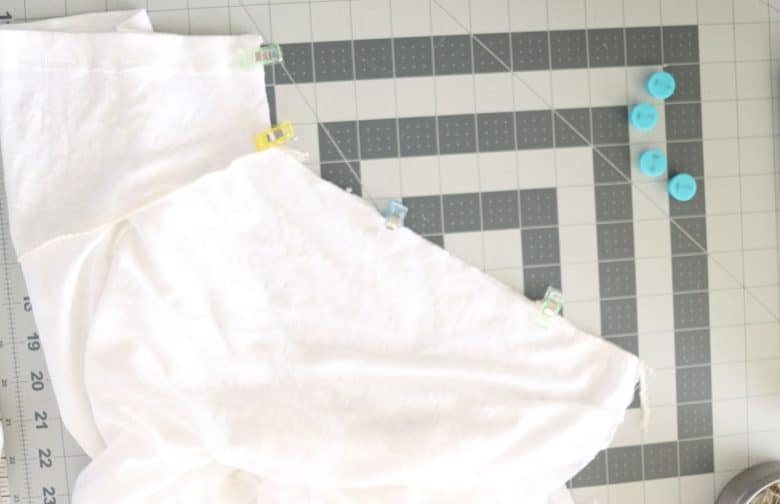
8. Fold these three inches back to the wrong side of the shirt and top-stitch up one side, pivot and down the other to finish the side of the shirt.
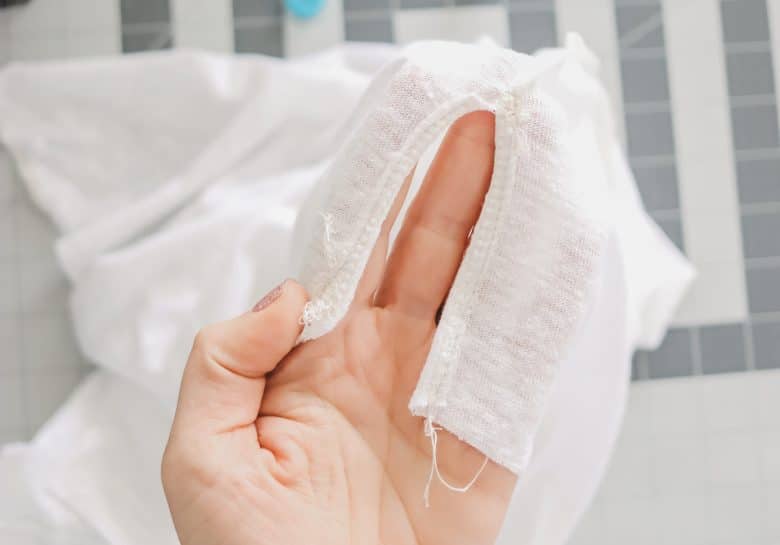

9. Hem the front of the shirt and the back of the shirt by folding 3/4″ to the back side. Stitch with a double needle or coverstitch.
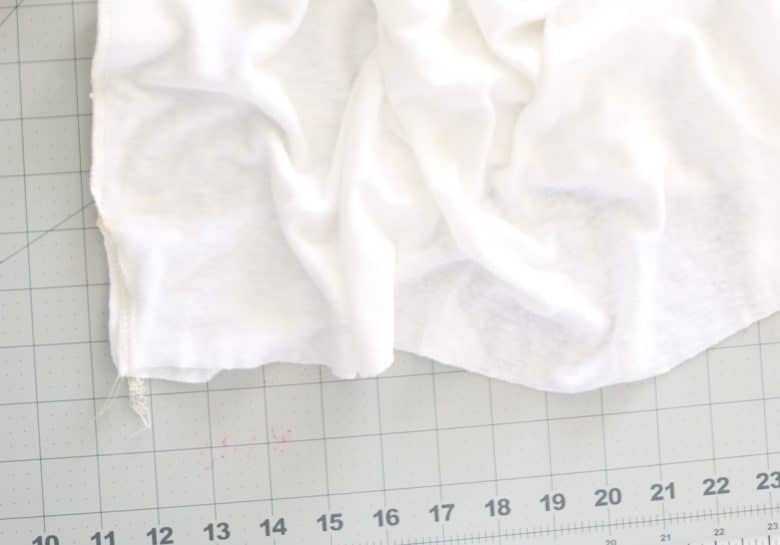
And that’s it! Super simple and easy. Make sure to tag me on socials if you share photos of this make! I’m @lifesewsavory on all platforms.






Kimberly Hashagen says
Do you think this would work in a woven fabric if I sized one size up or would it be too distorted on the bottom. I know you said don’t grade ro smaller waist. Thank you for the free pattern.
Mary says
Hola, no puedo descargar el patron.
Territorial io says
This design is simple but attractive.
Claire Noorhasan says
How much fabric do I need?
picturessewterrible says
hey maybe try taking pictures that aren’t complete shit next time you upload a tutorial