inside: Learn how to applique by machine with this sewing tutorial. I will also show you how to use a ScanNCut to cut precise shapes for sewing machine applique. Easy sewing tutorial.
Last summer I wanted to sew a cute summer tote bag, but I wanted to add something different than all my other tote bags. I ended up adding this beautiful machine applique and I love how it turned out. I then used this panel to create a tote bag, and I’ll share the tutorial I used for that below.
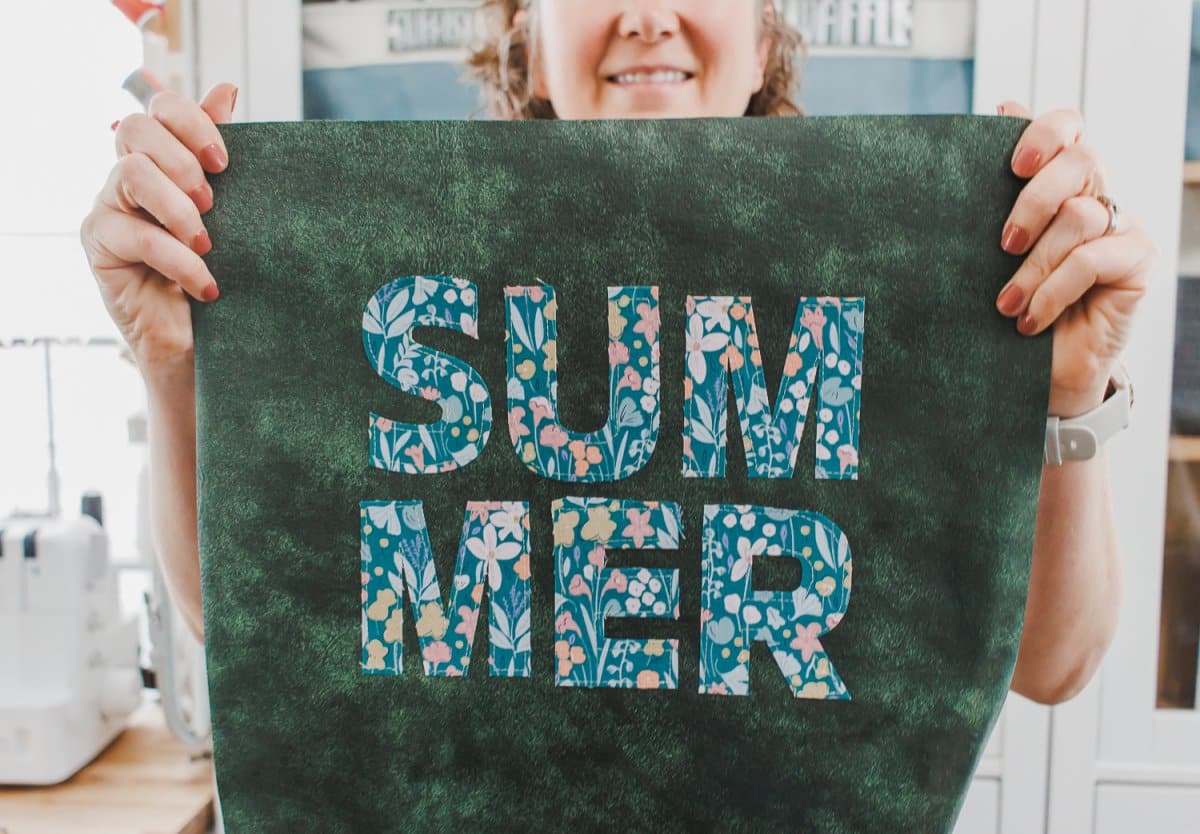
How to applique by machine
Ok! I feel like the very first thing I should say is that there are many many ways to stitch out applique. I used just a straight stitch for todays tutorial, but you can also outline the pattern with a satin stitch. If you have an embroidery machine you can also create applique using that machine.
Today I’m going to focus on using a ScanNCut to cut the shapes and then a sewing machine to sew the applique. You can cut the shapes my hand and then sew just as shown here. SO many options!
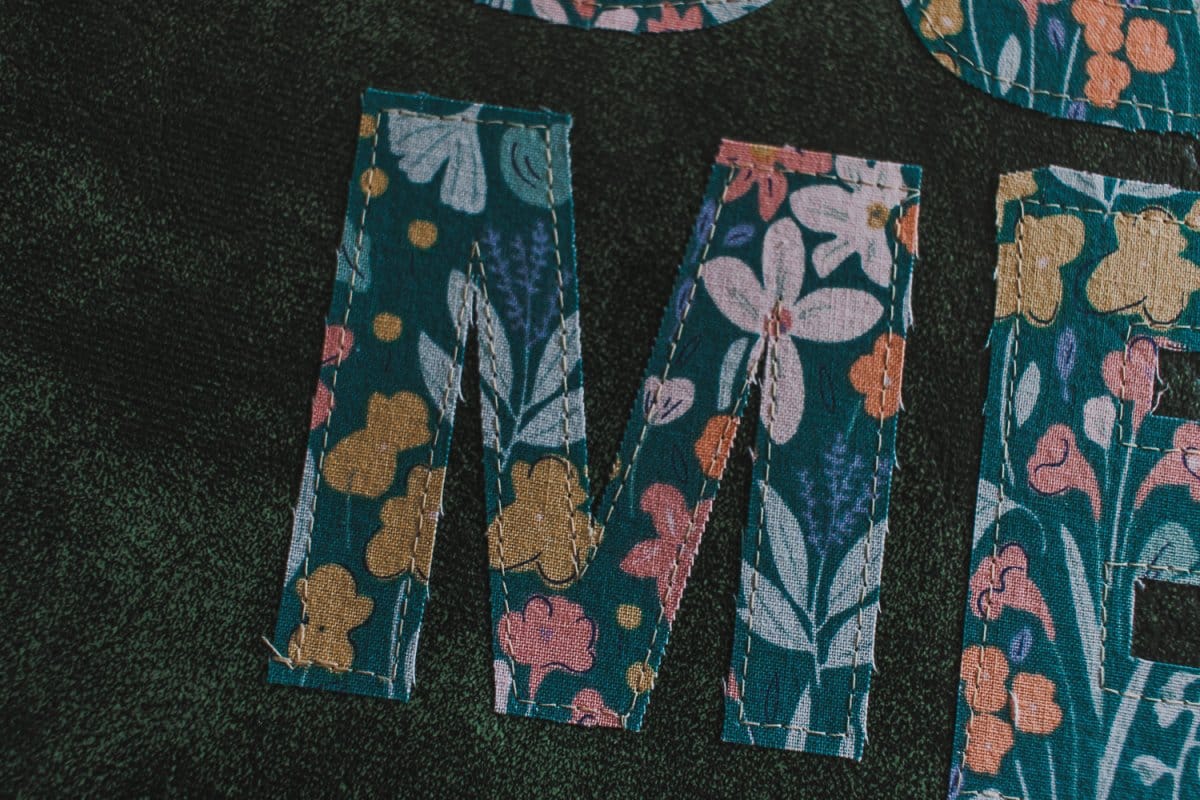
I used a backing on the fabric to make it easy to cut AND prevent it from fraying. Using a backing like this make applique so so easy!
Supplies needed for applique on sewing machine:
- ScanNCut
- Sewing machine
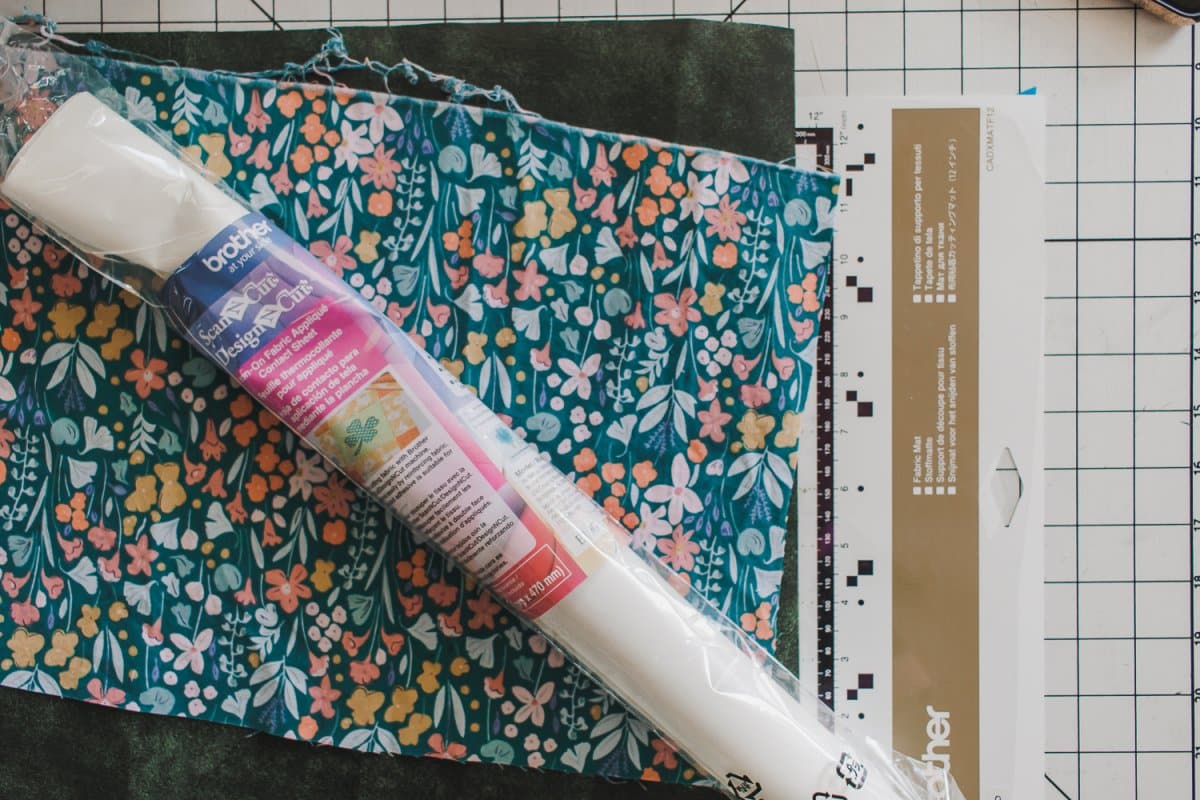
- Brother ScanNCut Iron-On Appliqué Contact Sheet
- Fabric to cut shapes with
- You can use built in designs or purchase online to use
- Fabric for sewing main project {clothing, bags, etc}
- Tote bag tutorial I used to complete this project
Cut Applique shapes with ScanNCut
Let’s start by cutting out the shape you want to use for your applique. You can create designs of any shape or design by cutting my hand OR using an electronic cutting machine. I love using my ScanNCut to cut out my applique designs.
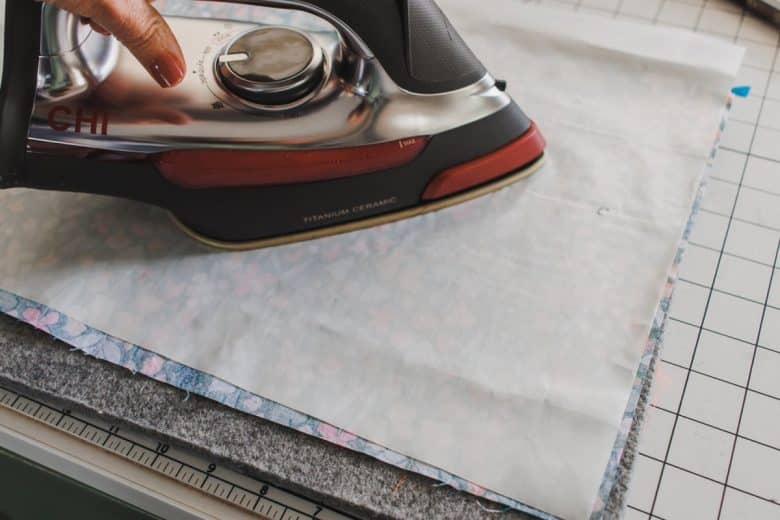
Either way you cut your fabric, a iron on backing as linked above it very very helpful for applique cutting and sewing. I love this iron on backing from Brother because it’s double sided fusible. Fuse it to the back of the fabric for applique. When it cools you can remove the paper backing.
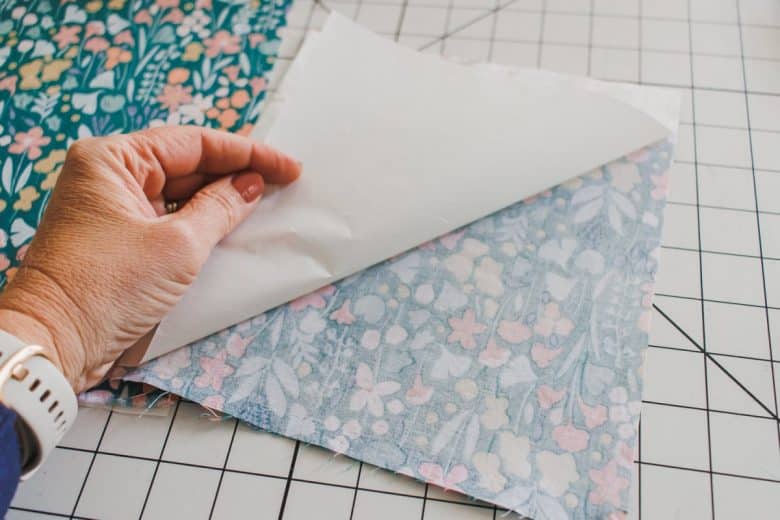
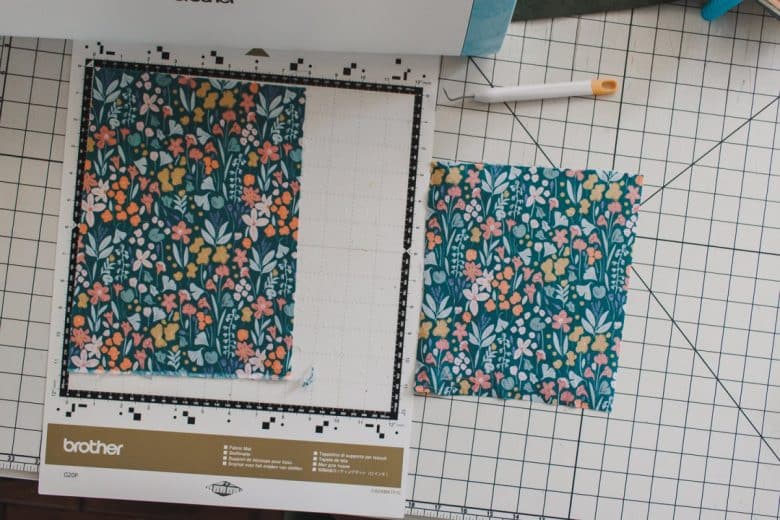
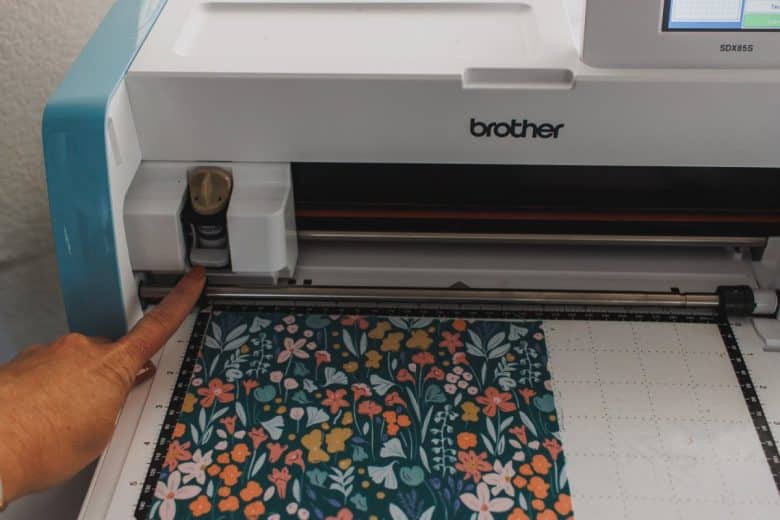
I prepared a couple of sheets of fabric for cutting the shapes of my applique. Use a fabric high tack mat for cutting and either a thin fabric blade or rotary fabric blade for your machine. Place the iron on backing side down on the mat with the fabric right side up.

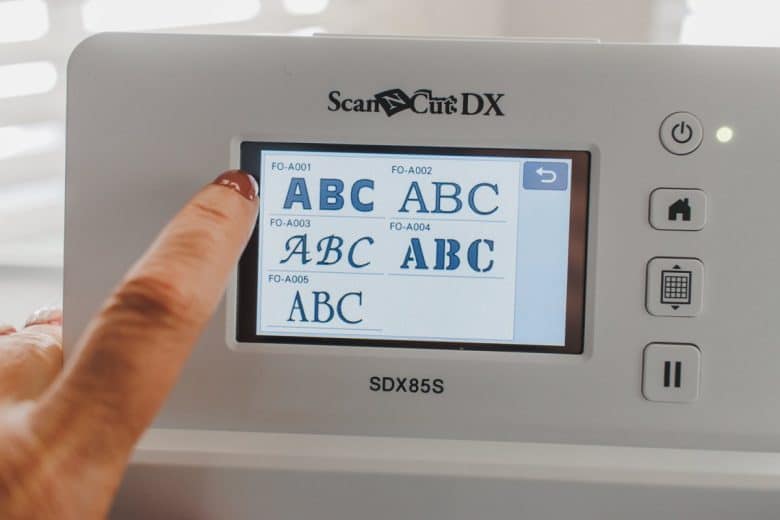
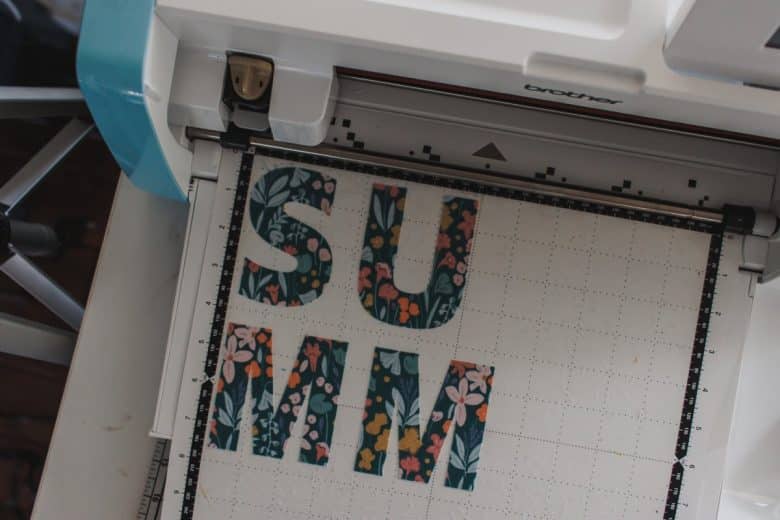
I used one of the built in fonts on my machine for cutting these letters. You can use a built in design or purchase a cut file online {or from the Artspira app} and then transfer it to your cutting machine.
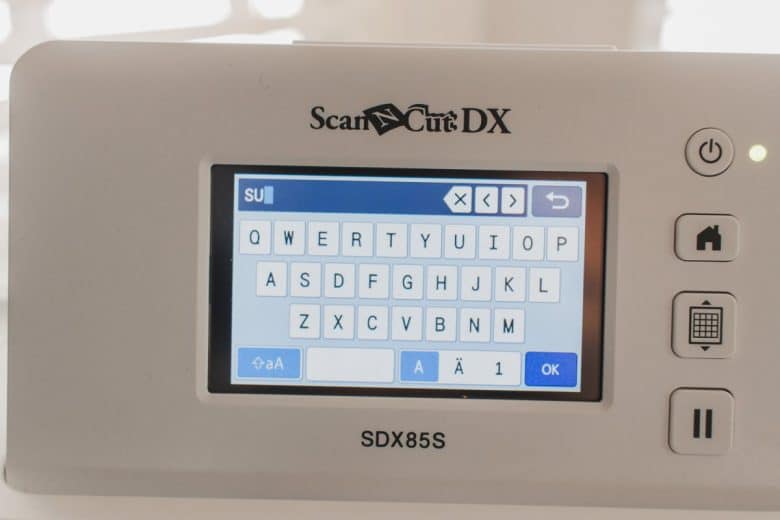
I wasn’t able to fit all the letters from SUMMER on one 12″ x 12″ sheet so I ended up cutting on two sheets. Arrange your design or letters on the screen to see what it will look like.
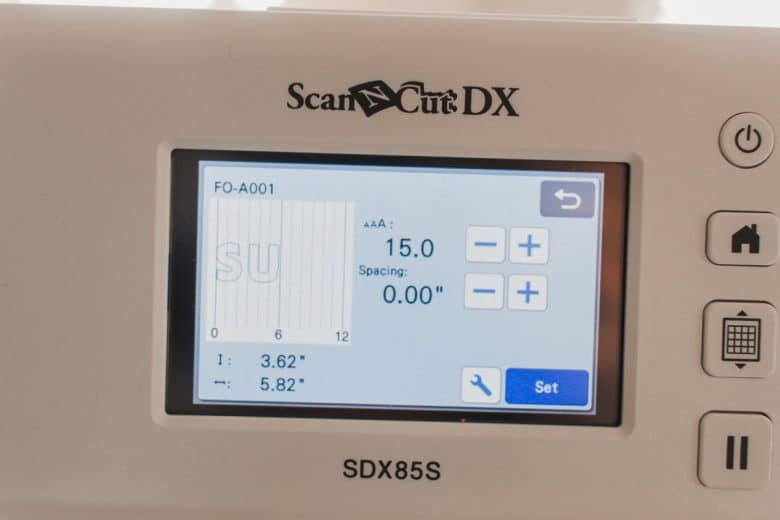
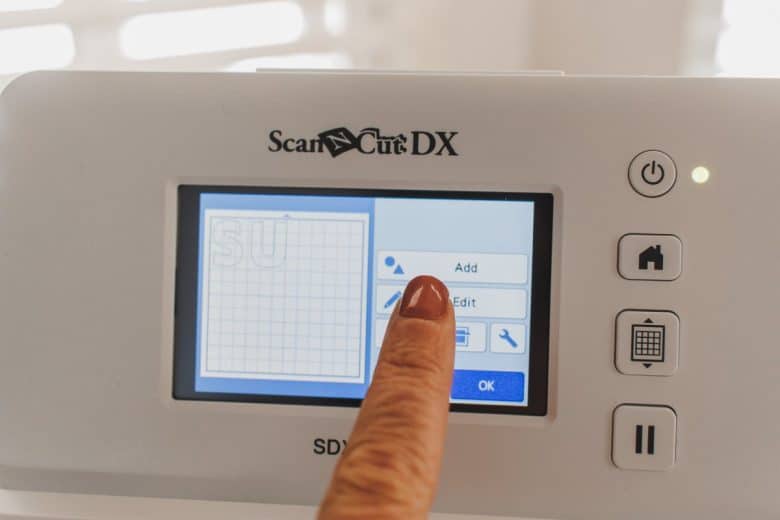
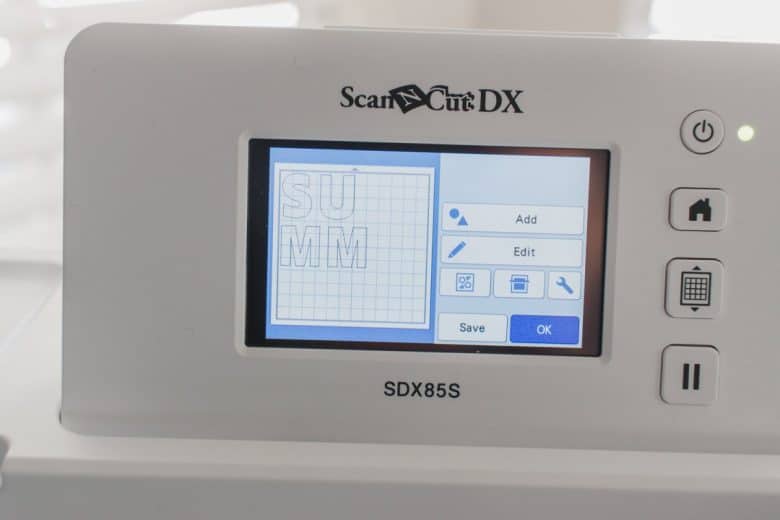
As mentioned above you can use a thin fabric blade {seen here} or a rotary fabric blade to cut the fabric. The machine will auto-sense the depth to cut and with the backing it cuts the fabric beautifully. Peel off the extra fabric around the cuts.
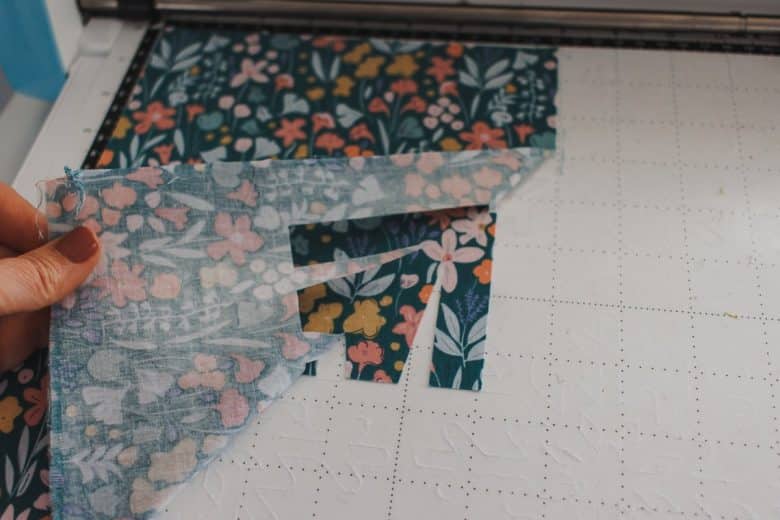
How to applique with sewing machine.
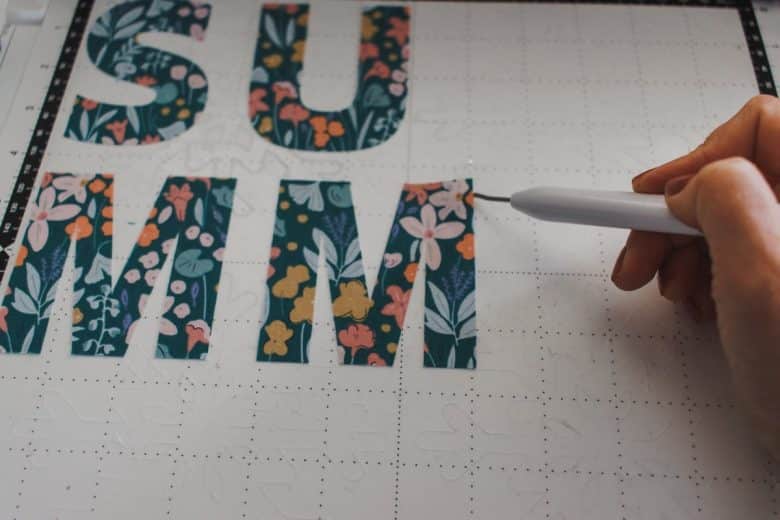
Here is what my first cut looked like. I used a weeding tool to gently lift each letter.
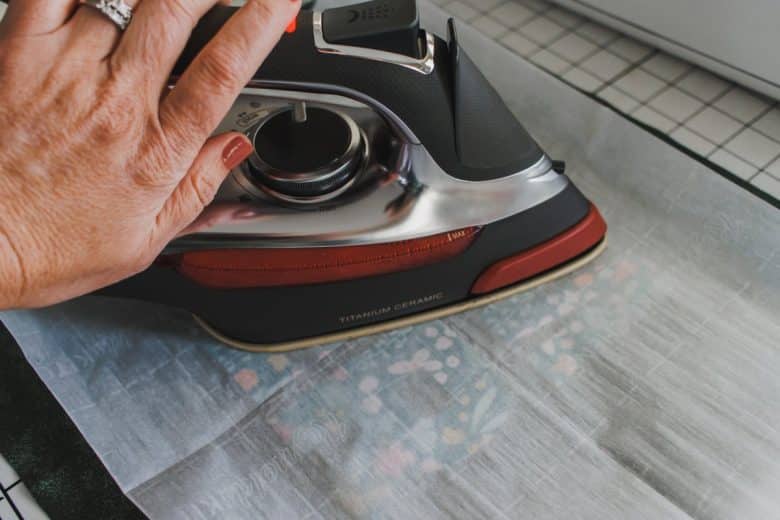
Place the letters on the fabric where you will sew it. You can do this on a piece of fabric {as shown here} or on a completed bag or clothing. When the applique is just as you want it, use the iron to press the letters and then they will stick to the backing fabric and stay in place while sewing. I am sewing my applique on a vinyl fabric, so I used parchment paper to protect the vinyl from my iron. Now the letters are all stuck in place and will stay while sewing.

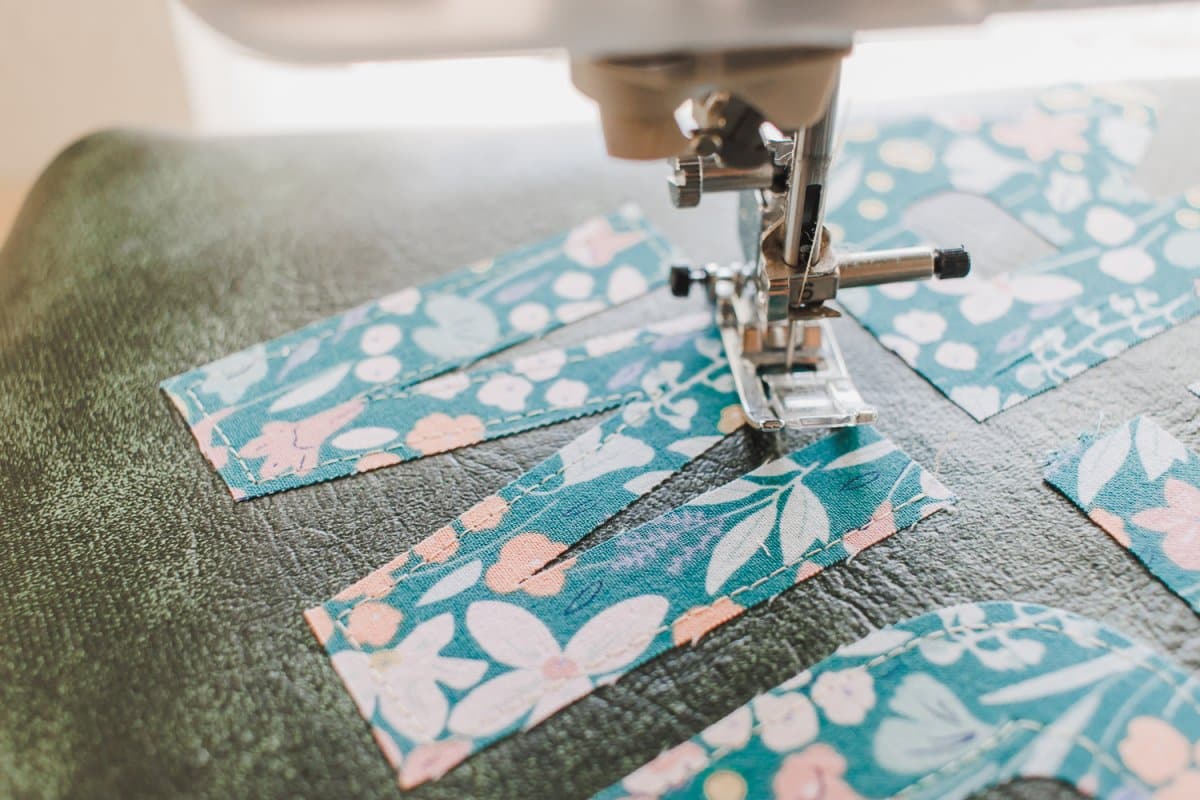
You can sewing with a straight stitch {like I did!} or a satin {zig-zag} stitch. Sew slowly and make shape pivots around the corners. I sewed about 1/8″ from the edge of the letters. Pivot by putting the needle down and lifting the pressure foot around the corners.
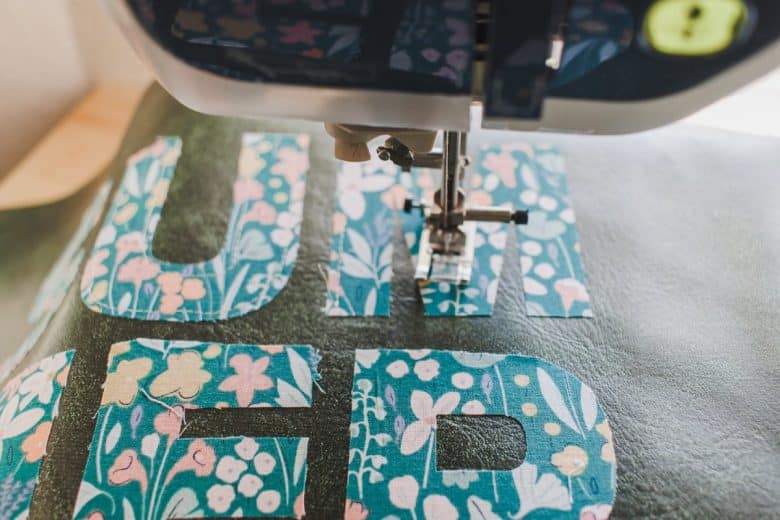
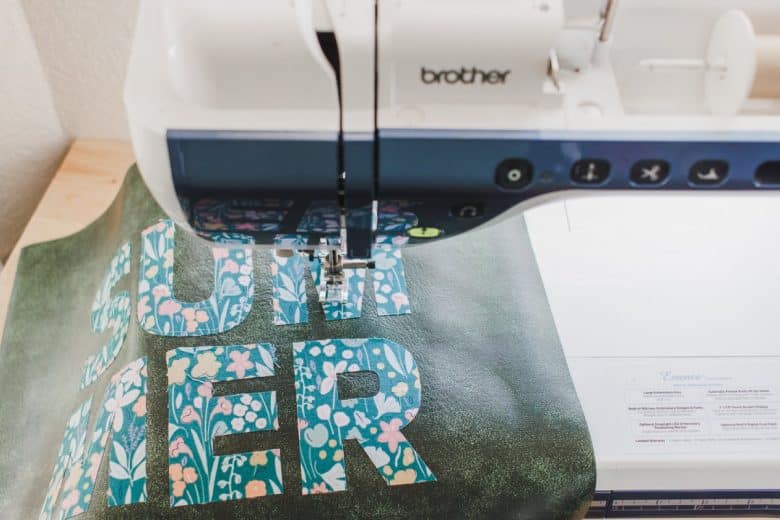
Make sure to backstitch or lock stitch at the beginning and end of each letter or shape. It takes awhile but looks so amazing when done. Have fun creating some amazing applique designs!




Margeé says
Doesn’t help people that have to hand cut everything.