


Inside: Sew a cute summer tote bag with this free pdf pattern and tutorial. Sew with pleather, canvas or other sturdy material for a gorgeous summer tote bag.
First, let me say you can sew this from leather, canvas or pleather.. I just used what I had on hand. I’m so excited about this summer tote bag, and happy to offer it as a free pattern for you all. You may recognize the fabric I used in this tote – it’s all left over fabric from my Perfect Purse Pattern from last year… {another free pattern!} This tote turned out just how I imagined and I gave it to a friend for a birthday gift {even though I really wanted to keep it for myself!} I hope you will be able to use this summer tote bag free pattern to sew up an amazing summer bag for you or for a gift.
This post has been recently updated {5/2021} with new construction techniques and photos}
Join the Life Sew Savory Pattern Group for support on this pattern!
Simple Tote Free Pattern
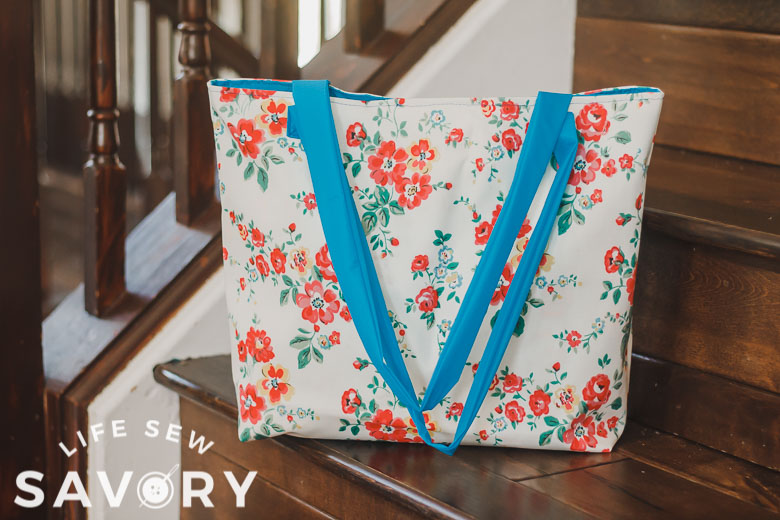
In this post you will see photos of my old bag {the pink one} and my new floral bag that I am currently using as a daily purse. It’s just right!
ALSO make sure to scroll to the end of this post to find links to other awesome sewing ideas for summer from some of my sewing friends.
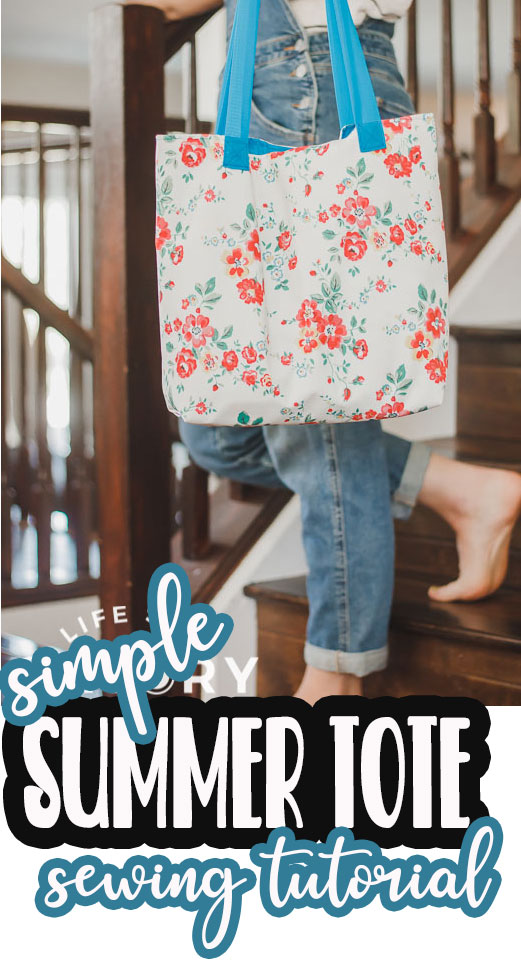
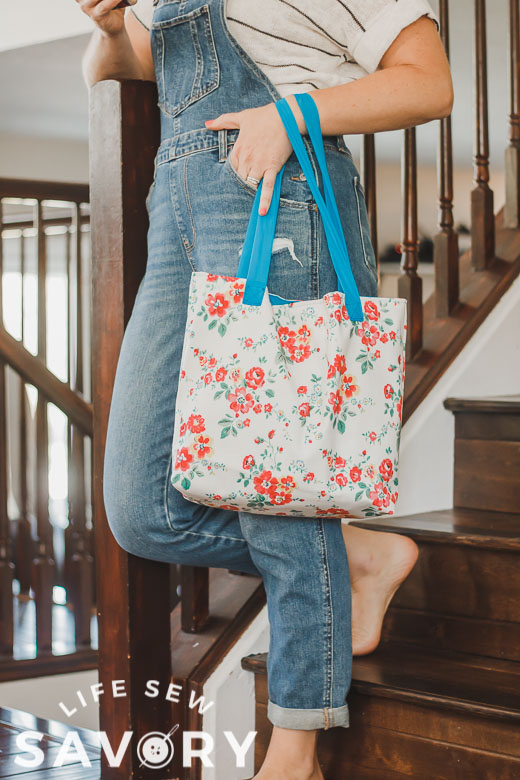
This bag ended up being just the right size for daily use, but also big enough to throw in some extra stuff for a bigger outing.
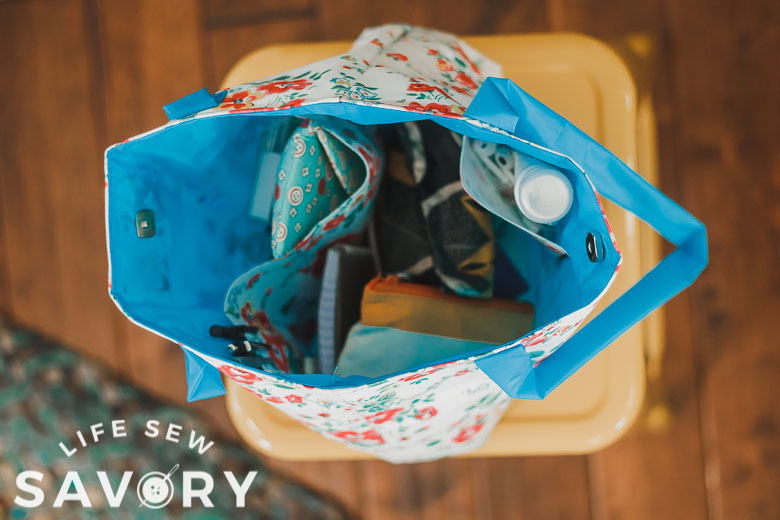
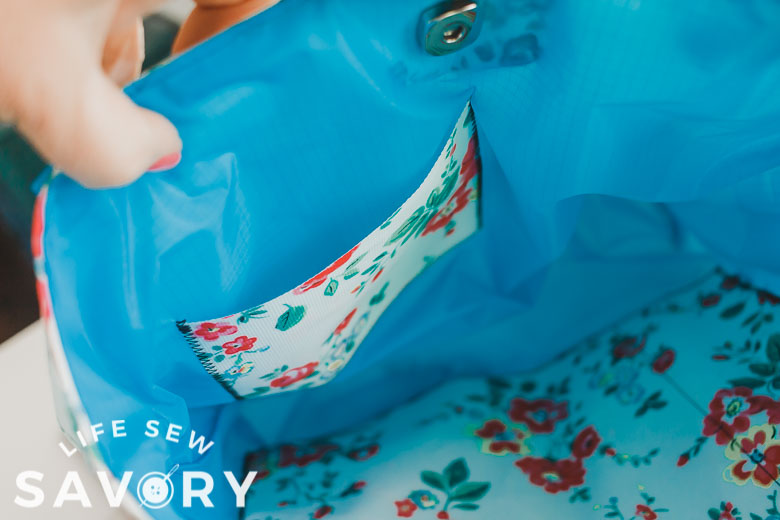
This tote pattern has two inside pockets, perfect for your keys and phone and the little items you don’t want floating around the big open space. I also made a little zip pouch to hold my lip gloss and pens – I’ll be sharing that simple tutorial on Friday. The finished bag is W16 x H14.
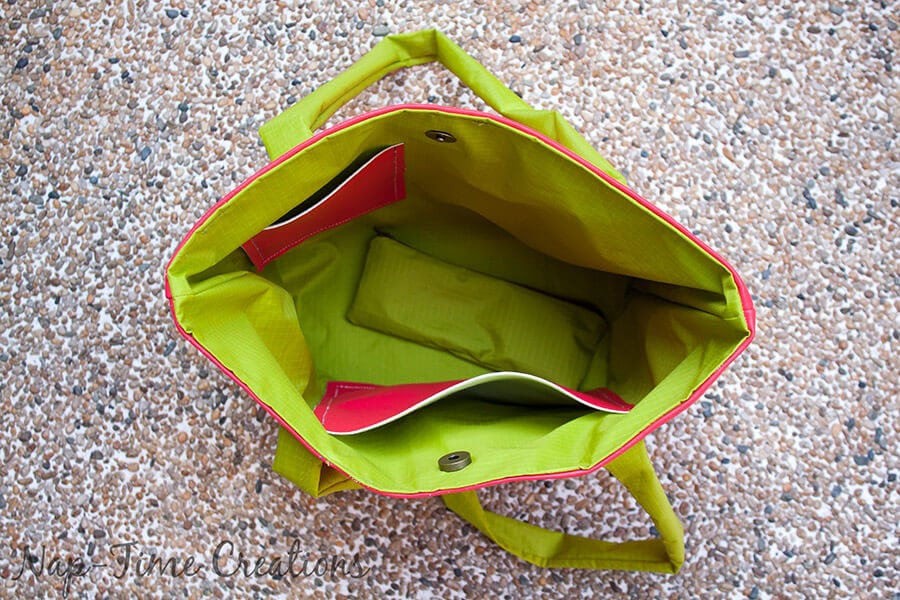
A magnetic clasp in the middle of the bag holds it closed and your things safe.
The straps are a great length to hang at your side or over your shoulder. You can easily adjust the straps if needed for you though.
Other Awesome Bag patterns:
Okay, now that you love this bag and can’t wait to make it, let’s jump into the pattern and tutorial!
How to sew a tote bag –
You can go download the Summer Tote Bag Free Pattern here:
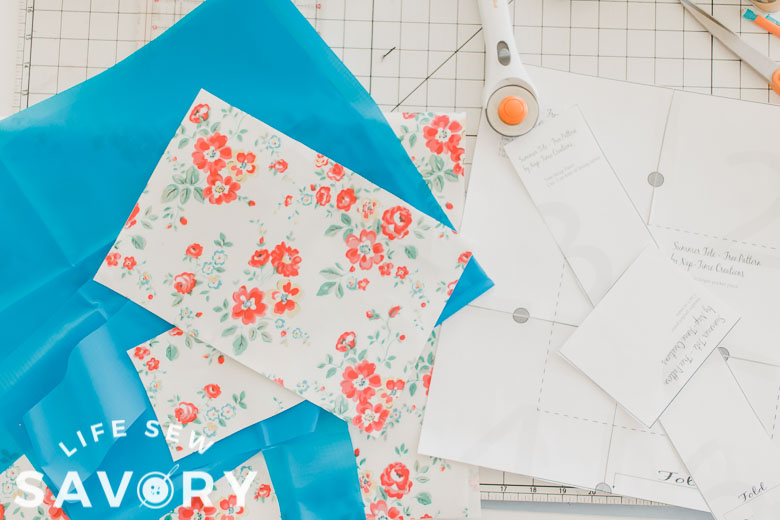
After you print your pattern gather the supplies you need. You need about a 1/2 yard of two different fabrics. I used pleather on the outside and a sort of plastic coated lining… I think it’s kind of like wind-breaker fabric, I think. You also will need a magnetic clasp and either a leather foot or walking foot for your sewing machine. Leather/Pleather is very sticky to sew. Having one of these feet will really help.
This should help you with the page assembly. If you need more help with this pattern please see my PDF pattern help page.
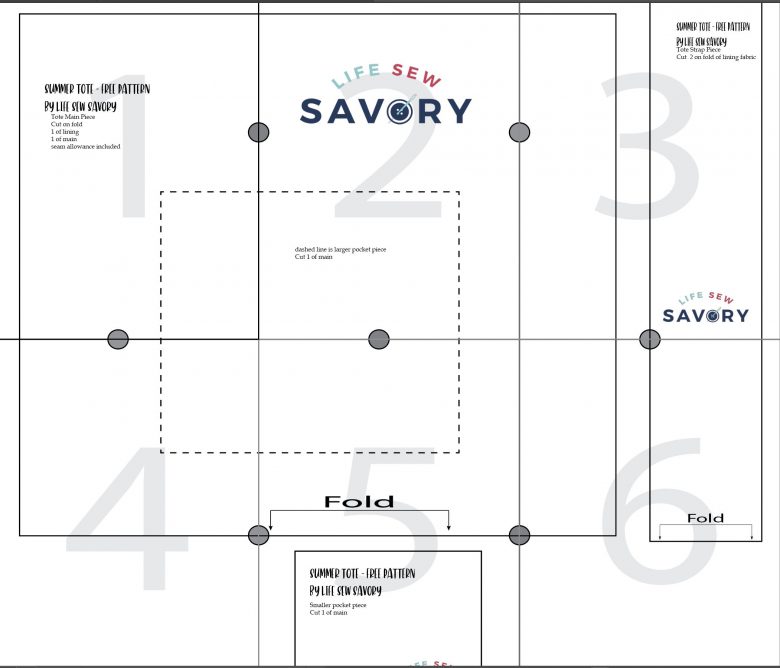
You should have 1 main bag piece, 1 lining main piece, 2 straps, one small pocket, and 1 medium pocket. Feel free to adjust the size of the pockets to fit your needs.
Use a 3/8 allowance for all seams
If you don’t want to print – you can cut the pieces by measurements…
- Main – 16 x 28 {cut one of lining and one of main}
- You will fold this in half W16 x H 14
- Straps – 3 x 30 {cut 2 of lining fabric}
- Pockets – one 7 x 8, one 5 x 4
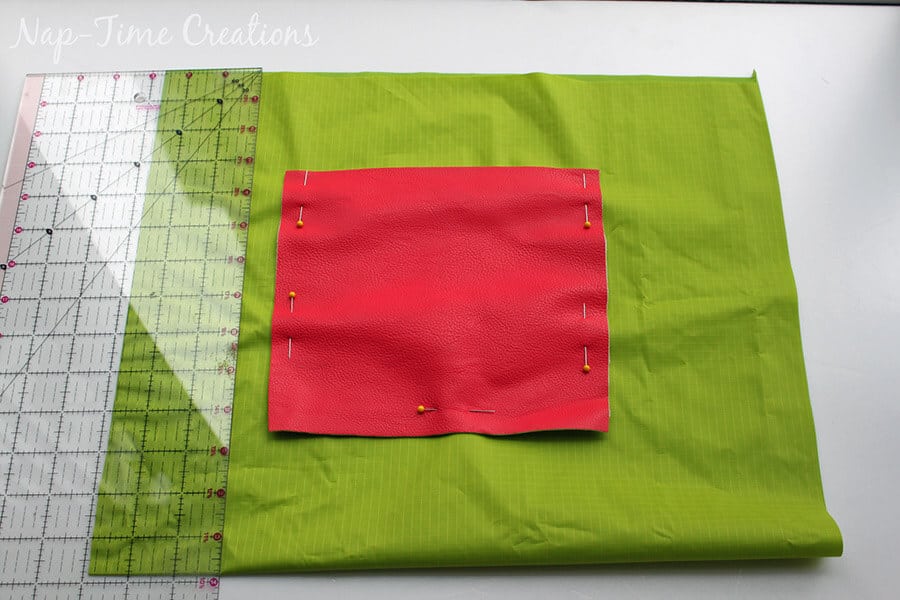
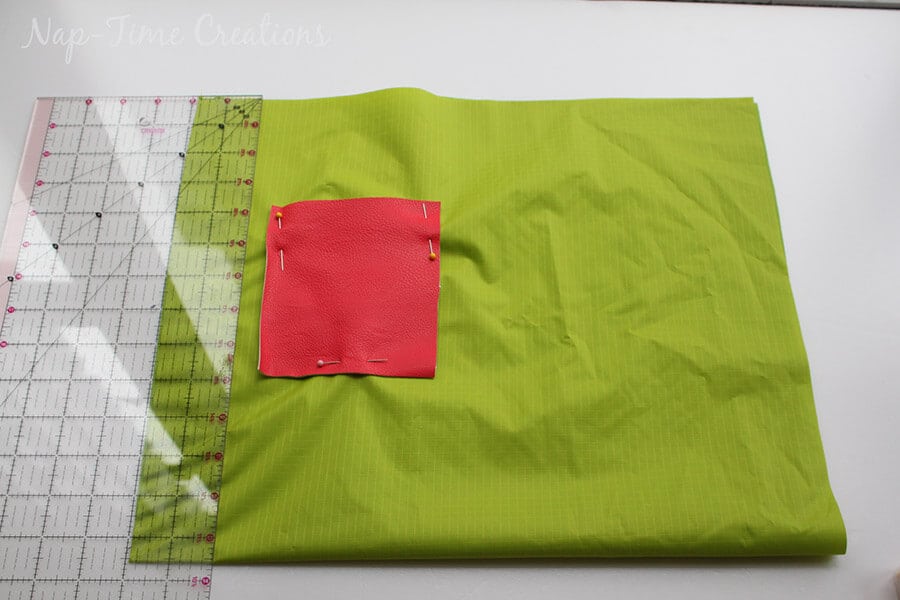
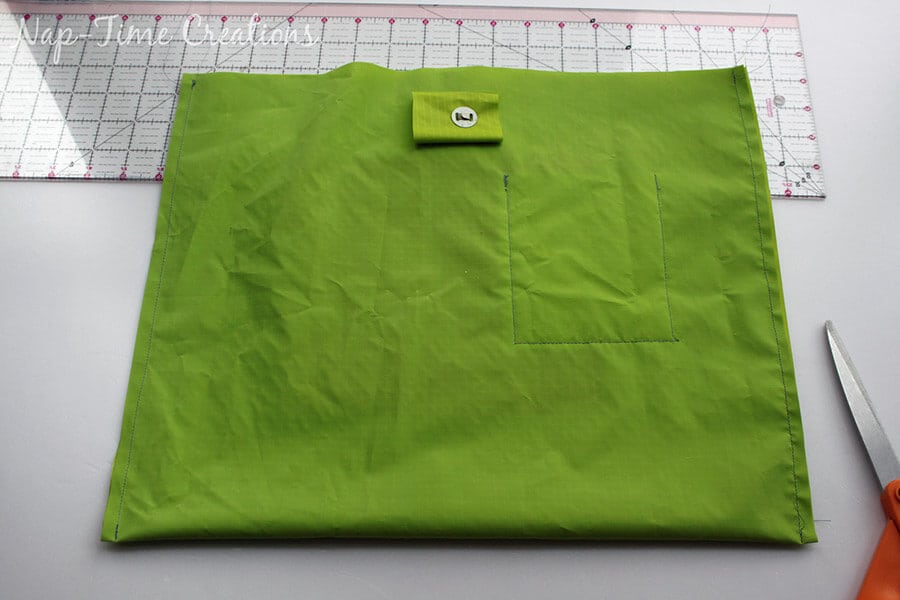
Ok, let’s get started with the inside pockets. Take your lining main piece and fold it wrong sides together. Put the fold towards you, this will be the bag bottom. Place the bigger pocket piece where ever you want on the side towards you, but 3 inches down from the top {as the ruler shows} Pin the three sides and sew with the walking foot or leather foot.
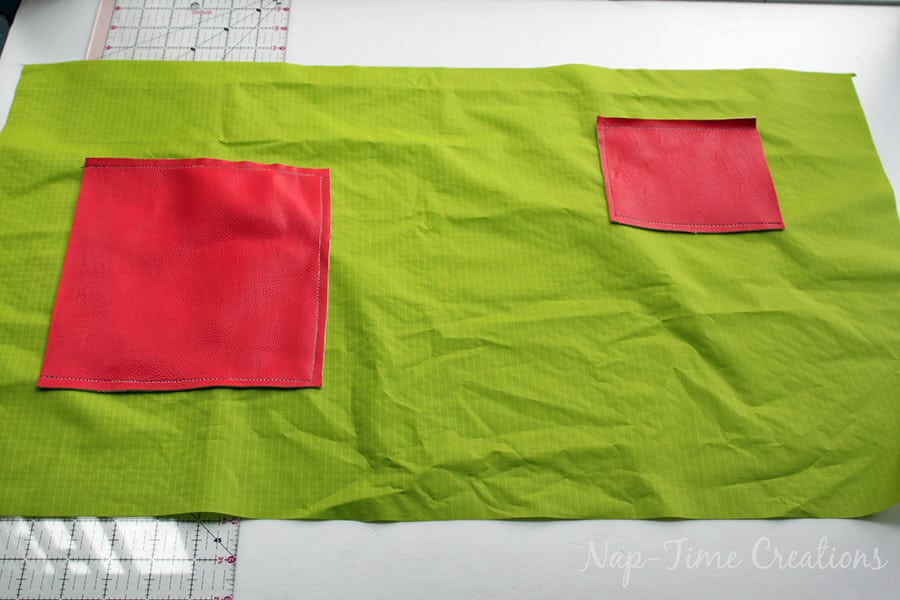
Turn the lining piece over and pin on the smaller pocket, this should be placed 4 inches from the top… you can put it left, right or center as you want.
If you unfold your lining, this is what you should have. The pocket openings should be towards the edges {top of bag}
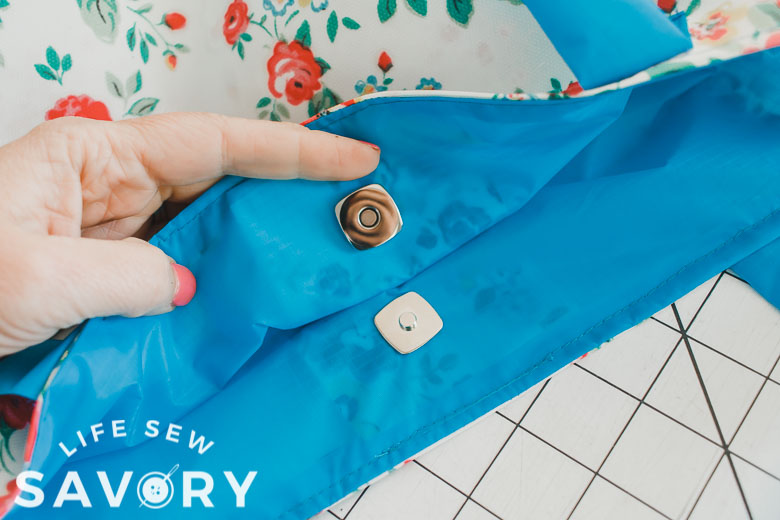
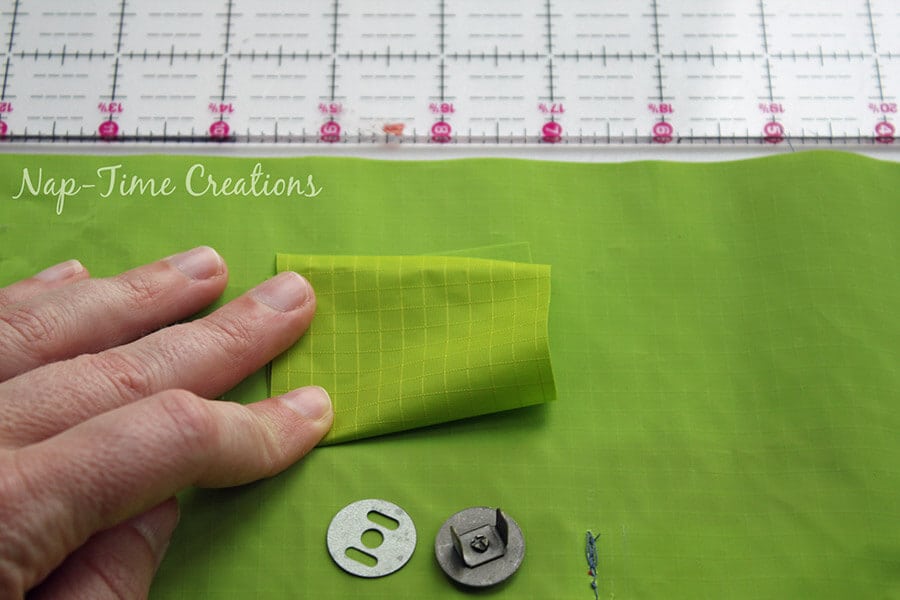
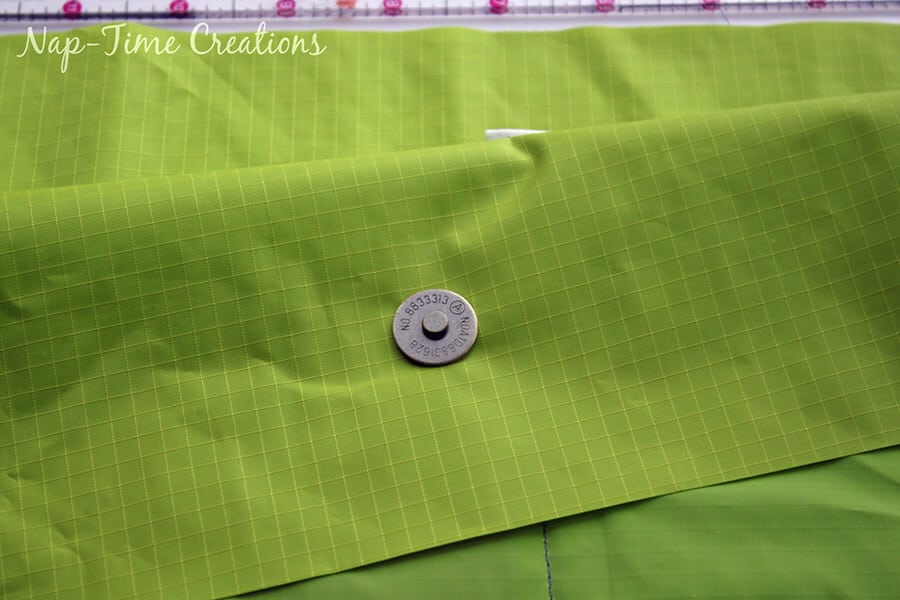
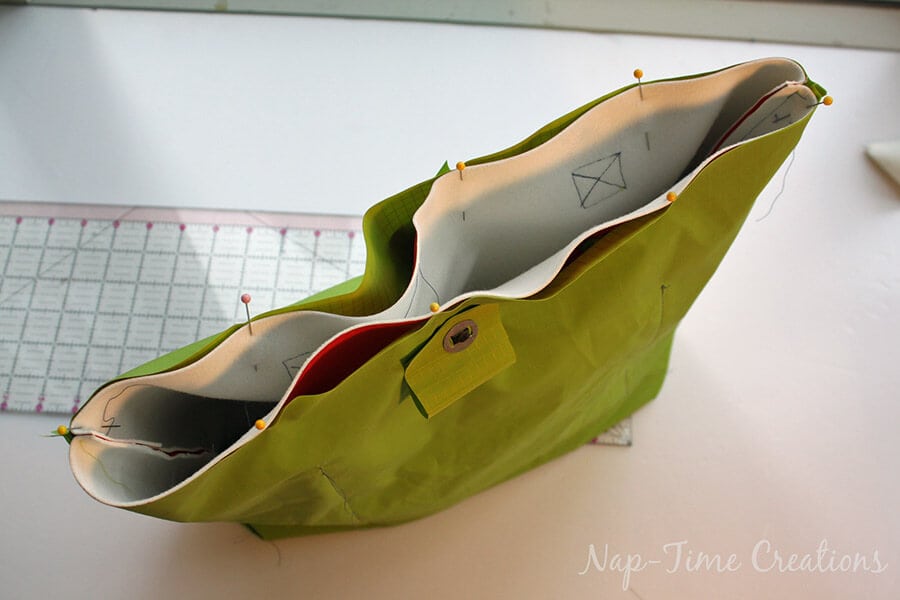
Now you need to put the magnetic clasps on the lining fabric. You wan the clasp to be centered on top edge of the bag and about 1.5 inches from the top. I use a scrap of fabric to reinforce the area where I put the clasp.
This is the back side…
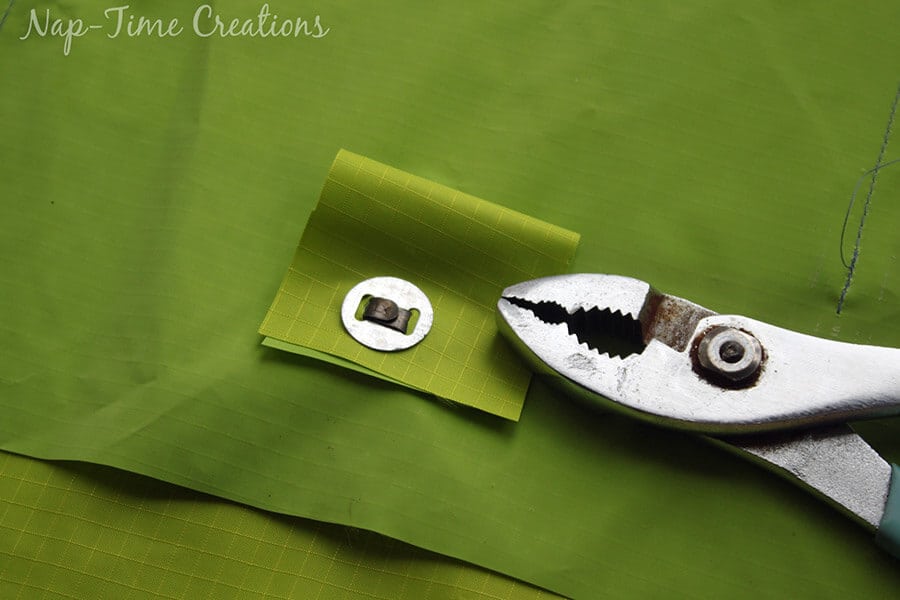
And this is what it should look like on the right side of the lining. Repeat with both sides of the magntic clasp.
Place the lining right sides together and sew the side seams. Leave a 4″ opening in one side seam for turning the bag later.
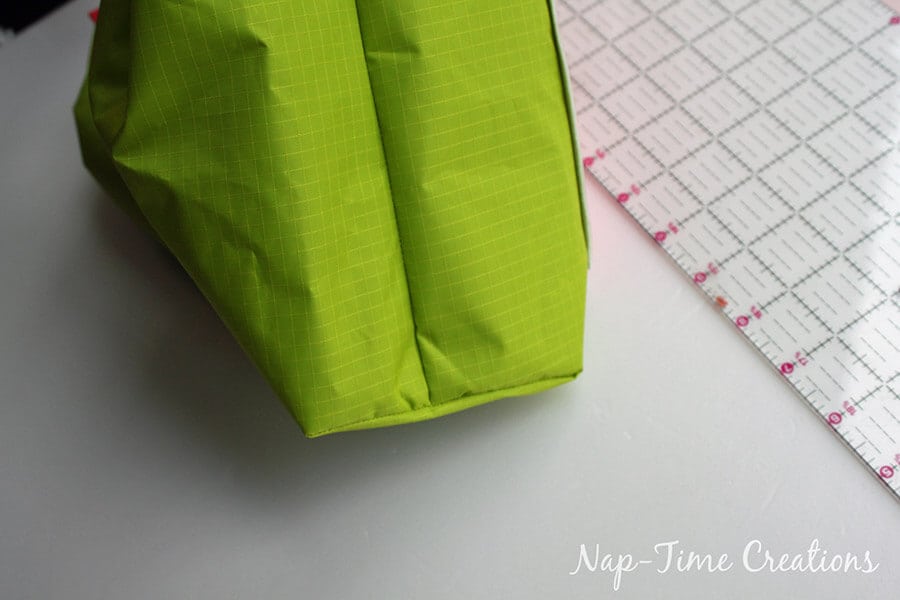
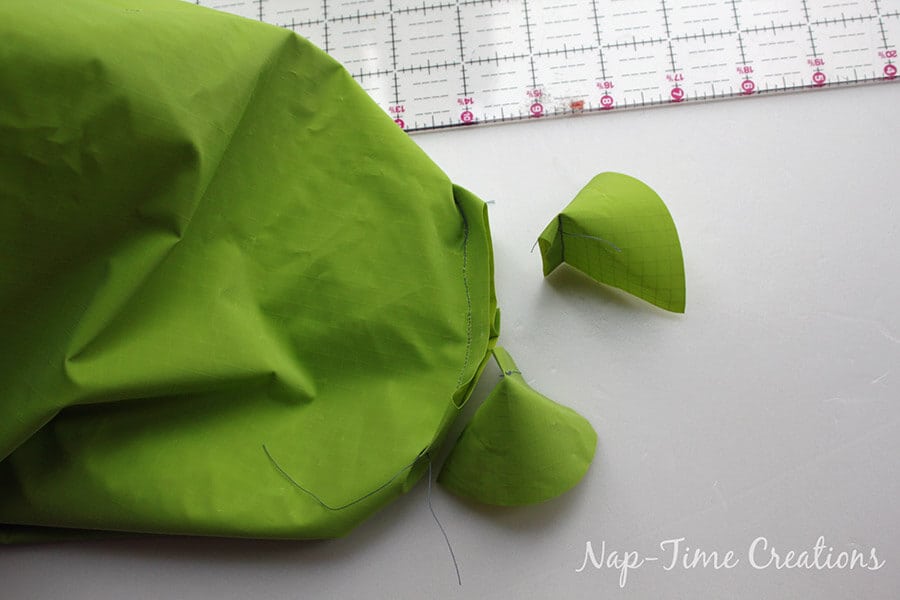
You will now make the corners to form the bottom of the tote bag. Fold the bag so that the side seam is in the center of the corner, with a point at the end as pictured. Mark 2 inches from the point and sew straight across.

Do this with both corners.

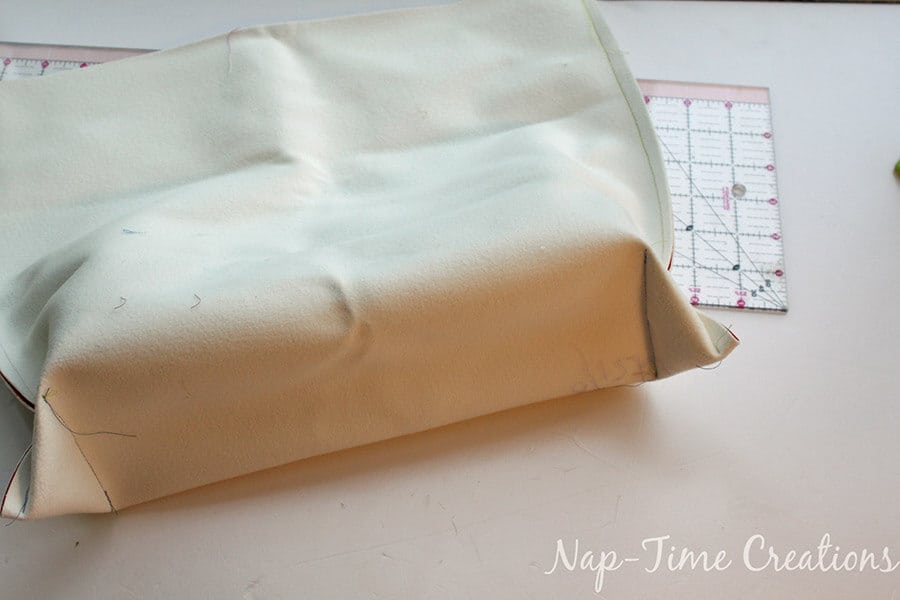
If you turn right side out, this is what the corner should look like.
Turn back inside out and clip the corners.
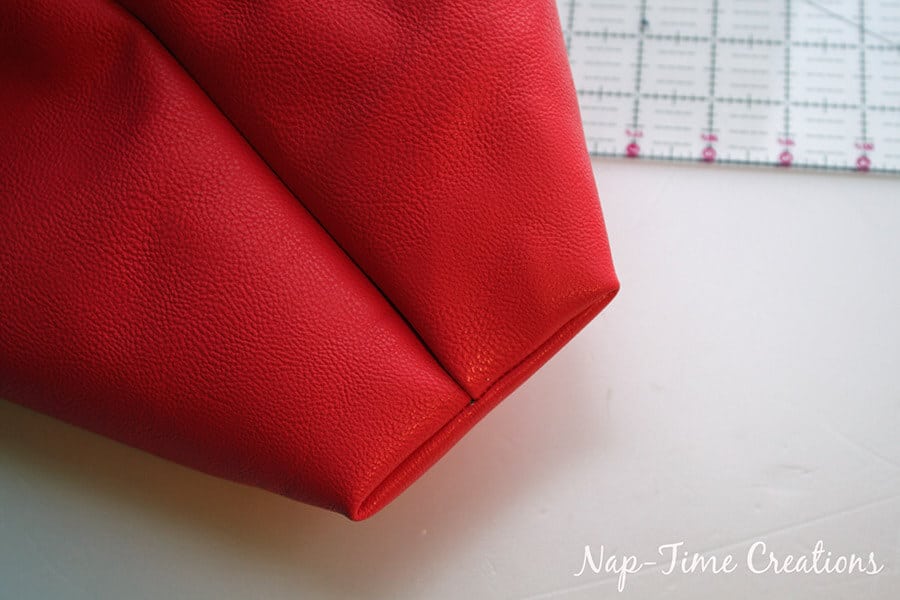
Now take the main bag piece, sew the side seams {do not leave a side opening here} and sew the corners just as you did for the lining.
Here is the outside of the main bag piece.
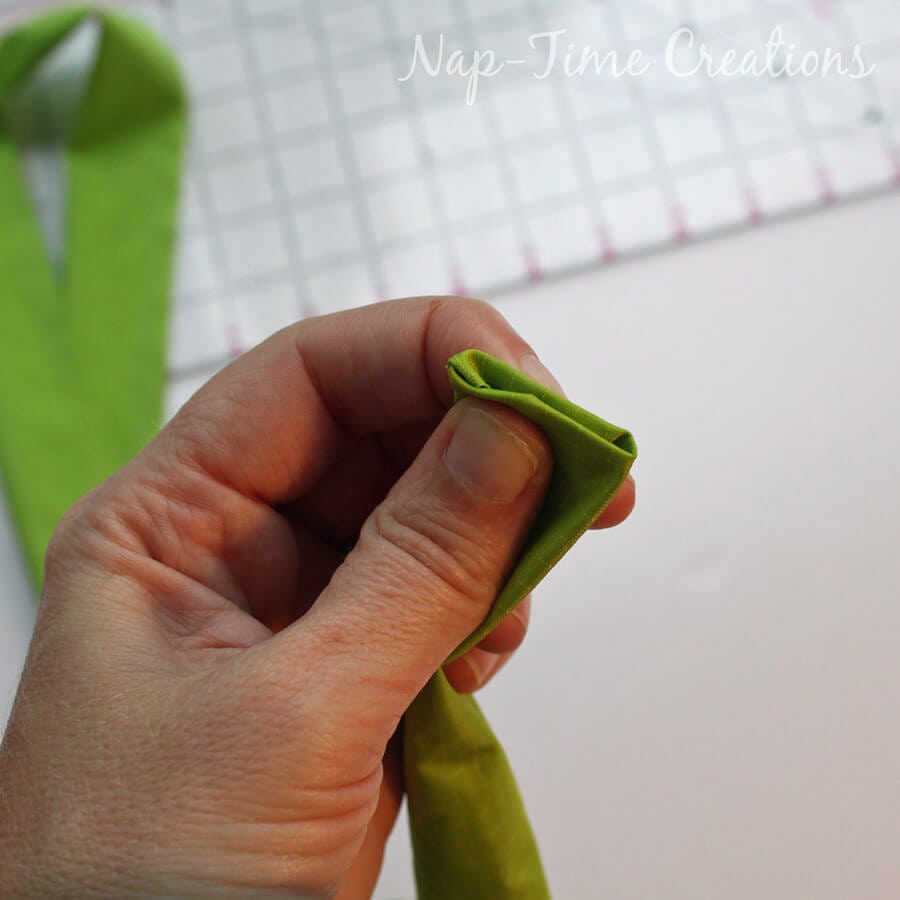
Take the strap pieces, sew the long side – right sides together – and turn right side out. Here is one sewn and one turned.
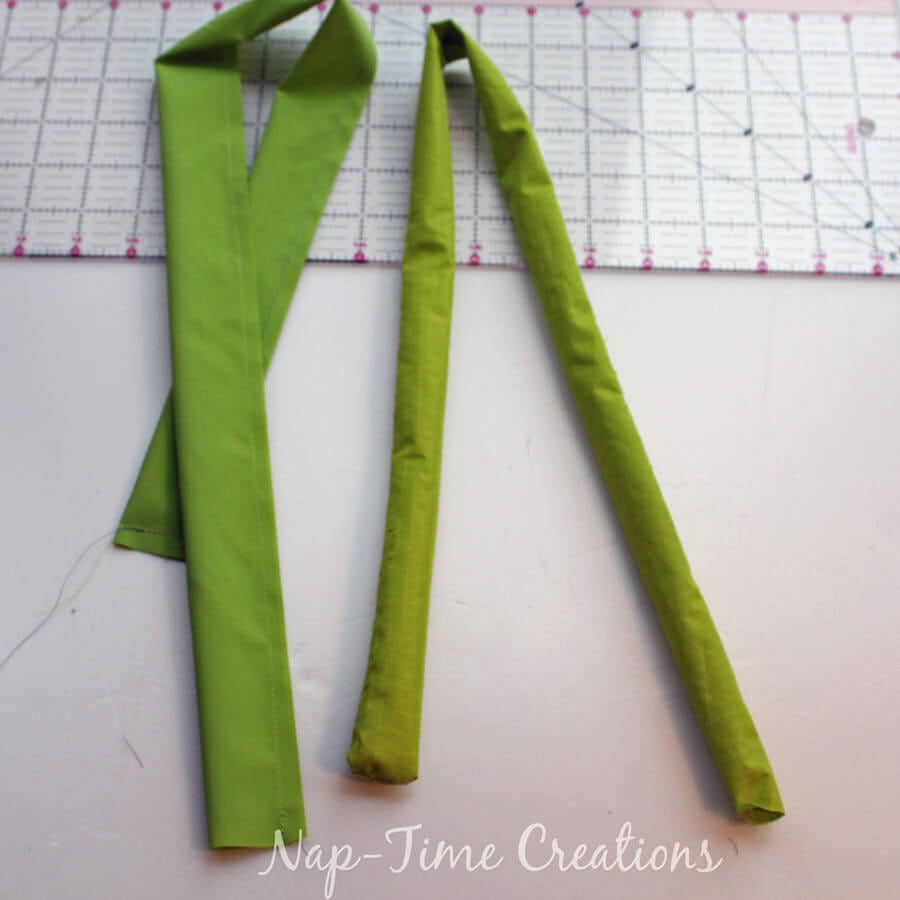
Fold in the raw edges of the strap end.
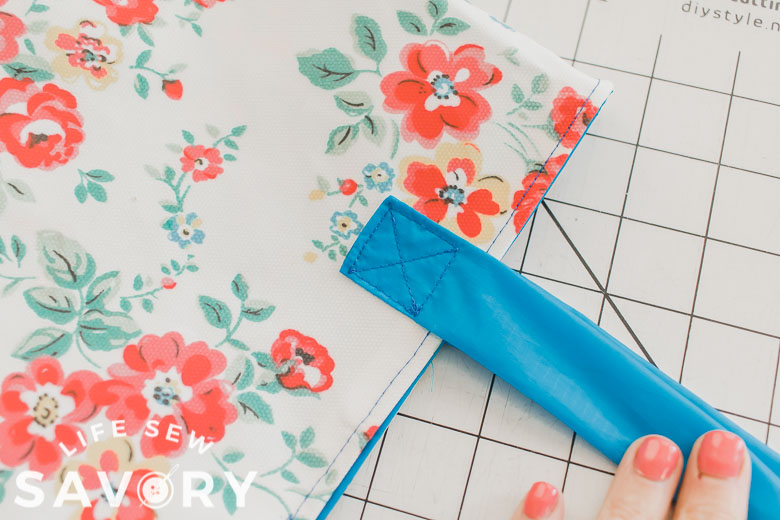
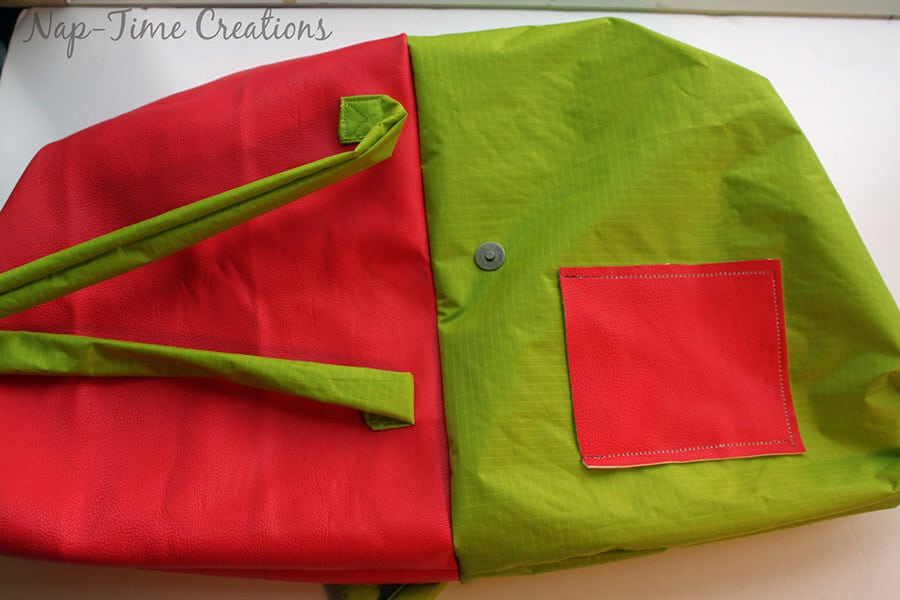
sew the straps to the right side of the main bag. I have 7.5 inches between the straps, and put the straps 2 inches down on the bag. You will sew a square starting 1 inch from the top.
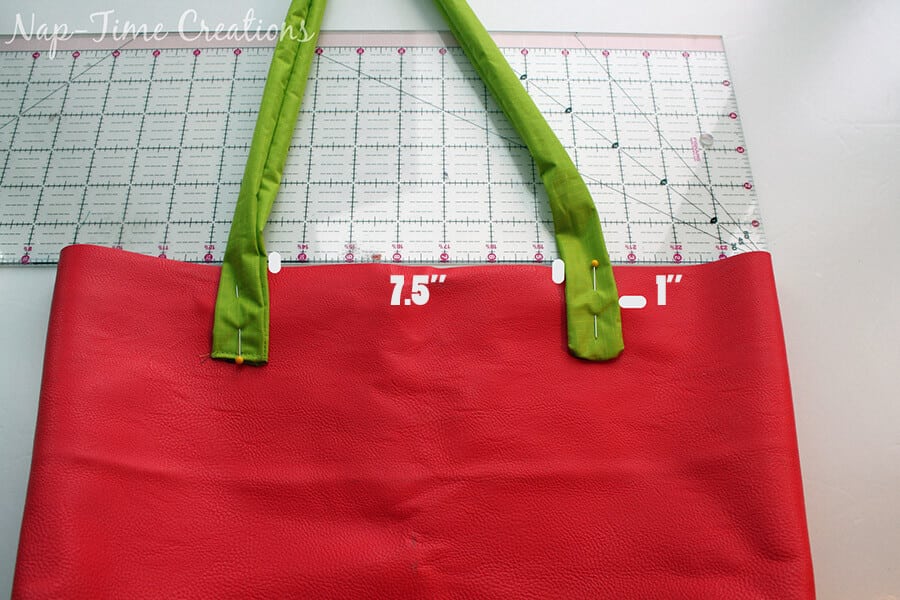
Sew the strap to the bag however you want.. but this is how I did it. You need at least 1 inch from the top with no sewing.
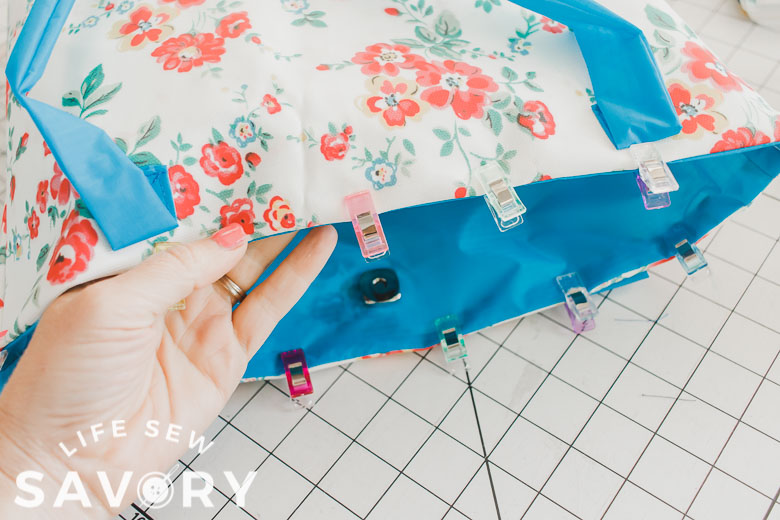
Turn the lining right side in, and place the main bag inside the lining. Place right sides together. Keep the straps tucked down inside.
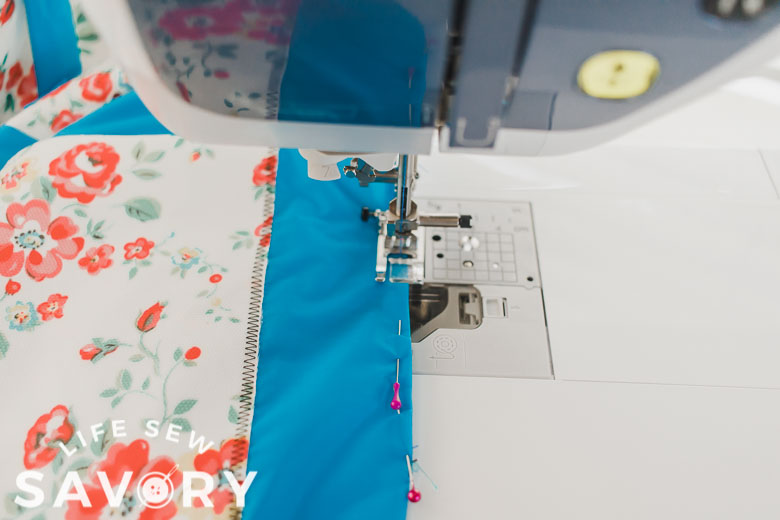
Matching the side seams, sew around the top of the bag. Use a 1/2″ seam allowance here and make sure not to sew your straps as you go by.
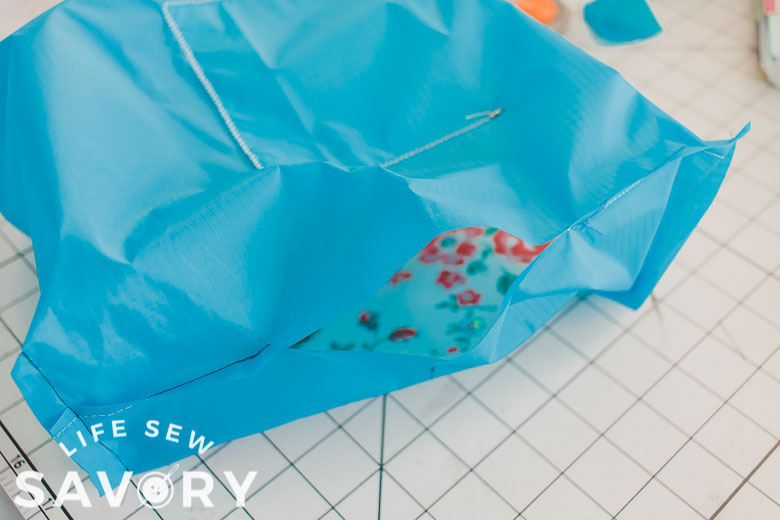
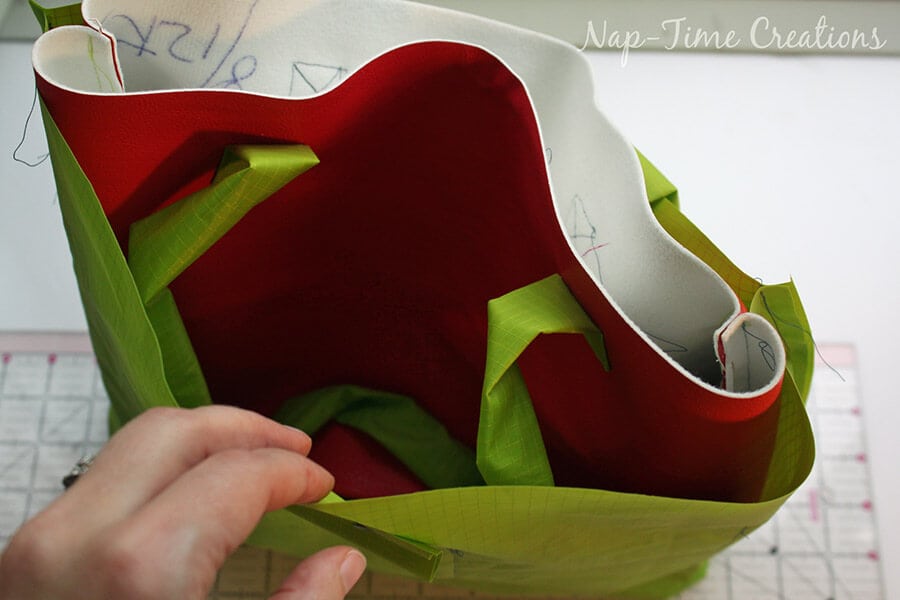
Turn your bag right side out through the side opening in the lining.
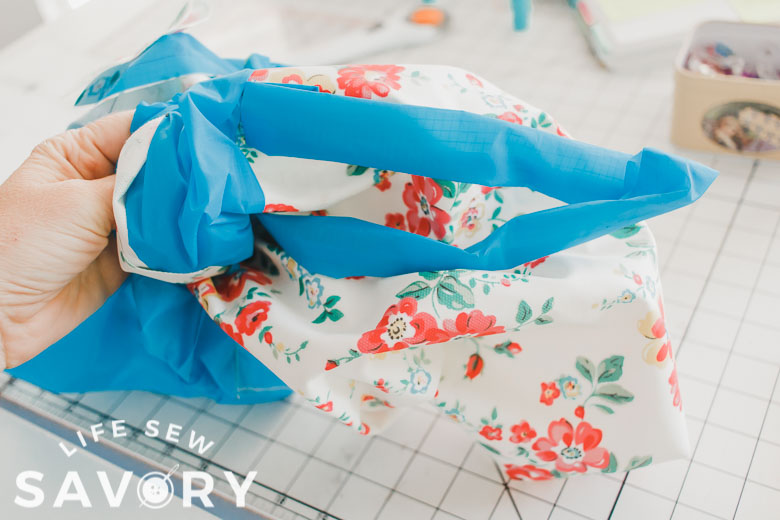
Pull the lining through and open up the bag like this. Push the lining inside the bag and straighten it all out.
Finger press the top of the bag to shape and top-stitch all the way around the top of the bag. The side seams were too thick for me to stitch over… so I just got as close as I could, then skipped over and started stitching again. {this depends on your fabric, machine and needle}
Pull out the lining and top-stitch the turning hole closed.
After you tuck the lining back in the bag you now should have a finished tote bag.
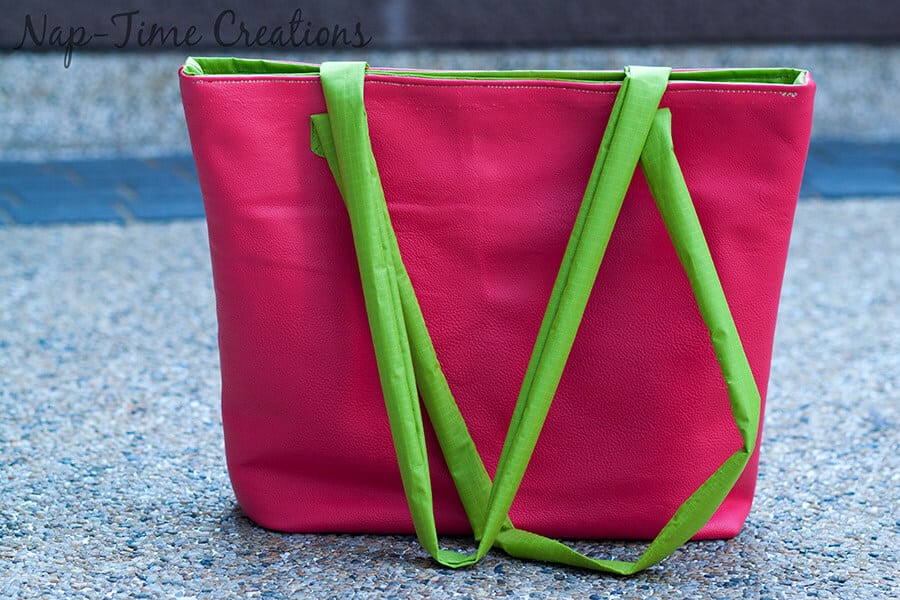
And there you go! A super cute summer tote bag. Make one for yourself and one for a friend!
Summer Sewing Projects to try
Check out all these fun summer sewing projects you should try soon! What is your favorite thing to sew for summer.
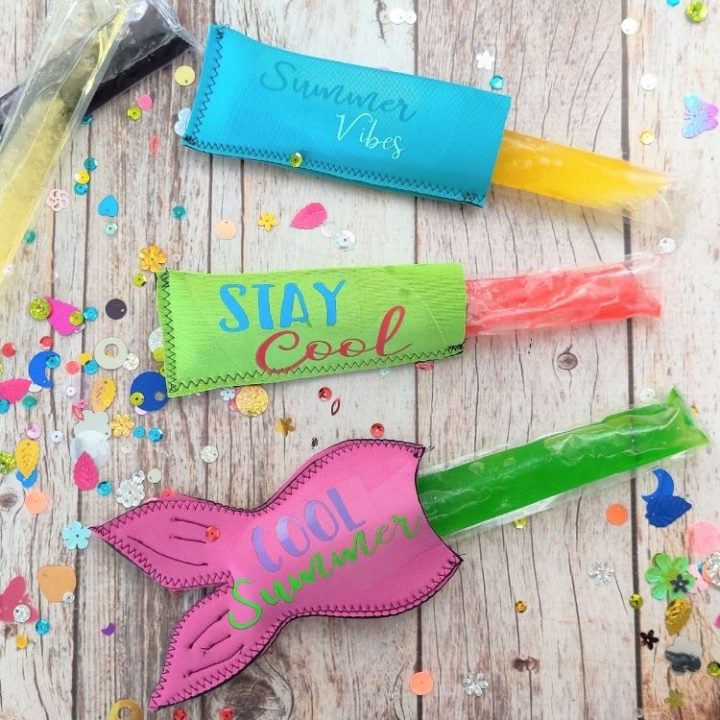
Cute Popsicle Holder
keep your hands warm while enjoying a cold treat. Simple sew with cute results
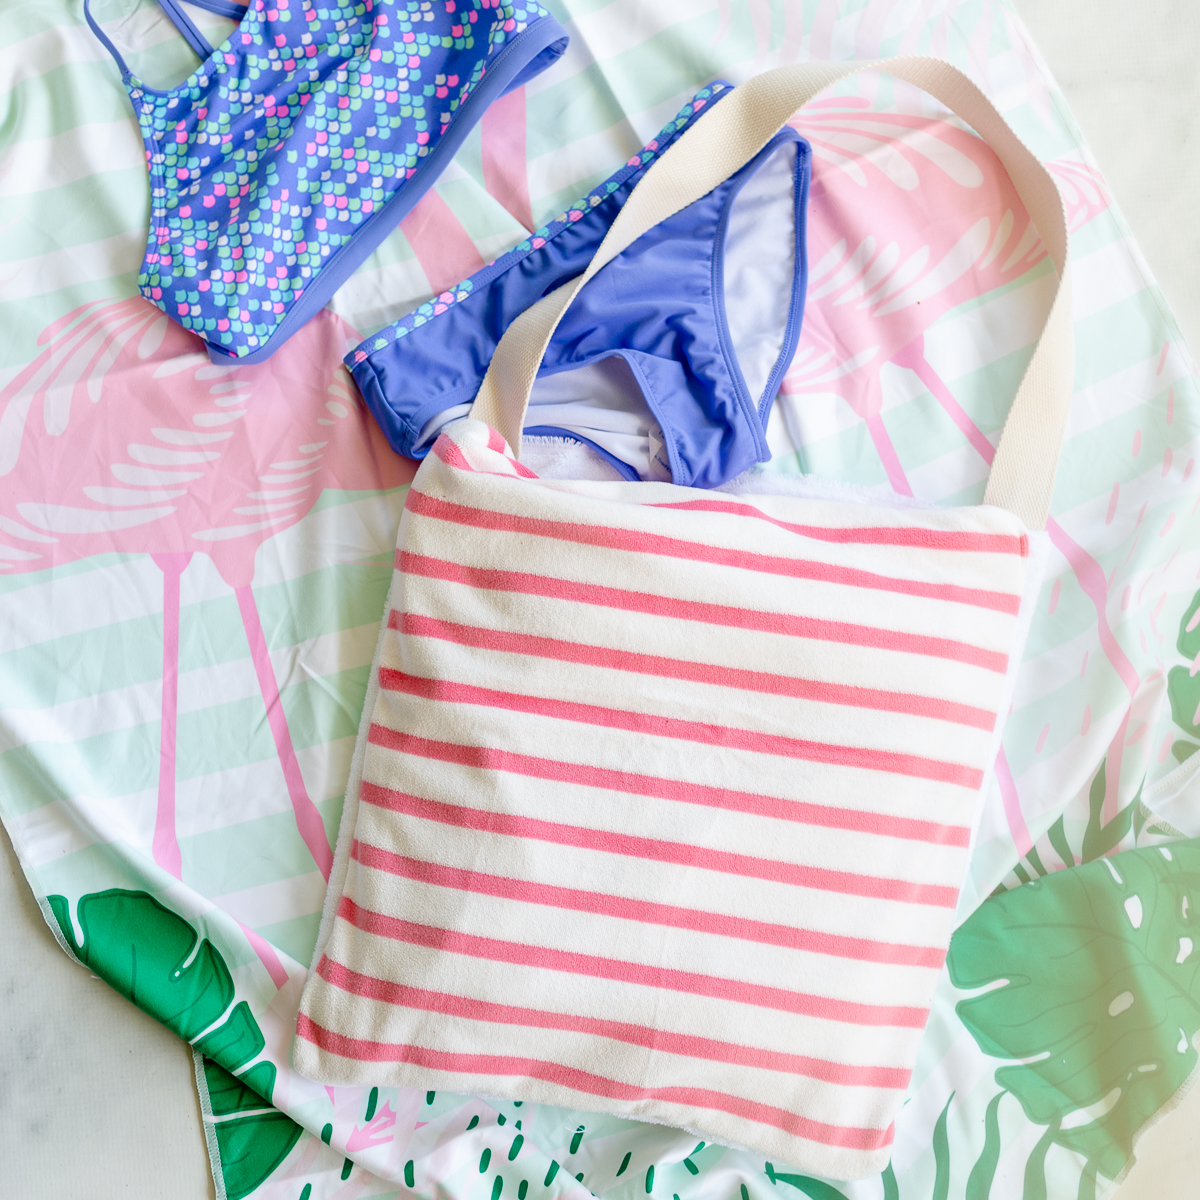
Beach Towel Tote Bag
A tote for carrying your water items and then it's a towel when you get to the pool or beach.

Cap Sleeve Tutorial
sew a cute cap sleeve with this fun and simple sewing tutorial.
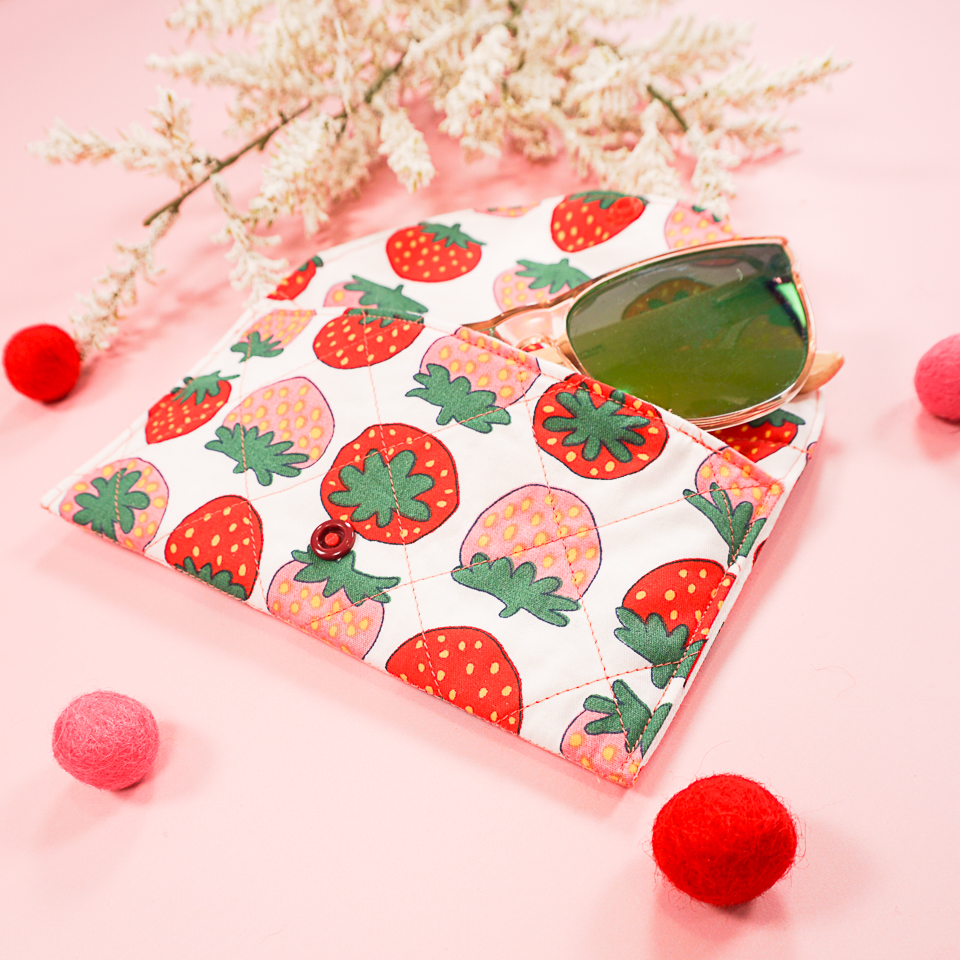
Sunglasses Case Sewing Tutorial
a cute sunglasses case. Keep your glasses safe and secure.
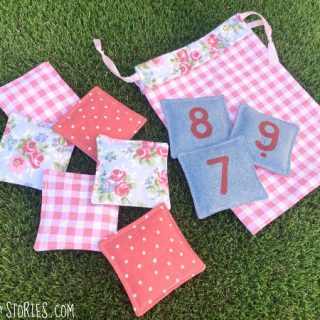
Upcycled Demin Bean Bag
upcycle old jeans to bean bags to play all summer.
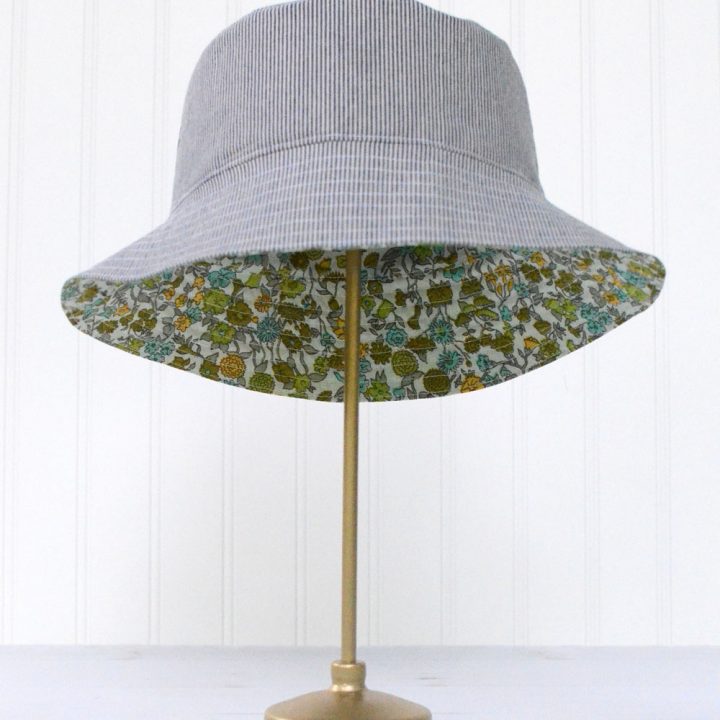
Bucket Hat free sewing pattern
sew a fun summer bucket hat to keep your face shaded and cool all summer.
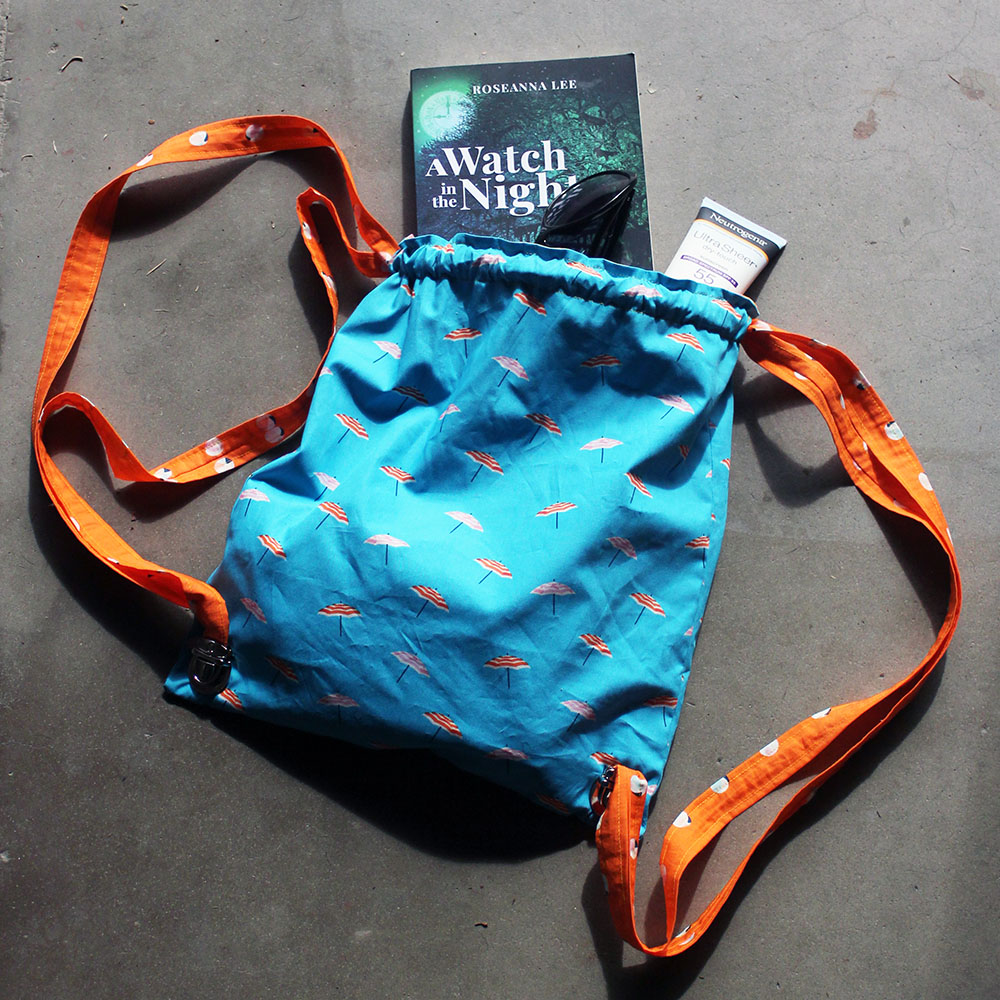
Drawstring Bag
sew a fun drawstring bag to hold all your summer fun items.
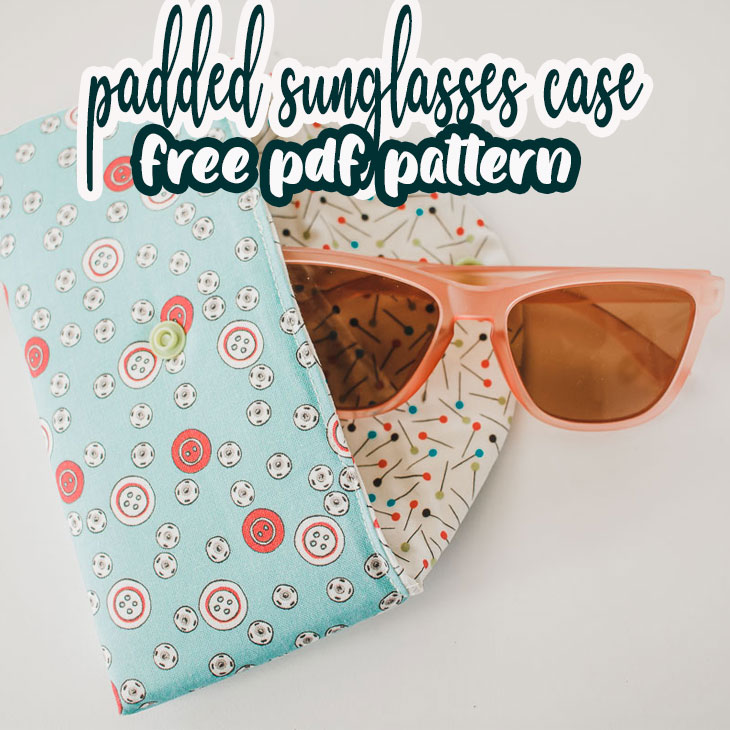
Glasses Case Sewing Tutorial with Free Pattern
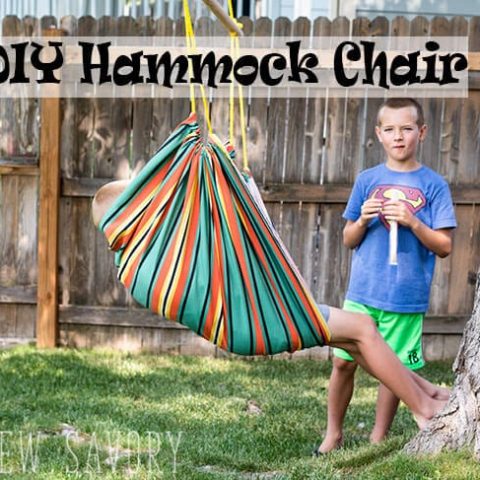
DIY Hammock Chair

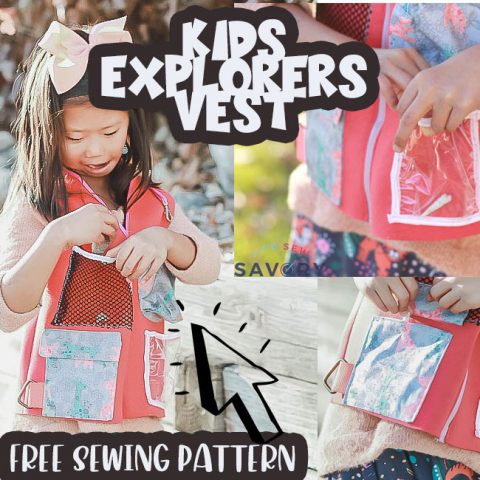
Kids Adventure Bag Sewing Tutorial
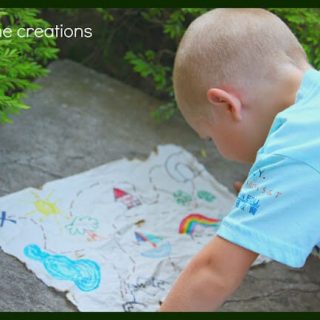
Easy Treasure Map for kids


anouk says
Wahou! thank you so much for the tutorial!!! And the coulors you chose are so perfect! I love it!
Emily says
thanks!
Anne Weaver says
Great bag! I’ve got a Craft Gossip post scheduled for this morning that links to your tutorial: http://sewing.craftgossip.com/?p=82688 –Anne
Emily says
thanks so much!!
Bonnie says
What a great bag! Thanks for the detailed tutorial. I’ll be pinning this for later.
~Bonnie
Gail Akeman says
Thank you for joining the Small victories linkup. Please join again.
DIY Crush says
I LOVE this!! Need to make it ASAP!! I would love it if you would submit the post to our new ‘submit a tutorial’ category! We feature every one!!
Emily says
okay, will do! thanks for the tip ;o)
Lowanda J says
I really wish I could be this creative. And along with that, I wish I had the time to learn to do so. 🙂 This is such a cute bag and it sounds so easy to make. Maybe one day, like when I retire.
Sondra (Sondra Lyn at Home) says
How awesome is this bag? And what a great tutorial. Love the colors… makes me want to sew, sew, SEW! Thanks for sharing the pattern.
-Sondra
Sondra (Sondra Lyn at Home) says
PS-Visiting from the Inspiration Gallery link party.
Emily says
thanks so much for stopping by!!
Sunita says
Thank you very much for sharing the pattern, it is really helpful.
Kathleen says
Great bag! I have some pleather that I’ve been wanting to use! What did you use for lining?
Emily says
It’s a water resistant fabric I had around, you can use anything though that works for you.
Karen says
It’s a little late for the info, but based on the photos the lining fabric is called rip-stop nylon.
MADELINE says
THANK YOU FOR A GREAT BAG TO SEW AND WONDERFUL INSTRUCTIONS ….
Julie says
Such a great, practical and pretty bag. I love the floral version with its vibrant lining. You can’t beat a good photo heavy sewing tutorial in my mind, I love to see every step like this. 🙂