Inside: Learn how to make all kinds of DIY Christmas sweatshirts; Use embroidery, sublimation or vinyl to create beautiful Christmas sweatshirts for the whole family. Lots of free files for you to use in creating your own DIY sweatshirts.
I had something else planned for today’s post, but then I got inspired to make Christmas sweatshirts for my daughter and I this week, so I’m sharing lot’s of inspiration for making your own DIY Christmas Sweatshirts. The sweatshirts I made have sublimation and embroidery on them, but I’m also including ideas for making vinyl shirts as well.
Christmas Sweatshirts
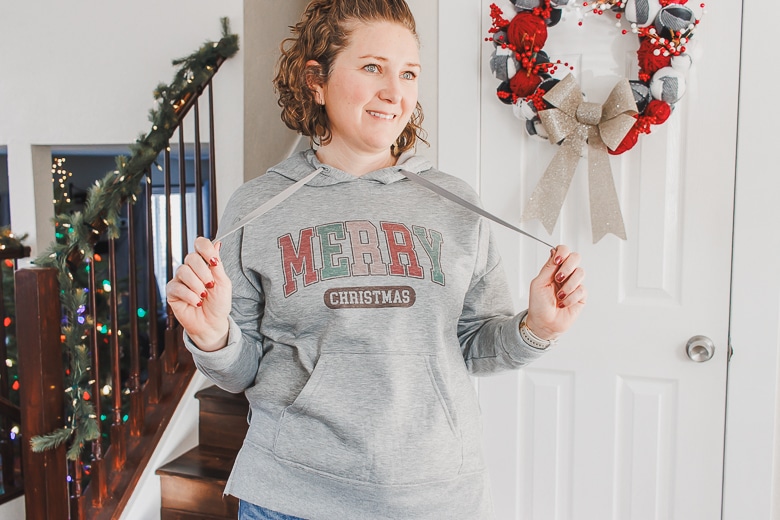
Rose and I had an event this week where we were supposed to wear a Christmasy outfit. Rose didn’t have one that fit her, and I just wanted a new shirt, so I came up with these cute Christmas Sweatshirts and I’m so pleased with the result.
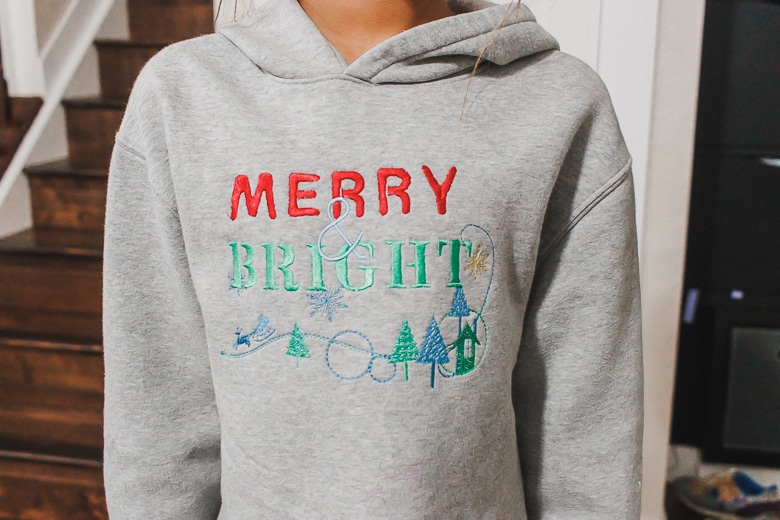
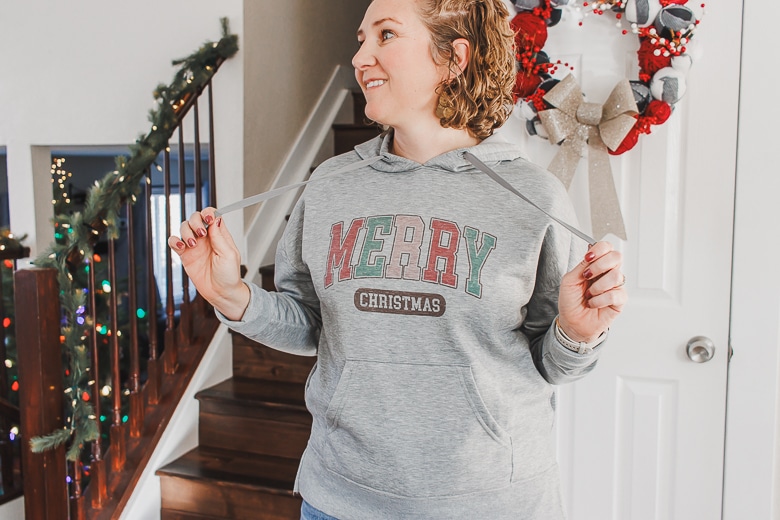
For the embroidered shirt I used the Artspira app and my Brother embroidery machine. For my shirt I bought a file off of Etsy {see link below} and used my Brother sublimation printer to print and the press onto the sweatshirt.
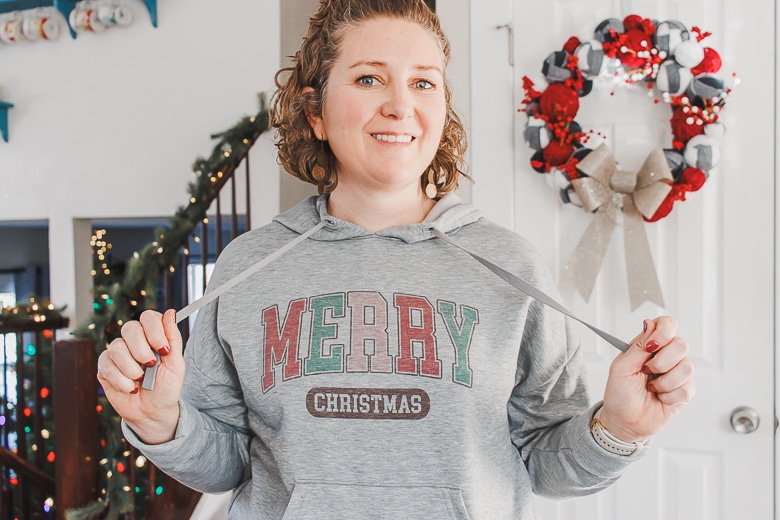
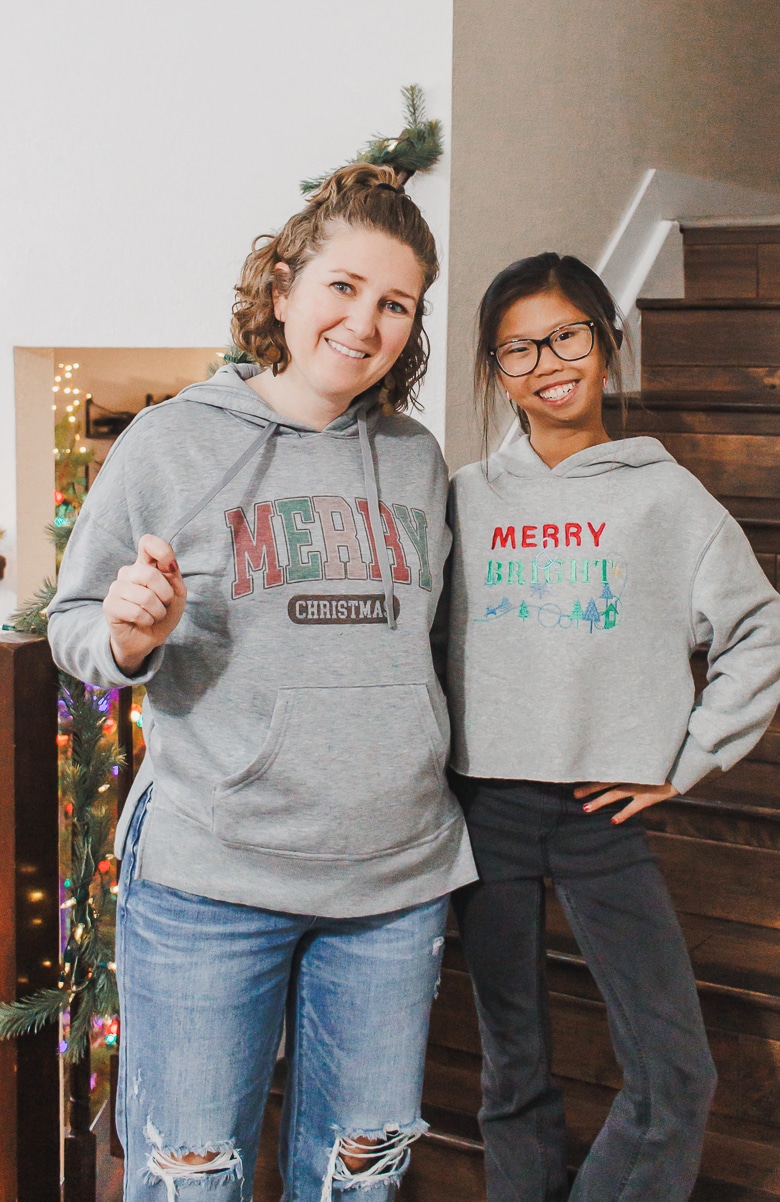
For my sweatshirt I picked up an inexpensive sweatshirt at Walmart and for Roses, I grabbed a shirt out of her drawer. I’m thinking both of these are going to get a lot of wear in the next month.
Files to use for Christmas Sweatshirts
Sublimation files:
- Varsity letters Merry Christmas {as seen in my sweatshirt above}
- Other fun sublimation files from Etsy for Christmas shirts
- Christmas Sublimation files from Creative Fabrica
- Etsy and Creative Fabrica are my two go-to places for file purchases
Embroidery files for Christmas Sweatshirts:
- Use Artspira to create your own embroider files
- The shirt seen on Rose here was created in Artpsira
- Grab a Christmas embroidery file – add text in the design editor
- Use built in Christmas designs on your embroidery machine
- Embroidery files for Christmas shirts from Etsy
SVG designs for Vinyl on Sweatshirts
- Use any of the cutting designs in Artspira and add text for cute cut files
- Etsy SVG designs for Christmas
- Creative Fabrica SVG designs
DIY Christmas Sweatshirts
Ok! let’s talk specifically about the sweatshirts I made this week. If you are making a sublimation shirt here are my tips for sublimating on fabric. If you are creating a cut vinyl shirt here are my tips for using heat transfer vinyl.
For the embroidery design I used the design editor in Artspira and chose the tree/house/sleigh design, then added the text in the editor. I also changed the color of the font, but changed the color of the embroidery design once I transferred the design to my machine.
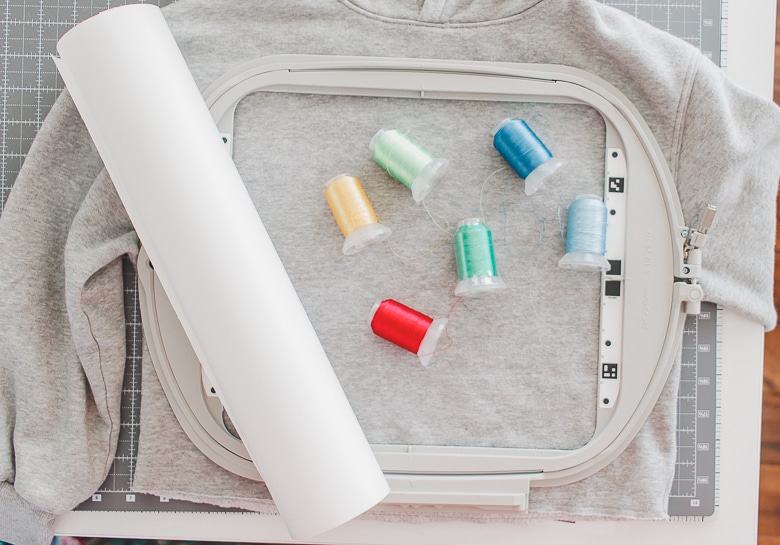
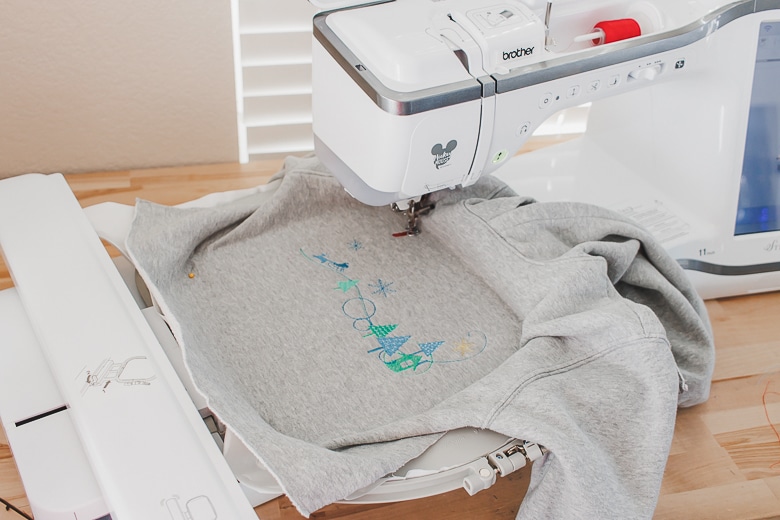
I used my 9.5 x 9.5 in hoop for this project as well as sticky stabilizer. I also grabbed a bunch of bright colors. After you create the design you can see how many colors it will use. I kept the same number of colors, but changed which color I used.
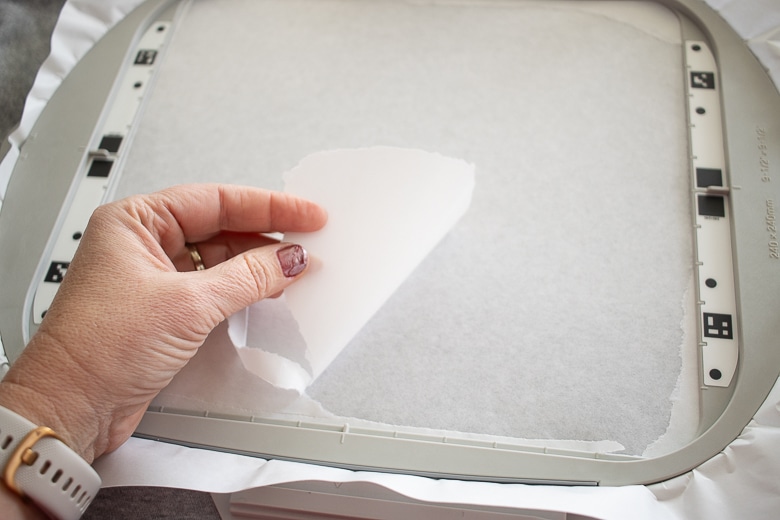
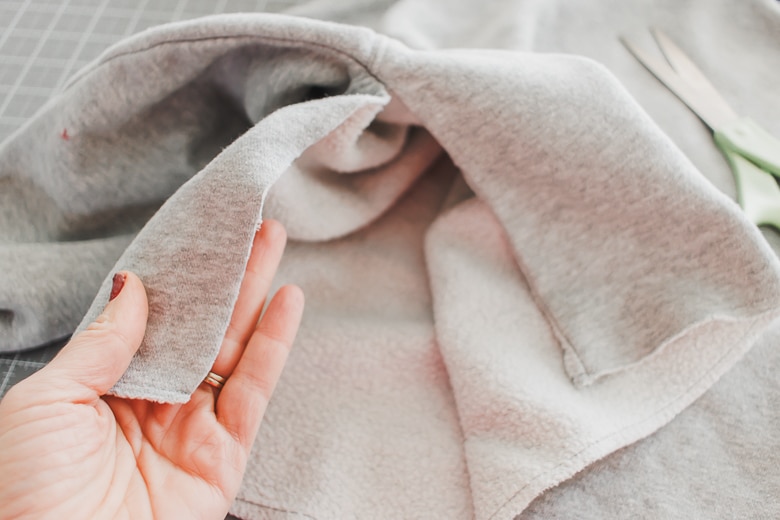
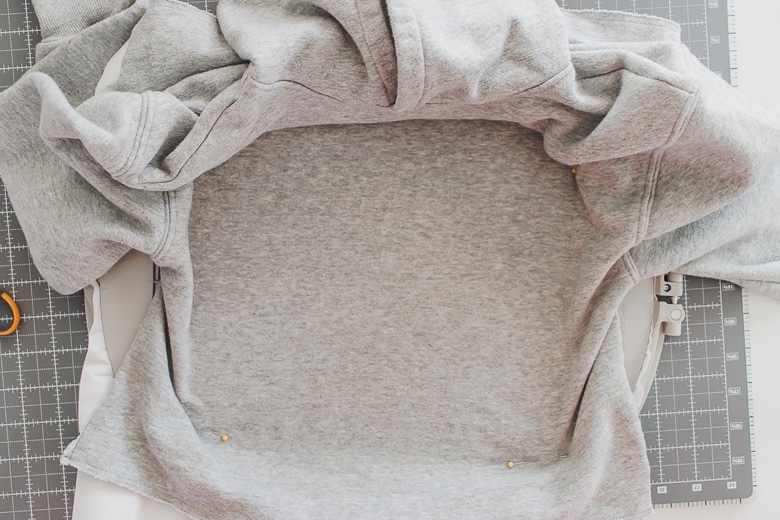
Here are some tips for embroidering on a premade sweatshirt. First, I like to use sticky stabilizer so I don’t have to hoop the fabric. Second, if it’s a smaller shirt it’s helpful to cut open the side seams. And finally, after I stuck the sweatshirt on the stabilizer I put pins in the corners to make sure it all stayed in place.
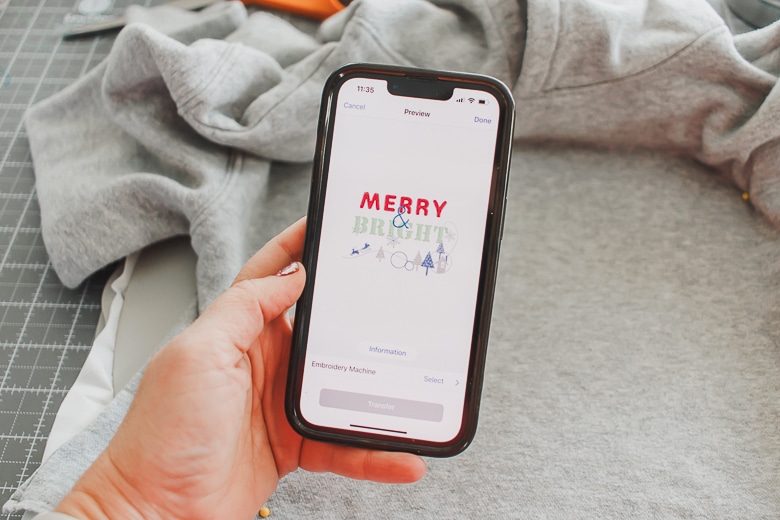
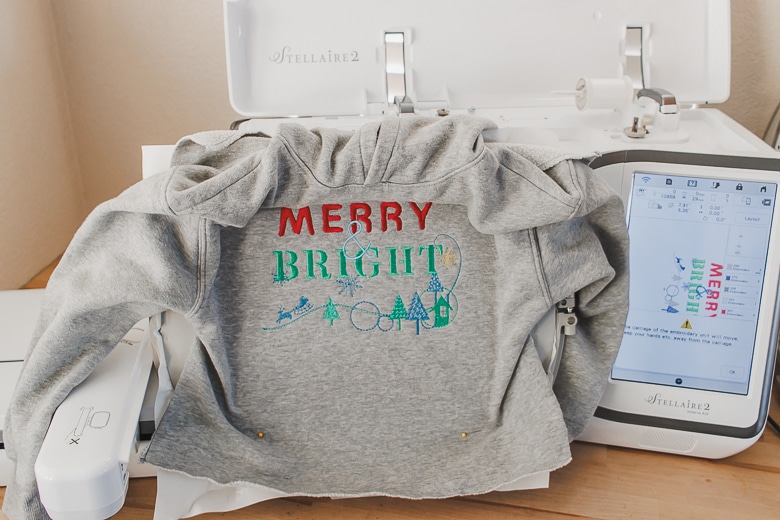
Here’s the design I created in the Artspira app editor. The Merry & Bright part I typed in myself, combining it with the other file. It didn’t look great on the screen because the colors were all wrong, but I was envisioning what it could look like. Once you have your design complete, transfer to your embroidery machine.
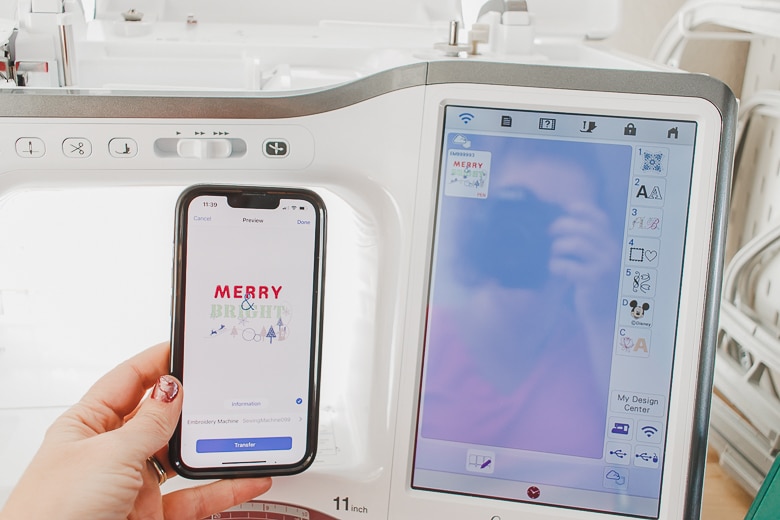
I gathered my colors and started the embroidery process. This whole design was pretty quick – around 20 min of stitch time.
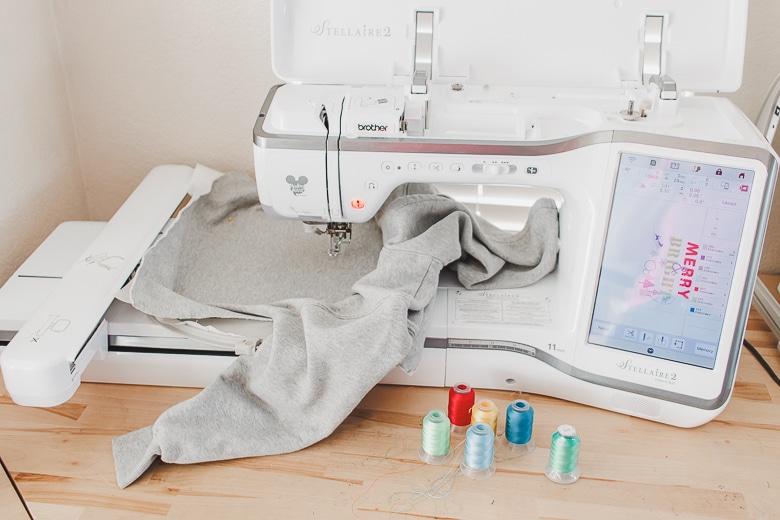
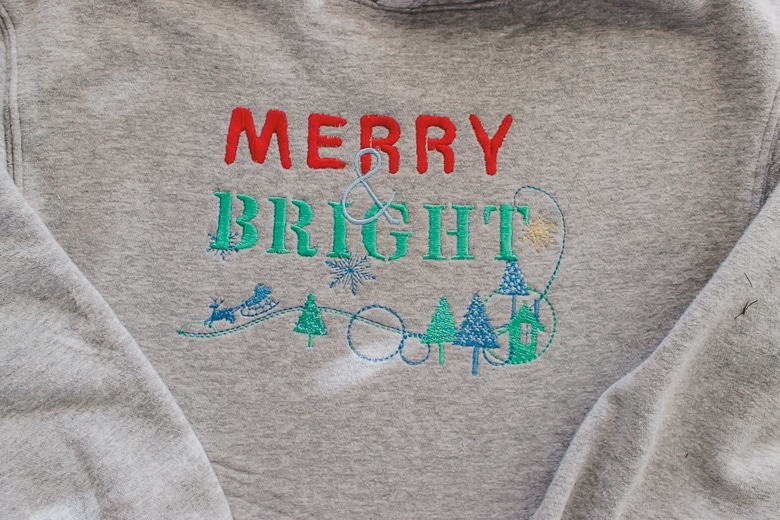
This design is the perfect size for a childs size sweatshirt and after I sewed this side seams back up, this was a perfect Christmas shirt!
I hope I have inspired you to make an easy DIY Christmas Sweatshirt or many shirts for you and your family this year. There are so many ways to create amazing looks you will have a blast with the creating and the wearing.






Leave a Reply