Inside: Learn how to create DIY sublimation ornaments with this easy tutorial. Create custom sublimation ornaments with your Brother sublimation printer and Artspira.
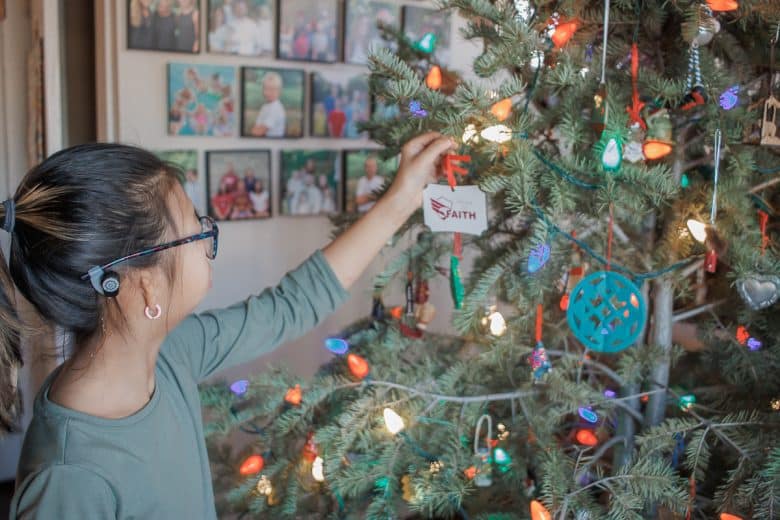
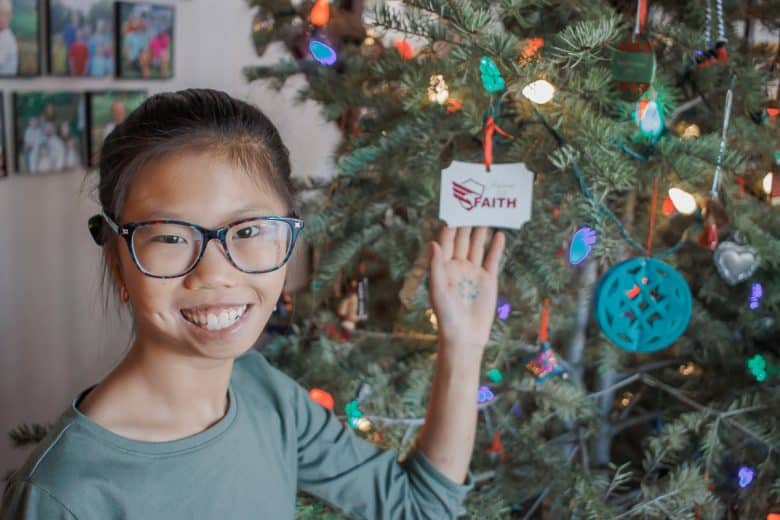
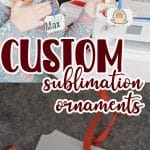
Since getting the Brother sublimation printer, I’ve been sublimating all the things {even more tutorials coming in Jan!} I helped Rose create a fun school themed ornament for her classmates for Christmas this year. The 4th grade has a little market at the end of every quarter and my daughter made these ornaments to sell {for tickets}.
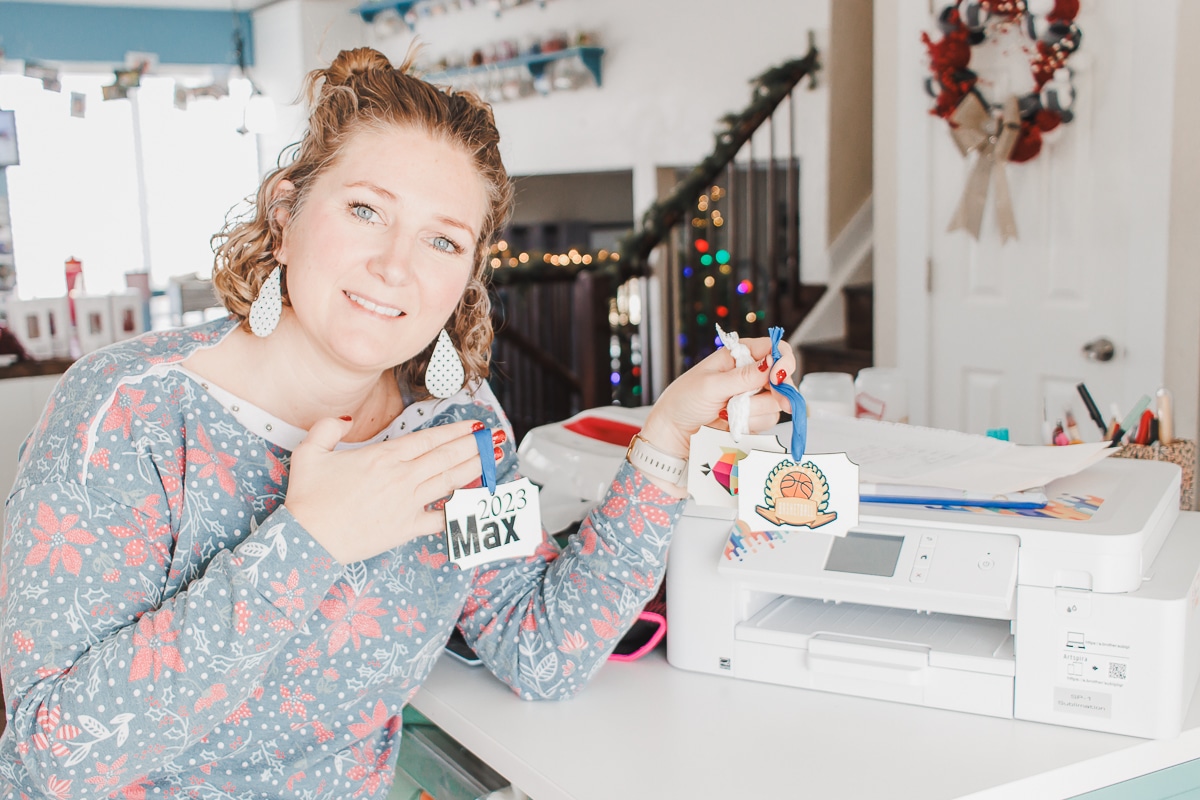
Custom Sublimation ornaments
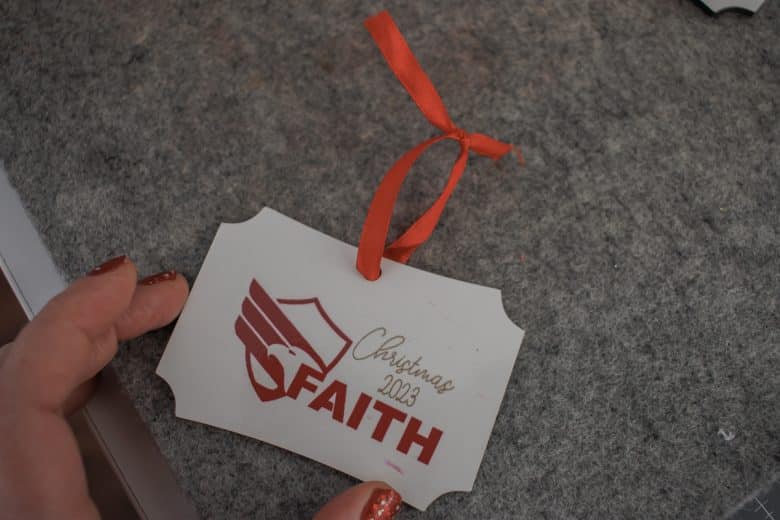
You can use custom files from your camera/computer or use the built in files that come on the Artspira App. This projects uses a combination of both. We used a custom design on the front {school logo that I added the words Christmas 2023 to}
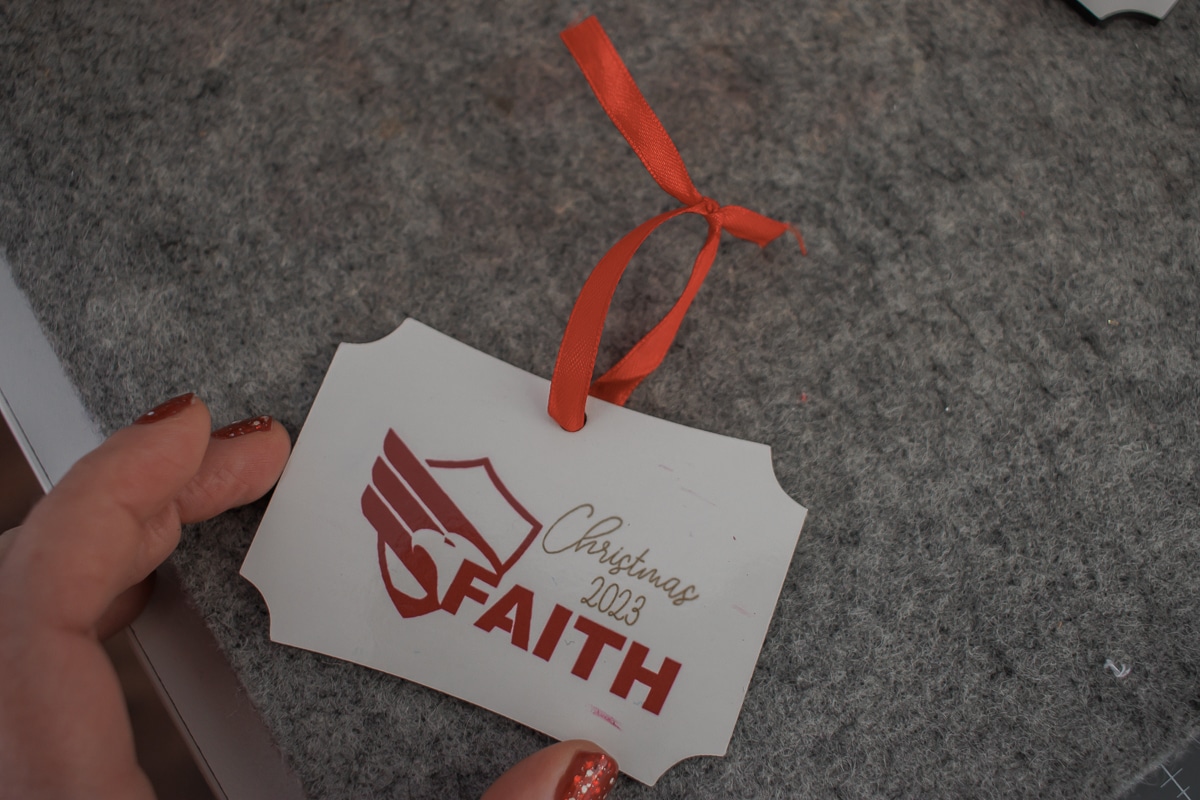
The other of this ornament I used a fill from Artspira to decorate the backside. You can see it more below that in these photos. Let’s grab the supplies needed and get crafting.
Other sublimation projects to try:
Use the Artspira app to create custom sublimation ornaments
Supplies needed for these DIY sublimation ornaments
- Sublimation Printer
- Heat Press
- Sublimation Blanks – exact ones seen here
- Sublimation paper
- Wool Pressing mat
Once you have your supplies gathered, the process is really very simple – even if you have never done a sublimation project before. I printed a full sheet of Christmas fill to use as the back of each ornaments. The front of each ornament was more custom, but the back was all the same.
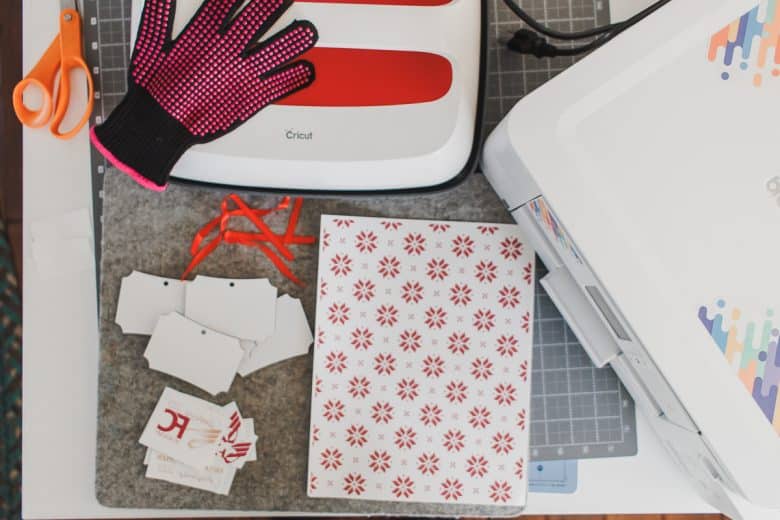
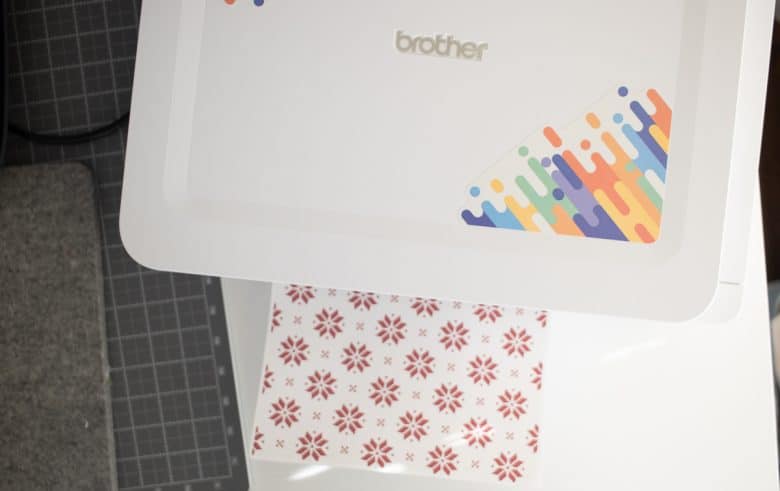
How to make sublimation ornaments
There is a full video tutorial embedded in this post. You can watch my in a full walk through of this project if you want. The front of the ornament was created on my computer and transferred to the printer. We cut them all apart to individually place them on the ornament blanks.
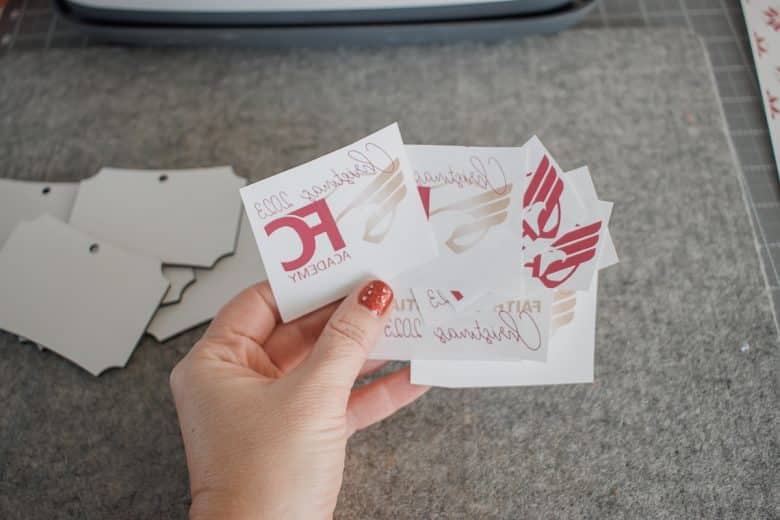
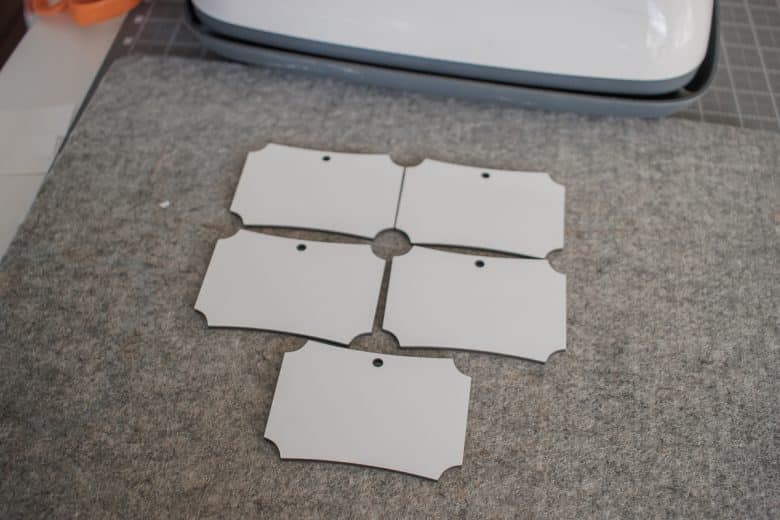
I had a little helper for this project and we arranged the blanks on the pressing mat, then turned the printer paper over on top of them. You can do as many as fit under the sheet.
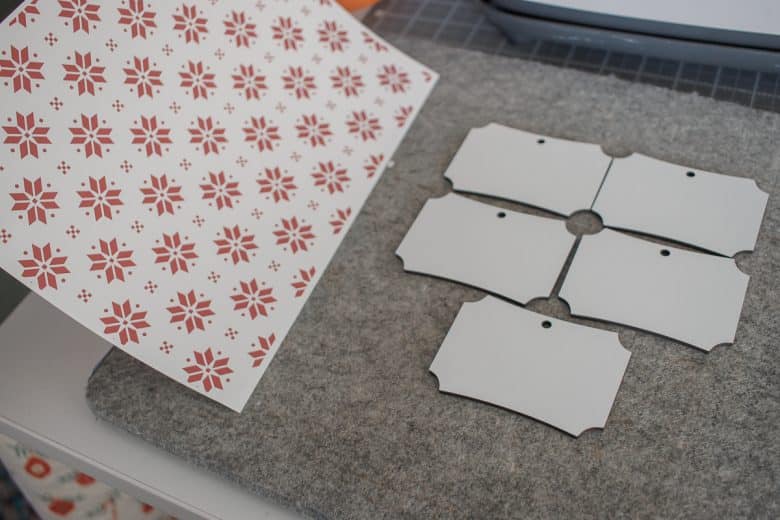
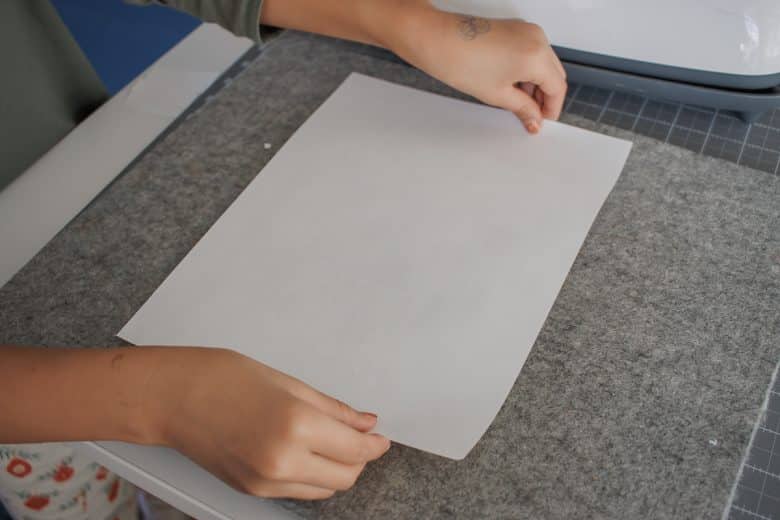
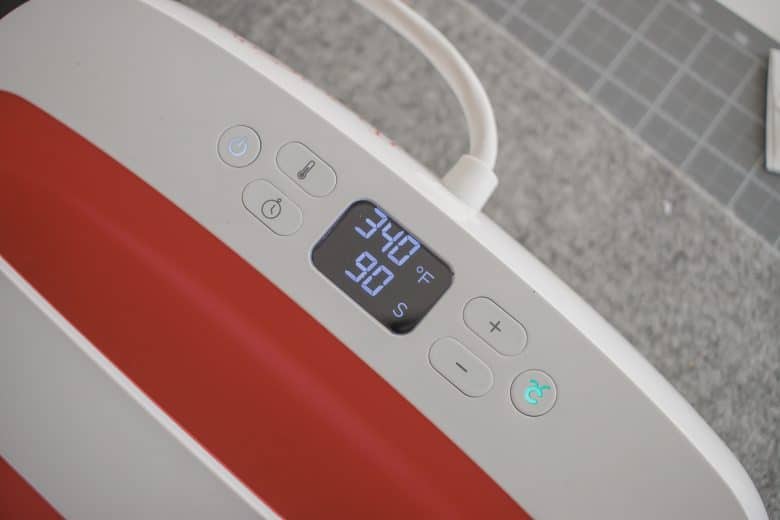
Set your heat press as directed by either the printer or blanks. We used 340 for 180 degrees. Make sure to place the press straight down and now slide it around.
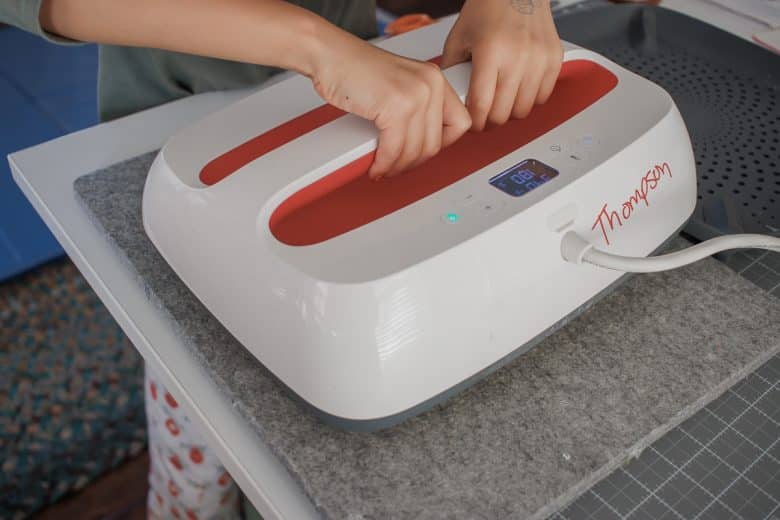
When the time is up, peel up the paper and reveal the printed design. Use heat resistant gloves to flip over the ornament blanks.
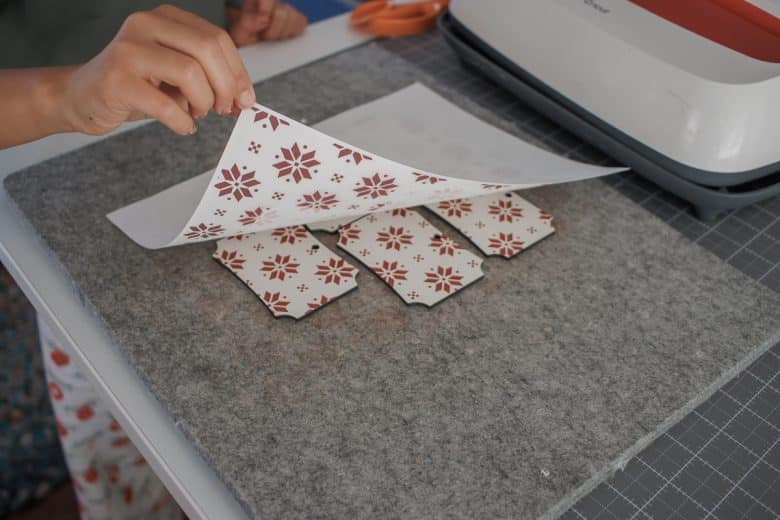
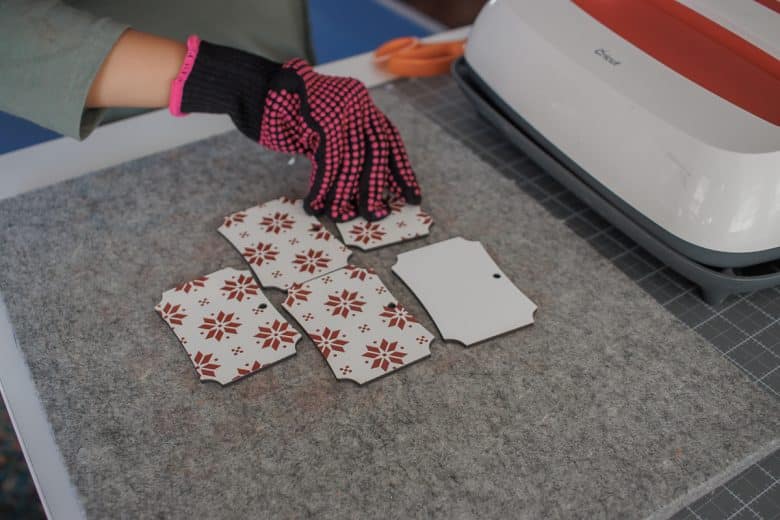
Place each of the cut front designs on each ornament individually, then press again. Straight down and straight up, no sliding.
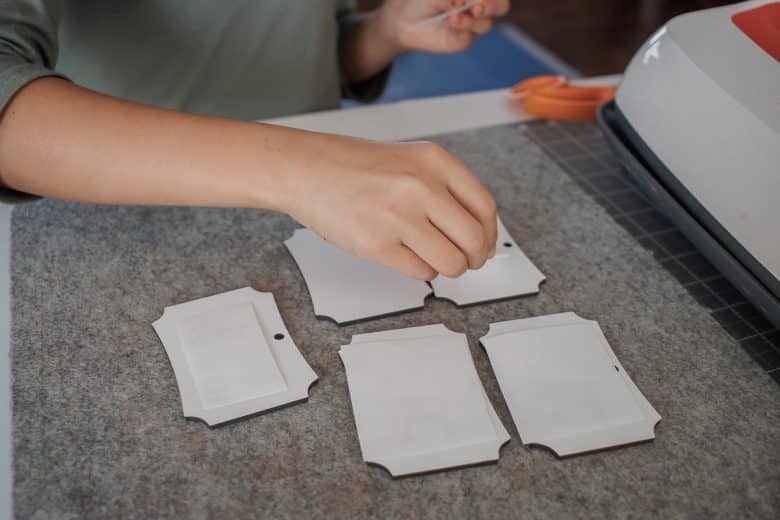
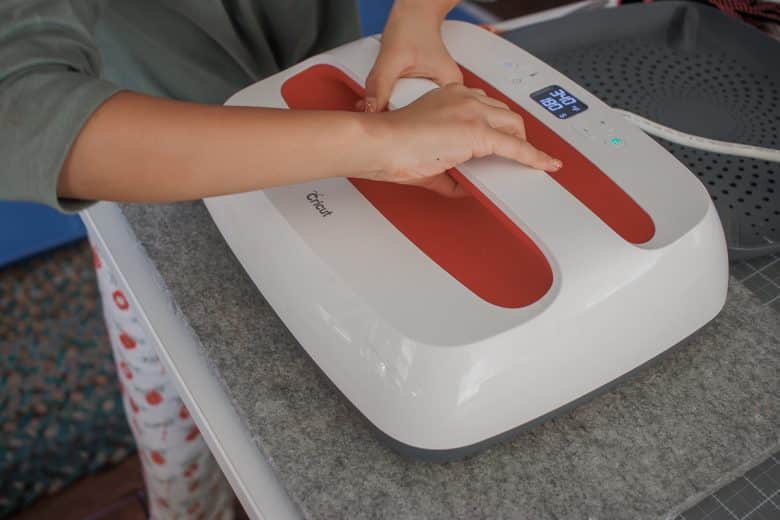
When the time is up, remove the paper carefully to reveal the final ornaments. They are beautiful.
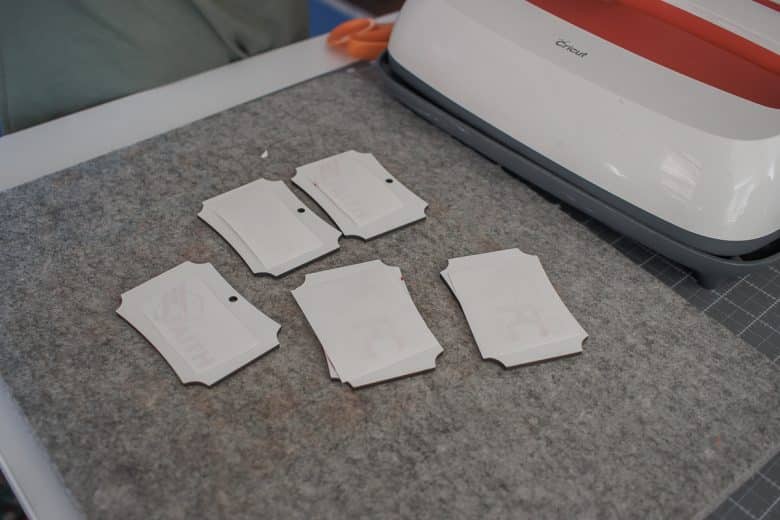
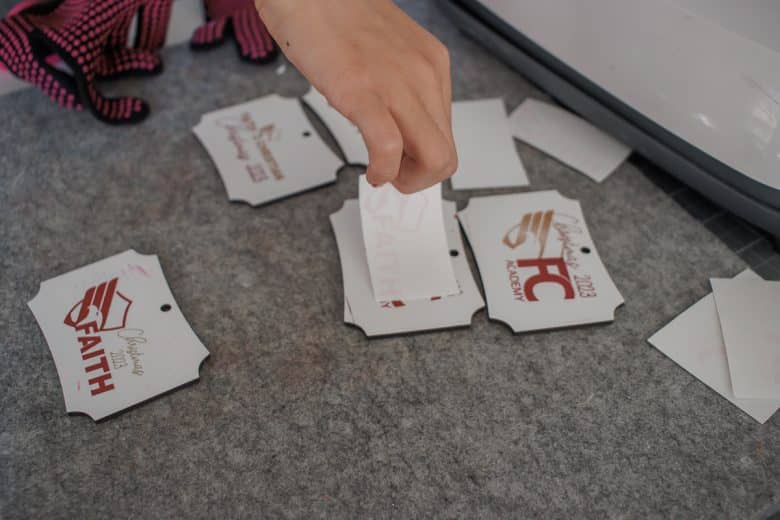
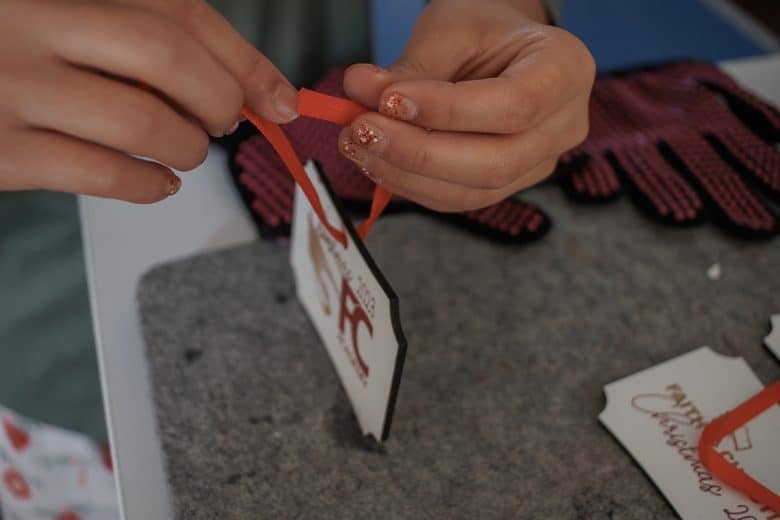
The ornament blanks came with ribbons, after they cool down you can tie on the ribbons to finish the sublimation ornaments.
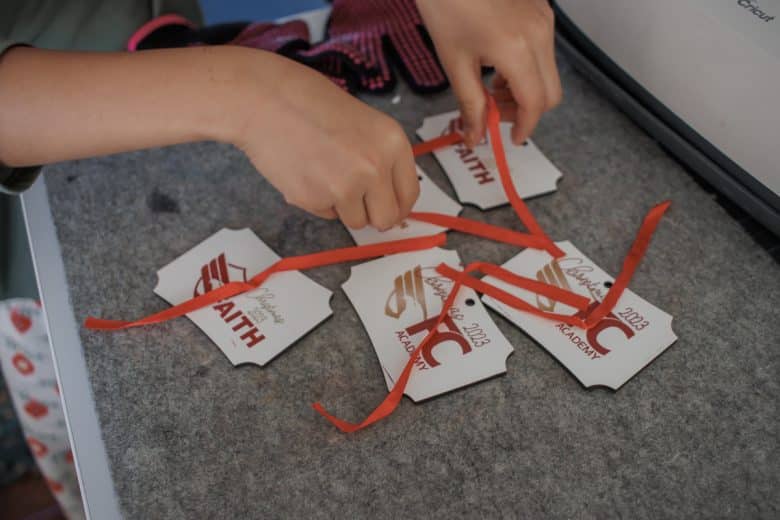
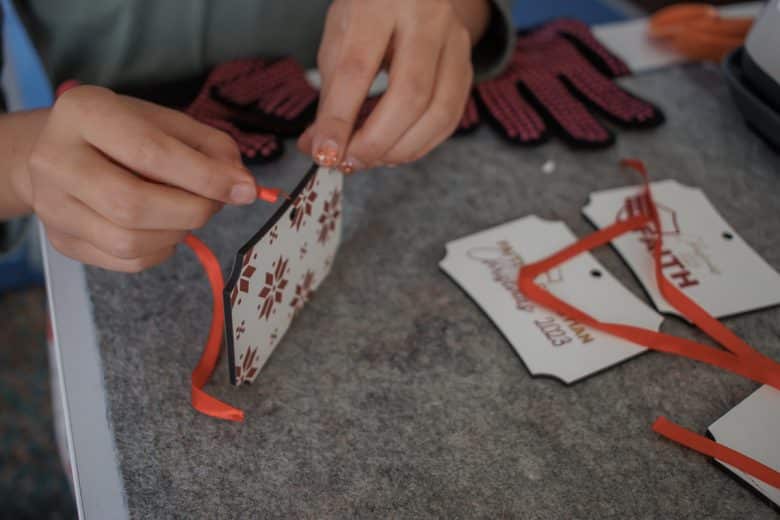
These turned out so cute and Rose is so excited to sell these at her little ticket market this week. You can easily make custom ornaments for gifting. I made three custom ones for my kids this year for their stockings.





Leave a Reply