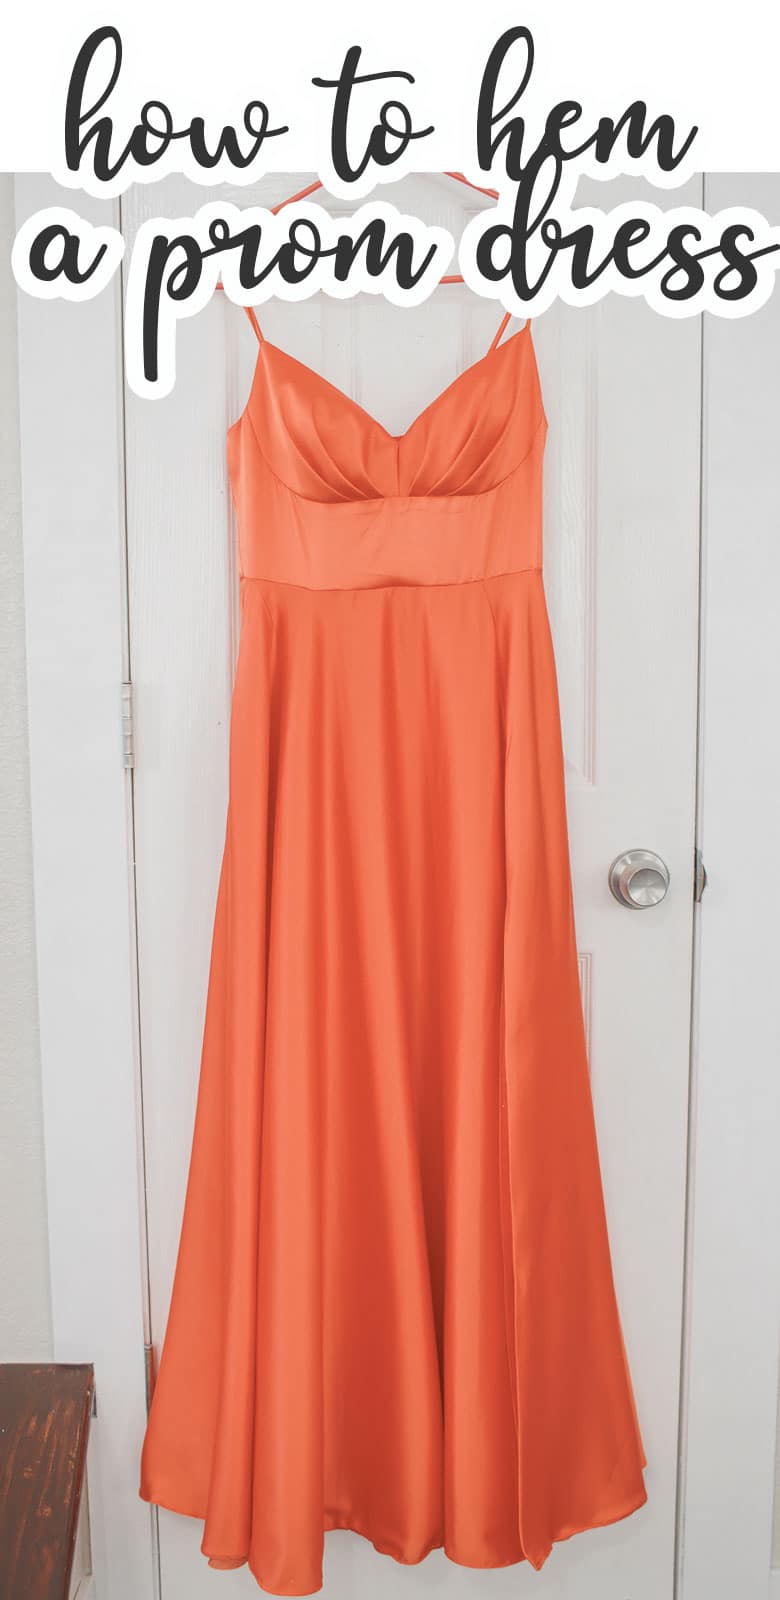
Inside: Learn how to hem a prom dress. Use this sewing tutorial to get tips and tricks for hemming a prom dress or other formal dress. Hem formal wear fabric to fix the length.
It’s prom season! While my older kids are boys we have plenty of friends who have high school girls. I’ve been asked to hem some prom dresses over the past few years. I’ve learned a few things along the way and wanted to share these tips for hemming formal wear with you today.
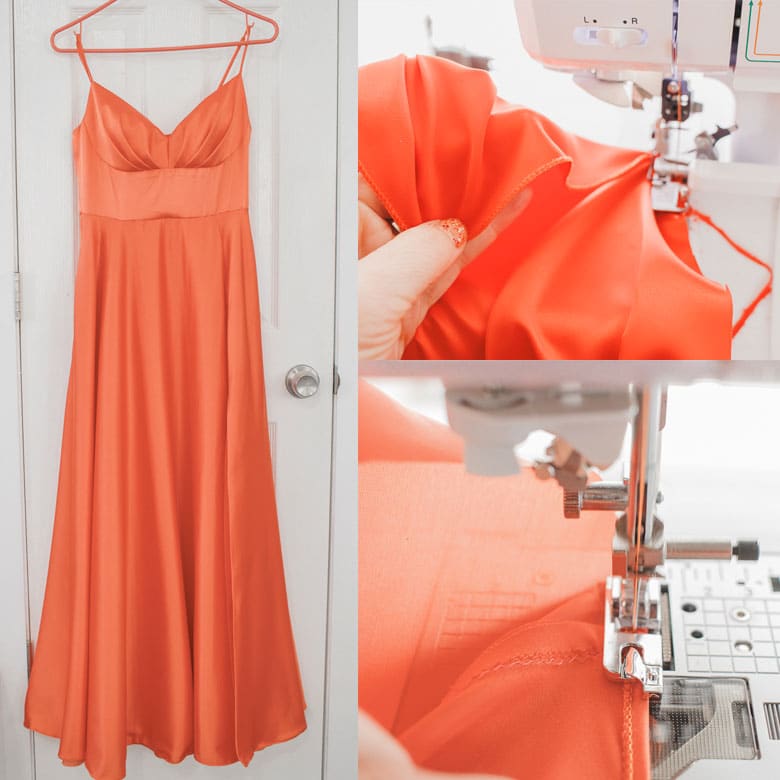
Shortening formal wear
Like I mentioned I have a high school son who is now attending high school dances, and he could care less about his clothing {haha} Some of his friends and my friends with girl have asked me to shorten their prom dress, I have also shortened a Jr. bridesmaid dress for a middle school friend.
In addition to shortening dresses, I have also sewn up many way-to-high leg slits… oh my, who needs a slit up to their hip? Girls cant dance with that kind of dress…. ok, back to the main topic.
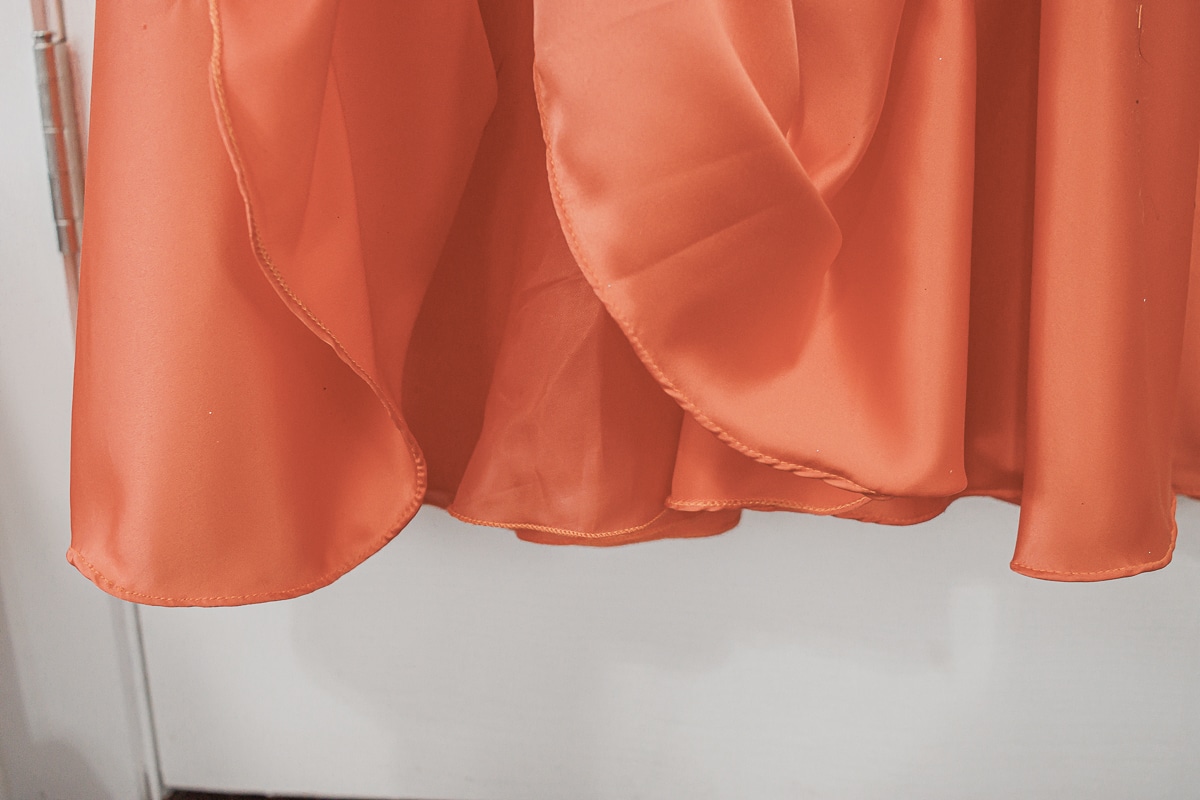
Over the years I have hemmed several dresses, and while it may look overwhelming, there are several ways to make this easier than you might think. Let me show you how to get started.
Other formal wear tutorials –
How to hem a prom dress
Ready for a step by step to hem this dress? Here’s what you will need:
- Sewing machine – a must! {Amazon link}
- Rolled hem foot – must!
- Serger {optional, but very, very helpful for a great finish}{Amazon link to my favorite}
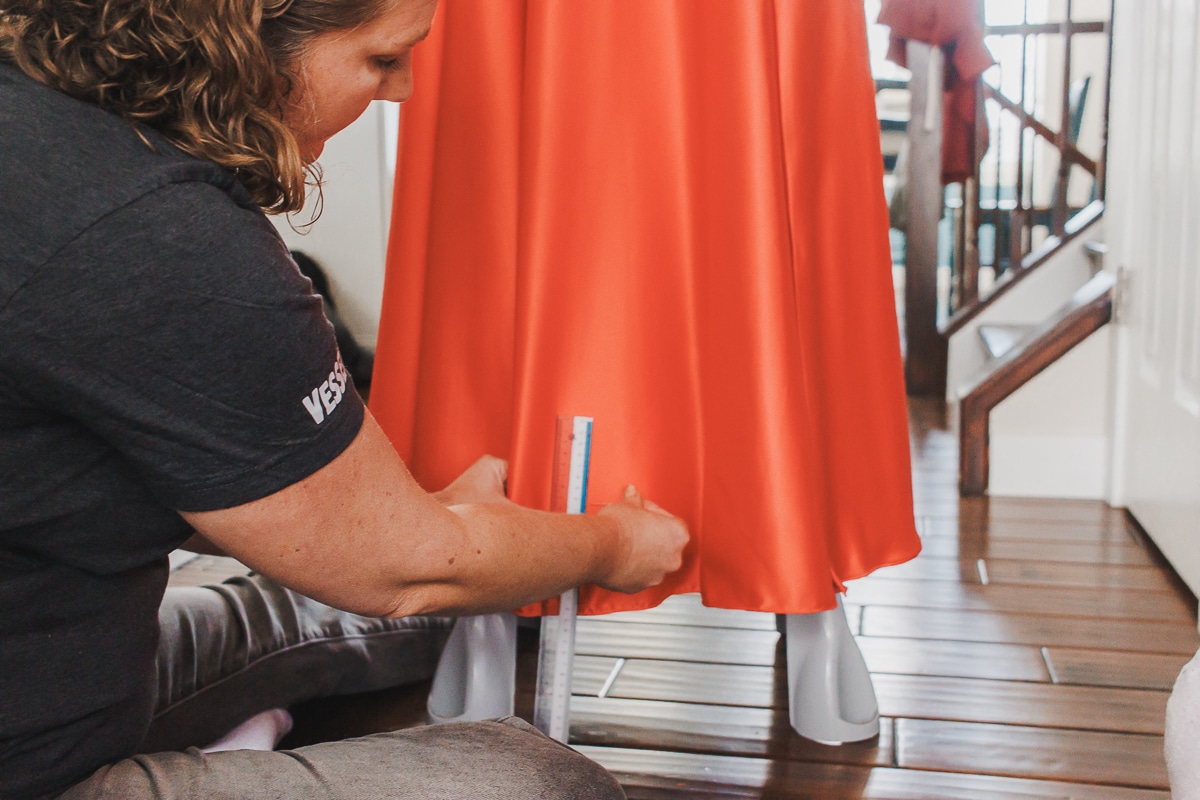
Ok! Let’s get started! My favorite way to mark the new hem is to have the girls stand on a stool a few inches off the ground. Make sure they are wearing the same shoes they want to wear with the dress. Find out the length the girl wants the dress, floor length, ankle, etc…Use a ruler and pins to mark from the ground up to the correct length. The outer layer of fabric is stain {or satin like} and the lining is a thin lining fabric.
After we have agreed on the dress height I make not of that height on my ruler and continue around the skirt pinning at that place. If there is a lining try not to catch that layer in your pins. I usually stay in one spot an have the girl rotate around. If the dress is tight and stretchy the new hem looks very different than what I will explain below. For a tight knit dress I usually just finish the raw edge, press and re-hem!
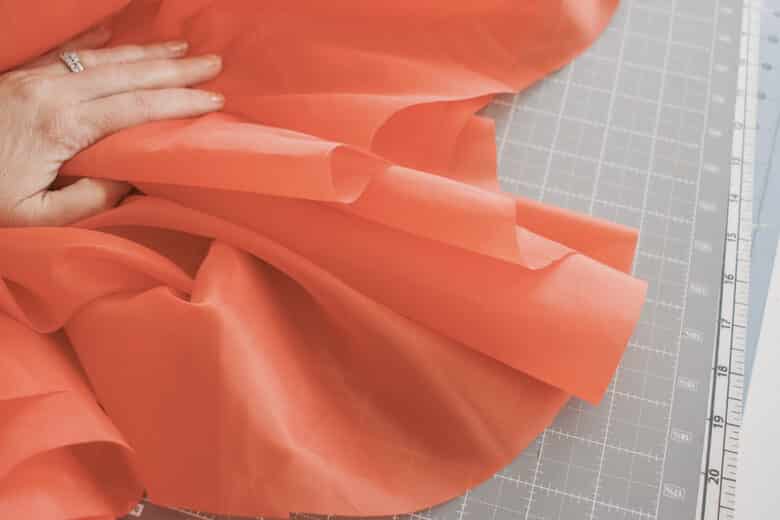
Next I trim along the pin markers {outer fabric ONLY} I like to trim this while the dress is hanging. {note: I do need a better pair of scissors! I realized this while cutting this dress, haha} If you have a serger I like to finish the raw edge of the outer layer before hemming. Change three threads to colors that will be used in the hem.
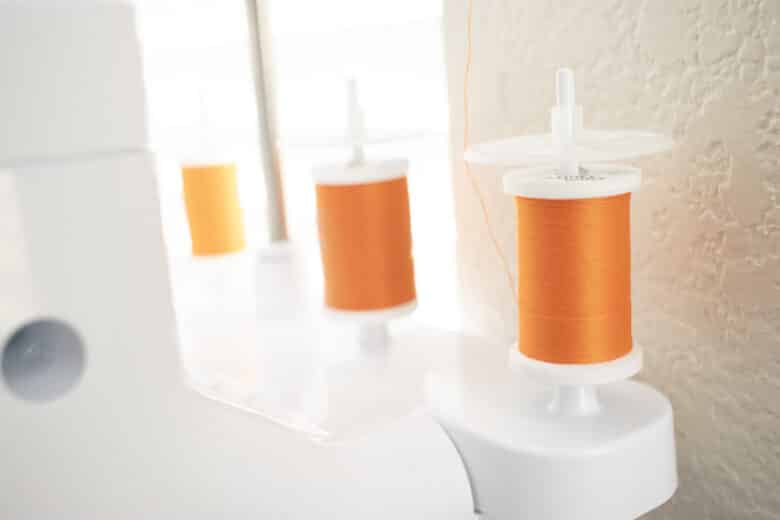
I am finishing this satin outer layer with a narrow overlock seam. Here is how I set up my machine for a narrow overlock.
- Turn off or remove the stitch finger.
- Place the stitch width at 6
- Stitch length at 2
- Remove the left needle
- Right needle at 4, upper looper at 5, lower looper at 5
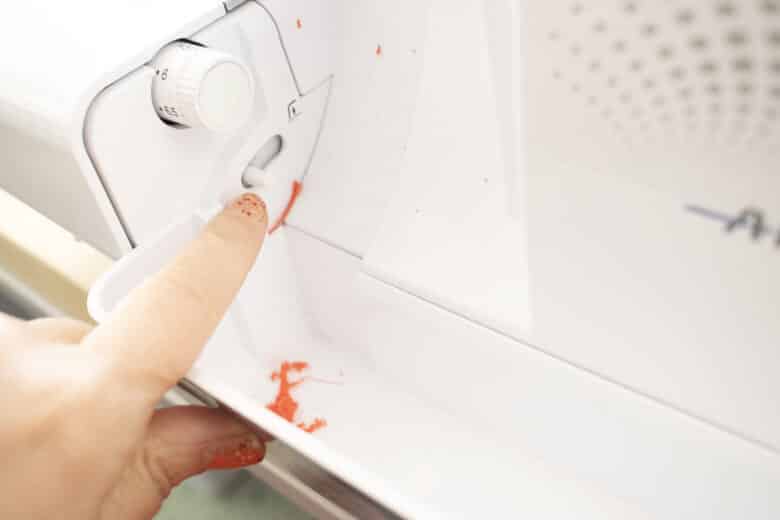
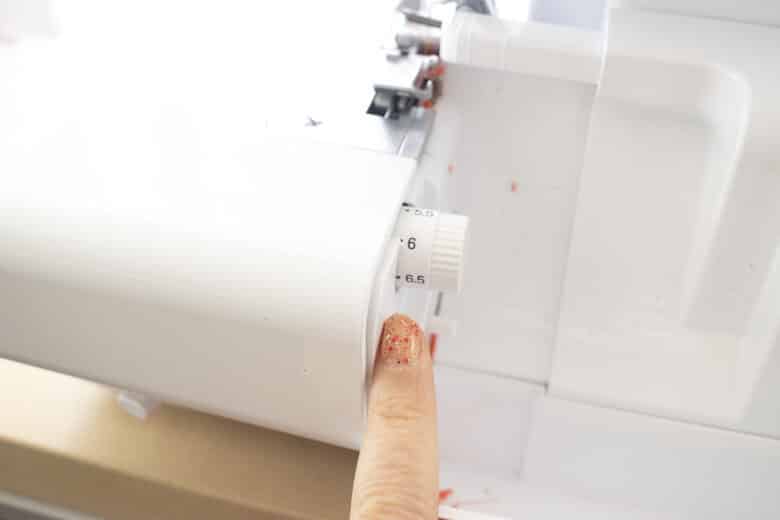
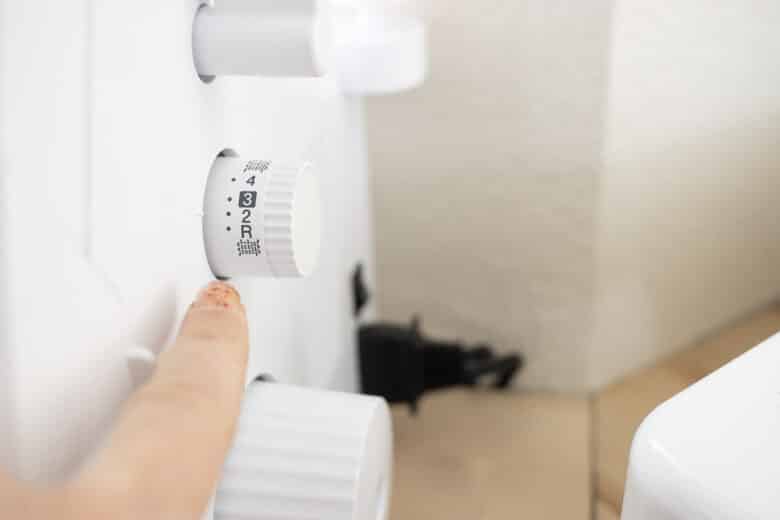
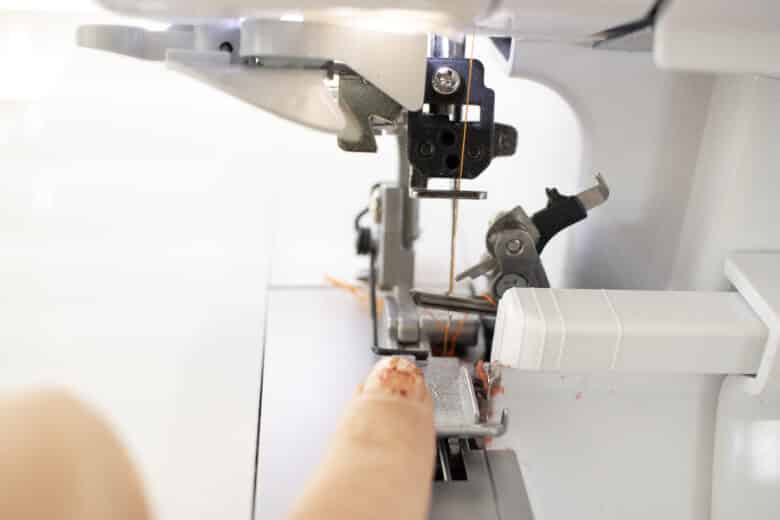
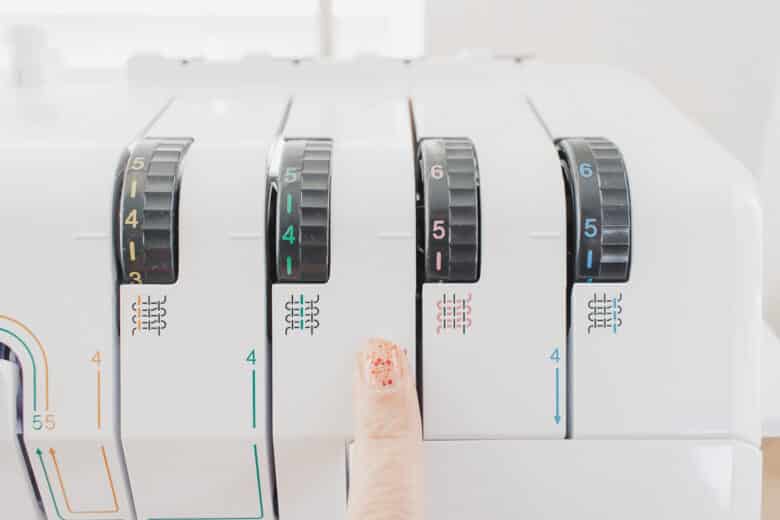
Trim just a slight bit of fabric off while sewing this narrow seam. Make sure the bit that is cut off does not get caught up back in the threads. I had to keep blowing it away so it would stay a clean seam.
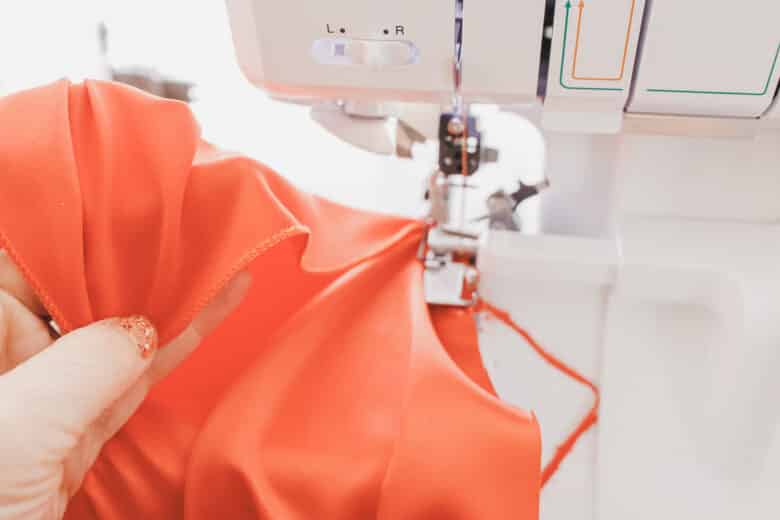
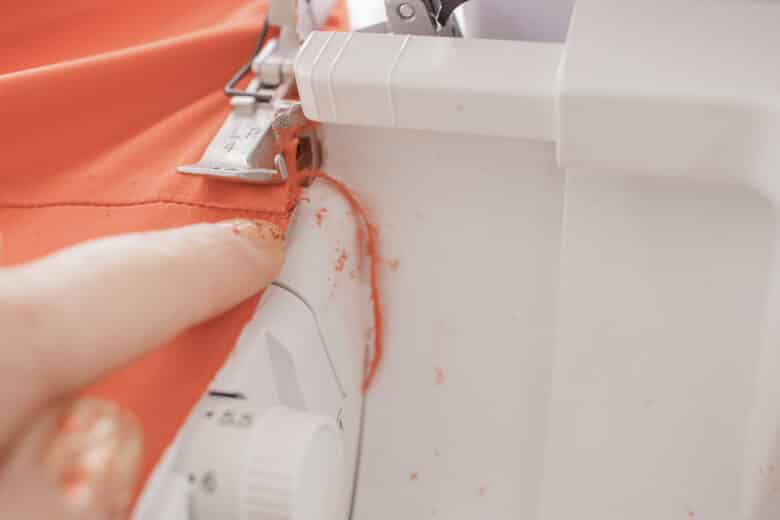
Now it’s time to create the actual hem. NOTE: you may be able to just create the rolled hem/narrow hem on your sewing machine with just the rolled hem foot. I was not able to get this slippery fabric to hem correctly, so I chose to finish the fabric with a narrow overlock seam first. You can purchase a rolled hem foot using the link above if your machine didn’t come with one.
To begin this hem fold the fabric over once {or twice if you are doing a full rolled hem}
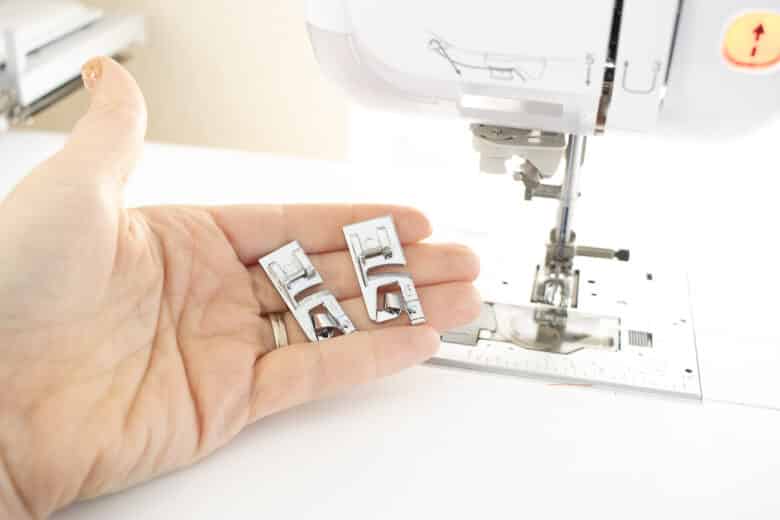
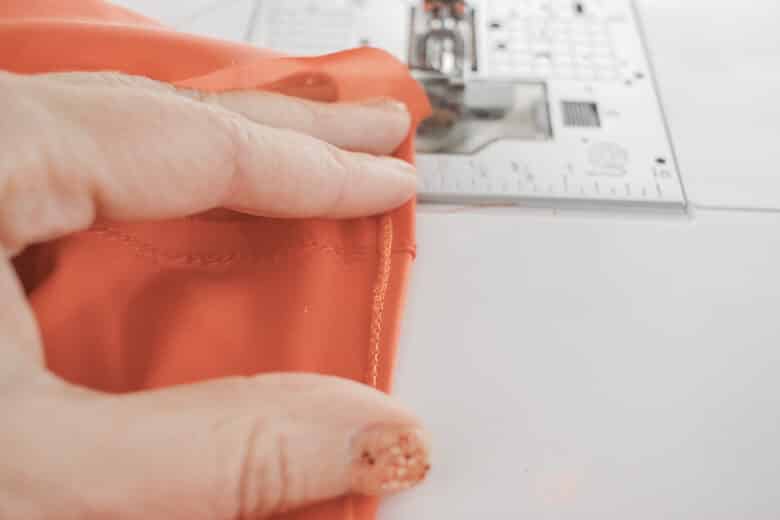
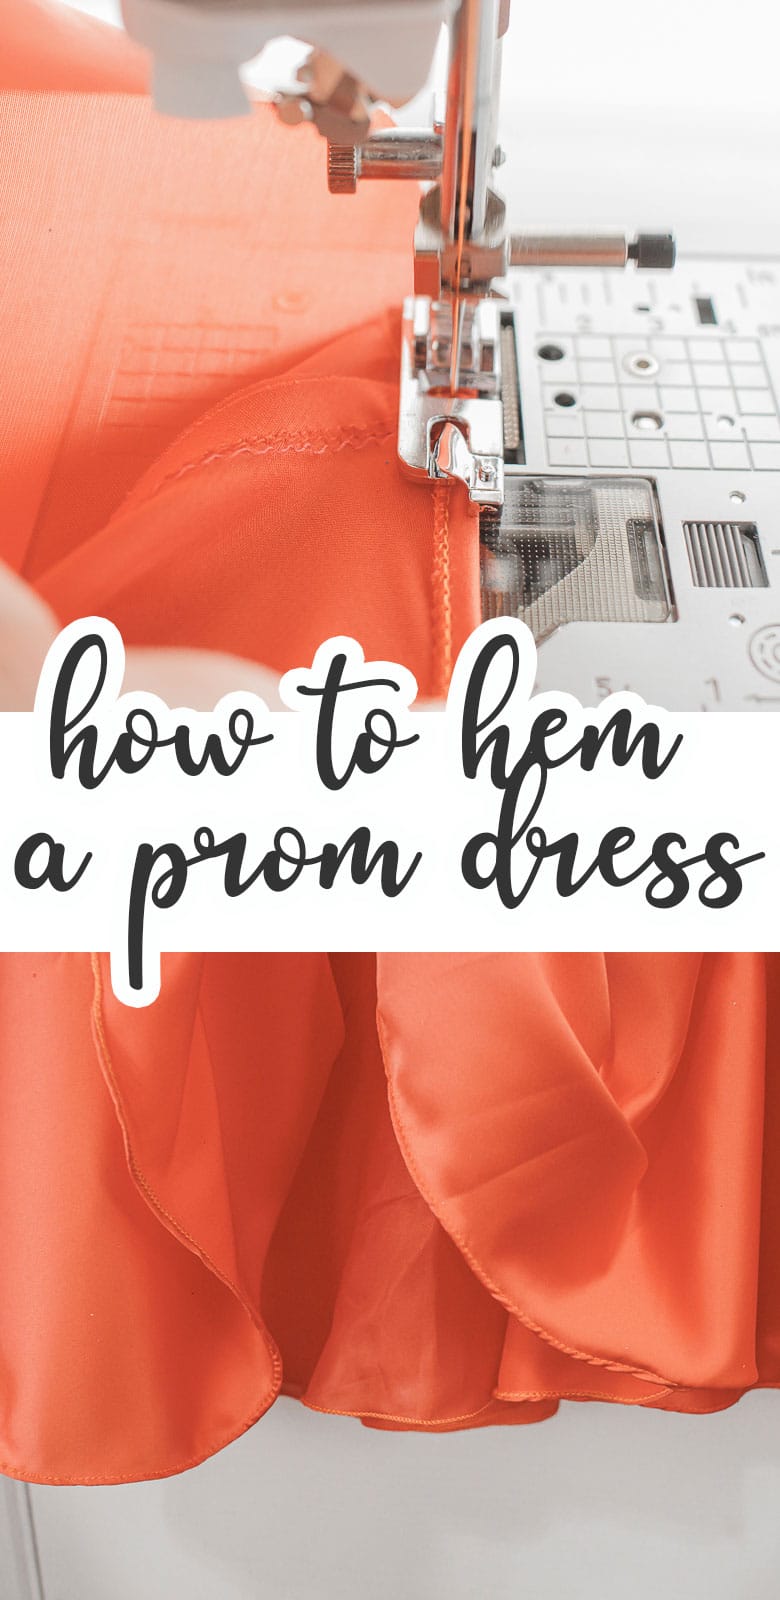
Place the folded fabric under the foot and stitch a couple of stitches in the hem. Leave the needle down and raise the pressure foot. Guide the folded fabric into the roll of the foot. I used a pin to help guide it in.
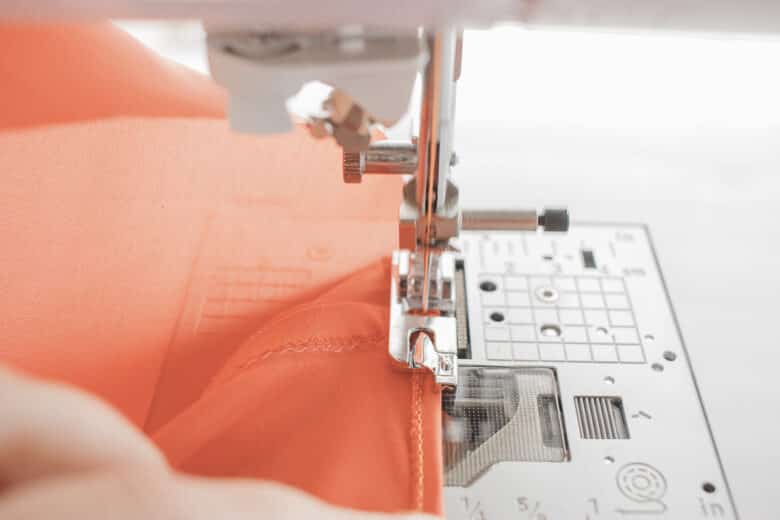
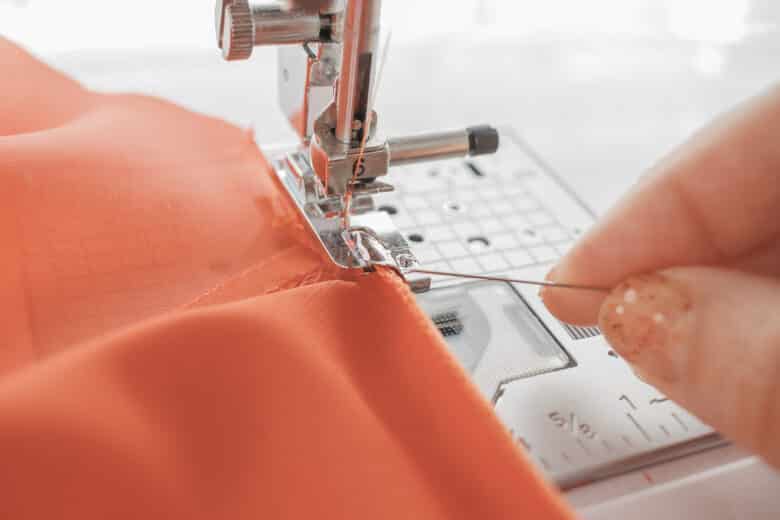
Lower the presser foot and keep the fabric folded over with your hand. Use one hand to keep the fold and the other to help guide the fabric and hold the bulk of the skirt.
If you didn’t prefinish the edge or have a serger you can completely roll the fabric through the rolled hem foot.

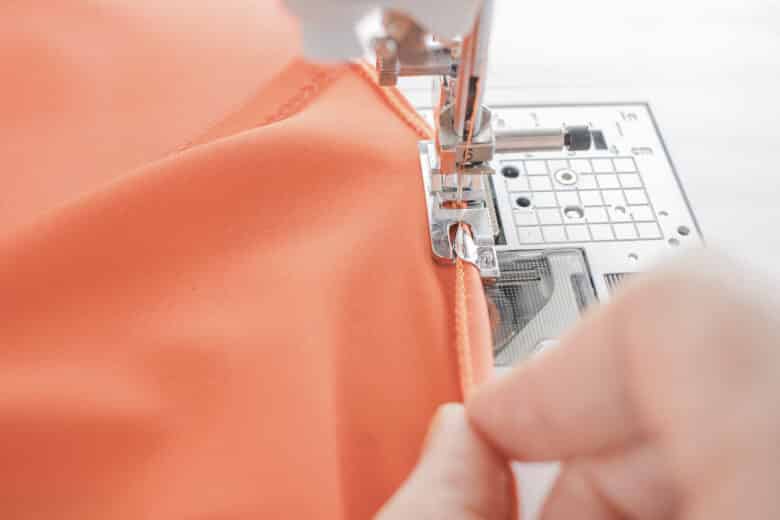
When sewn I have a beautiful narrow hem.
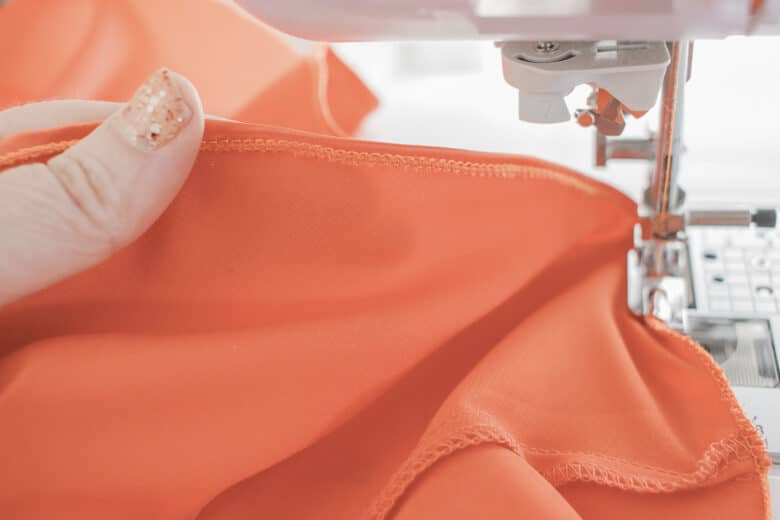
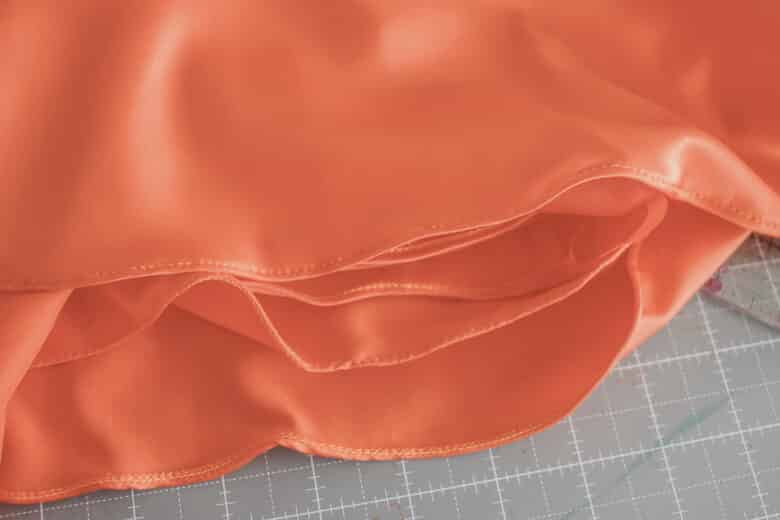
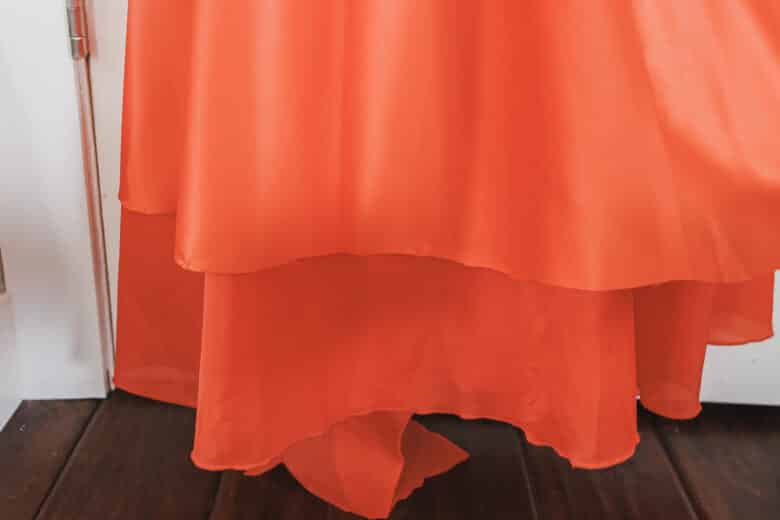
Now it’s time to finish the lining. I’m just going to do a rolled hem on the serger for this layer. Trim the lining so it’s 1″ shorter than the main fabric.
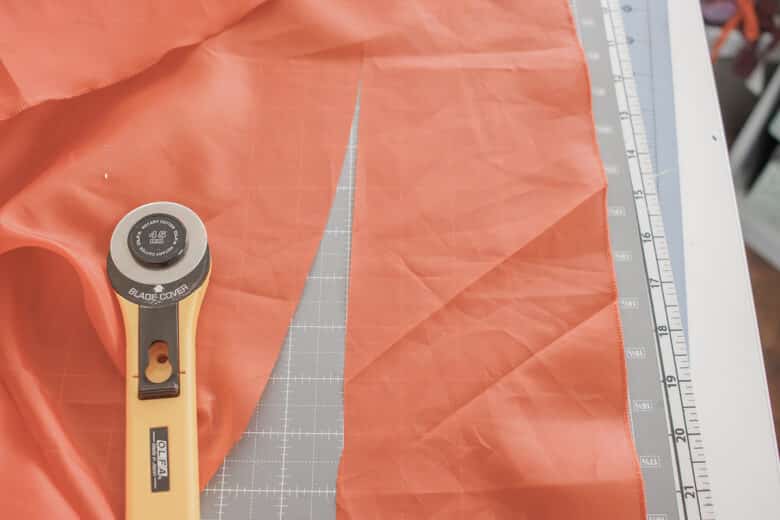
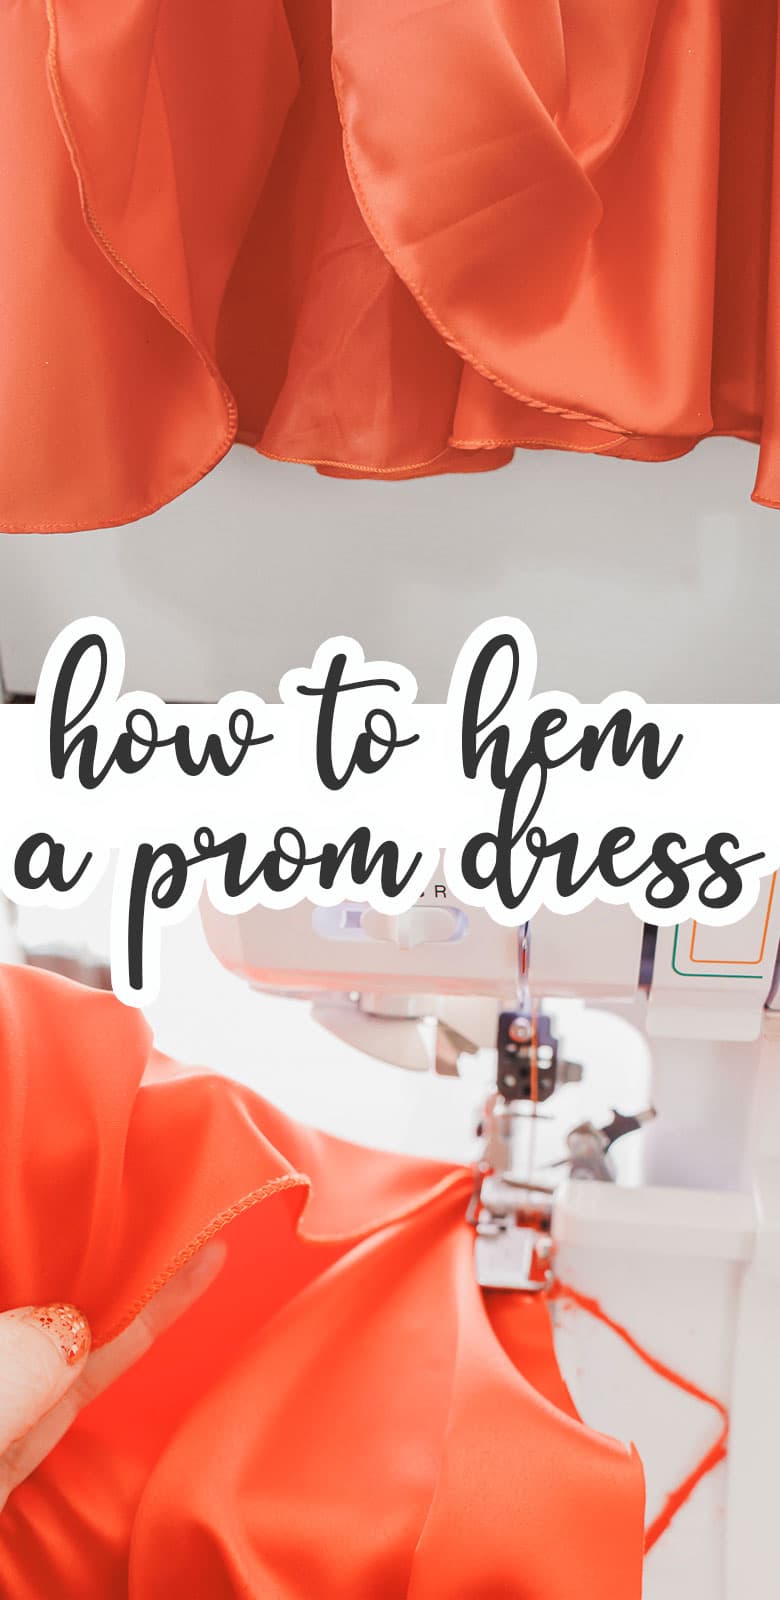
Leave the serger set up like you had it for the narrow overlock seam, but change the lower looper to 7 and the stitch length to R.
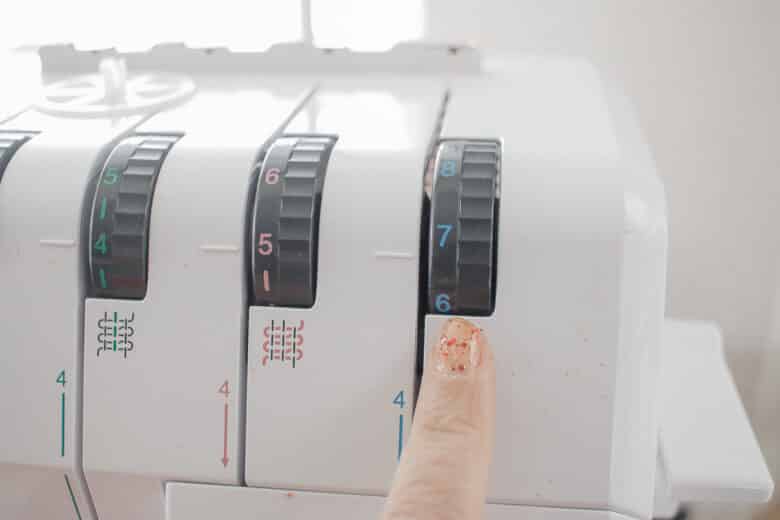
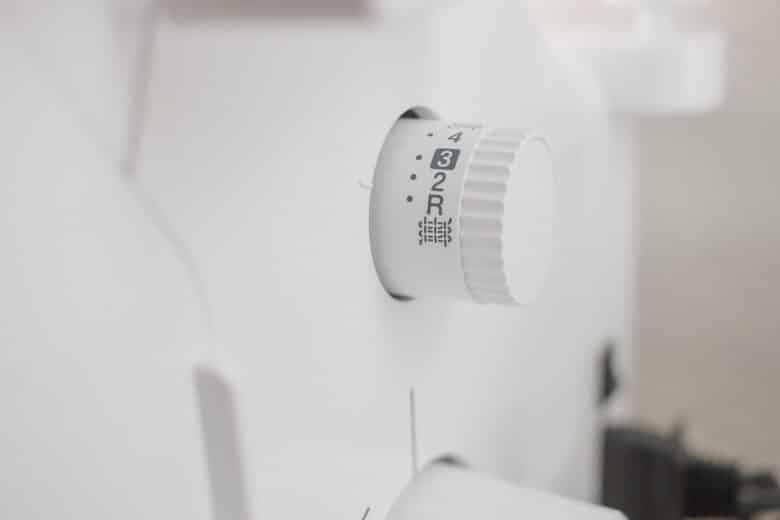
Sew the lining with a rolled hem to finish. Again, keep the small bits of trimmed fabric out of the seam, it’s easy to get caught up.

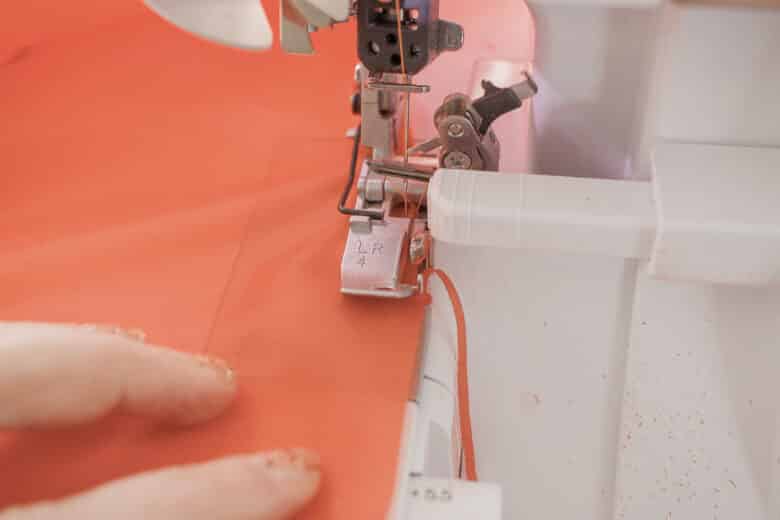
The rolled hem is an easy and simple way to finish the lining. NOTE: if the outer layer is chiffon and not satin I would finish the whole dress with a rolled hem. I’ve done this and it looks beautiful as long as the thread is perfect match for color.
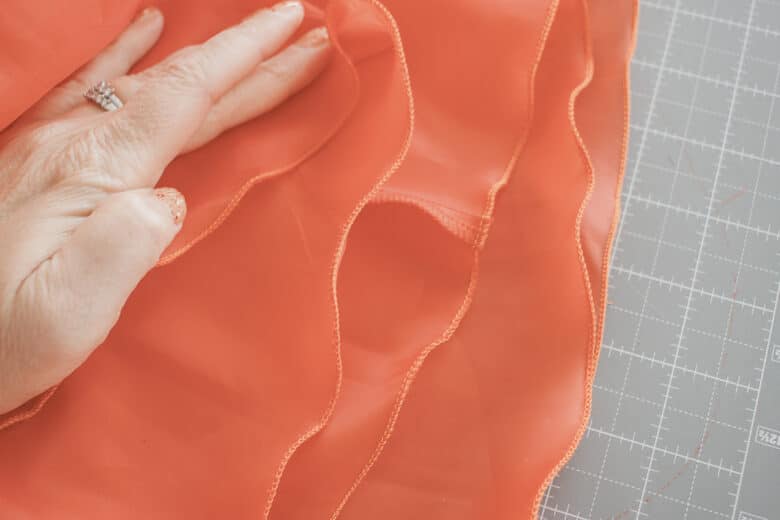
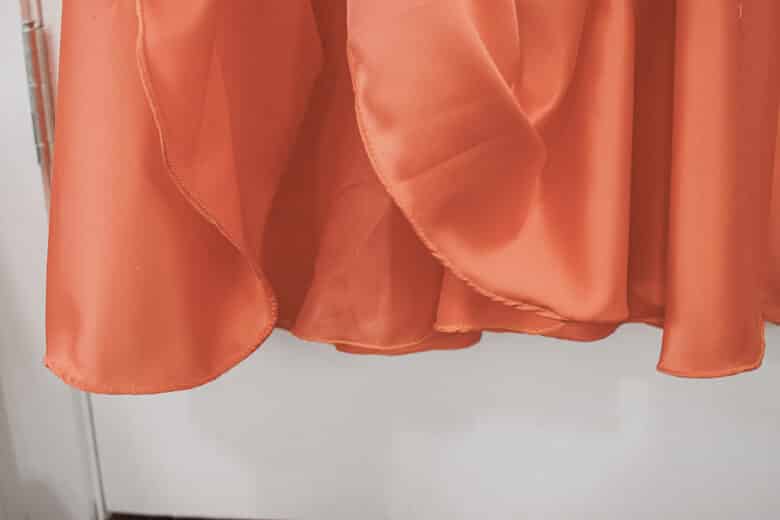
The two layers of the dress look amazing when finished and this dress is now ready for prom!





Dee K. says
Thank you Emily. While I am way past not only my own proms, my daughter’s too in age (LOL), I buy 1950’s vintage style skirts all the time and often the fabric is a slinky polyester that is similar to satin to work with. I have a question, however. Would a thicker hem give the hemline some heft to hang better? Or would it be too bulky and “bend” instead of flow? Thank you for all you do, I have learned so much from you!
Emily says
with really slipper fabric I prefer the tiny hem. You could try in on a bit of extra fabric, but this has been my preference.