Inside: Learn how to create a fun mens shirt upcycle to create a beautiful girls tank dress. Use two shirts to create a fun summer dress with free sewing pattern sizes 12M-8Y.
Today I’m joining Project Run and Play during this current upcycle challenge to bring you a new upcycle project. I’ve done so many over the year, so be on the look out for links to more amazing recycle/upcycle projects below. The project I have for you today is to turn two men’s dress shirts into a cute tank dress. The tutorial and free pdf pattern are below.
Tank dress sewn from a mens dress shirt
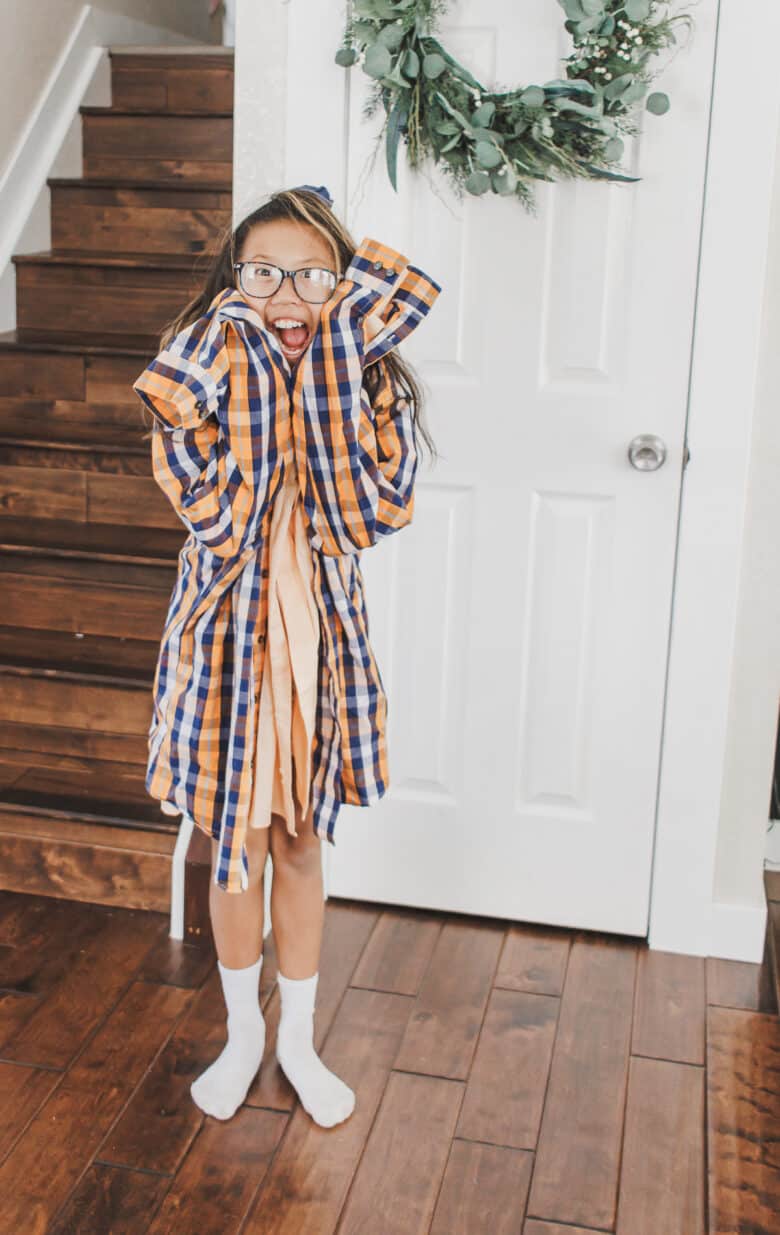
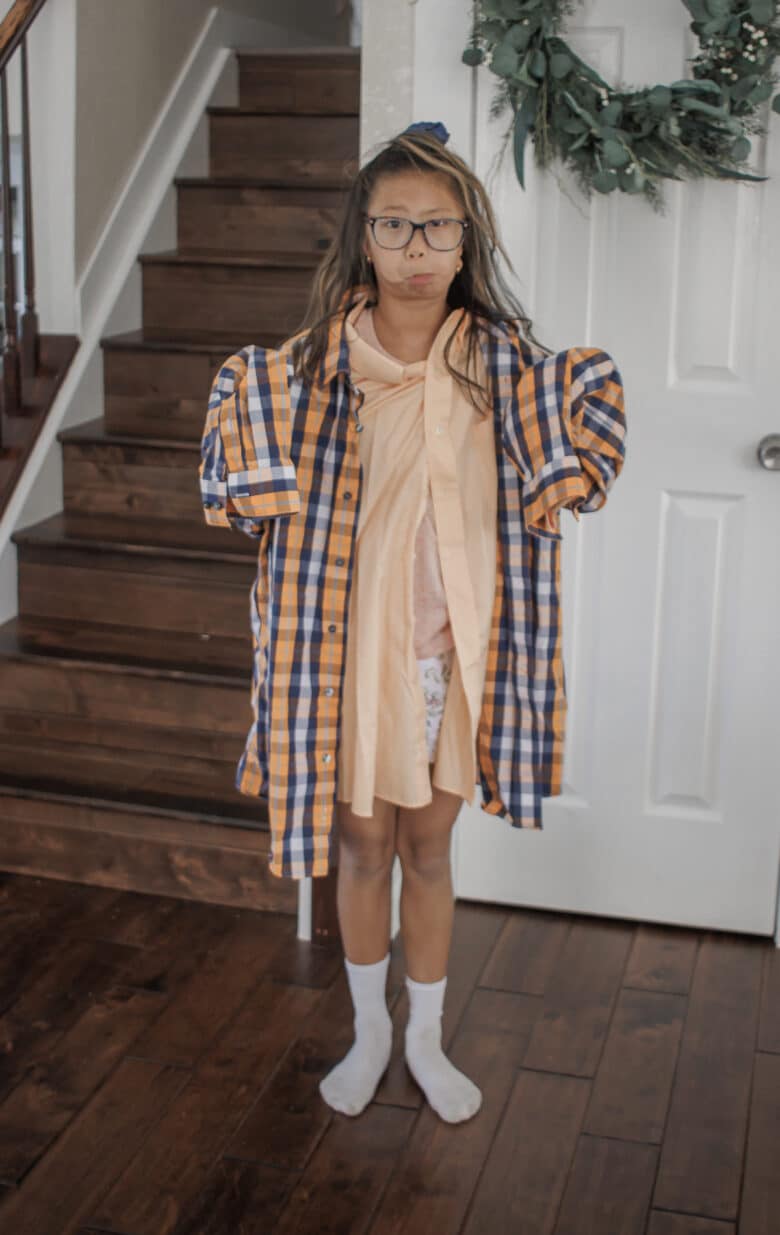
Rose and I are super excited to show off this dress to you today. I bought a couple shirts from the thrift store several weeks ago and we love how they came together. In a smaller size you may be able to get away with just one shirt, but for this size 8 {extended just a bit for Rose’s measurements} I needed two for sure.
Here’s the before… When buying shirts to use as fabric I always try to get as big as I can. Looking back we should have used the checkered one as the skirt, as it was a bit longer so the skirt would have been longer. I let Rose choose.
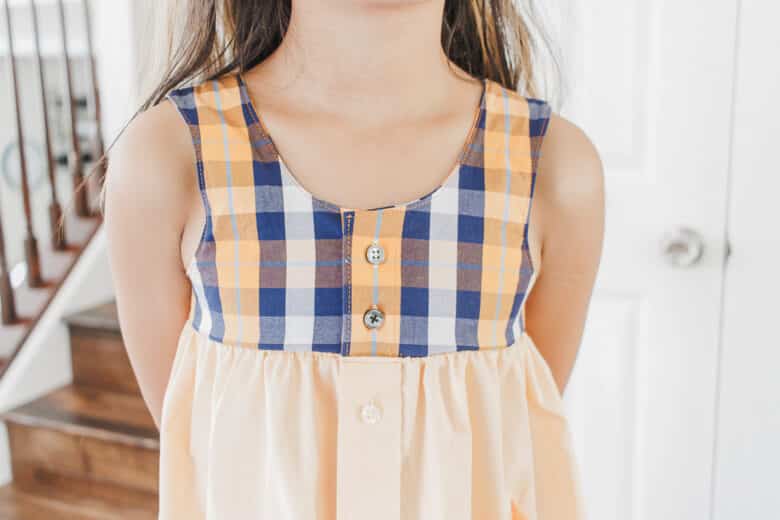
And here’s the after! Adorable!!! This free pdf pattern is from 12M-8Y {details below} Since Rose is quite slim, she was just outside the size 8 measurements. I just lengthened and widened the top just a bit to get this a perfect fit for her. I love that you can see the original hem shape from the shirt on the side.
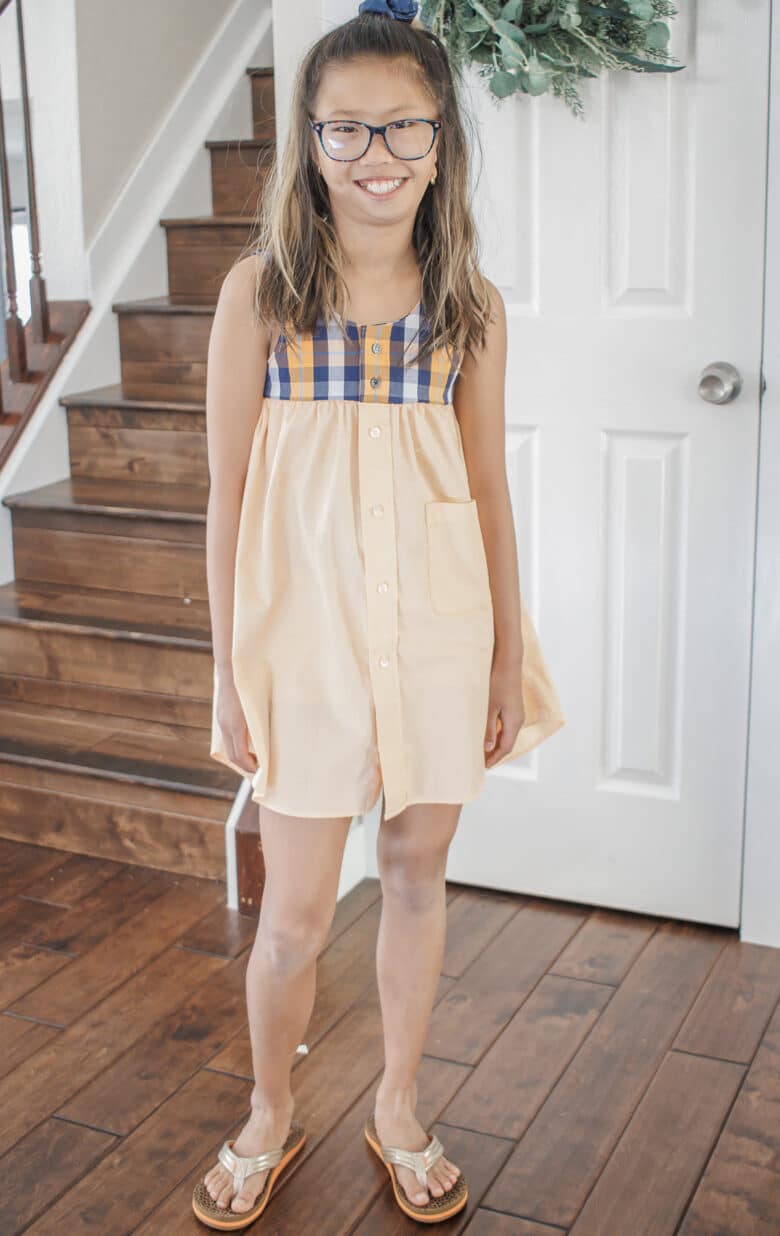
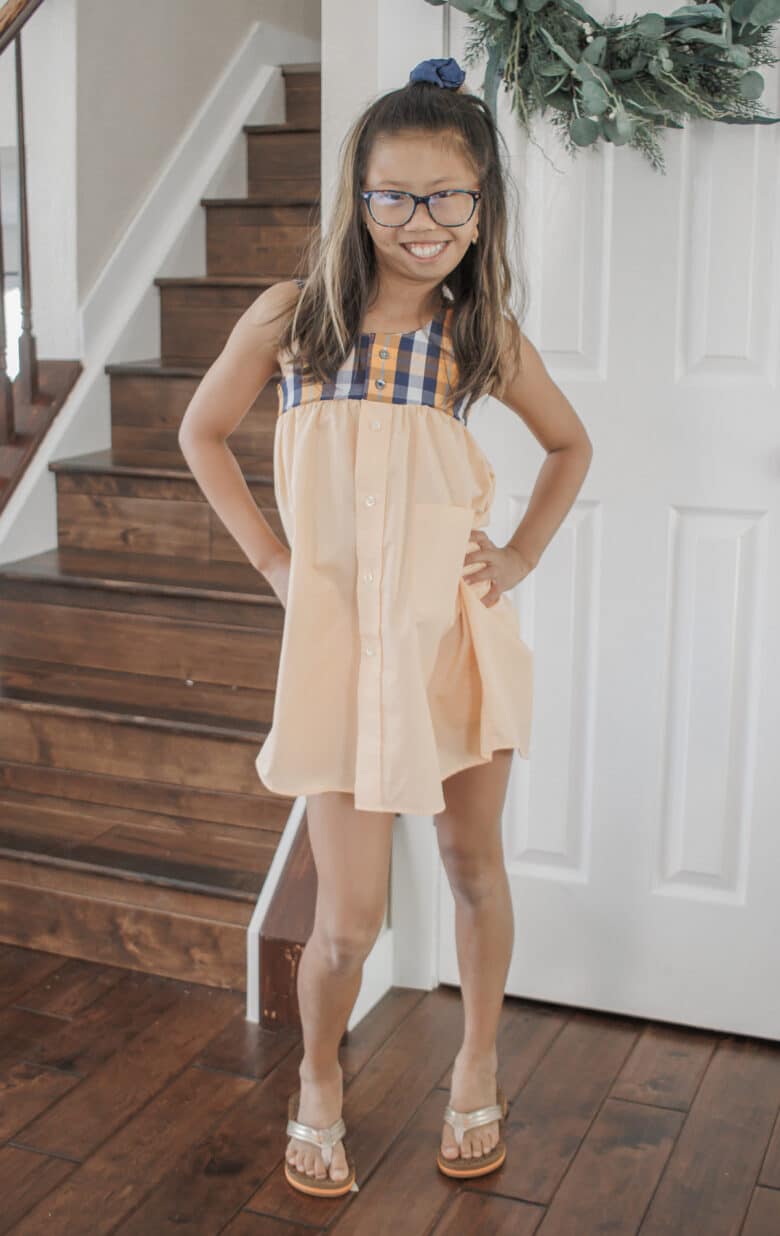
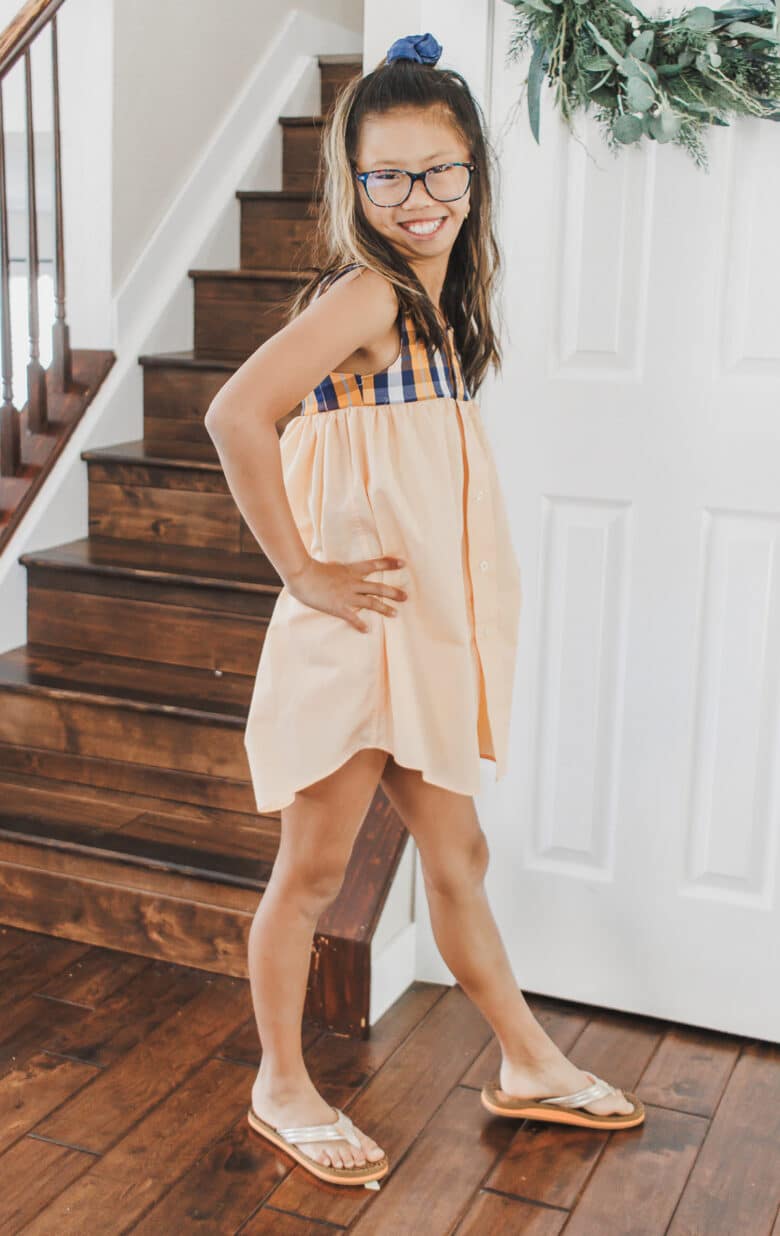
And of course she has to wear her shorties {short leggings} underneath! You can get these in a free pattern size 12M-12Y here. I tried to keep the original buttons and hem whenever possible, using these elements are one of my favorite parts of upcycling.
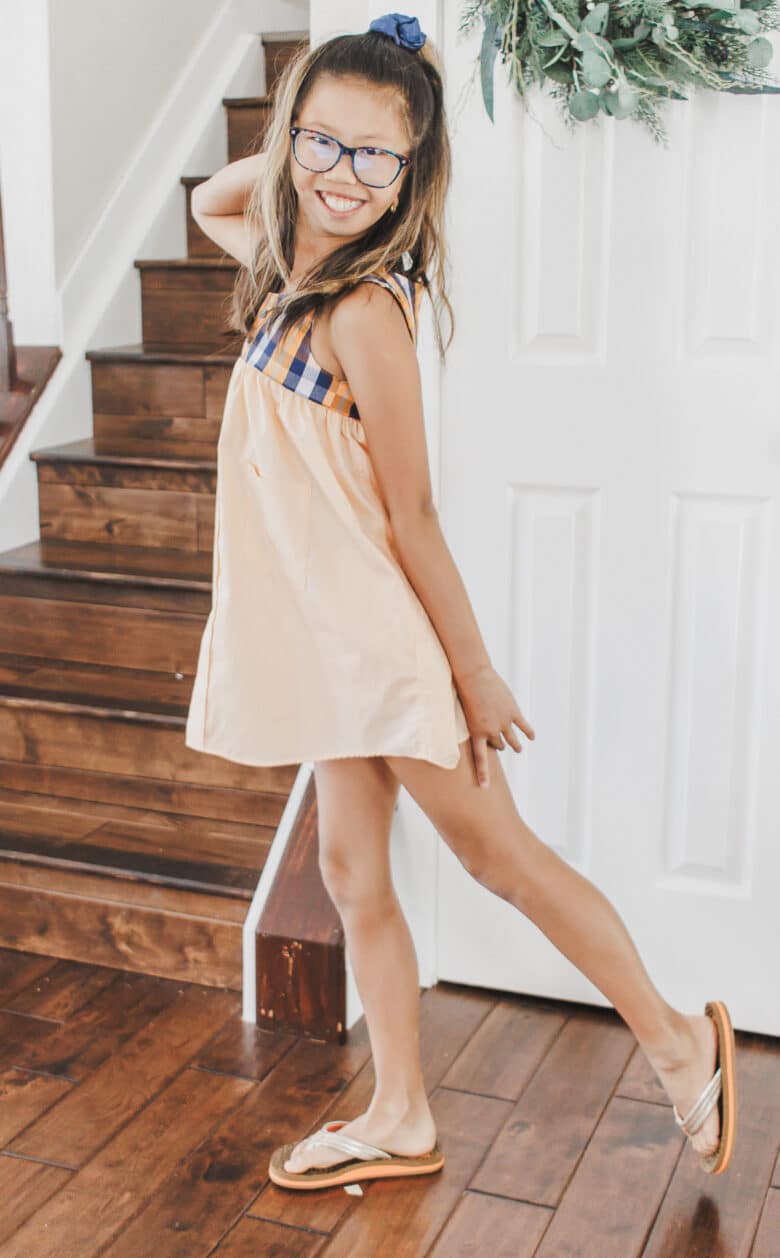
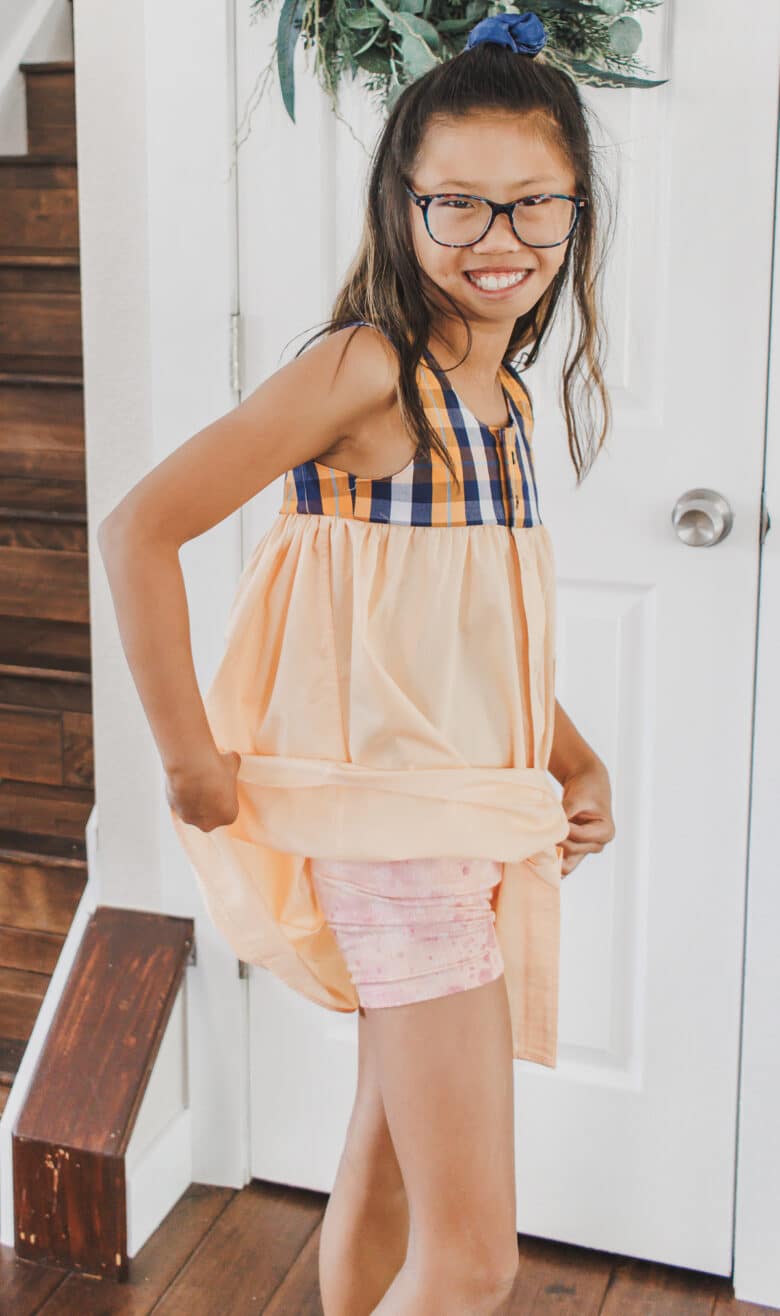
The full tutorial for making this dress as well as the link to the free pattern is below.
Other amazing upcycle projects to check out

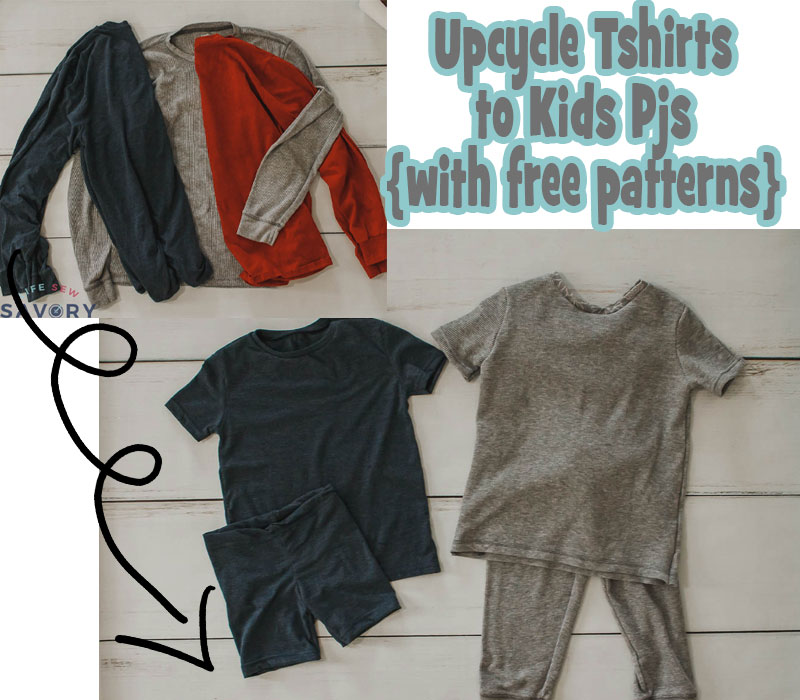
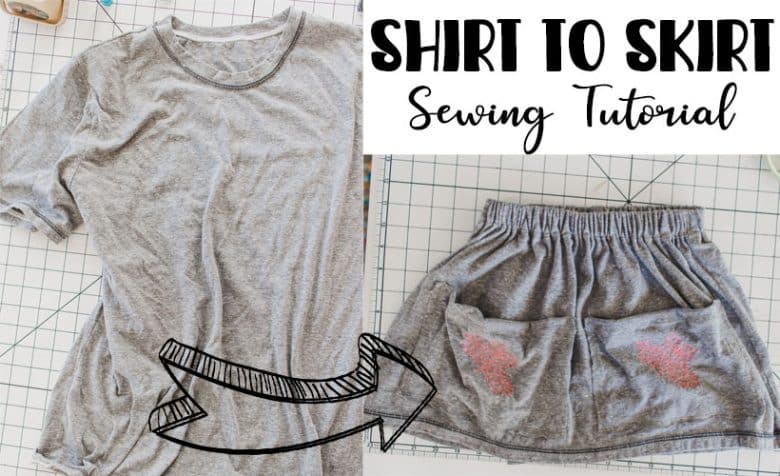
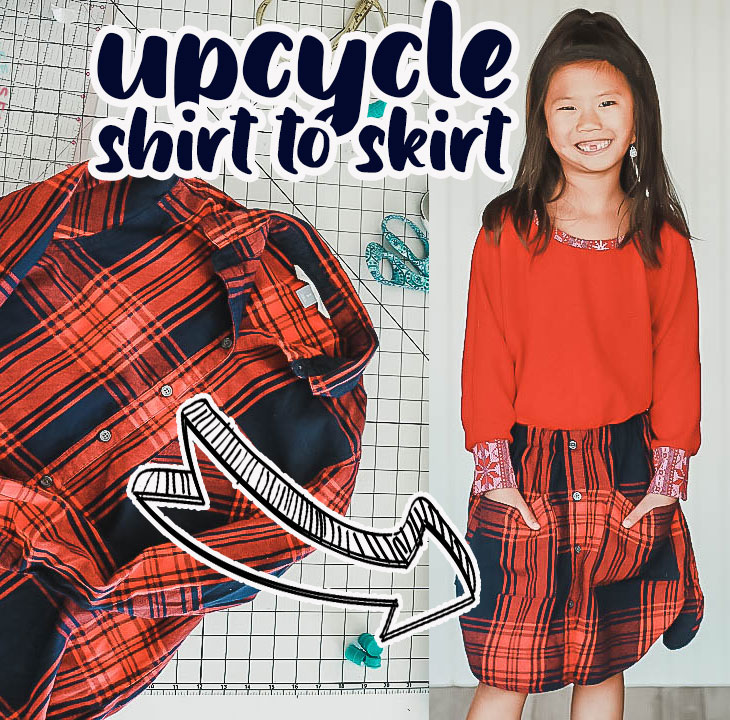
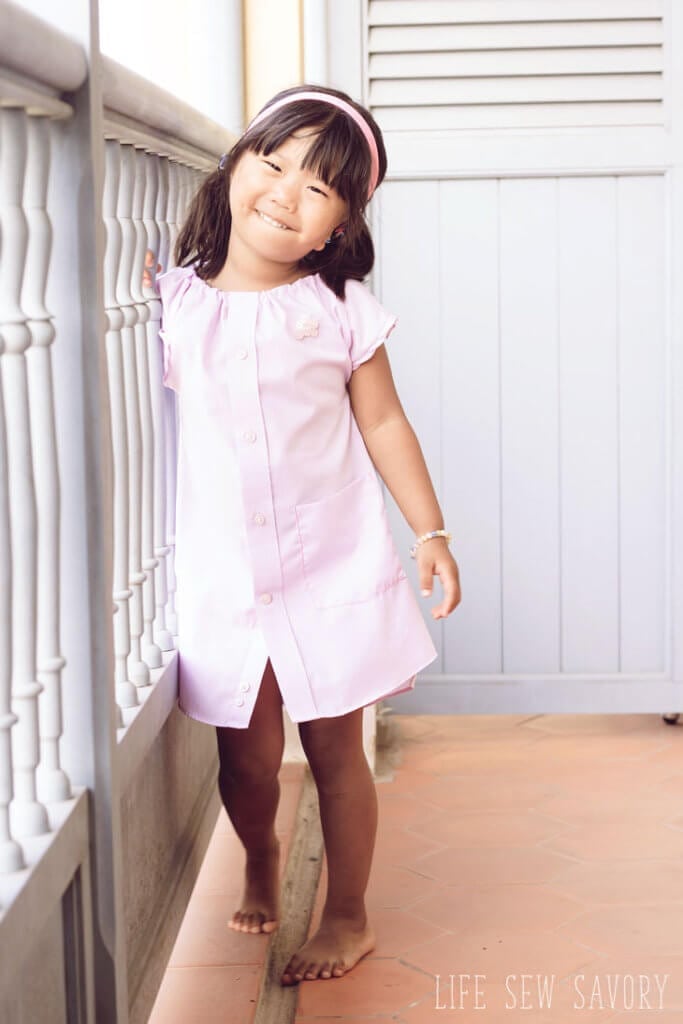

- Daddy Shirt to toddler Pjs {when boys were tiny I could get a shirt and shorts from one mens tee}
- Adult sweaters to kids clothes
- Dads shirt to dress Free sewing pattern 12M -5T
- Other pjs from tshirt ideas
- Flannel shirt to skirt
- Tshirt to skirt
How to turn a dress shirt into a tank dress
Time for the details! First, click the button below to download the free tank dress pattern for woven fabrics.
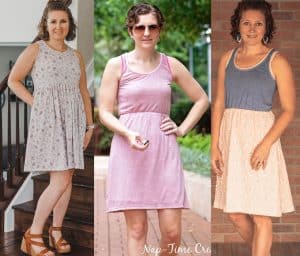
I’m going to walk you through how I used big shirts to create this dress below. If you need more sewing help or want to see it made from just yards of fabric, see this tank dress tutorial post here.
This pattern only has printable pieces for the tank bodice and the skirt is create with dimensions. Using a shirt for the skirt is even easier, I’ll show you below.
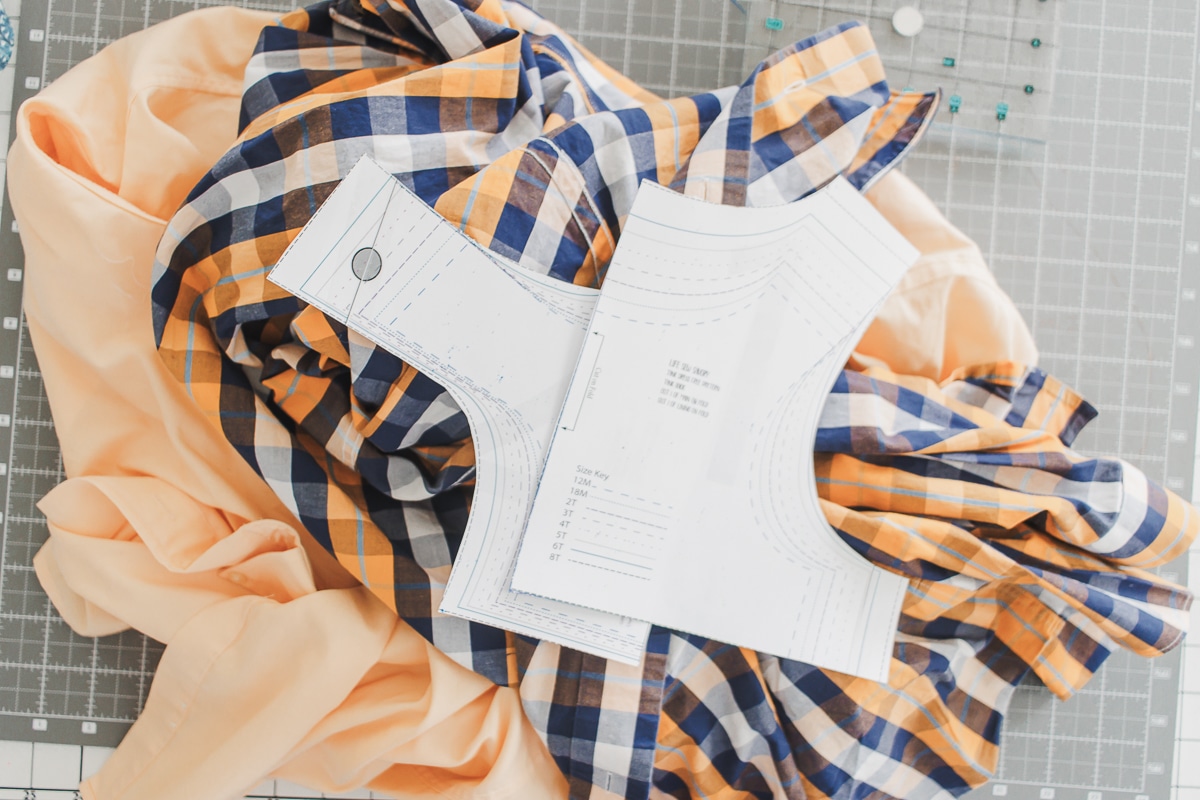
Assemble the two piece pdf pattern and gather some large dress shirts. I got mine at the thrift store, but I also like to use ones my husband is getting rid of. If you are sewing a tank dress in a tiny size you may be able to just use one shirt, but for the larger sizes you will need two shirts.
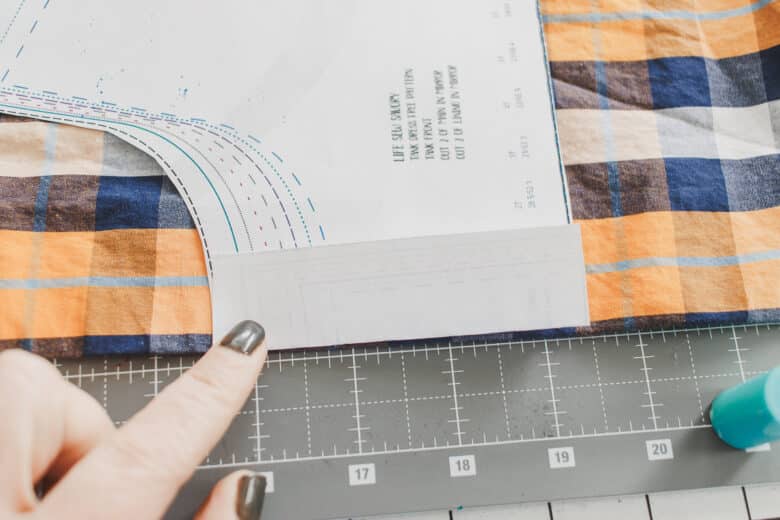
I reused all the buttons I could for this project, so begin by folding over the edge of the center front bodice 1″. Place it on the edge of the shirt and make sure the button holes are about 3/4″ below the top neckline.
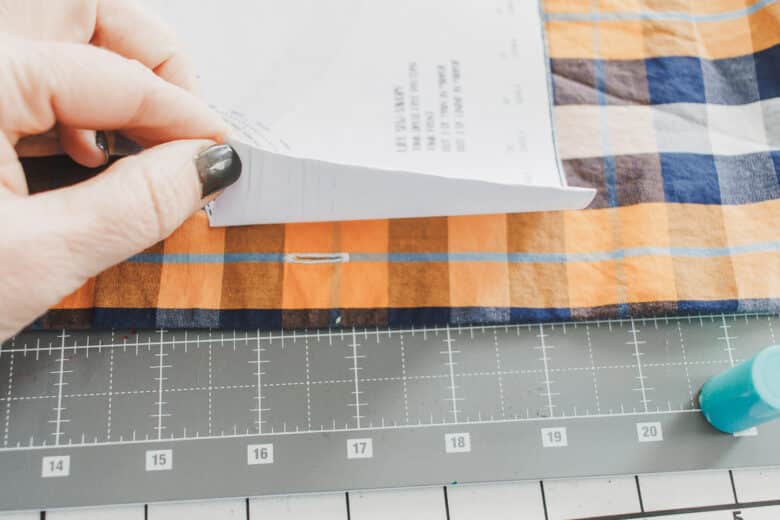
After you have cut the button hole side, button it onto a button on the other side of the shirt and use the first side as a pattern for the second side with button and hole lined up.
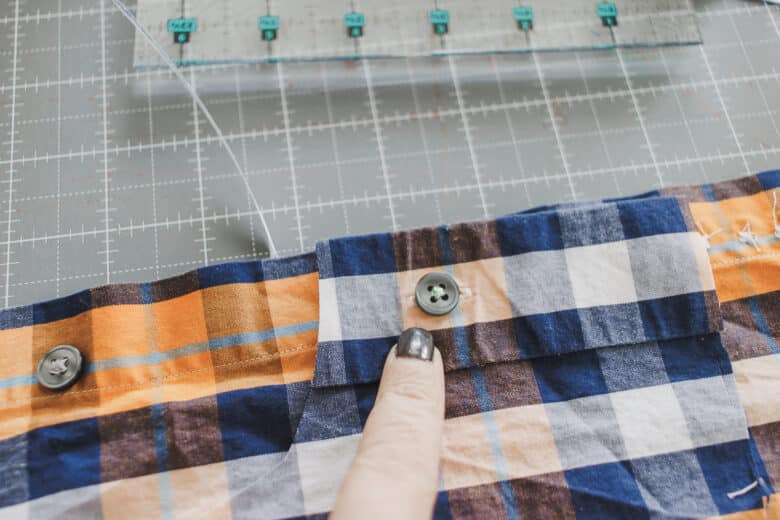
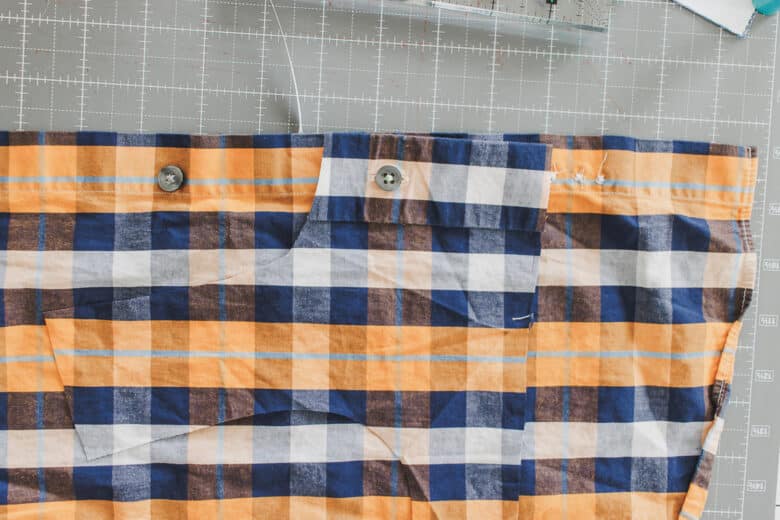
Cut two of the back bodice pieces on the fold using the back of the shirt. Use scraps to cut two of the front pieces again to use as the lining of the front. Make sure when you cut the lining you unfold the edge we folded above.
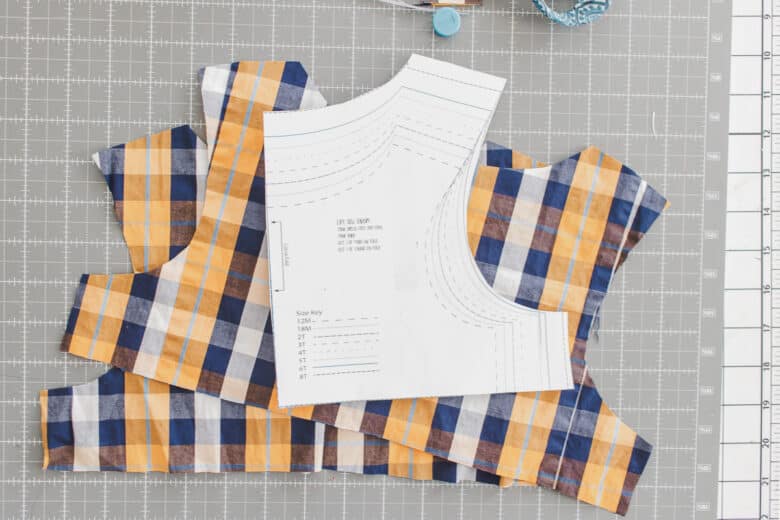
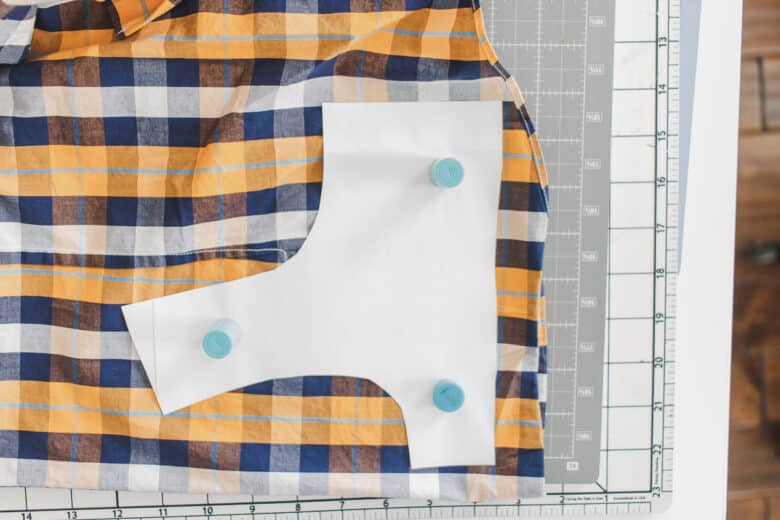
You should now have four fronts and two backs. Match the front bodice with a back piece on the shoulders. Do the same with the lining set. When you have all the shoulder seams sewn, place the two pieces right sides together and line up shoulder seams.
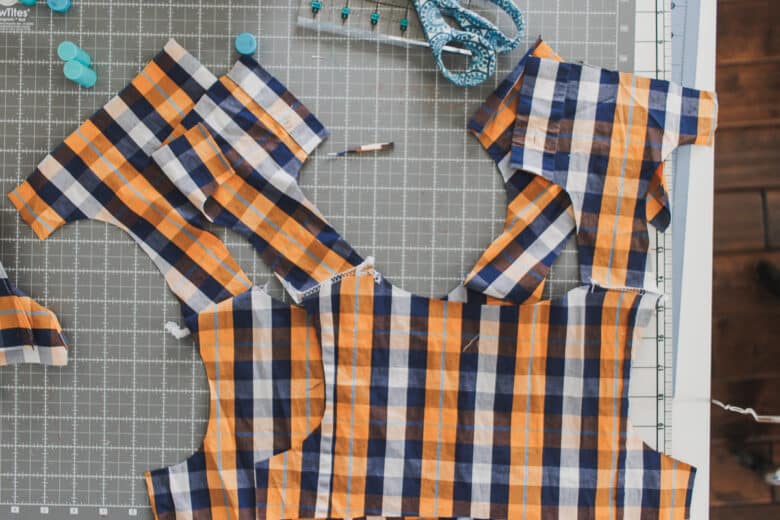
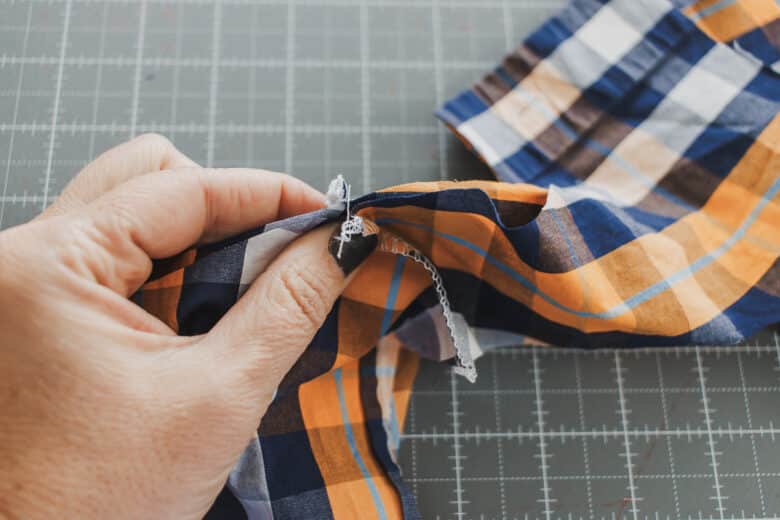
Pin or clip the neckline. The front lining will stick out farther than the main front piece. Sew neckline.
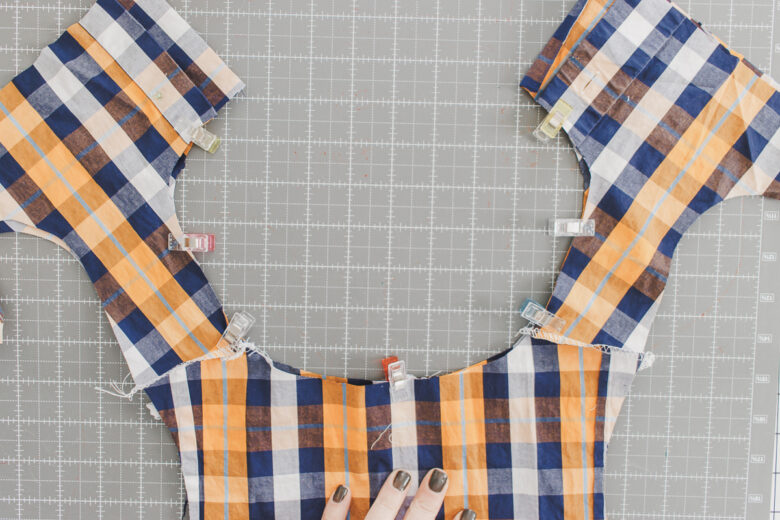
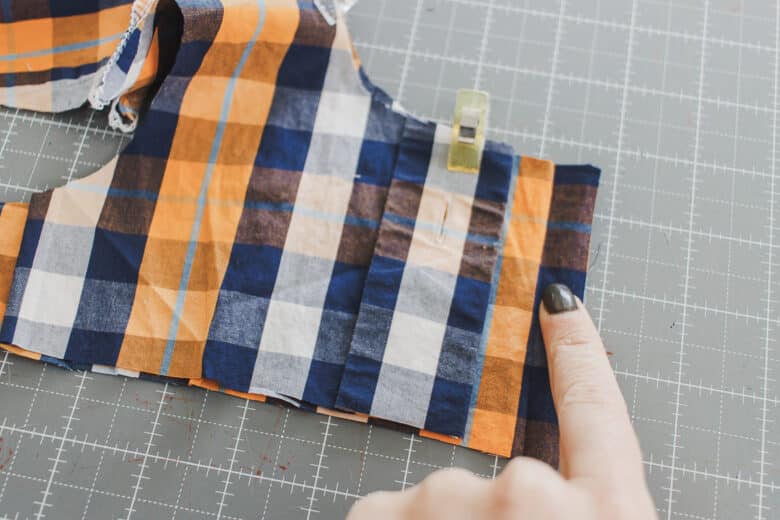
Finish raw edges of lining at the front. Pin or clip the shoulder openings.
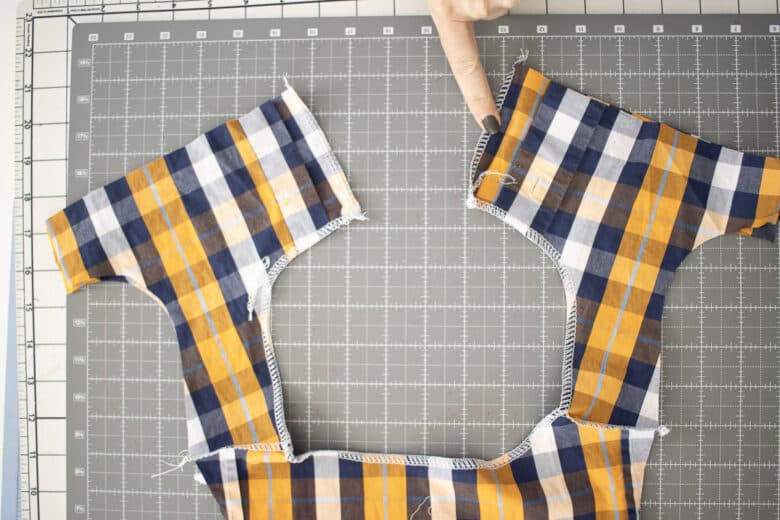
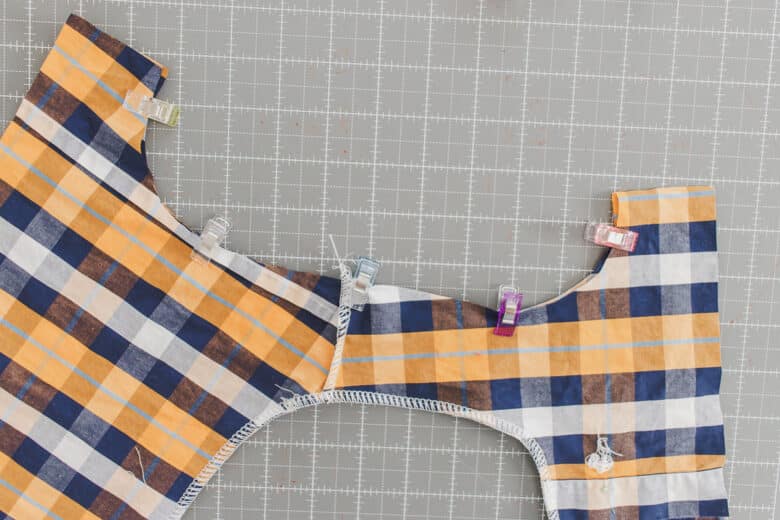
Sew the shoulders {clip curves if you didn’t use a serger to sew} then turn right side out. Press seams.
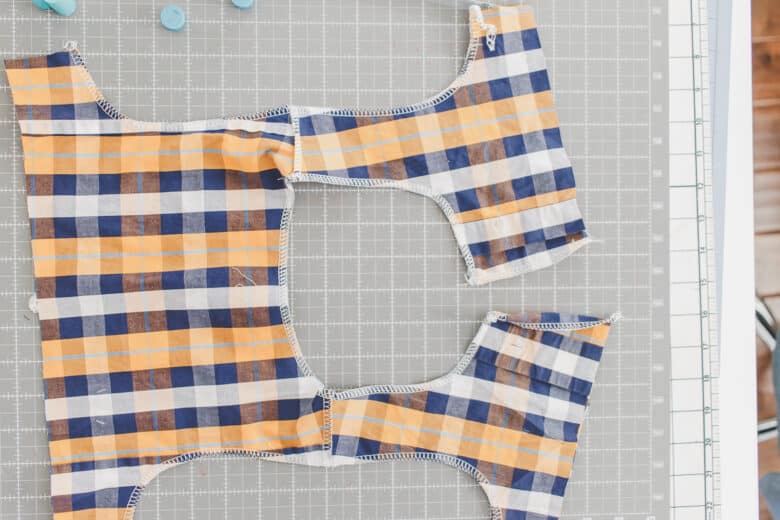
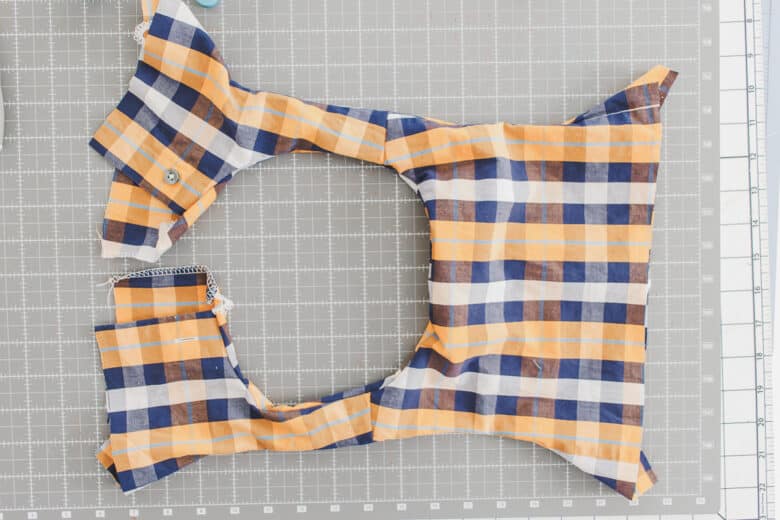
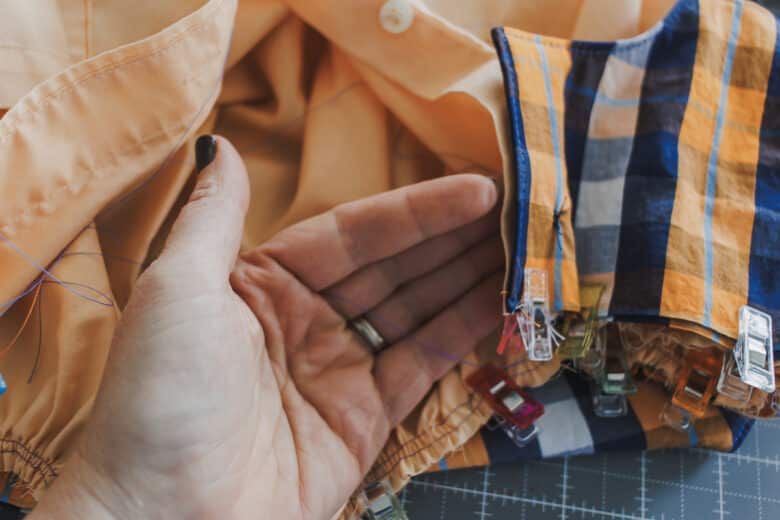
On the front edge its time to finish the lining. Fold in the edge of the lining and then fold the front down over top.
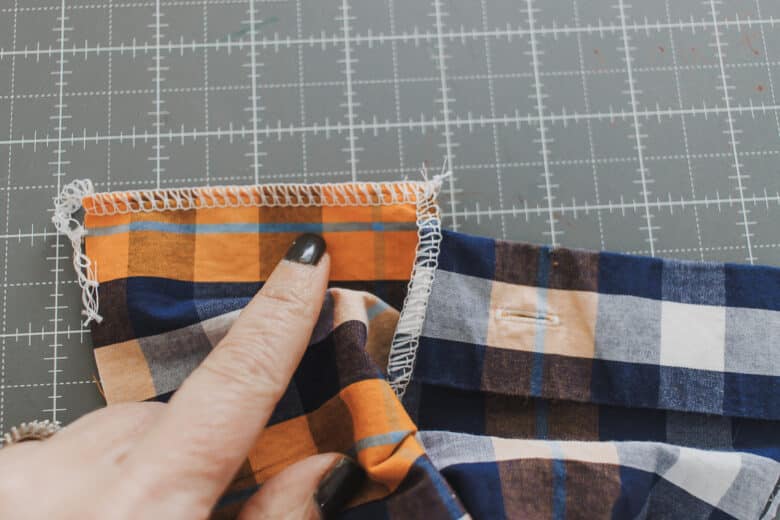
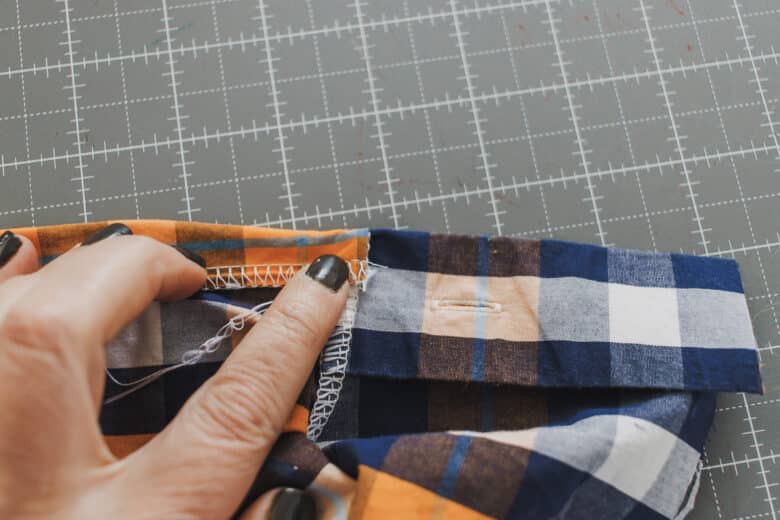
Pin or clip in place. On the button hole side we need to keep the hole exposed. I clipped my lining back.
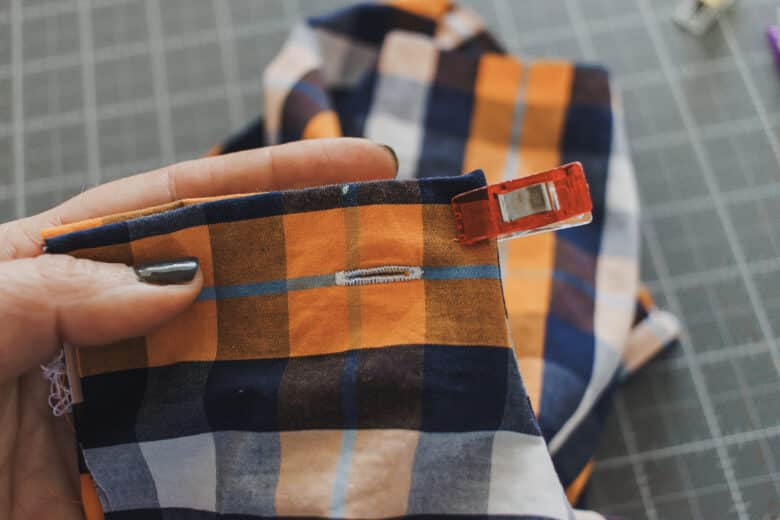
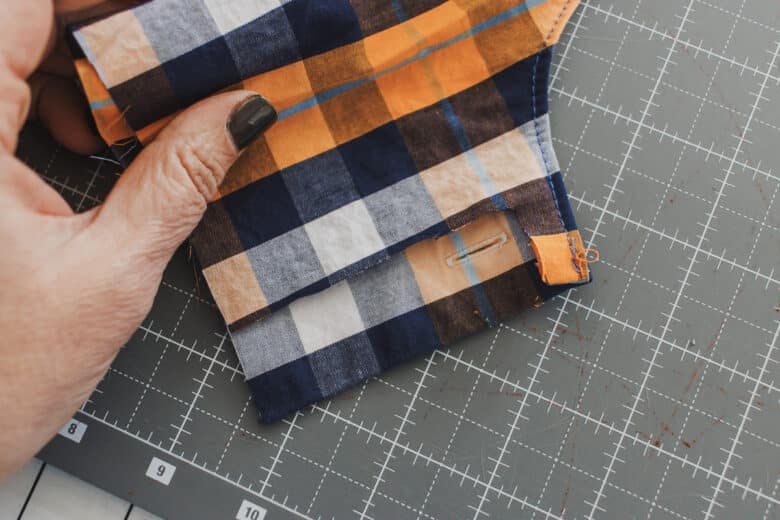
Refinish the new edge with a simple zig-zag, then topstitch on the front to keep the lining edges in place.
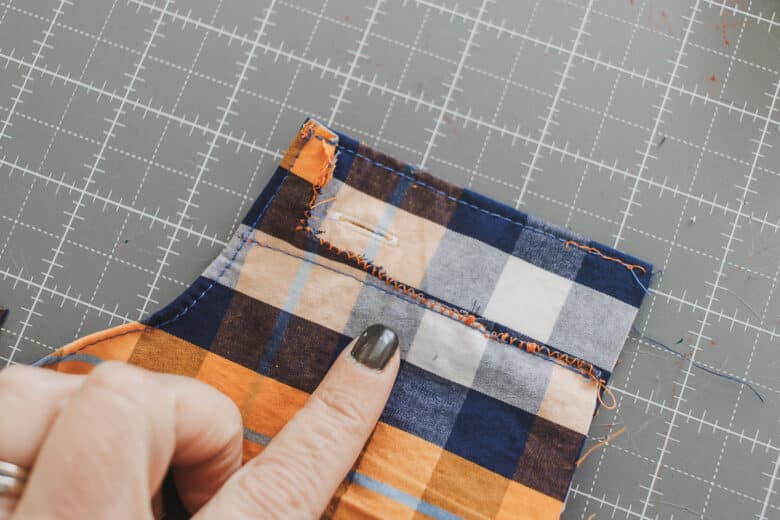
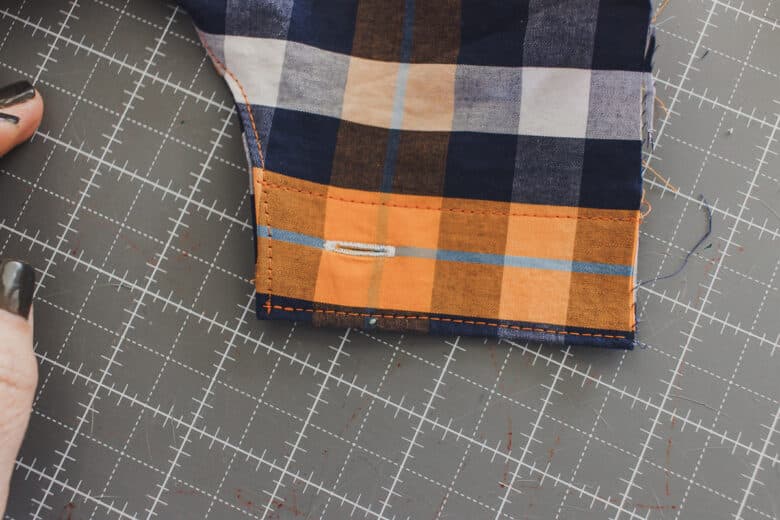
The button side is even more simple. Fold the lining over and the button front down overtop.
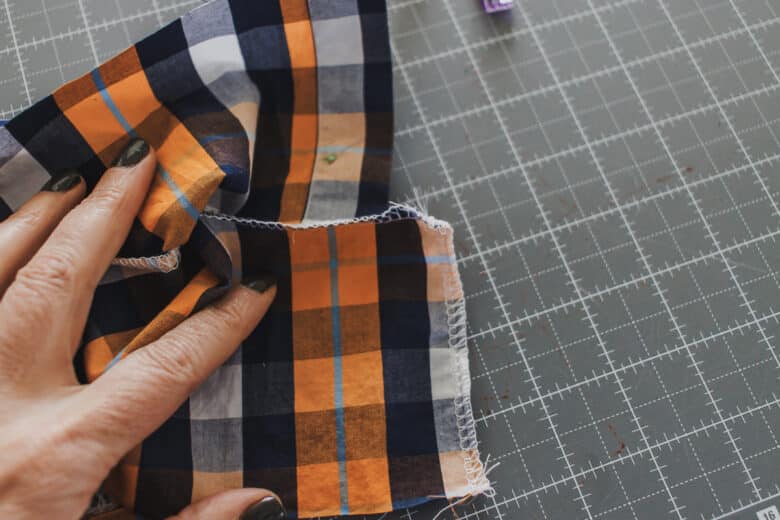
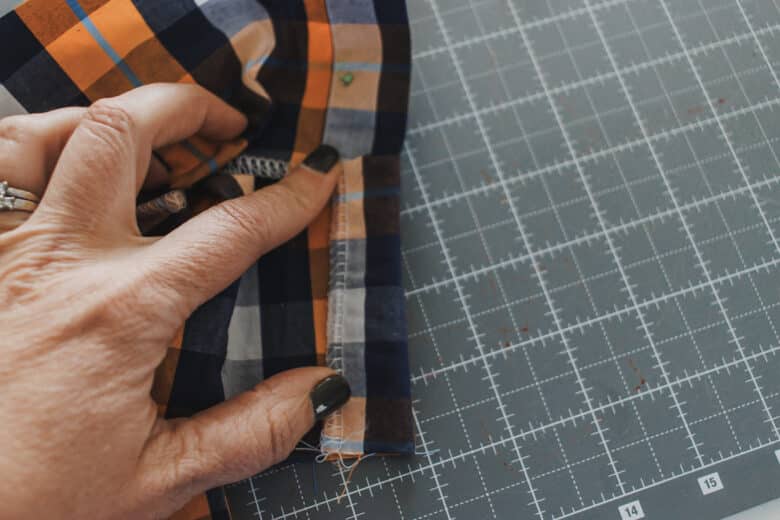
Top stitch to keep the lining in place.
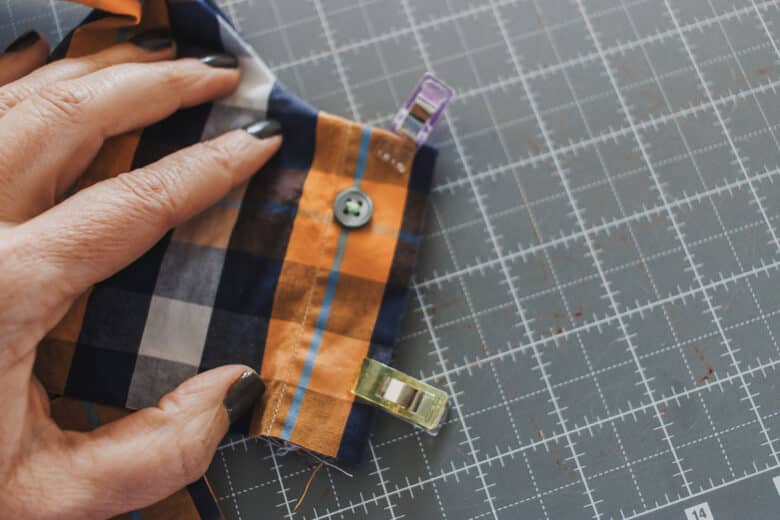
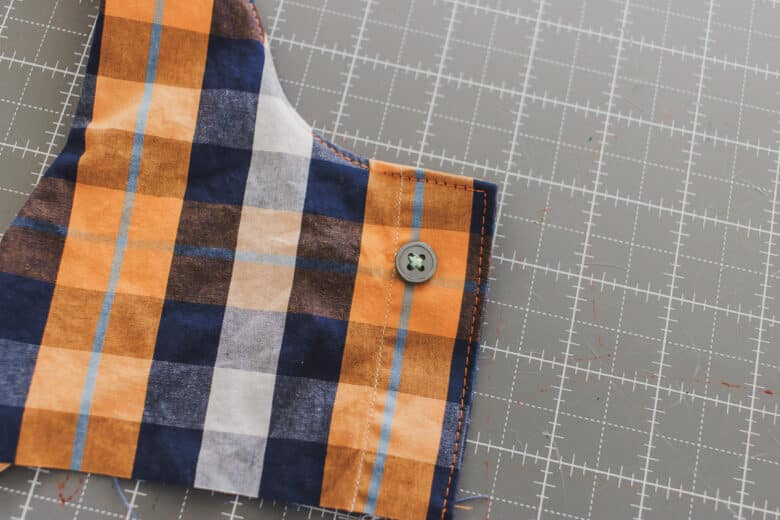
With right sides together open up and sew the side seams together.
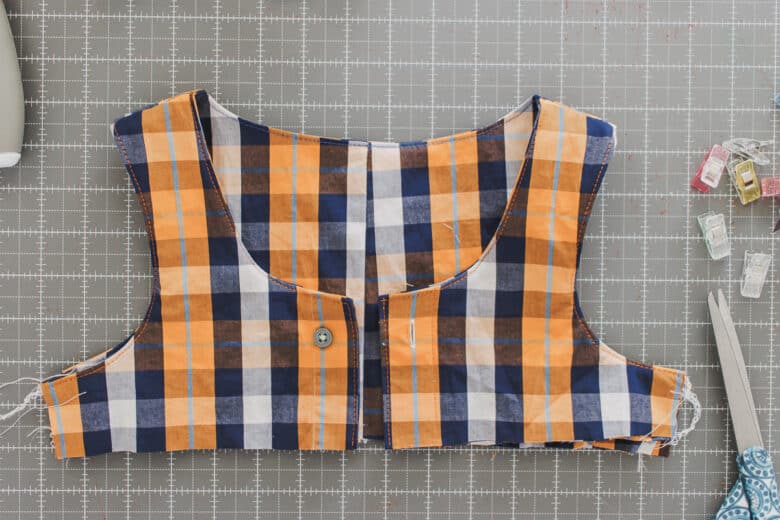
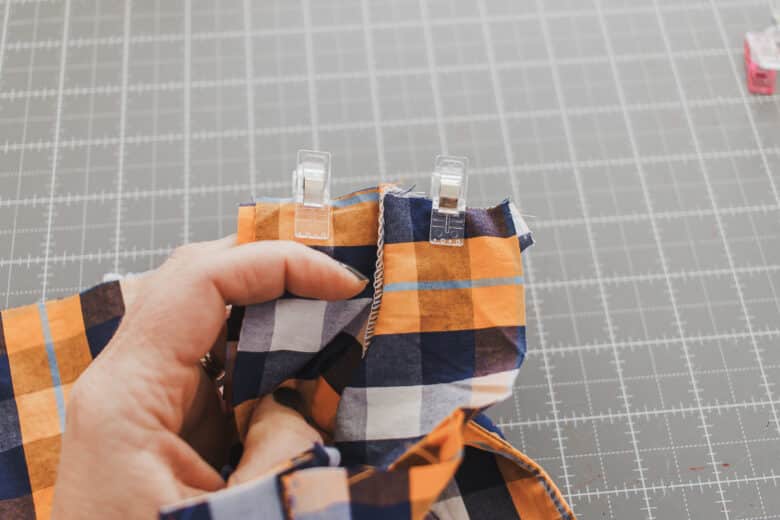
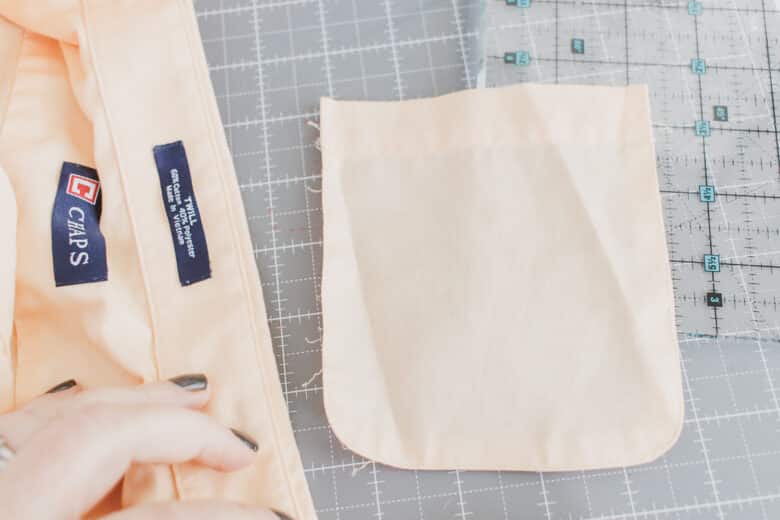
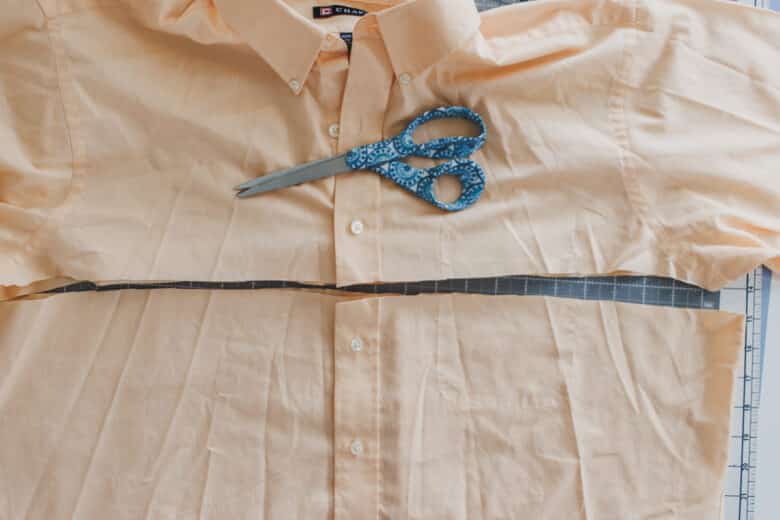
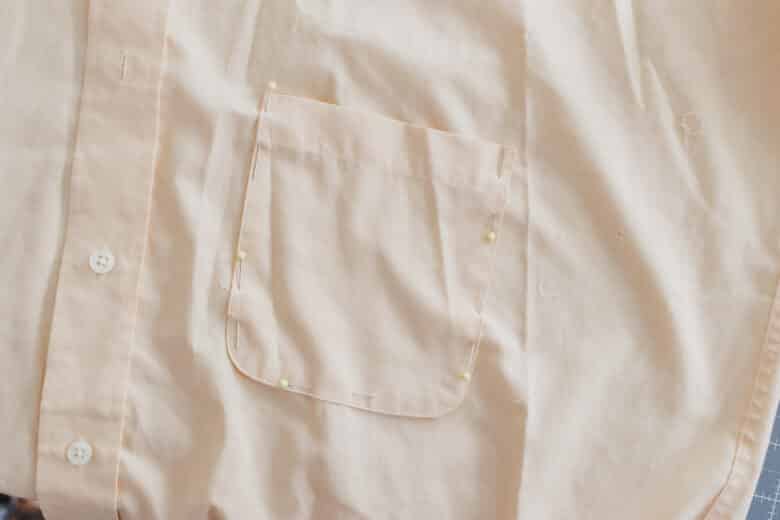
On the second shirt we will cut it apart right under the arms. If the pocket is in the way, pick it off. I used a seam ripper to carefully remove the pocket. Make sure where you cut isn’t too close to a button.
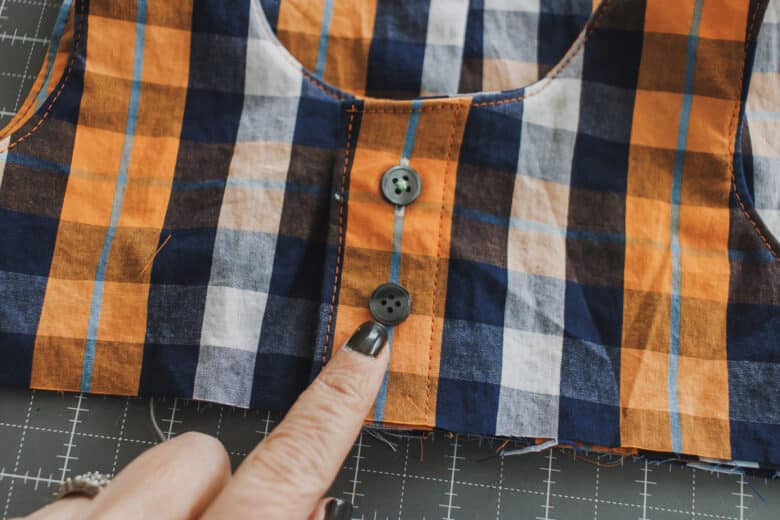
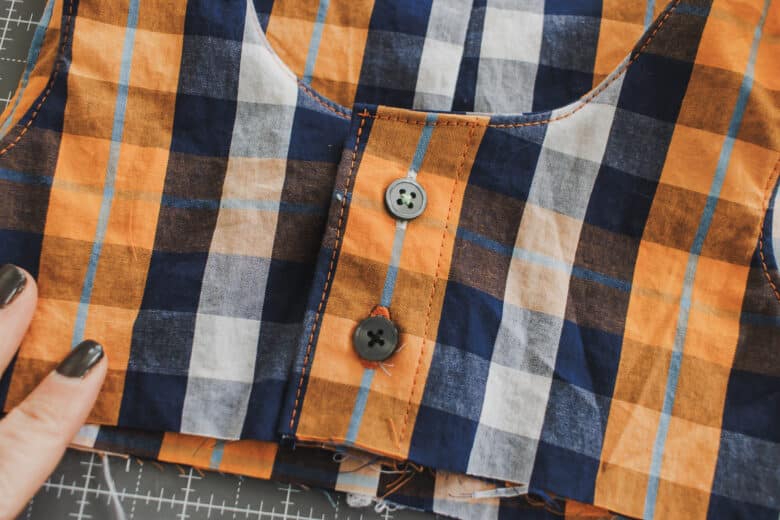
I decided to add a second button and button hole on the top before adding the skirt. Need help with buttons or button holes? Here’s my tutorial.
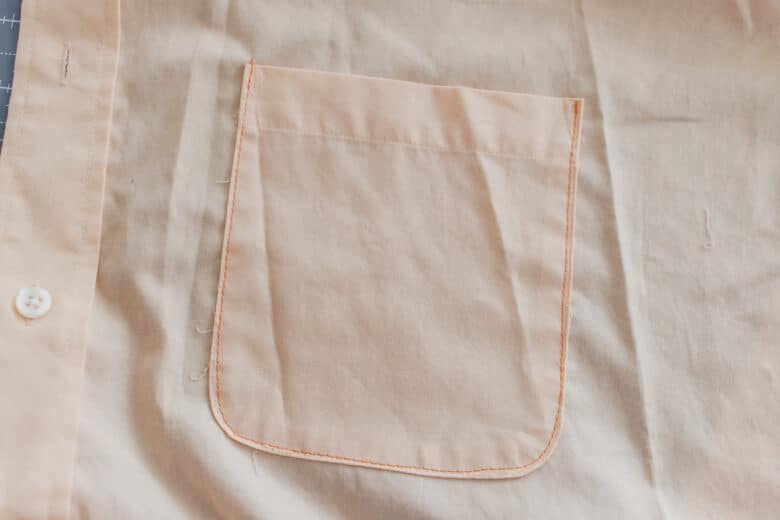
I put the pocket back on about six inches below the top edge of the skirt. Sew the pocket in place if desired.
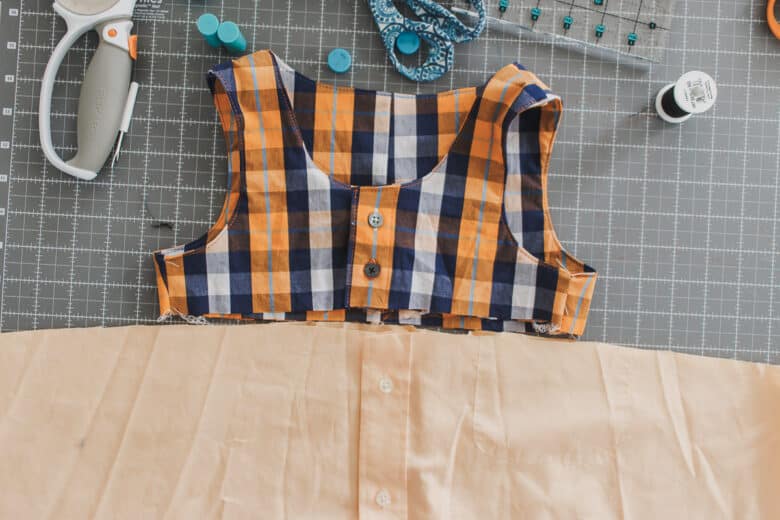
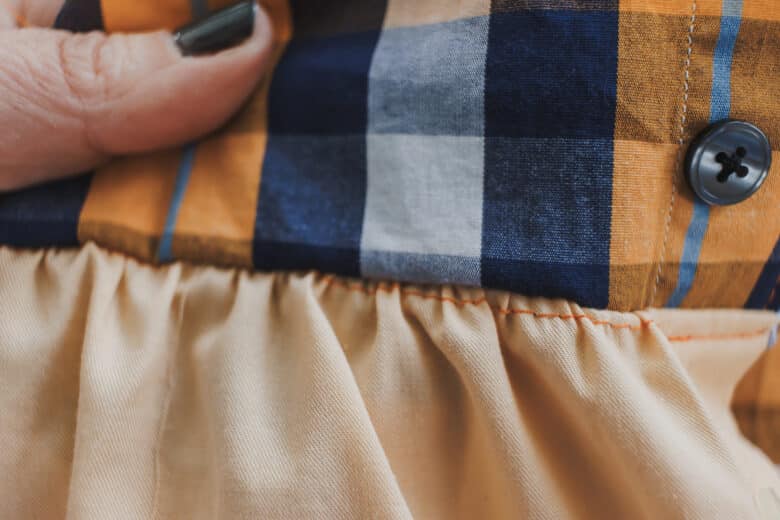
Run a gathering stitch along the top edge of the skirt. Need help with gathering? Here’s a tutorial on how to gather.
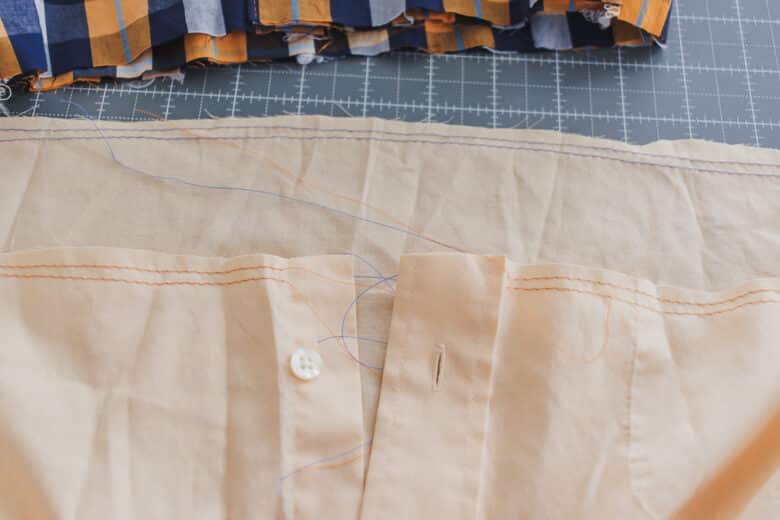
Gather up the fabric to the same size as the tank top. Pin or clip the skirt to the top with right sides together. Sew with a serger or a straight stitch then zig-zag to finish.
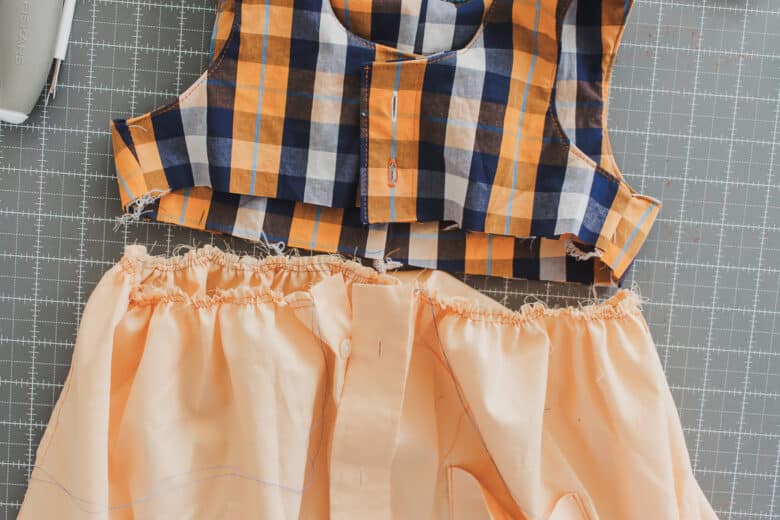
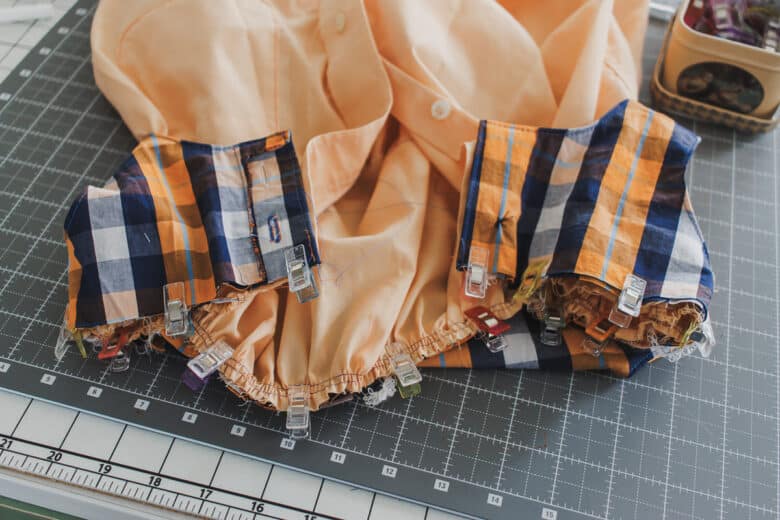
If you can see any gathering stitched on the front after sewing you can remove those as the finishing step. No need to hem as the shirt was already hemmed! Your tank dress is finished and you have a beautiful summer dress. Tag me on socials @lifesewsavory so I can see your finished makes.





Leave a Reply