inside: Learn how to create a reverse applique sweatshirt with this tutorial. Embroider a sweatshirt you love with reverse applique in any design. Create something fun and unique to wear this fall.
I’m looking forward to cooler weather and fall clothes. It will cool of sometime, right? {haha} Bring on all the sweatshirts!! This reverse applique sweatshirt tutorial is just the start of some fun fall tutorials coming your way. Reverse applique can be a fun way to add a word or design to any sweatshirt.
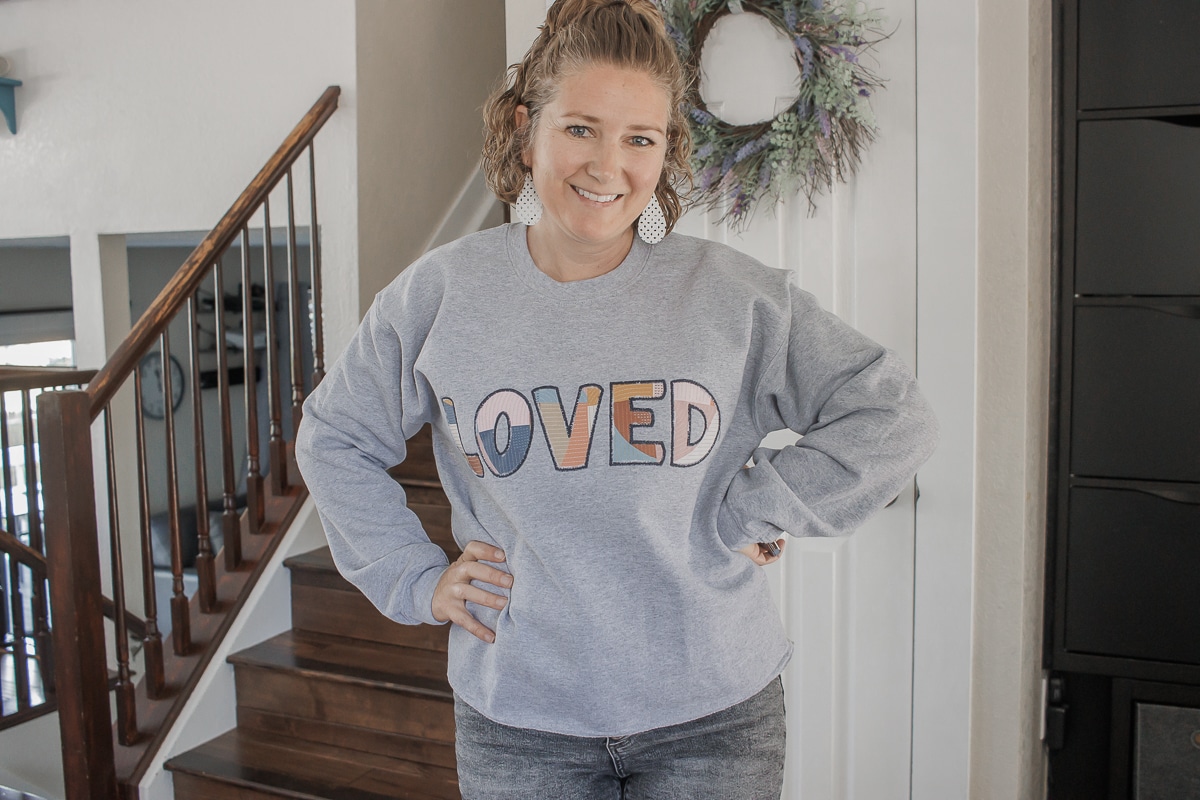
Sweatshirt with reverse applique
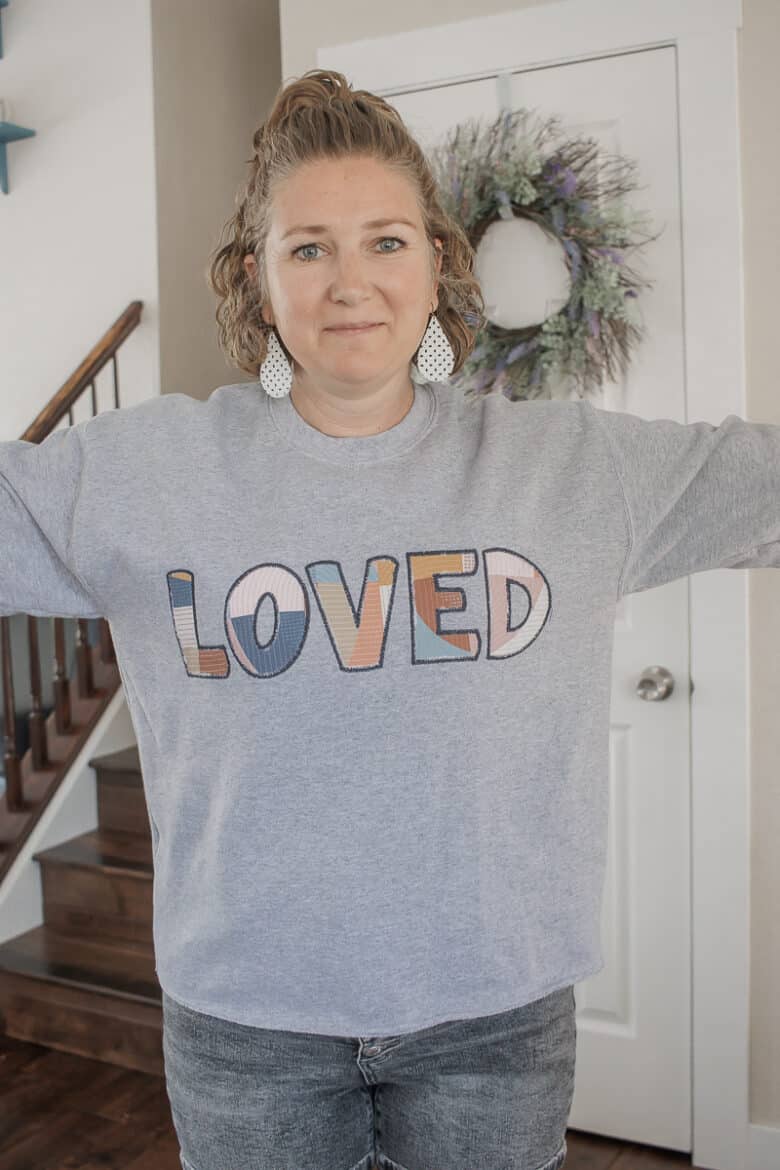
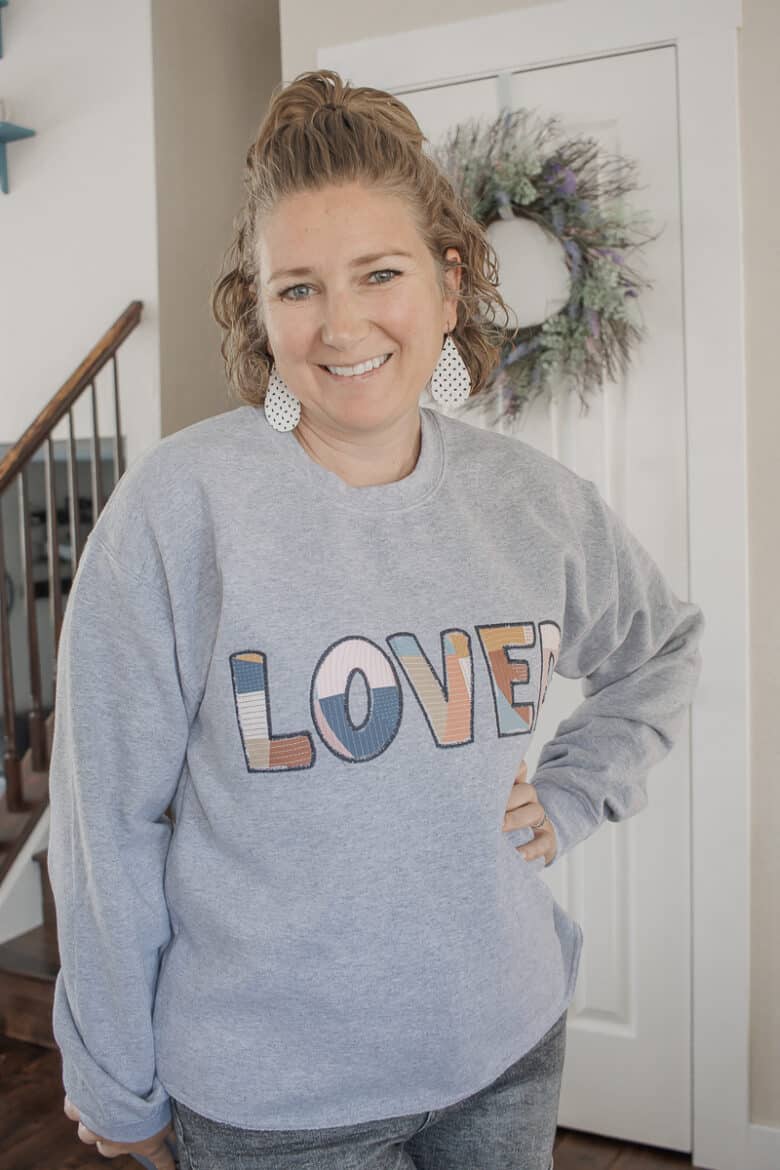
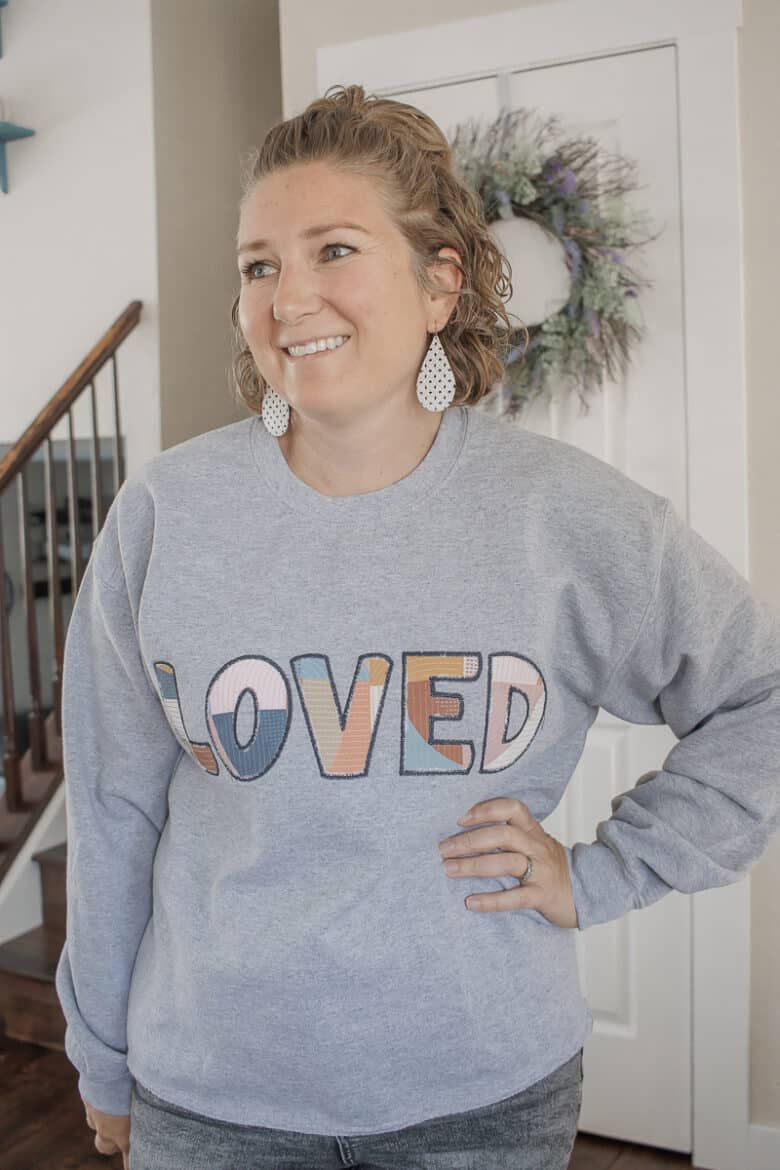
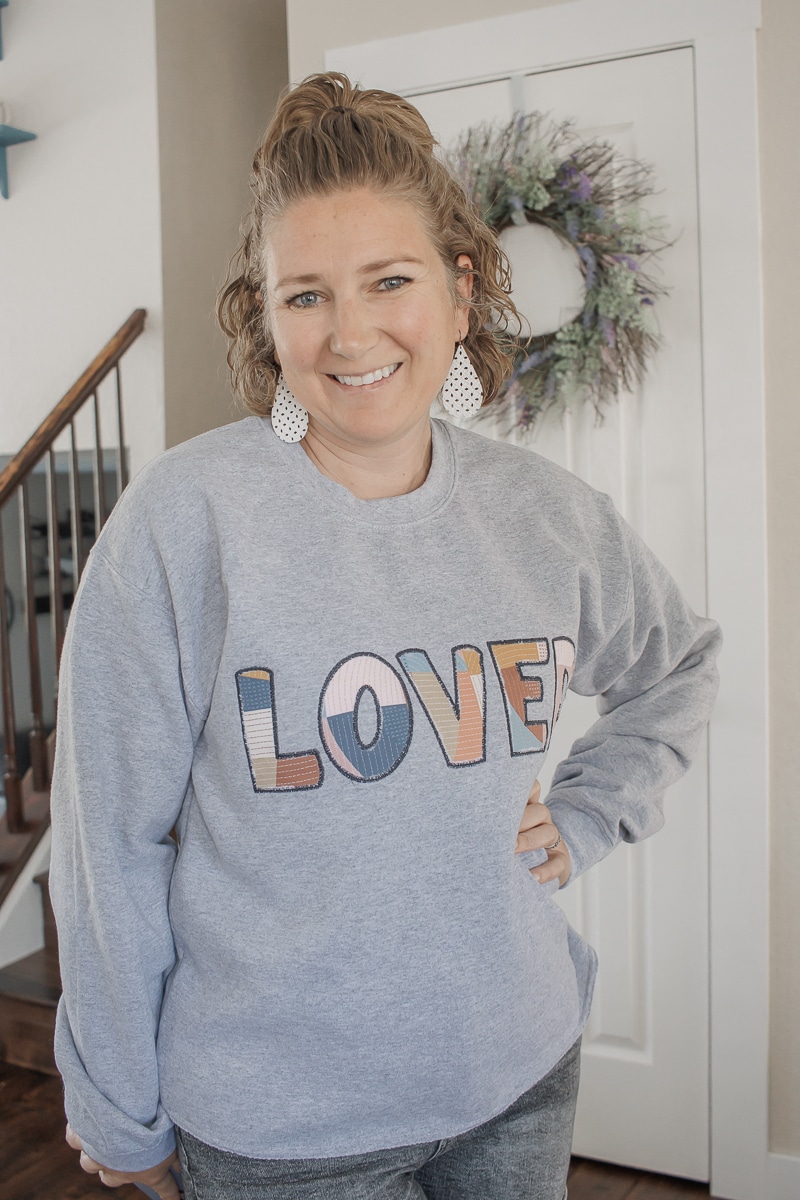
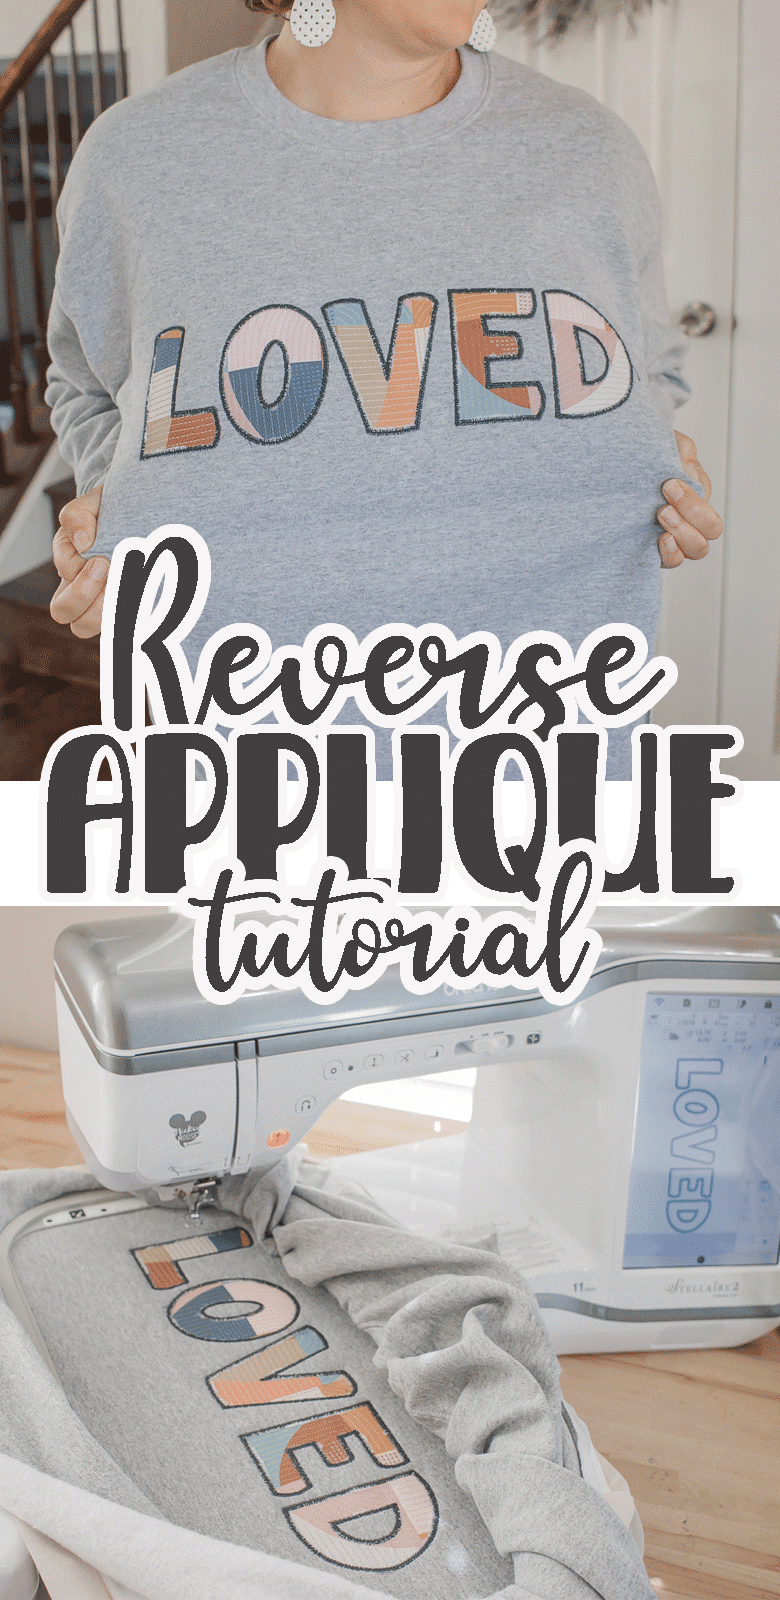
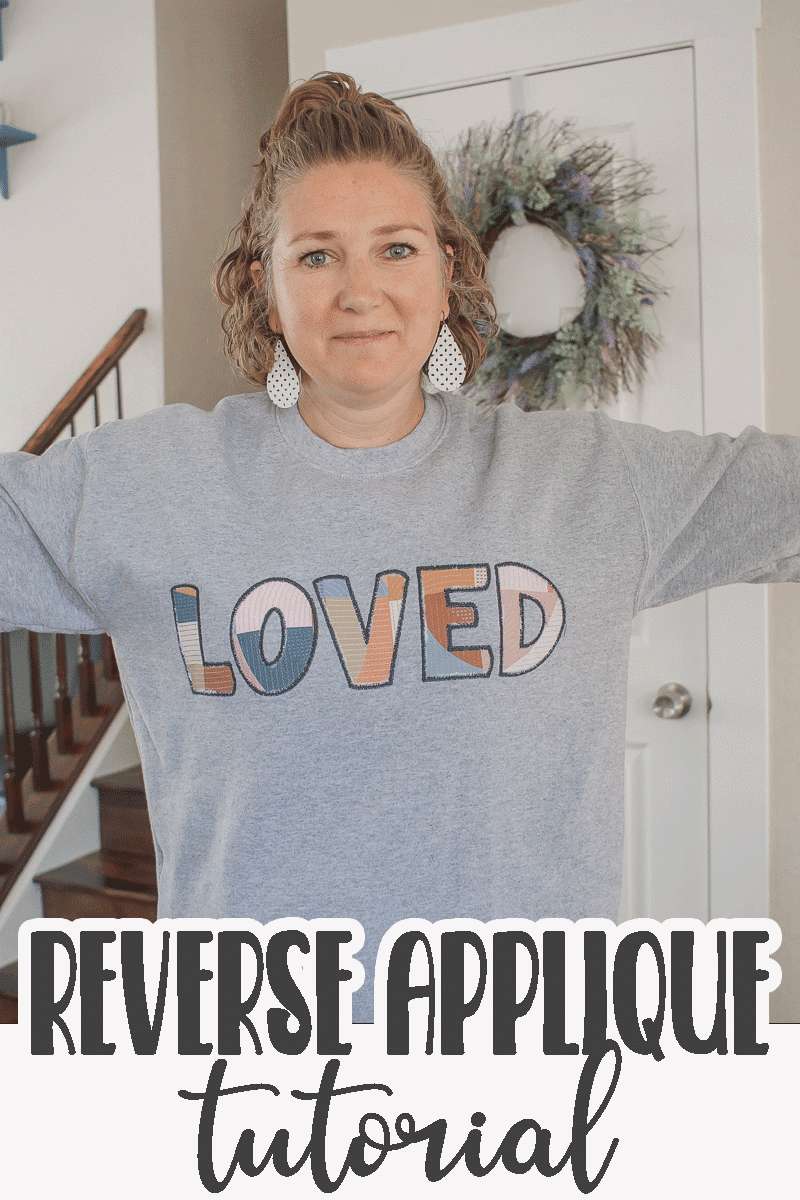
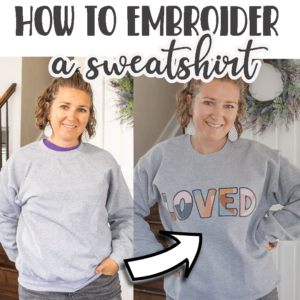
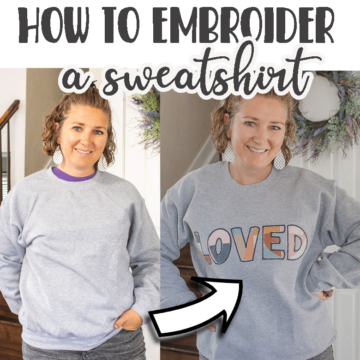
How cute is this reverse applique sweatshirt? It was really hard for me to decide what to embroider on this sweatshirt, but I settled on the word LOVED. I do feel loved as a mom, wife and child of God, so this sweatshirt is a fun one for me to wear.
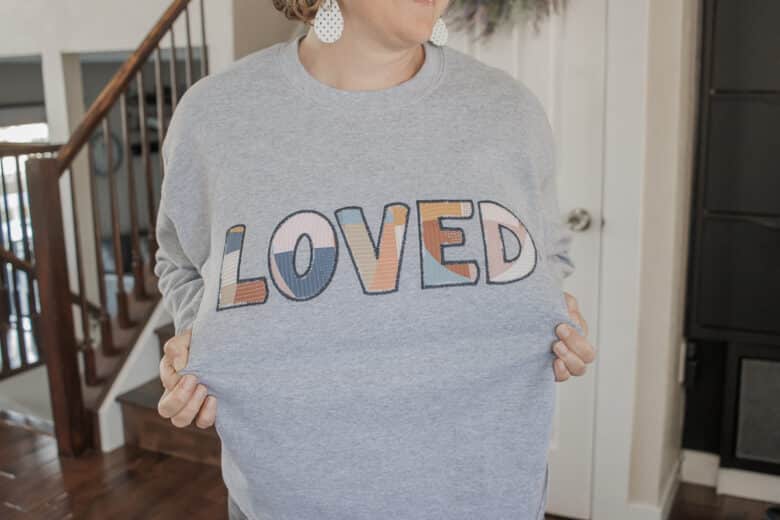
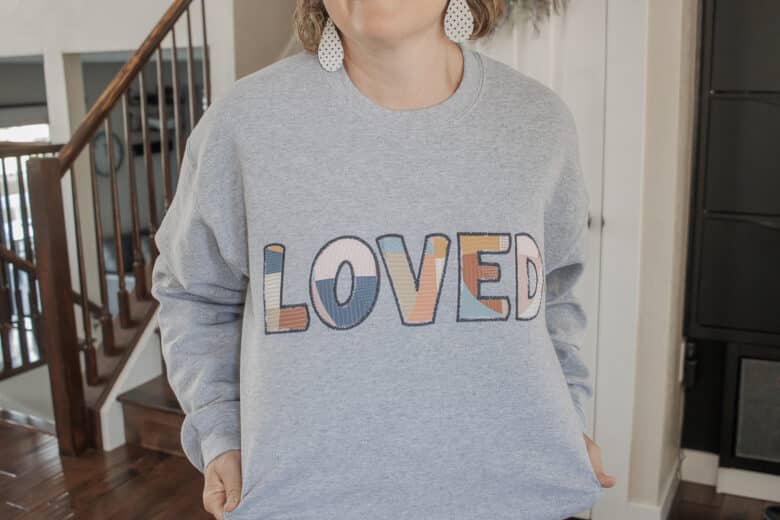
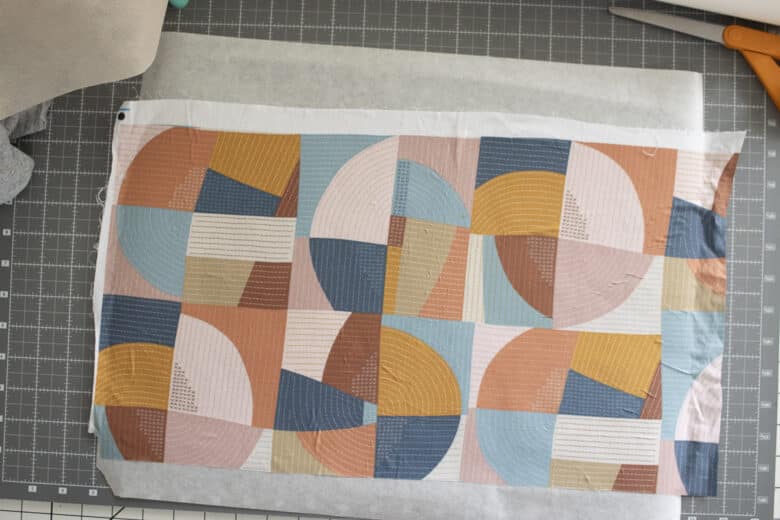
The fabric is a scrap from the quilted fabric I bought from Spoonflower last year. I had some scraps from my Quilt Festival clothes and I love the way it works with this sweatshirt.
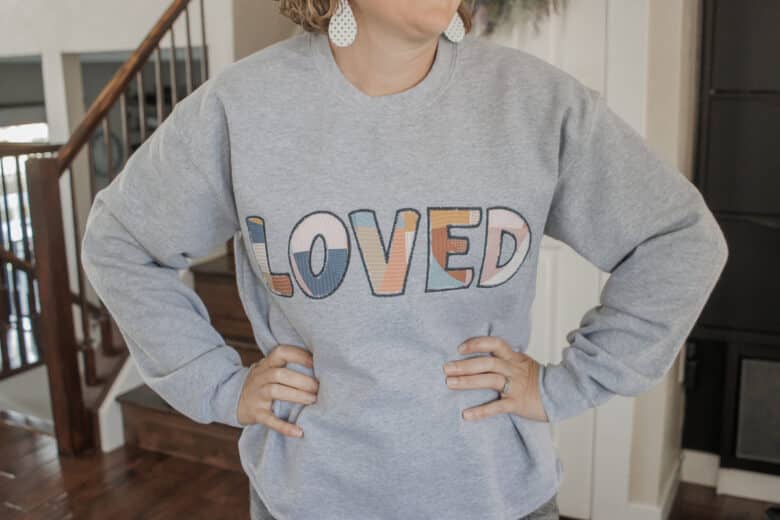
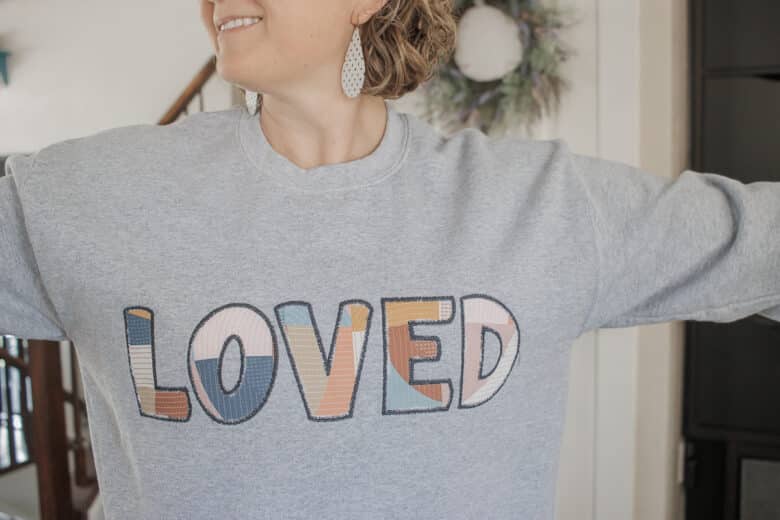
After creating this sweatshirt I’ve now got all kinds of ideas for more sweatshirts for fall and maybe even my kids sports teams! I took off the bottom cuff to do the embroidery and then I decided I didn’t want to put it back on. I like the looser fit on the bottom and the length.
Fall sewing projects and tutorials
Reverse applique sweatshirt
Ready to make your own sweatshirt? Let’s gather your supplies! I am using the Stellaire 2 machine for this project, but you could also use a machine with a 5 x 7″ hoop and embroider each letter individually. I would follow the tutorial below, but do one letter at a time rather than the whole word at once.
NOTE- not sure how to get started embroidering on a sweatshirt? Check out my Tips for Sweatshirt Embroidery on a single needle machine.
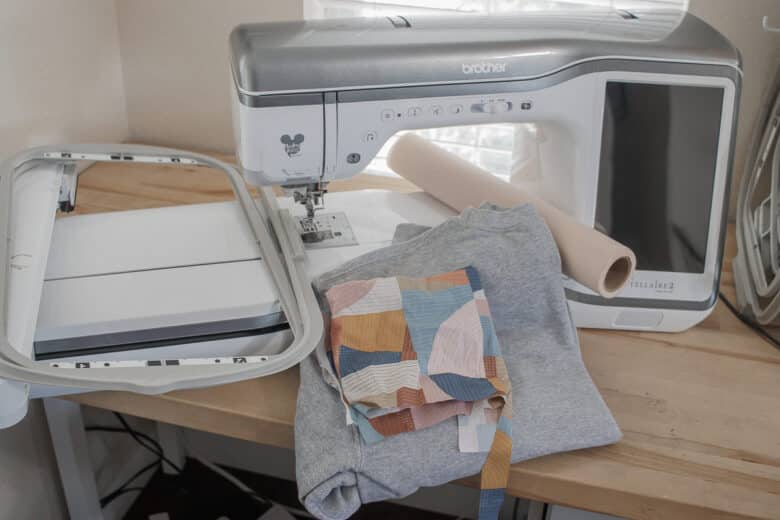
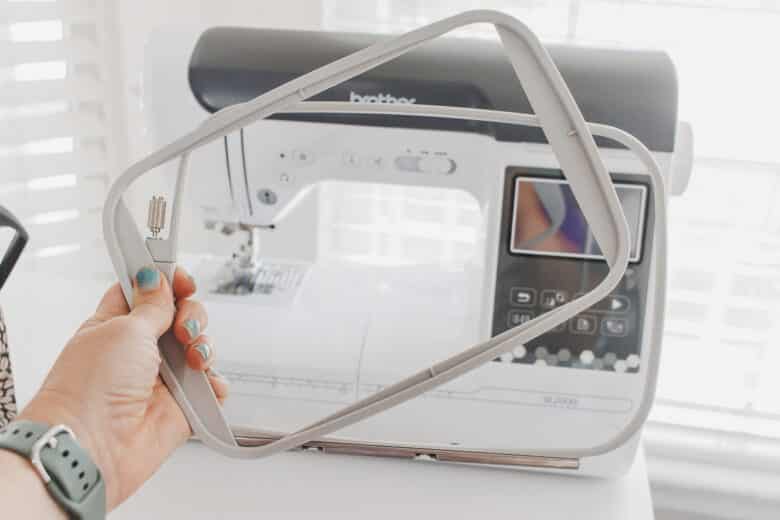
- Sweatshirt – I got my Gildan sweatshirt at Hobby Lobby, but you can also get them on Amazon or use any sweatshirt you like.
- fabric for letters or design {I used scraps}
- Embroidery Machine {Stellaire 2} {SE2000}
- Embroidery Stabilizer
- Embroidery Thread
- Embroidery Backing {optional}
- Applique font – I used Manatee Font here
- I love the size range!! 2-7″ letters to choose from
Place the bottom of the hoop on your work space, then add a layer of stabilizer. I used a medium weight cut away, then the sticky stabilizer on top.
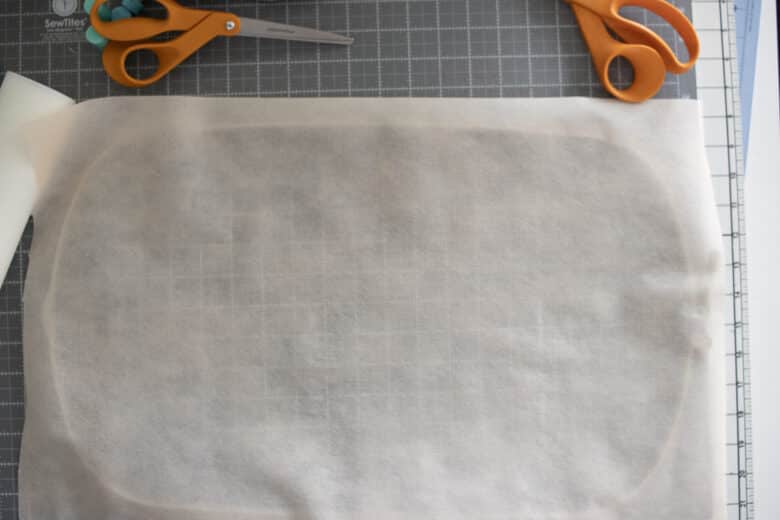
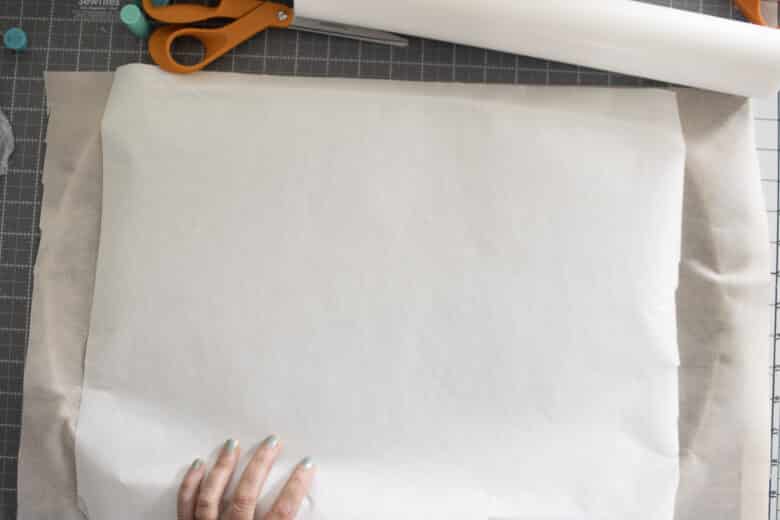
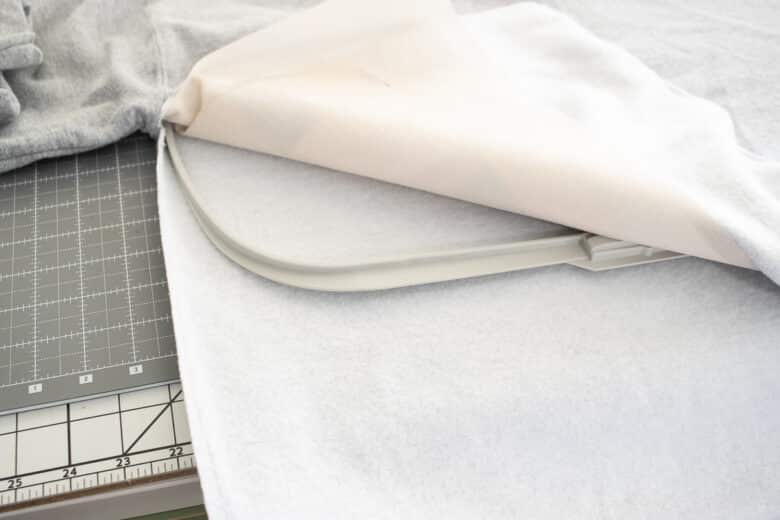
Adhere your fabric to the sticky stabilizer. Make sure the fabric is smooth and wrinkle free. Place the two layers of stabilizer on top of the bottom of the hoop and slide it into the sweatshirt. {I cut open the side to make this easier}
How to reverse applique tutorial
Once the hoop is inside the sweatshirt and centered where you want it, add the top of the hoop and secure it in place. NOTE: if you did not use sticky stabilizer make sure your under fabric is super smooth under the sweatshirt at this point.
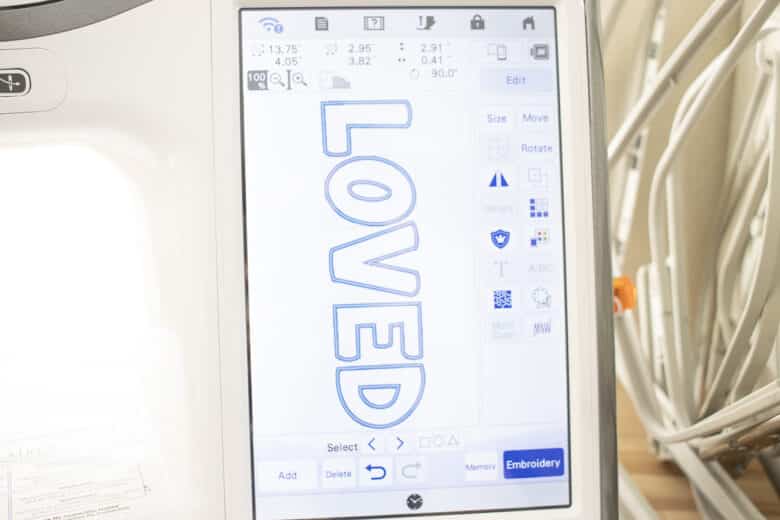
Import your design/word to your machine. The font I linked above is individual letters. I used the 3″ tall letters and used a USB stick to transfer the letters I needed to my embroidery machine. Import them and then arrange to form your desired word. With 3″ letters five letters was all I could fit on the 14″ wide hoop.
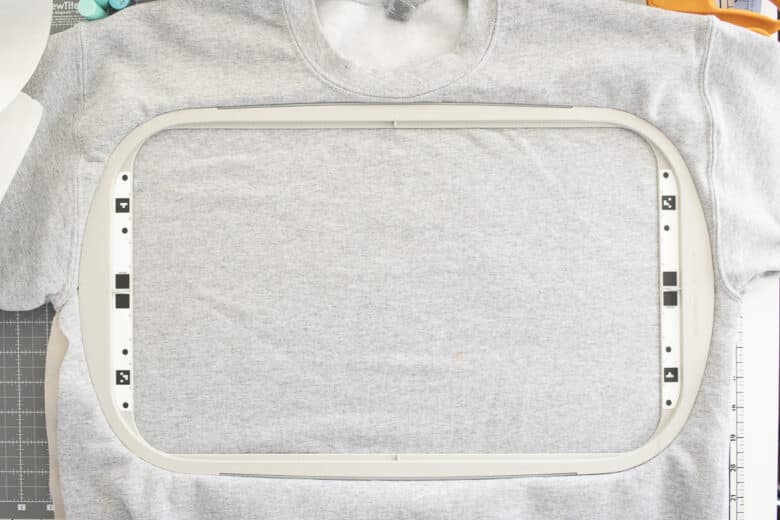
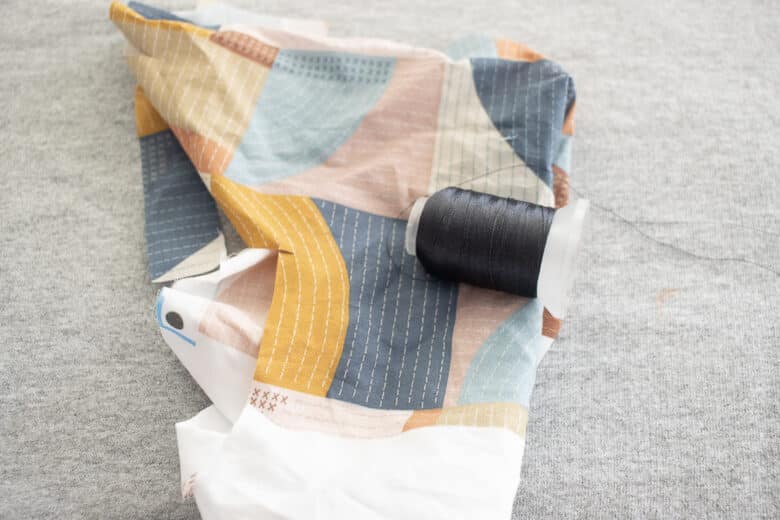
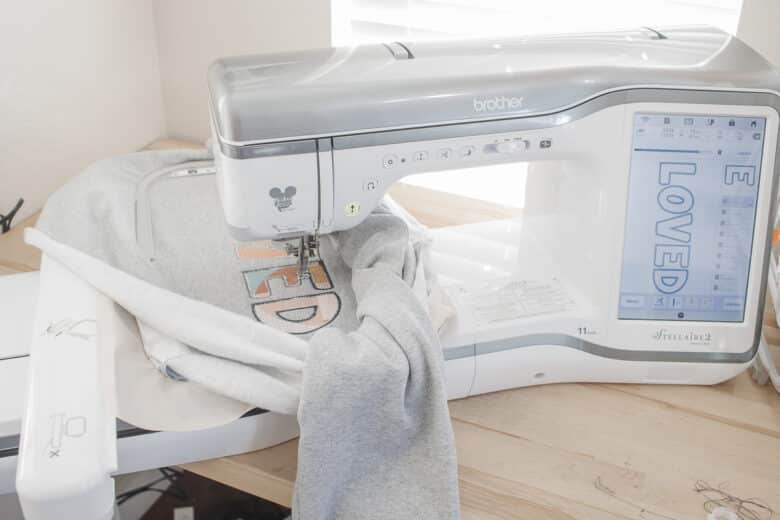
I found some thread that went with the fabric I had chosen. Slide the sweatshirt and hoop onto the machine.
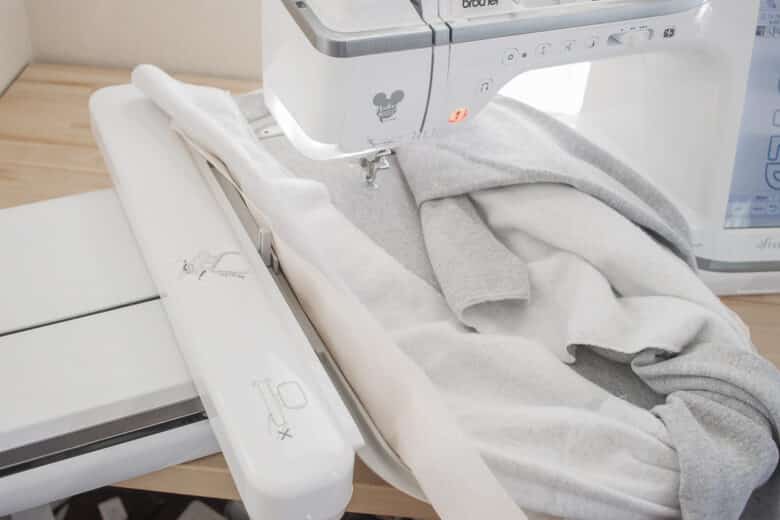
Do a placement test to check that all four corners and center are where you want on the sweatshirt. The top edge of the hoop {along the neck of the shirt} is sometimes hard to keep the fabric out of the way. I hold it with my hand when needed.
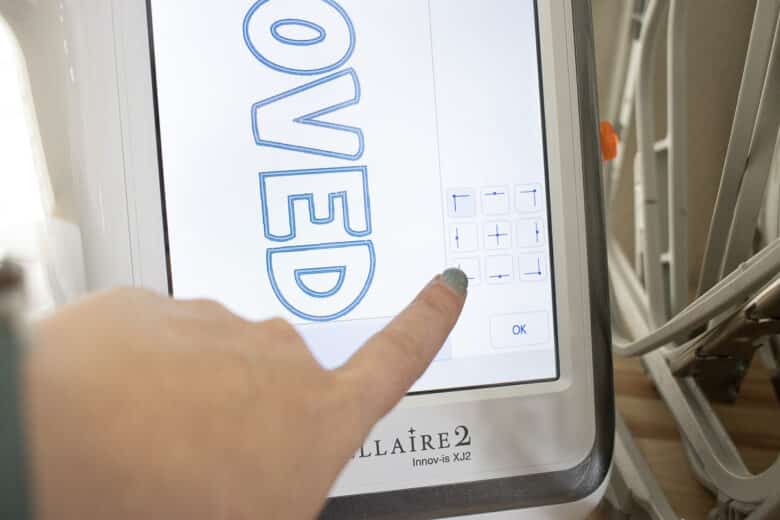
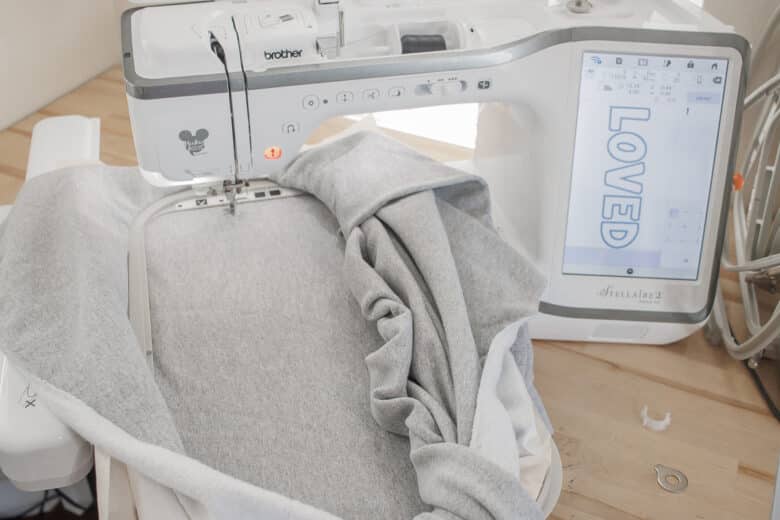
Because the letters were all separate when imported I combined them spool order tool and also made them all one color with the color button. {both seen here} This will tell the machine to sew all the outlines first, then go back in with the fill stitches. Without this button each letter with stitch start to finish before moving on.
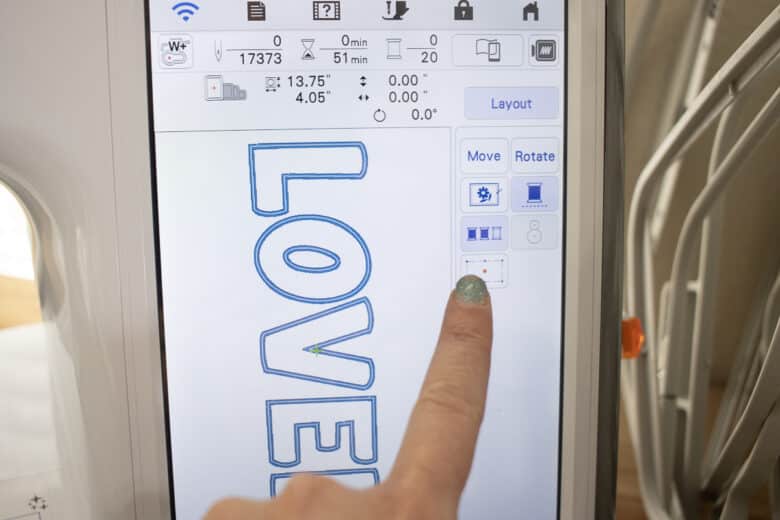
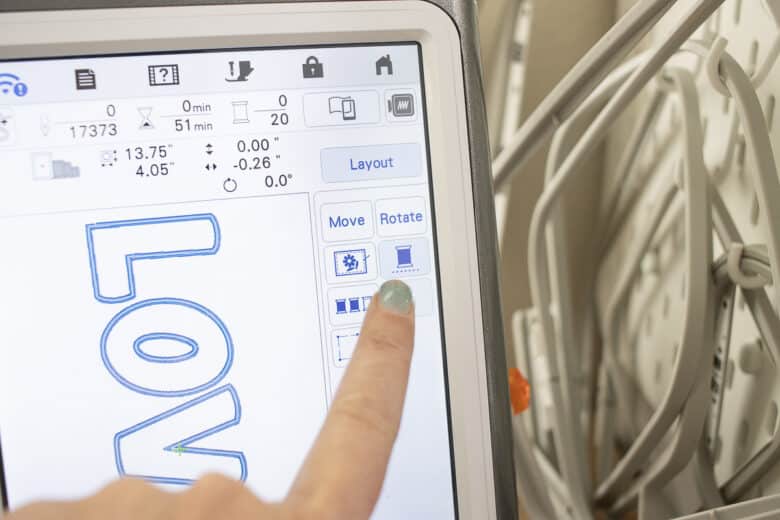
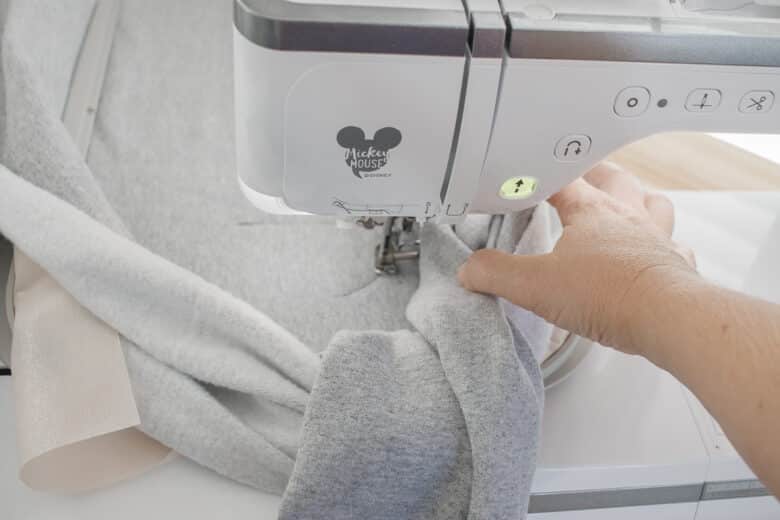
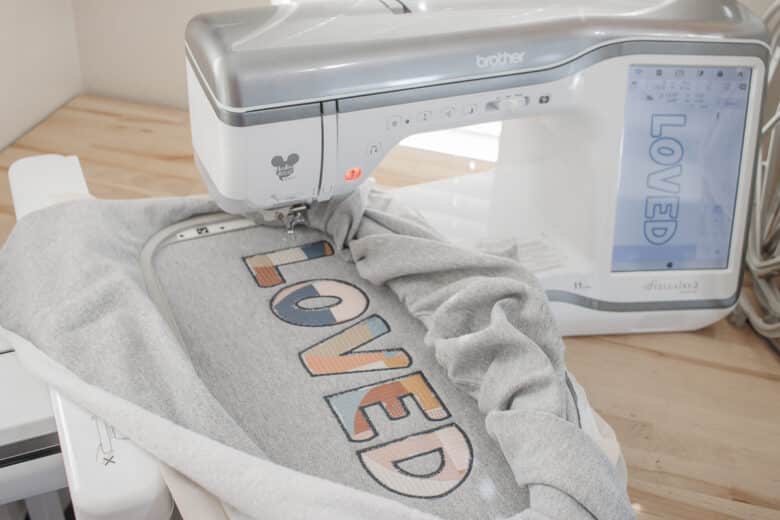
Sew all the outlines of the letters first. Keep the sweatshirt out of the way with your hand if needed.
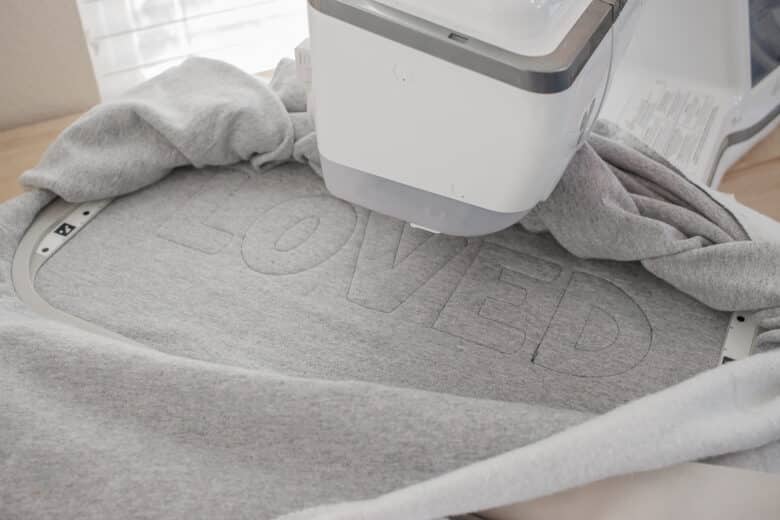
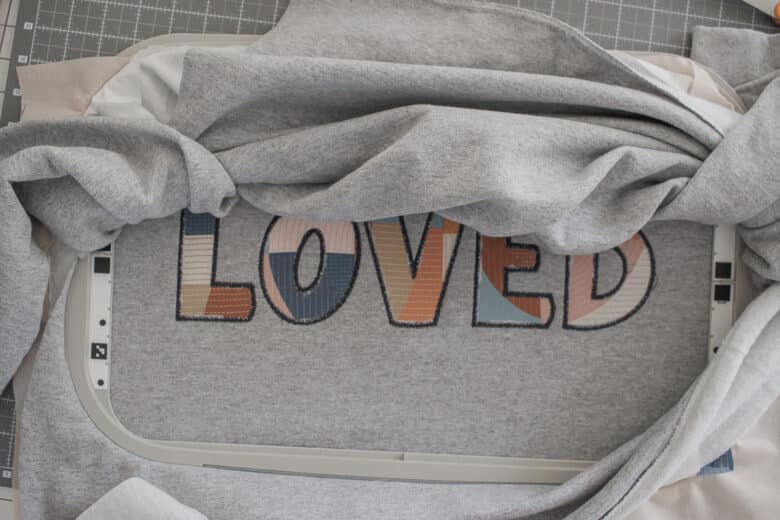
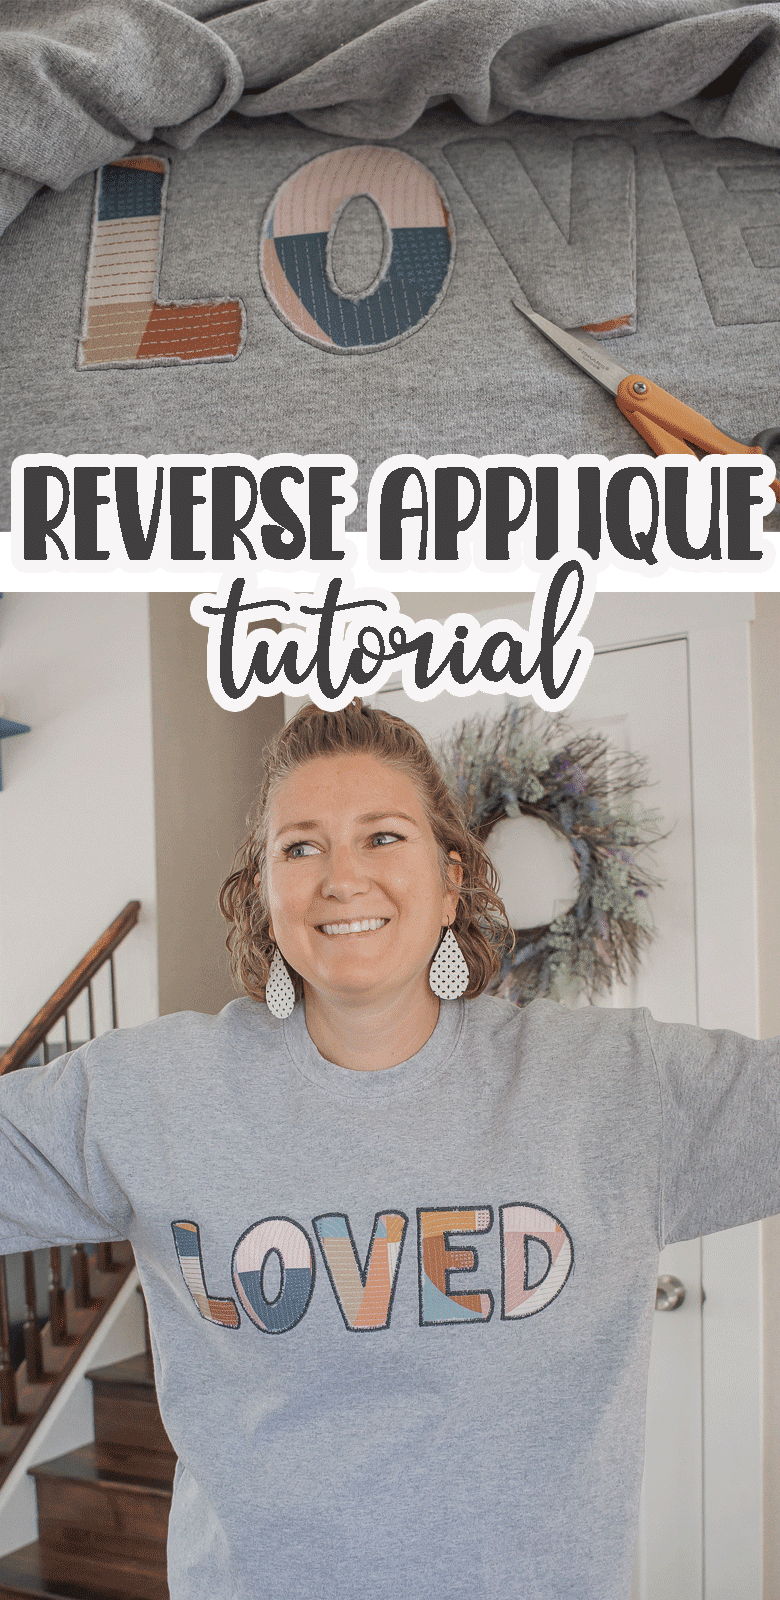
Remove the hoop from the machine. Make sure the hoop stays exactly in place on the shirt. Cut away the sweatshirt fabric to reveal the letters below.
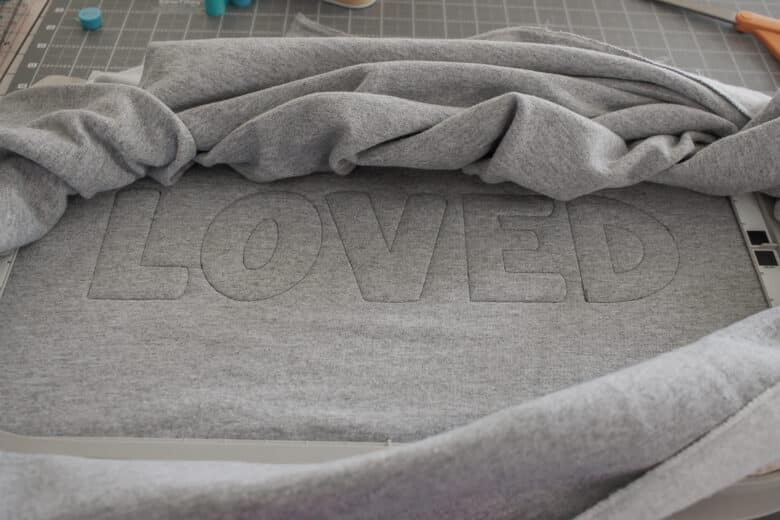
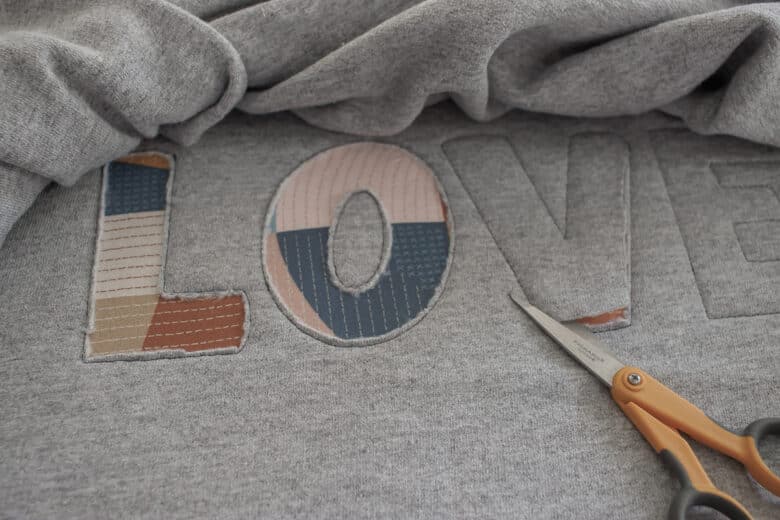
NOTE: I think for my next shirt I will just stop here. I love the look of the frayed sweatshirt fabric around the letters. If you want to outline with the rest of the embroidery place the hoop back on your machine. and continue with the design. The design outlined the letters each one more time, then started the satin stitch fille.
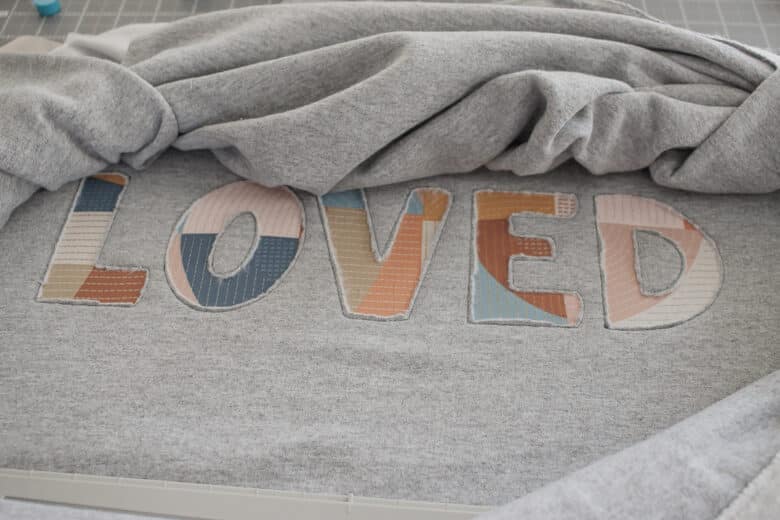
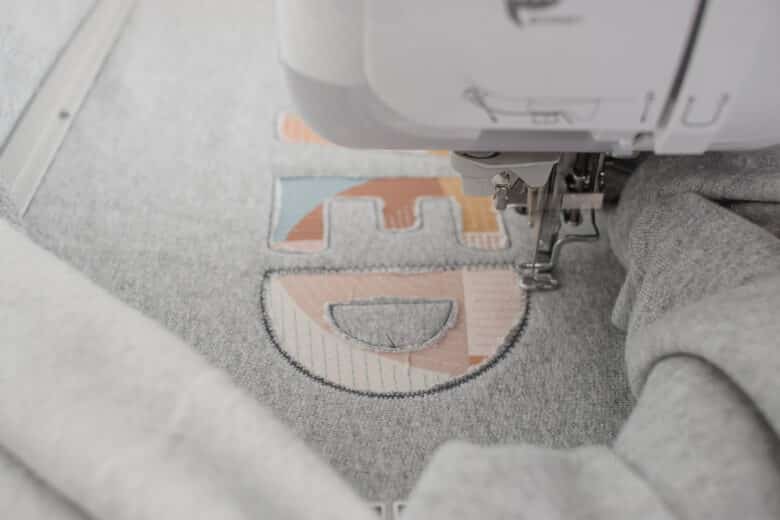
Again I had to hold some of the fabric out of the way while it was stitching. I really really love how it looks when finished.
Once again remove the hoop and this time take the hoop off the fabric. The back should have your stabilizer.
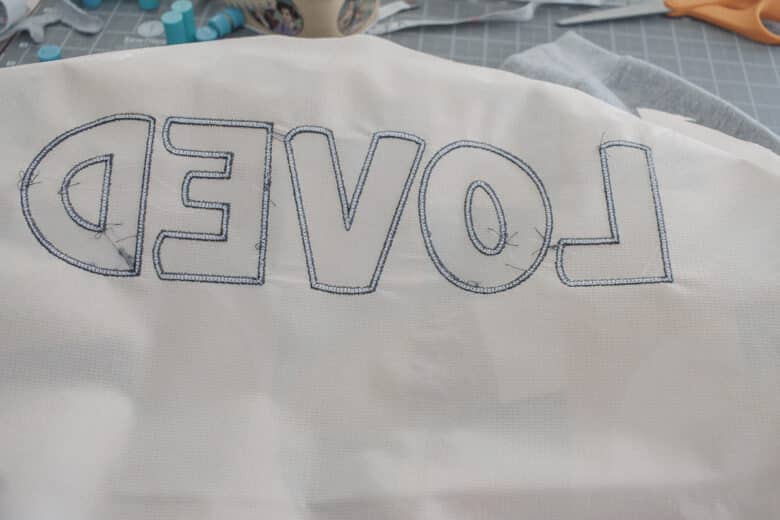
Trim the stabilizer and extra fabric.
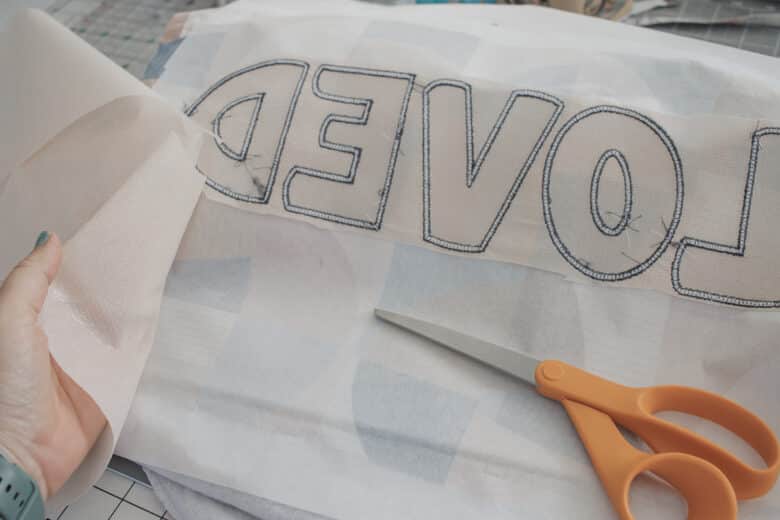
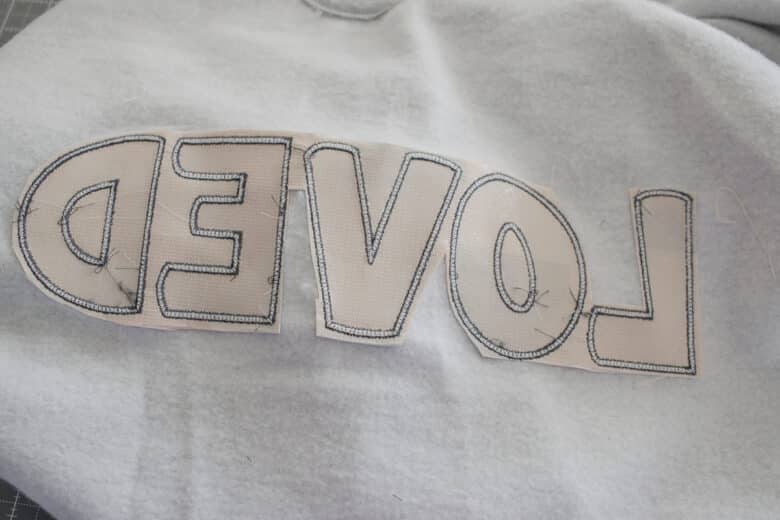
I covered the back of the embroidery with the soft iron-on backing, but you don’t have to do this.
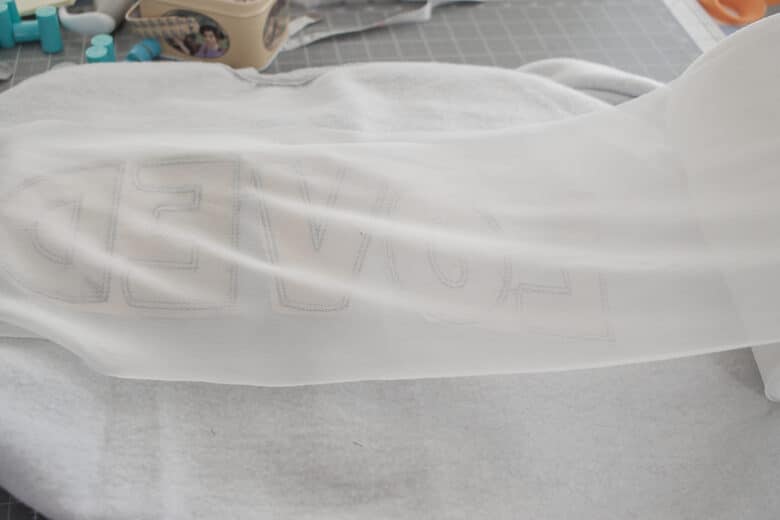
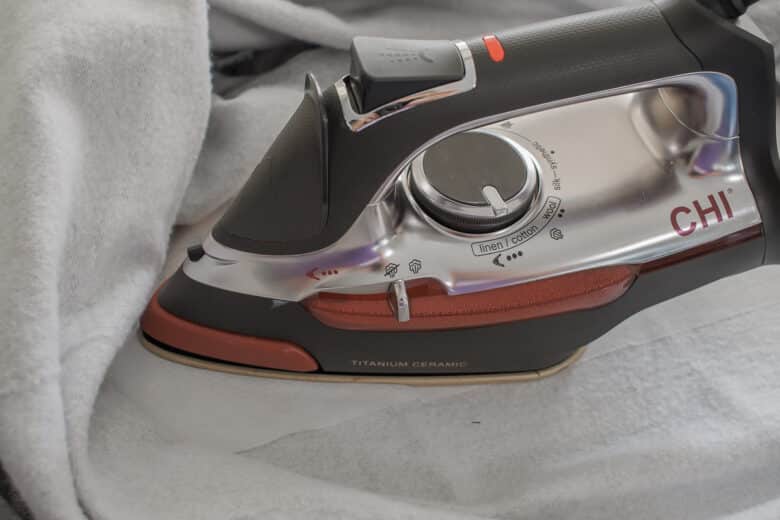
Now my shirt is done and its amazing!! I can’t wait to see what you will make using this same technique.




Dana Lorz says
This is so cute and a great tutorial. Thanks Emily!
Amanda says
I am SO EXCITED to try this!!