
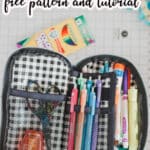


inside: Learn how to sew a zippered pencil pouch with this free sewing pattern. Grab some fun fabric- canvas, vinyl, puffy quilt, etc and sew up the perfect size pencil pouch for school or home. Printable PDF pattern and tutorial here in this post.
My daughter needs a new pencil case for school this year and the list said “no hard, box like cases”. So I started looking around online and saw some super cute zippered pencil cases like the one I’m about to share with you here. Of course, when I see something online, I always think I can make a better one! So here’s my version of a zipper pencil case for school! Details, free pdf pattern and tutorial below.
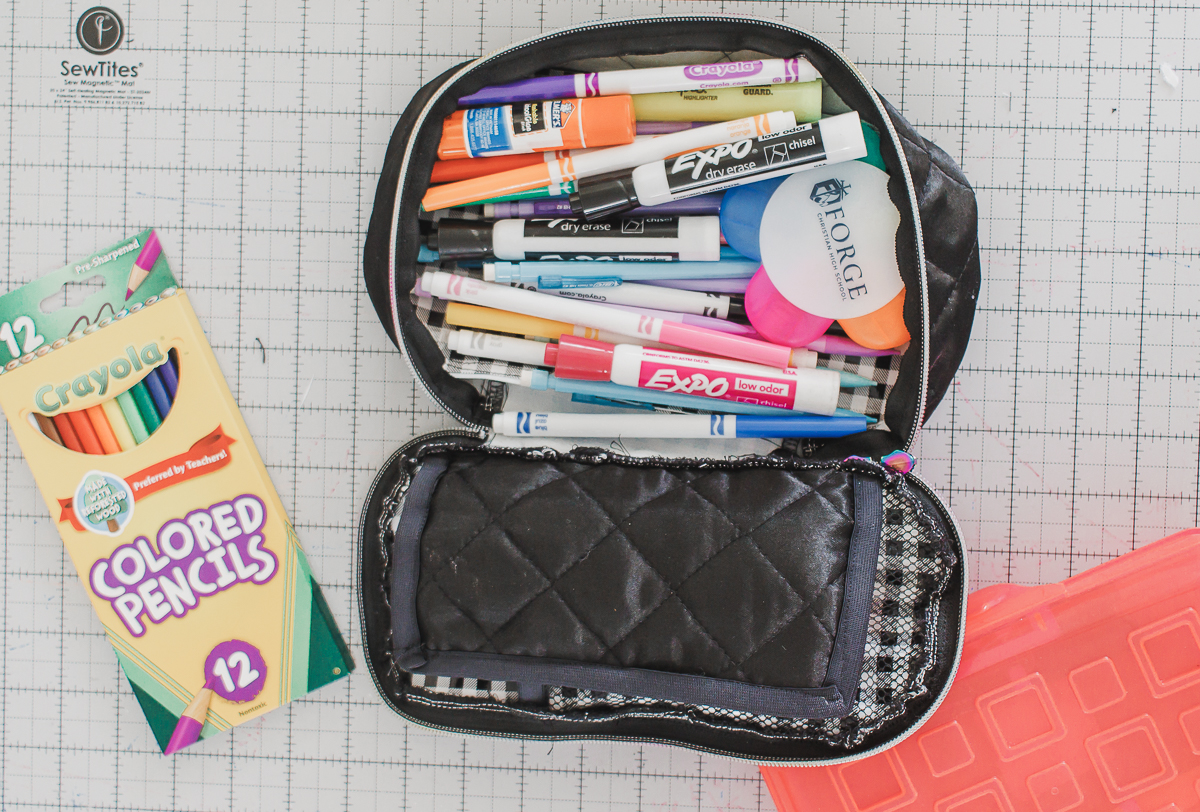
Zipper pencil case with large storage capacity-
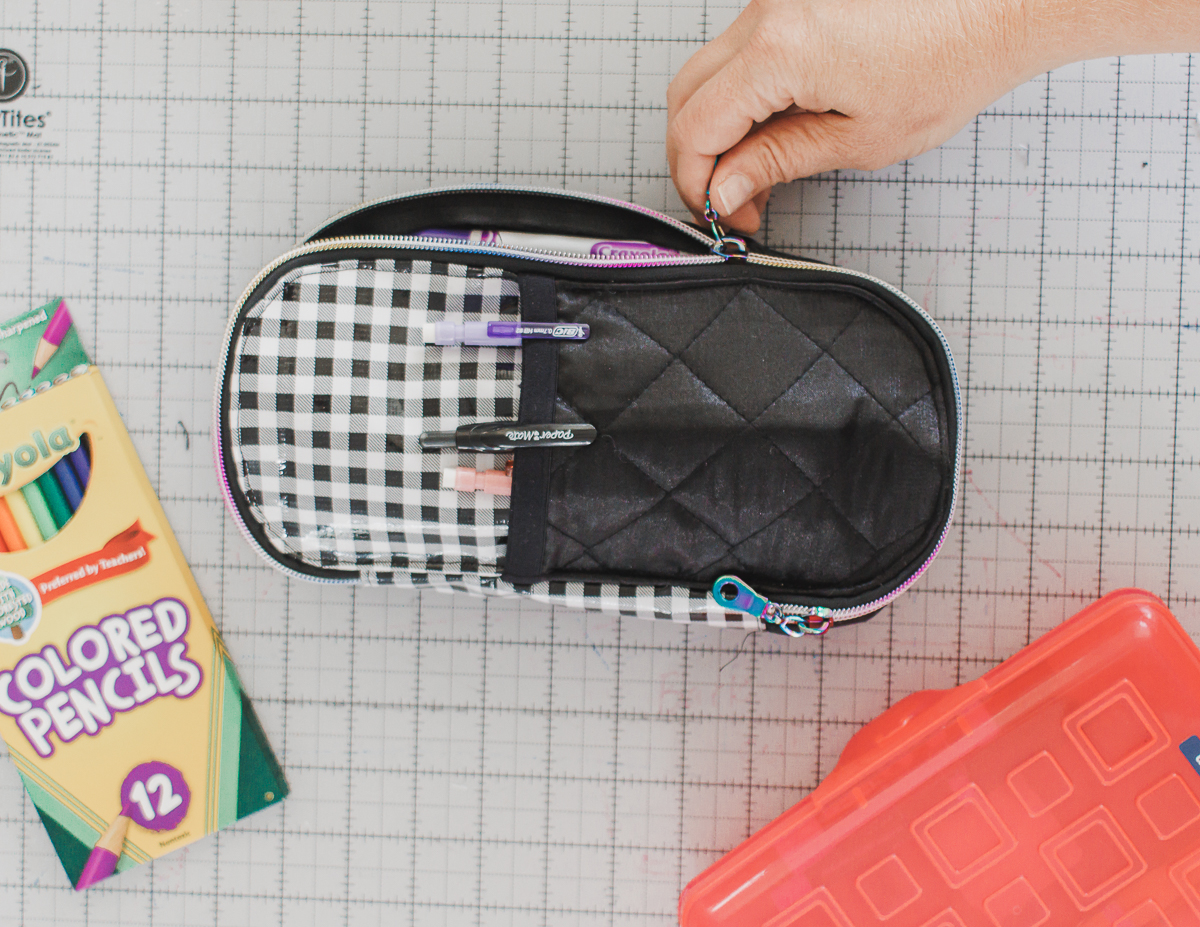
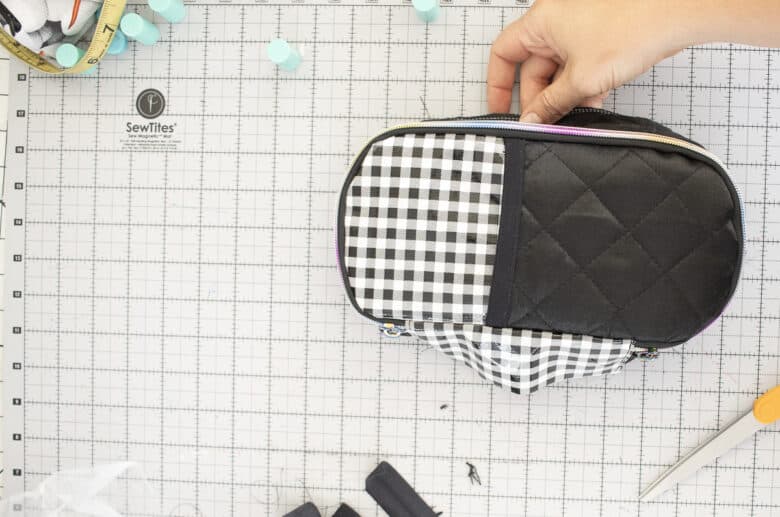
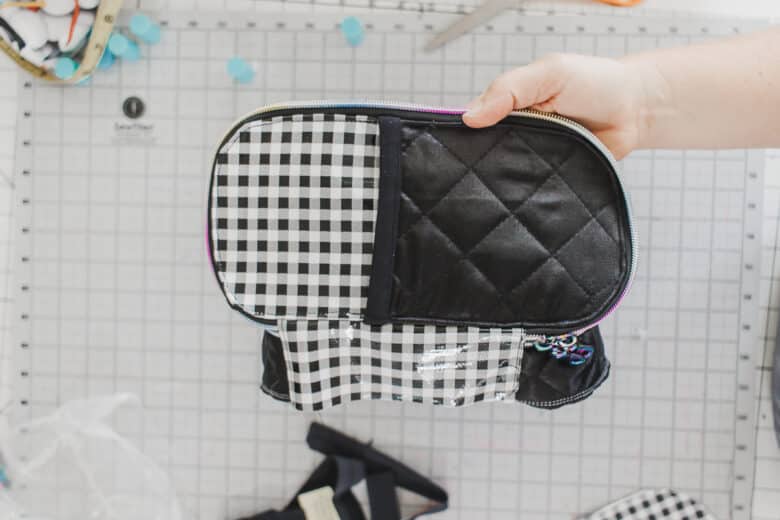
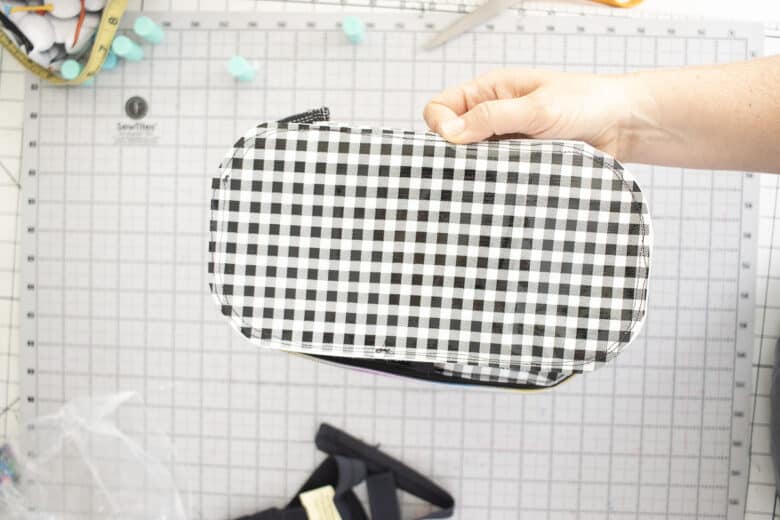
Let’s take a close look at this fun pencil case with a zipper. There is a great top pocket for those pencils/pens that you need to grab 20x a day. I also put in a two way zipper so it can be opened each direction or just partially open. The finished dimensions are about 2.5″ x 4.5″ x 9.5″.
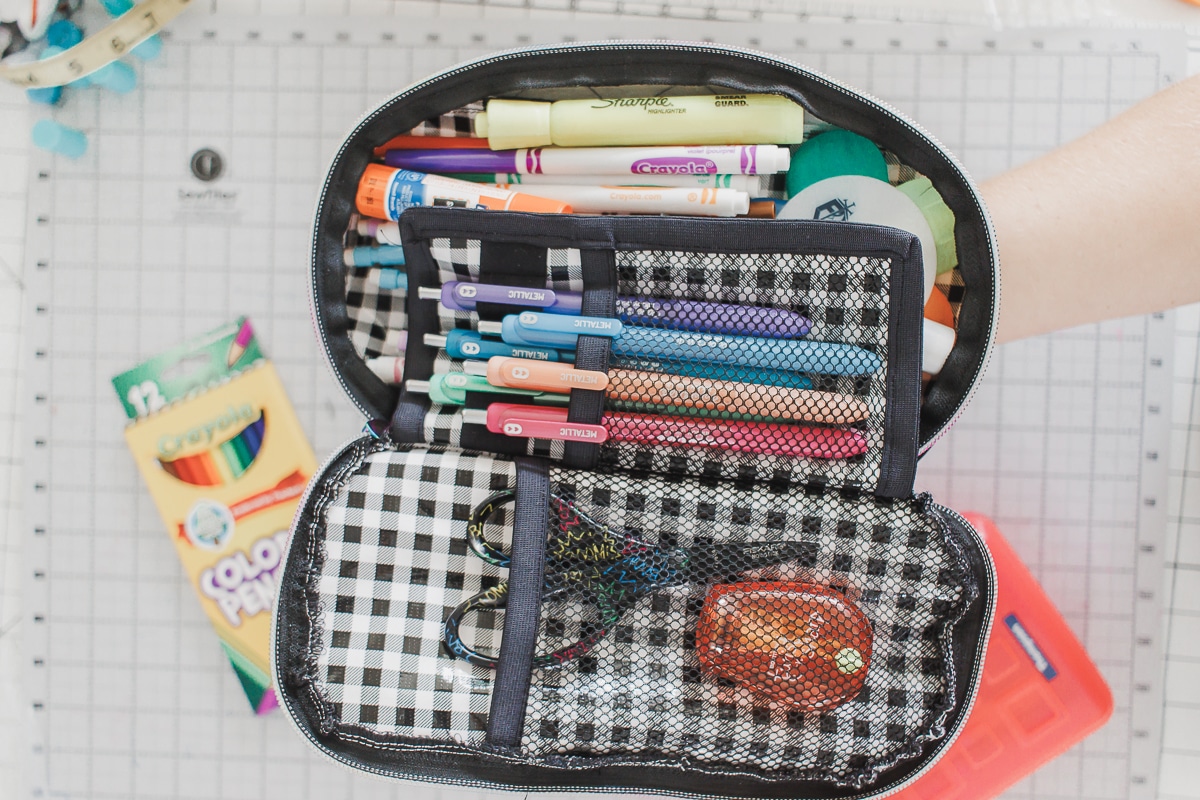
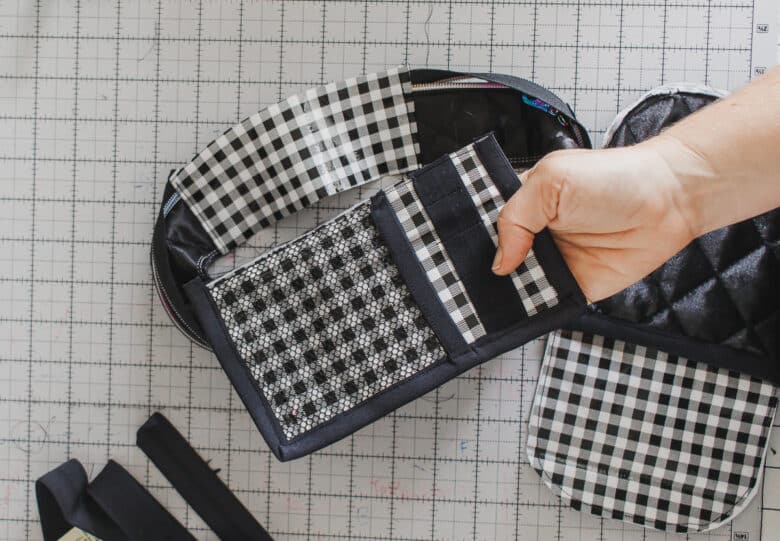
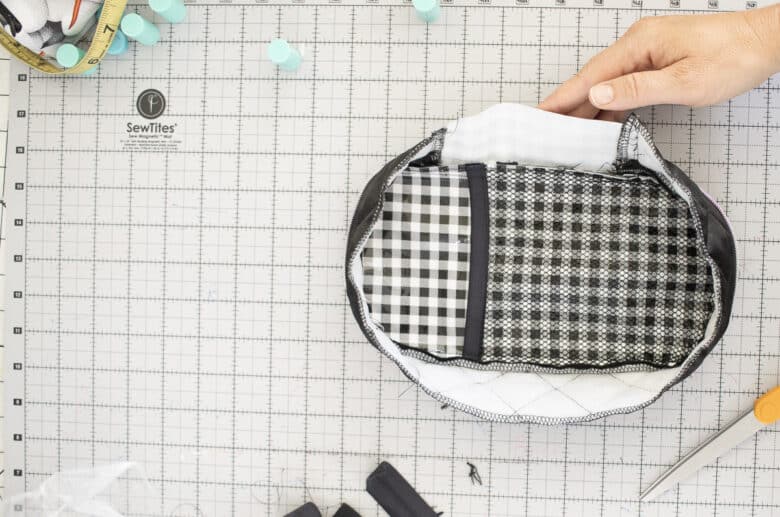
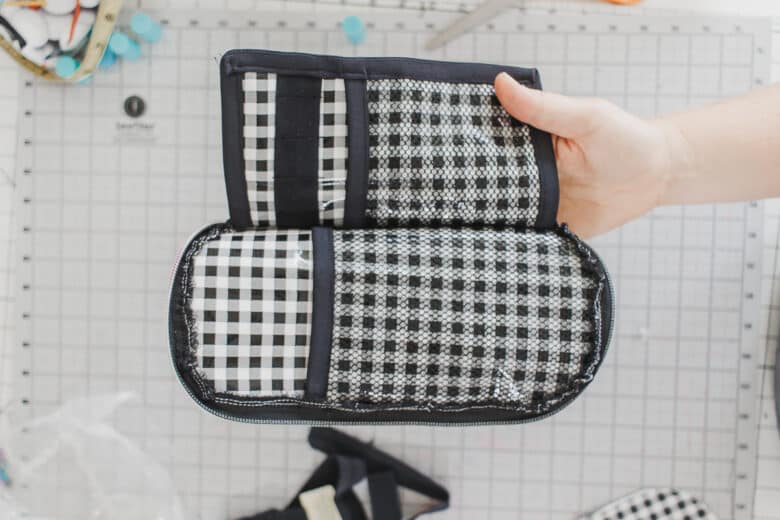
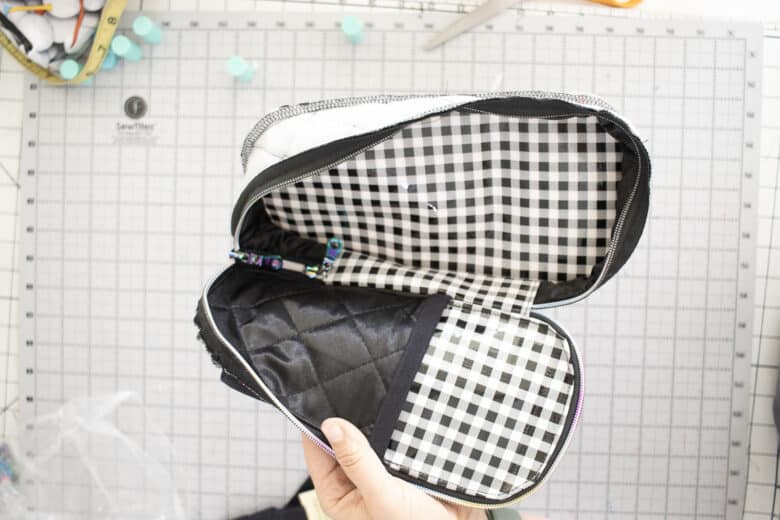
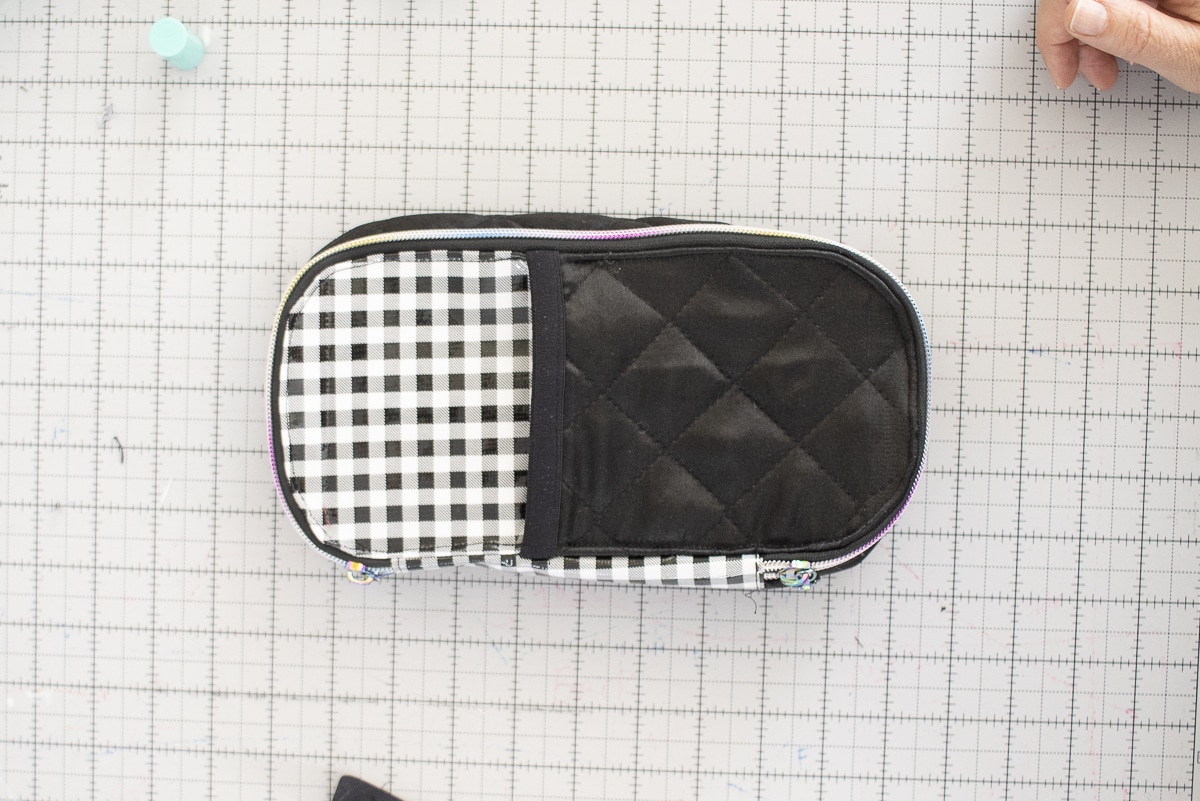
Once you open up the pouch, there is another mesh pocket on the top flap and a fun little pen holder flap in the middle. These are for items you don’t want getting lost in the bigger pocket.
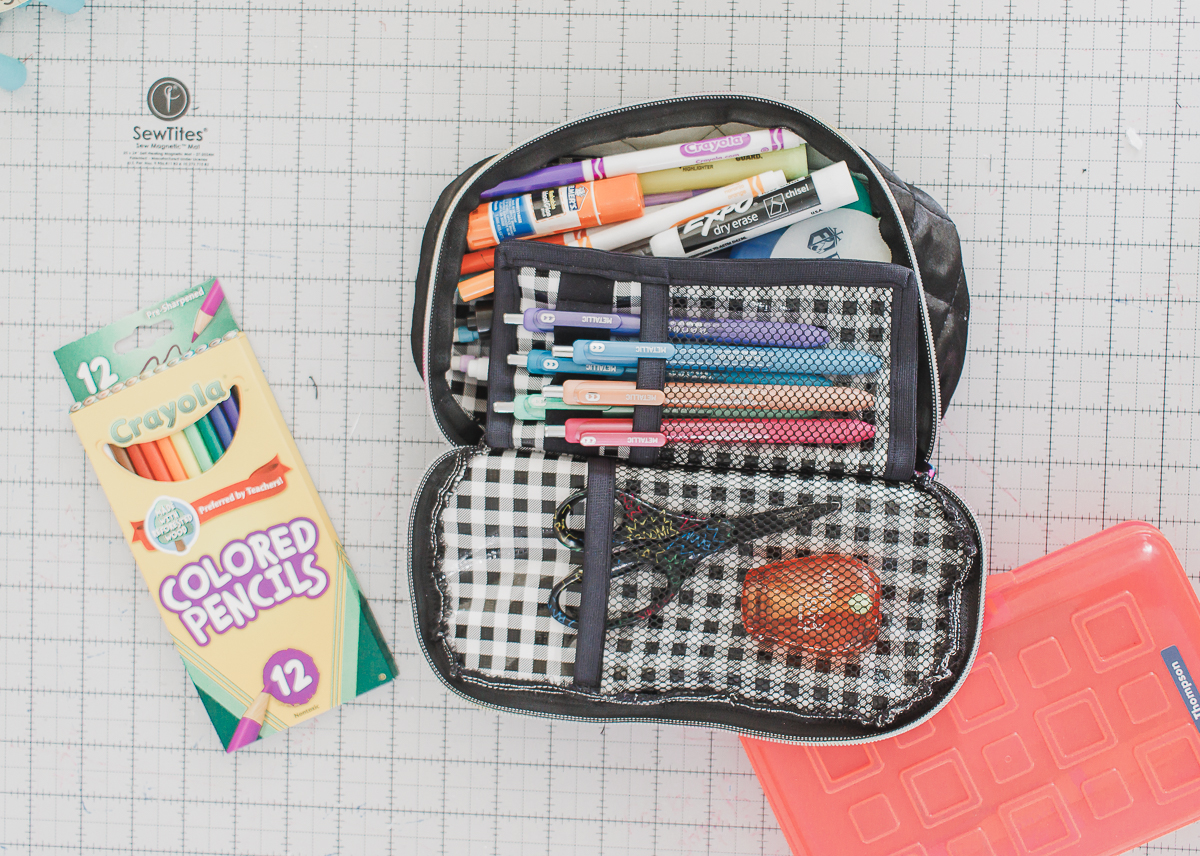
And finally if you fold over the pen flap you can see the huge storage capacity of the main pocket. I put in a package of markers, many many pencils, glue stick, highlighters, expo markers and more! It stays open really well, so it’s easy to dig around and find what you need, while keeping everything contained. I’m super pleased with how it turned out.
Zippered pencil case video tutorial
I’m including a video of all the steps of putting this case together as well. It should show up here below this text. If you don’t see it, check the sidebar {sometimes it goes there} or check that you aren’t running an ad blocker – this can affect the video. enjoy!
Free back to school sewing tutorials-
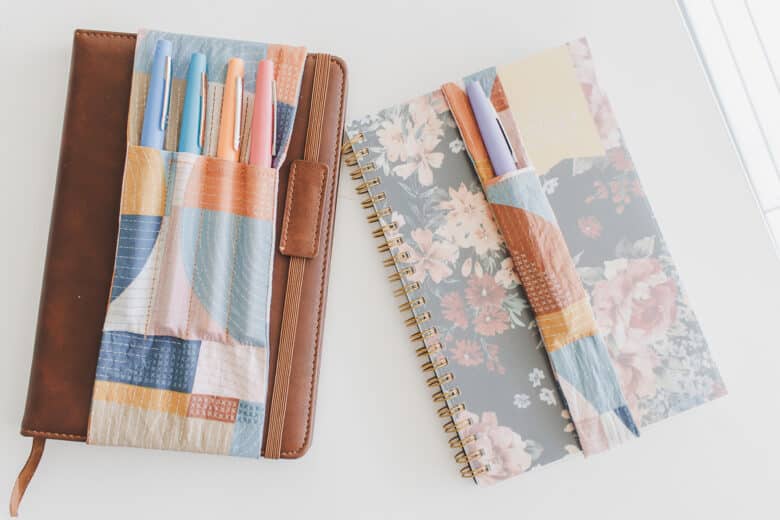
- Notebook pen holder tutorial
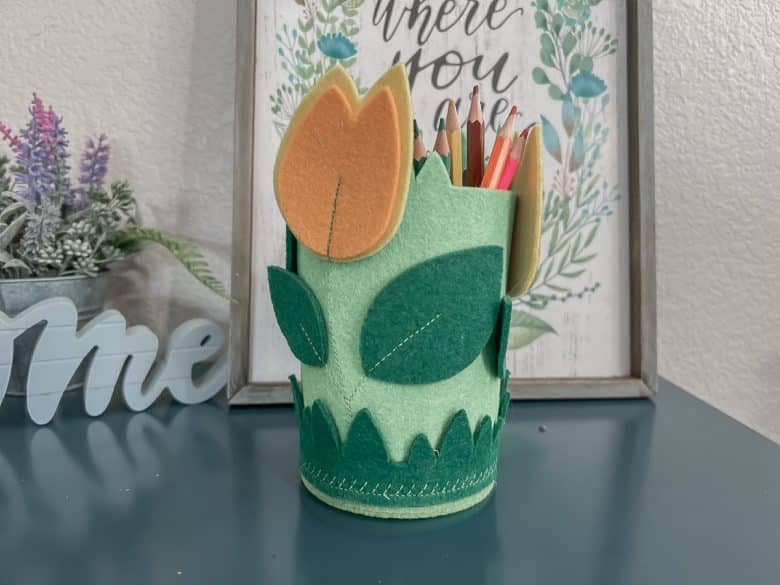
- Free SVG file for felt pencil holder {for desk}
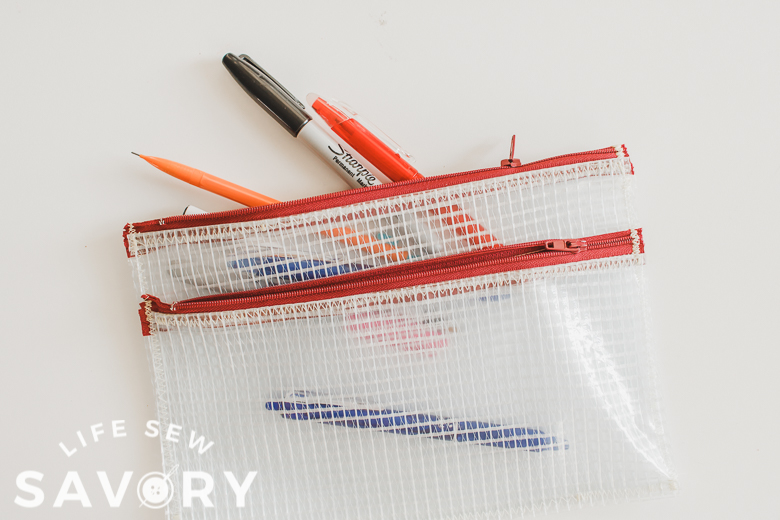
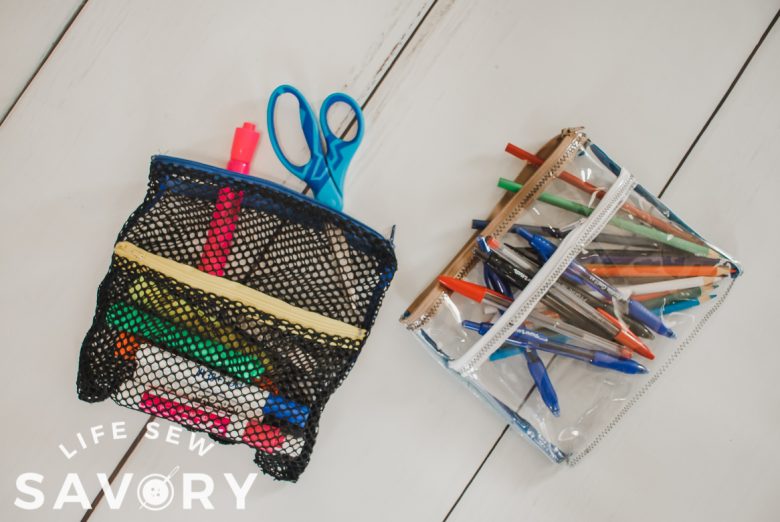
- Vinyl mesh pencil holder with zippers
- Mesh pencil case
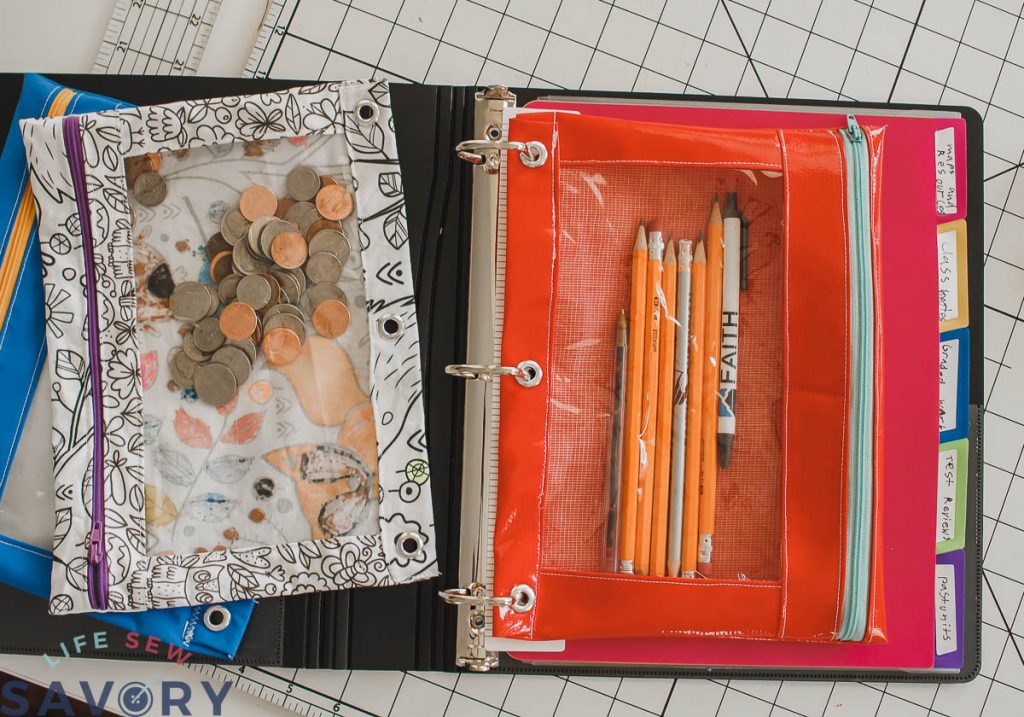
- Three ring binder pencil case free pattern and tutorial
- School Supplies Tote – free pdf pattern
How to sew a zippered pencil pouch –
With any project, you learn from sewing it the first few times. I still have a couple of things I would tweak with my next pencil pouch, but the actual design and construction of this pencil pouch are great – So I’m sharing it with you all.
Pencil Pouch supply list-
- 24″ zipper – I just buy zipper by the yard
- fabric
- vinyl, canvas, puffy quilted, etc
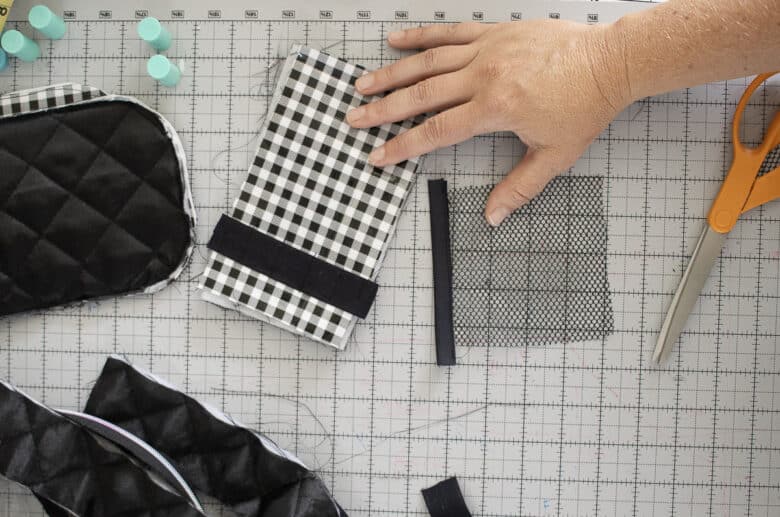
- Mesh for pockets
- Fold over elastic or bias tape
- {optional} stiff interfacing
- Use the button below to download the free pdf pattern to your computer
Download the pdf pattern from the shop, then print and assemble as shown below.
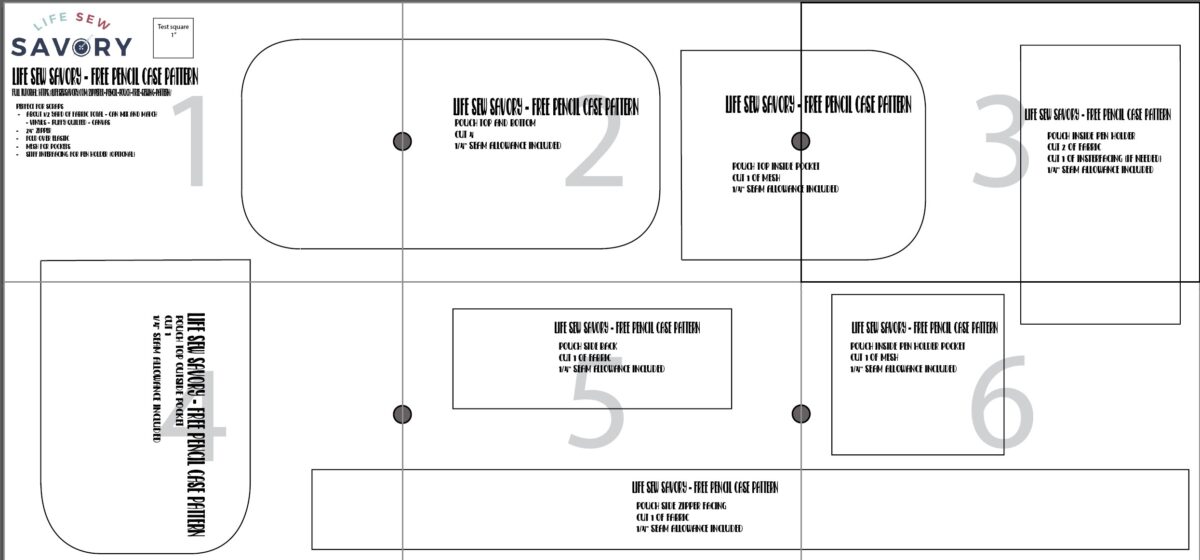
If you need help with any of the pdf process, account help or pdf pattern assembly, see these two tutorials for help. Account help tutorial. Pdf pattern help tutorial
Pencil Case with zipper sewing tutorial-
Let’s get sewing!!
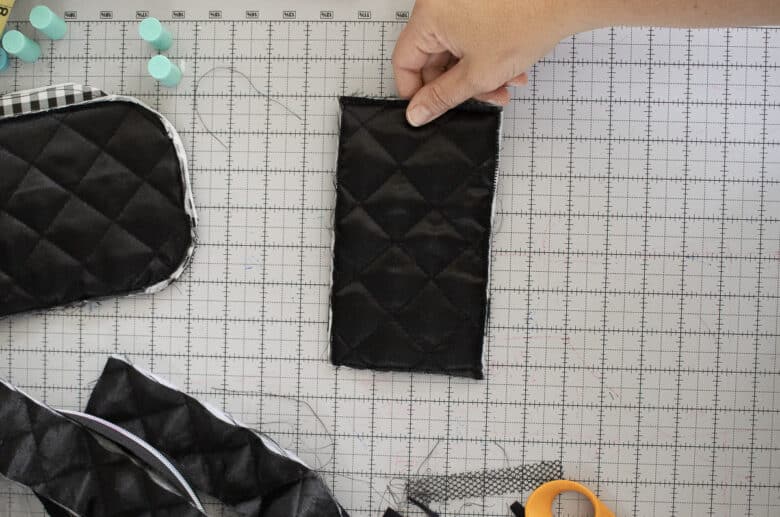
Start by finishing the raw edges of all the pieces that are cut from frayable fabric. For me, this meant using my serger to finish all the edges of and pieces cut from black puffy fabric. Do this FIRST, so that you don’t have to finish the seams later.
Take the inside and outside pocket for the top and finish the straight edge with fold over elastic. Place the fabric or mesh in the fold of the elastic to enclose it, then sew. You may need to stretch the elastic just slightly as you sew. You can also use bias tape, but I love having the stretch of the elastic.
TIP: use a teflon foot on your machine to sew difficult or “sticky” fabric.
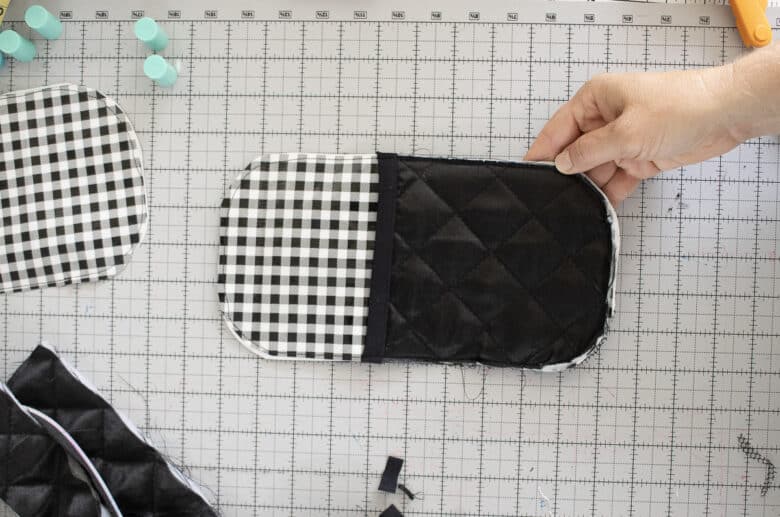
Take the four oval pieces you cut – the tops and bottoms and sew two together. So you will place the wrong sides together and baste around to hold two together. Repeat so you have a bottom and top that look the same {unless you used different fabric.} On top of the pouch top, place the outside pocket, on the other side place the inside pocket. Below the photos show the two layers of the top – yours should already be stitched together. Baste on the pockets.
Trim any extra elastic off the sides and trim any fabric as needed. This is how the inside and outside of the top piece should look.
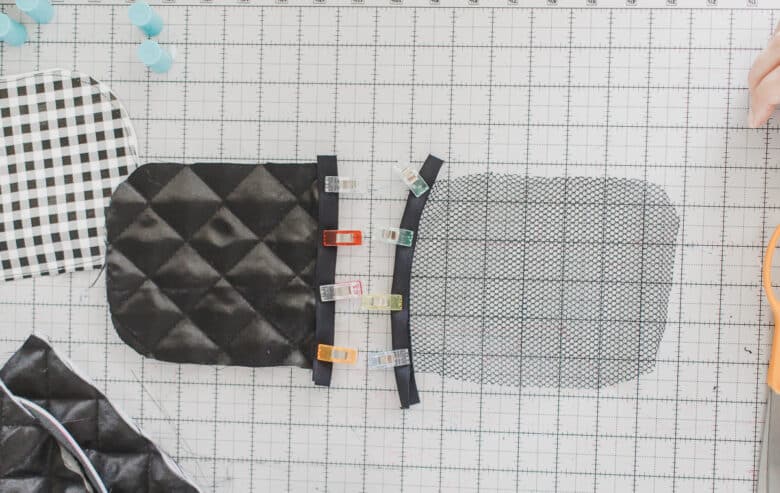
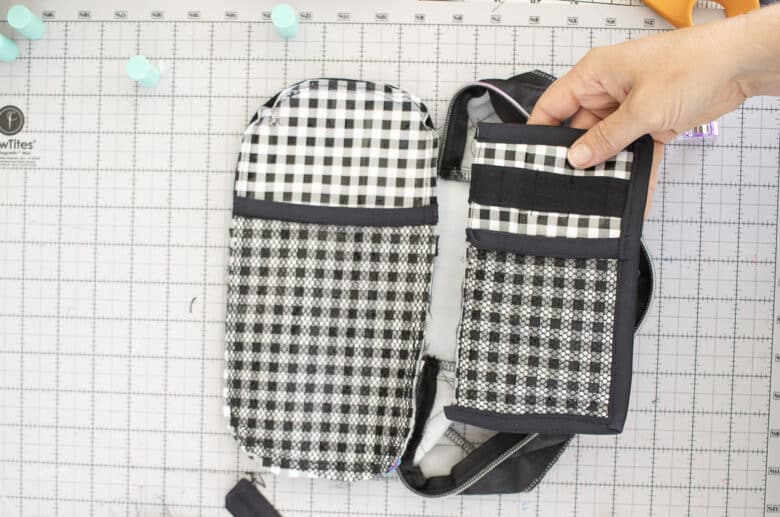
Now we will prepare the pen holder flap. On one of the rectangles you cut, sew elastic 1″ from the top. Sew horizontal lines {where the pins are} to create slots for your pens/pencils.
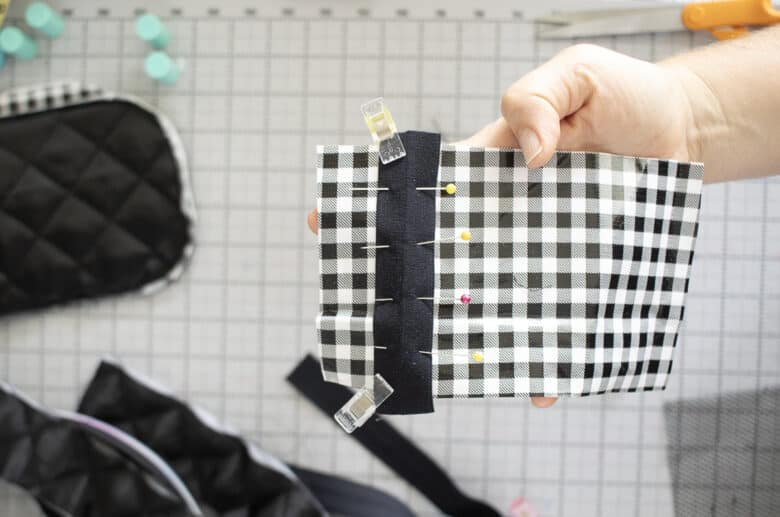
On the pouch inside pen holder pocket {cut from mesh} finish the top edge with elastic as above. Now layer the two full pieces, wrong sides together and put the pocket under the elastic pen holder you sewed. Baste. The front and back are shown below.
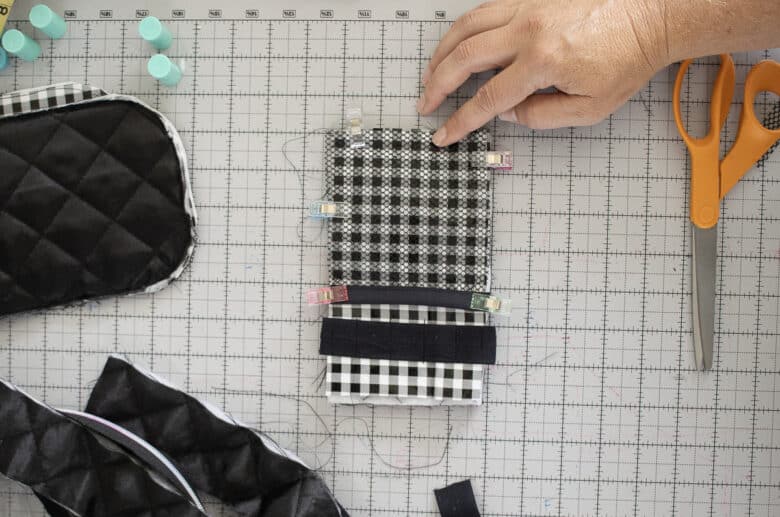
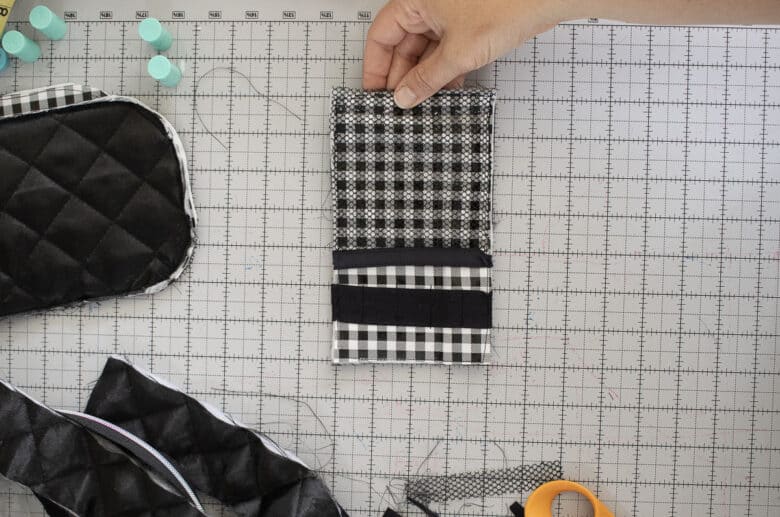
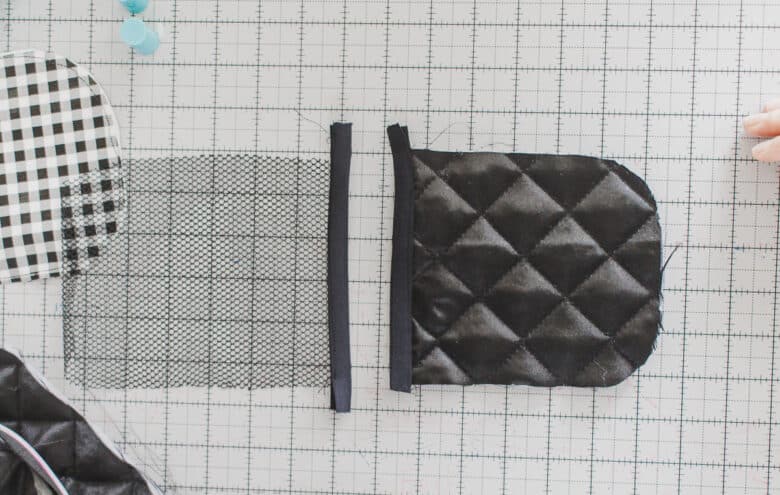
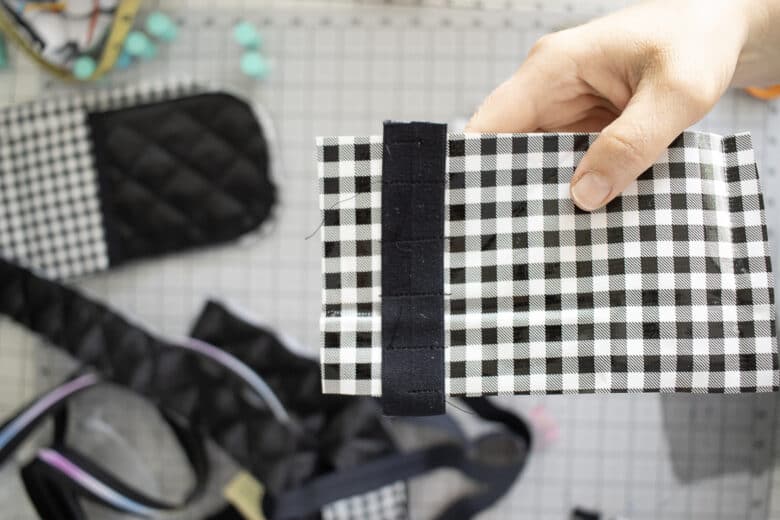
Finish three sides of this pen holder with fold over elastic. Leave one longer side unfinished without elastic. Here’s how it should look. This photo is from a future step, but it shows the elastic finished edges.
Place the zipper right side on the long side of the zipper facing and sew. Make sure all sides of the facing are finished with a serger/zig-zag if the fabric can fray.
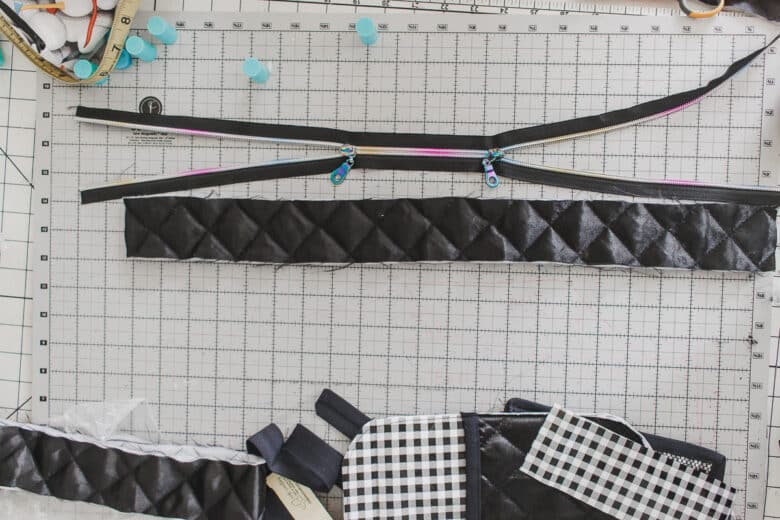
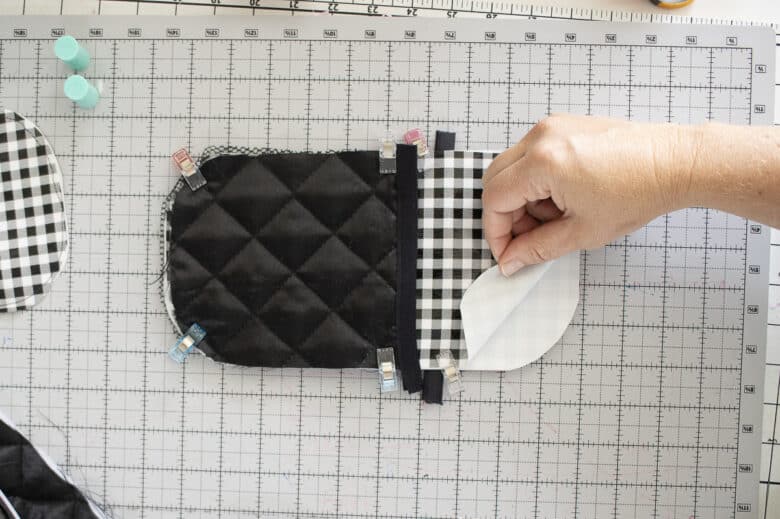
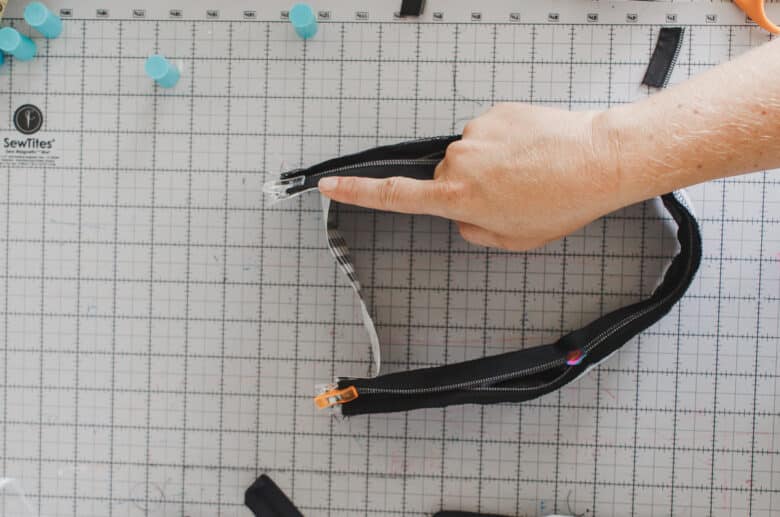
Take the pouch back piece { the checkered one below} and clip it right sides together to the zipper/zipper facing. You will need to pinch the zipper pieces together if your zipper ends are open like mine.
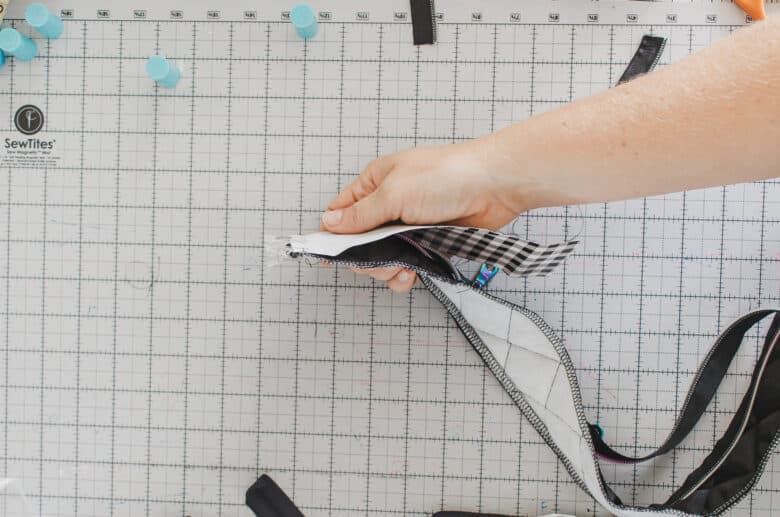
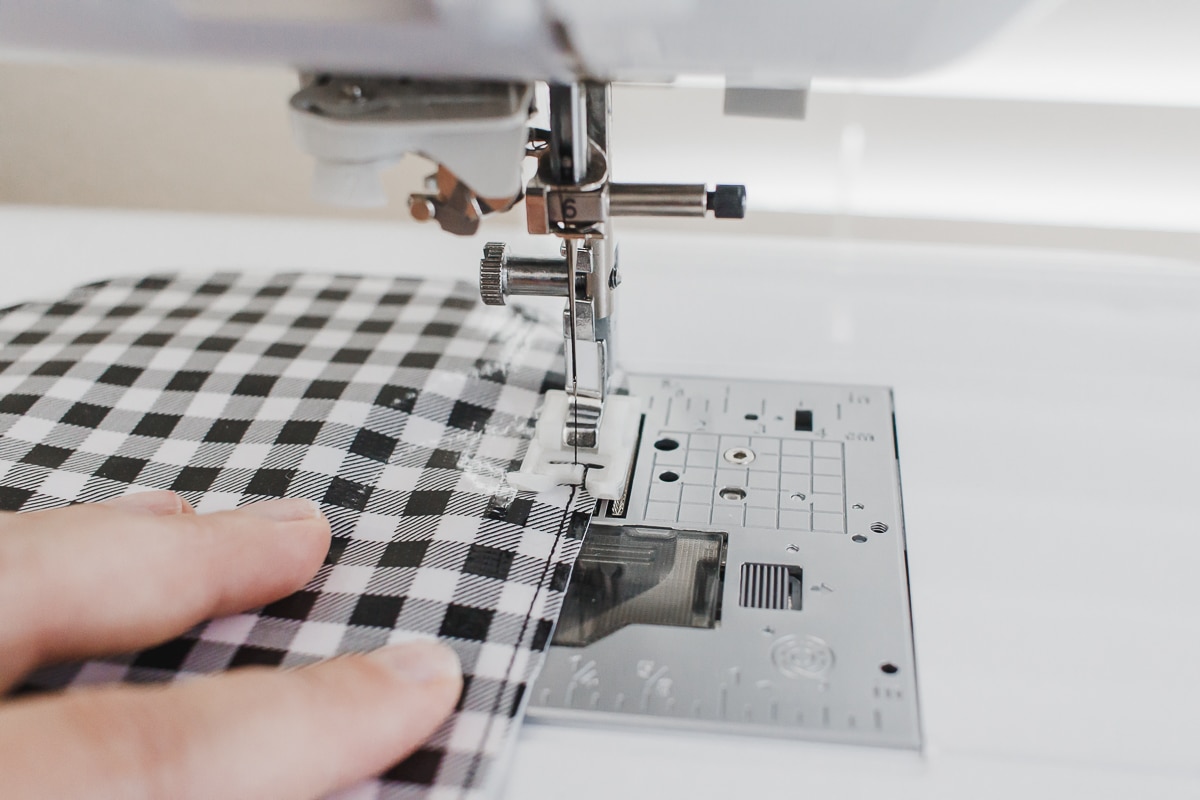
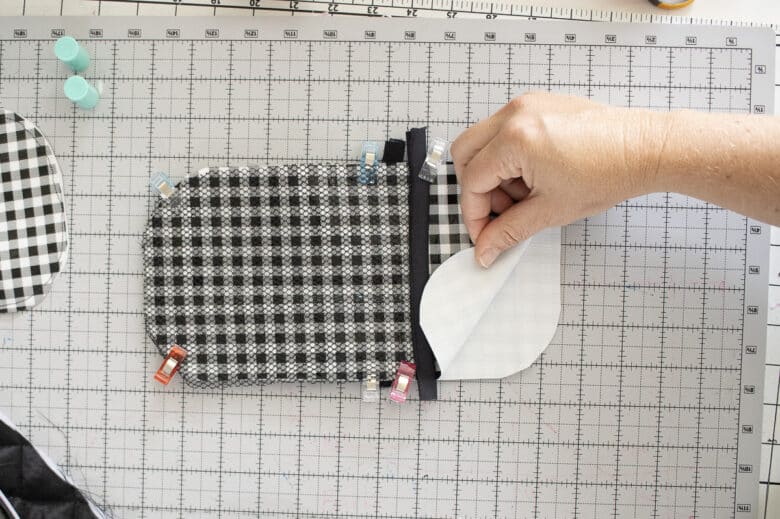
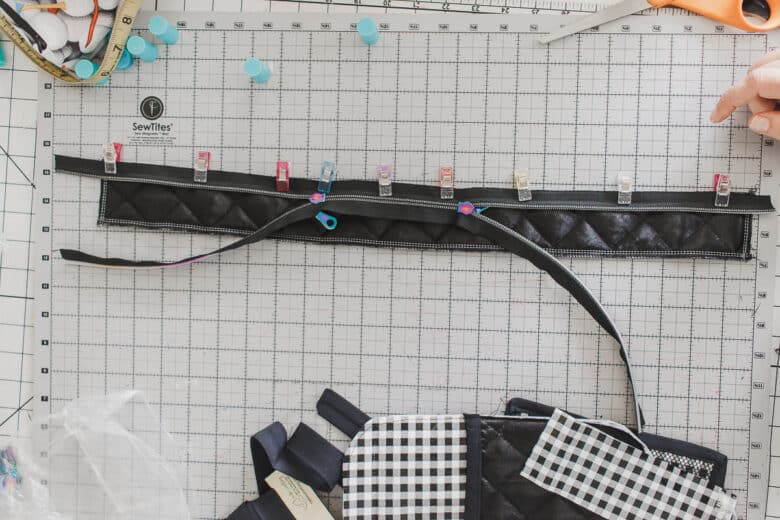
Clip/pin both ends to form a circle, then sew both sides and top-stitch seam allowance to back {checkered} piece. Now you have the zipper pouch side formed.
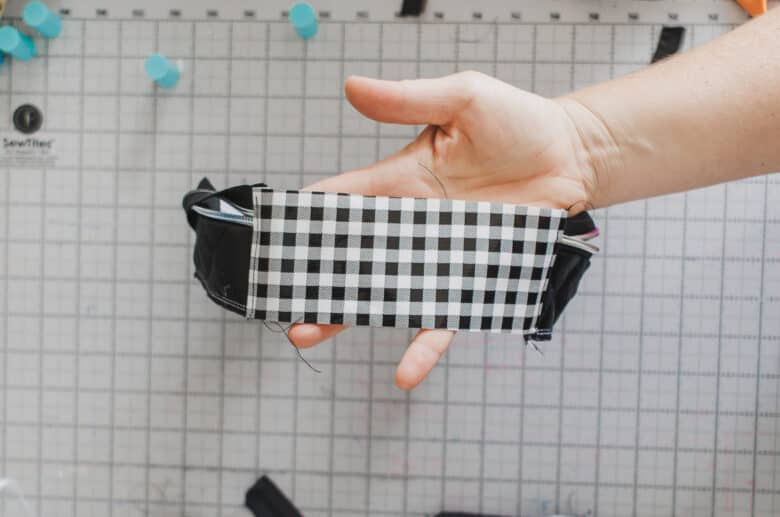
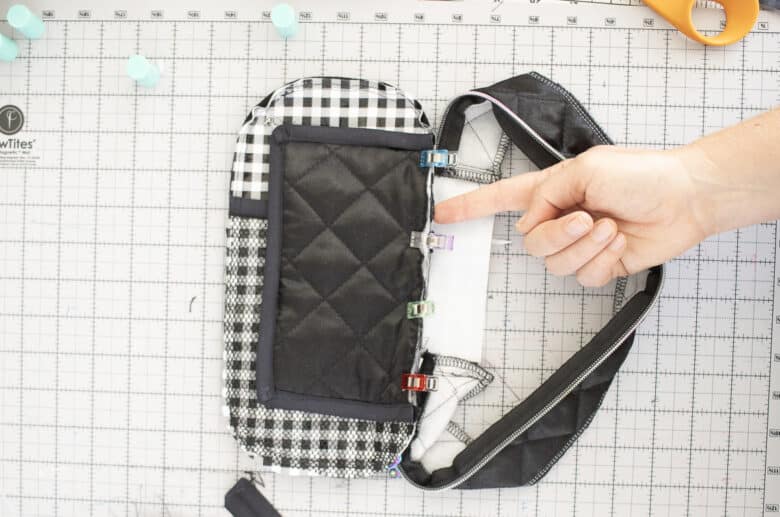
Place the back of the side piece on one long flat side of the pouch top. Right sides together, the right side of the side should be on the outside of the pouch lid {mine has the black pocket on the outside} Pin clip carefully around the corners.
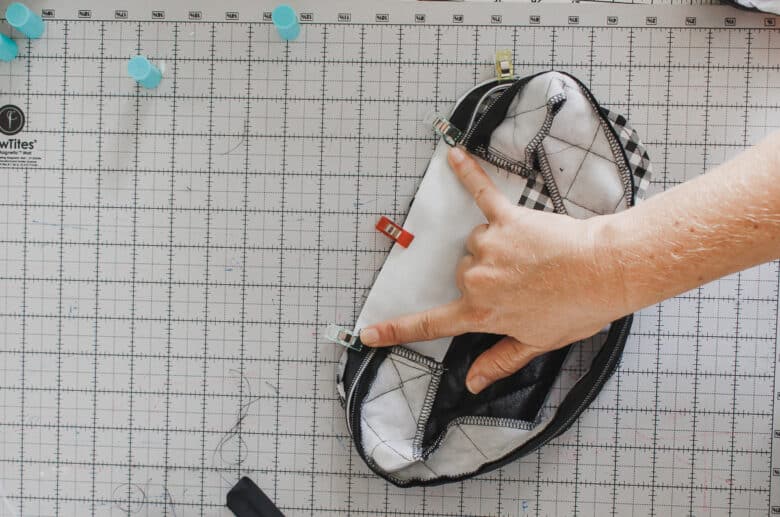
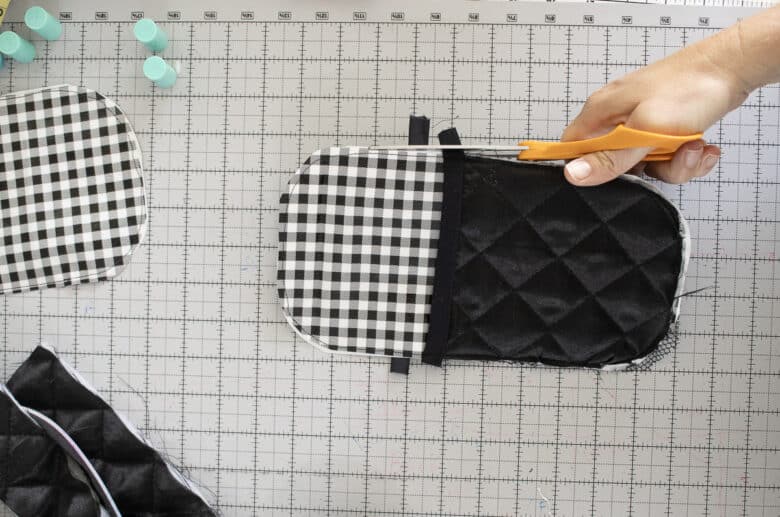
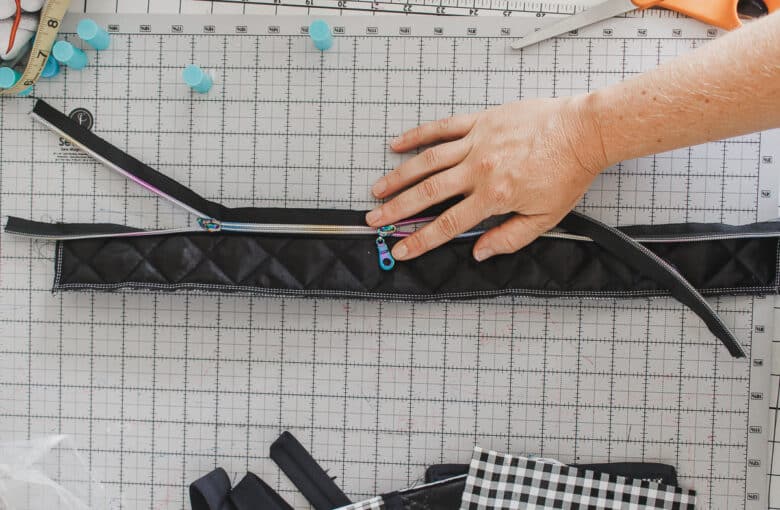
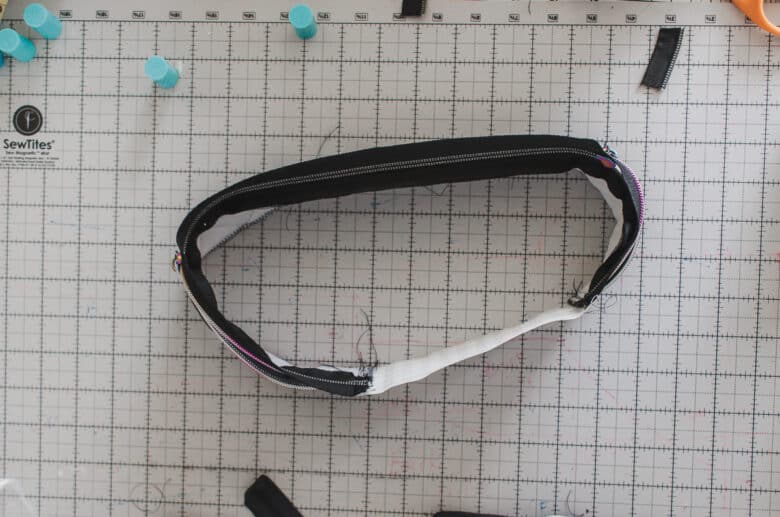
Here is what my pouch looks like with the zipper clipped all the way around. Sew with a zipper foot.
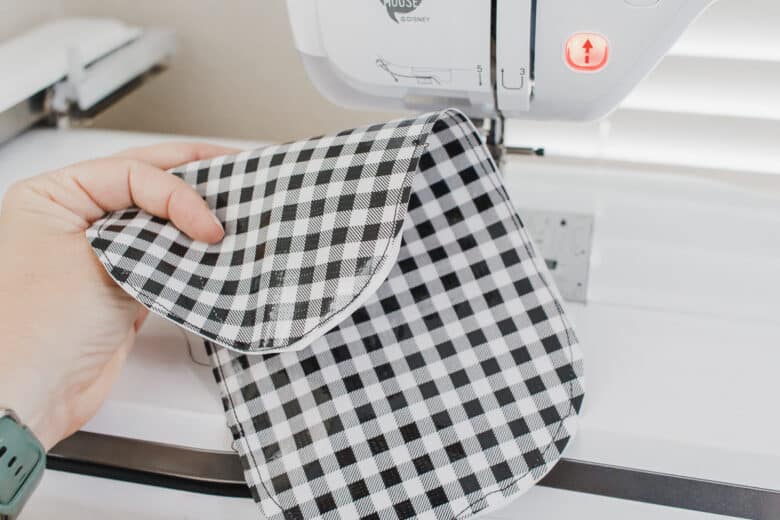
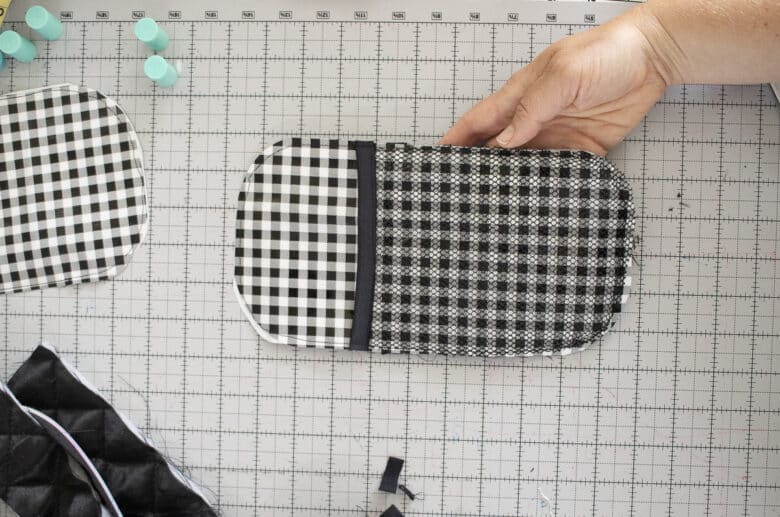
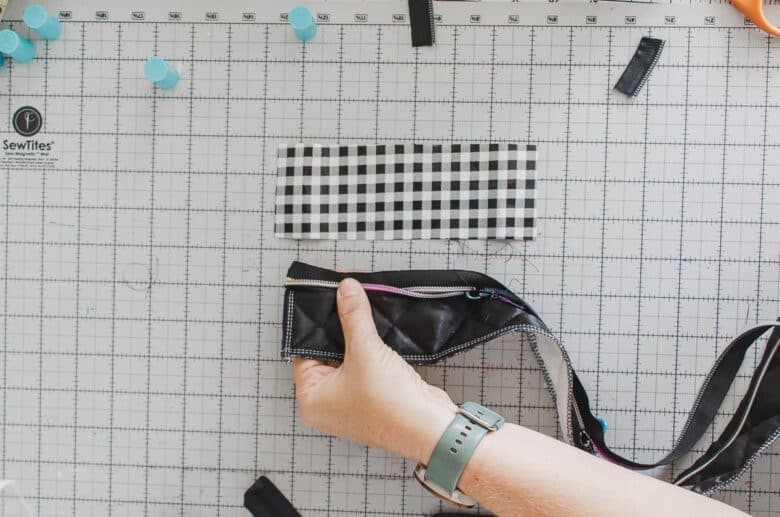
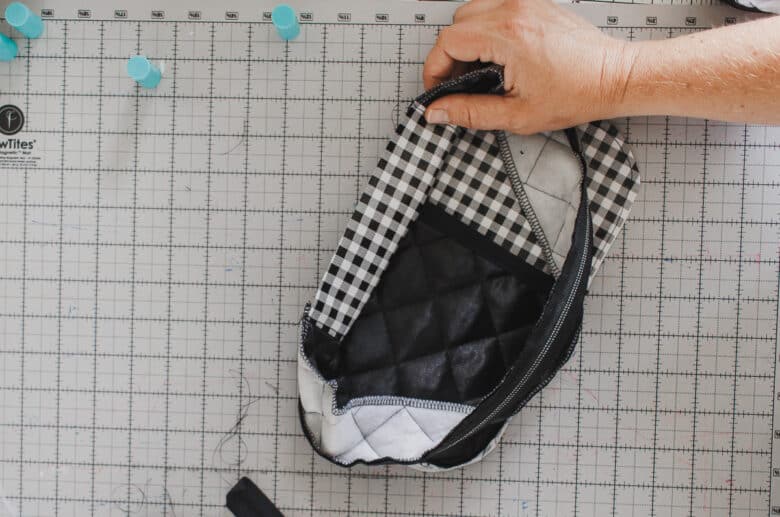
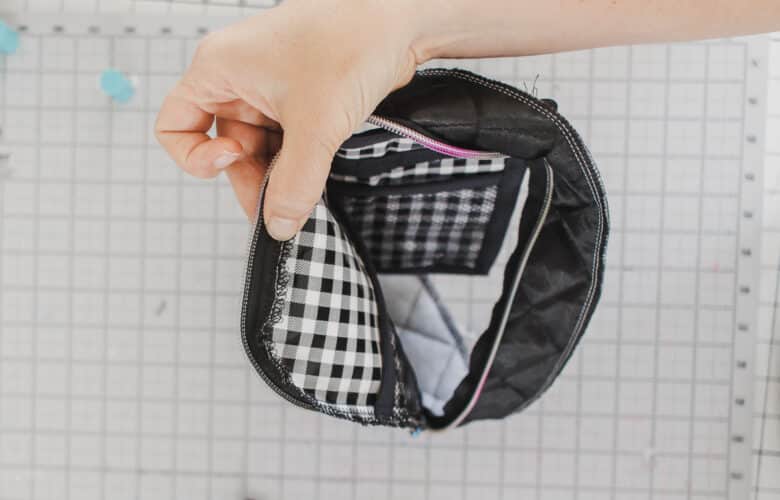
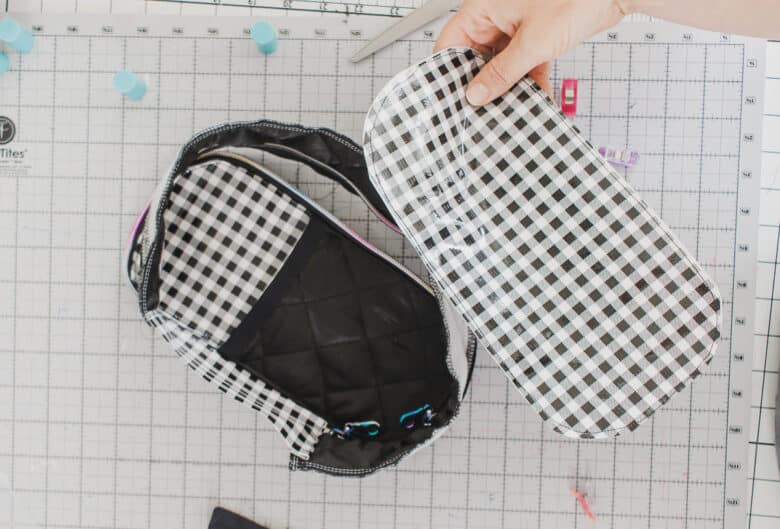
Turn right side out and now here is the outside of the pouch, and the inside.
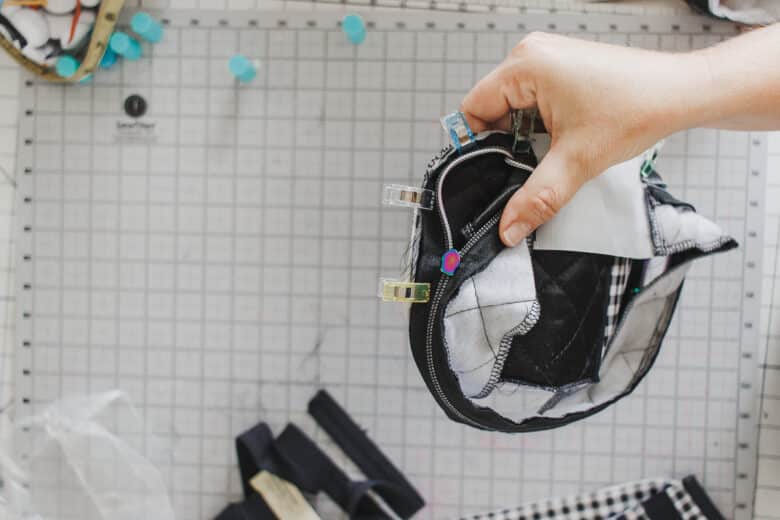
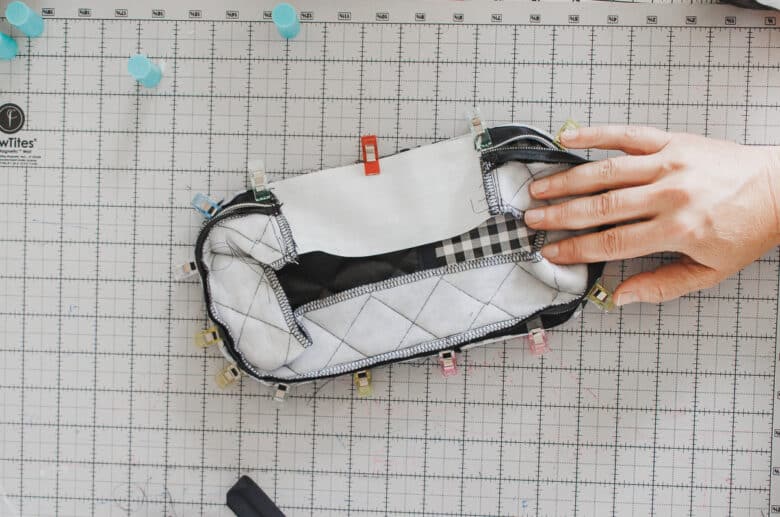
Open the zipper all the way. Take the pen flap and place it right side up again the inside top pocket on the back side of the pouch. Stitch the pen flap to the top on the seam allowance from previous seam. Make sure all raw edges are finished before sewing together.
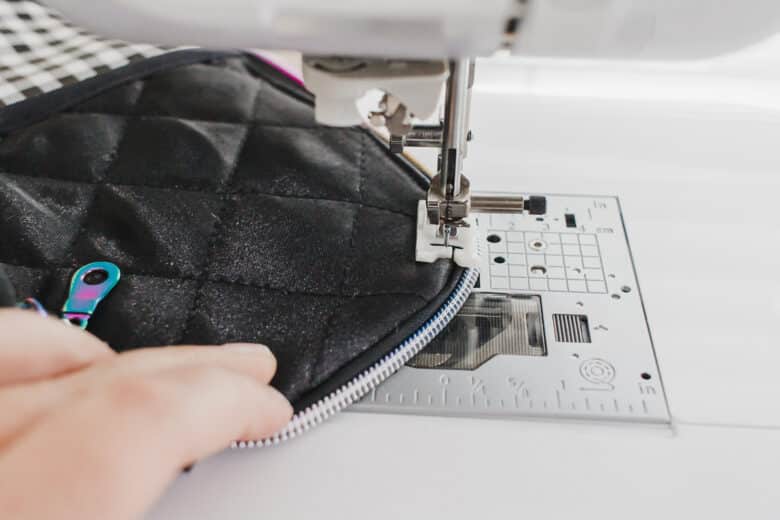
On the top zipper seam, fold seam allowance back away from the zipper and topstitch to finish the edge.
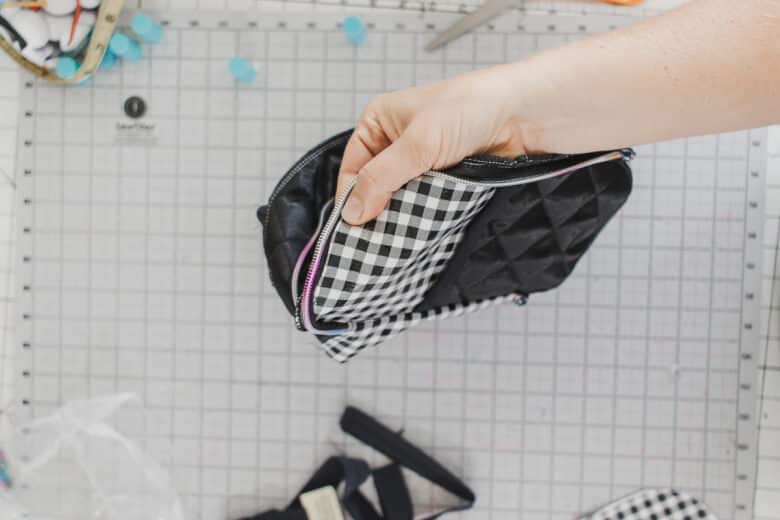
Again, the outside and inside view of where the pouch is in the process.
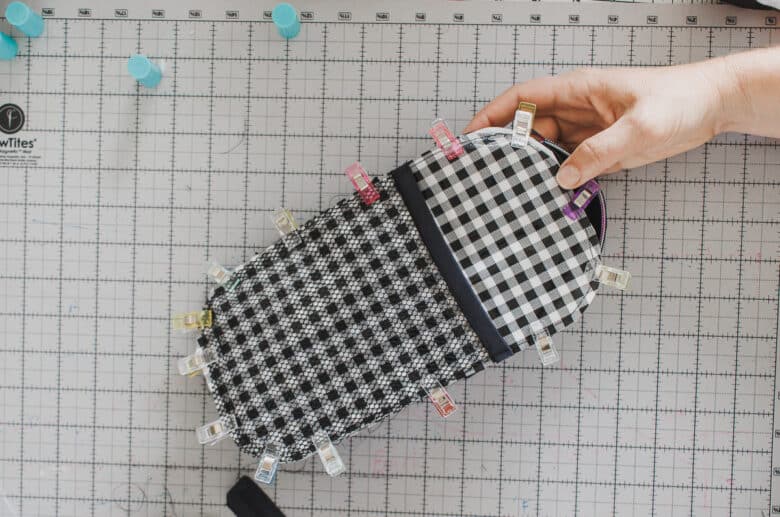
Time to add the bottom! Take the bottom piece you basted together at the very beginning and place it right sides together to the bottom of the side panel. Remember to open the zipper at least half way so you can turn it right side out when finished!! Clip all the way around then sew.

I found it easier to sew with the side panel up as shown. Remember all raw edges should be finished before sewing together.

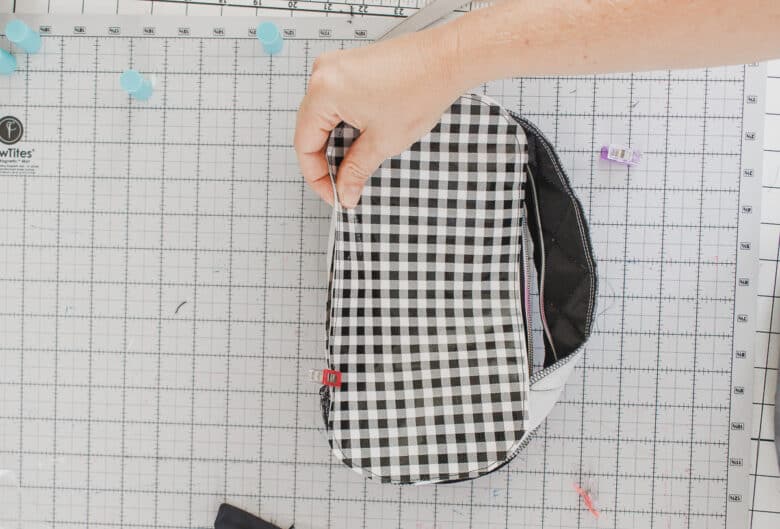
Now you can turn the pouch right side out and fill with all your favorite school supplies!!! Love it!!
And here is the finished case! Scroll back up to look again at all the inside views and details of the finished bag. Can’t wait to see what you make!


Leave a Reply