


inside: Learn how to make a MERRY shirt with applique for a fun Christmas shirt. A fun and easy Christmas shirt tutorial, make with any word, or MERRY like I did with fun Christmas fabric.
I’m excited to share this fun Christmas project with you today. I’ve been making Christmas shirts like a little elf here the past week, and today I’m sharing this Merry Applique shirt that I made. You can put applique on a sweatshirt or shirt for a really cute Christmas shirt.
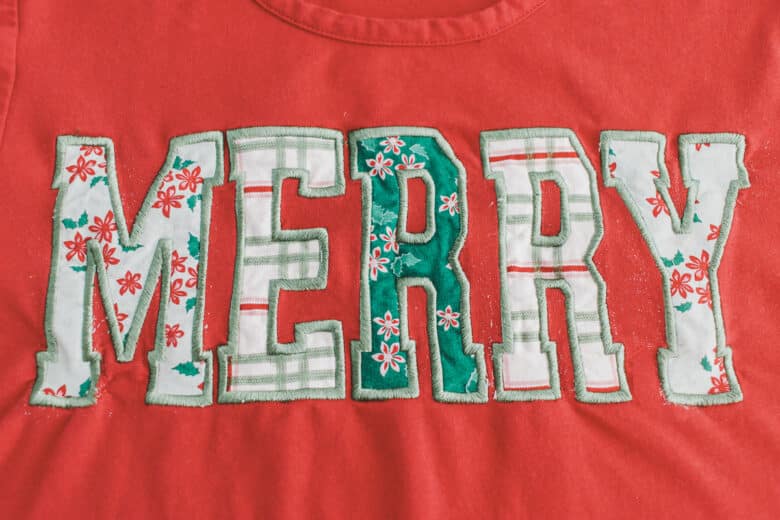
MERRY Christmas shirt applique
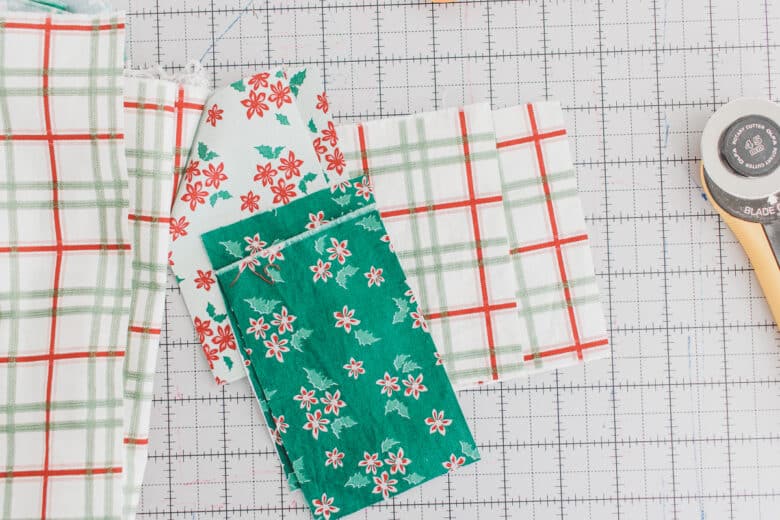
I spent so long at the local quilt shop trying to find the perfect Christmas fabric to go on this red shirt I had. In the end this worked out so cute and I love the Christmas floral and plaid that I ended up going with.
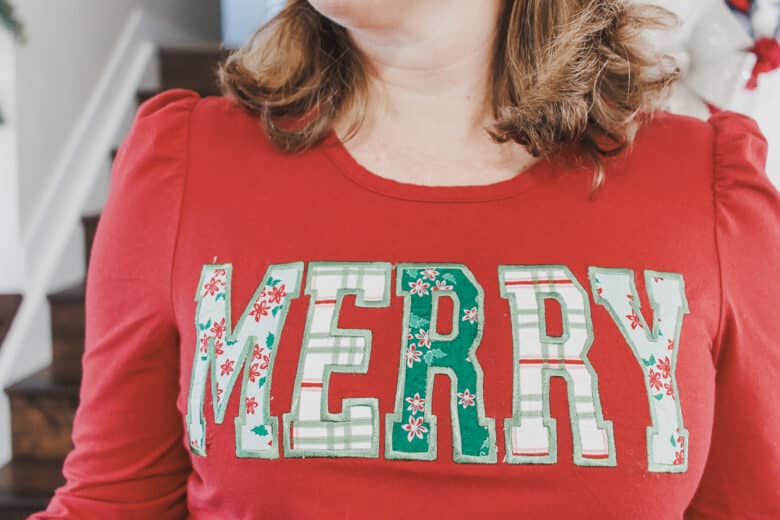
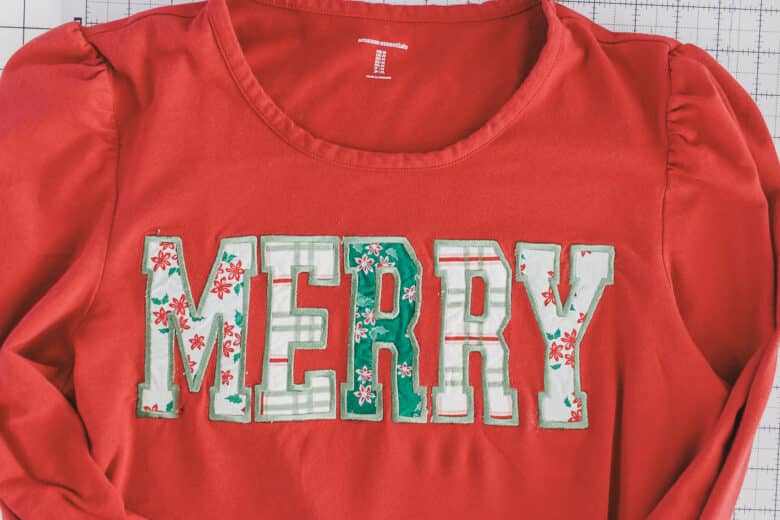
First up, I want to point out that my placement is a bit too high. I should have tried on the shirt first, I just placed the design where I would, but it ended up being a bit to high on this shirt. I LOVE the design, I just need to lower is a bit.

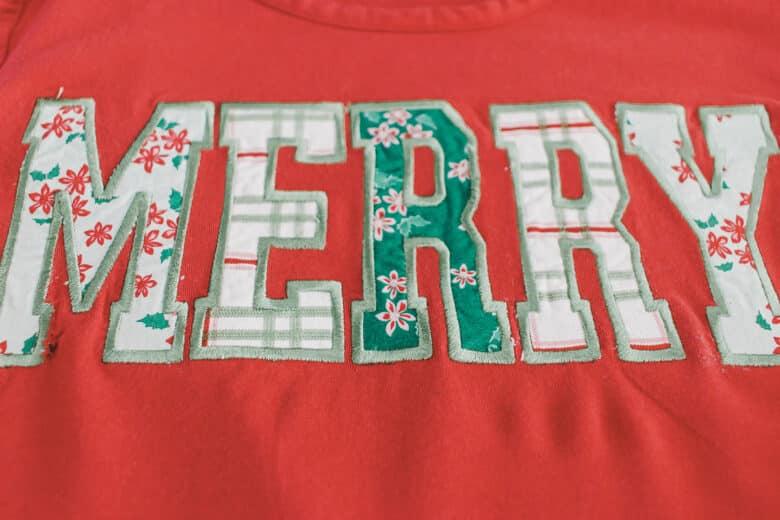
This design turned out so cute! I bought the font on Etsy and I’ll share the link with you below.

Other fun Christmas projects
- Wood and Fabric Home Decor
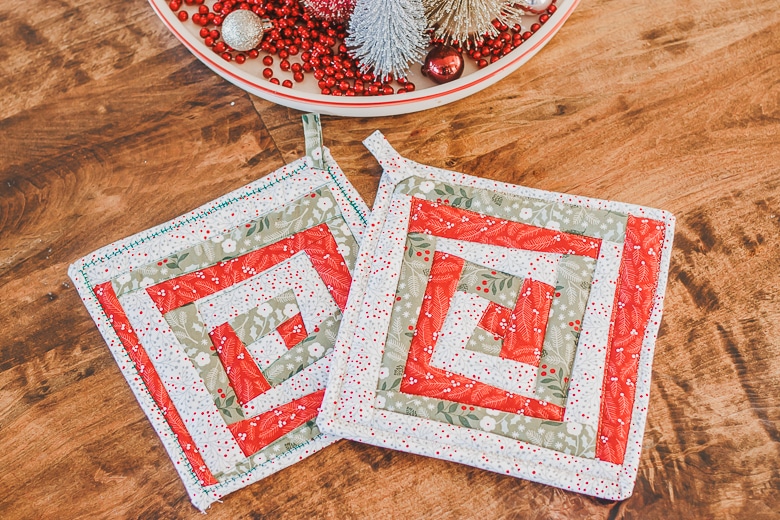
- Scrappy Potholders
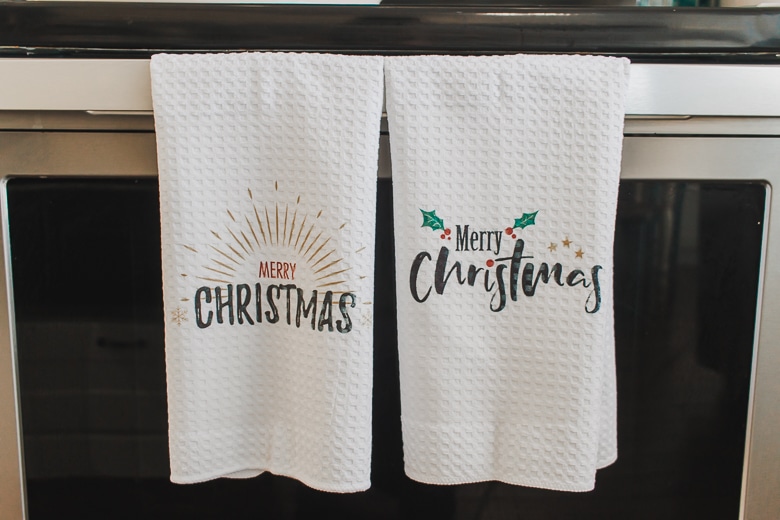
- Sublimation Christmas towels
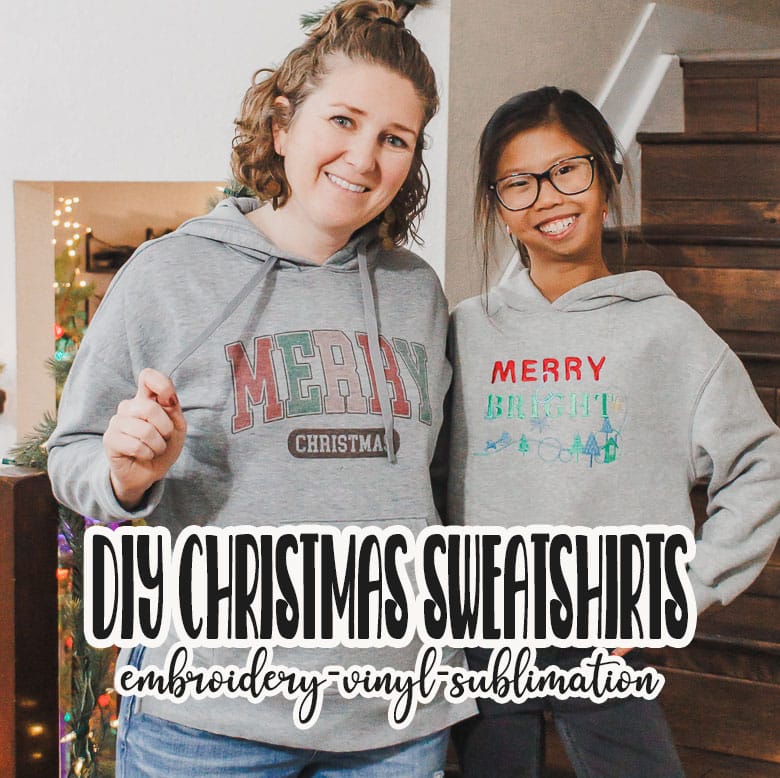
- Christmas Sweatshirts
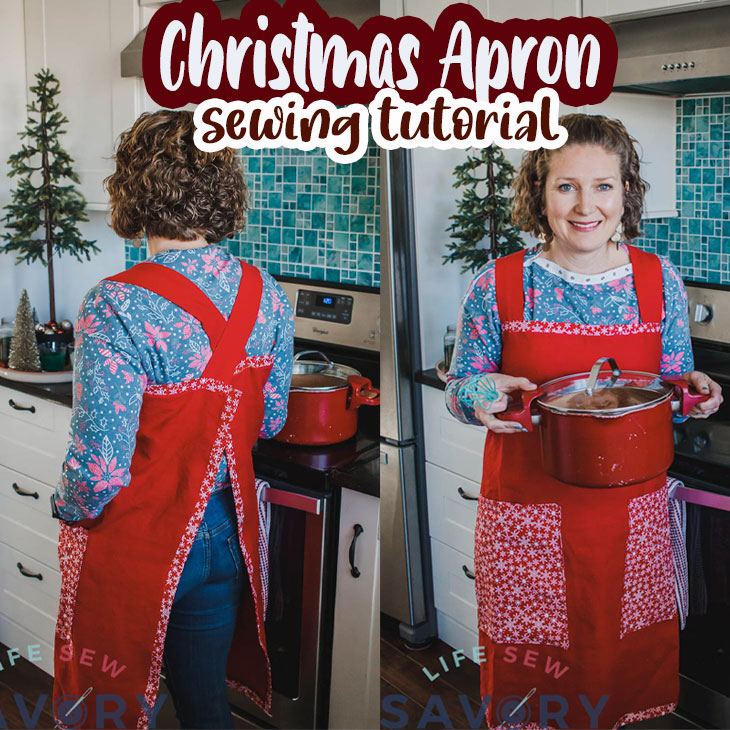
- Christmas Apron tutorial
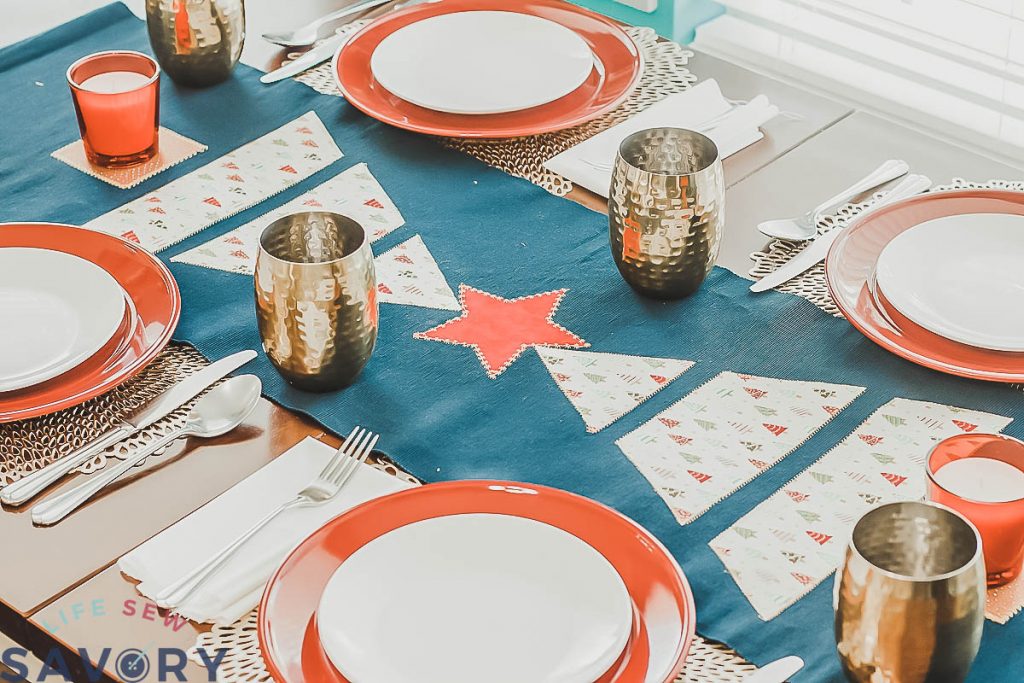
- Christmas Table Runner
- Scrappy Christmas Stockings free pdf pattern
- Yarn and fabric Christmas wreath
- Tree Skirt from a blanket

How to create a Merry Applique – tutorial
Now it’s time to jump into the tutorial. Gather your supplies, let’s get started!
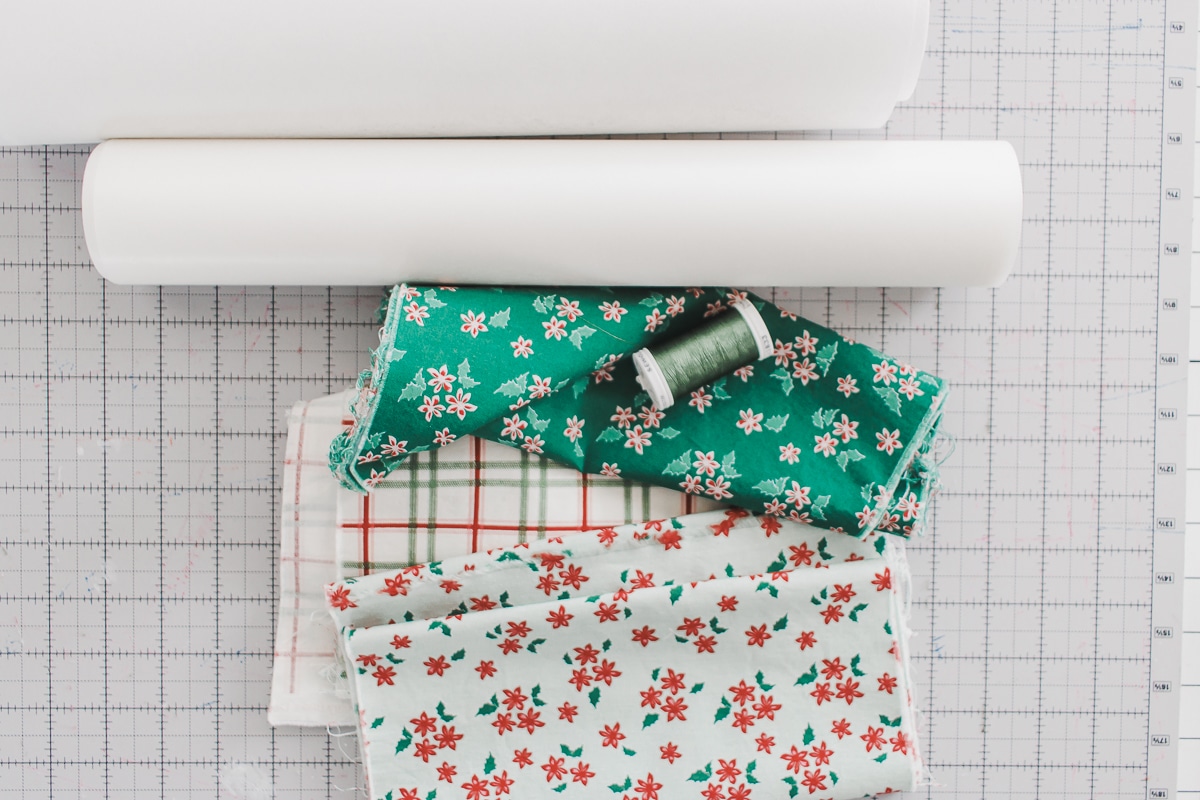
- Riley Blake Christmas fabric – see it on Etsy
- Narrow Sports Alphabet Applique lettering – see it here on Etsy
- Red Shirt from Amazon Basics (I’m wearing a size M- I would say it runs small) – see it here on Amazon
- Tear away stabilizer and Adhesive stabilizer – Links to Amazon
- Heat and Bond Lite – link to Amazon
- Embroidery Thread – Link to Amazon
- Applique scissors – link to Amazon
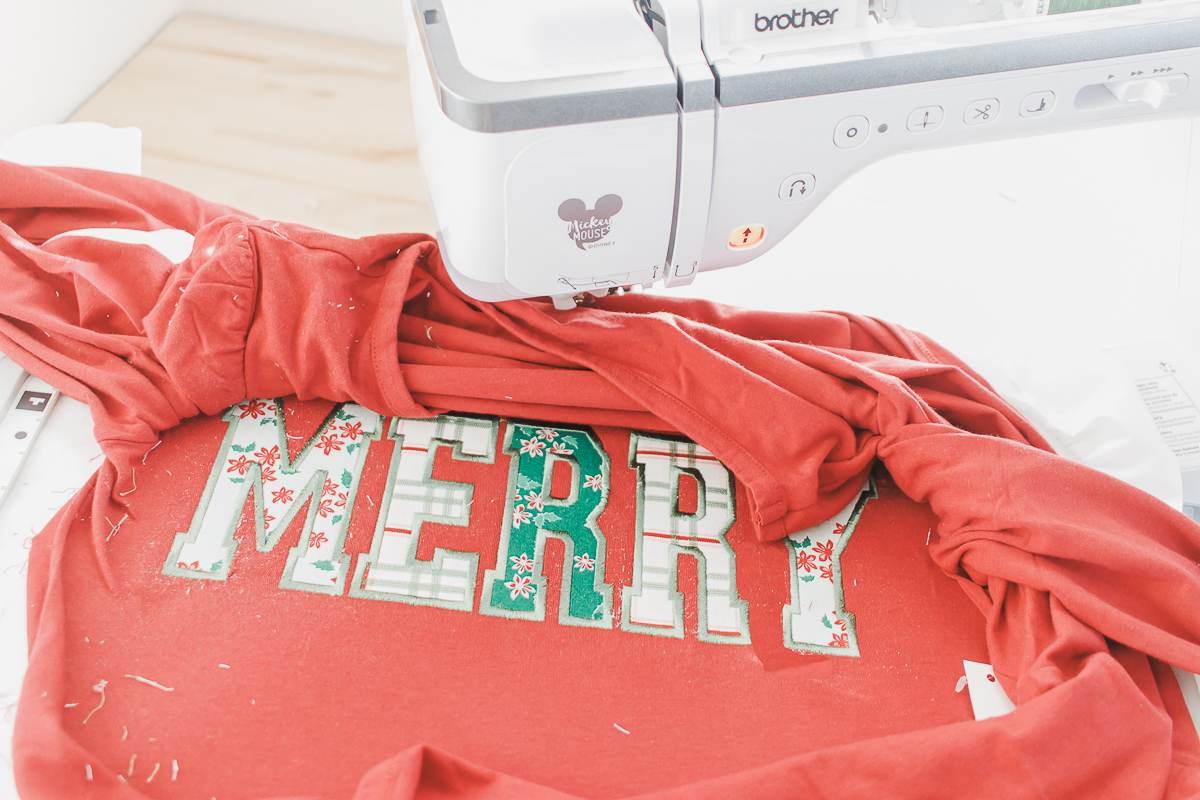
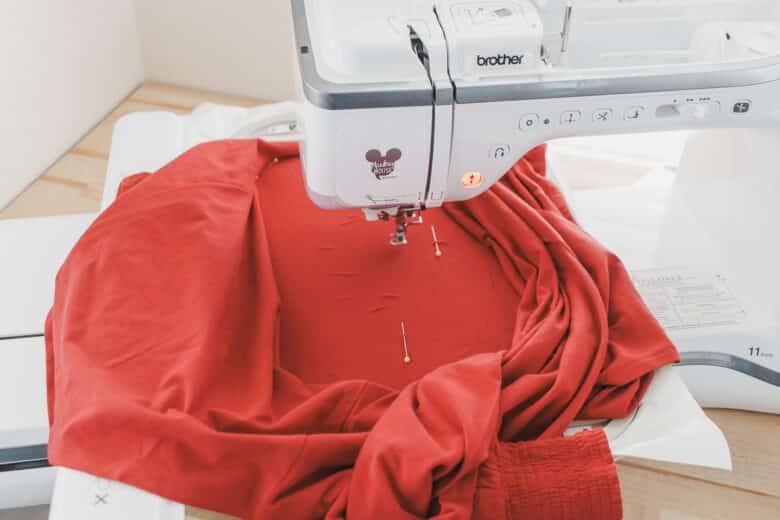
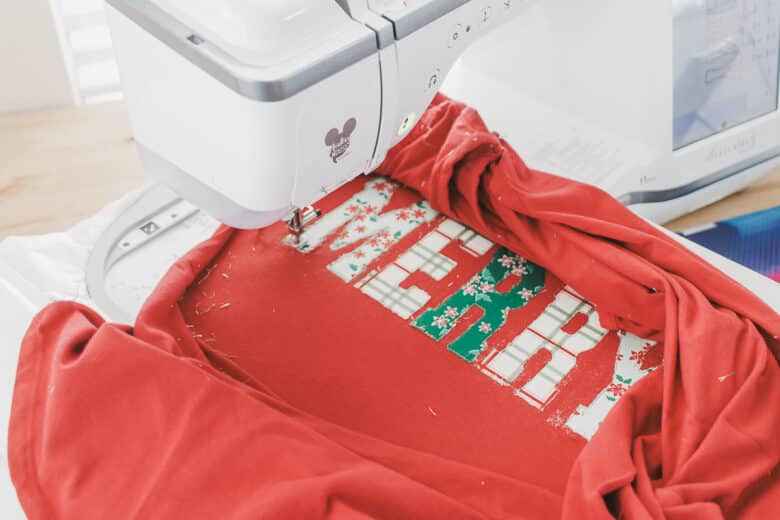
This tutorial can be used to create an applique shirt with any word- l’ve got a few more sweatshirts planned! Today were are using the word MERRY to create a cute Christmas shirt. You can use a sweatshirt or thicker knit shirt {like I did}. I prepped my shirt by opening up the side seam. You can see my post about embroidery prep here. I didn’t hoop the actual fabric of the shirt and I just stuck the shirt onto the adhesive. Once all in place, I do pin around the edge of the hoop to hold it firmly.
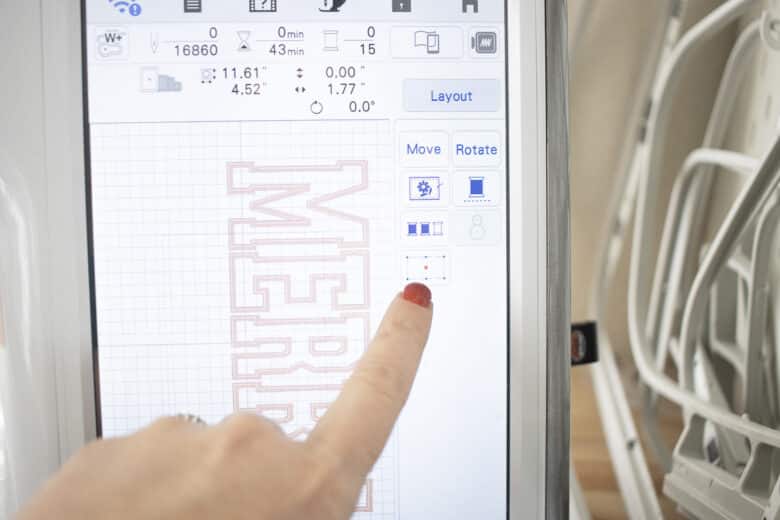
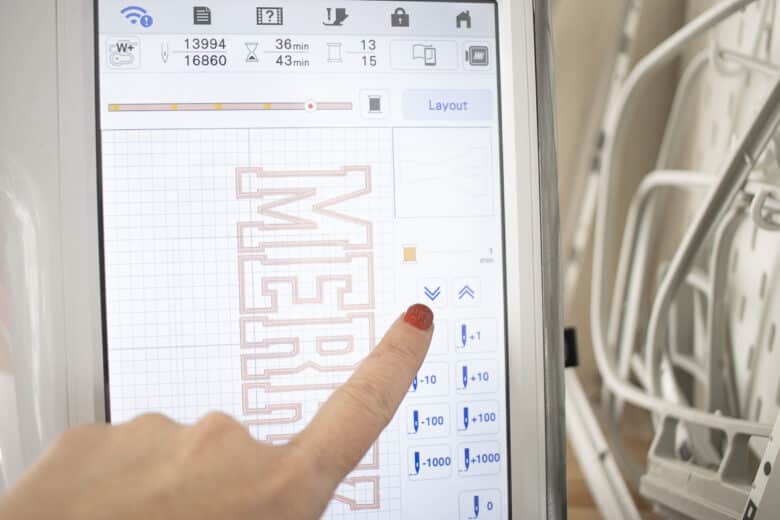
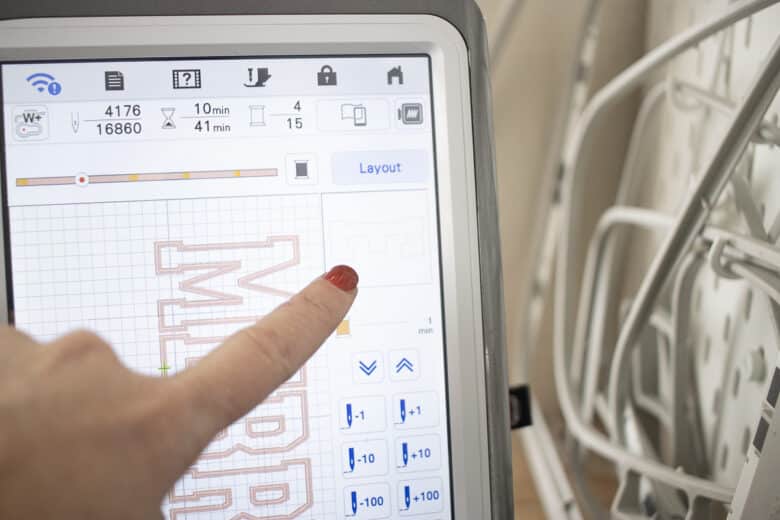
I like to mark the center of my shirt, and then two horizontal marks, so I can use those to make sure the design will be straight. When I use the sticky stabilizer I don’t always get it stuck down perfectly straight, so having these to markings allows me to perfectly alight once on the machine. My machine has the two-point alignment tool so this makes it so easy to get the design straight.
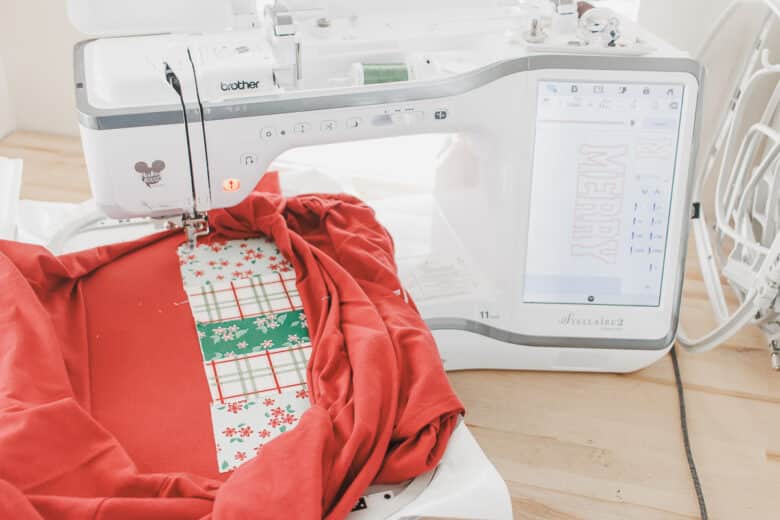
I used the 4.5″ letters from the font linked above. This came out to just over 11″ so I had to use my biggest hoop for this design. I like to use the 9.5″ square hoop for shirt projects, but I had to go bigger for this one.
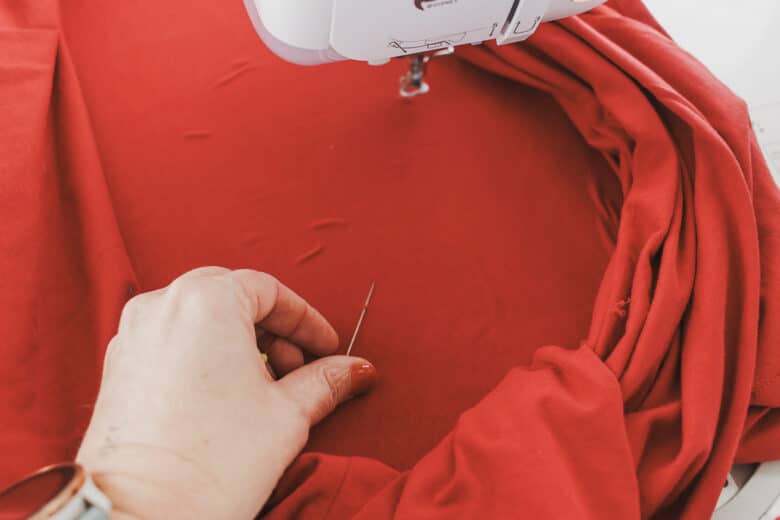
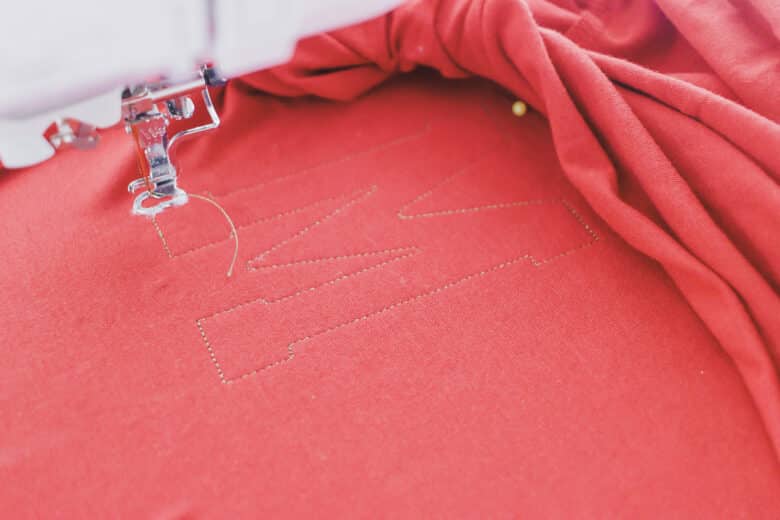
Once I have the positioning right on the machine, I save the design {to make sure I have it if something happens}, then remove the positioning pins. For this applique, I start by stitching out the outlines of each letter.
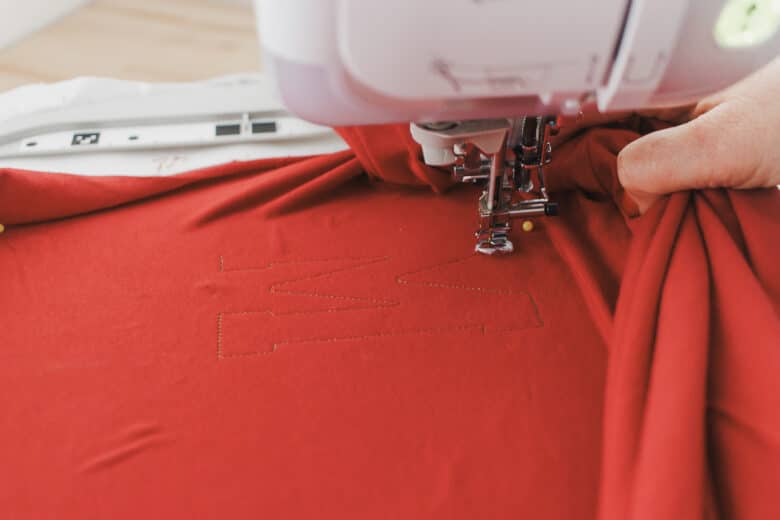
Use the arrows to move to the next stitch pattern to get to all the letters. {you may be able to just group this, depending on your machine. Stitch the outlines to all the letters in your design.
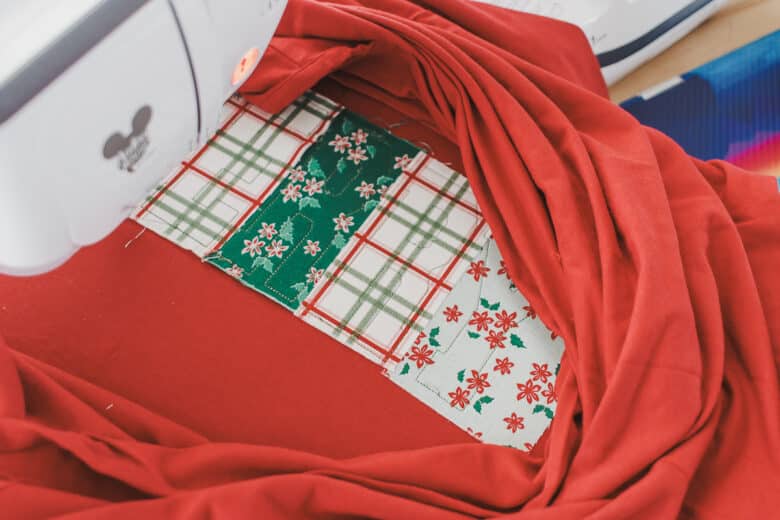
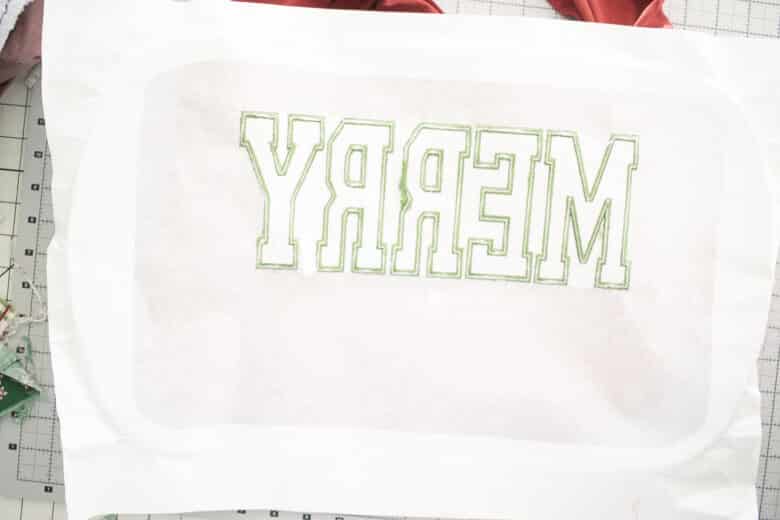
Once I had all the outlines stitched out, I removed the hoop from the machine and then cut rectangles of fabric the size of the letters. Press the heat and bond fusible onto the back of the fabric.
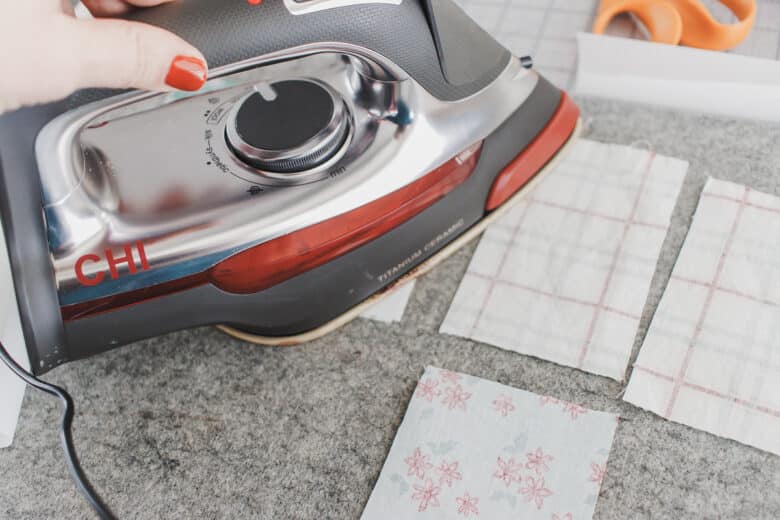
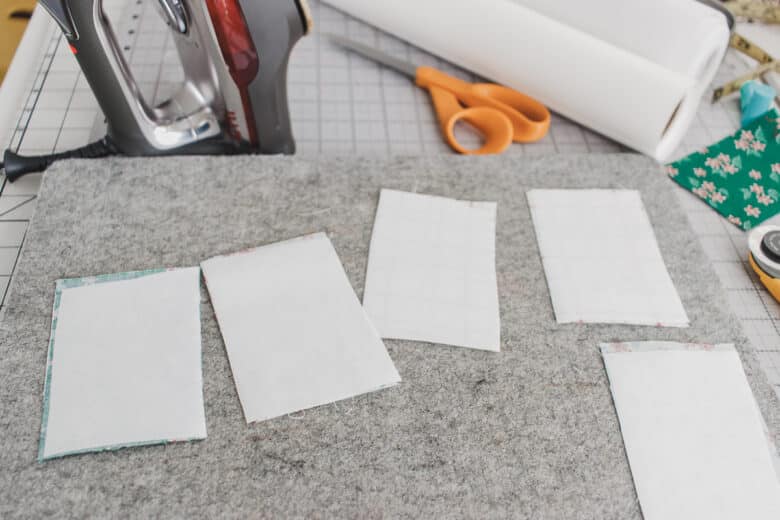
Peel off the paper backing, then iron over the letters. Trim the Christmas fabric as needed to keep the letters from overlapping. **Note – many people will fuse AFTER sewing the outlines, I like to do it now to keep everything SO smooth and in place. You can only do this if you use the ultra-light fusible… because you will have to pull some of it back up.
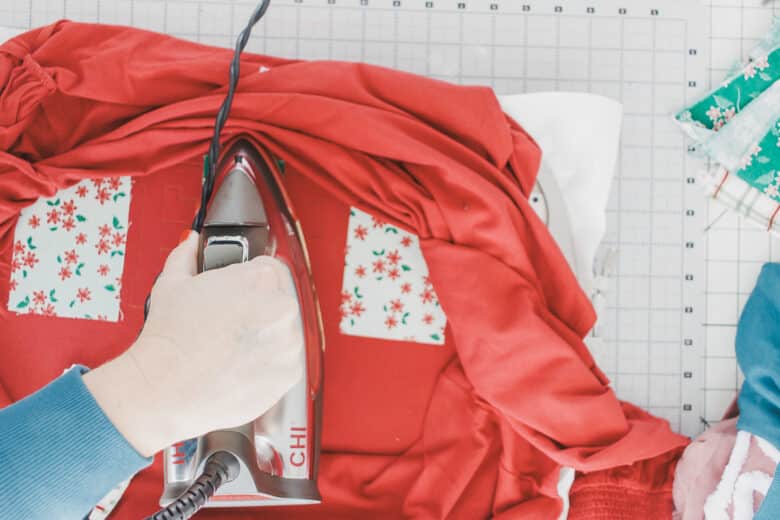
Place your hoop back on the machine and then go back to the first letter and stitch the outlines again.
Use the arrows to go through the design and stitch out all the outlines again.
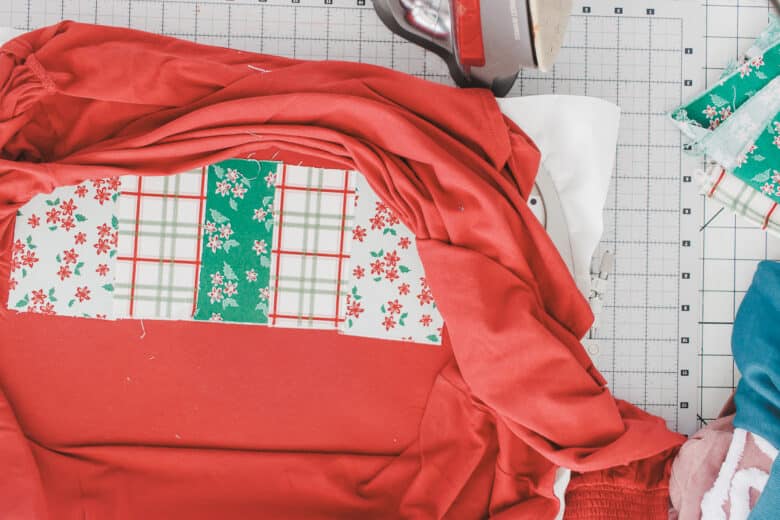
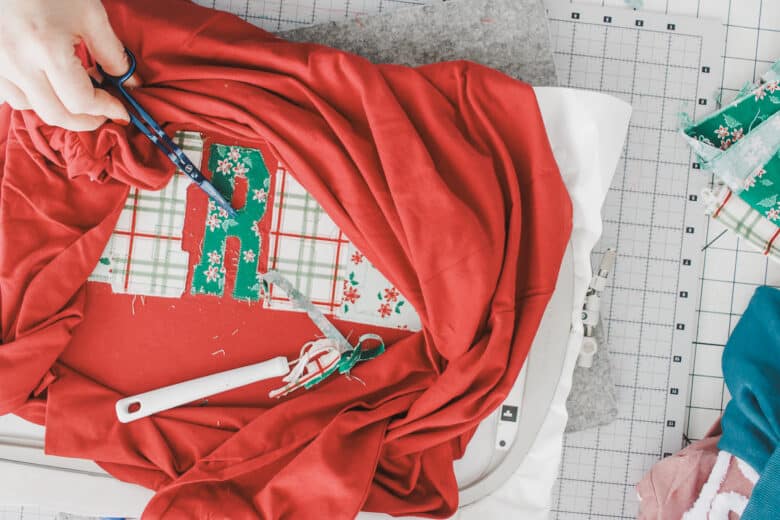
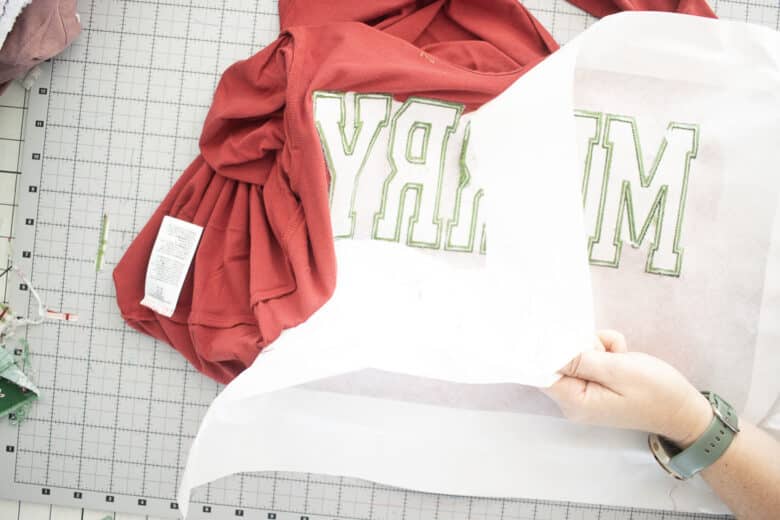
Remove the hoop for the final time and use your embroidery, applique scissors to trim around the outline stitches. This is a bit tedious, and I like to do this off the machine, but you can do it on the machine if you want. {for simple designs I would…}
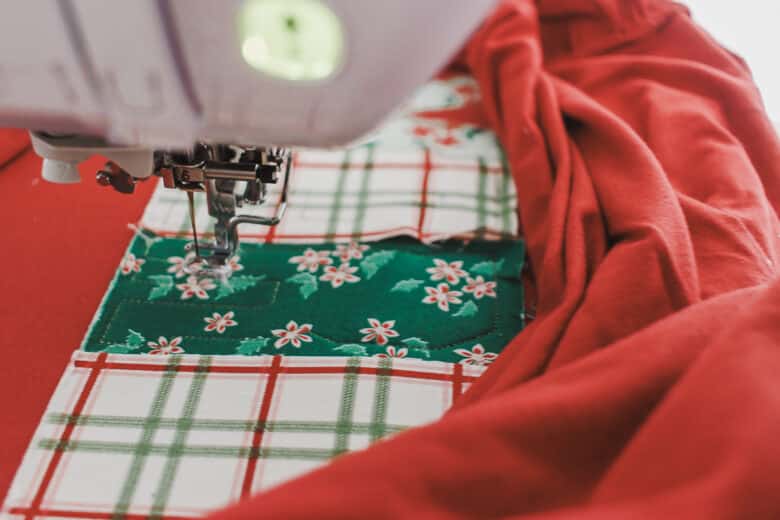
Place back on your machine and now use the satin stitch part of the design to stitch around each letter for a perfect finish. This design stitched out beautifully.
After it’s finished remove the stabilizer. I picked out almost all of it, then washed it to get the rest out.
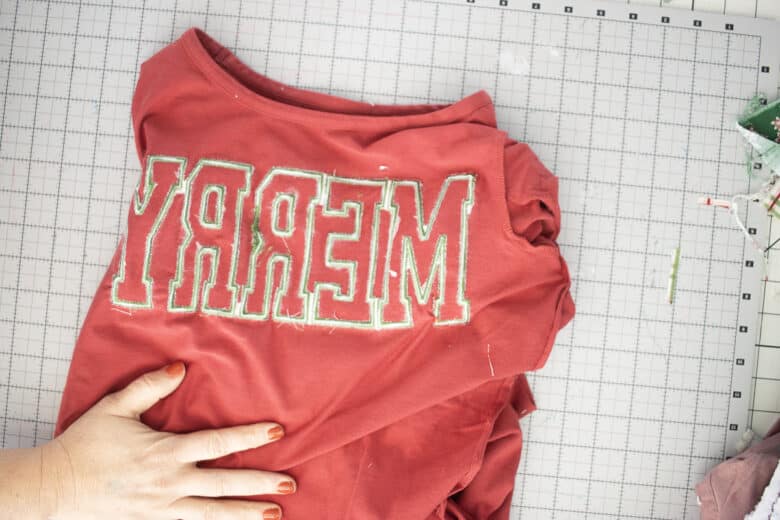
I finished this shirt by sewing up the side seam and then washing the shirt to remove the stabilizer. This caused a bit of puckering, but a bit of steam ironing and it looks perfect again. SO pretty!


Leave a Reply