


inside: Sew up this beautiful and breezy linen summer set with free patterns and this tutorial. I’ve used two free patterns and hacked them to create this fun look. Easy sewing with gorgeous results, you will love this summer set.
I saw a set like this on an ad for a cheap foreign company and knew I could recreate it. I ordered some fabric, looked through my free pattern library and came up with this cute linen summer set. The look turned out so cute, and the ruffles were great too. I’ve never done a ruffled neck like this, but it turned out so cute! You can find all the details to create this look as well using two free patterns and the hacks found here.
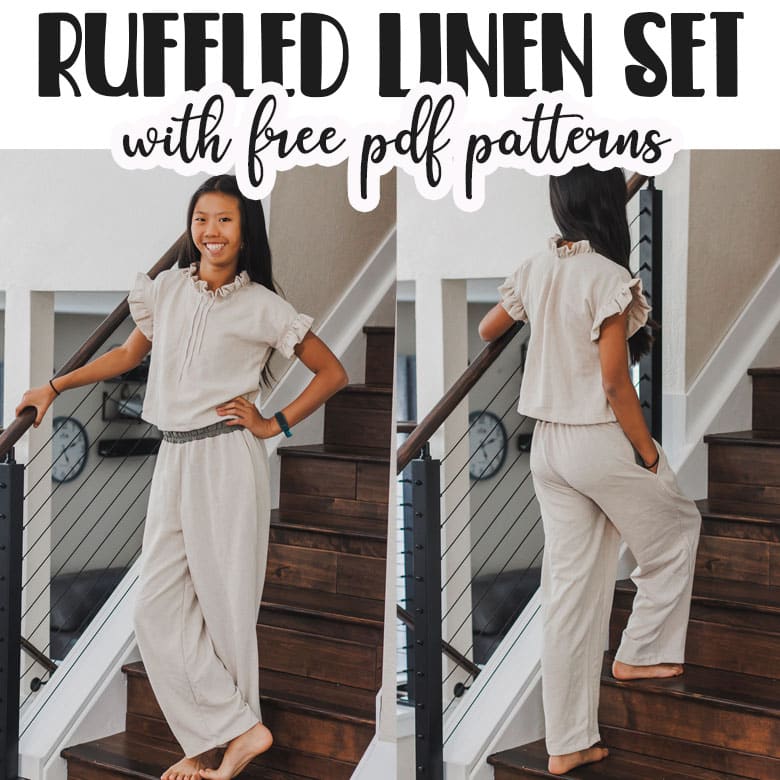
Linen summer set
I used a beautiful faux linen with slight stretch from Sincerely Rylee fabrics for this project. I wanted a different color, but the others were sold out since I was a bit late to order. It has a great little bit of stretch, which makes it easy to work with and so comfy to wear.
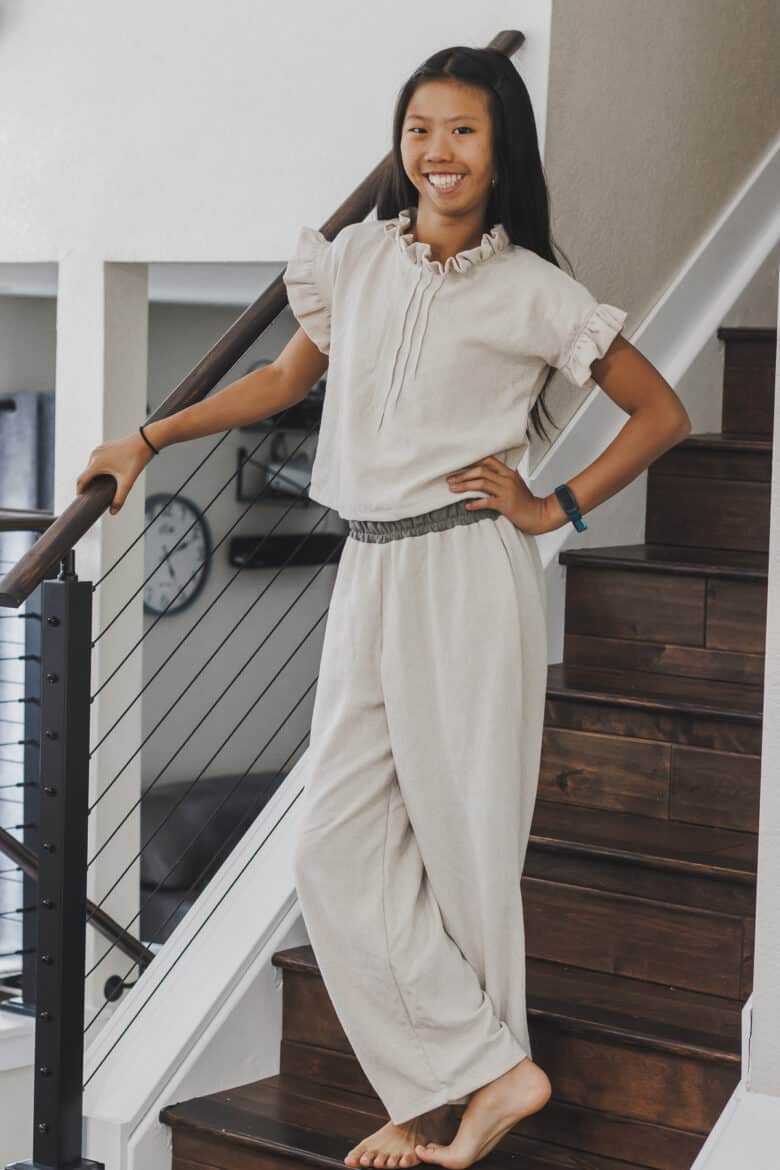

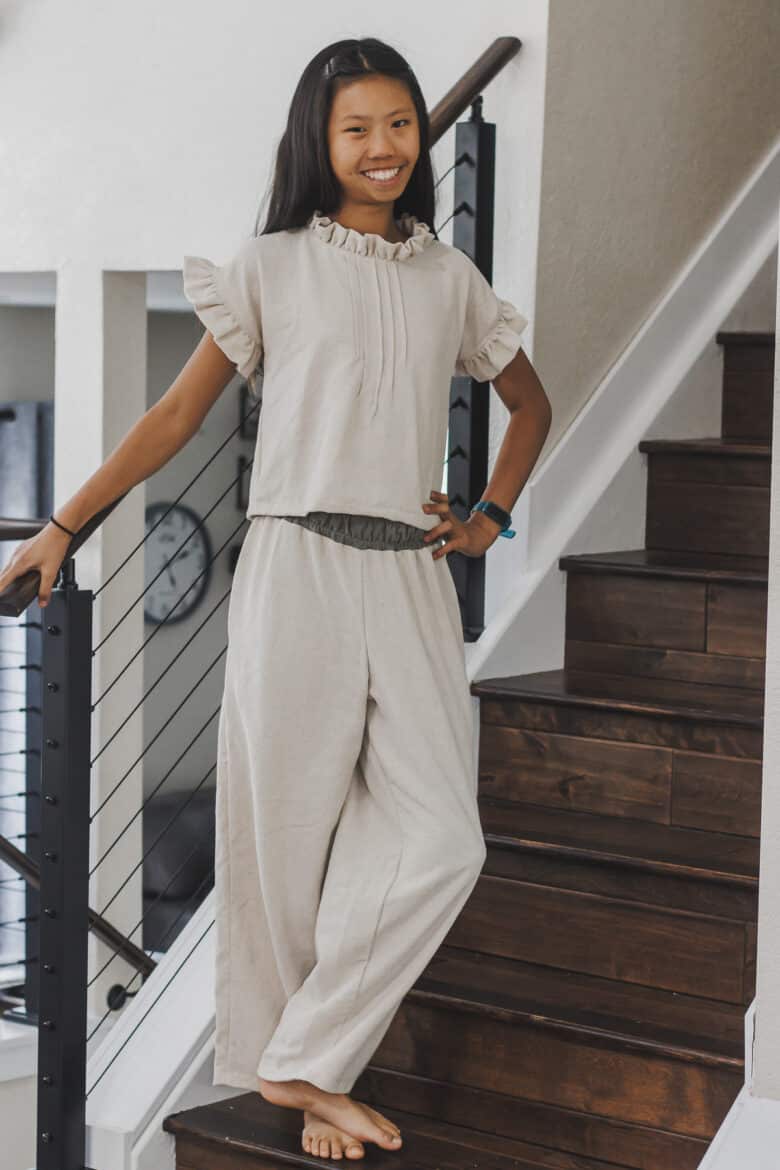
I used two free patterns to create this look and will share the pattern hacks below to accomplish the design. The pleats and ruffles on the top are so fun! I think the ruffled neck is my favorite.


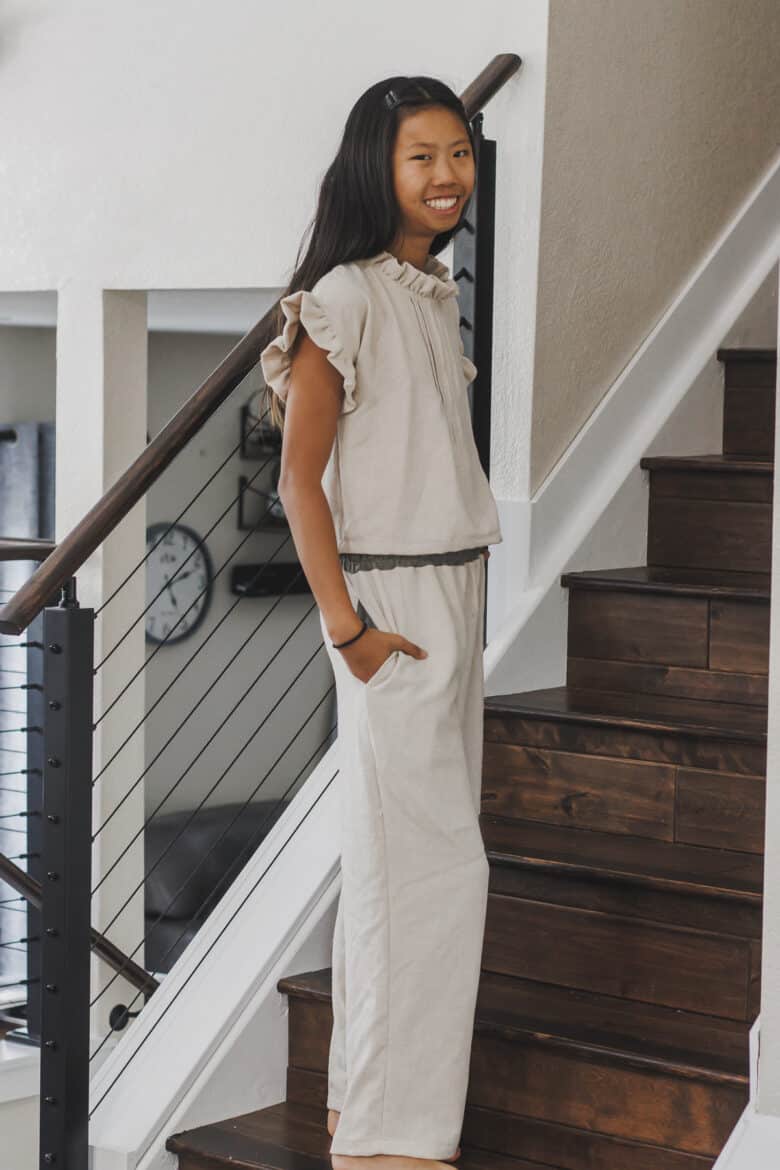
I should have lengthened the top about another inch and maybe sized up just a bit on the pattern for the fabric choice. We are pretty pleased with the final look though. Of course the pockets are a big hit.
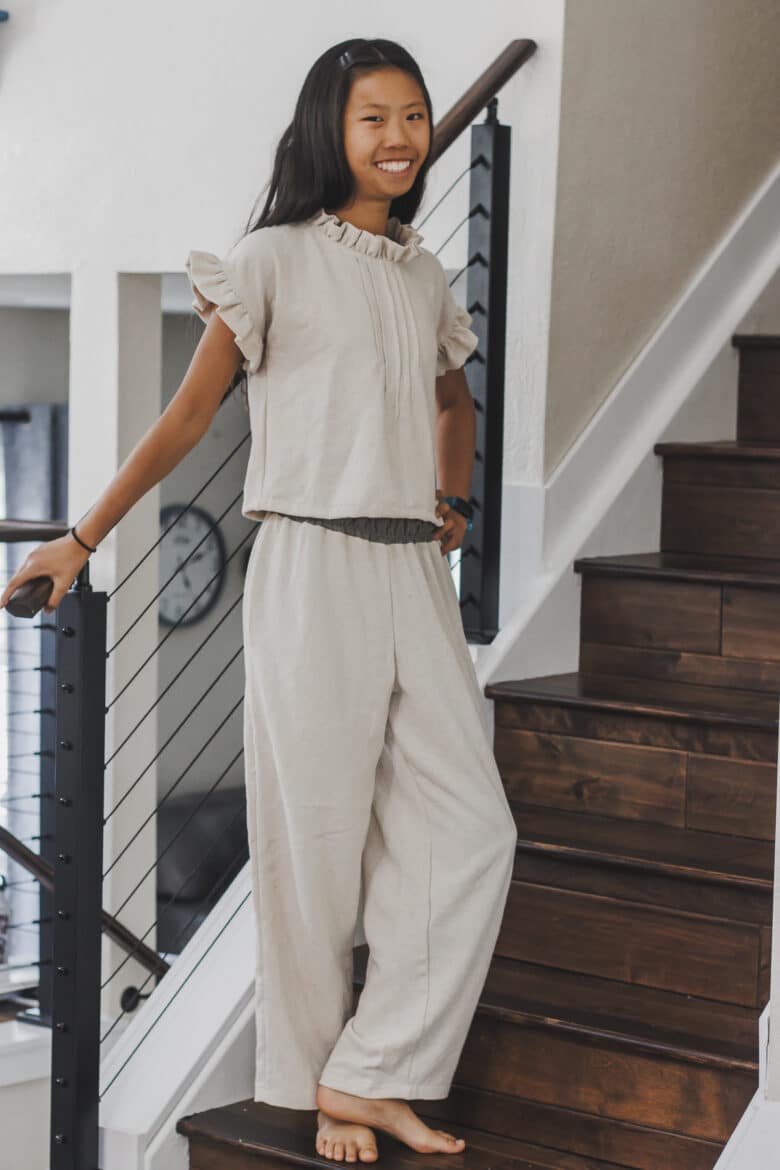
The waistband and pockets are a different color because I ran out of fabric. I had 2 yards and I needed 2.5. I adjusted for this in the supply list below. I don’t mind the contrast, but that’s the reason.
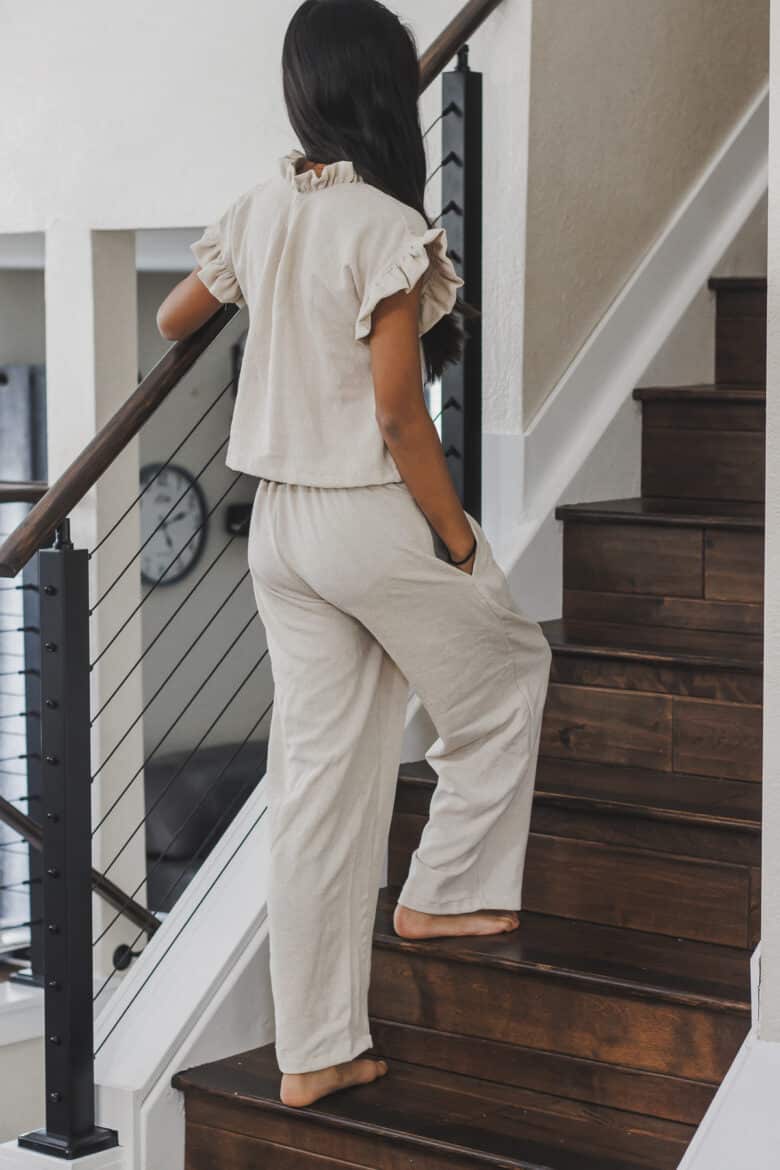
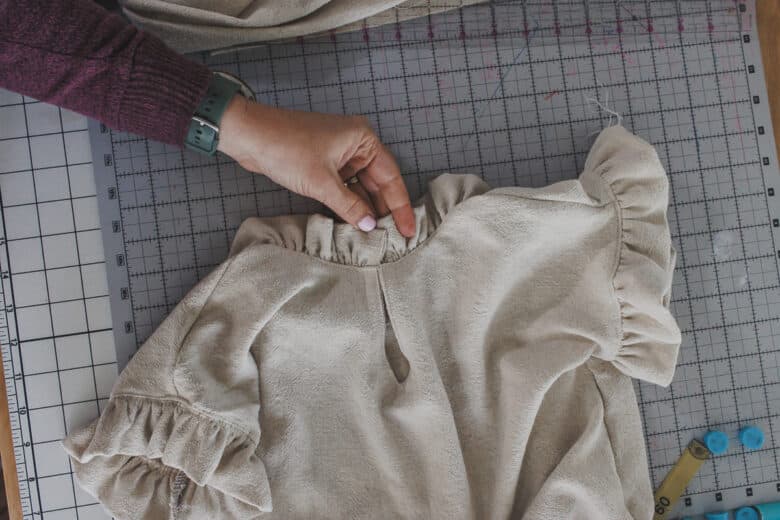
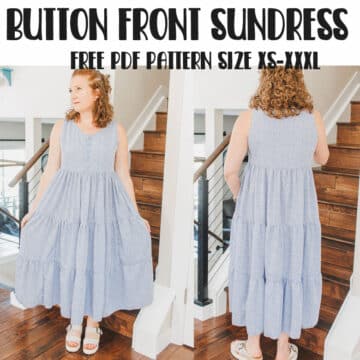
The keyhole at the back neck makes this pattern work with woven fabric and adds a cute detail.


Summer set free sewing patterns
Here are the supplies you will need to sew up this fun linen summer set.
- Linen or faux linen… Mine is faux from Sincerely Rylee fabric. I used 2.5 yards for a size 10.
- rustic linen
- Any medium weight fabric will work for this, but softer is of course better
- I think a double gauze fabric would be lovely too.
- Free patterns- Used here were:
- Hook and eye closure or button/elastic closure
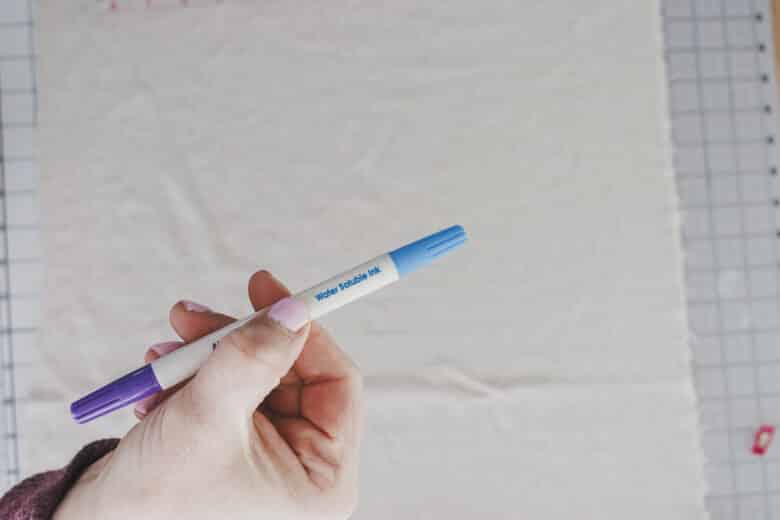
- Fabric marking pen
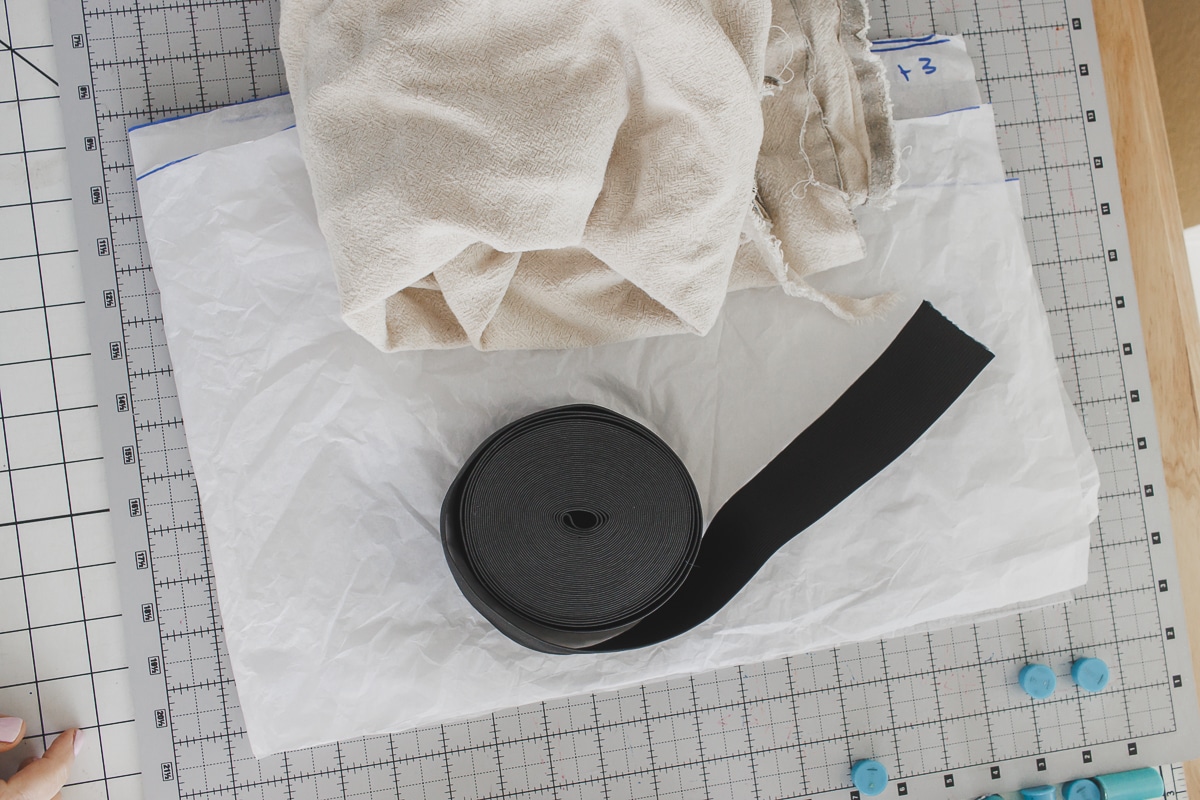
- 2″ wide elastic for pants
- Sewing machine and or Serger
- All seam allowance is 3/8″ unless otherwise marked
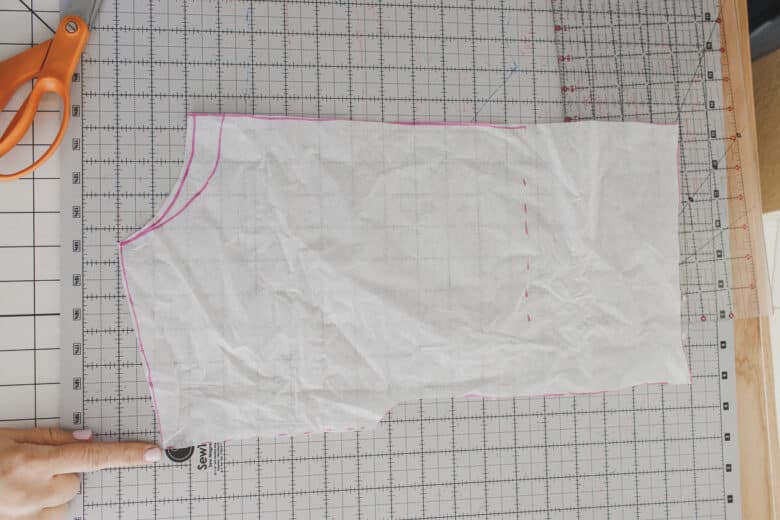
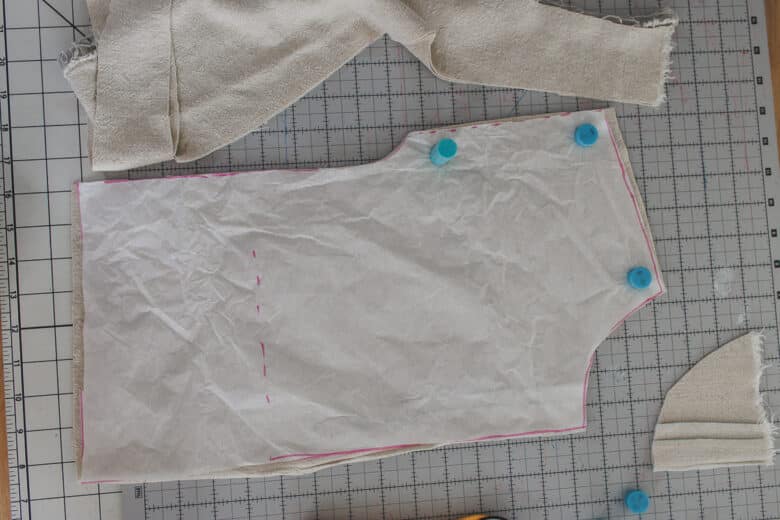
Print sewing patterns and trace out {or cut out} size desired, blending sizes as needed. For the crop top I lengthen by 5 inches {can measure child or use a shirt they like to add length} and also cut the arm/shoulder down to about 1″ wide from under arm curve.
For adding pleats to the front you need a piece of fabric just leave as a rectangle. You can see below how I have my pattern laid out on the folded fabric. A bit of room on the top/bottom and 3-5 inches of extra width.
Tutorial to sew a linen summer set
NOTE: 3/8″ seam allowance unless otherwise marked.
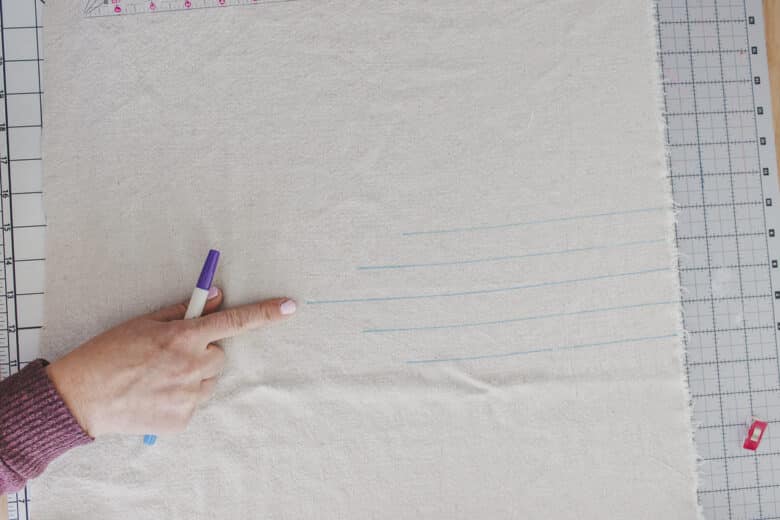
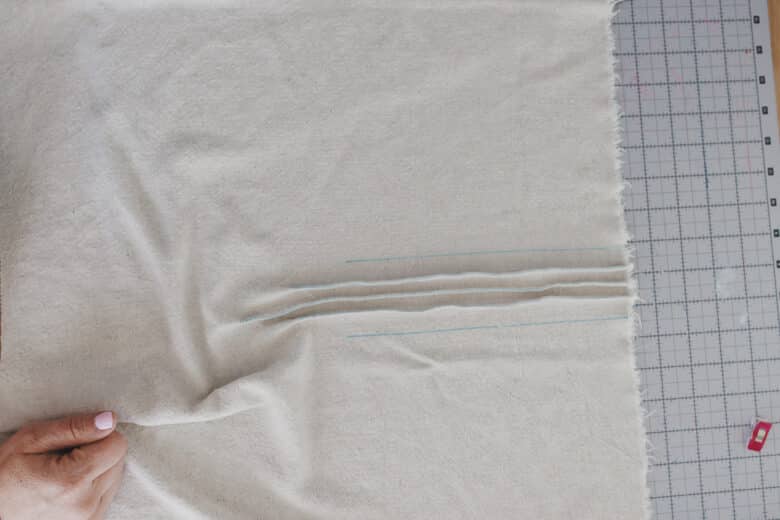
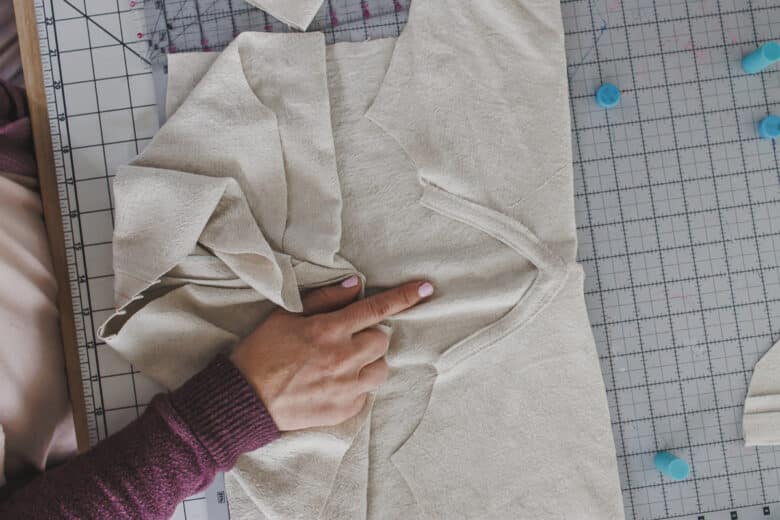
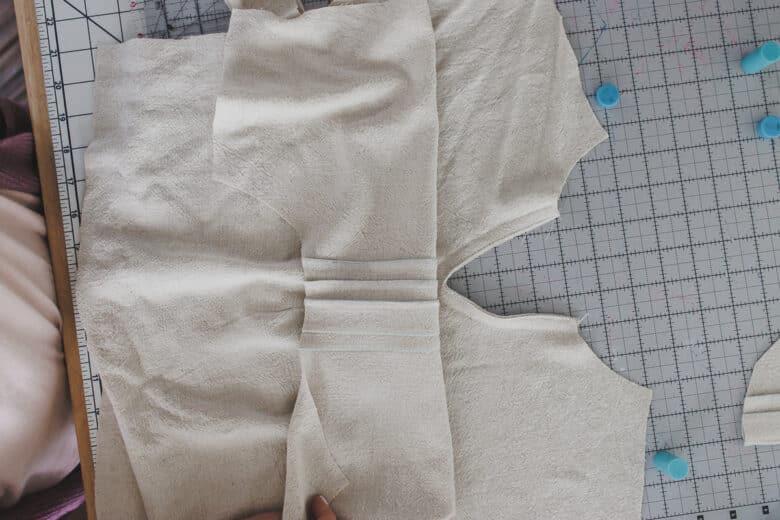
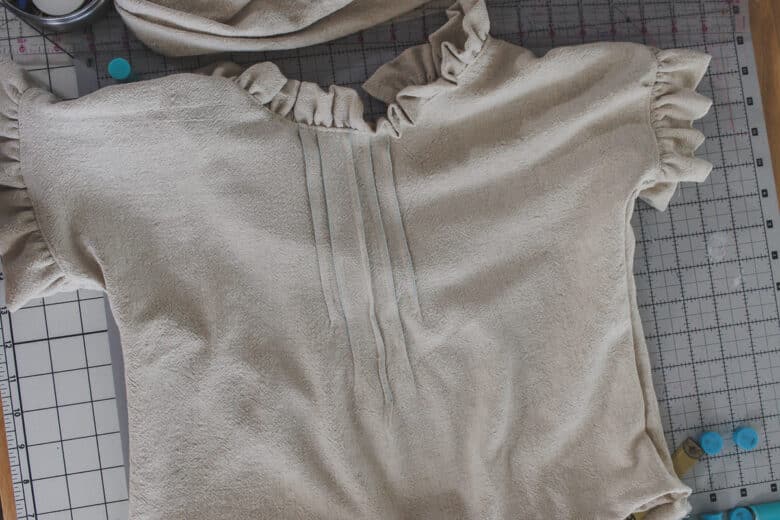
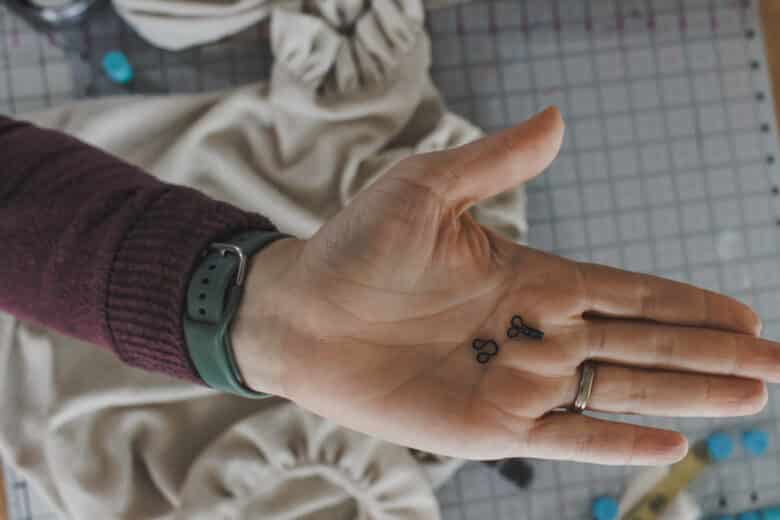
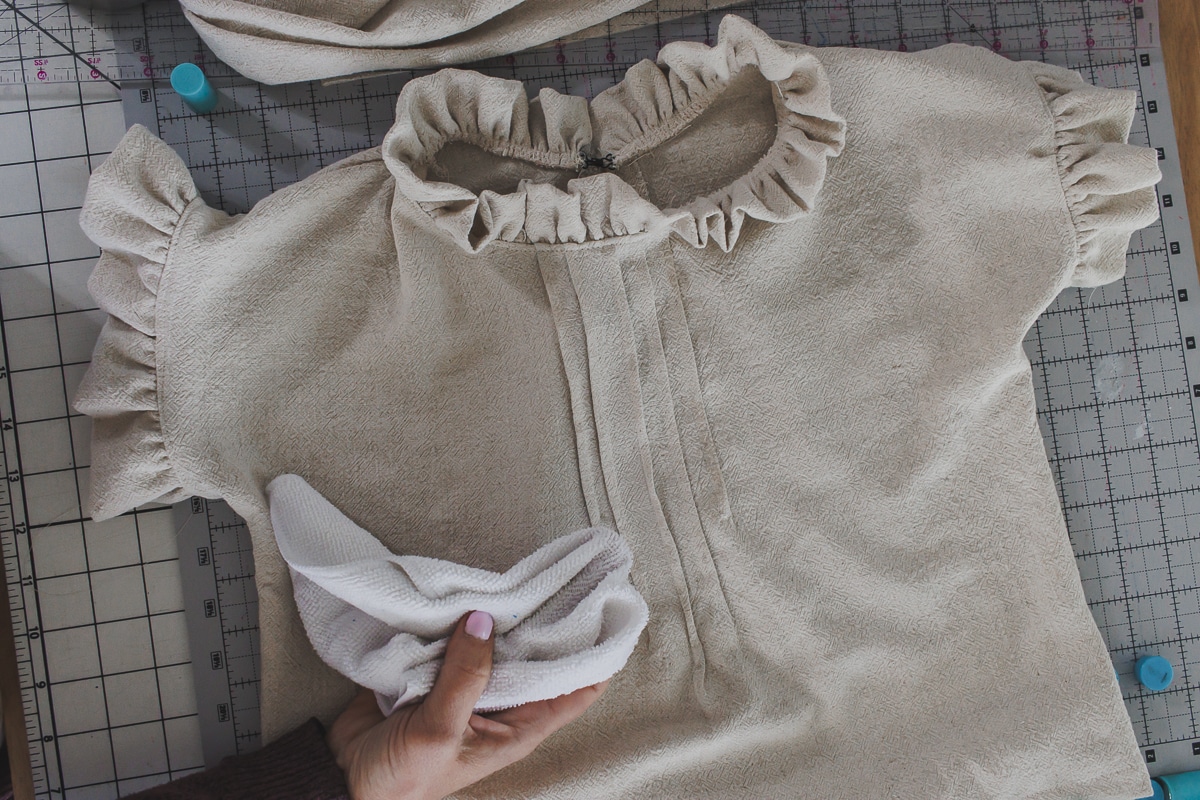
Use a fabric marker or tailors chalk to mark out pleats. I drew 5 with a single center and two on each side. If I did it again I would make two in the middle so I can press to the sides. It was hard to press the center flat. I love my water soluble pen for marking.
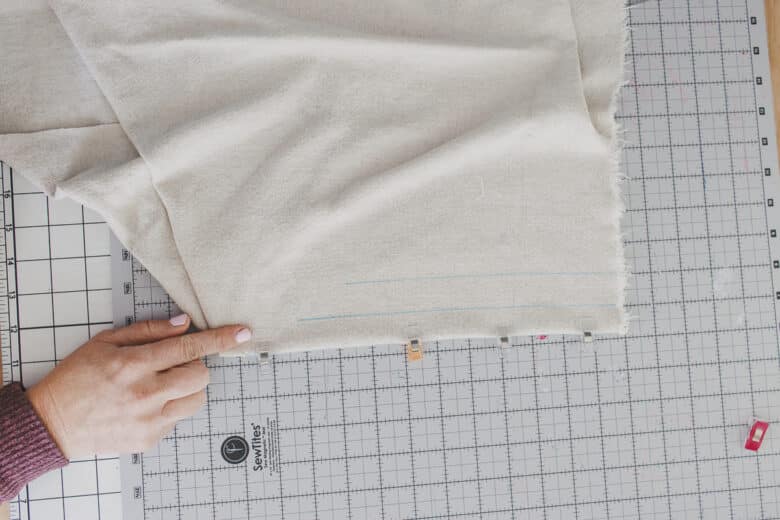
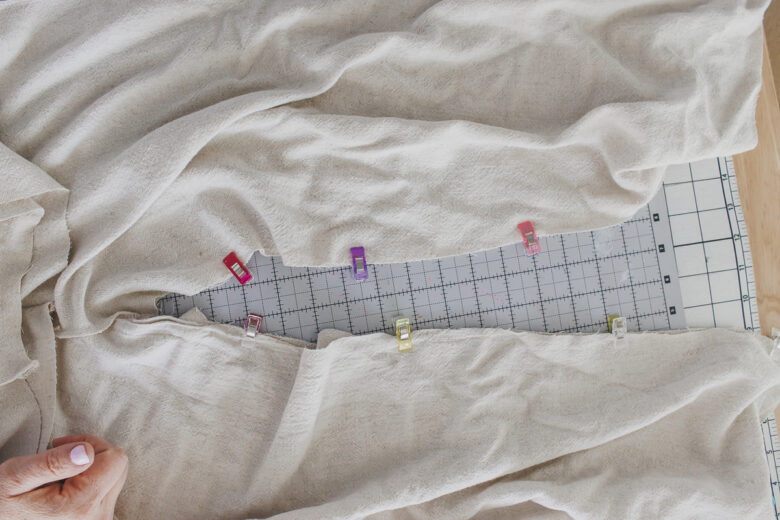
Fold the fabric so the center marking is on the fold, then pin or clip and sew a 1/4″ seam to create the pleat.
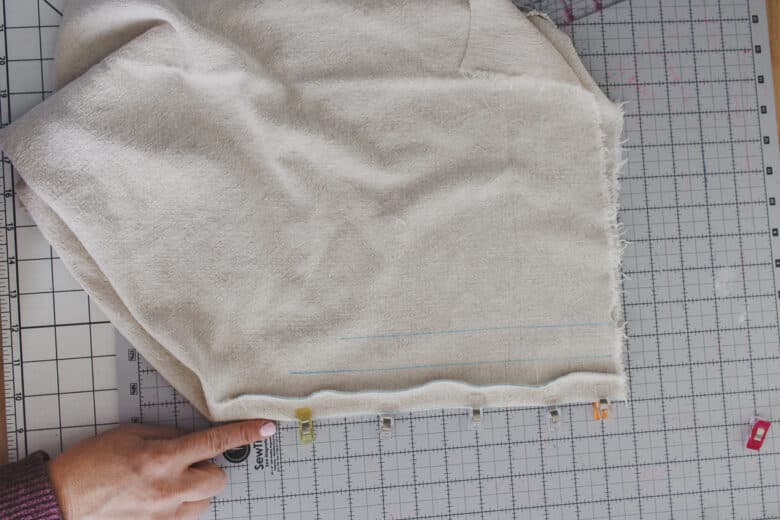
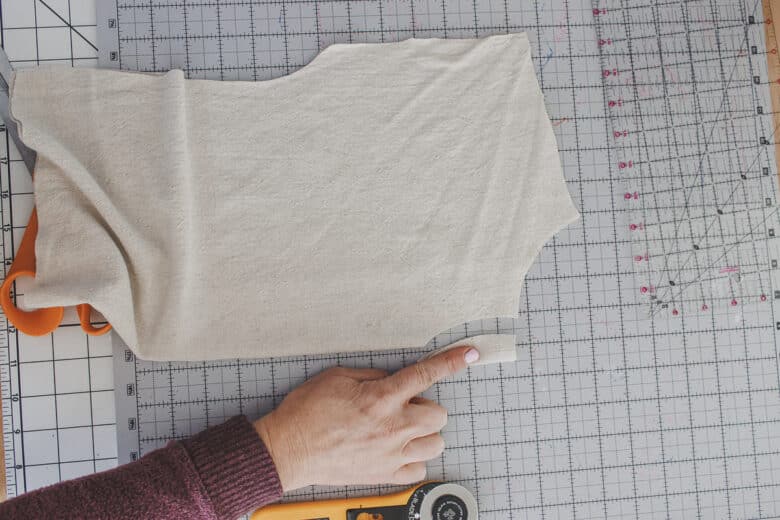
Repeat with each pleat, one at a time. Then fold fabric in half with center pleat or center of pleat{s} on the fold line. The bottom of the pattern won’t line up anymore as the pleats added width.
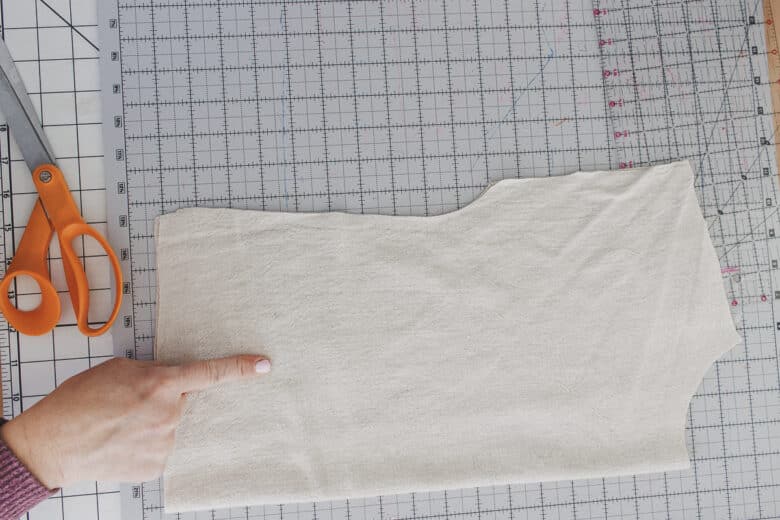
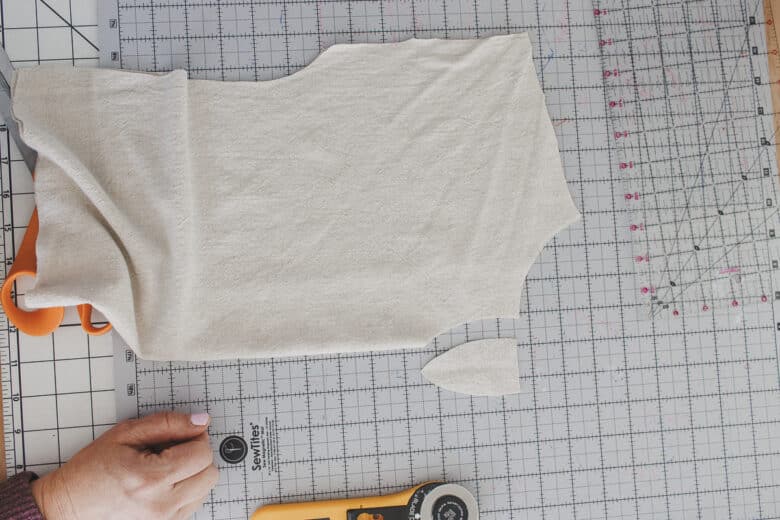
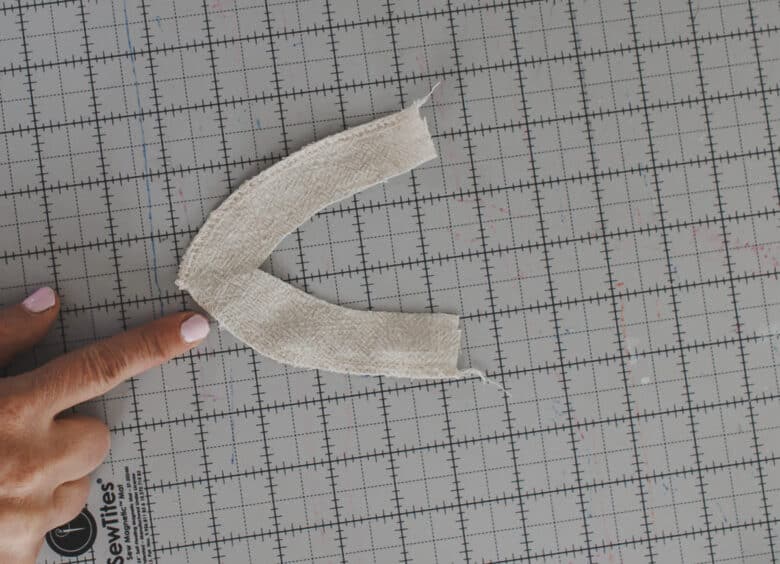
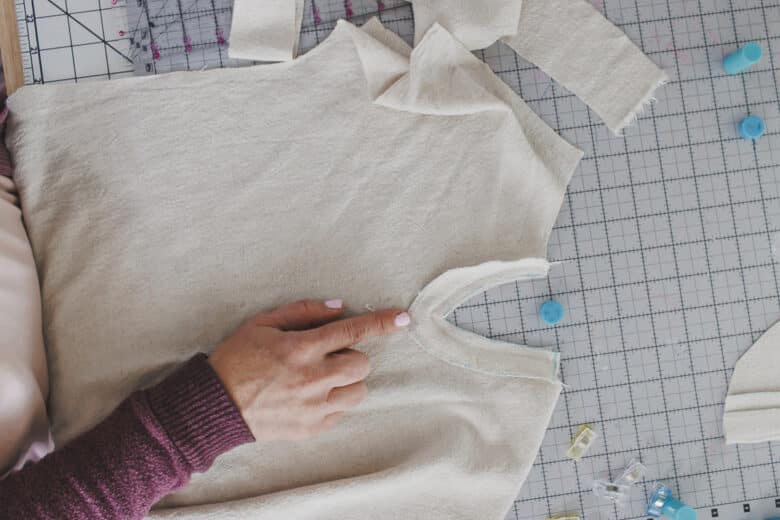
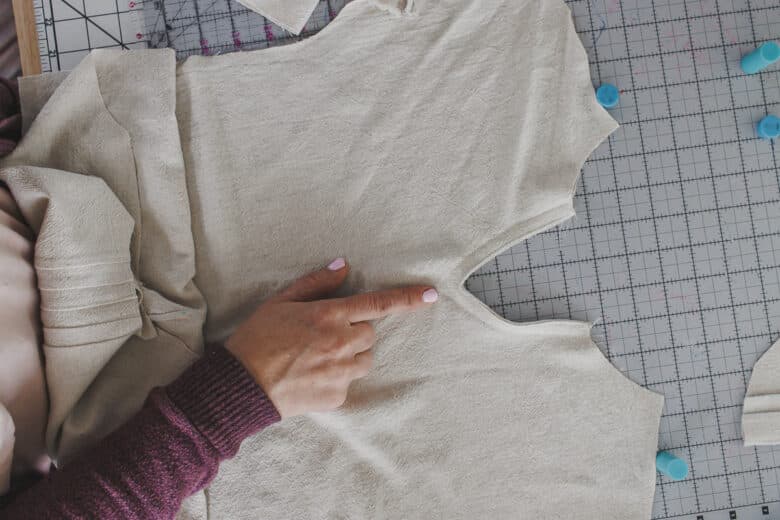
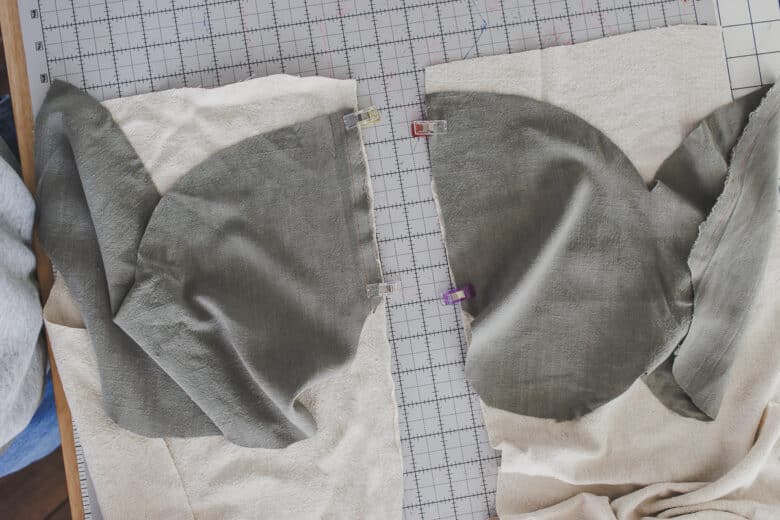
For the back you will just cut as the pattern is printed. Make sure to cut the higher back neckline. After you cut on the pattern on the fold, cut a key hole on the back center neckline. Mine is approx 3″ down and 1″ in on the neck. You can make it more rounded or keep leaf shaped like mine. Keep that piece you just cut out.
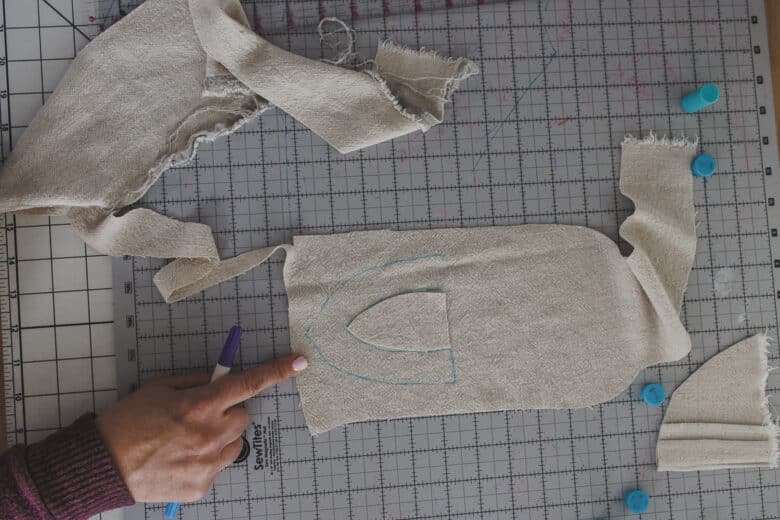
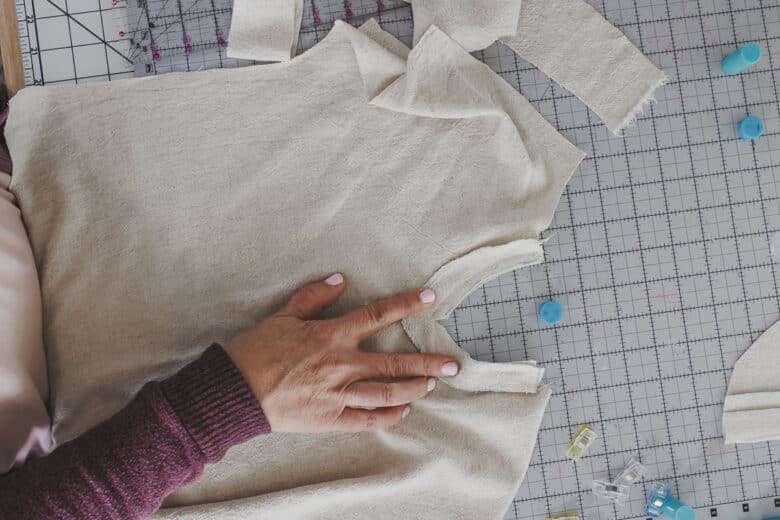
Take the cut out scrap and lay it on a larger scrap of fabric. Trace around the cut out and then 1.25″ out from the shape – this will be the facing.

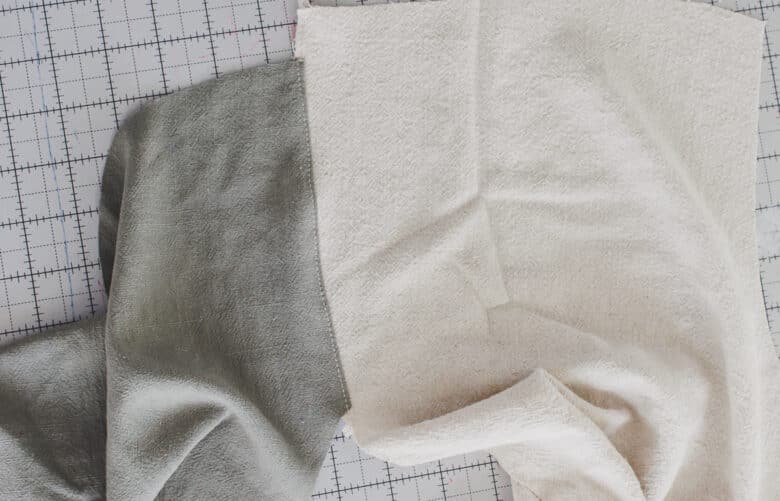
Finish the outer edge of the facing with your serger or a zig-zag. Pin or clip right sides together to the back of the shirt.
Sew with normal seam allowance. Clip bottom if a V shape, if a circle shape, clip the whole curve.
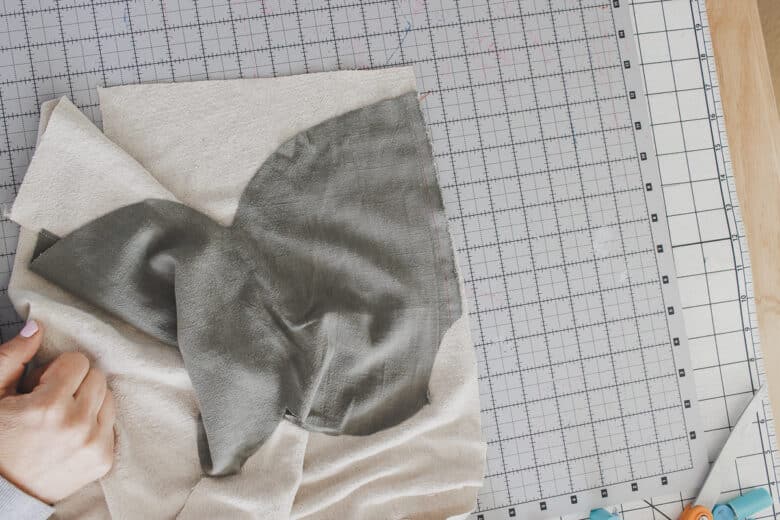
Turn to back side and pin or clip in place. Press if necessary.
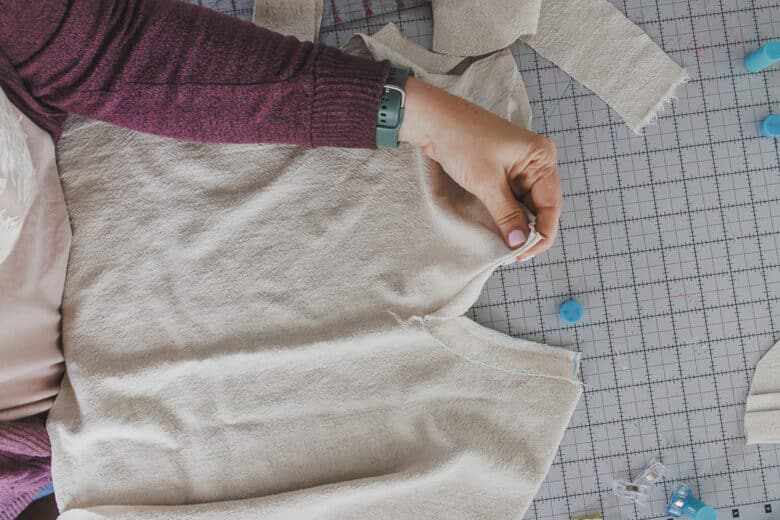
Top-stitch very close to folded edge, then on outer edge of facing as well.
With right sides together sew shoulder seams.
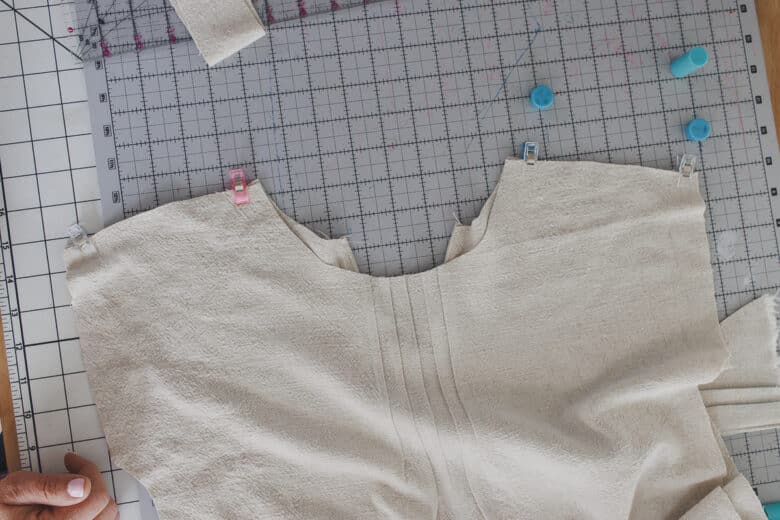
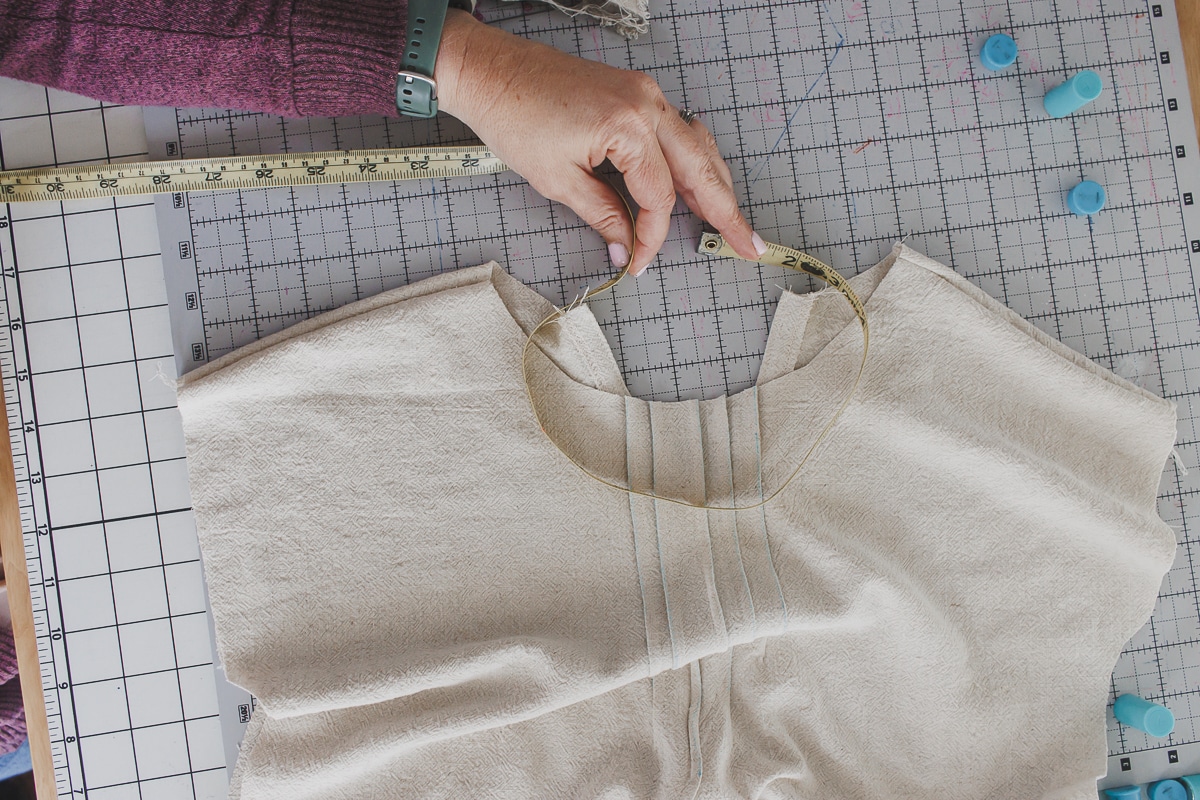
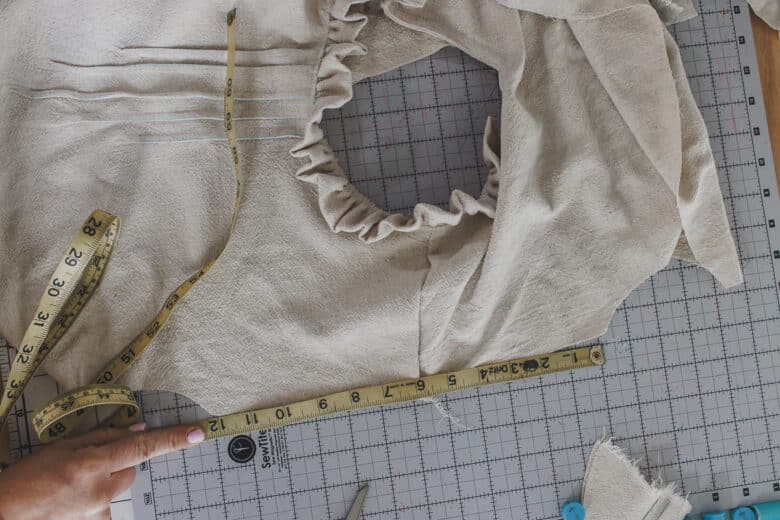
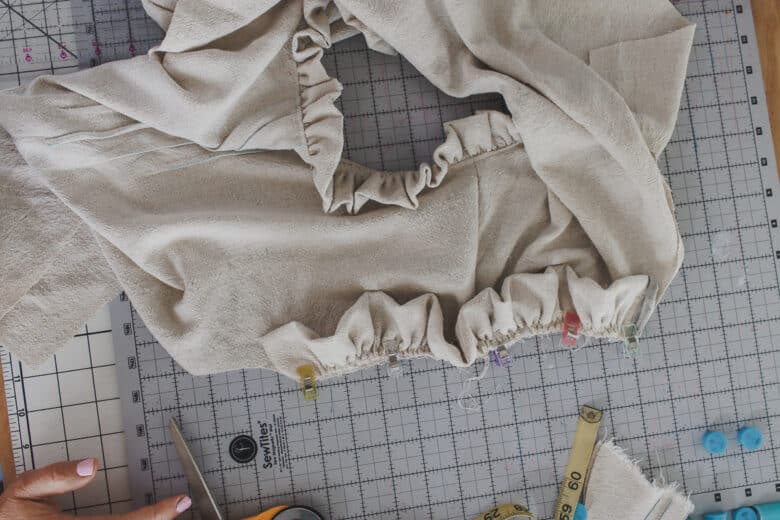
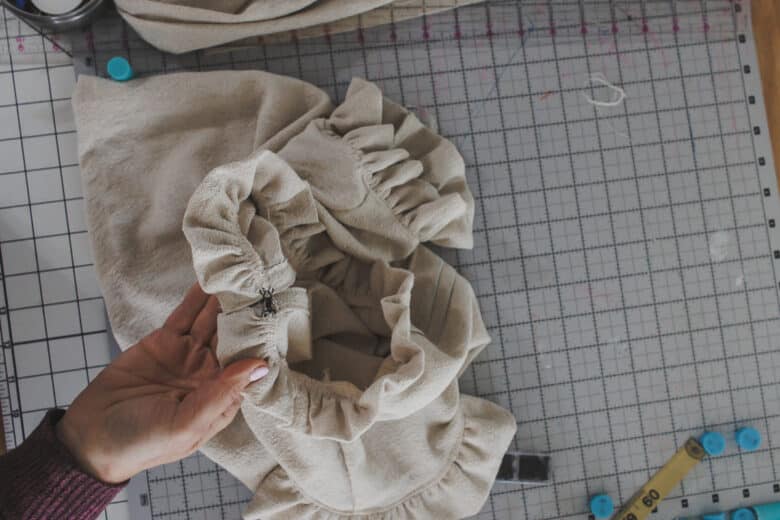
Measure around neck opening. You will need to cut a ruffle about double this length. Mine was 17″.
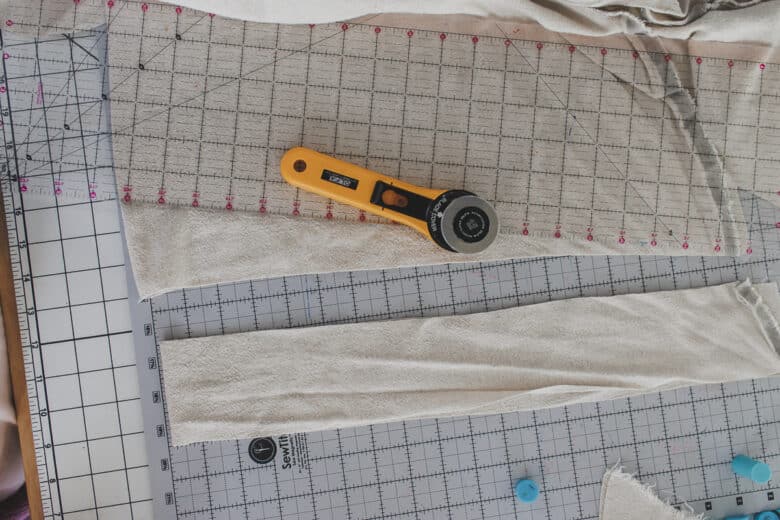
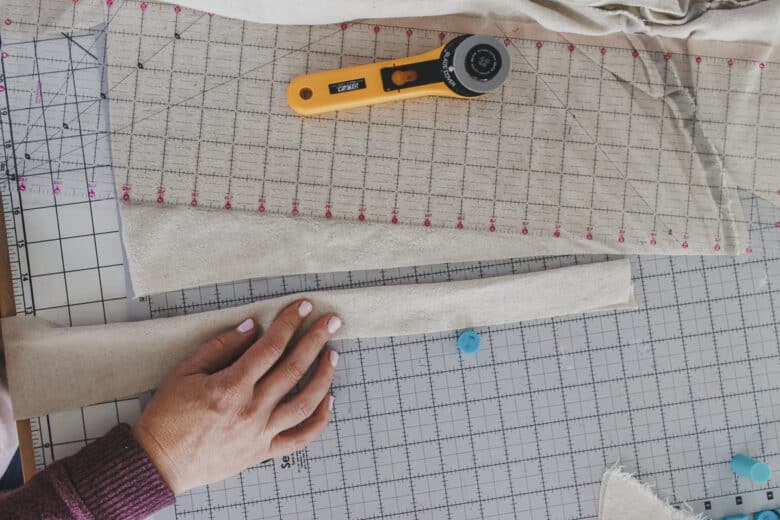
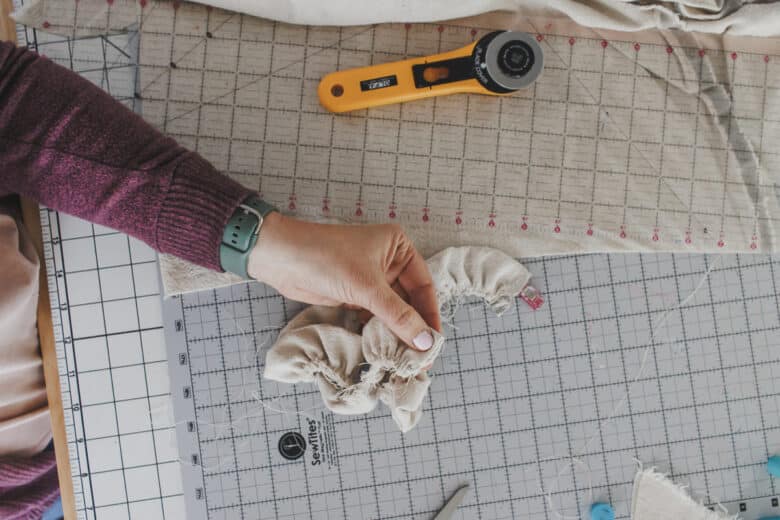
My ruffle is 36″ x 3″ wide. Adjust the length as needed, but cut it 3″ wide for the neck ruffle. Fold in half. Sew two gathering stitches along the raw edge of the strip. Need help gathering? Check out my gathering tutorial here.
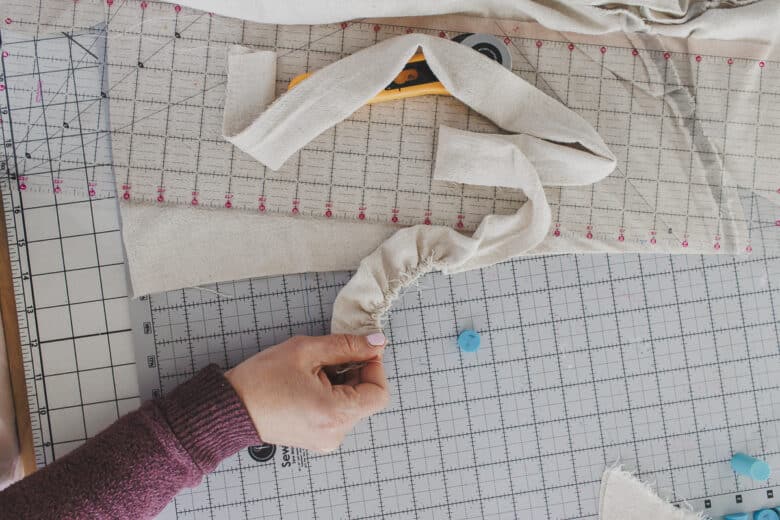
Pull the threads to gather to the desired length. The ends of your gathered ruffle are open. Fold in 3/8″ on the end of the ruffle to finish the edge. Sew down this turned in edge.
Pin or clip to neckline, matching up the back edges. I like the serger finish on this ruffled edge. Fold the ruffle up and top-stitch to finish.


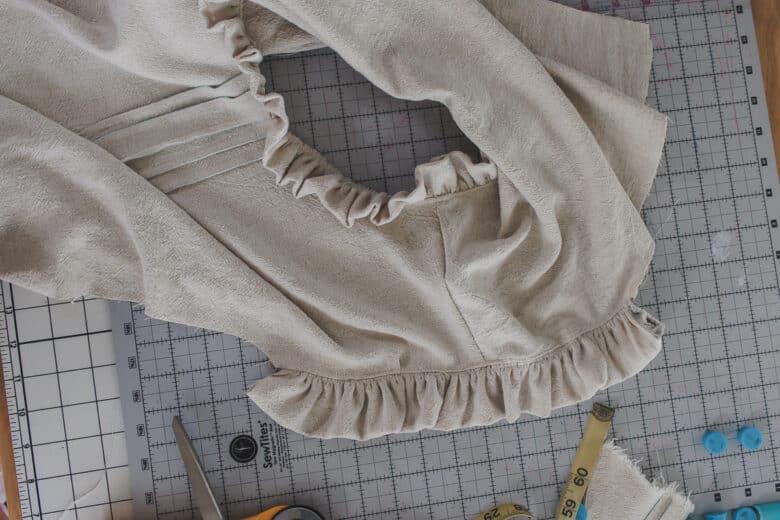
Measure the arm/shoulder opening. Cut your ruffles about 2x the length and this time 4 inches wide. Cut two of these.
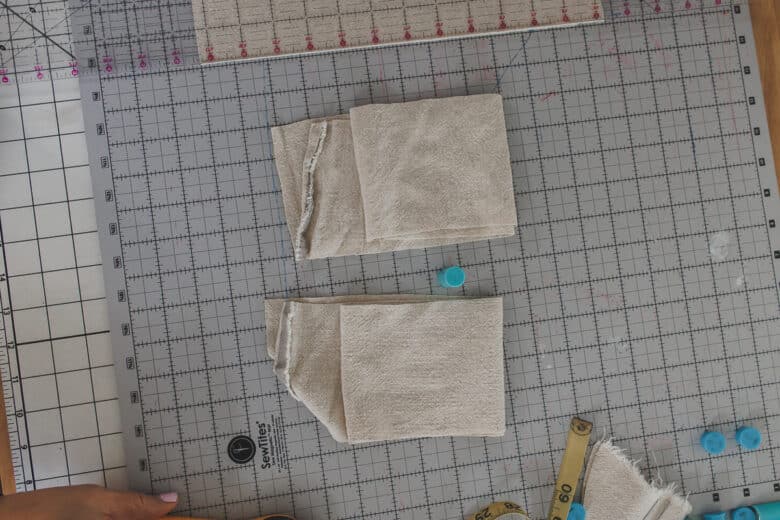
Fold the fabric in half and sew gathering stitches on raw side. Gather to length of shoulder, then pin or clip, right sides together.
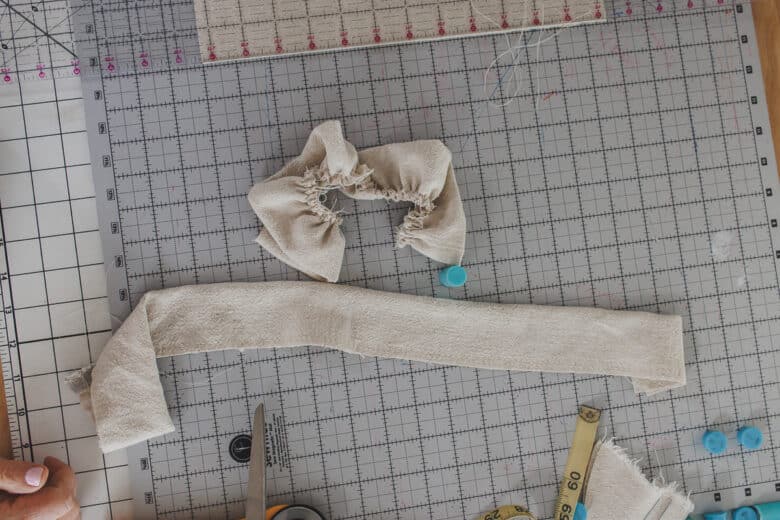
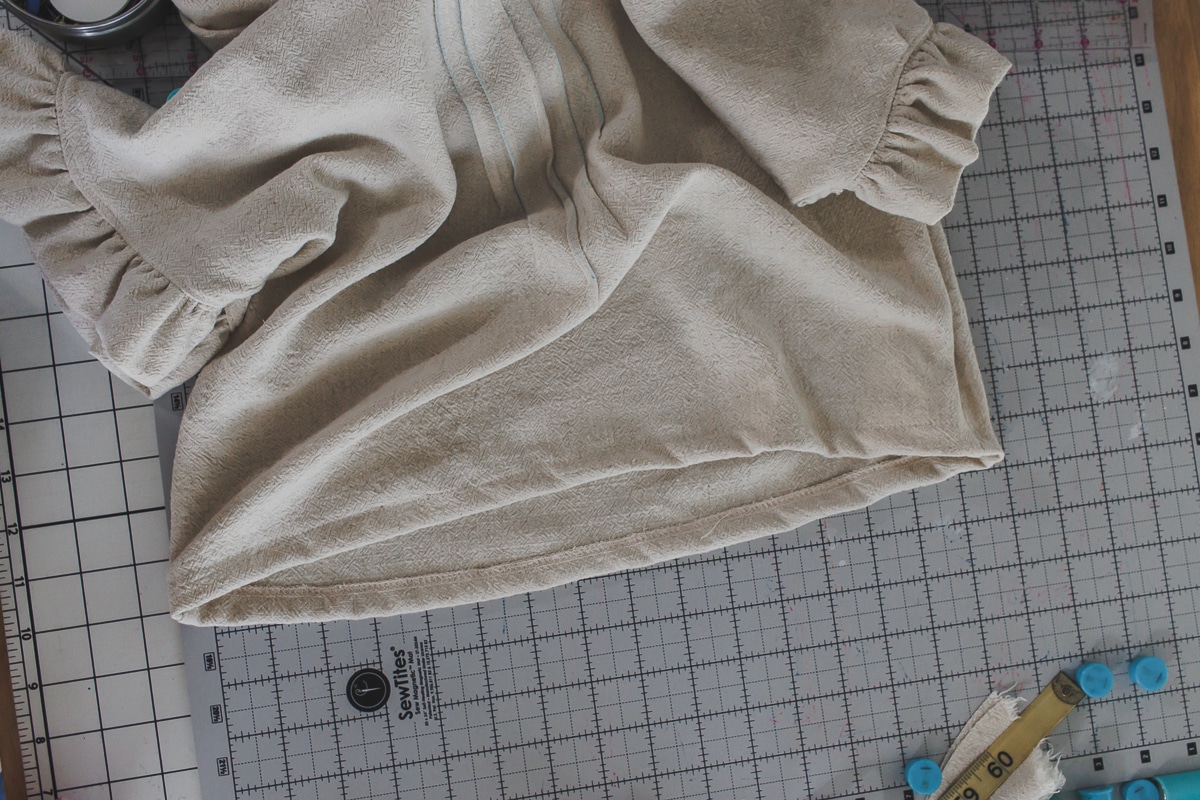
Sew ruffle to shoulder, then flip open and top-stitch. Repeat on other shoulder. With right sides of the shirt together, sew the side seams. Start at the edge of ruffle, then sew around the curve and down the side.
I serged around the bottom of the shirt, then turned up a 1/2″ hem and stitched on my sewing machine.
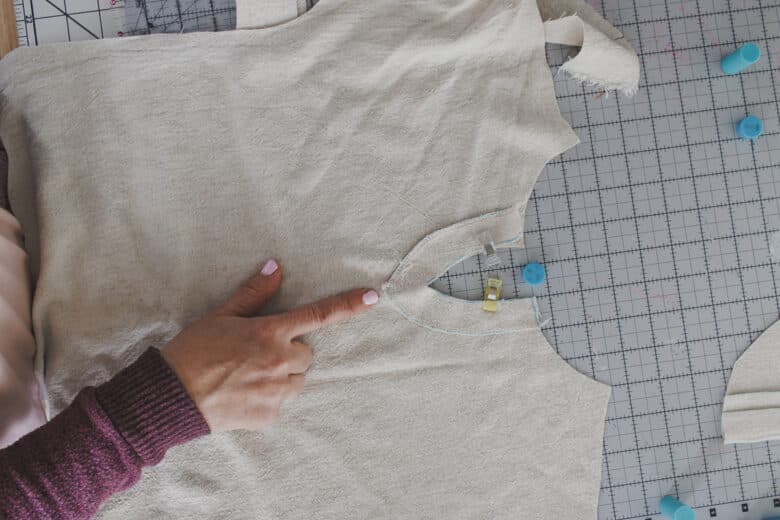
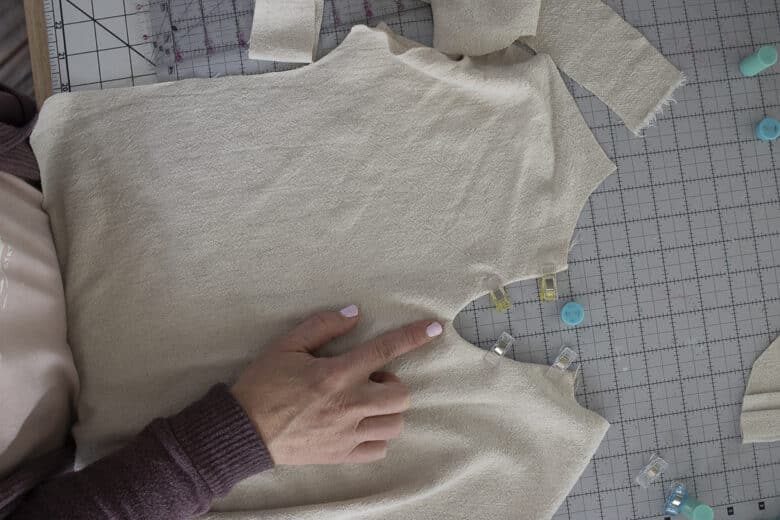
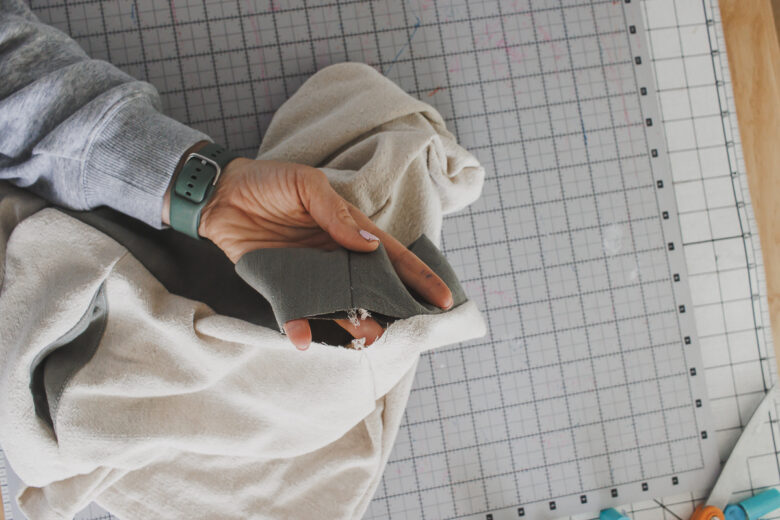
To finish the keyhole you need a hook and eye, or small button and thread elastic. I had a hook and eye so I used that. On the back side of the neck ruffle, sew each piece of the closure. the edge of the hook and the edge of the eye should line up with the edge of the keyhole opening.
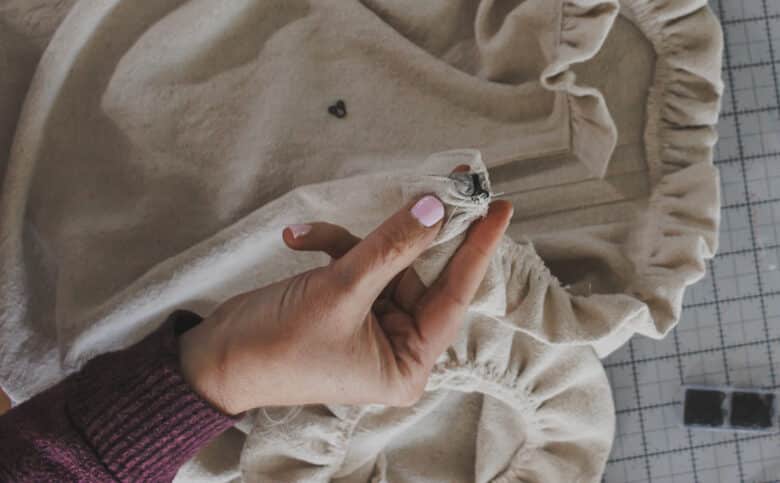
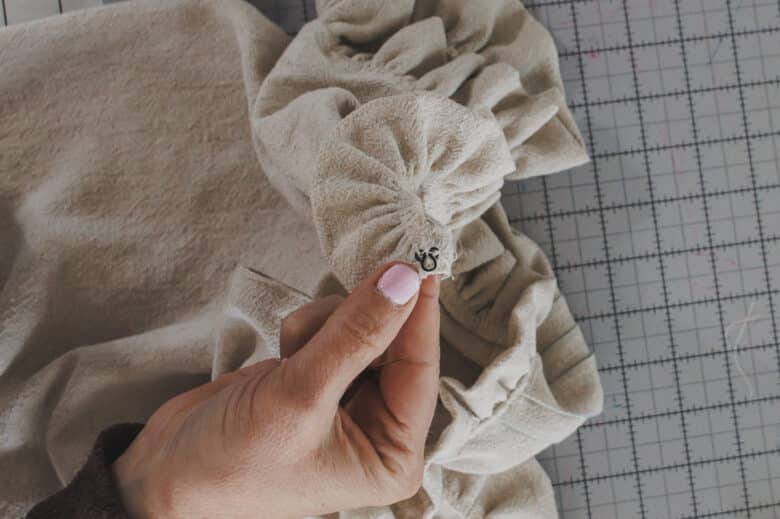
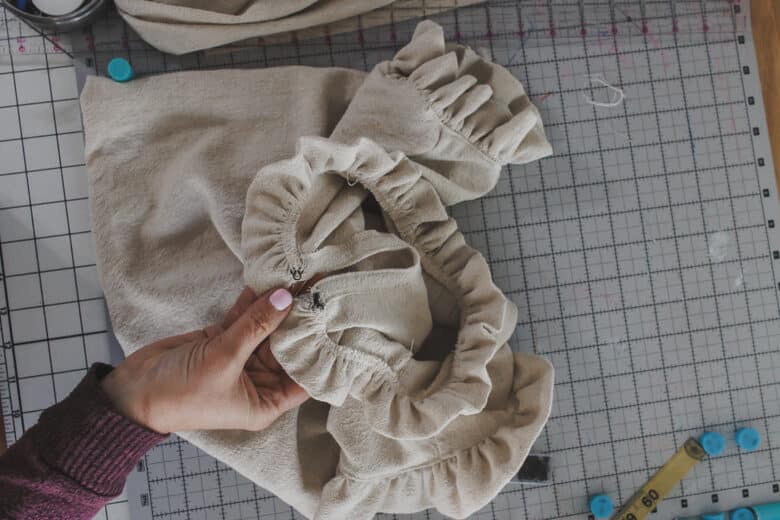
When closed the fabric should touch or very nearly touch. Here is the inside and outside view.
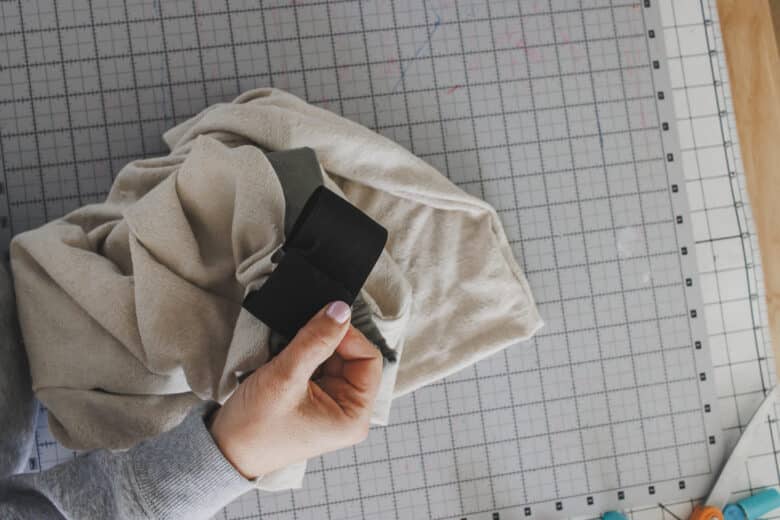
I used a damp towel to blot the fabric pen markings. Now onto the cute pants!
How to sew linen pants from a free pattern.
Ok! Now its time to sew up the pants. These are much simpler, but I did hack a pattern just a bit, so I will explain what I did.
Here is the supply list again from the top.
- Linen or faux linen… Mine is faux from Sincerely Rylee fabric. I used 2.5 yards for a size 10.
- rustic linen
- Any medium weight fabric will work for this, but softer is of course better
- I think a double gauze fabric would be lovely too.
- Free patterns- Used here were:
- Hook and eye closure or button/elastic closure
- Fabric marking pen
- 2″ wide elastic for pants
- Sewing machine and or Serger
- All seam allowance is 3/8″ unless otherwise marked
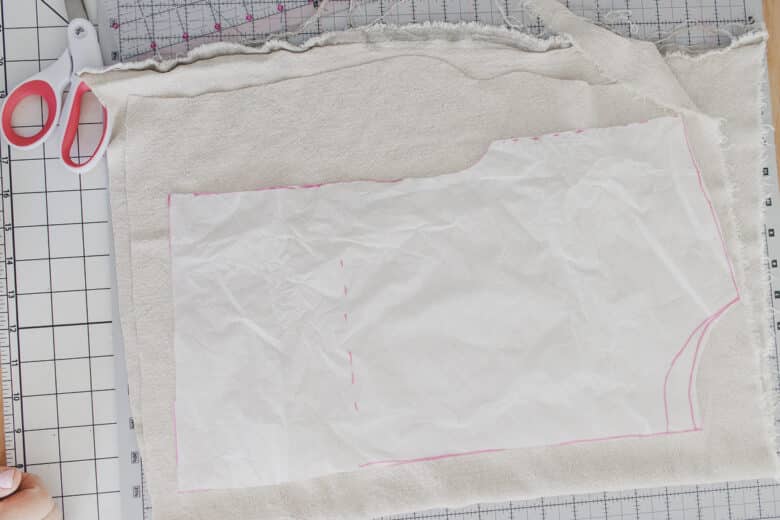
Because I am adding a waistband and the family pj pattern is meant to just fold over, the first adjustment is to cut off 1″ from the top. I also lowered the top another 1″ because Rose likes it lower rise. Cut a waistband 5″ tall and the same width as the top of the pants.
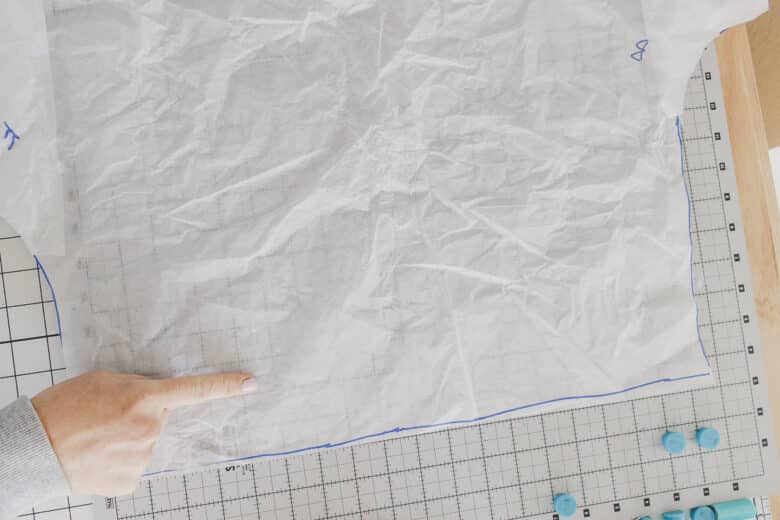
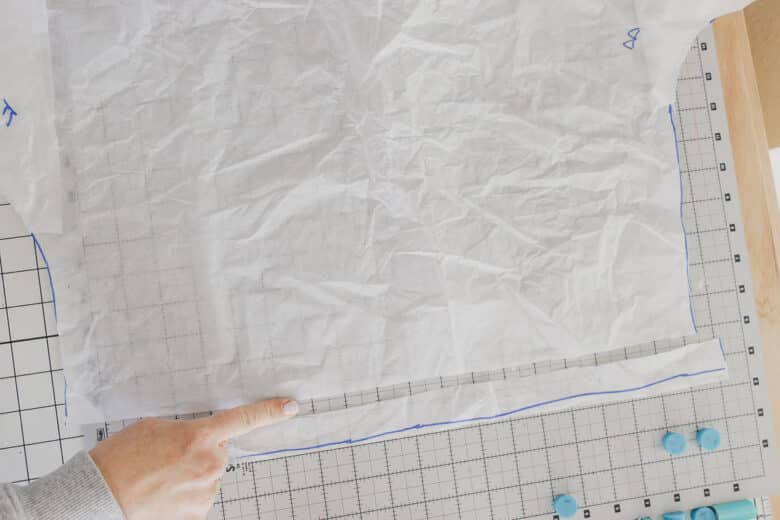
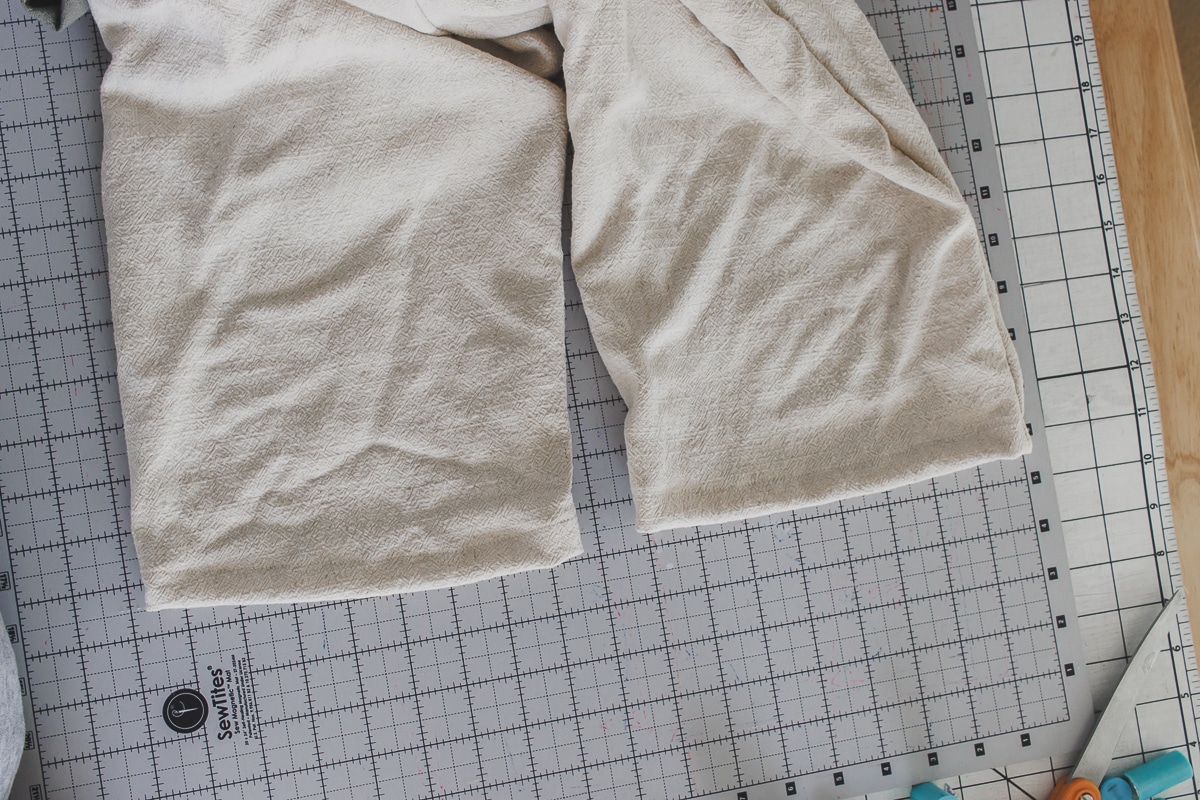
I wanted to add side pockets, so do do that I need side seams. I folded the pants in half, matching the crotch at the fold. The front will be higher than the back. Cut the legs in half on the fold line. If The back side of the legs will wider than the front. For a wider leg look you can widen the front to match the back – see where I’m pointing in the second photo. Extend the side of the front leg to match the back.

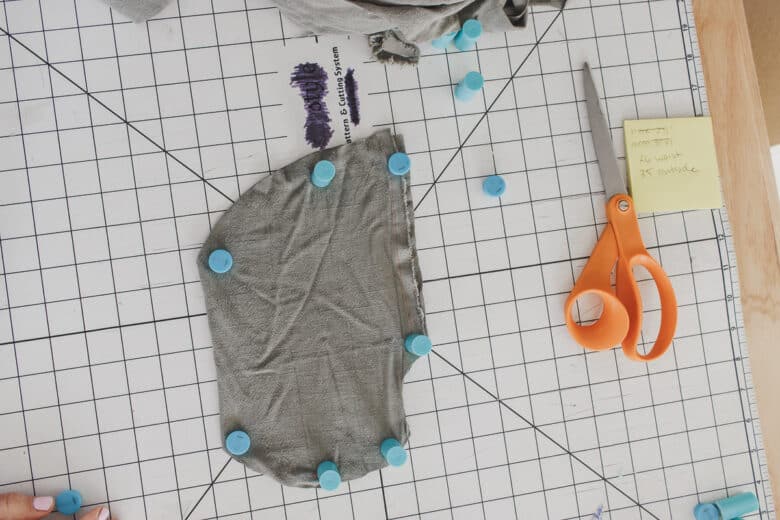
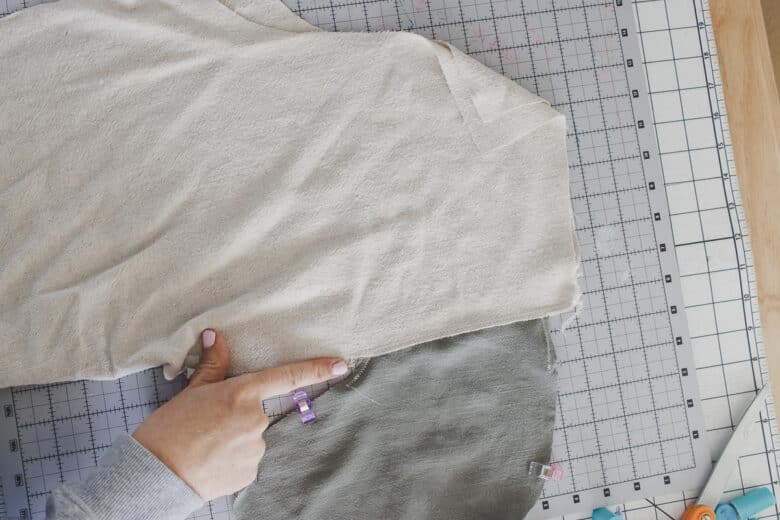
Cut out two pockets {if desired}. Here is a pocket template if needed. Place the two side seams of the pant fronts side by side and with right sides together place a pocket edge on the side. It should be 1″ down from the top edge. {I cut my pockets on a fold, so it looks a bit strange here} Sew the pocket in place.
Fold the pocket open and top-stitch. Repeat with the pockets on the back sides, with right sides of fabric together.
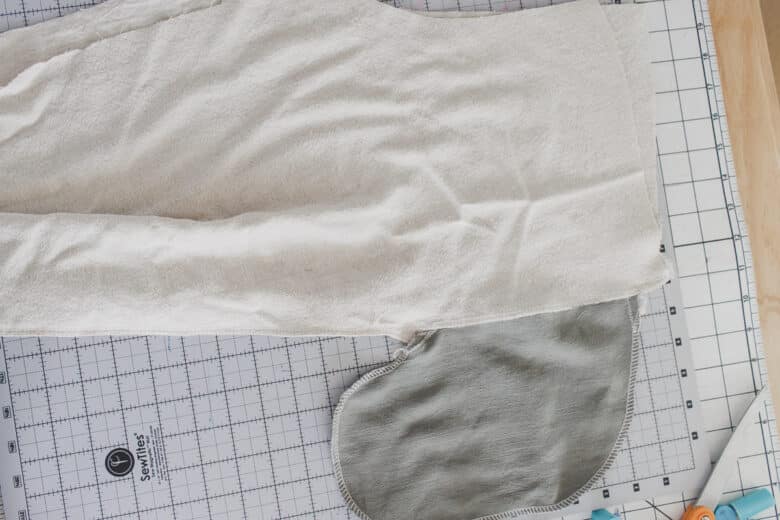
Take one front and one back and line up the side seams with the pocket out the side. Pin or clip down the side and around the pocket. I sewed the whole thing with my serger, but I did reinforce the top and bottom angle of the pocket with a zig-zag first as those angles are hard on the serger.
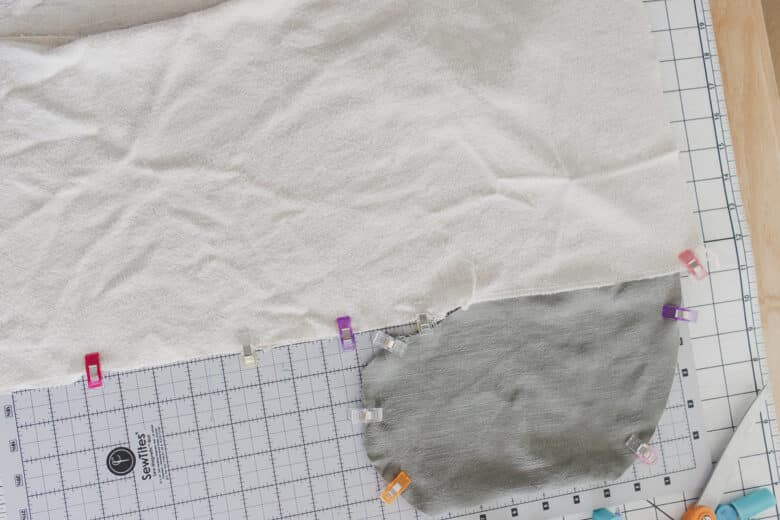
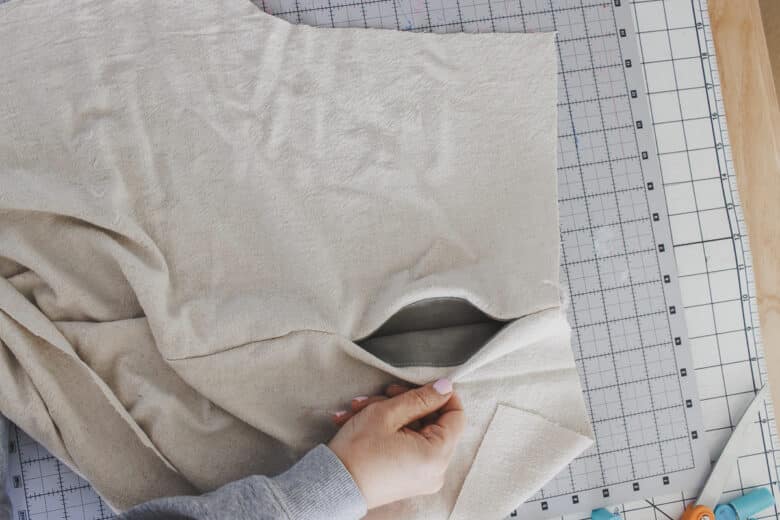
Once you have sewed up the side you can open and see the pocket. Repeat with the other pair of legs.
Match the fronts of the curved crotch seam together and the back curved seams together and sew.
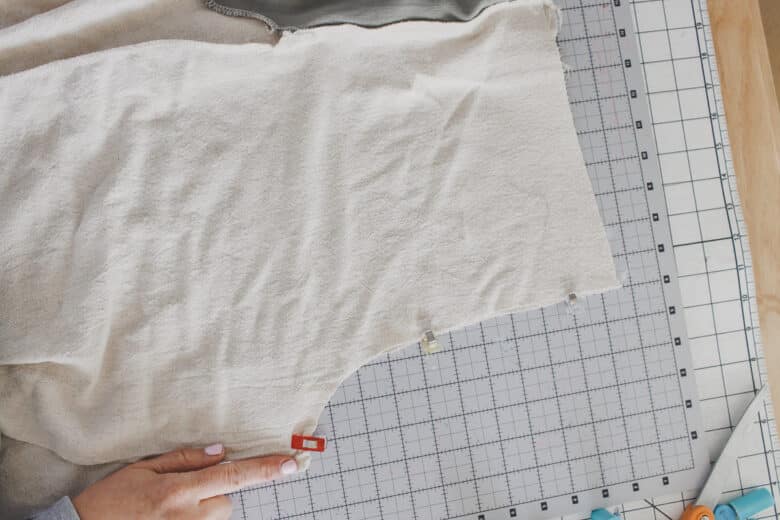

Match the center crotch seams and line up the inseams. Pin or clip down from the center. If the bottoms don’t quite line up due to pattern alteration, just trim a flat hem later.
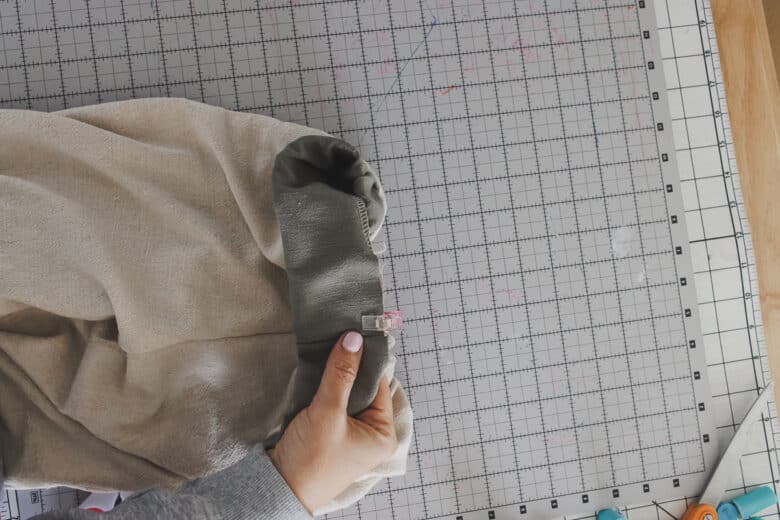
Next lay the waistband at the top of the pants and cut to right size. Sew short end to form a circle.
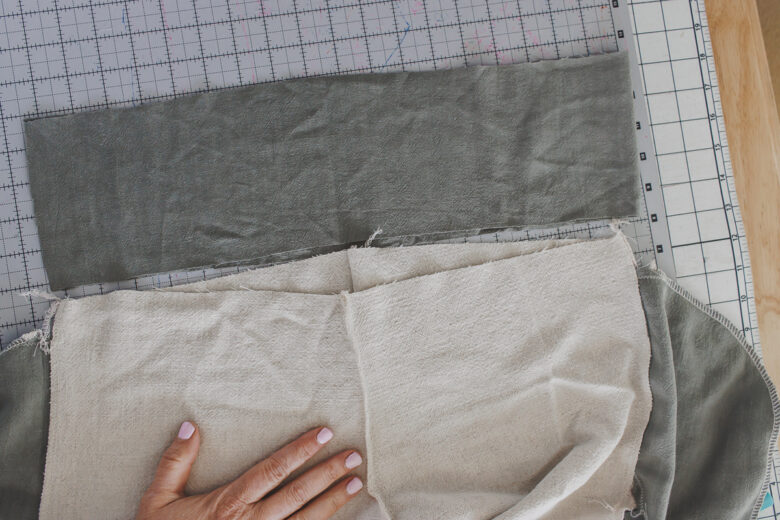
Fold in half the long way and line up the seam of the waistband with the back seam of the pants. Pin or clip the three raw edges together. Sew in place, leaving a 3″ opening at the back.

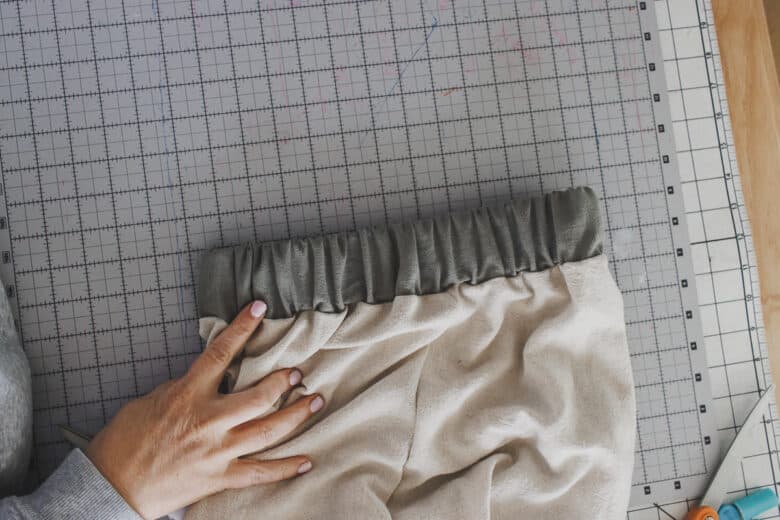
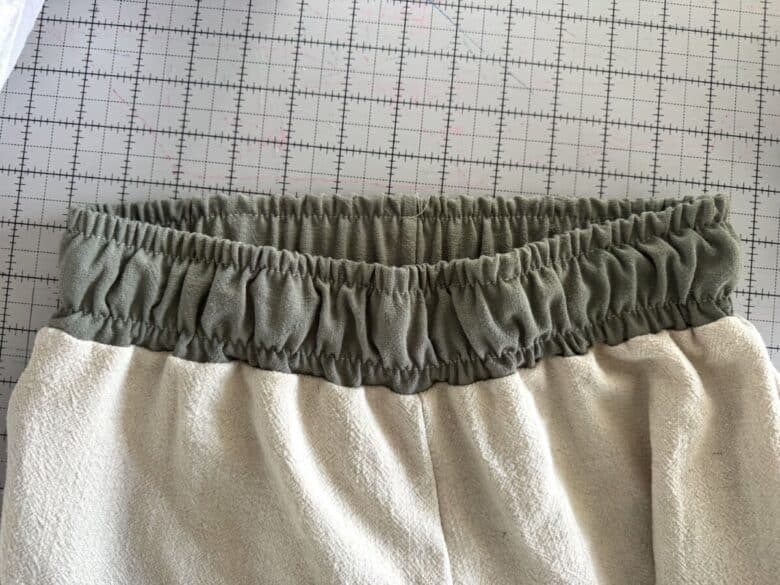
Cut elastic 1″ shorter then childs waist, then thread through the opening. Overlap the ends of the elastic and sew closed. Pull elastic inside the casing and then sew the waistband hole closed.
You can leave the waistband as is, or sew two parallel lines of top-stitching to hold in place and add a bit of detail. Stretch the elastic as you sew the straight stitch lines to avoid puckers.
I serged the bottom edge of the pants, then turned under a 1/2″ hem. You can also turn up 1/4″ then another 1/2″ if you don’t have a serger. Now you can enjoy the beautiful matching linen summer set you just created!!


Leave a Reply