


inside: Sew up this button front sundress free pdf sewing pattern with this pattern download and tutorial. The pdf pattern is a beautiful tank sundress that is light and airy and will be your new go-to summer dress.
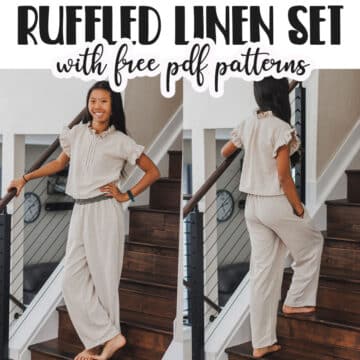
A few weeks ago I shared a new free pattern for a girls button front tank dress and Rose has already worn the dress several times, it’s so perfect! I wanted to make a women’s version of this dress and it just took me a few more weeks to figure out the top bodice so it fit well. I’m so excited for this version of the dress that I sewed up last week, and I’ve already ordered fabric to make another one.
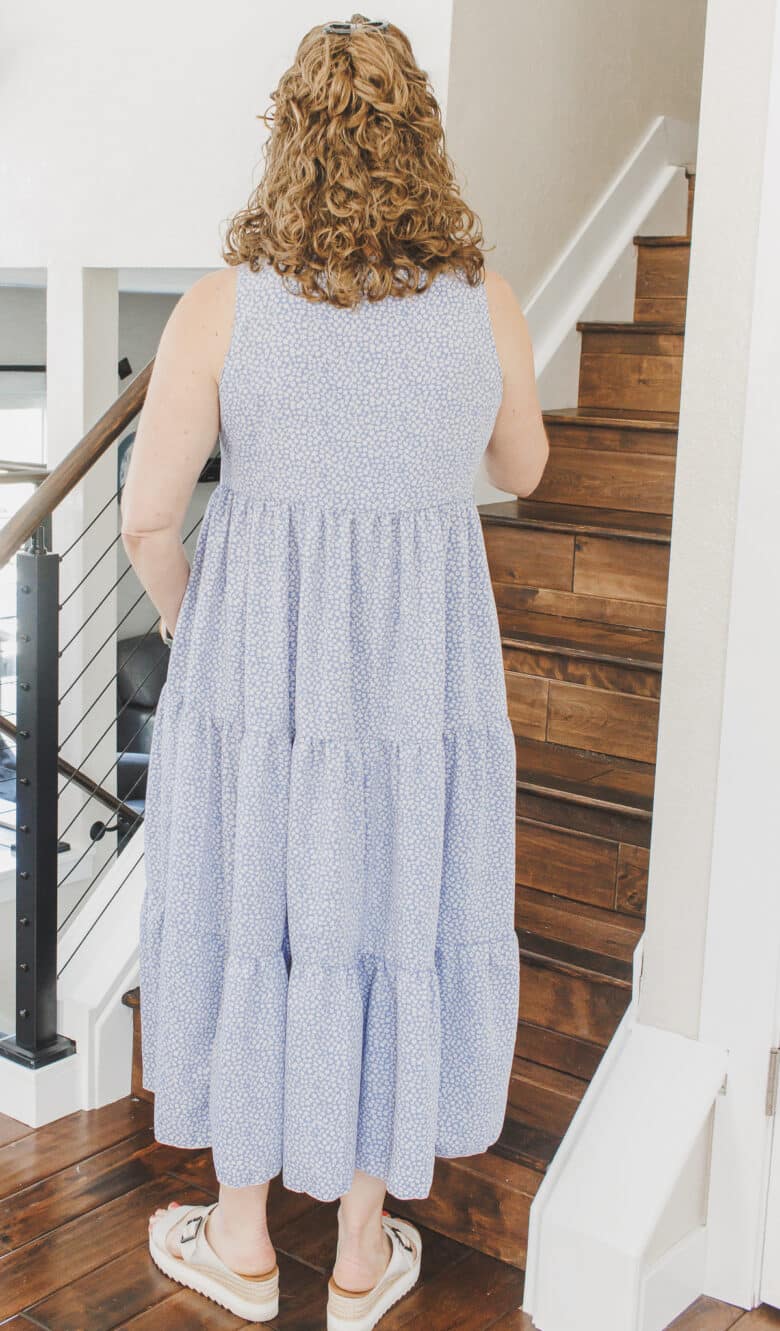
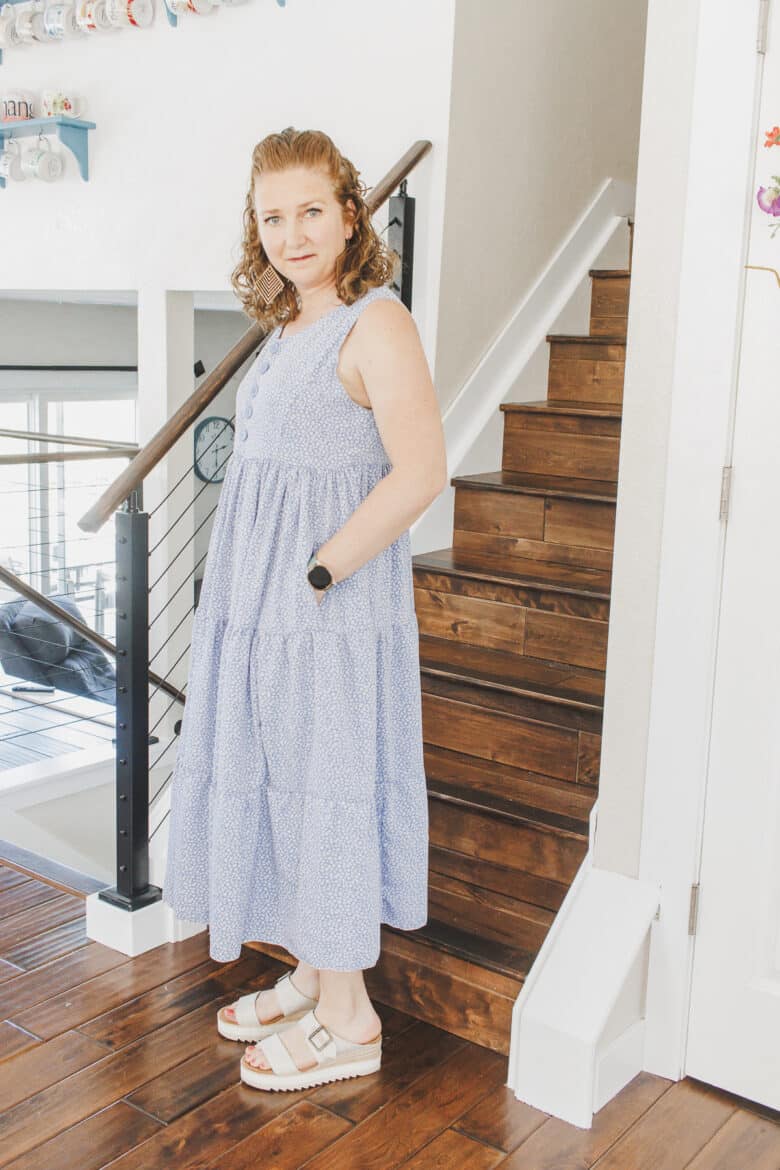
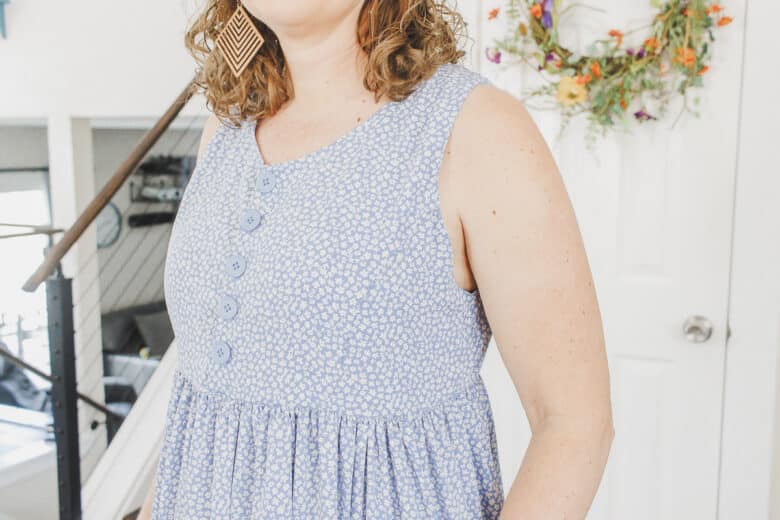
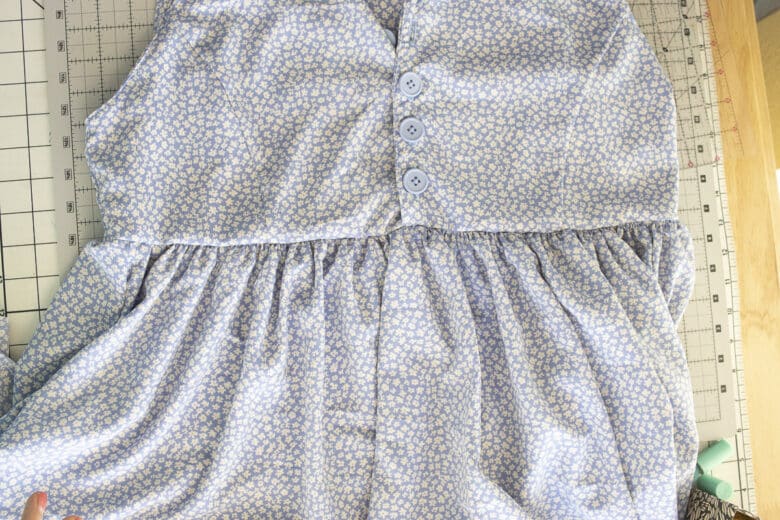
Tank sundress with button front
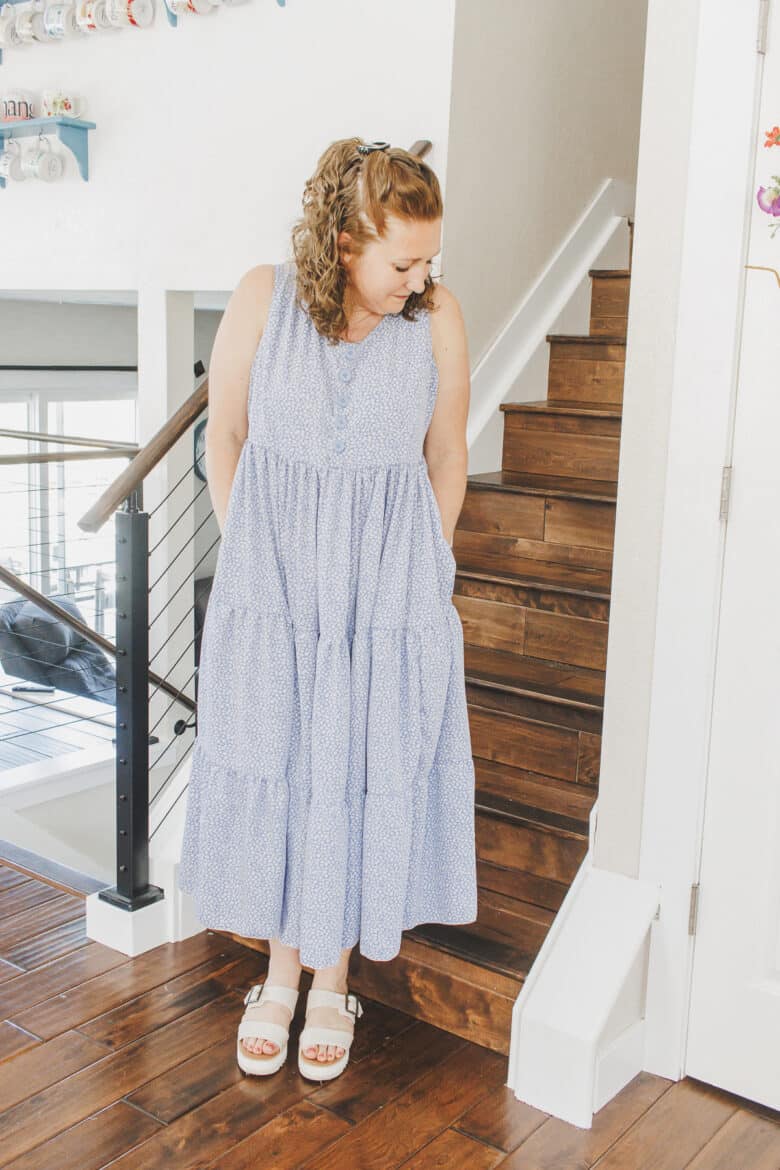
Ok! Let’s dive into talking about this dress. First, it turned out just as I wanted, and second, it takes quite a bit of material for the skirt! As you can see it’s very full! This fabric was only 44″ wide, so I used 4.5 yards of fabric. If your fabric was 60″ wide you could use close to 4, maybe 5 for the larger sizes.
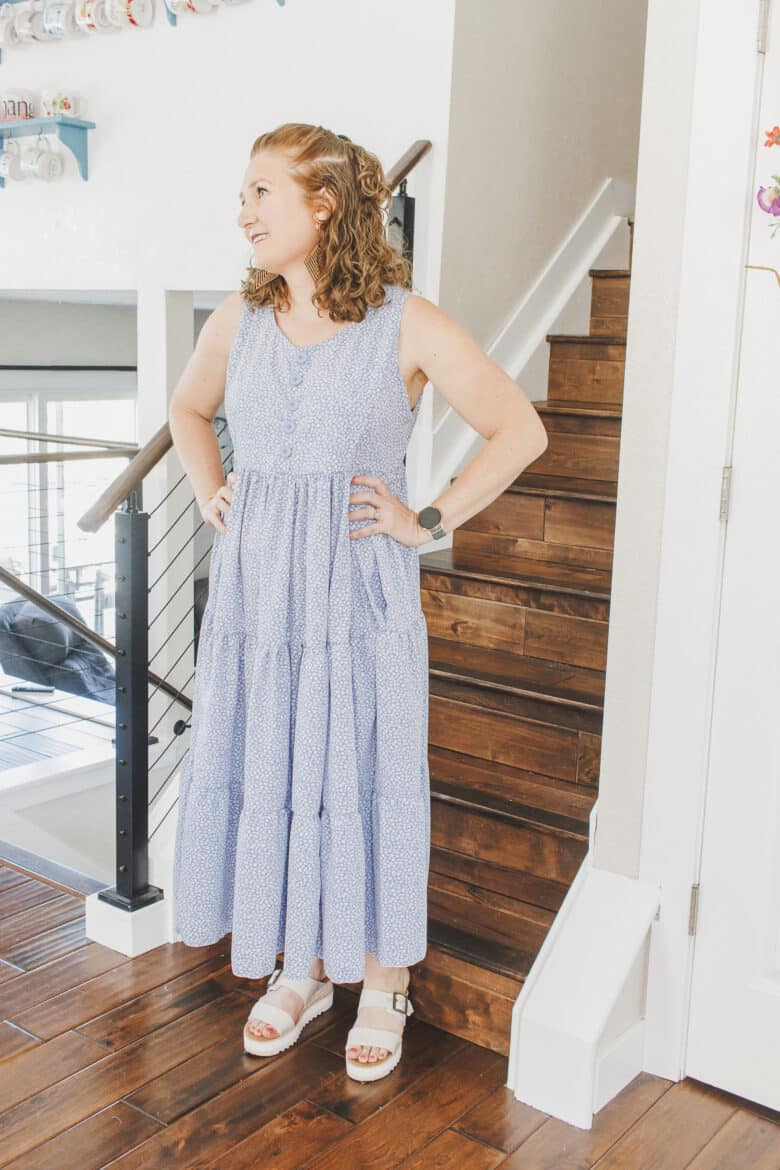
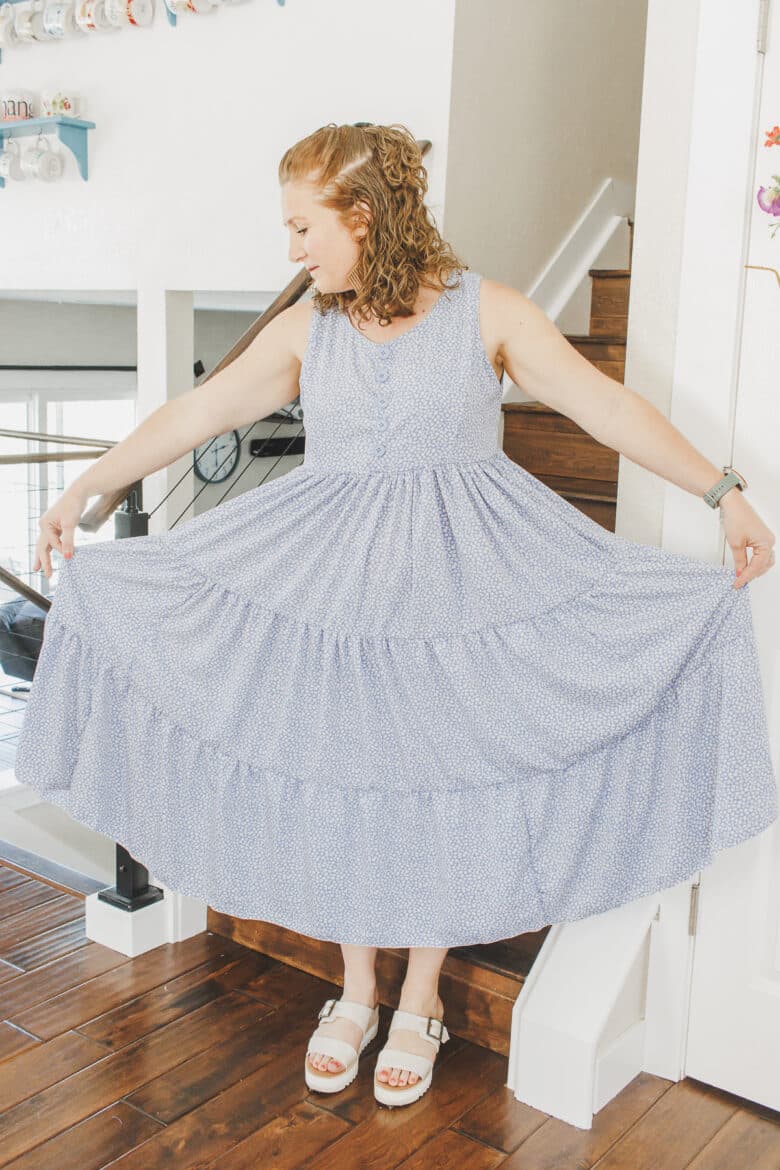
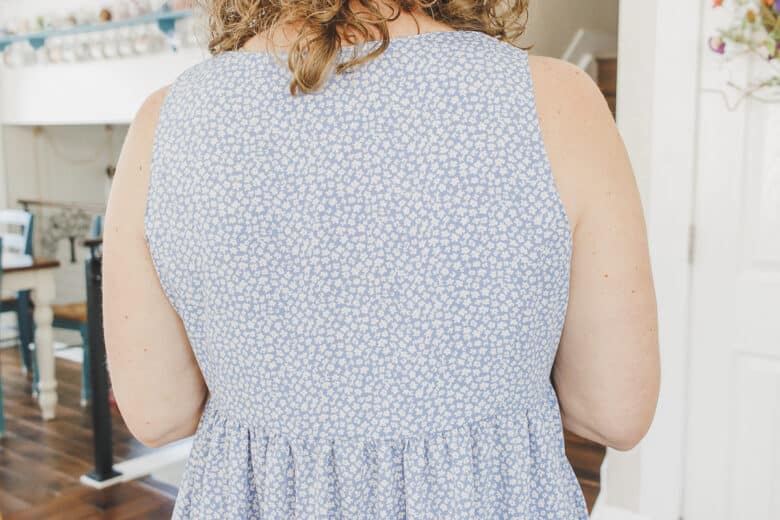
I added pockets {of course!} and I love this feature. The only thing that isn’t my favorite is that you can see some of the lines where I joined fabric vertically for my tiers. I think this will be better after a washing. And of course I could always iron {haha – who am I kidding}
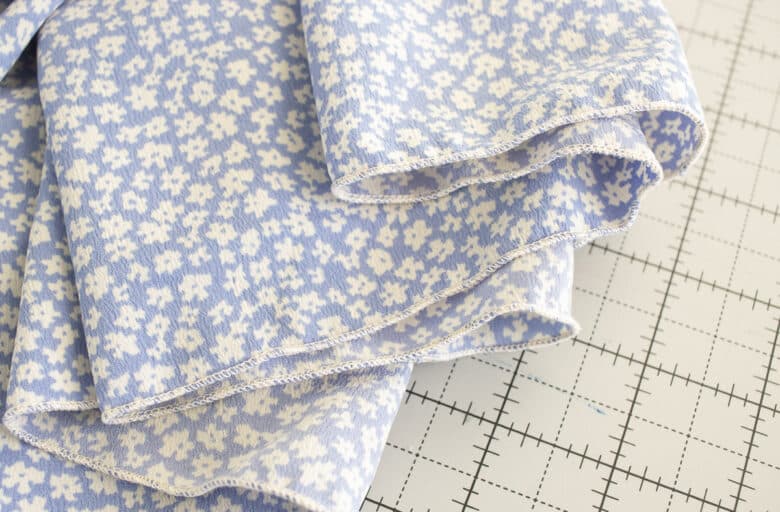
I found these cute flowers at Hobby Lobby and if you shop when fabric is 40% of it would be a great deal. This dress would also be great in the double gauze that I made the kids version in a few weeks ago.
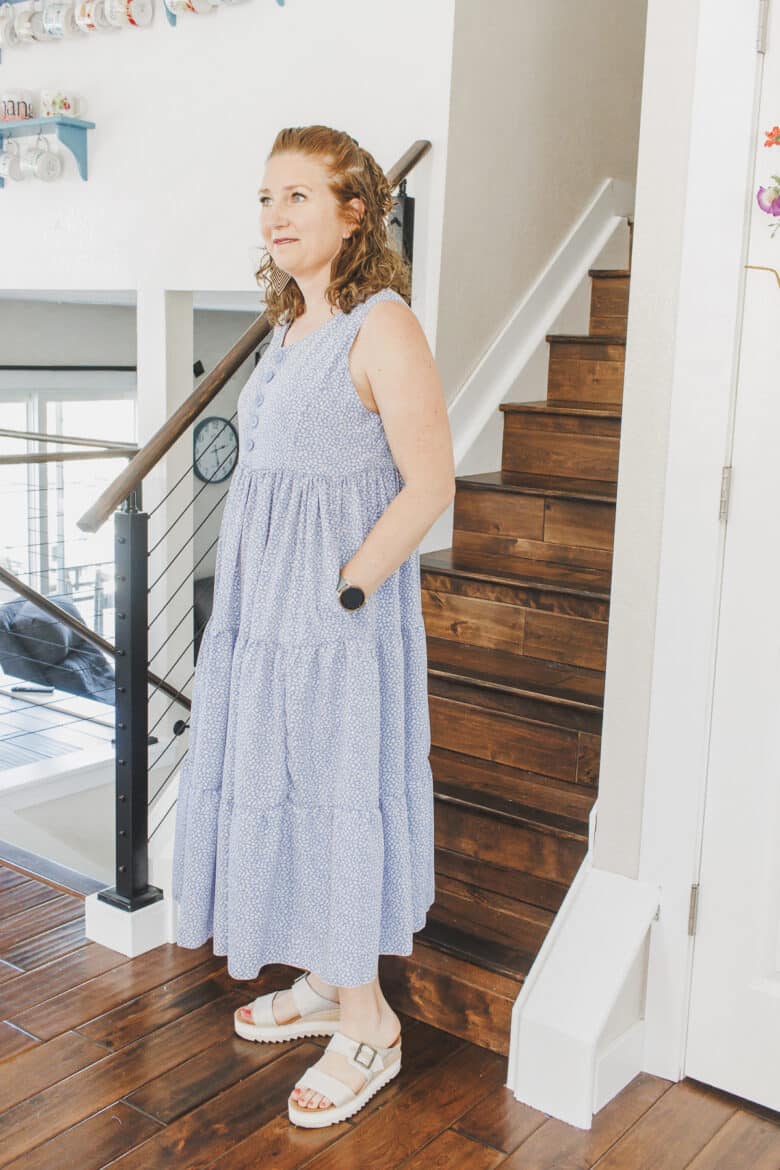
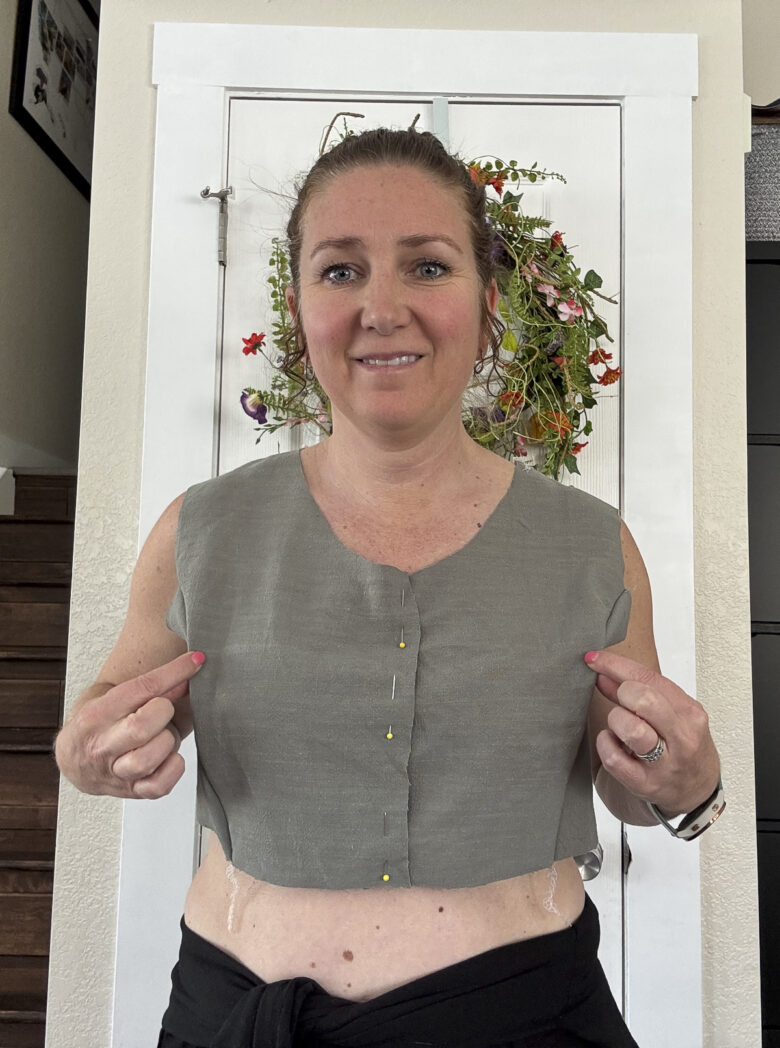
I took these photos so you can see the arm and back coverage, the top is not tight, but the coverage is perfect.

I may scoop my next version slightly lower in the front, but this is pretty good like this. You can also make a wider shoulder version, instructions are below.
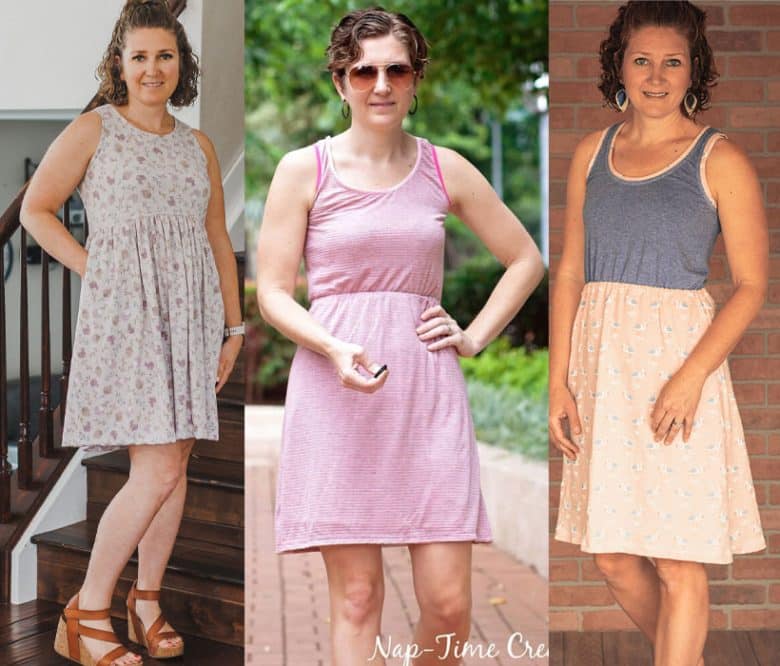
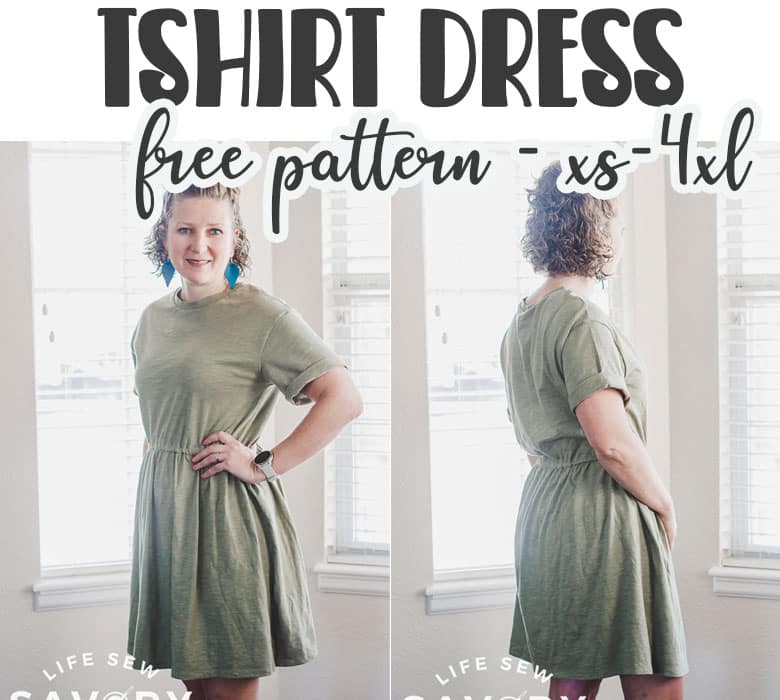
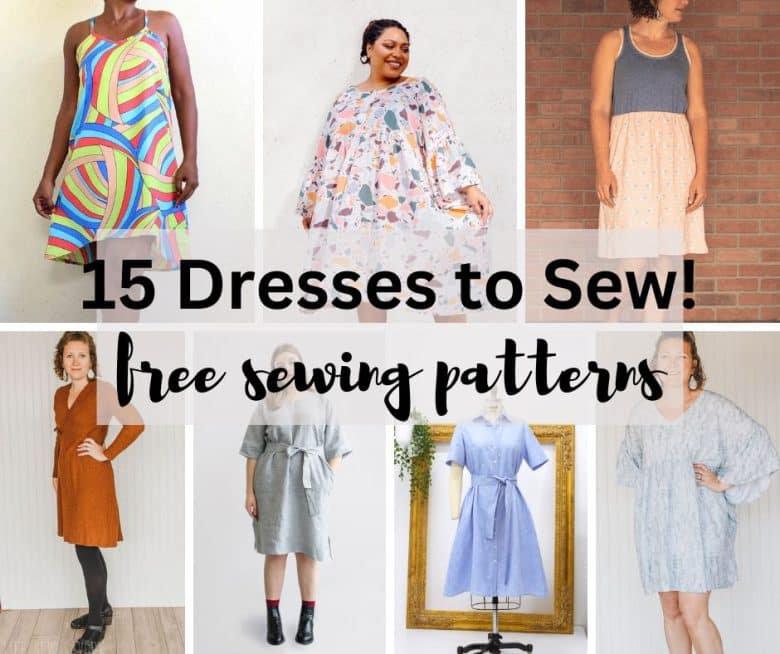
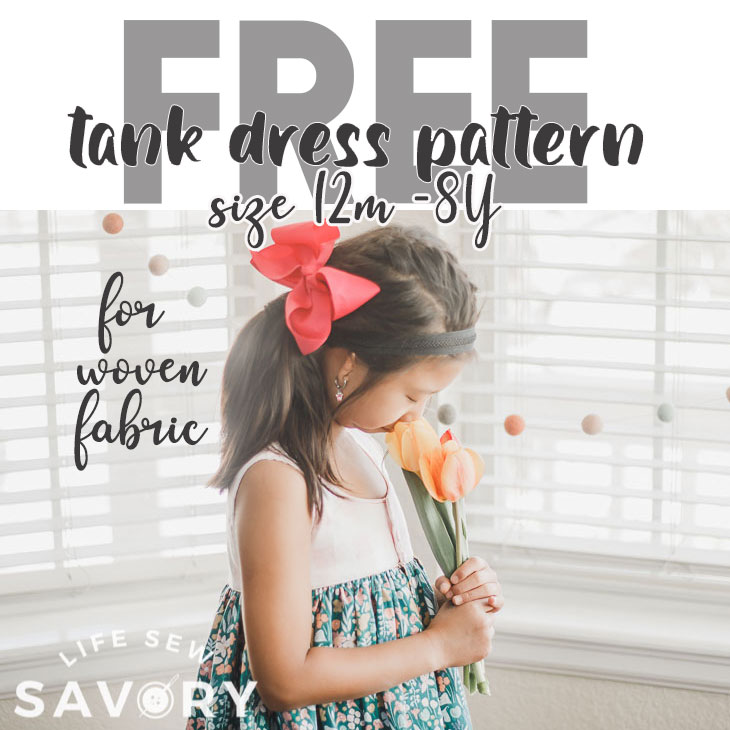
Other summer dresses to sew
Here are some other free patterns and tutorials for dresses you should check out.
- Girls Tank Sundress
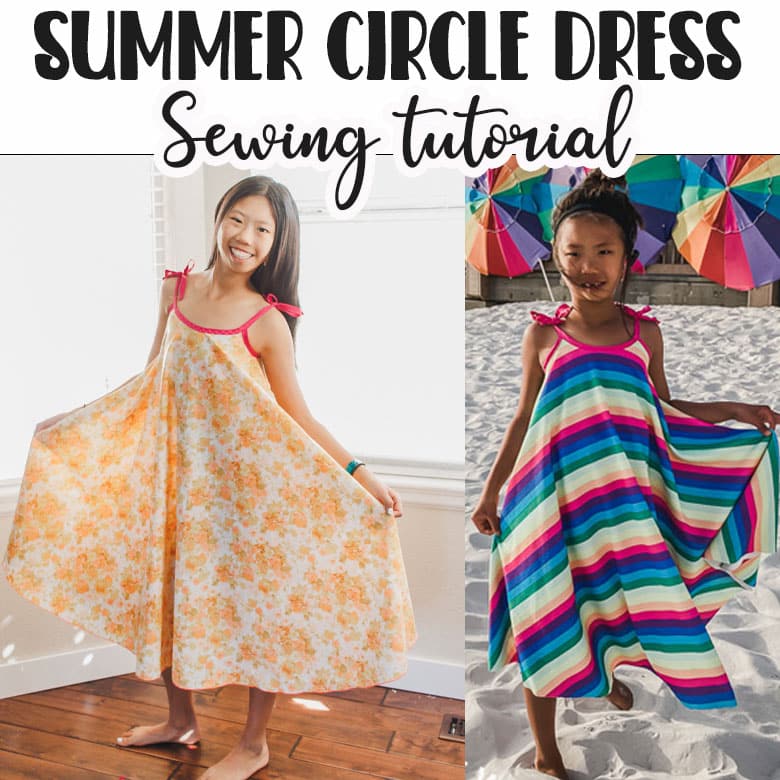
- Circle Dress sewing tutorial
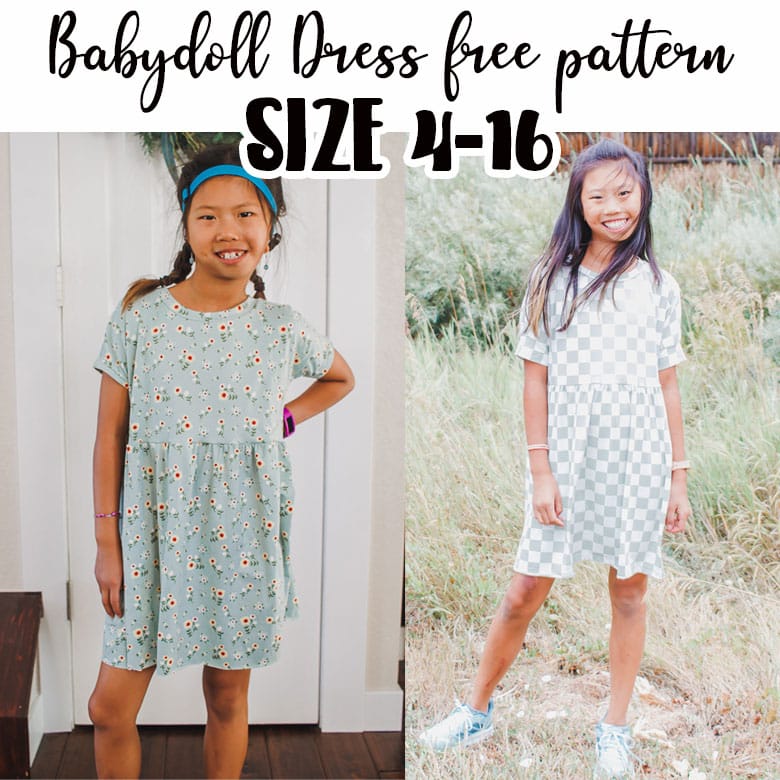
- Babydoll dress free pattern
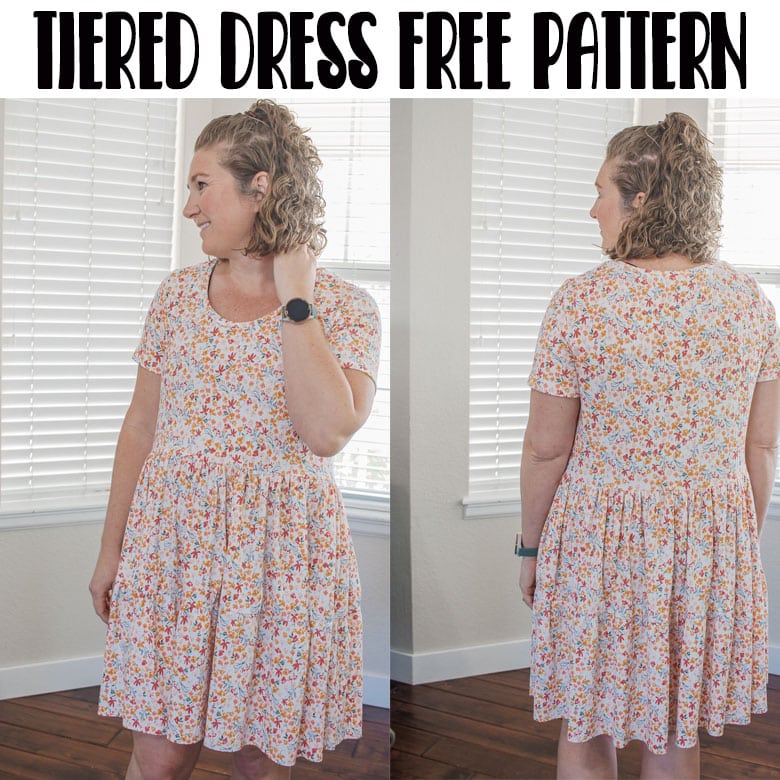
- Tiered dress free pattern
- Knit tank dress pattern kids
- Womens knit tank dress
- t-shirt dress free pdf pattern
- 15 dresses to sew post
- girls tank dress


Supplies for sewing a woven fabric tank sundress
Here is what you need to make this gorgeous dress. Right up front I’m going to remind you that LIGHT weight fabric is a must! My dress is nearly five yards of fabric, but is still super light and easy to wear as the fabric is light. I’ll like a few options below.
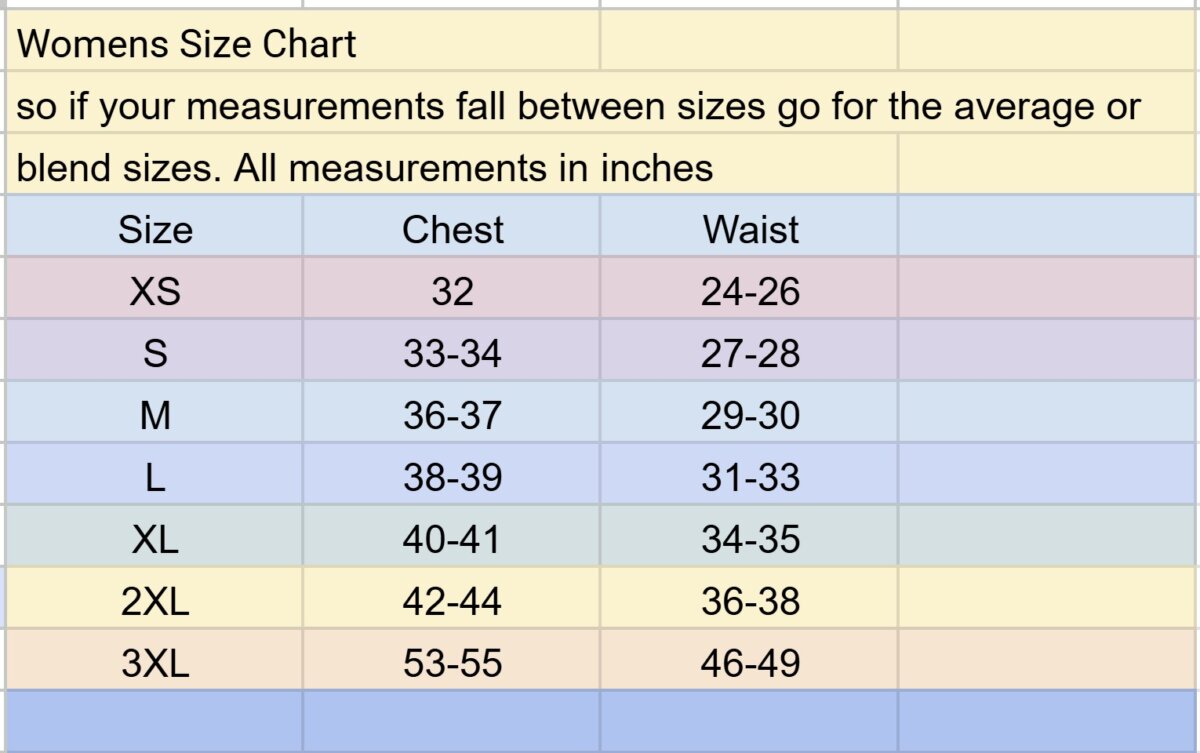
Here is the size chart for your reference. Waist is not nearly as important as the bust. This is your FULL bust measurement {measure right across the biggest part of your chest. I was a 36 and sewed as size M}
- Lightweight fabric. {Sincerely Rylee Airflow fabric}{Raspberry Creek Airflow} {blue shown in this post – from Hobby Lobby} {double gauze fabric}
- 4-6 yards depending on size and fabric width
- Five to six 1″ buttons
- sewing clips – I have theses exact ones and they are 8 years old and going strong!
- Sewing machine and or Serger
- Download pdf pattern using blue button below
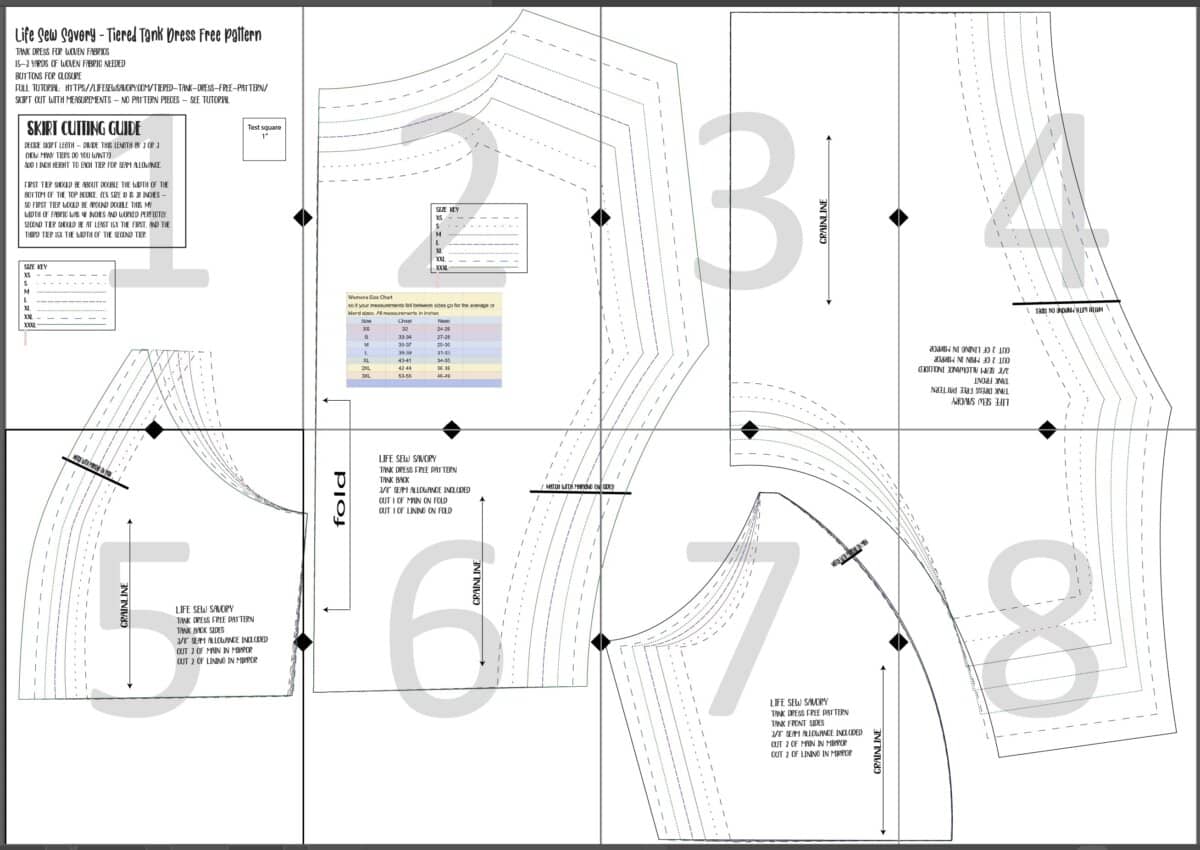
After you download and print the pattern you will assemble it so it looks like this. The pdf pattern is the printable bodice pieces, you will just cut strips of fabric to gather and sew for the skirt. More details on the pdf and in the tutorial below.
Button from tank dress sewing tutorial
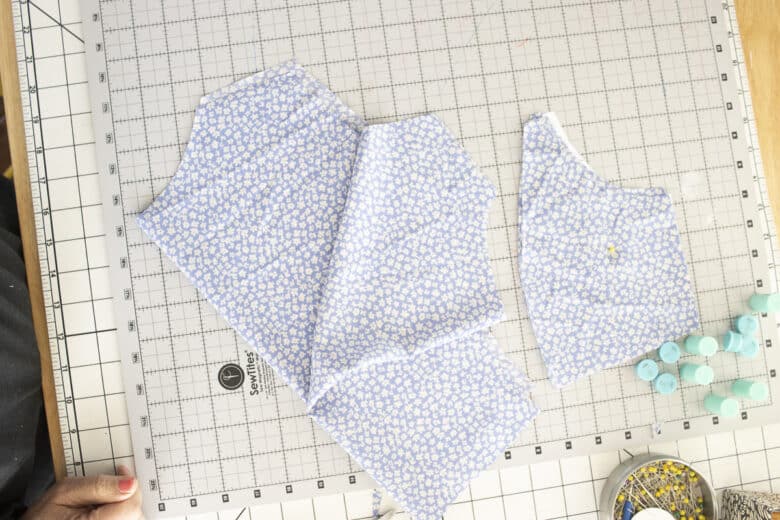
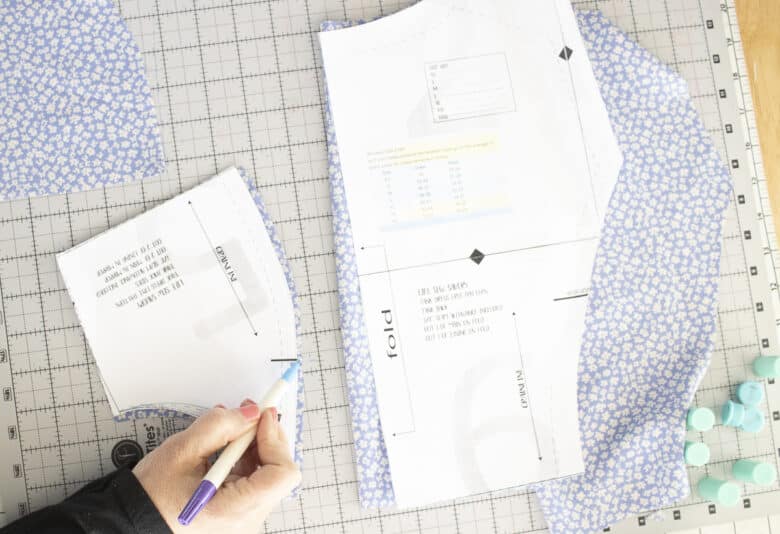
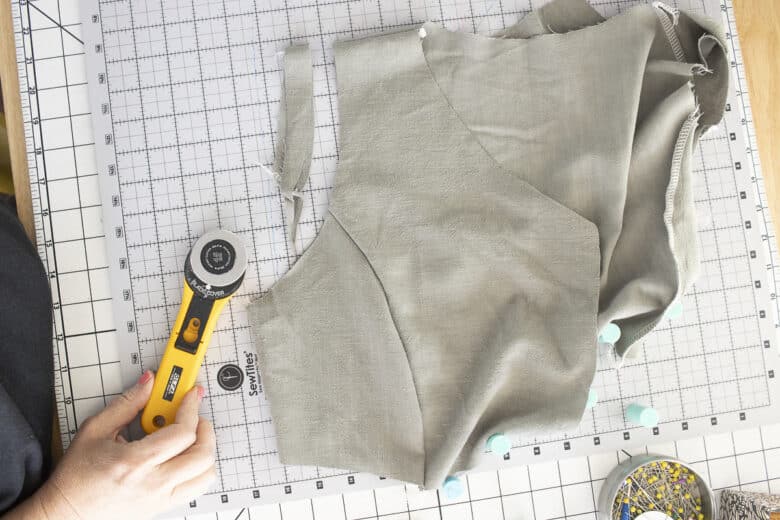
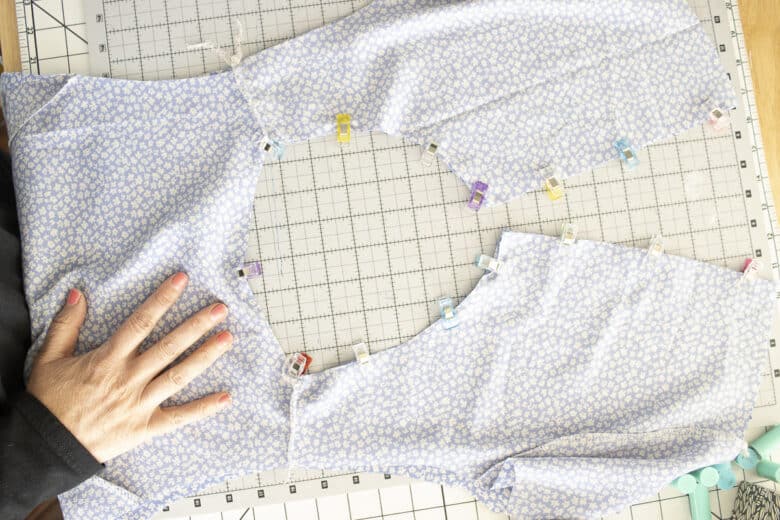
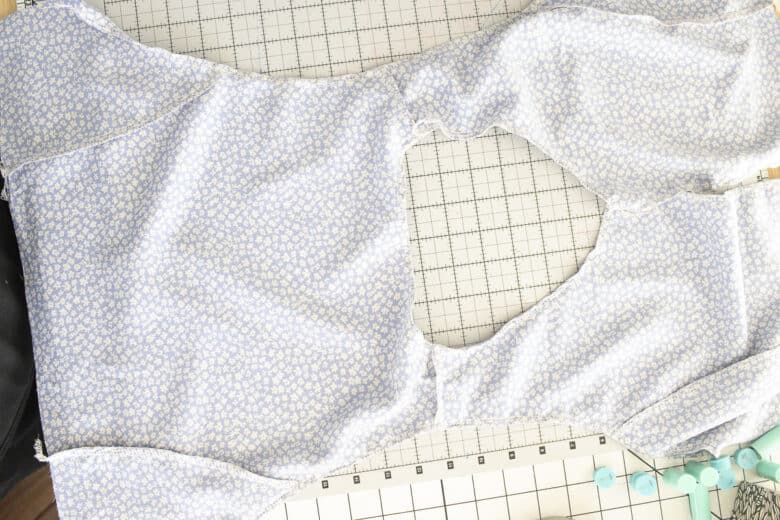
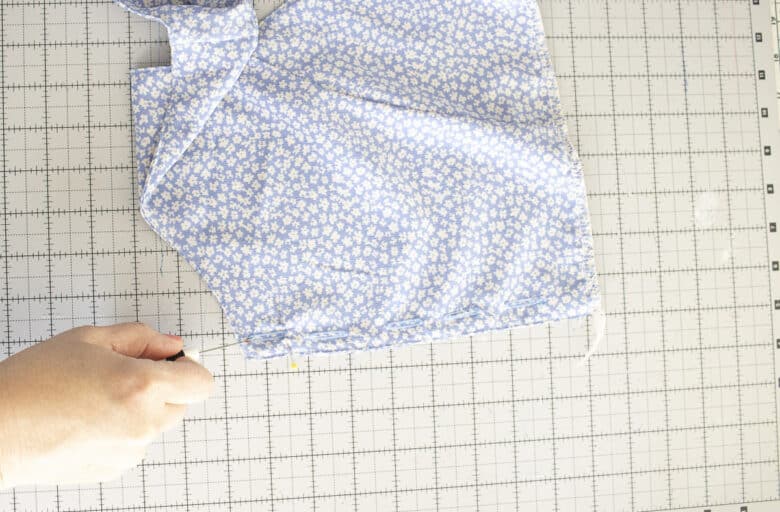
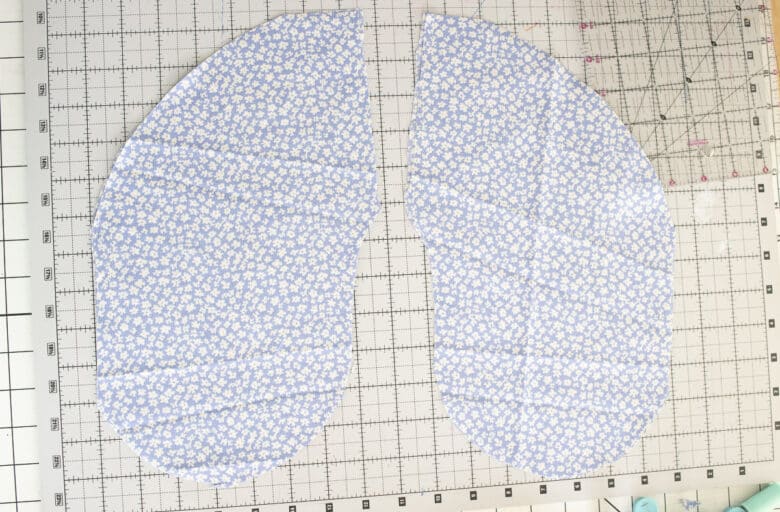
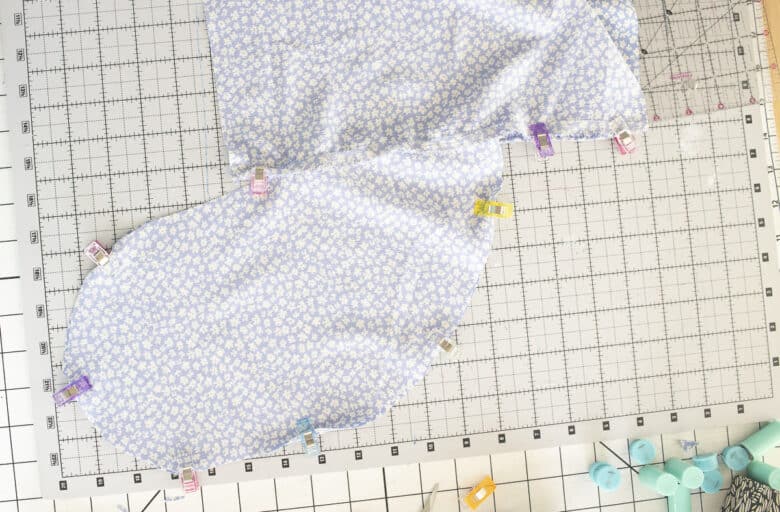
You will cut out the pattern pieces from the printed PDF pattern first. You will have two back main, and four back sides. Four fronts and four front sides. Transfer the black line marking from the pattern to the fabric. All seams at 3/8″ or 1 cm. Sew with a serger or sewing machine.
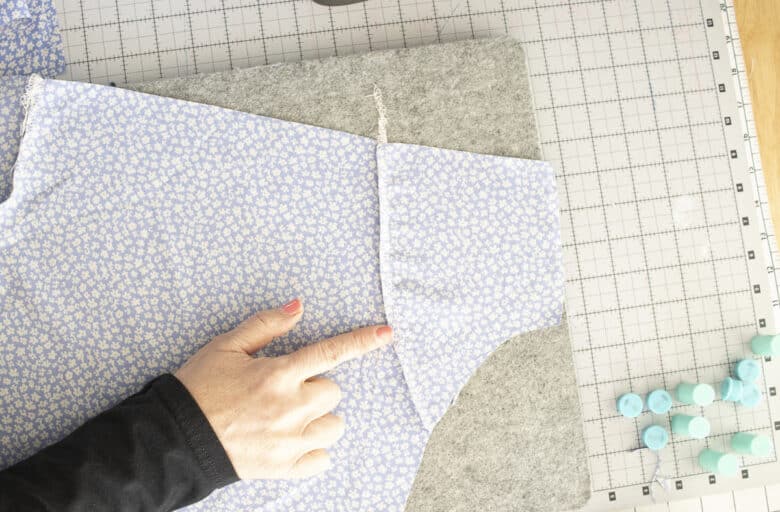
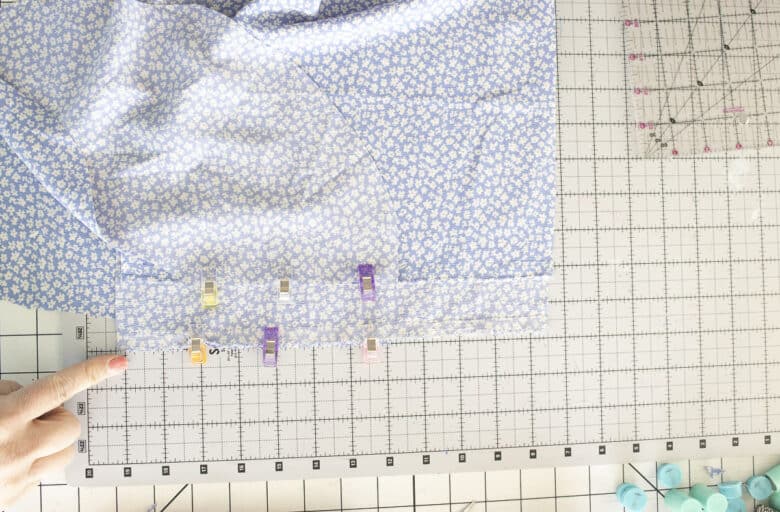
With right sides together, take a back main piece and place one back side on the curve, matching the fabric marking. Ease the curves on either side of the marks. Pin or clip in place.
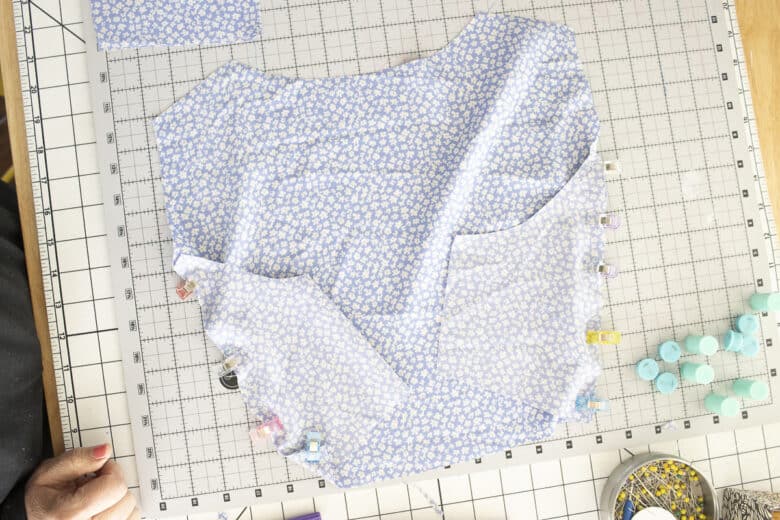
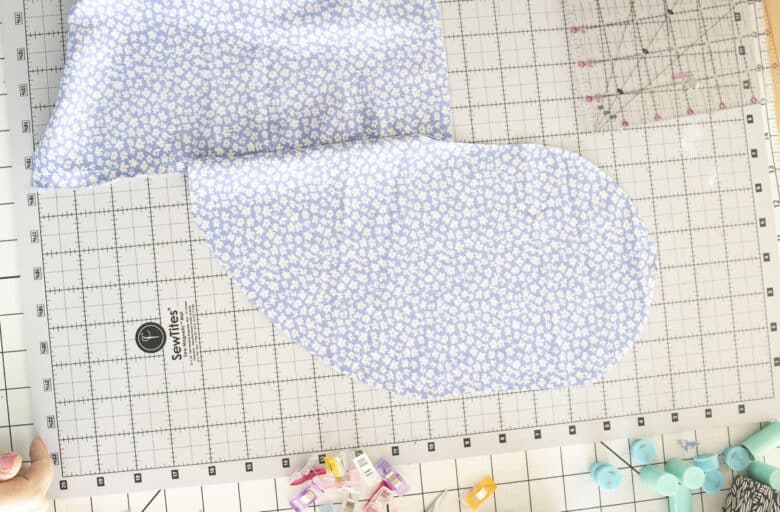
Here is the back with sides sewn. Repeat with the other back piece and the four fronts.
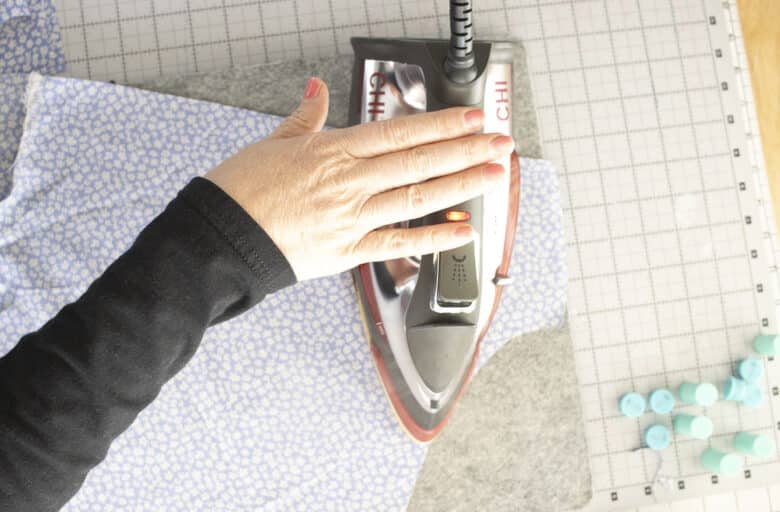
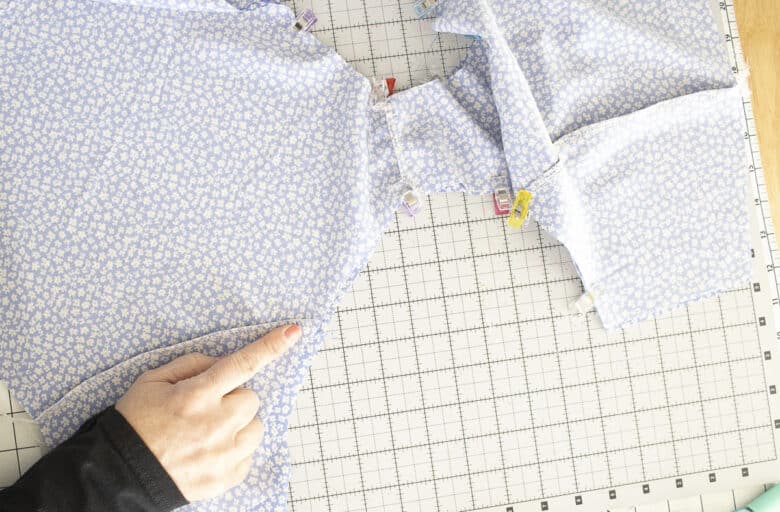
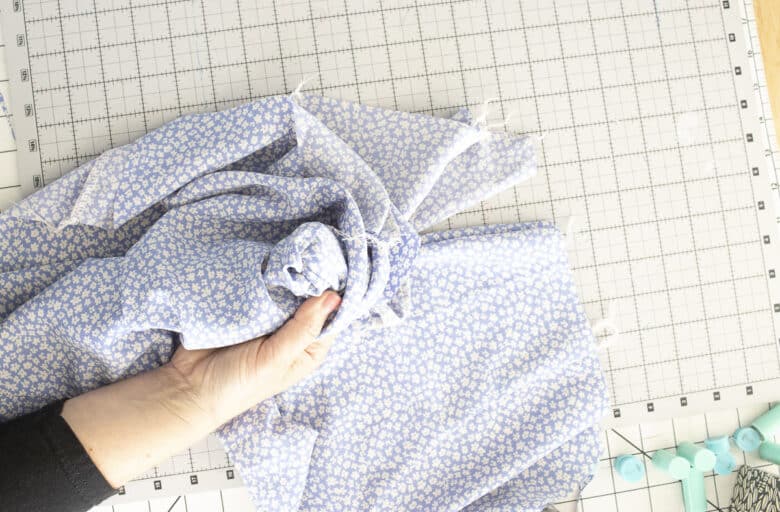
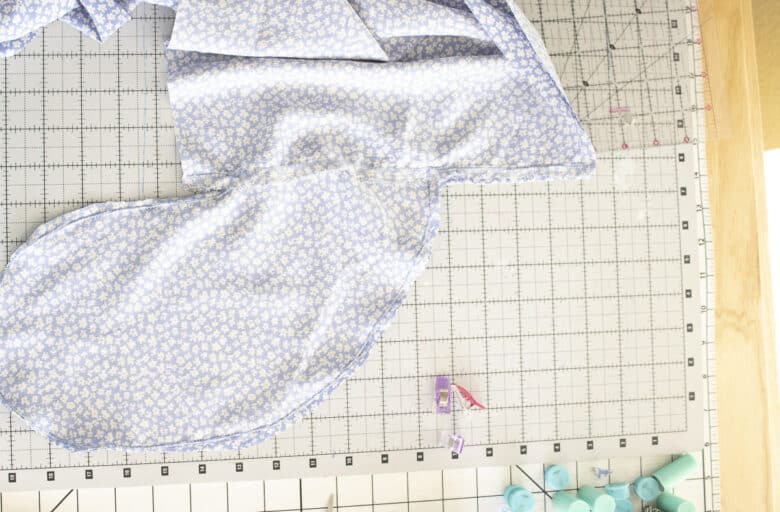
Press the seam allowance in towards the main body side of the bodice. Press on the front and back side of the fabric.
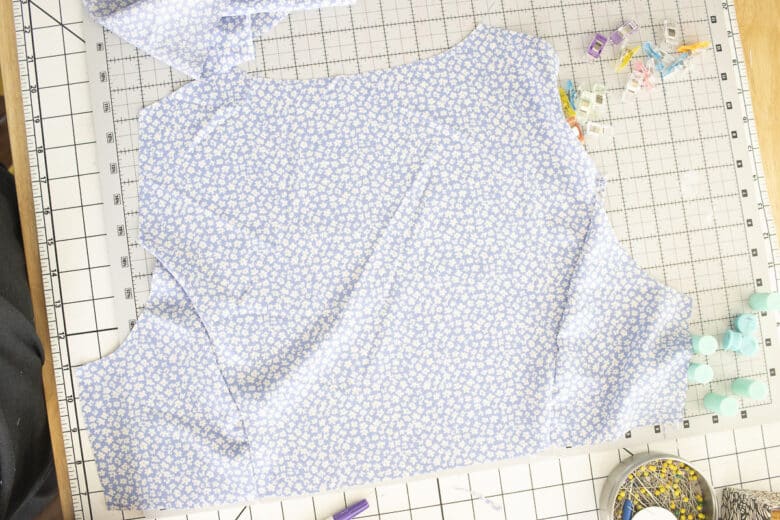
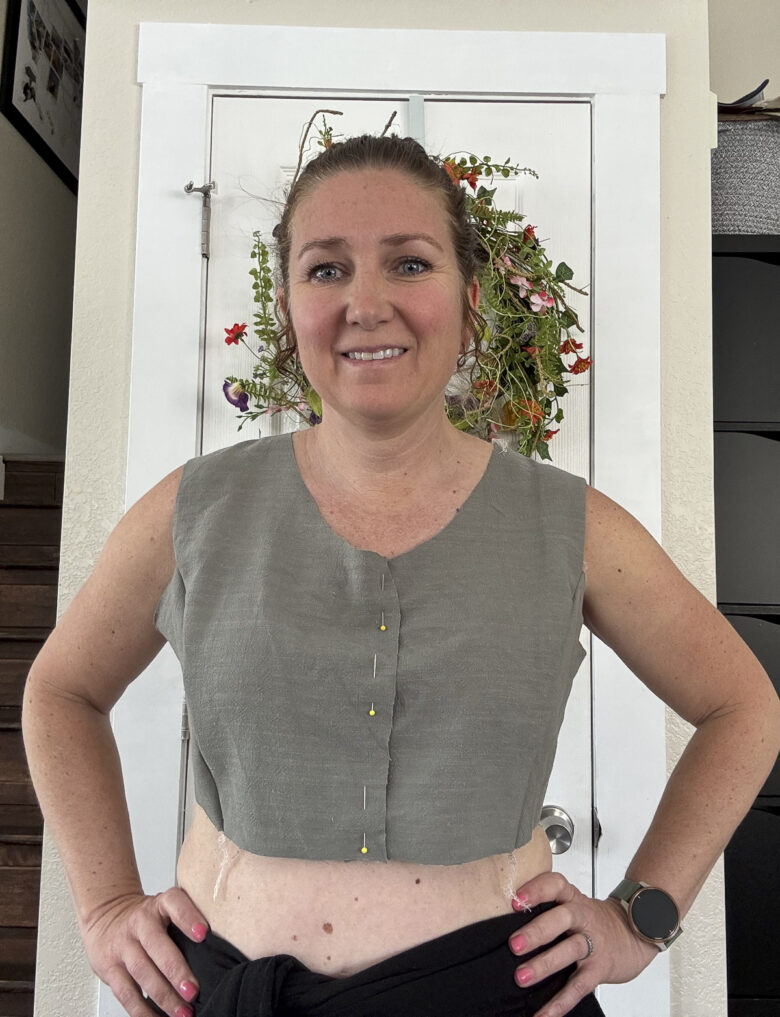
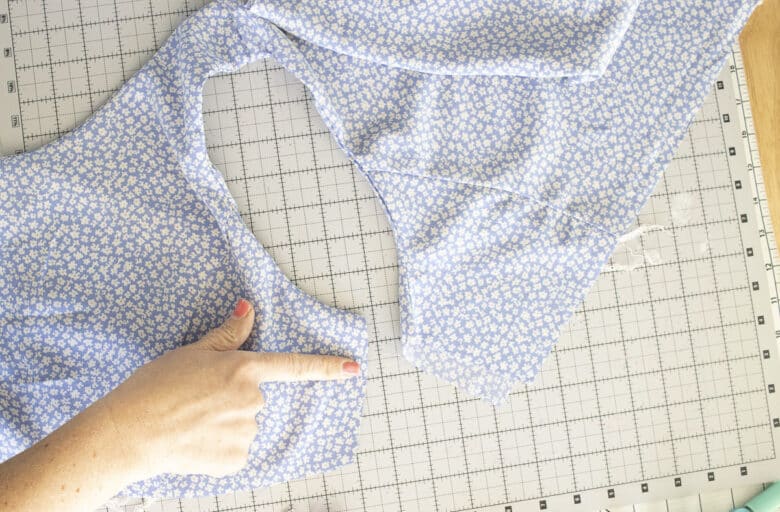
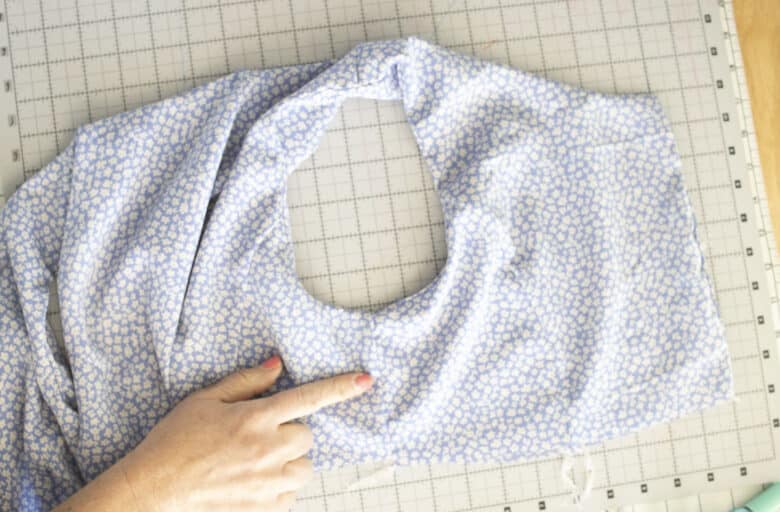
Take two fronts and one back piece and pin or clip at the shoulders. Sew the shoulder seams. Repeat with the other set of pieces. At this point you will try on – see below. If you want to take in the shoulders, cut 1″ off the outer shoulder, front and back laid together, easing the curve to just below the middle dart seam.
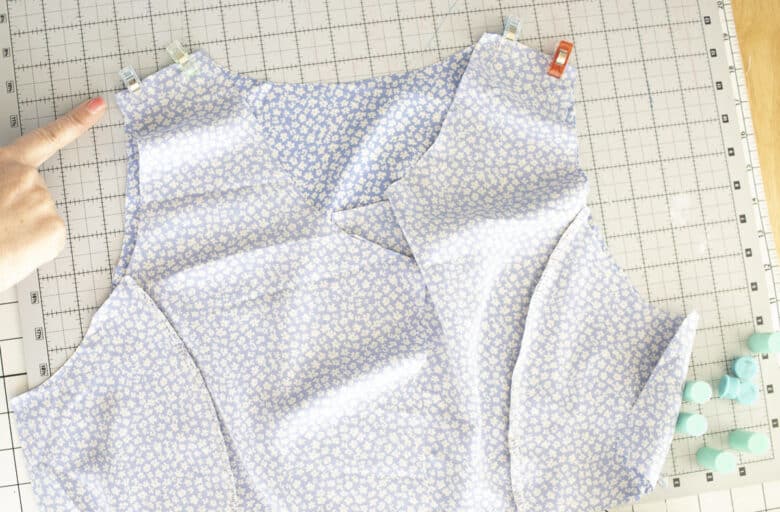
Here is my try on after sewing a muslin. I can take in the darts just a smidge, and I also folded under the shoulder to see if I wanted to make the narrow shoulder adjustment. Next time I may take a bit off the neckline and scoop the neck a bit more as well. Its easier to take off than add on, so I’ve given you the full coverage pieces to start.

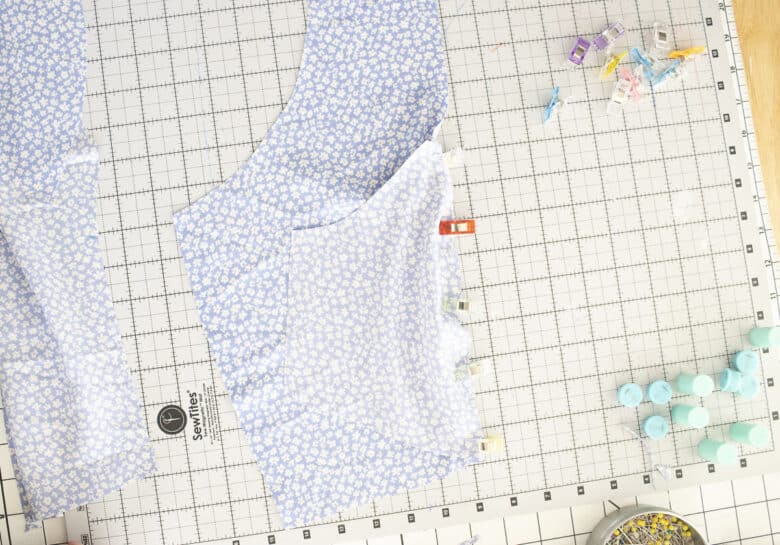
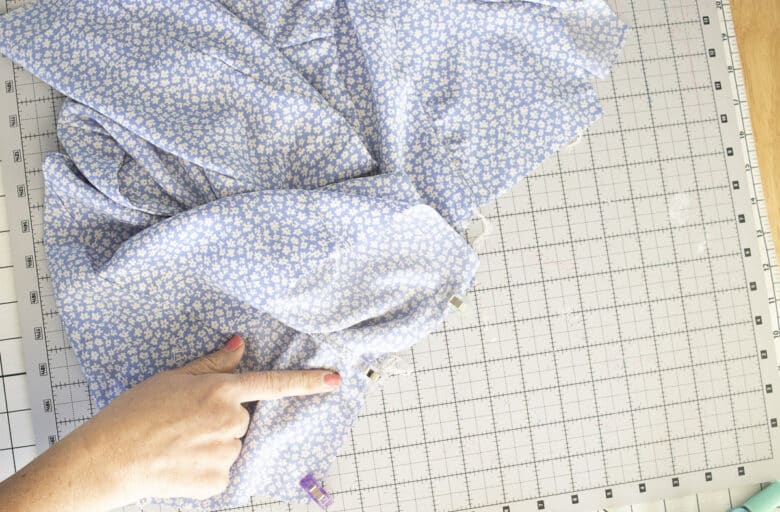
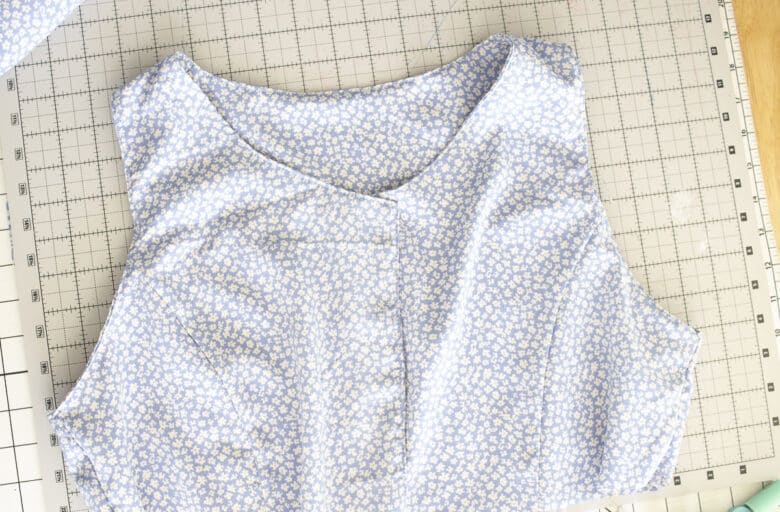
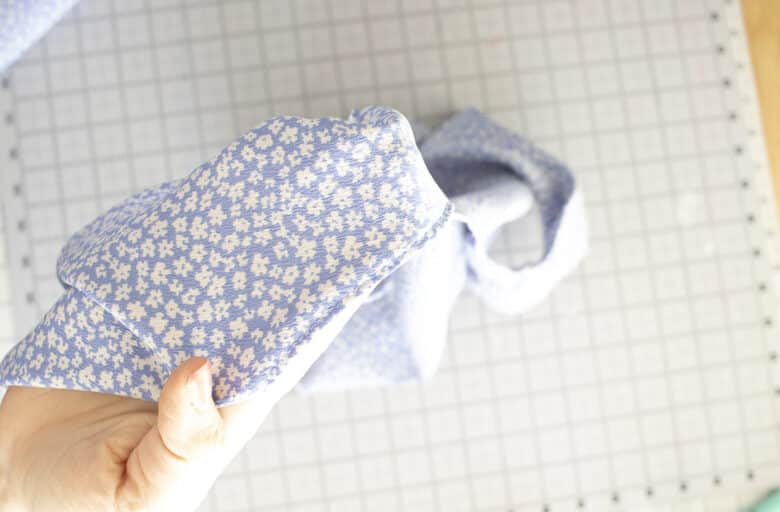
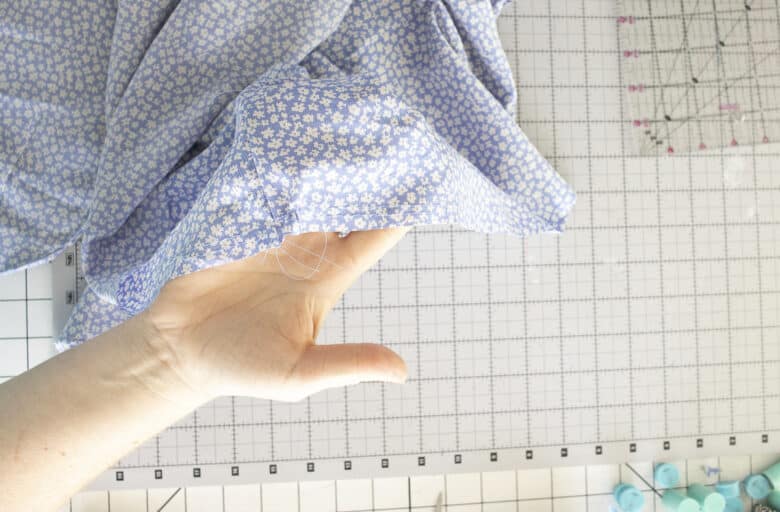
Take your main and lining pieces and line them up at the shoulders and down around the front overlap. Do the same with the arm openings, making sure to match the center dart seams. Sew these pieces together.
With the back facing you, pull the front flaps through the shoulders. Press if needed. When I used the double gauze I did not press the fabric, due to the nature of the fabric. This fabric I did press.
Match the bodice sides, right sides and matching the center seam. Pin or clip then sew.
Top-stitch close to the edges along the neck and arm openings.
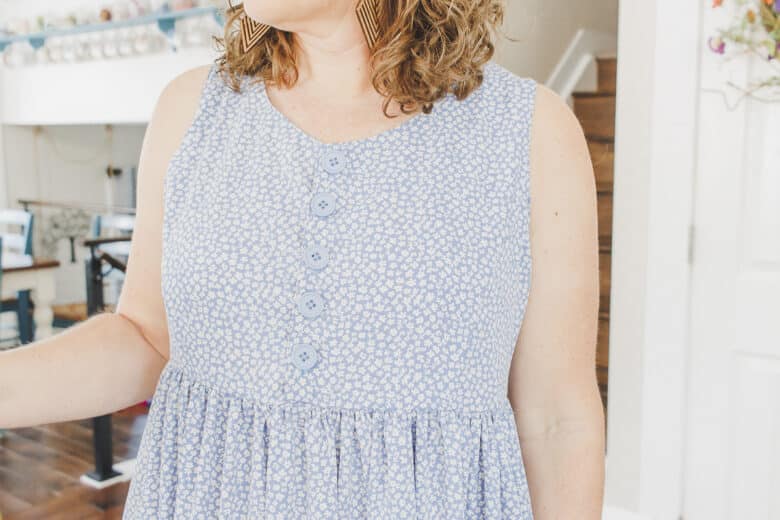
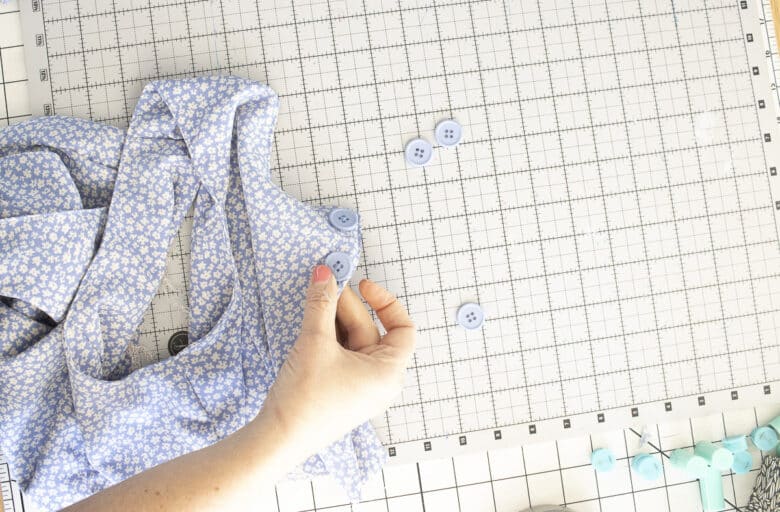
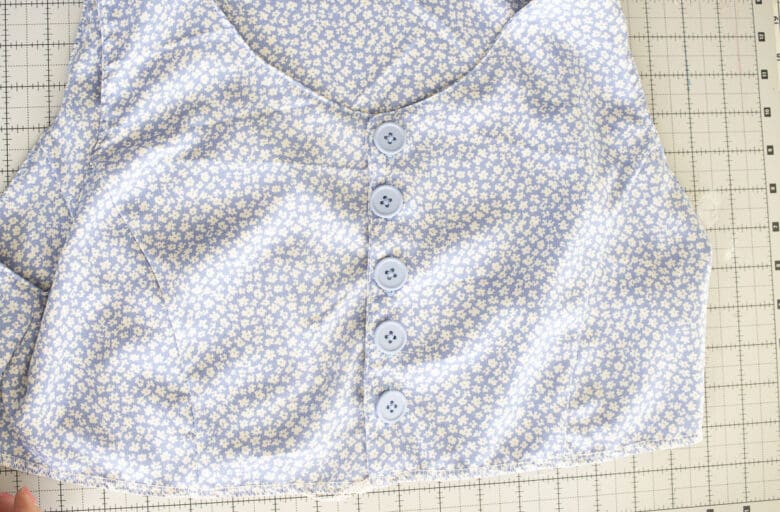
Arrange the buttons to see how many you need to use. I would not place more than 2″ apart. Arrange to your liking. Mark the button placement.
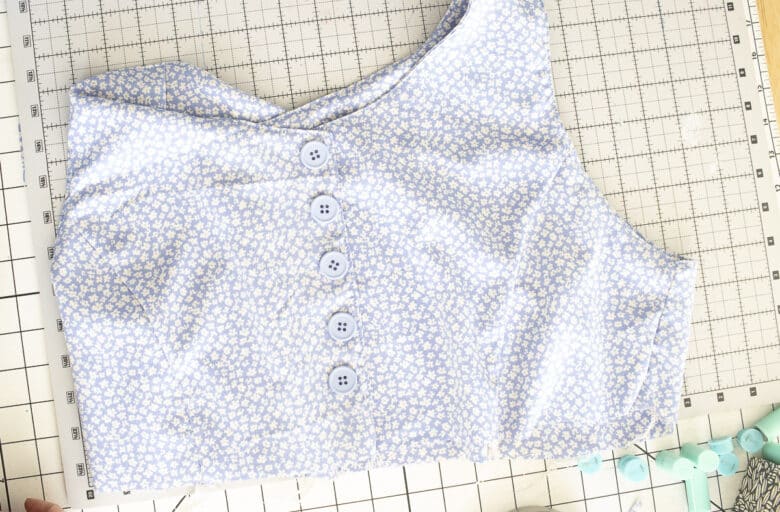
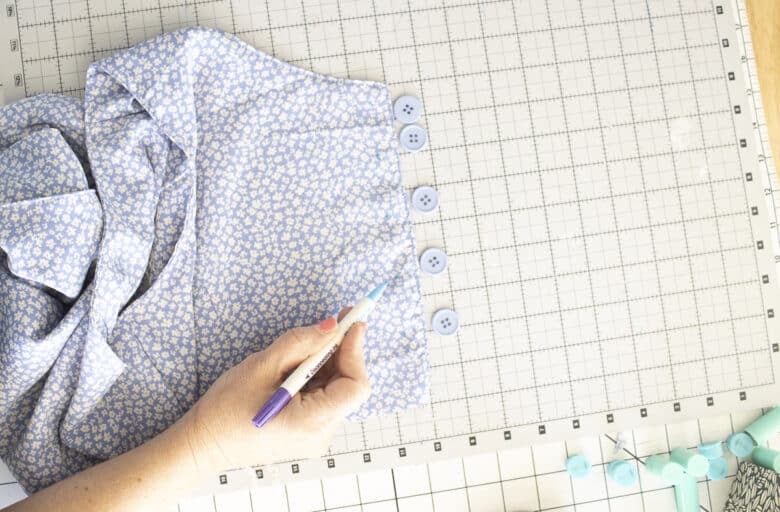
Sew the buttons to the bodice. Overlap the front edges 1″. Mark the buttonhole placement and sew buttonholes. Need help using your machine to sew buttonholes? Check out my buttonhole tutorial here.
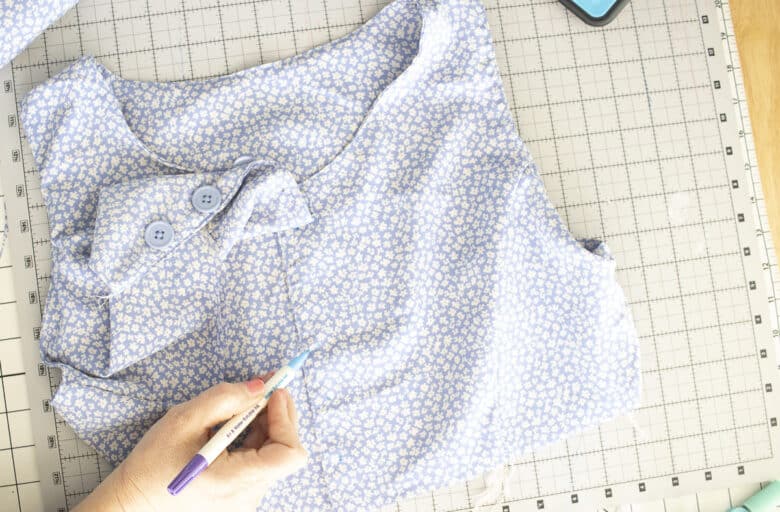
Because this fabric likes to fray a bit, I like to put a drop of fray check on the button hole, let it dry, then cut it open. Button up the front and your dress top is complete.
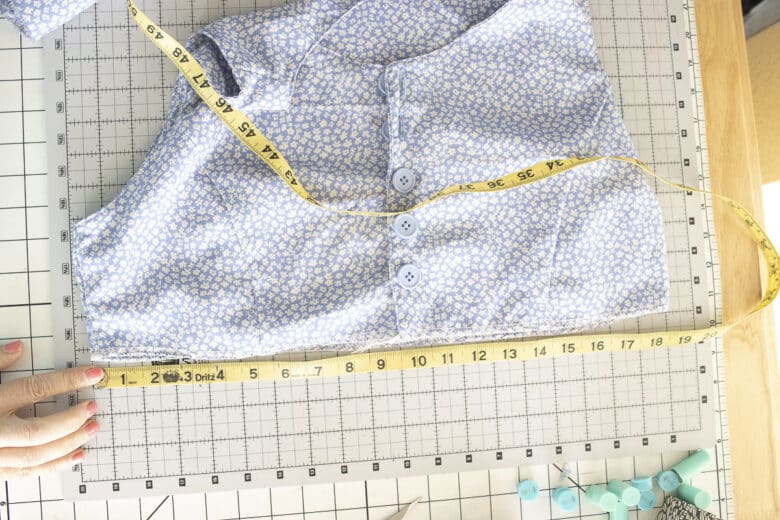
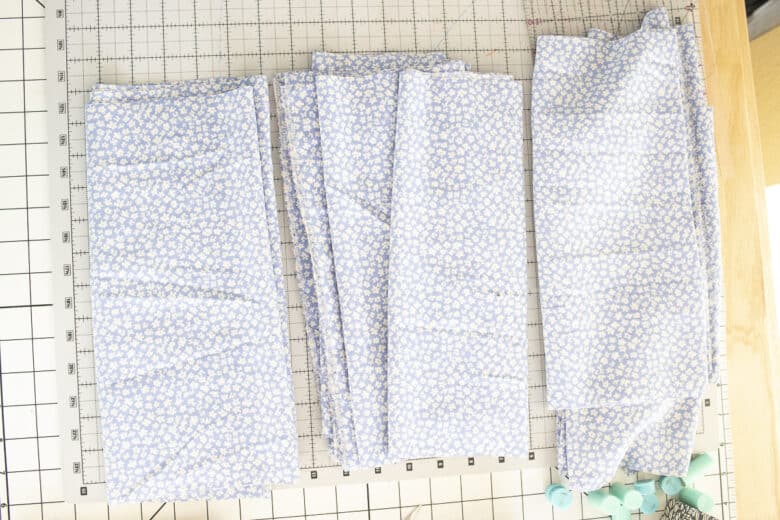
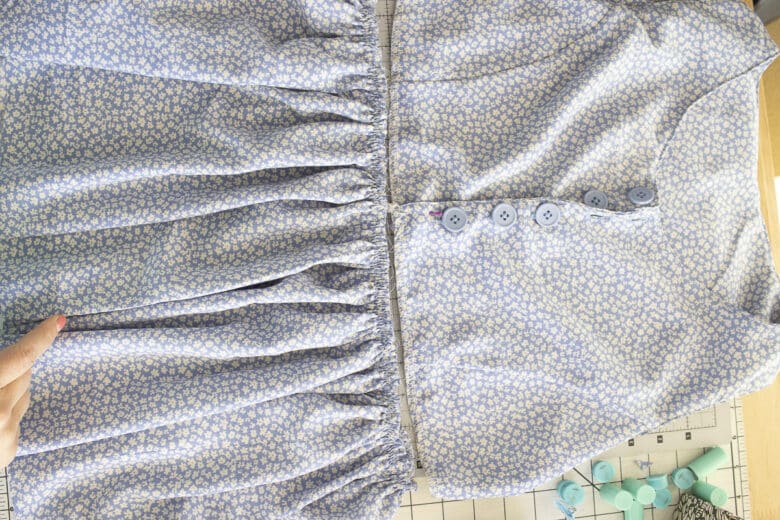
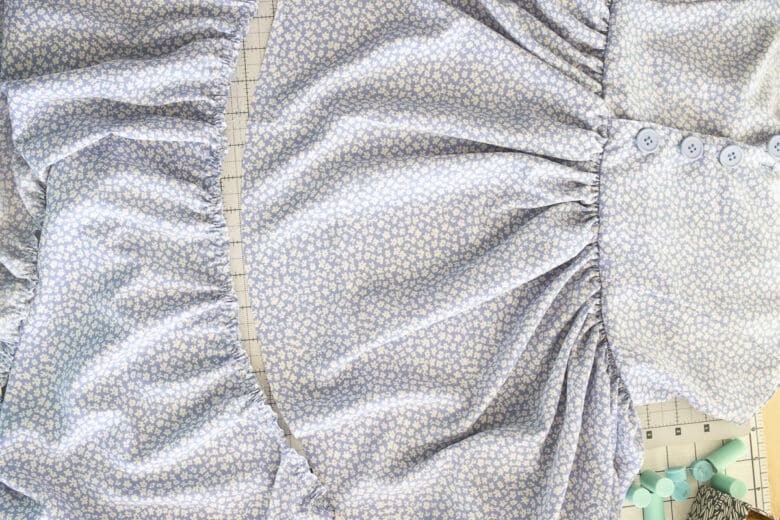
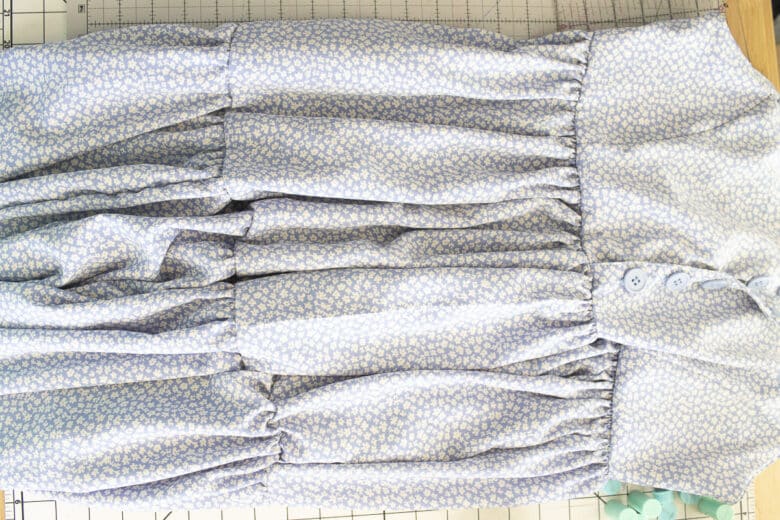
Measure the bottom of your top to get started. We will now cut widths of fabric for the dress tiers. My fabric was 44″ wide so I did 2 pieces for the top tier, three for the second, and four for the third. If you fabric is 60″ wide I would may just do 1 – 1 and a bit for the first tier, then 2 and then 3…
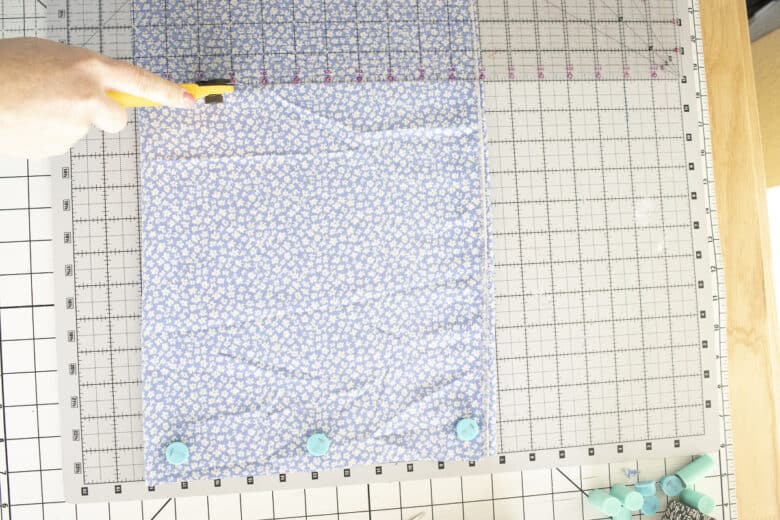
My tiers are each 12″, for about a 34″ length skirt {after seams} I did a rolled hem for my bottom, but if you are folding under a hem, I would add 1″ to the bottom tier.
Fold the fabric in half, then half again to make cutting the widths of fabric easy.
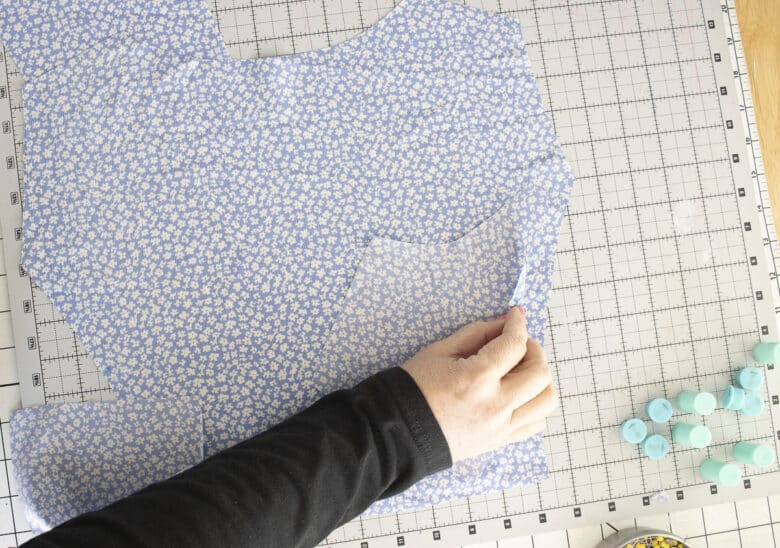
Here is all my fabric cut for the tiers. Because I had two widths for the first tier I had side seams, which means easy pocket. If you don’t have side seams you can cut your fabric so you do. I just winged the pockets seen here, but if you need a pocket template you can get one here. {use the largest size} Cut four pocket pieces.
I sewed my pockets on the bottom of the first tier. I left 1.5″ from the bottom of the tier to make it easy to sew on the next layer, but you can see the pockets are low on the sides. With right sides together, sew a pocket piece to the two sides of the front panel and the two sides of the back panel. Make sure they are all in the same place on the fabric so they line up. Sew and open up.
Top-stitch along the edge of the pocket. Place the front panel on top of the back panel, lining up the pockets. Sew down from the top, around the pocket, and the 1.5″ inches at the bottom. I used a zig-zag on my sewing machine since all the turns are tough on the serger.

Now sew two gathering stitches on the top of this tier. Need help with gathering? Check out my gathering tutorial here.
Gather the top of the tier to match the bottom of the bodice. Keep the sides with the pocket at the bodice side seams. With right sides together flip the skirt up, and clip the layers together. Keep the 1″ overlap of the bodice secure then you sew. Sew with the gathers up towards you to keep them laying straight.

First tier in place! Sew the panels of the second tier together to from a circle. Gather the top of the second tier to match the width of the bottom of the first tier. Sew.
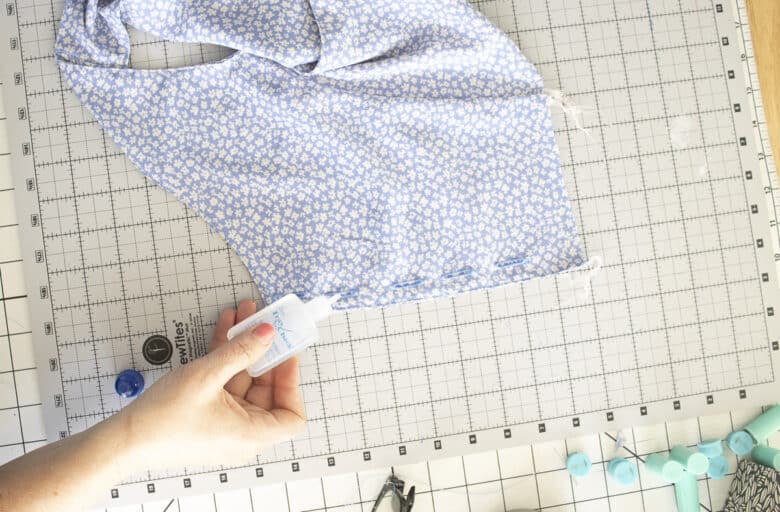
Repeat process with the the their tier if desired. Hem with a 3/4″ folded under hem or rolled hem.

You did it! Now you have your new favorite summer dress. I can’t wait to sew a couple more! It’s so comfy!!


Leave a Reply