



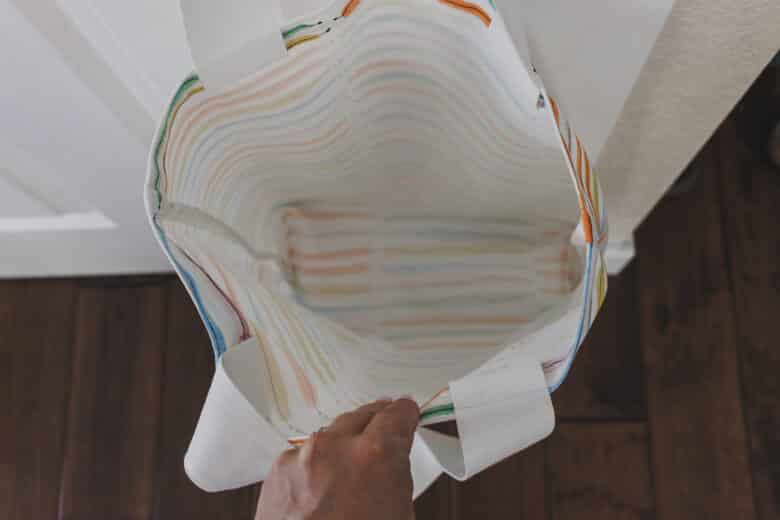
inside: Learn how to make a canvas tote bag with French seams for a polished look inside and out on your bag. No need to add a lining when you add easy French seams to your next tote bag.
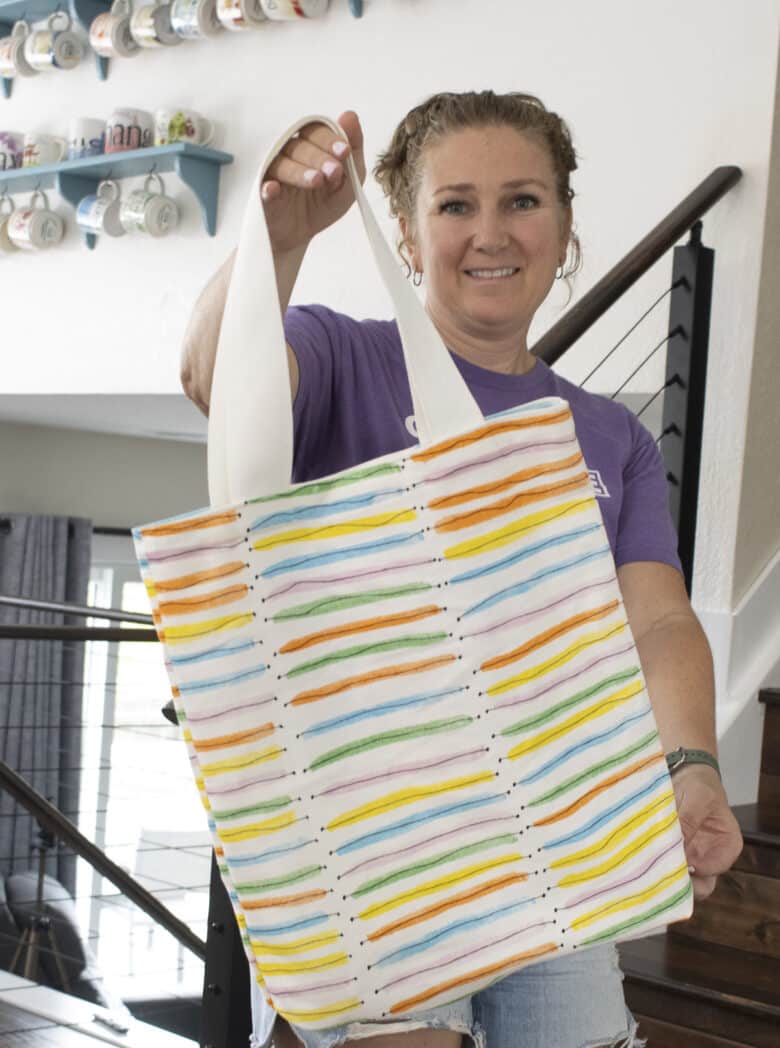
I’ve sewn many many tote bags over the years, but I wanted to try an unlined version, that also looked neat and clean inside. Of course I had to figure out how to finish the seams and French seams seem like the quickest and easiest option. I’m very pleased with how this canvas tote bag turned out, I even added box corners.
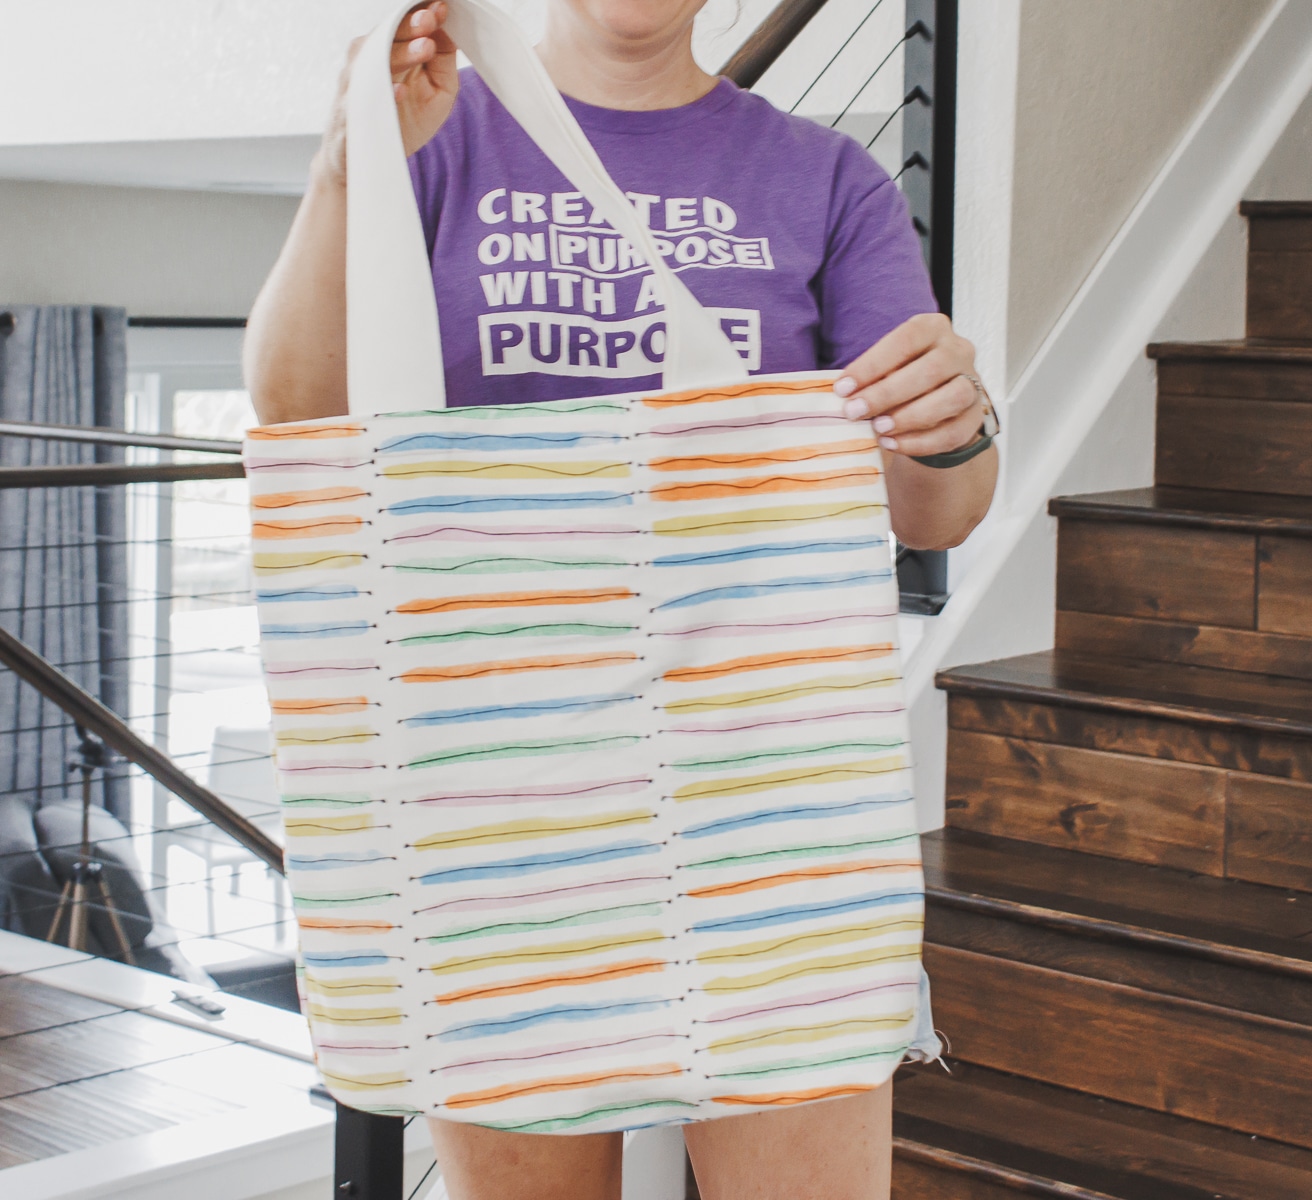
Simple canvas tote bag with French seams
I used a medium weight canvas fabric that I had in my stash. I was wishing it was just plain white/cream canvas, but I think using the print helps you see the seams better. You can sew a simple canvas tote bag with just the side seams, but I added boxy corners for a bit more shape and dimensions.
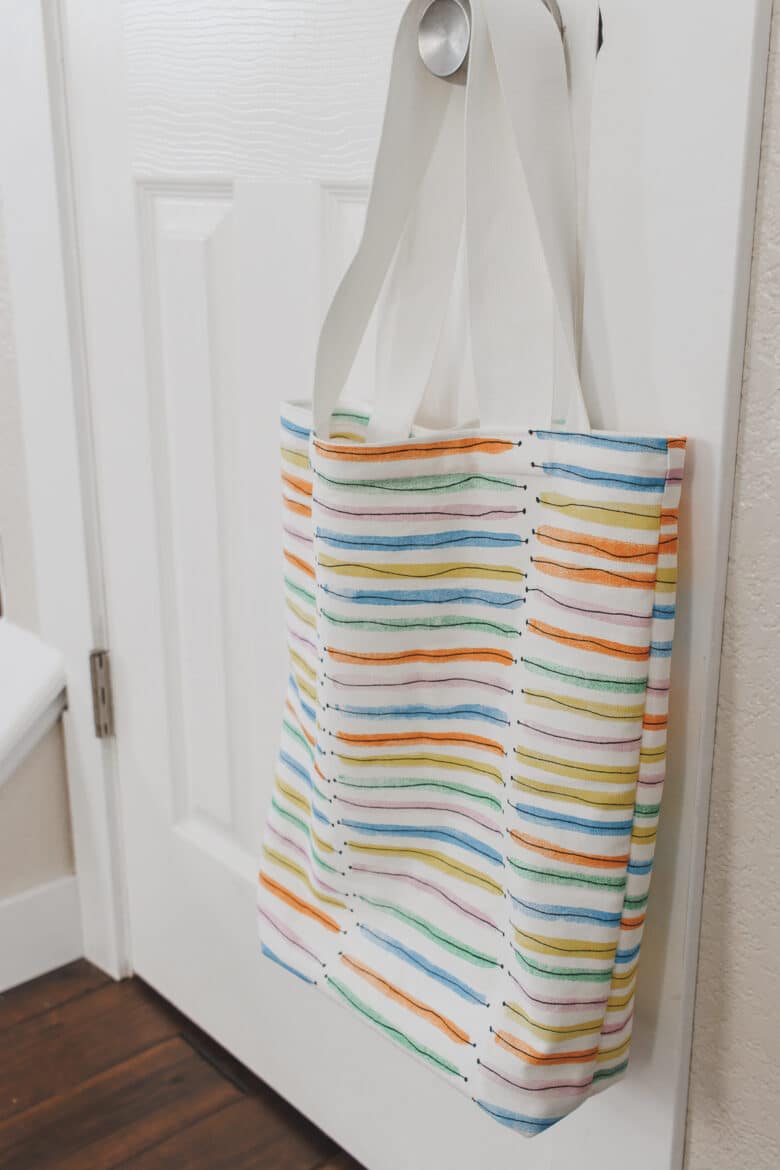
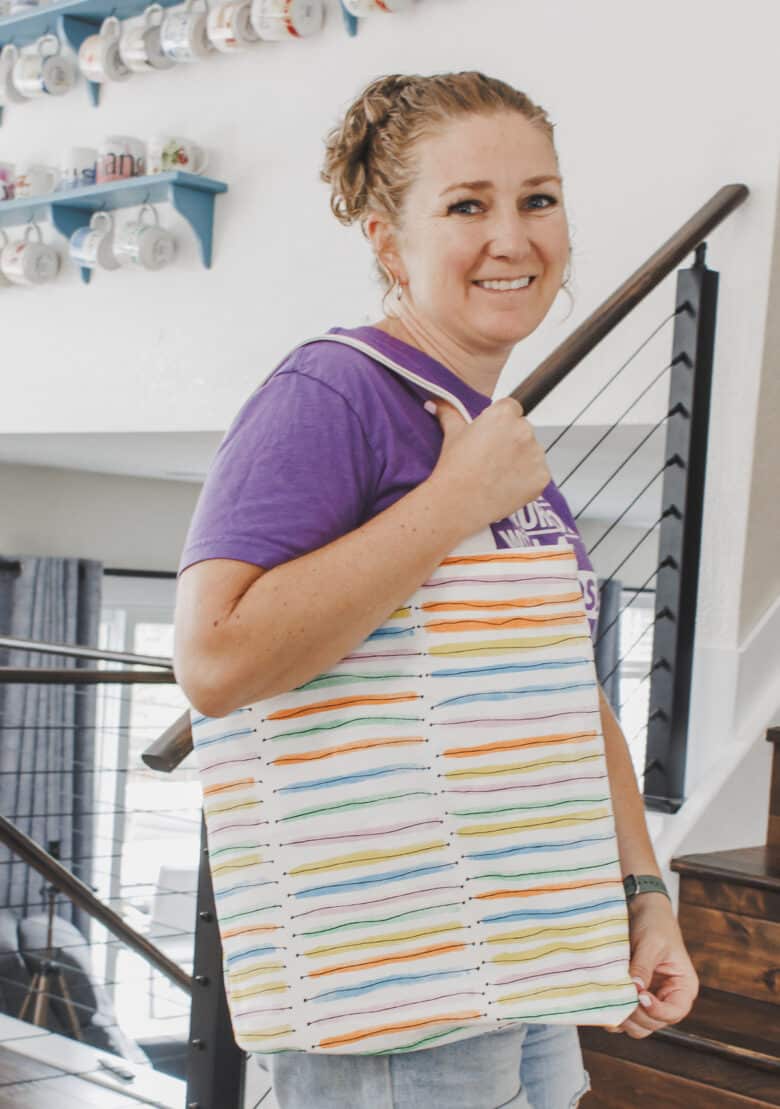
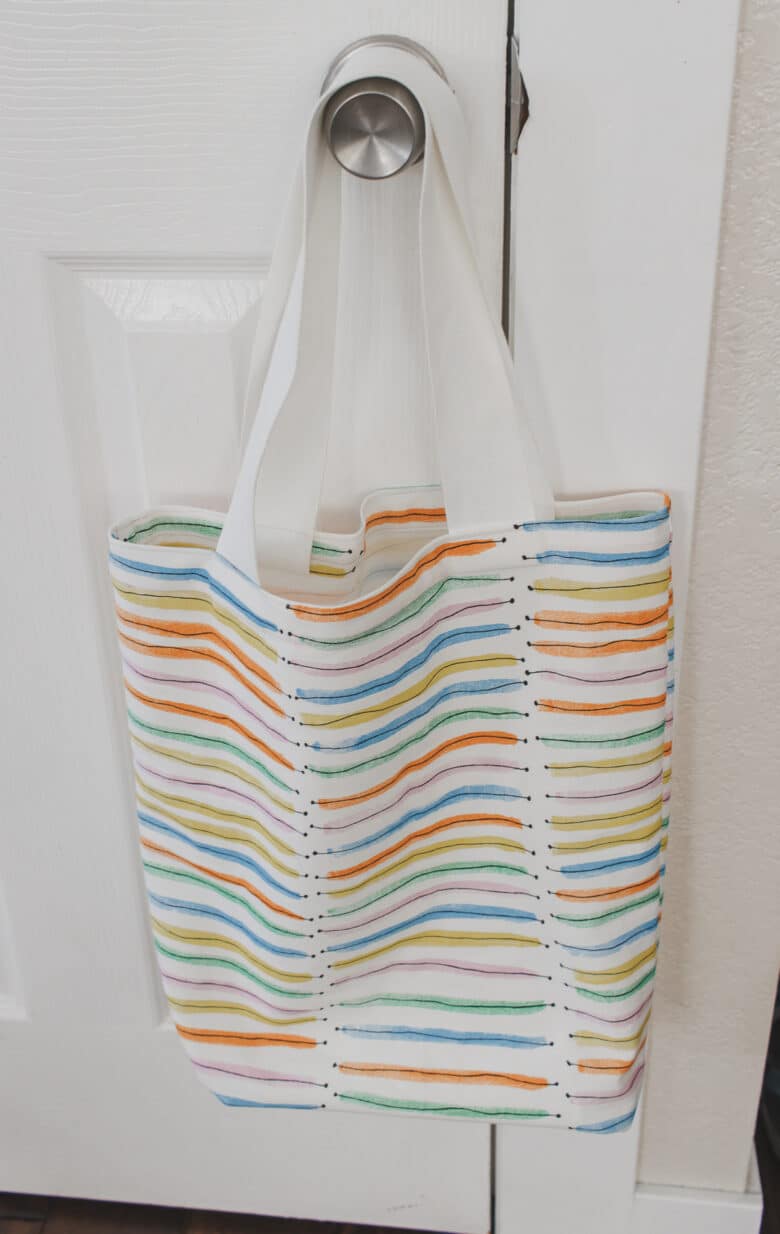
I’ll give cutting dimensions below for both the boxy corner version and the straight version. You can sew either. I also used pre-made straps, but you can also sew up your straps, I’ll give information for both options in the tutorial below. This canvas tote bag is 15″ wide 16″ tall and about 3″ wide with the boxy bottom corners.
Other free tote bag tutorials and patterns
- Sweatshirt fleece tote
- Simple tote bag with embroiery
- Nylon webbing tote bag
- Simple summer tote bag
- Canvas and cork tote tutorial

Video tutorial-
If you don’t see the video below, check the sidebar, sometimes it flips over there. Or check your ad blocker. Video will not play if you are running one. You can also try a different browser if you are still having trouble.
Sewing tutorial for French seam Canvas tote bag
Supplies for sewing a tote bag:
- Canvas fabric 3/4 yard if sewing straps, 1/2 yard if using pre-made straps
- Cotton Canvas Strapping {optional}
For boxy corner bag, cut fabric 17″ wide and 38″ long.
For straight sides, cut the fabric 17″ side and 35″ long.
Cut strapping 25″ long, to sew straps cut fabric 25″ x 3.5 wide. You will cut two of them, either method.
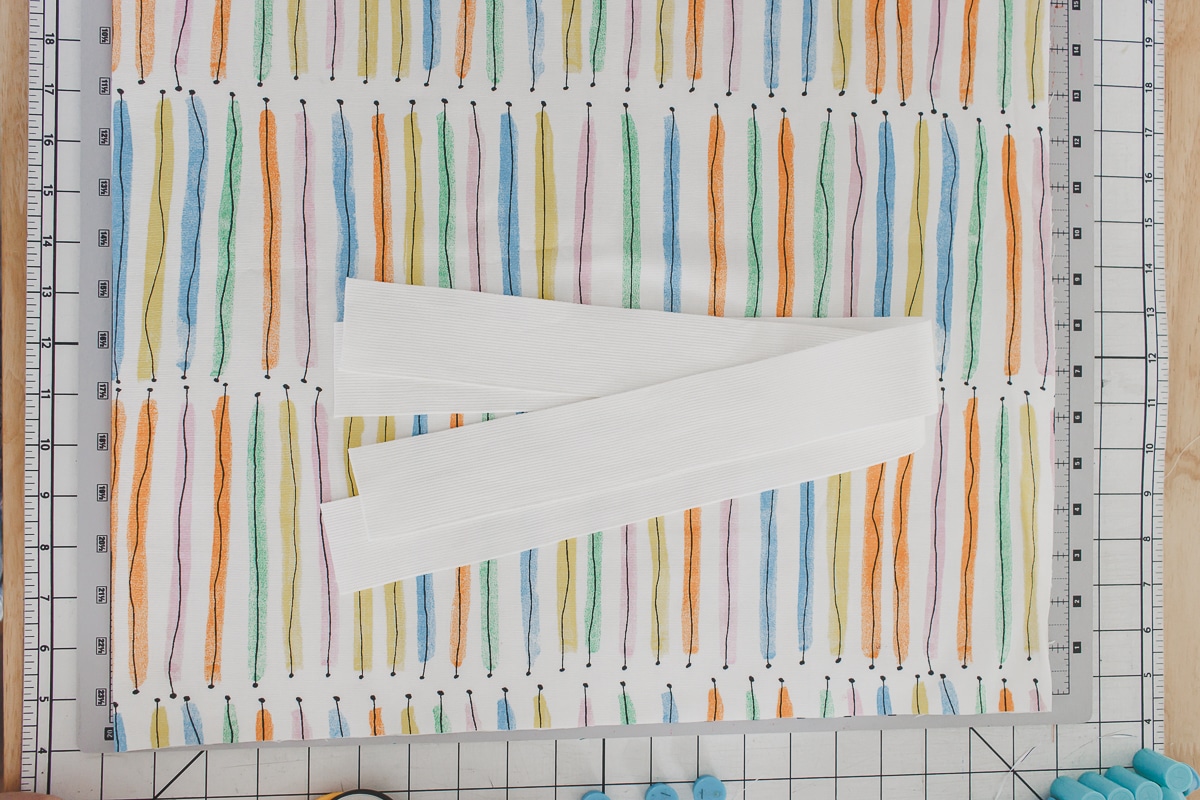
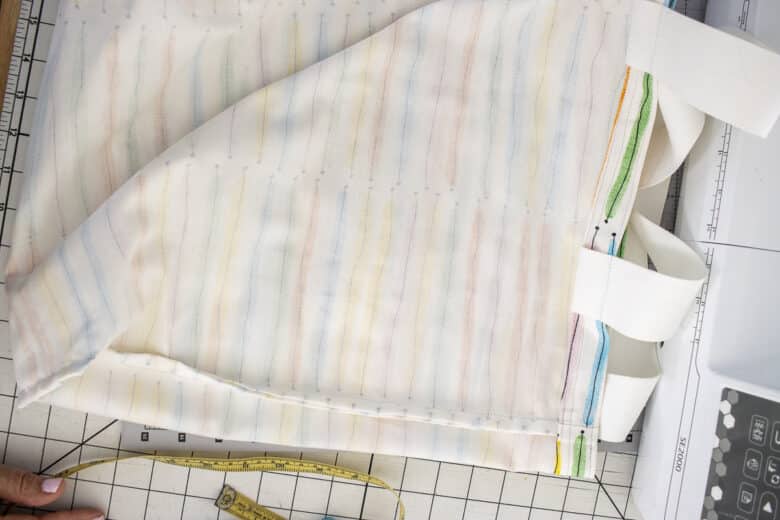
You will keep the fabric folded over, with the short sides together. The right side of the fabric should be out. Sew the two long sides with a 3/8″ seams. Trim the seam allowance.
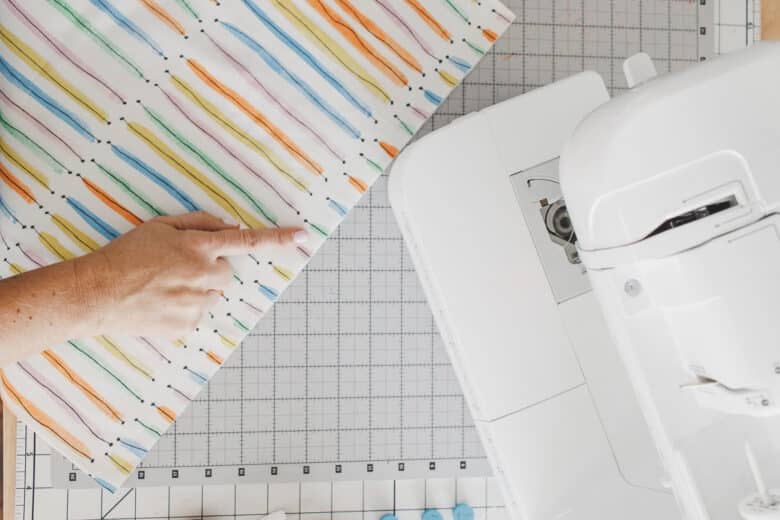
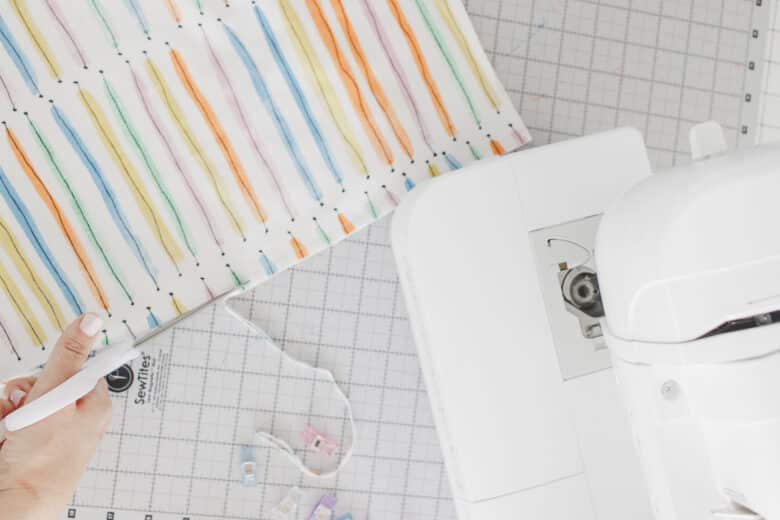
Flip the bag inside out and sew again with a 3/8″ seam.
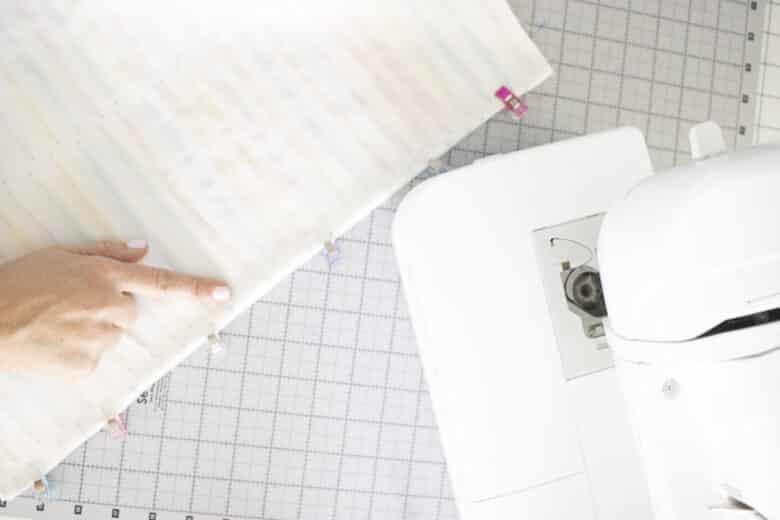
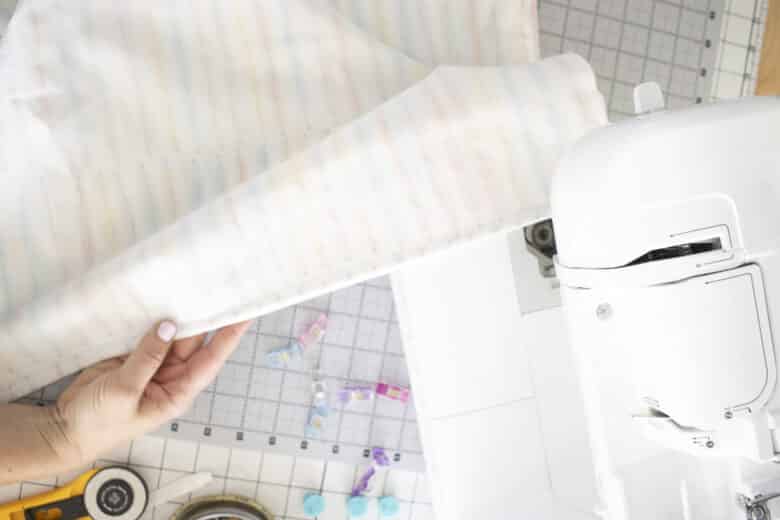
To create the boxy corners, open the corner on the inside of the bag, and fold the seam to one side. Hold it there. Open up the corner on the right side, keeping the seam folded only to one side. Mark 1″ up from the corner with a pin. Sew on this 1″ mark.
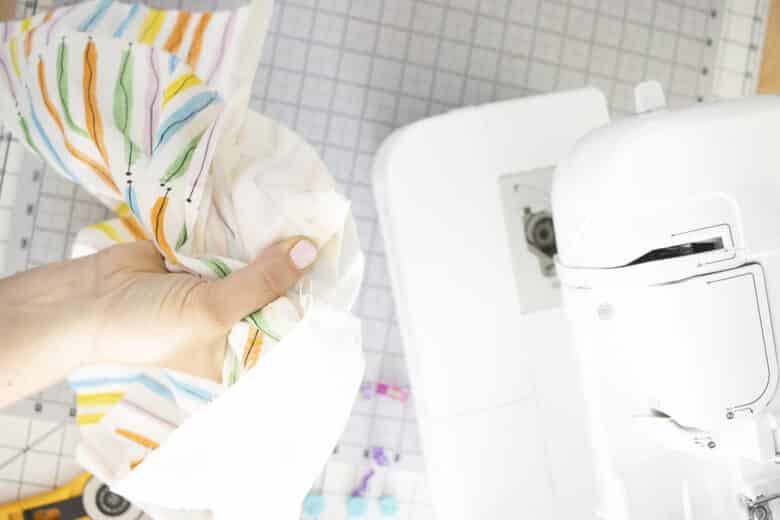
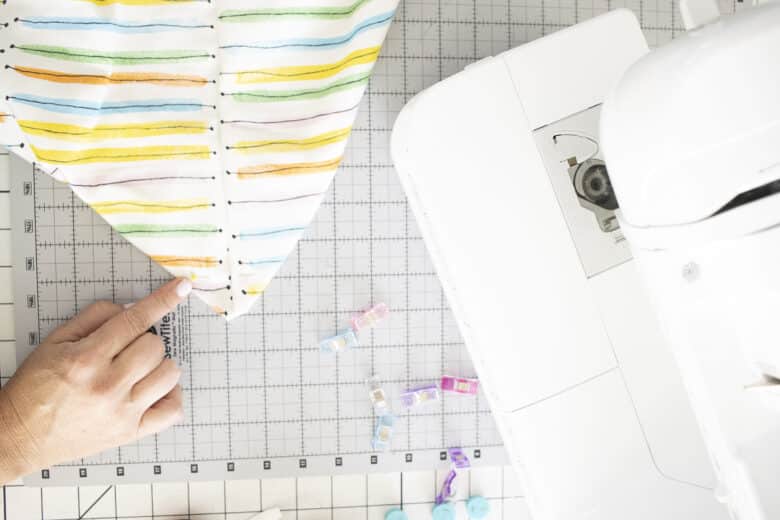
Trim close to the seam.
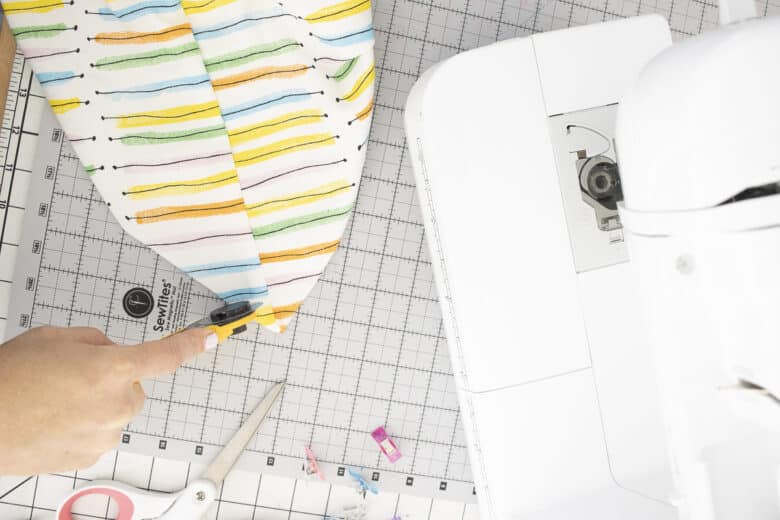
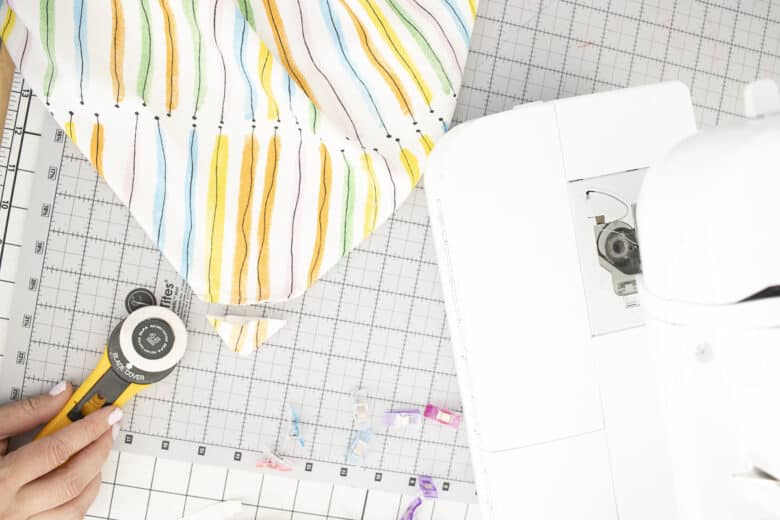
Flip the bag inside out and sew again on this seam.
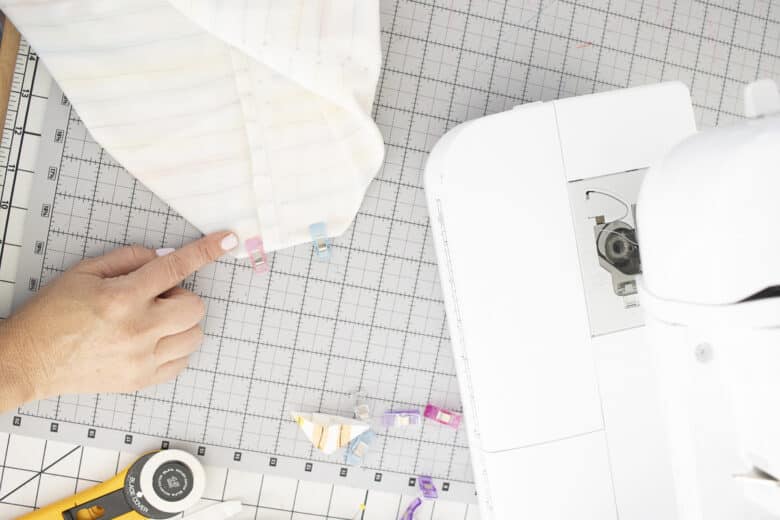
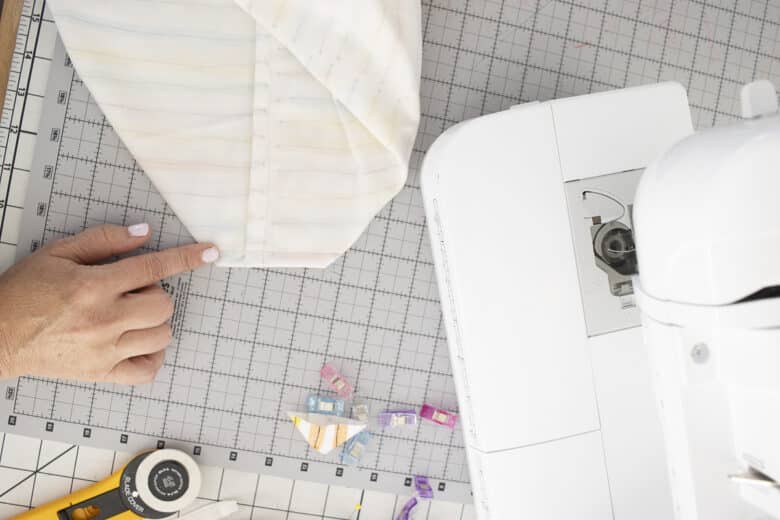
Now find the top opening of the bag. At the top, on the side seam allowance, cut through the seam allowance at 3/8″ down from the top. Fold the cut seam over to split the seam. This will reduce the fold bulk. Fold over 3/8″ along the whole top edge.
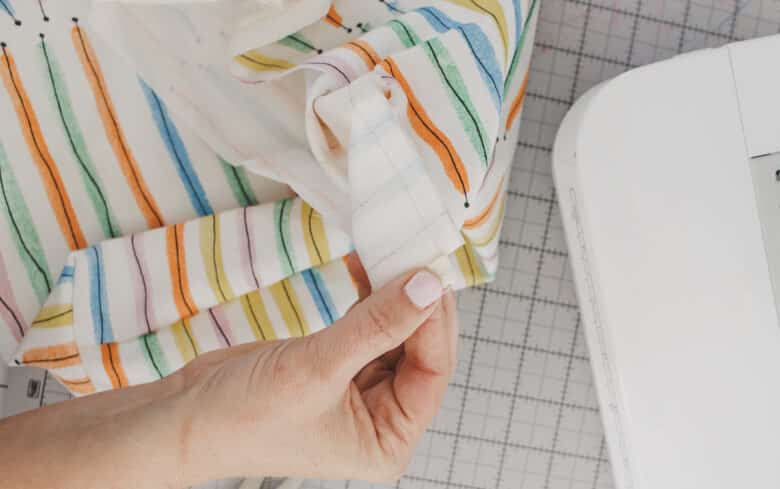
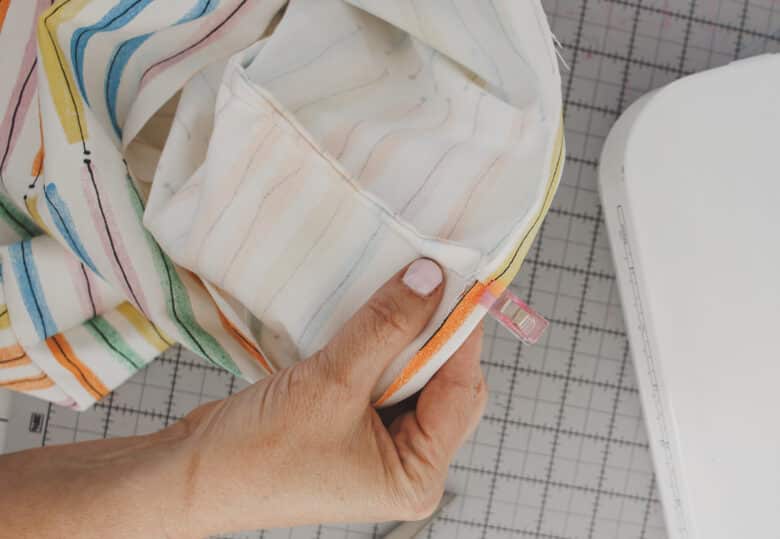
Sew this fold over.
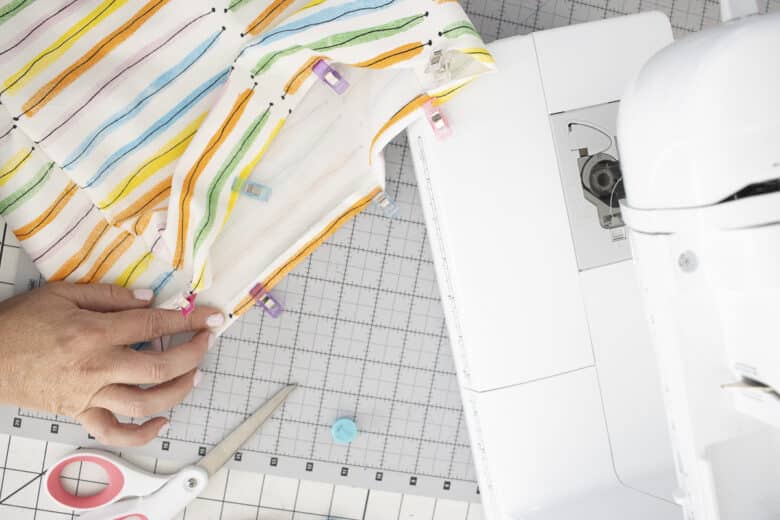
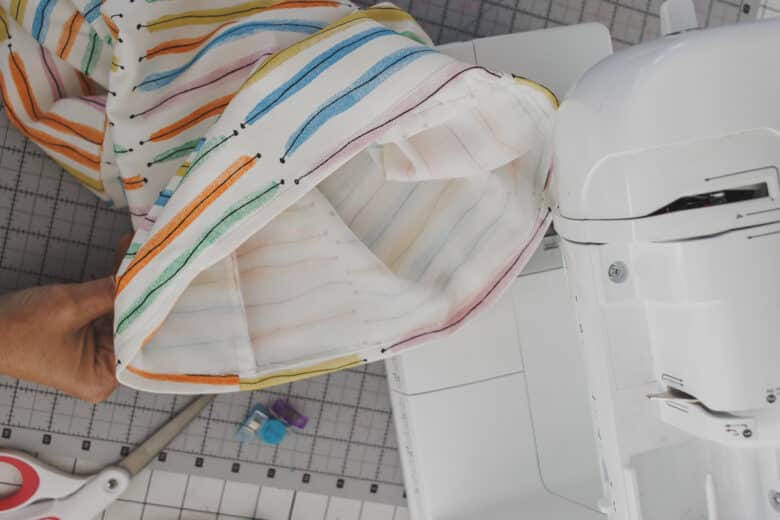
Measure the top of the bag {this should be around 15″ wide.} Mark 3″ from each side with a pin or marking pen.
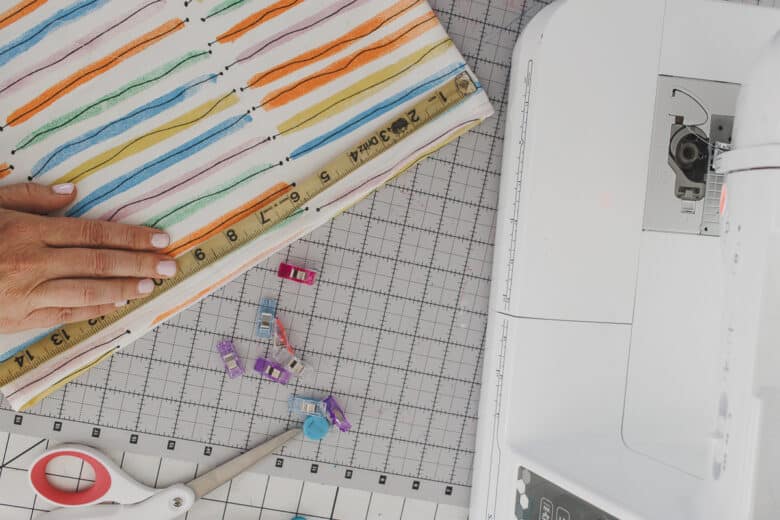
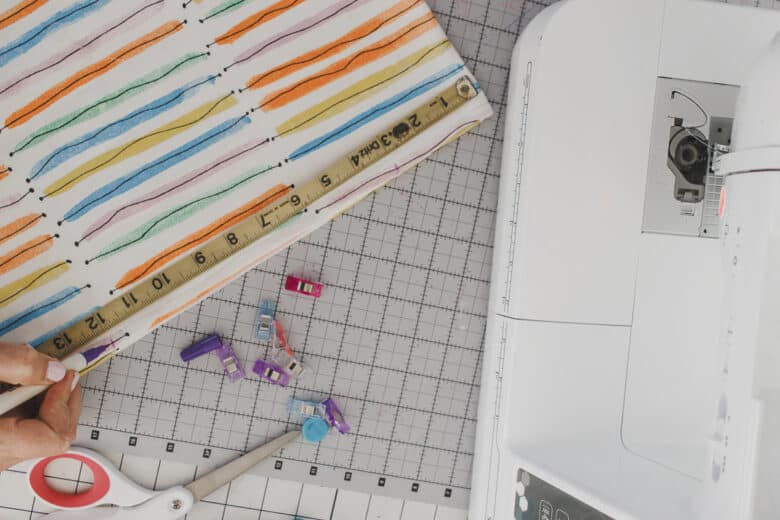
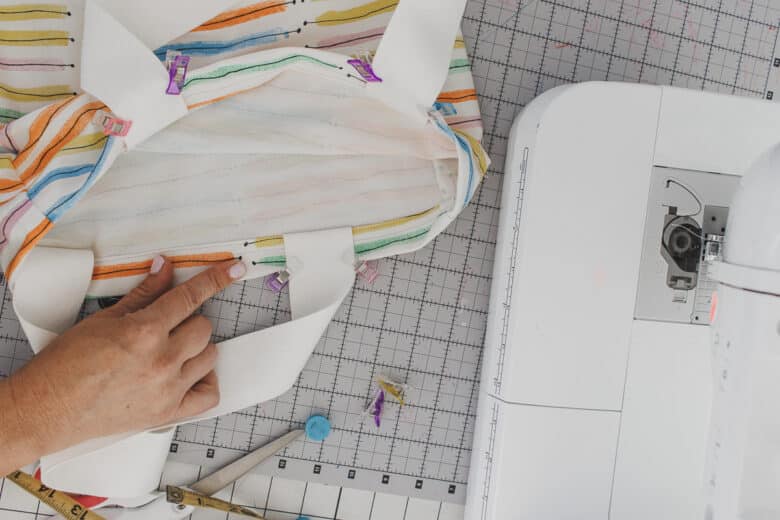
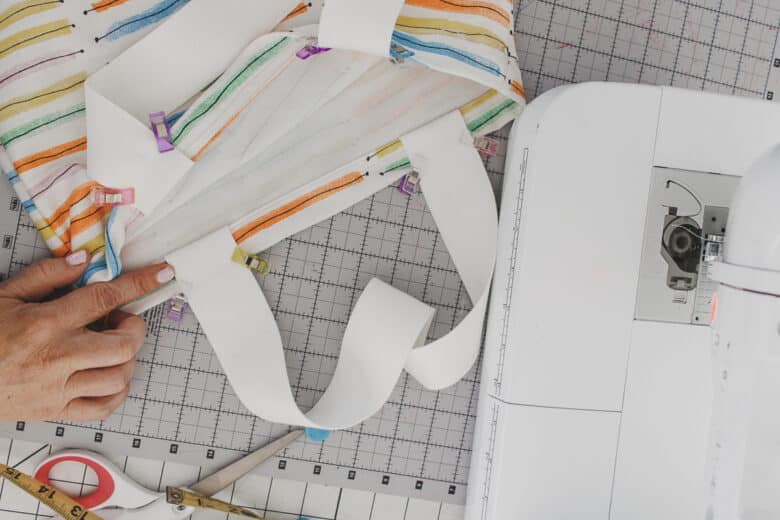
Fold over a 1″ top hem all the way around the top. At the 3″ mark for the strap you will place the straps to the inside of that mark. Make sure you don’t twist the strap when putting in place. Slide the strap under the 1″ fold. Sew around the bag at the bottom of the fold.
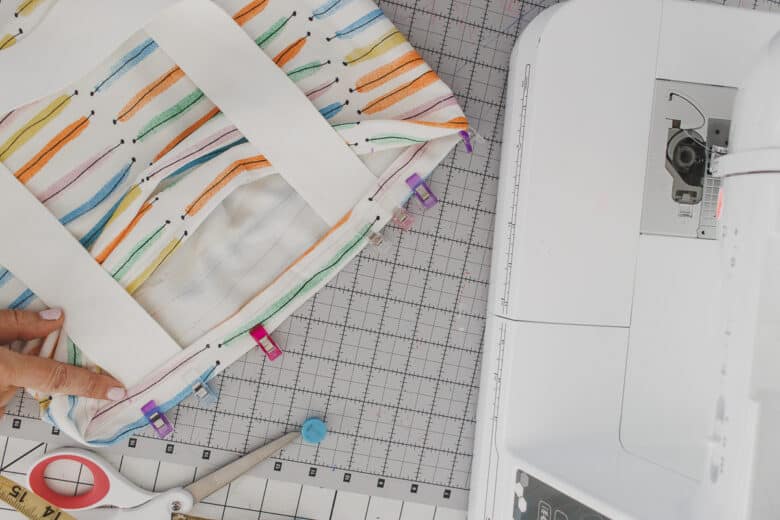
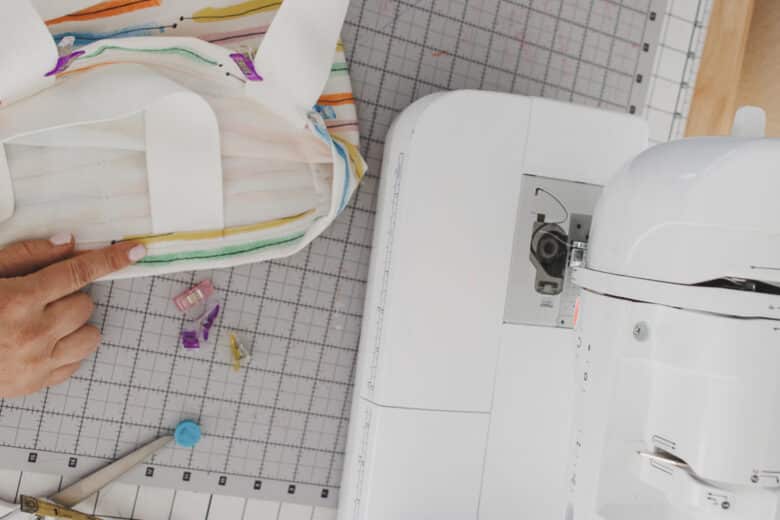
Now, flip the strap up, pin or clip in place, and then sew around the bag again, this top at the top of the fold.
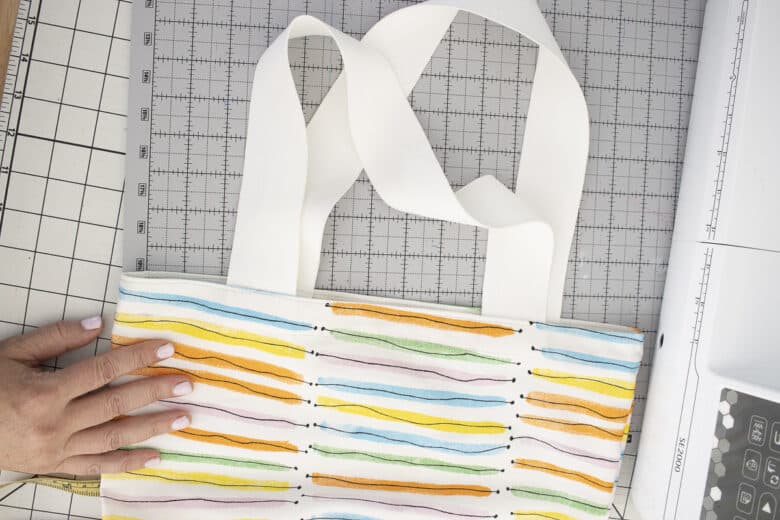
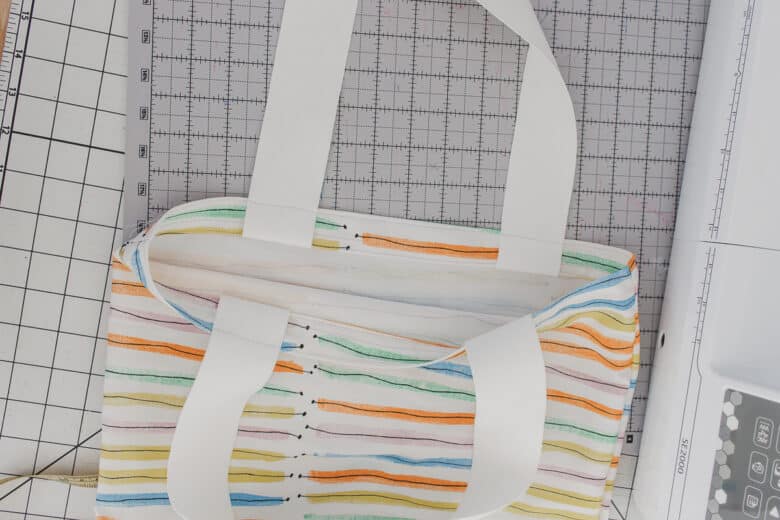
Now your gorgeous canvas bag is finished! It should look amazing on both the inside and out and be ready to carry all your goodies!






Leave a Reply