inside: learn how to create a scalloped square embroidered bunting with any words you desire. My embroidered bunting with scalloped squares is gorgeous and easy with your embroidery machine.
Many years ago I put this saying on my daughters wall with sticky vinyl. Over the years it has had a bit of wear and tear so it was time for an upgrade. I love this scalloped square bunting because you can move it or take it somewhere else if needed. Today I’m going to show you the step by step tutorial for creating these squares {one at a time or several} and you can create any saying you want.
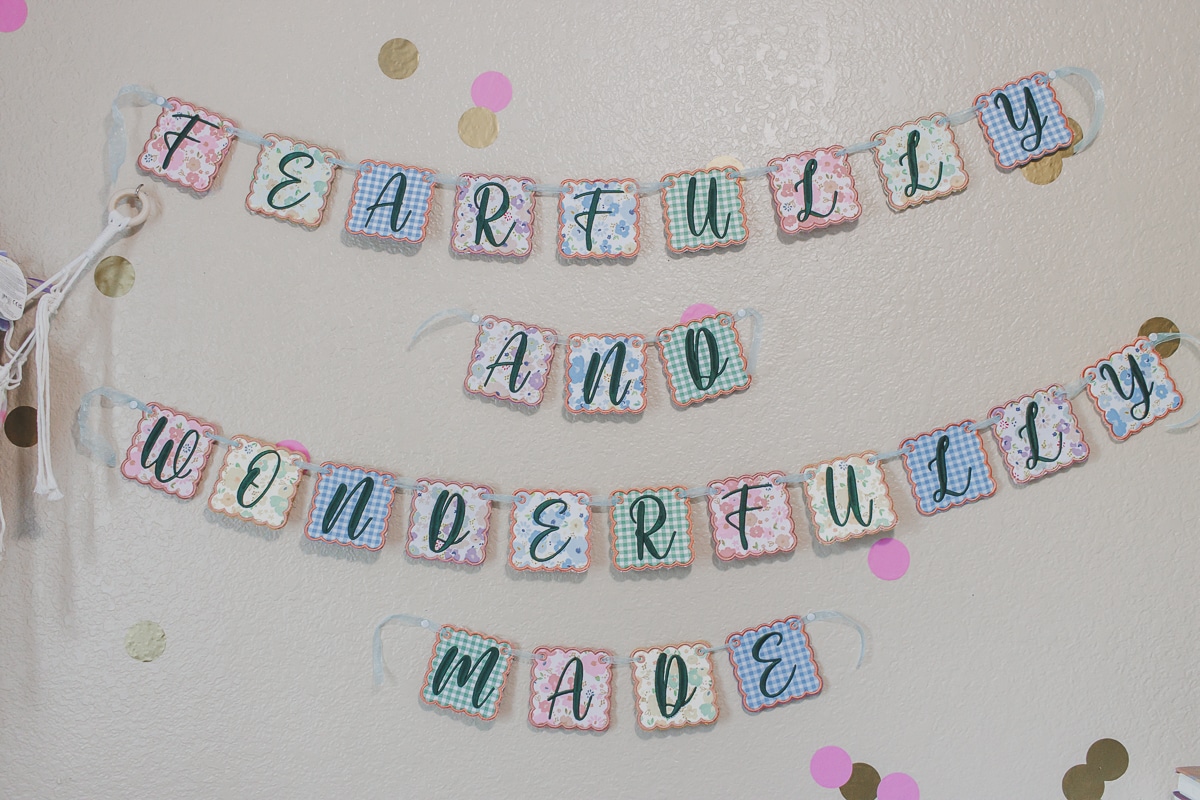
Scallop Square letter bunting-
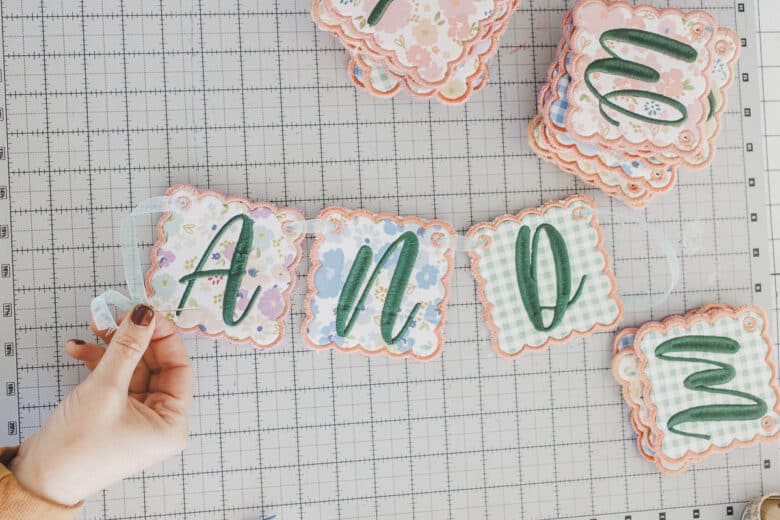
Each square has a foam center and is reversible, with the back being blank fabric. The letter is stitched on the front and the back is plain fabric. Each word is on it’s own ribbon, but depending on your words, you could string it all on one long ribbon.
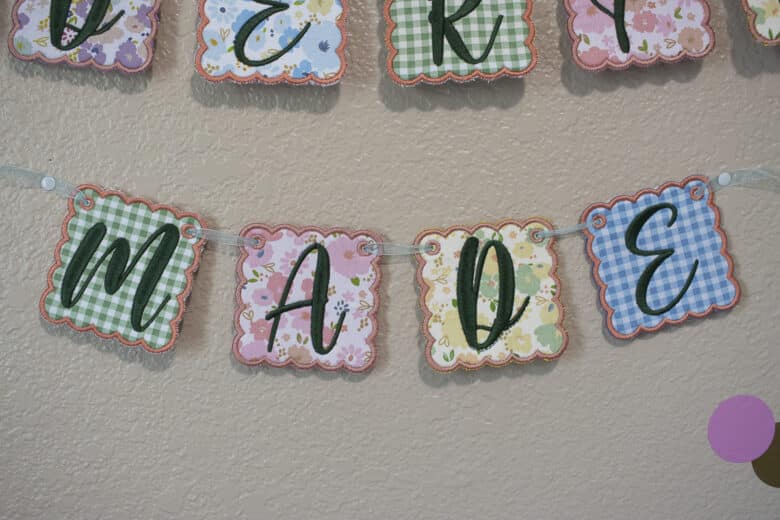
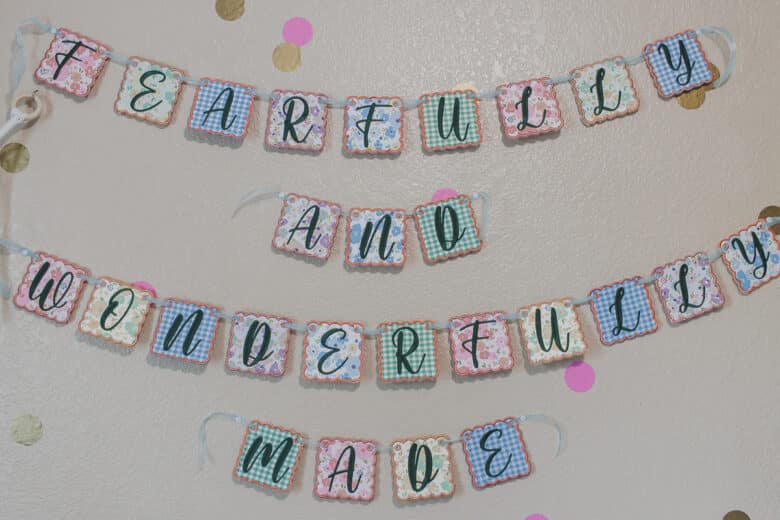
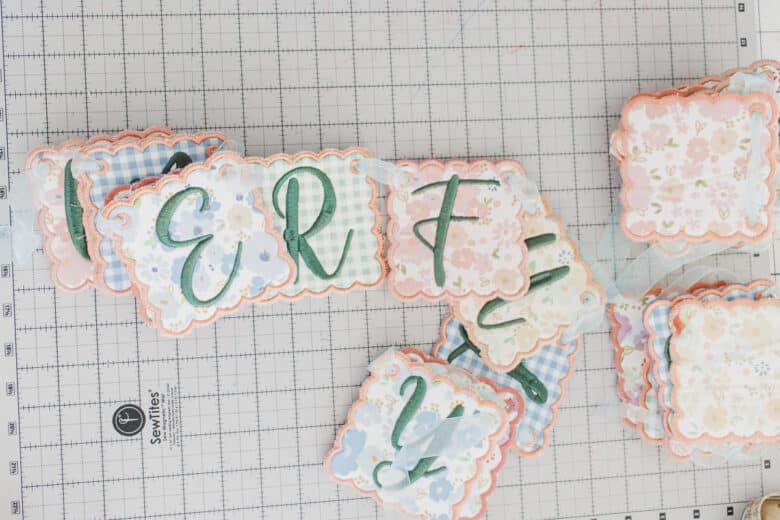
I bought a fat quarter pack of these fabrics and they are so cute! My only small issue is that I don’t love how the green check fabric all seems to line up in my final hanging position. It seems to stand out and now I can’t un-see it. Not sure if adding one more fabric would have fixed my issue, but it would be something I would look at more closely next time.
Other bunting tutorials to try:
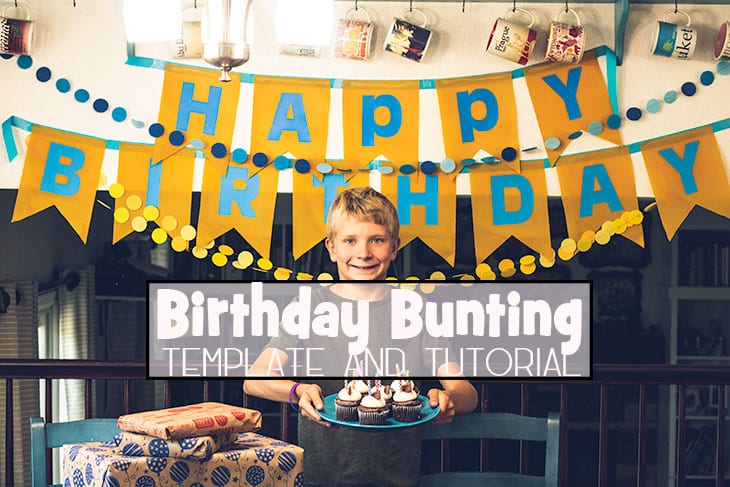
- Birthday banner sign
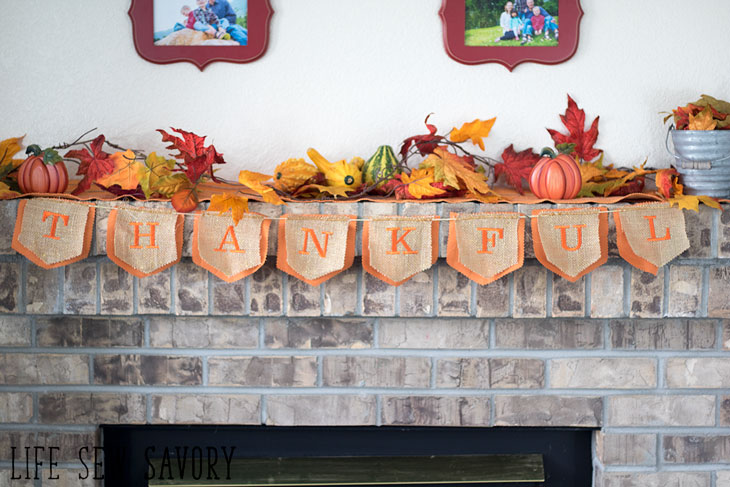
- Thankful bunting
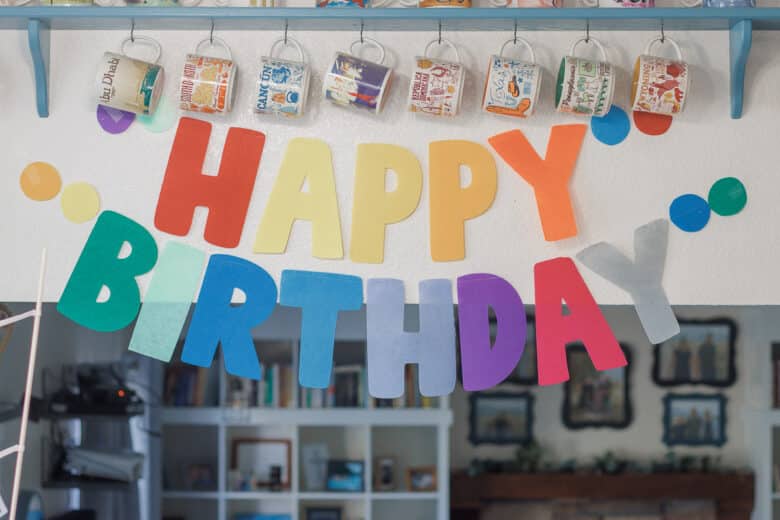
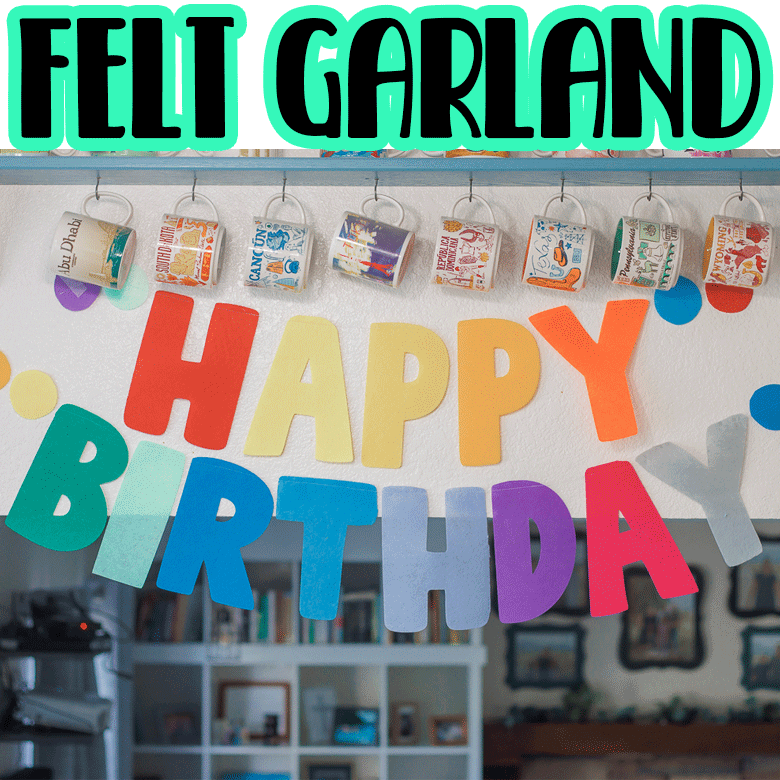
- Happy Birthday Felt letters
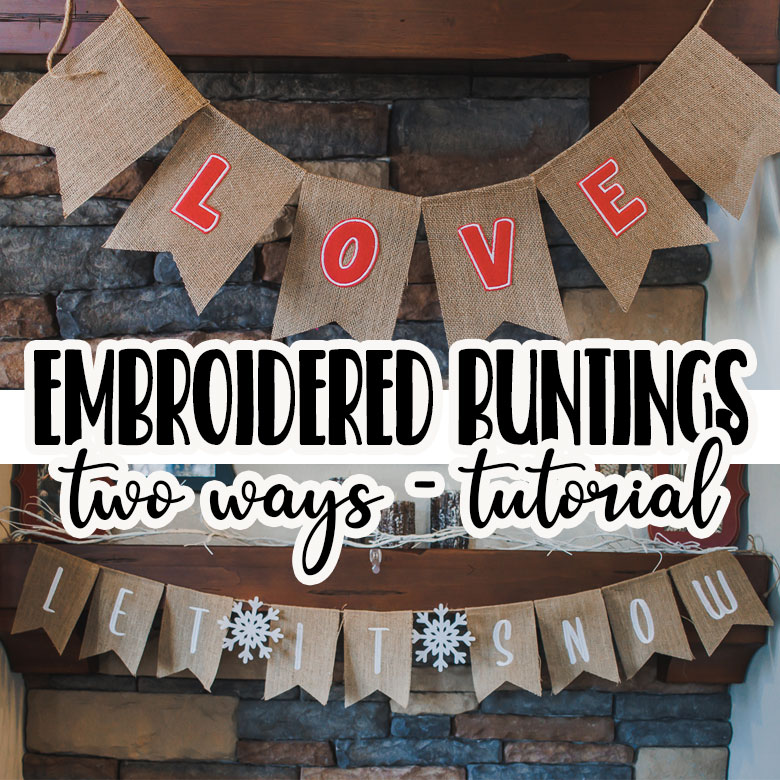
- Burlap Bunting
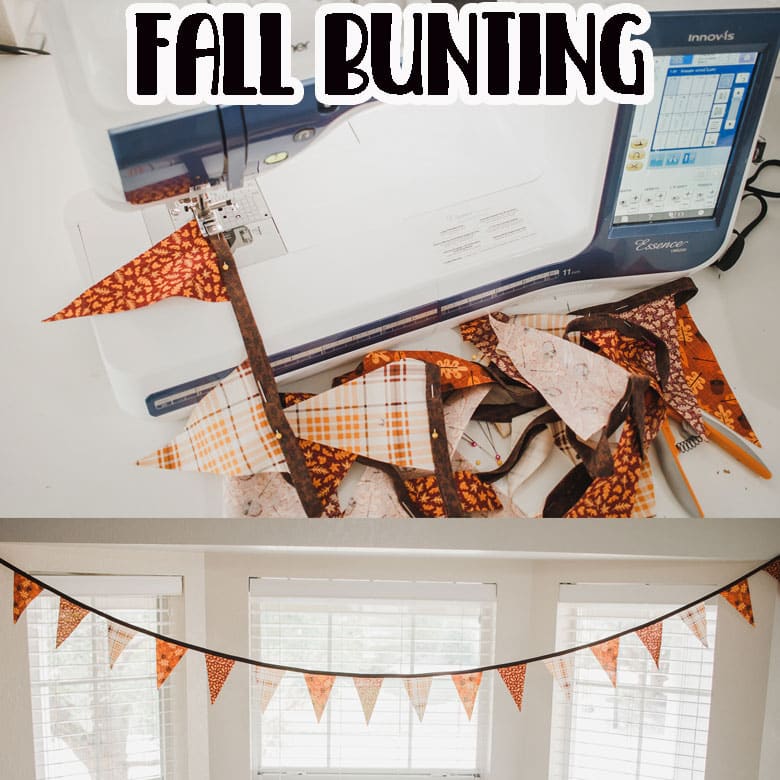
- Fall Bunting
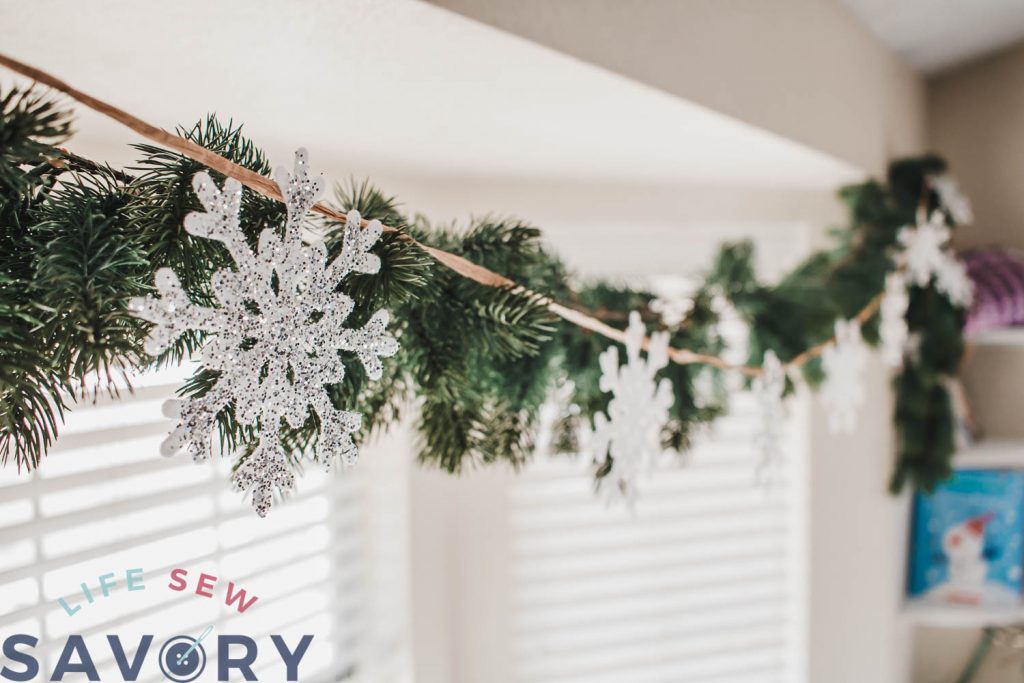
- Snowflake garland
How to embroider a scalloped square letter bunting-
Grab your embroidery machine and lets get making! Here’s what you will need to create this bunting. How much of each you will need depends on the number of letters you are creating.
- Cotton Fabric {my fat quarter bundle here}
- Stabilizer
- Embroidery Thread
- Organza Ribbon
- Curved Embroidery Scissors
- Foam
- Embroidery Files
- Font
- Scalloped Square {Here is the one I bought, but it wouldn’t upload straight to my machine. I had to upload to Artspira, then send to the machine to get it to work.
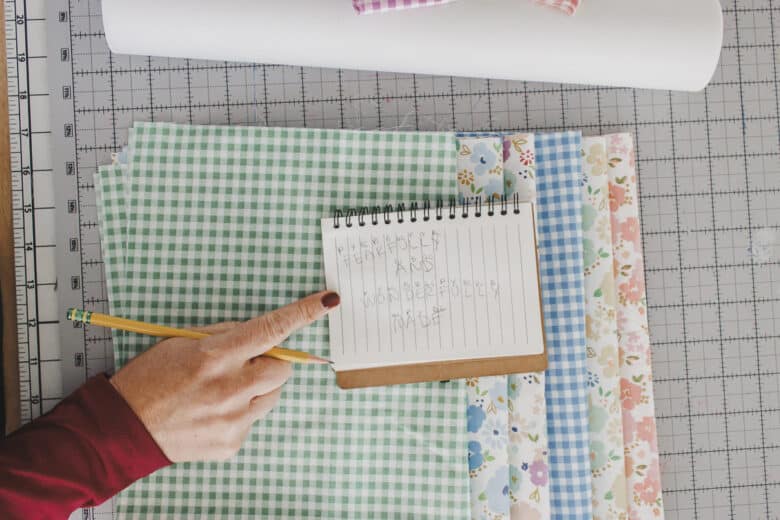
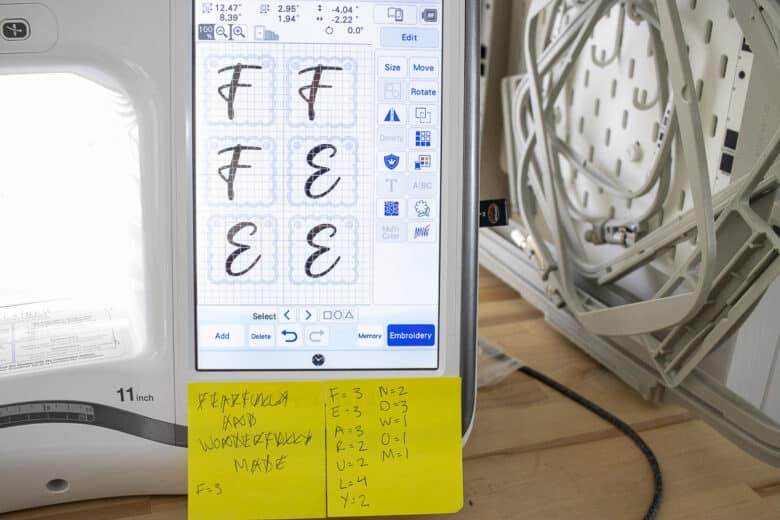
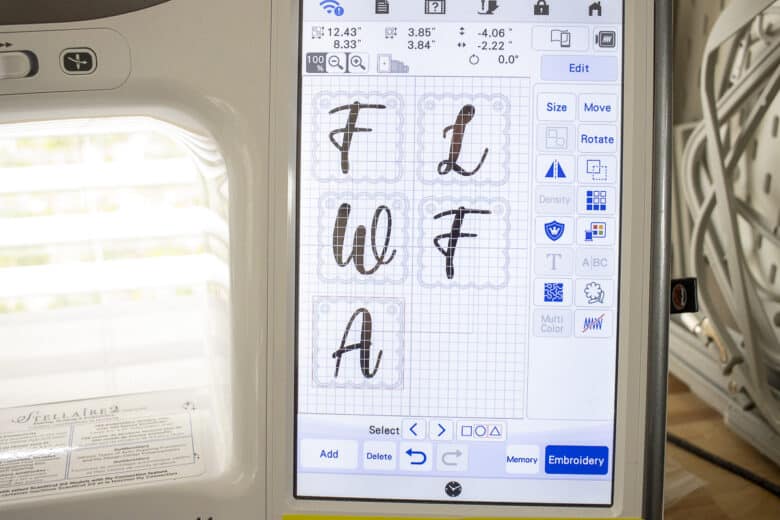
Start with a bit of planning. I wrote out my words, then counted how many of each letter needed. Then I remembered that I was going to be using a variety of colors, so I planned out the colors {as seen in the second photo}.
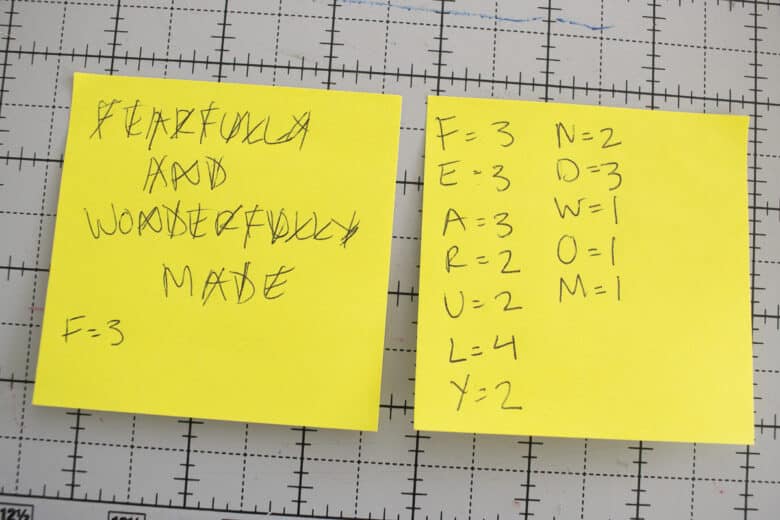
If you are making the bunting in all one color you can upload and duplicate the scalloped square, then add the letters. Make as many as you need of each letter. If you are using a variety of fabrics you will want to make all the letters of each fabric. Depending on your hoop size you may be able to make 2, 4, or 6 squares at a time.
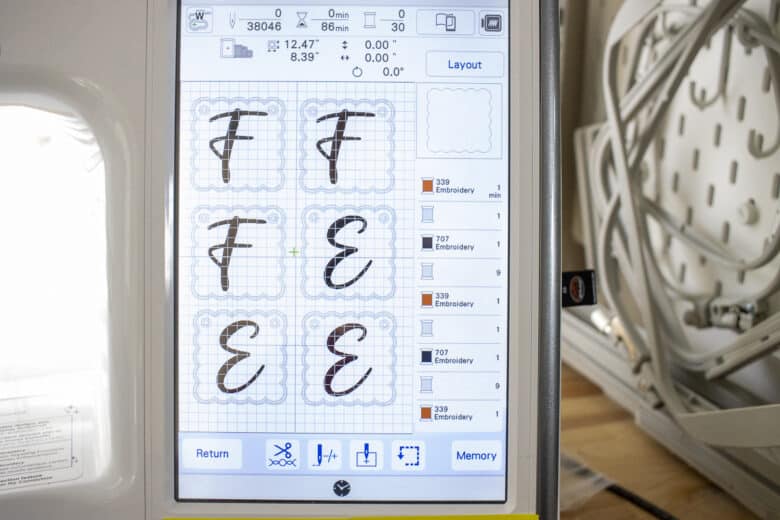
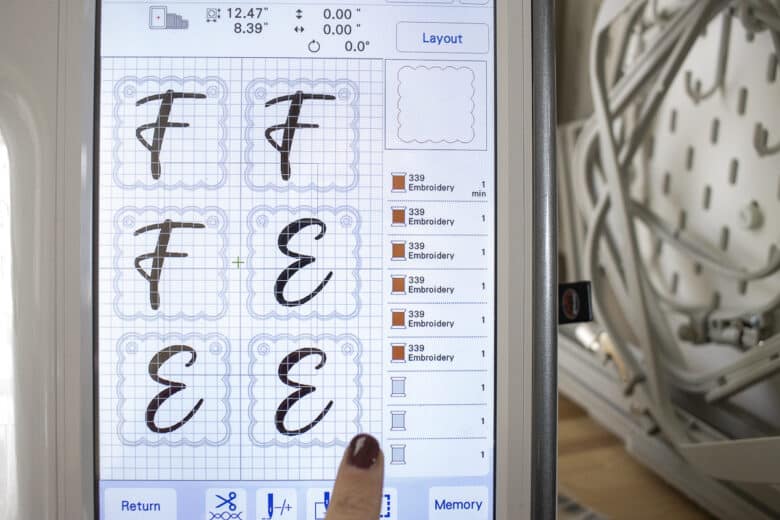
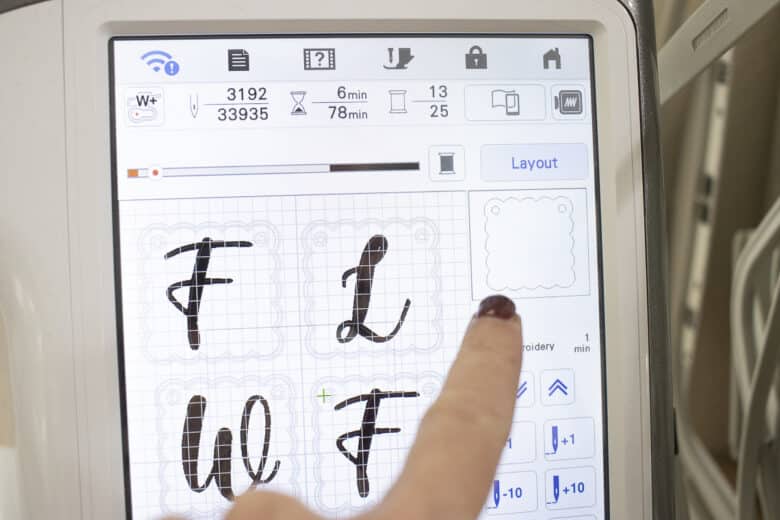
Because I was embroidering multiple squares at a time I used the color sort to group the steps and make the embroidery easier. In the embroidery screen got to layout>color sort.
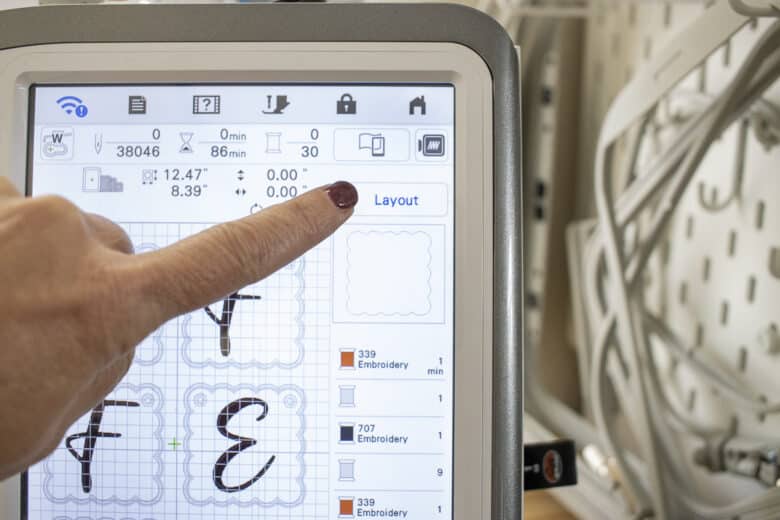
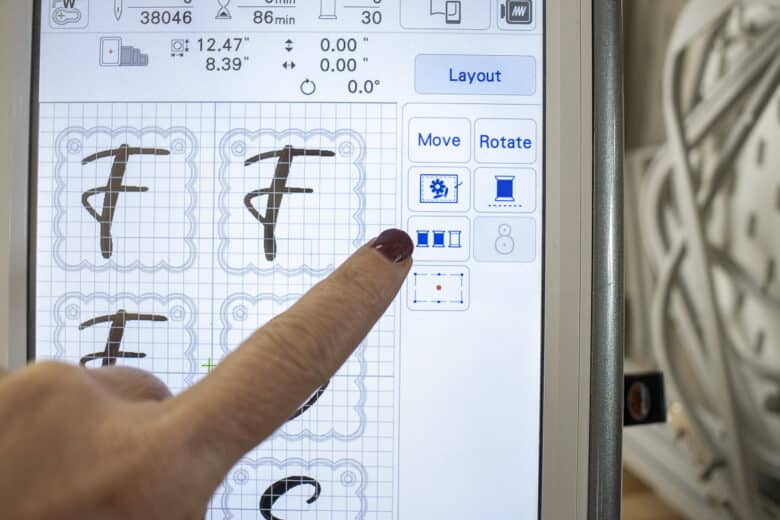
Now you can see in the photo how the colors {embroidery steps} are all grouped. The second photo shows a mix letter batch. I was able to keep my screen set up like this and just swap out the letters for each new fabric color.
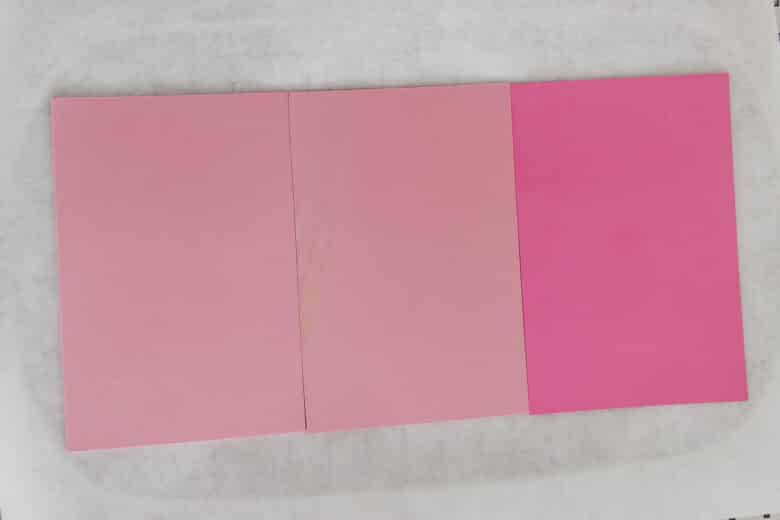
Prepare your hoop with stabilizer first, then a layer of foam. I had to use these three small pieces as that was the foam size I was smaller. You can use whatever size and thickness you have. This is 2mm thick.
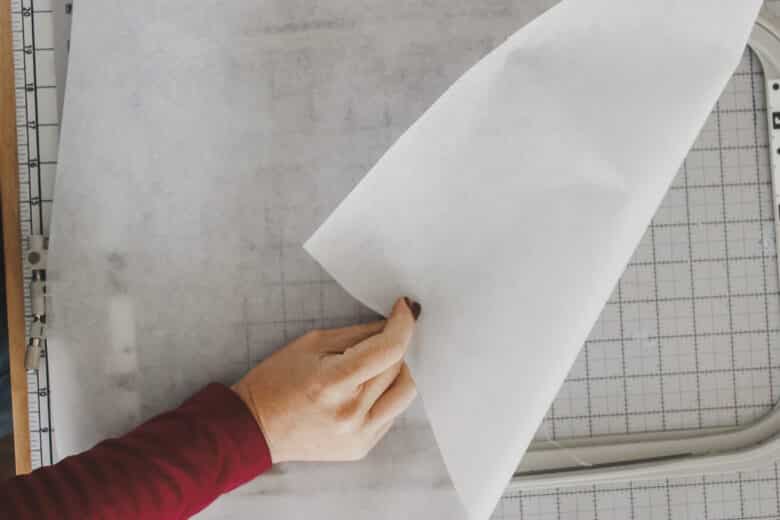
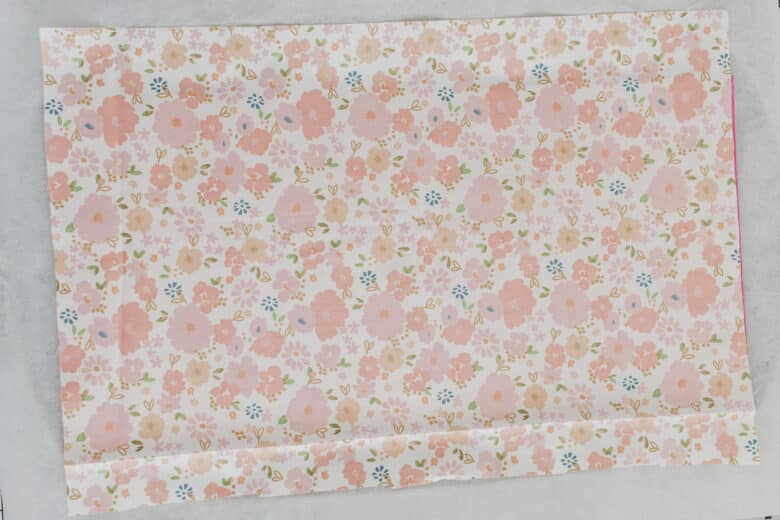
Next place the fabric over the foam and place the hoop firmly on top. The fabric should be pulled tight, but not distorted.
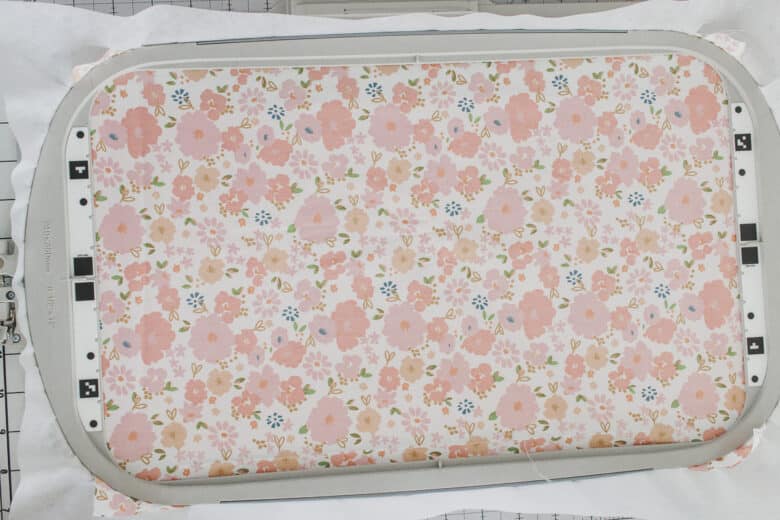
Here are the steps you should follow on your embroidery machine for each fabric.
- Stitch out the placement stitch for all squares.
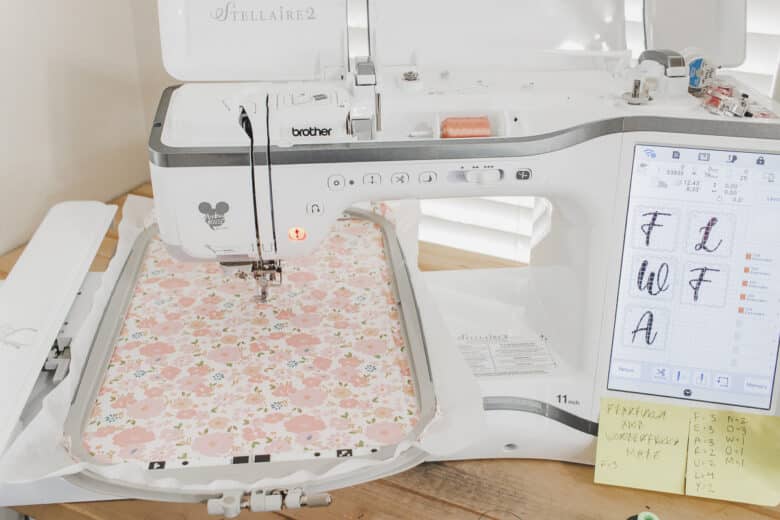
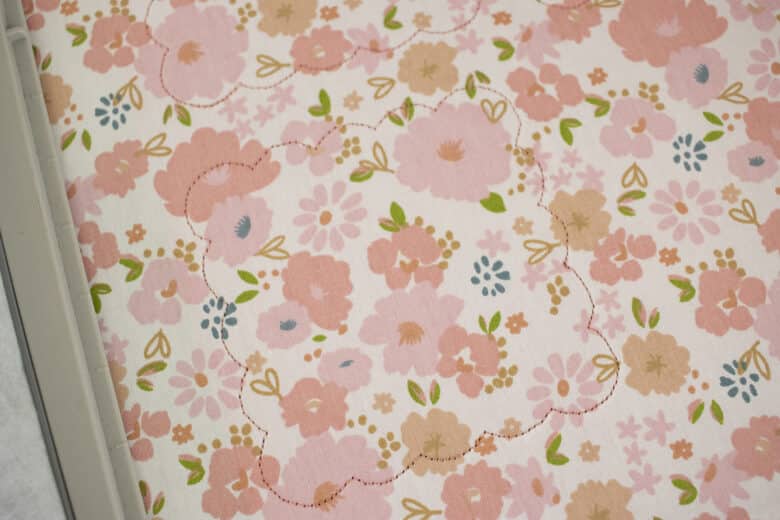
2. Skip ahead in the stitch order to the letters. Stitch out all the letters.
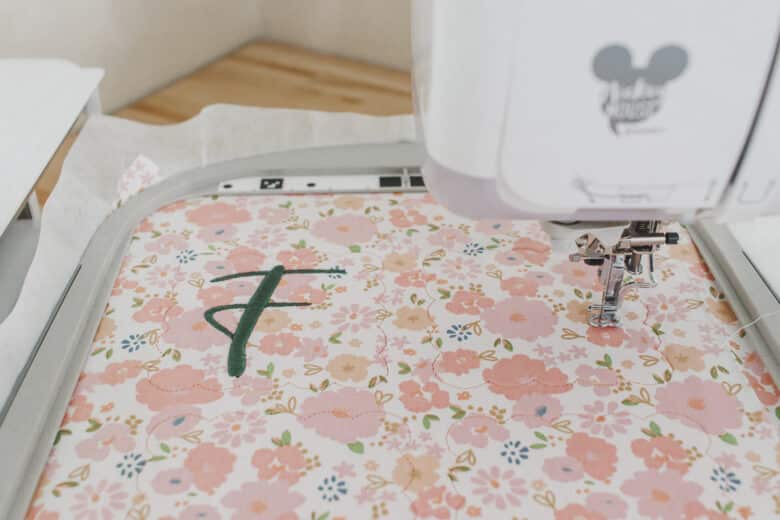
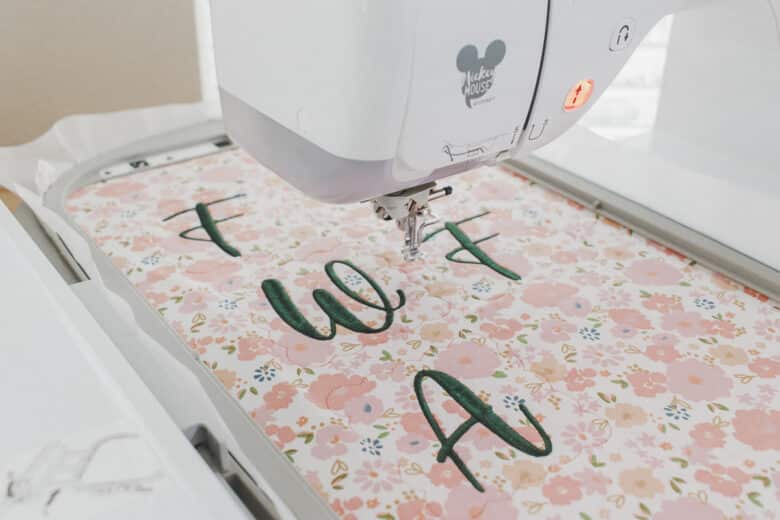
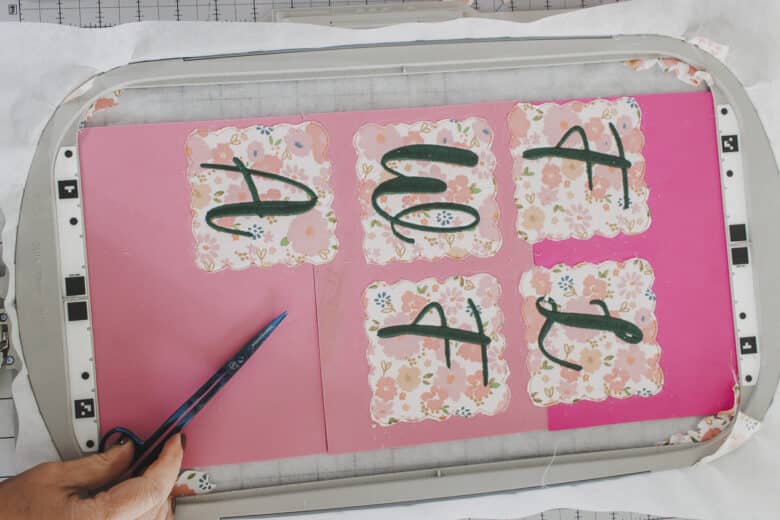
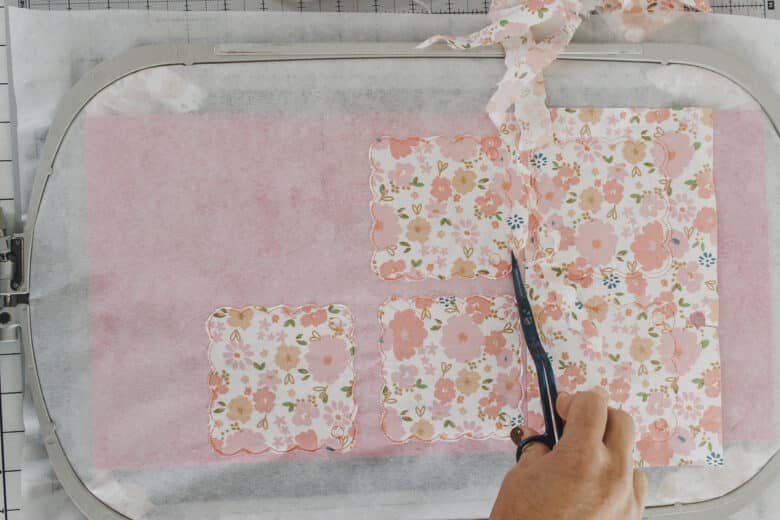
3. Remove the hoop from the machine and trim the fabric around the squares. The satin boarder is pretty wide, so you don’t need to clip right on the stitches.
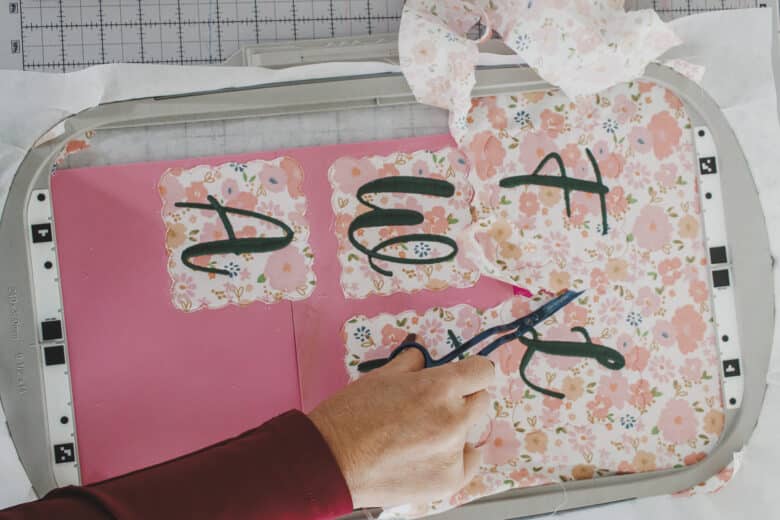
4. Flip the hoop over and use a glue stick to temporarily keep the fabric on the back of the hoop. You can cut the fabric in to strips or a square for the back.
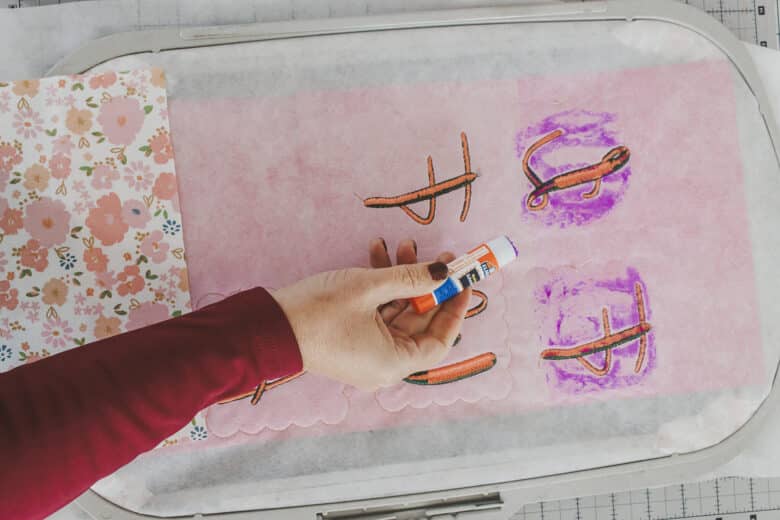
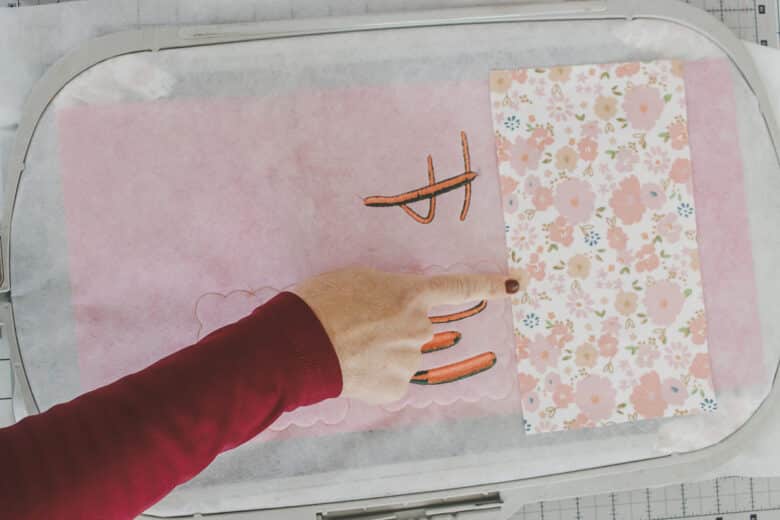
5. Make sure all the placement squares are completely covered. Slide the hoop back onto the machine.
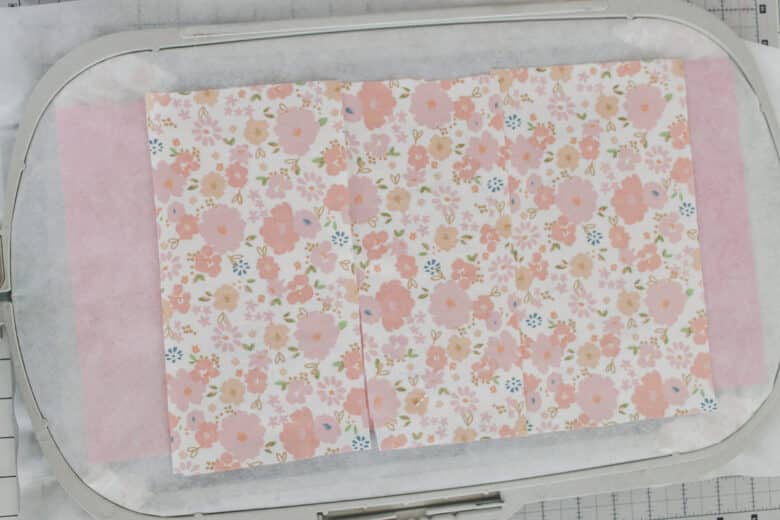
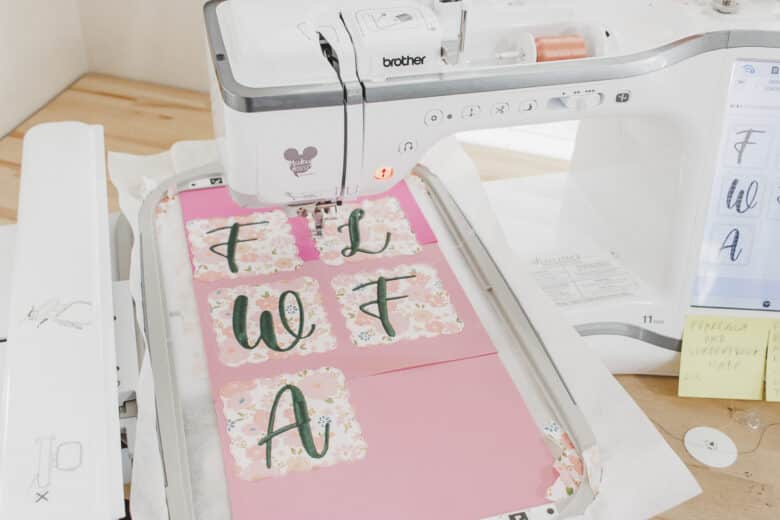
6. Navigate to the next placement square. This one should have the circles for the ribbons as well. Stitch this for all squares.
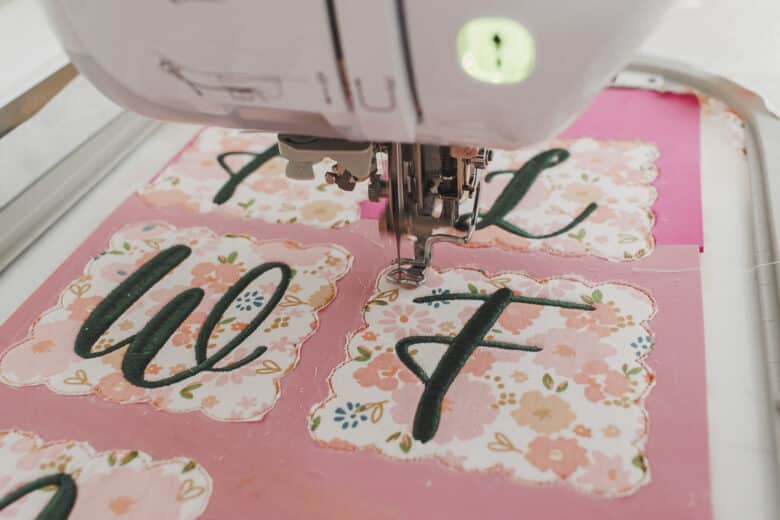
7. Remove the hoop one more time and trim the fabric again.
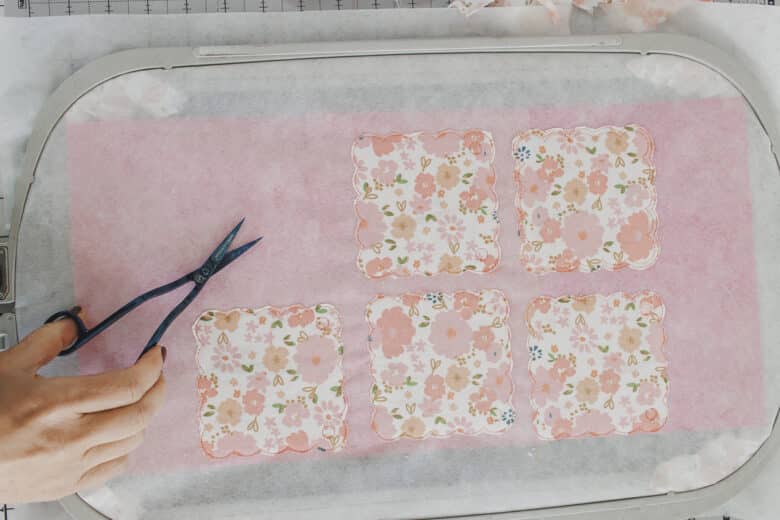
8. Replace the hoop and navigate to the satin edge stitch. This step will take awhile {and a lot of thread!} I had to change the bobbin at least once during these five squares.
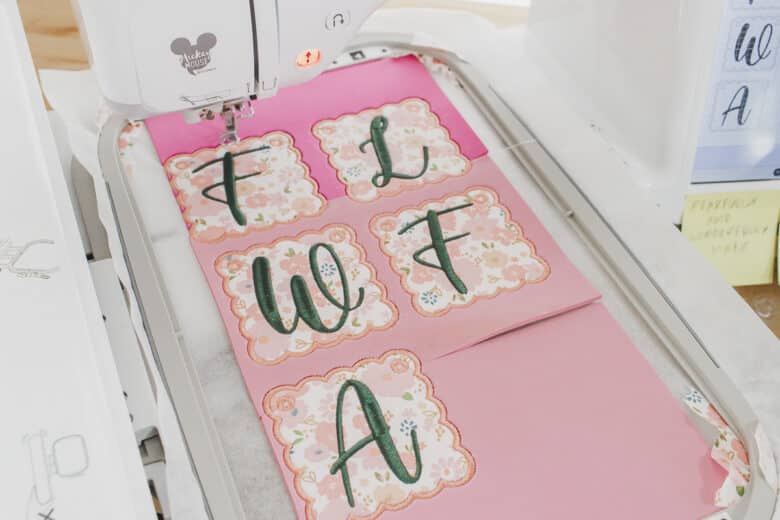
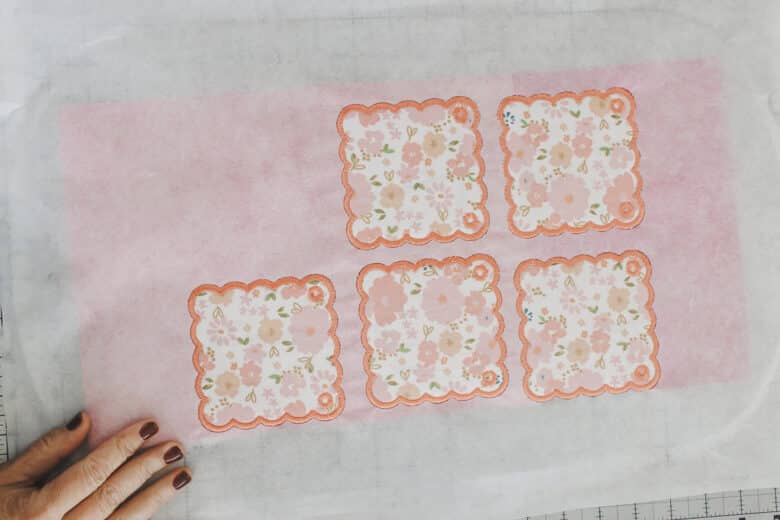
Here’s another fabric color being stitched out.
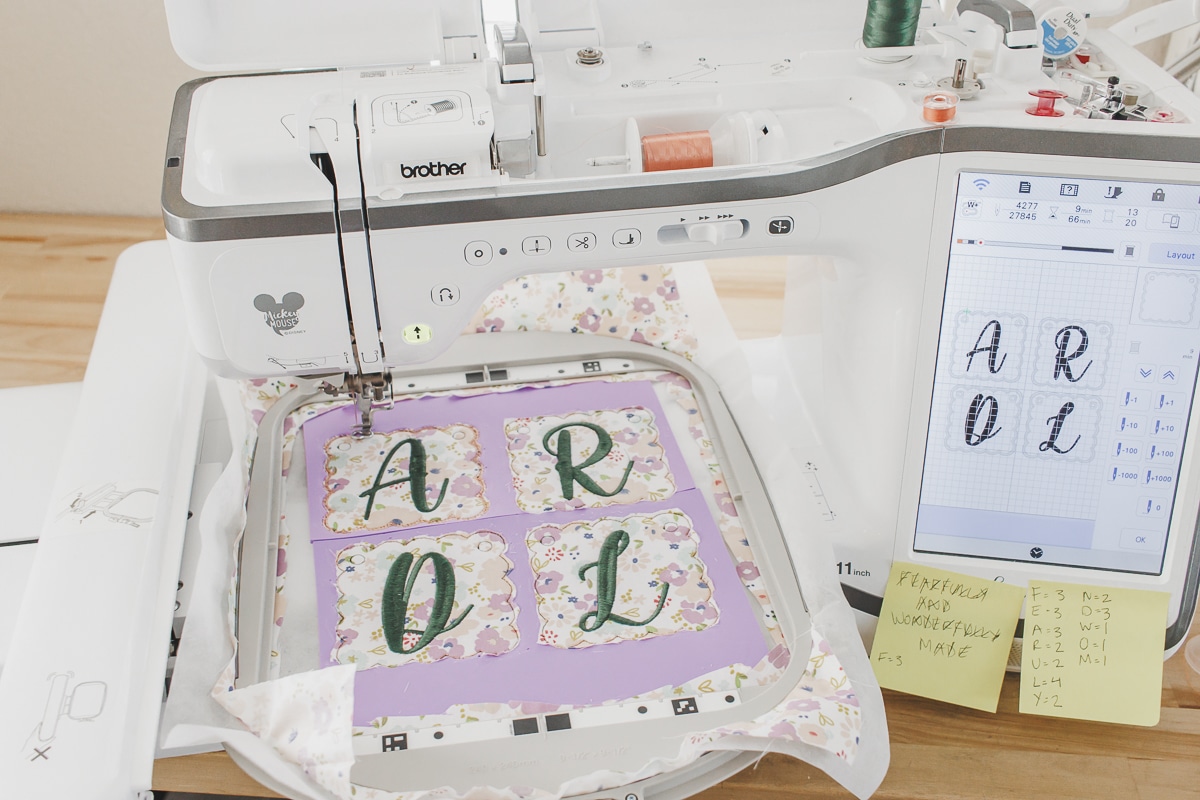
9. Remove the hoop from the machine and from the fabric. Tear the stabilizer off the back and then pull the foam away from the scallops.
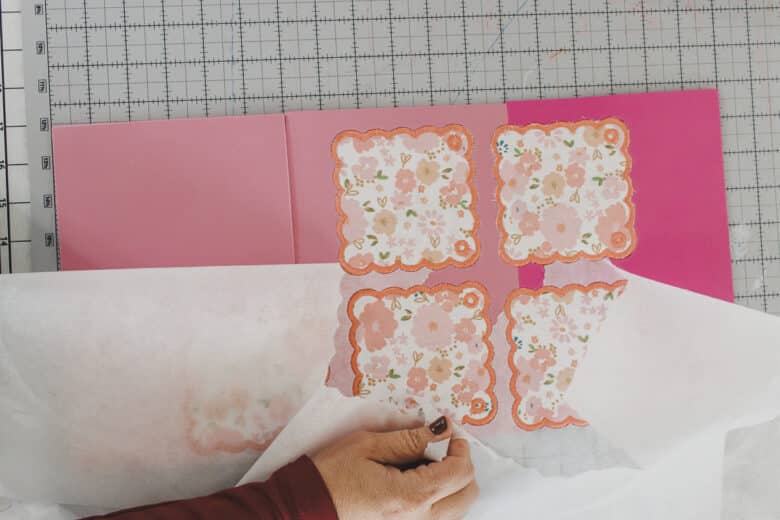
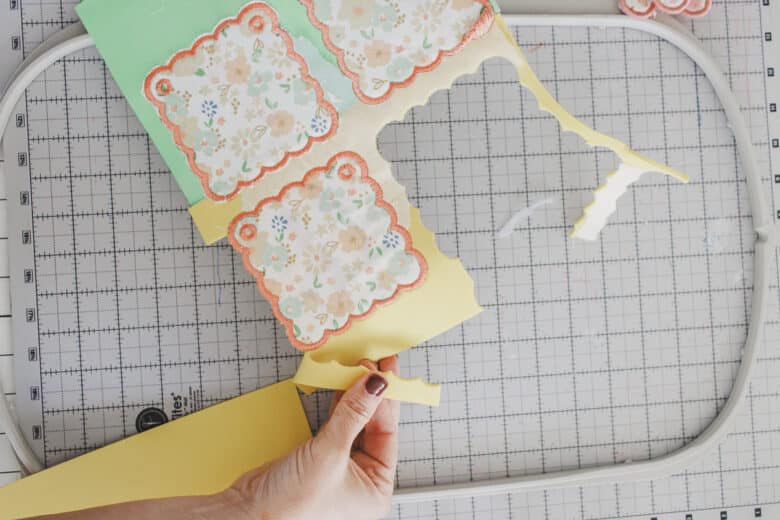
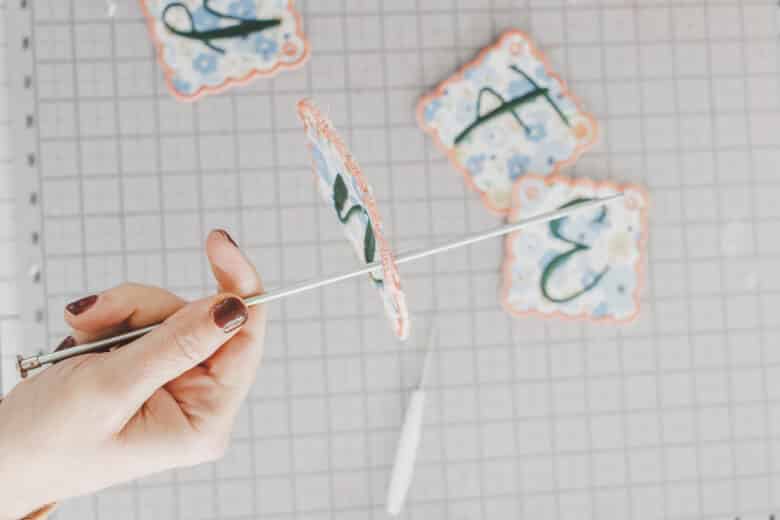
10. To punch the holes in the square I used a small punch from my KAM snap set. Once There is a small hole, use a knitting needle or something similar to make the hole larger .
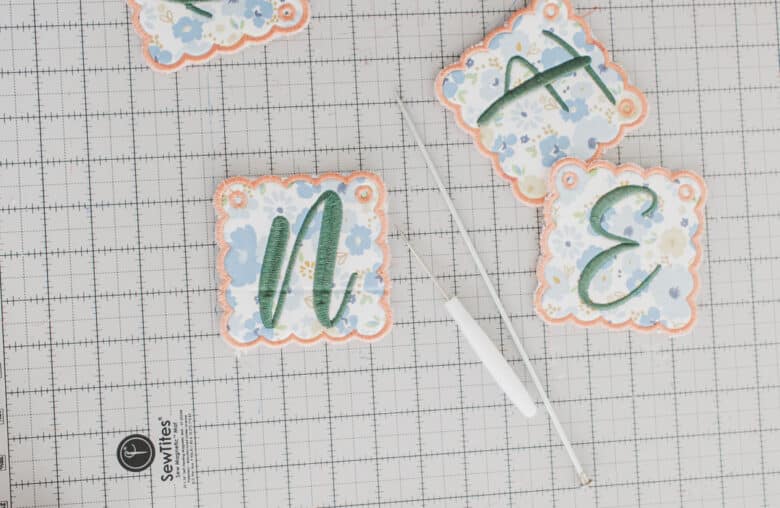
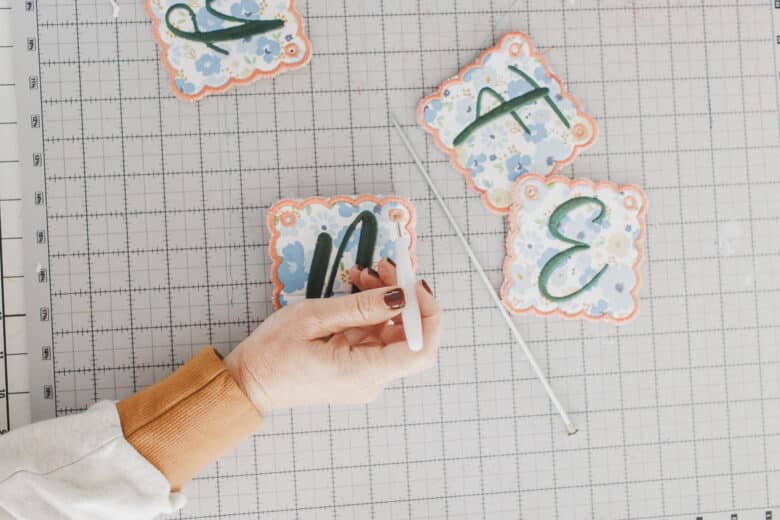
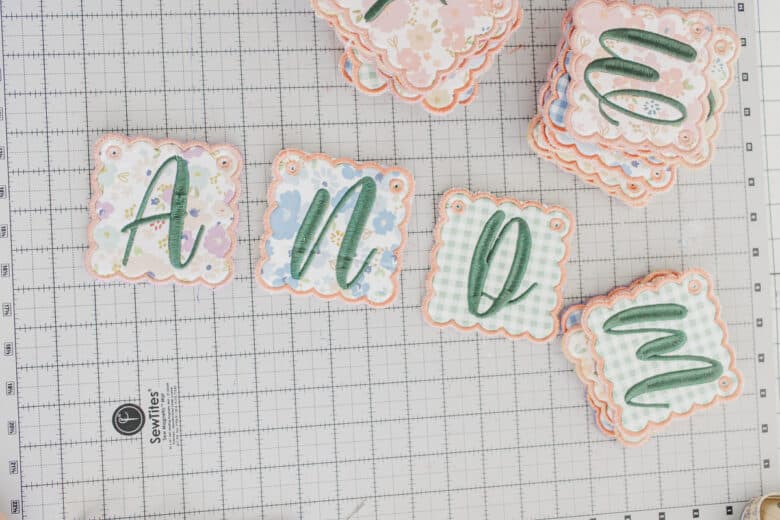
11. Lay out all the letters for one word and then cut a length of ribbon about double the letters.
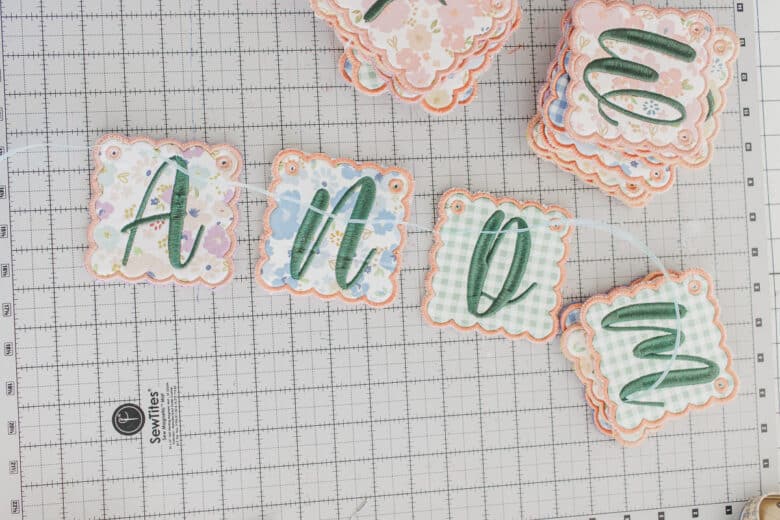
12. I used a large darning needle to thread the ribbon through the letters. Try to keep the ribbon straight while going in and out.
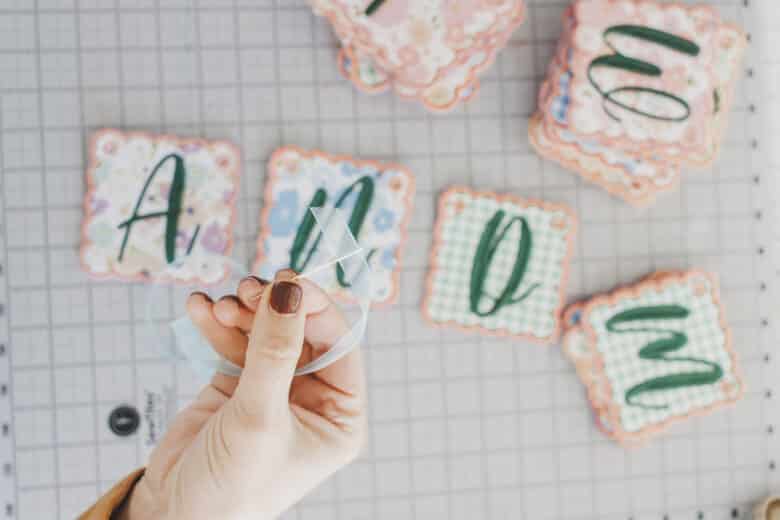
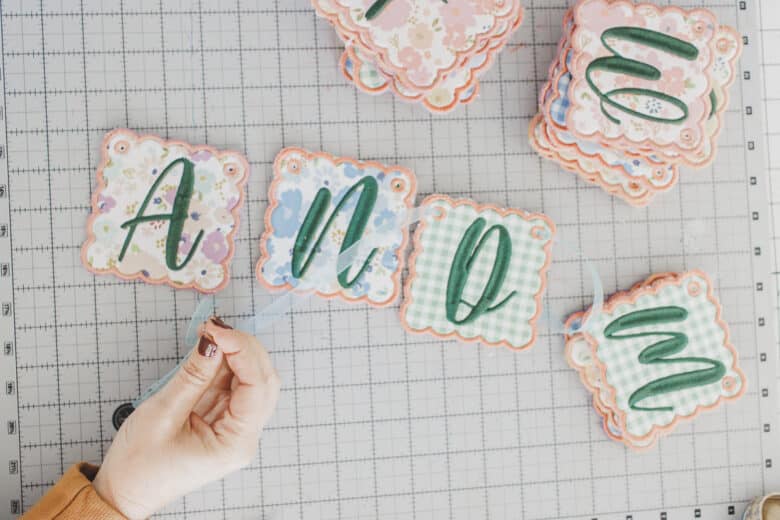
I made each word a different strand, but you can string however it works for you and your space. Hang and enjoy!! Can’t wait to see what bunting you will make!





Leave a Reply