


inside: Learn how to make an embroidered bag tag for travel with this sewing tutorial. Create a fun tag for your suitcase with this embroidery tutorial. Never confuse your suitcase again.
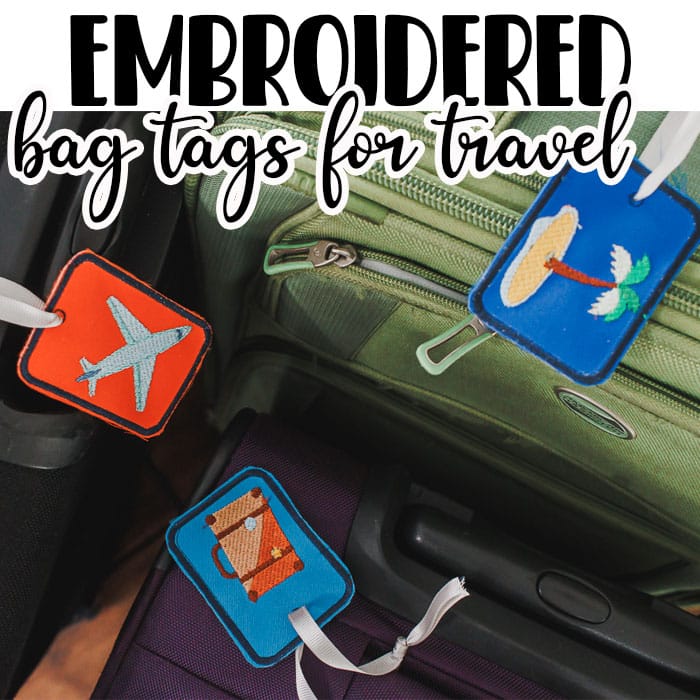
Embroidered Bag Tag
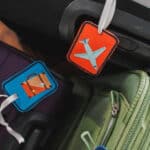
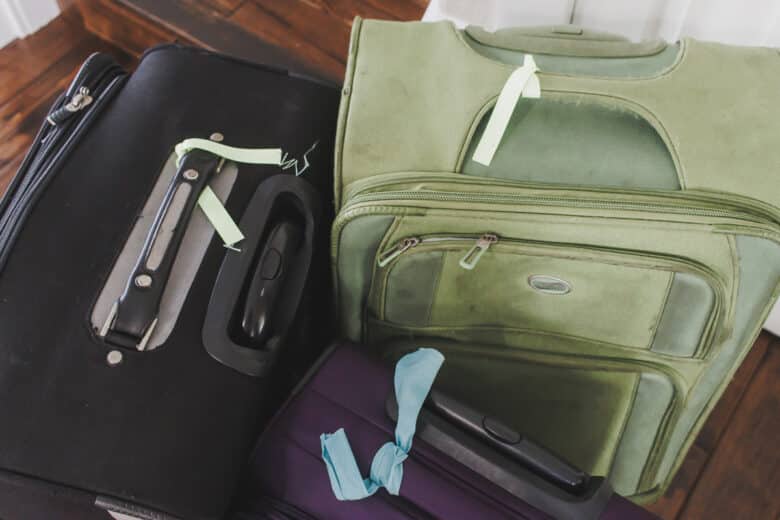
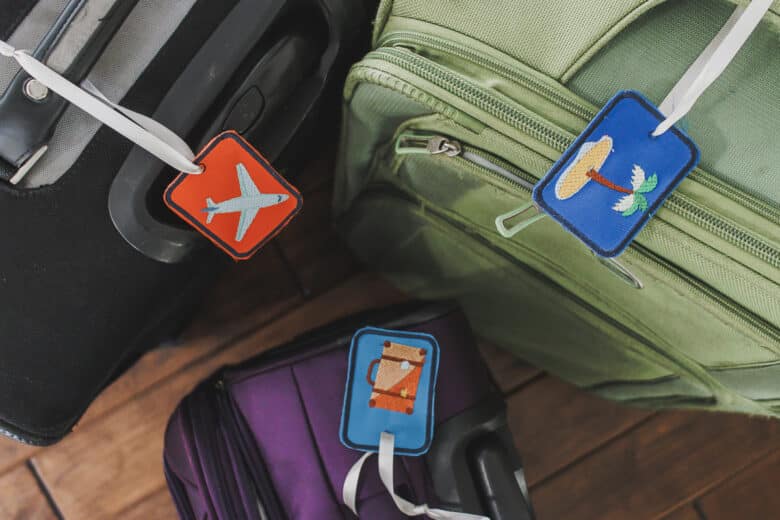
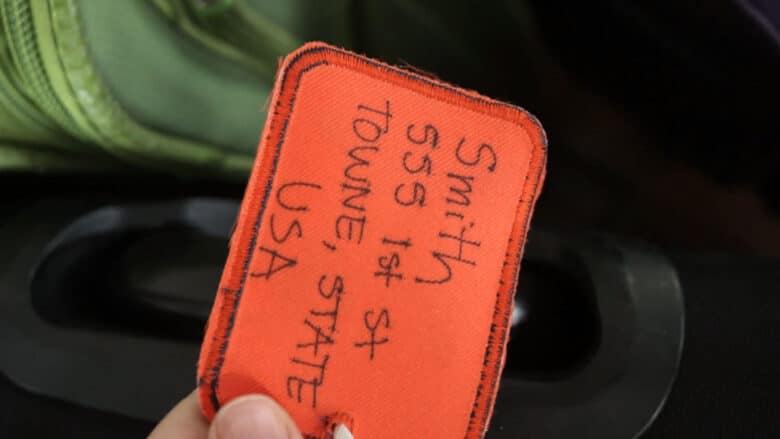
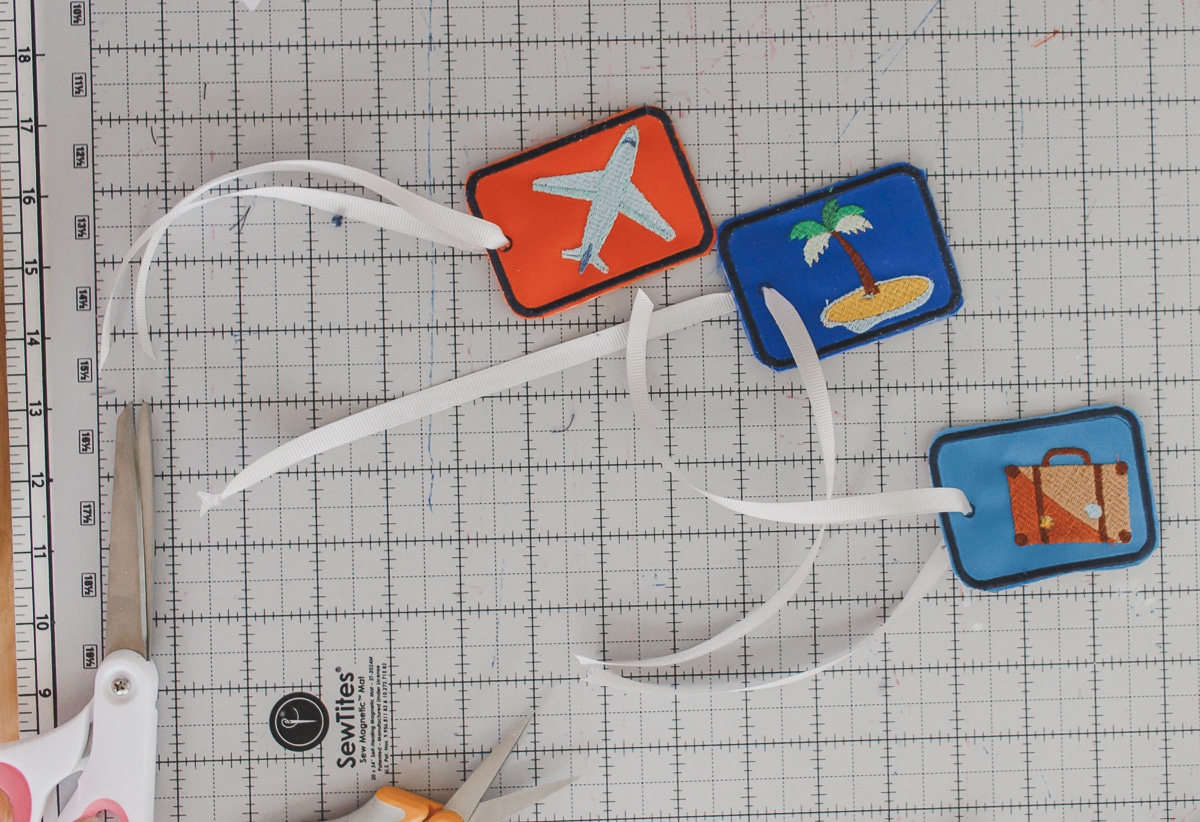
We’ve marked our suitcases with ribbon in the past, but no more! Now we have the cutest bag tags. You can use just as a marker, or as an actual address tag, by adding your address to the back with permanent marker.
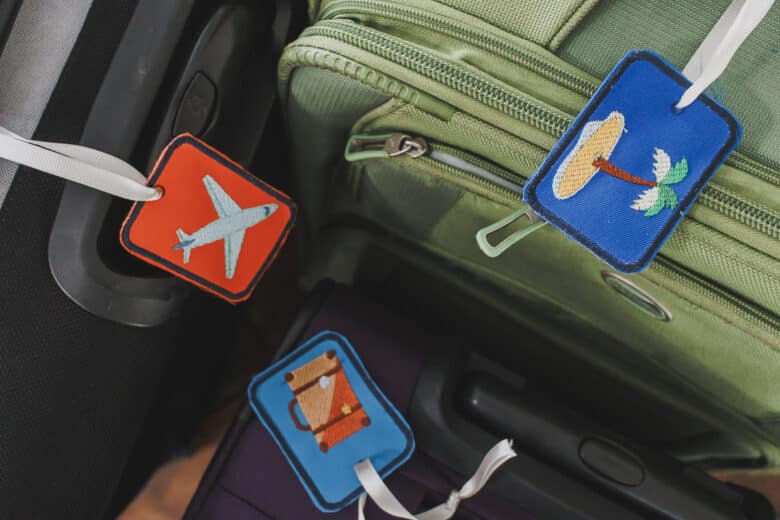
Embroider all your tags the same or make a bunch of cute ones. I found this travel embroidery pack and used a few to make theses tags. There are more cute designs so I will have to keep sewing! I don’t think anyone else will have tags like this on their baggage.
Other Travel Themed Tutorials
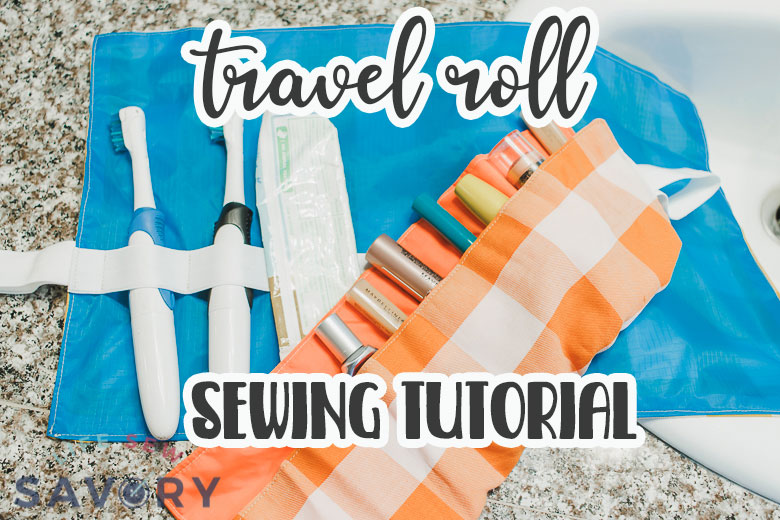
- Toothbrush Roll tutorial
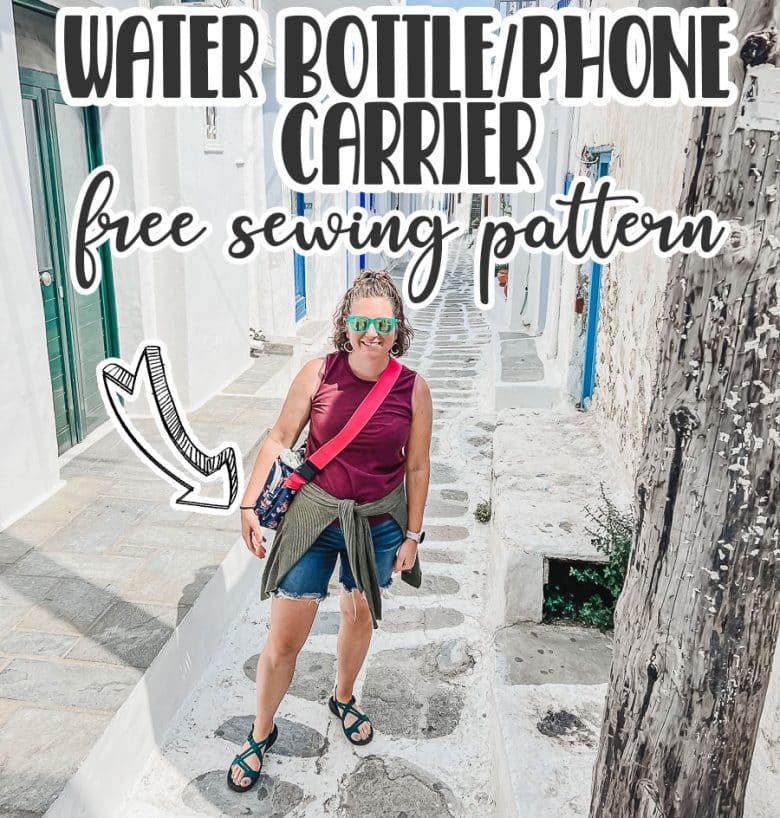
- Water bottle/Phone Carrier
- List of patterns and tutorials for travel
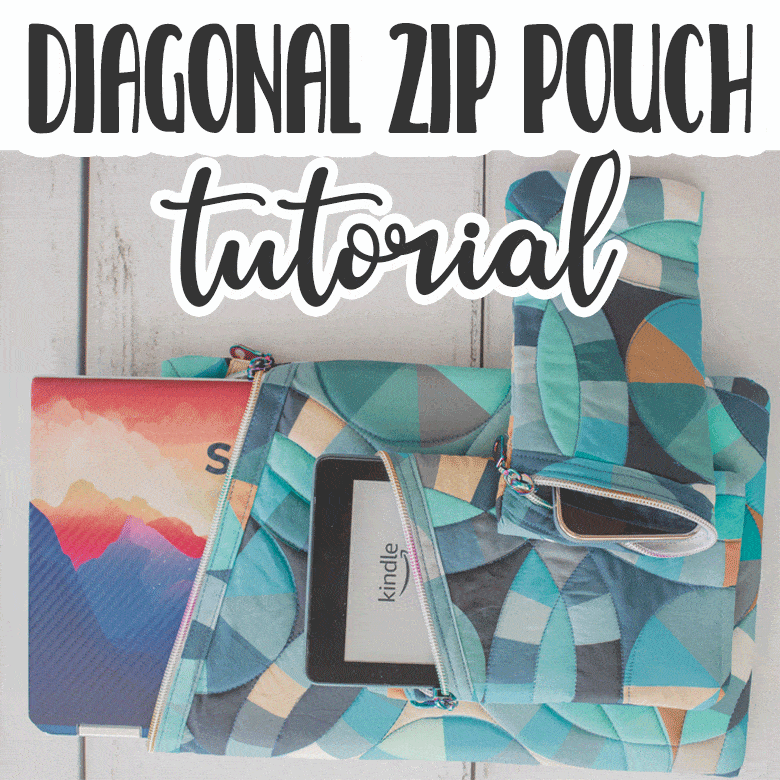
- Diagonal Zipper pouch for your devices
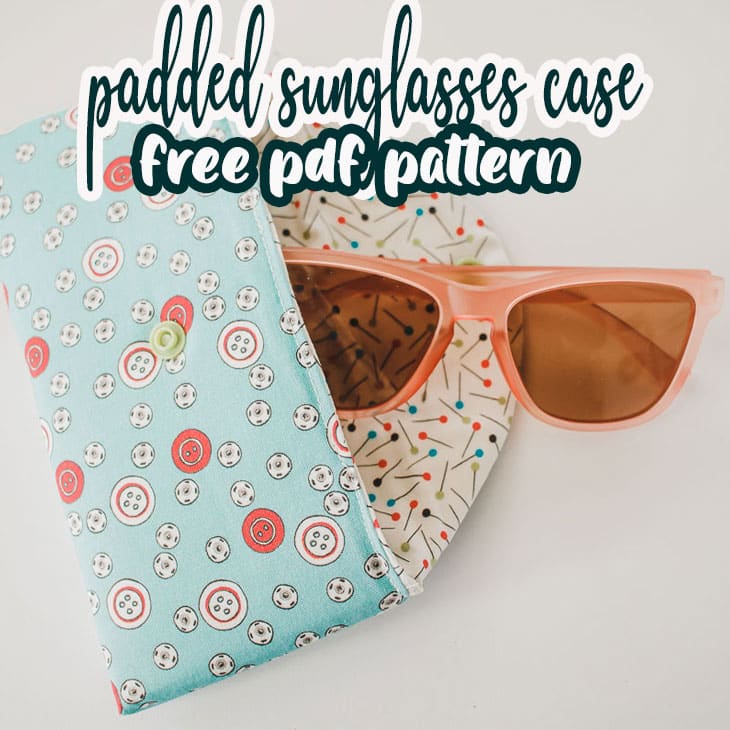
- Padded Sunglasses case
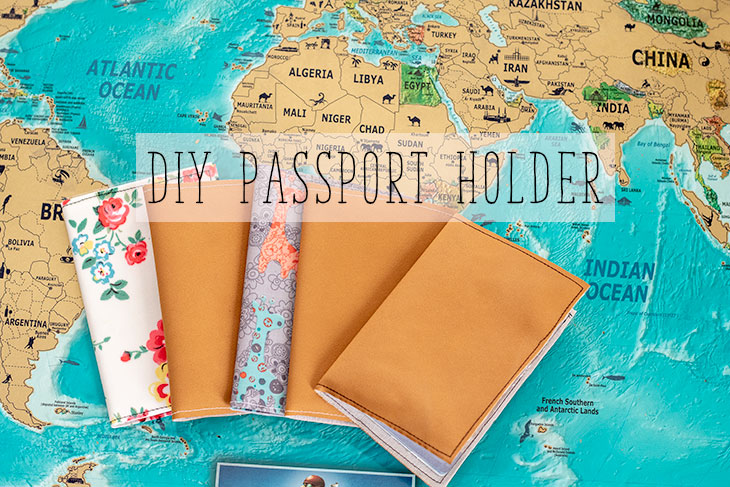
- Passport Holder

Bag Tag with embroidery tutorial
Supplies for making embroidered bag tags
- Embroidery Machine
- Tear away stabilizer
- Embroidery thread
- Fun travel themed embroidery designs
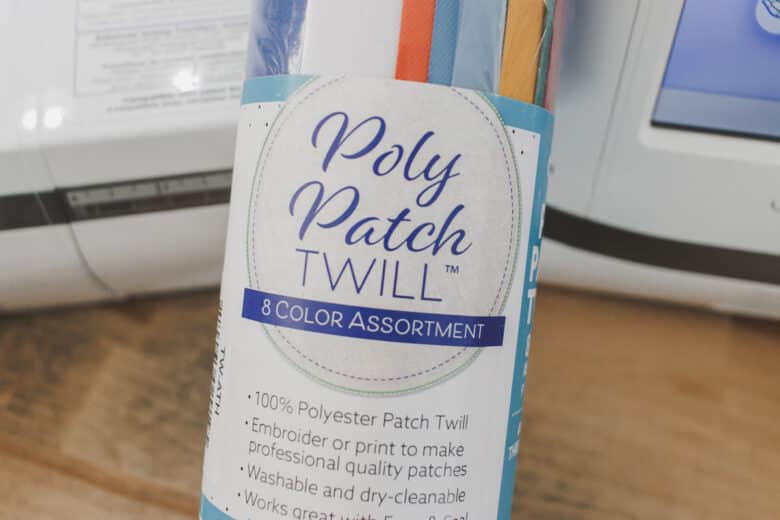
- Poly patch twill
Ok! Here’s my set up to making these embroidered bag tags. I have this poly twill for making patches of all kinds, but it also worked great for these bag tags.
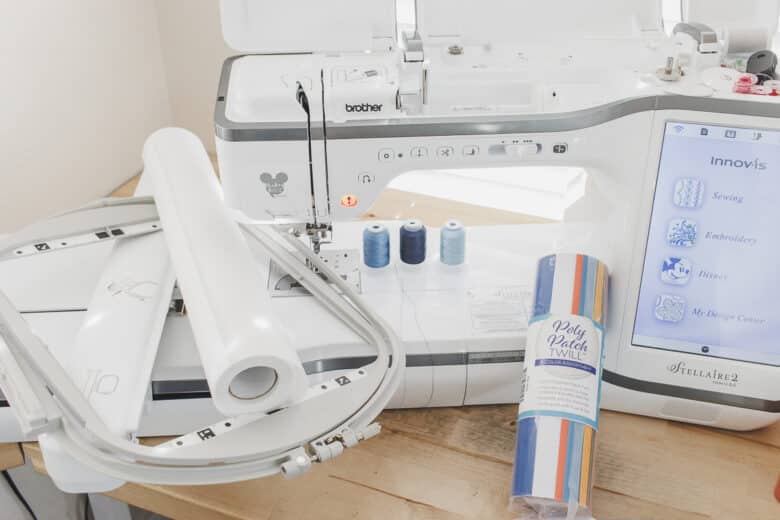
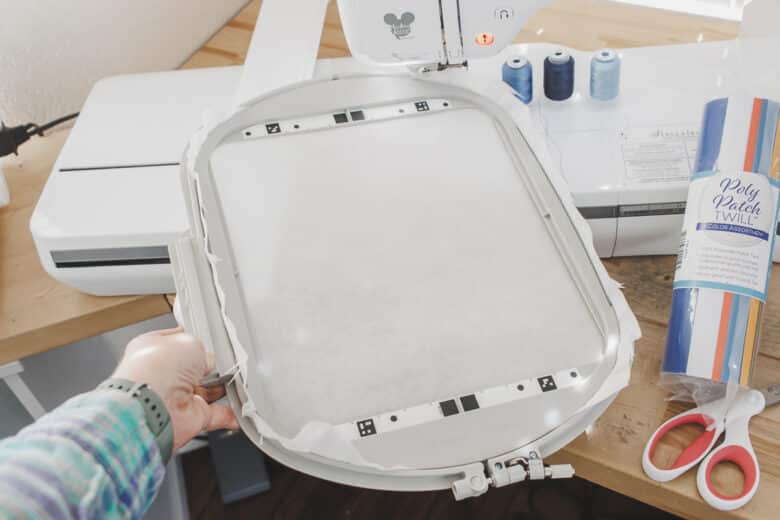
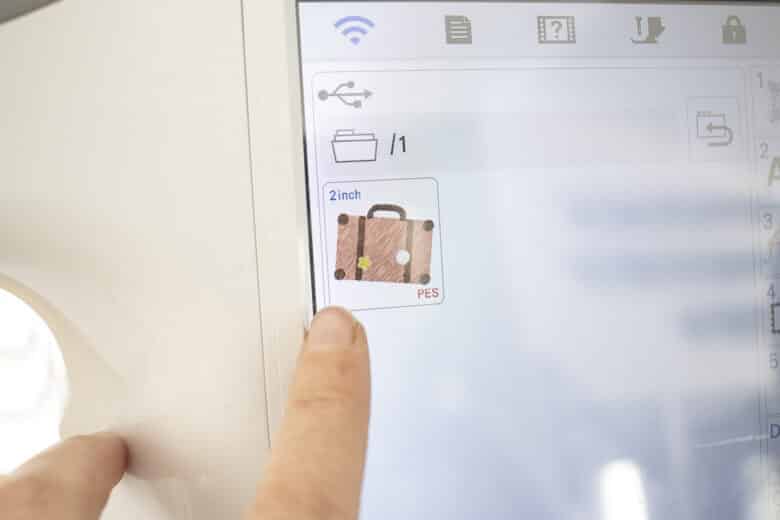
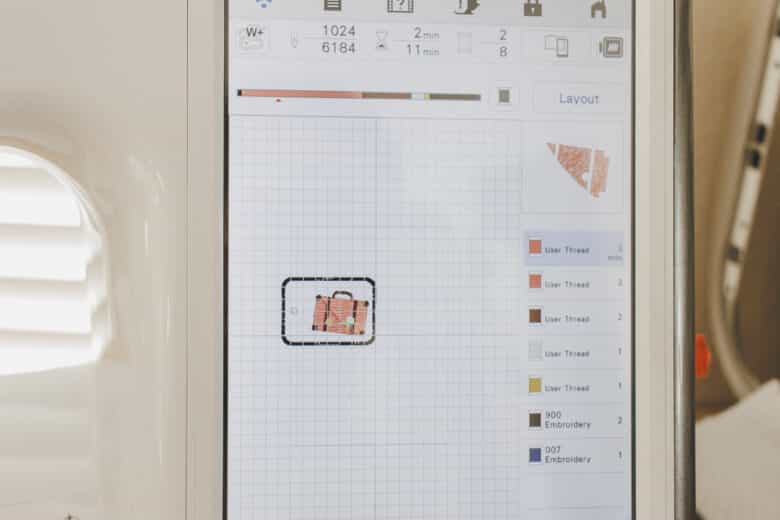
Start by hooping two layers of tear aways stabilizer in your hoop. You can make this project in a small hoop one at a time, or in a larger hoop and sew a few in a single hoop. I added all my travel files to a usb stick to transfer to my embroidery machine.
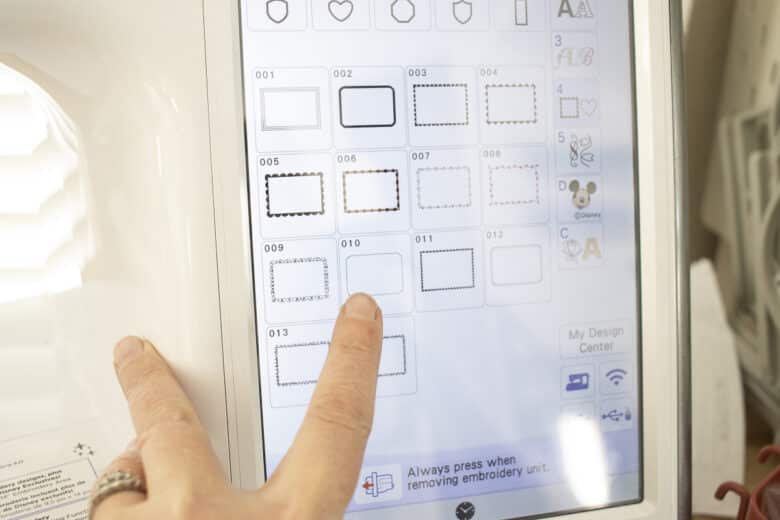
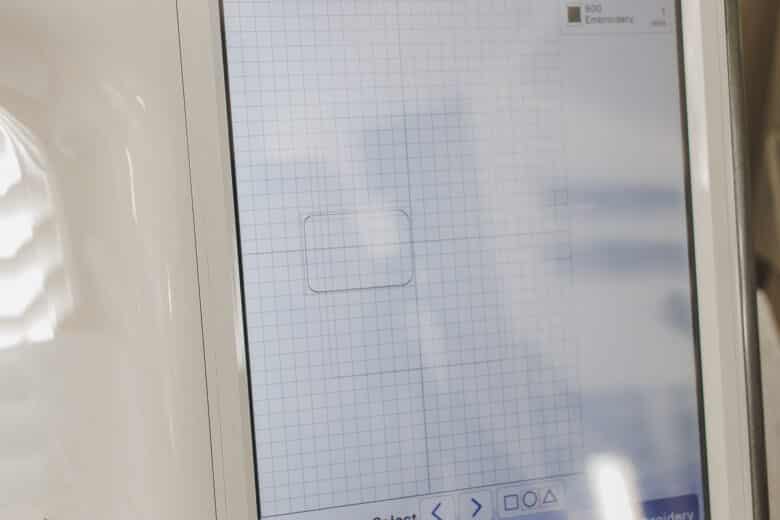
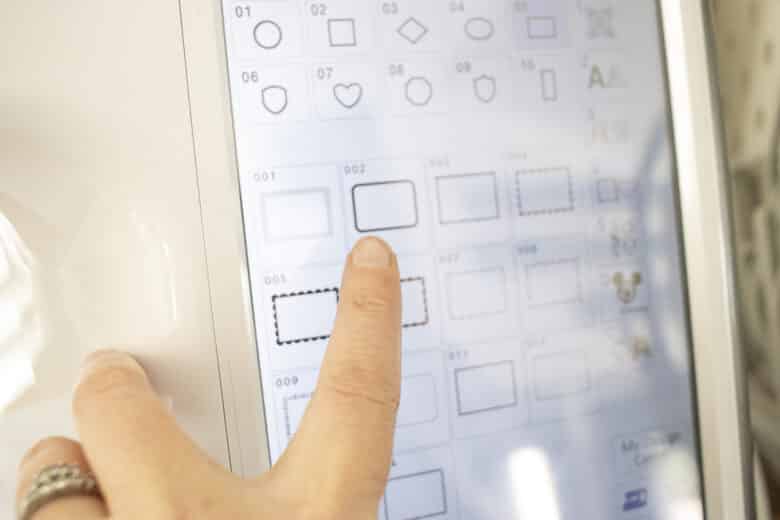
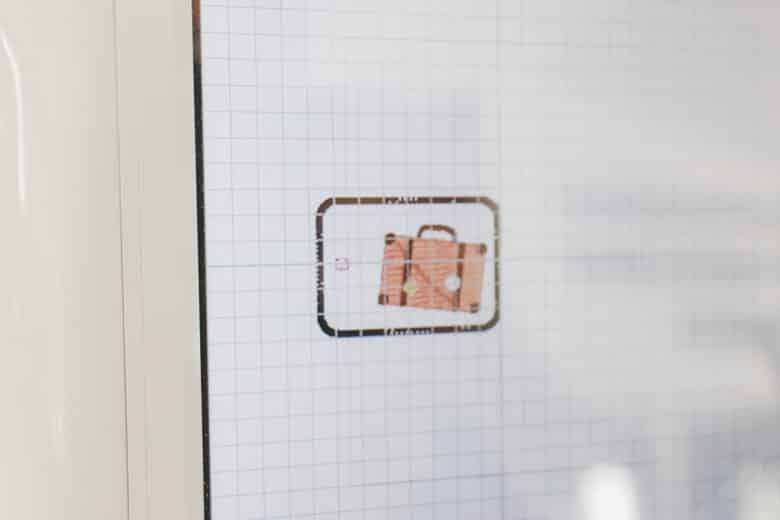
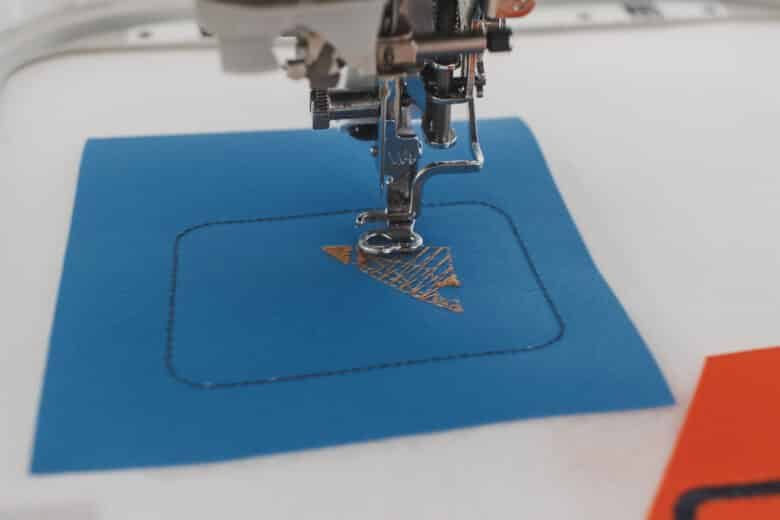
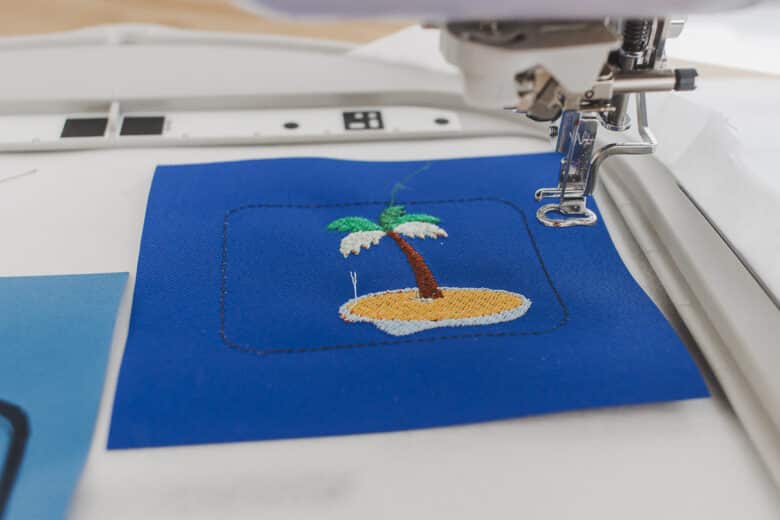
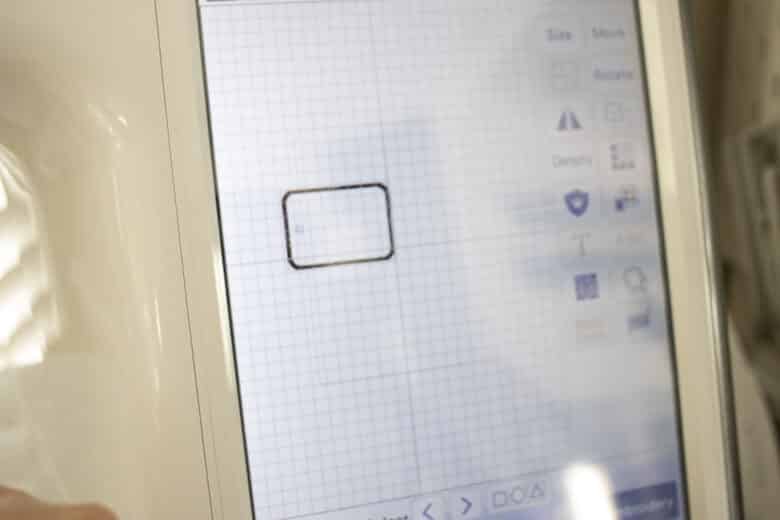
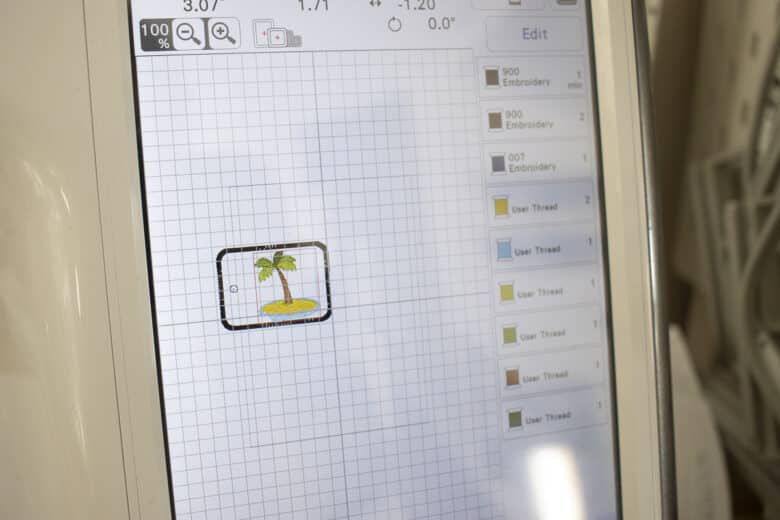
Here is how I created the embroidered bag tag. Start by adding a straight stich rectangle. Most machines have these basic shapes built in. Adjust the rectangle to be the size you want your tag.
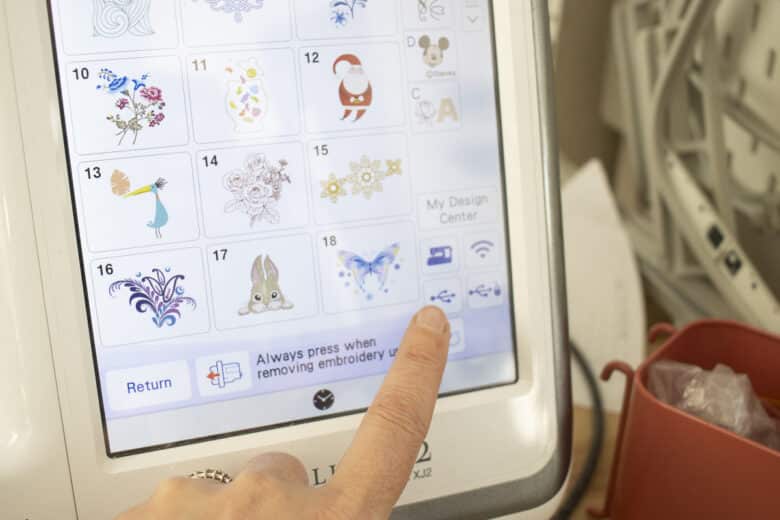
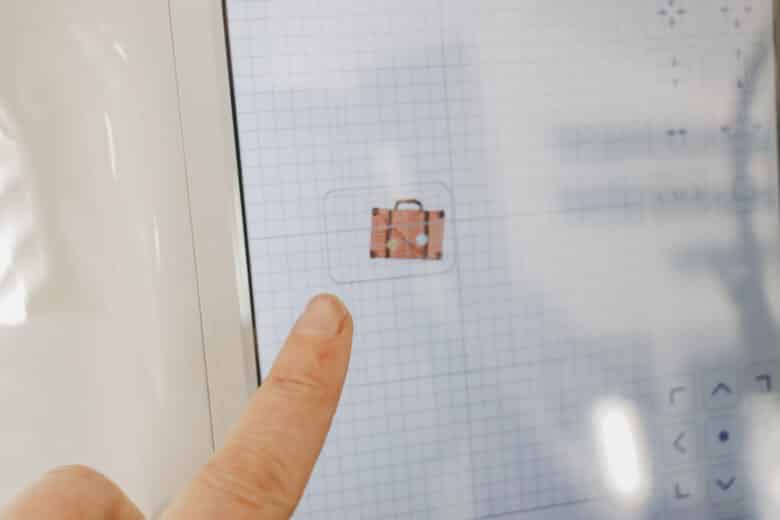
Add the travel design {or any design you want to add} Place it to one side of the rectangle.
Now add a satin stitch rectangle and place it on top of the straight stitch one. When looking at the layers of the embroidery, this satin stitch outline needs to be after the other embroidery.
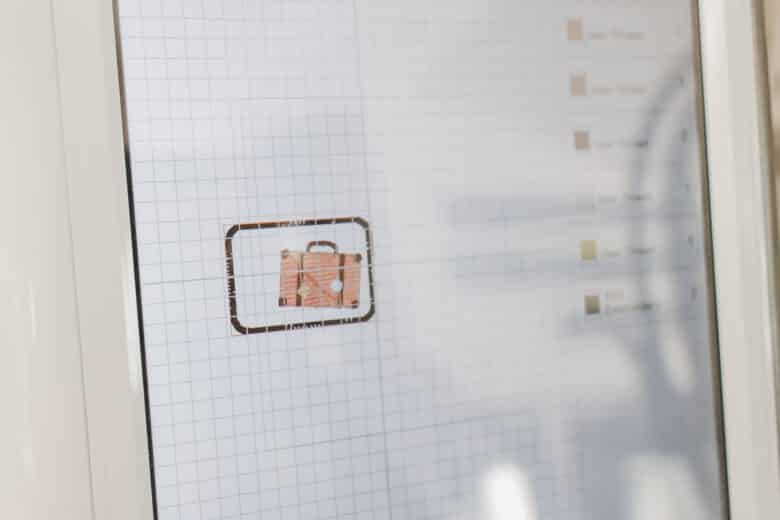
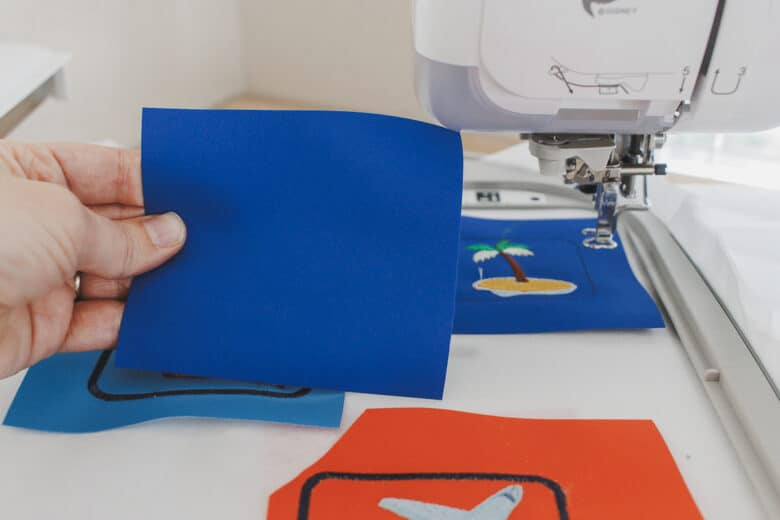
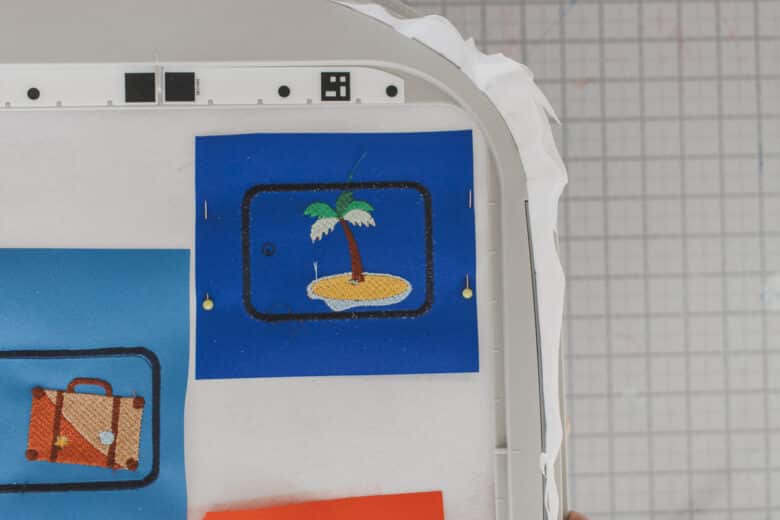
Add a tiny circle to the other side of the rectangle {this will be cut out to add a ribbon} Check the placement of the design in the hoop, then add your twill fabric.
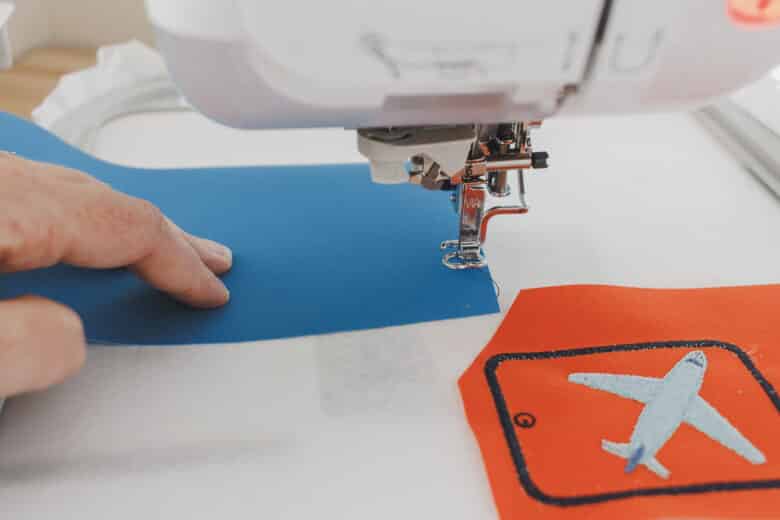
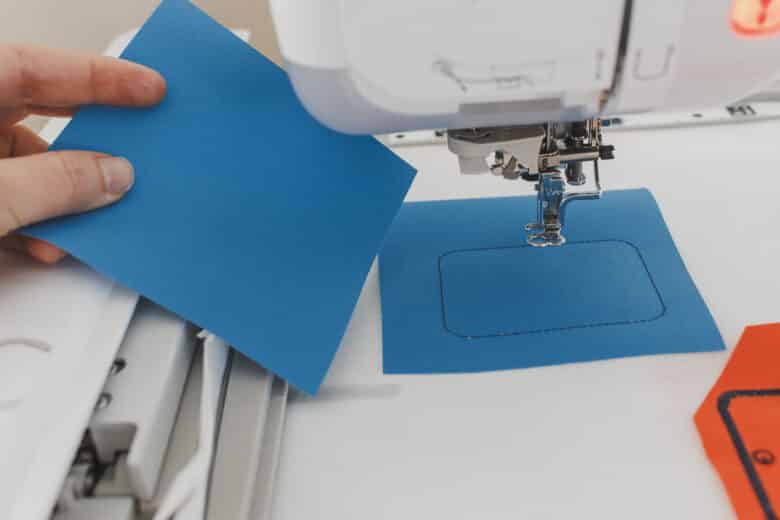
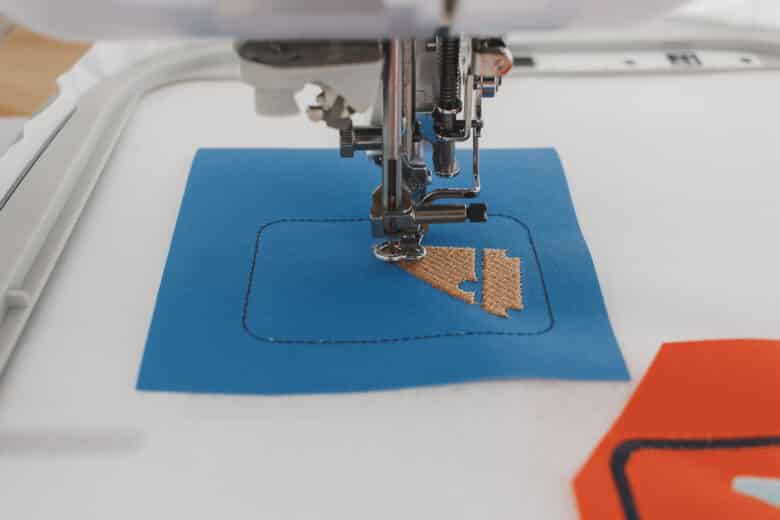
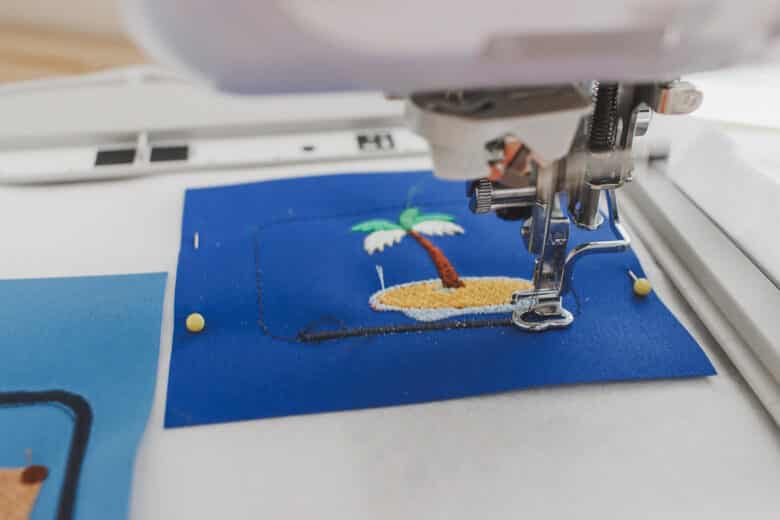
Stitch the straight stitch outline, then trim twill {if you didn’t already} This other piece will be the back of the tag.

Stitch out the suitcase. You can see here how I’ve arranged my layers.
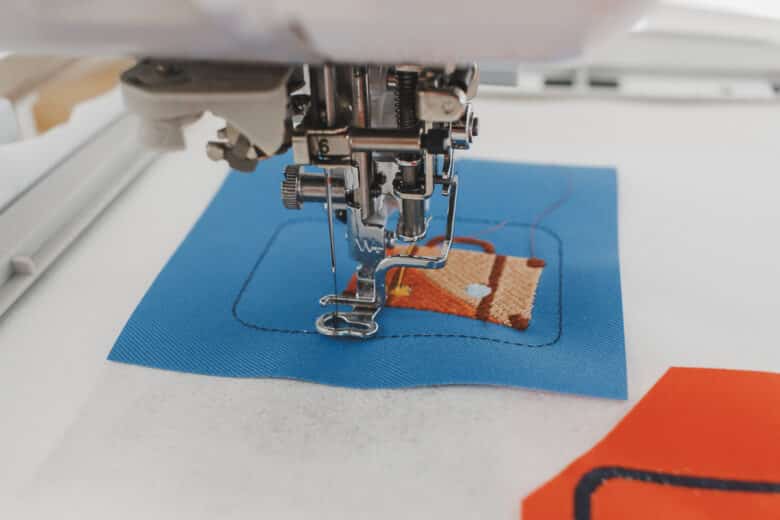
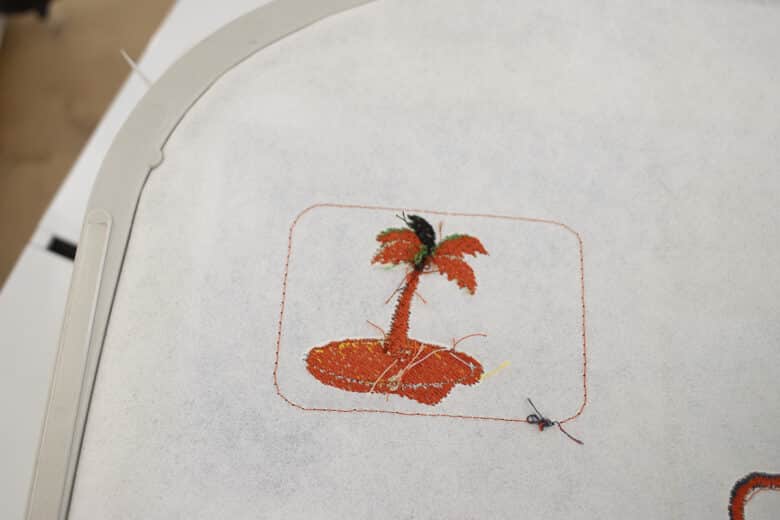
I forgot to photograph the backing stop on the suitcase tag, so I will now show you on the tree tag. After stitch out the outline and design, remove hoop from machine.
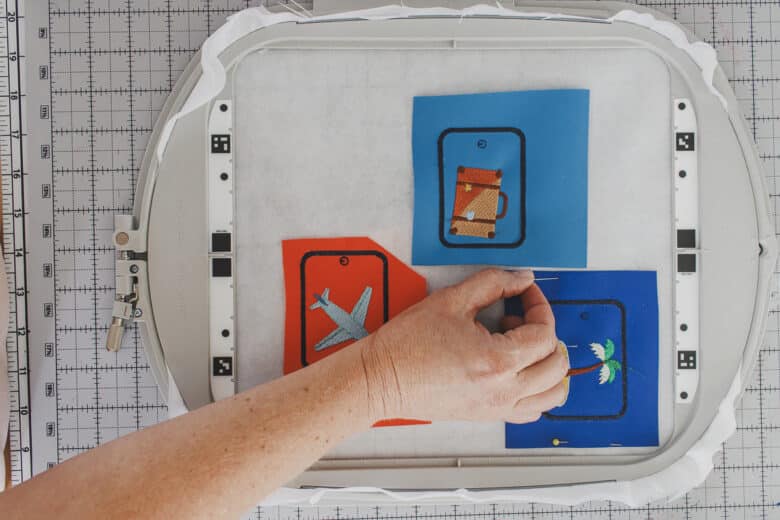
Flip hoop over and place the backing right side out over the back of the design. Use the outline for placement.
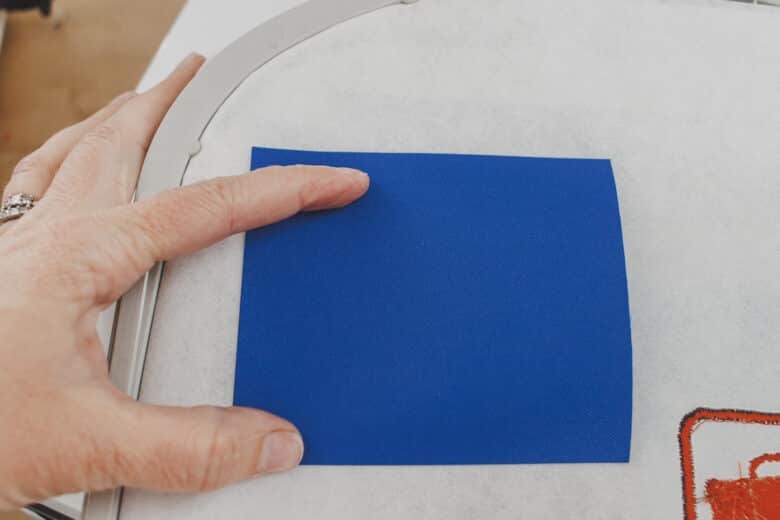
Turn the hoop back over and place two pins to hold the back in place. Put the hoop back on the machine and add the final two layers. The satin outline and the small circle. If you want the satin outline to blend in, match your bobbin thread with the twill color.
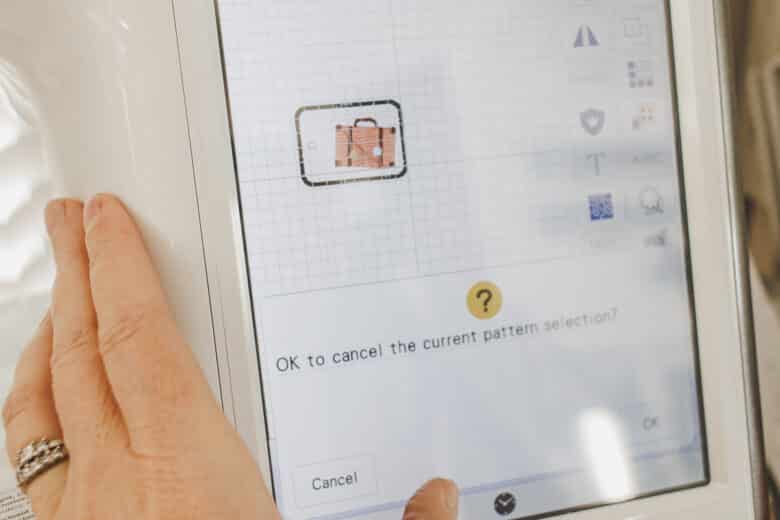
If you want to make several of these, you can just delete out the travel design and keep the other layers all in place. Replace the travel design and then stitch it out again.
When you have all your bag tags finished, remove the stabilizer from the hoop and then tear out the patches/tags from the stabilizer.
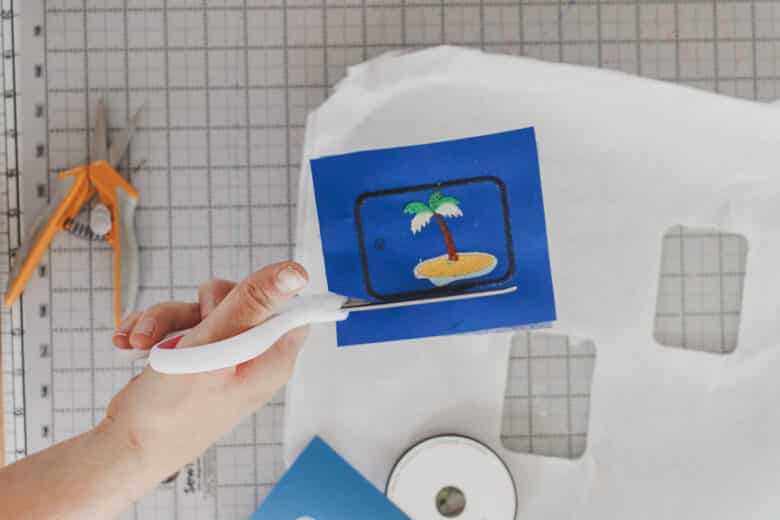
Cut around the satin stitch outline with sharp scissors.
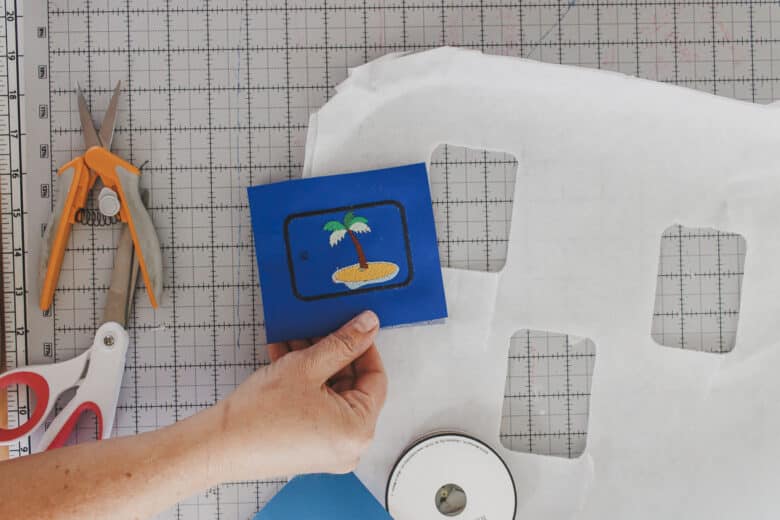
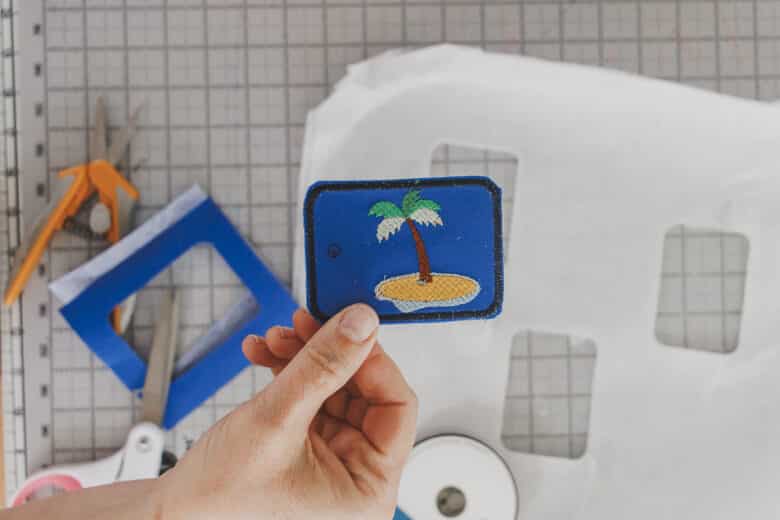
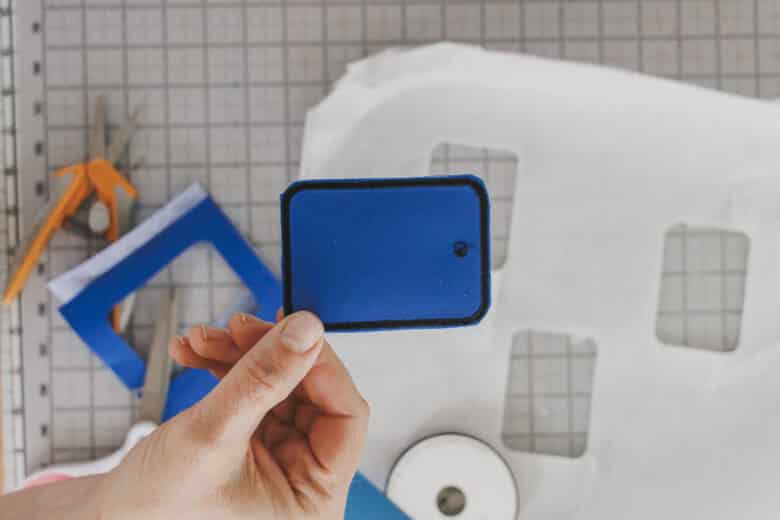
Now you have the finished front and back.
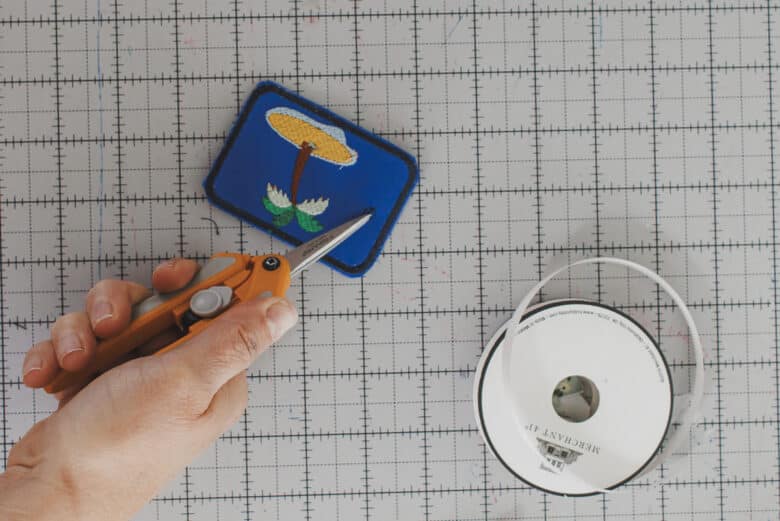
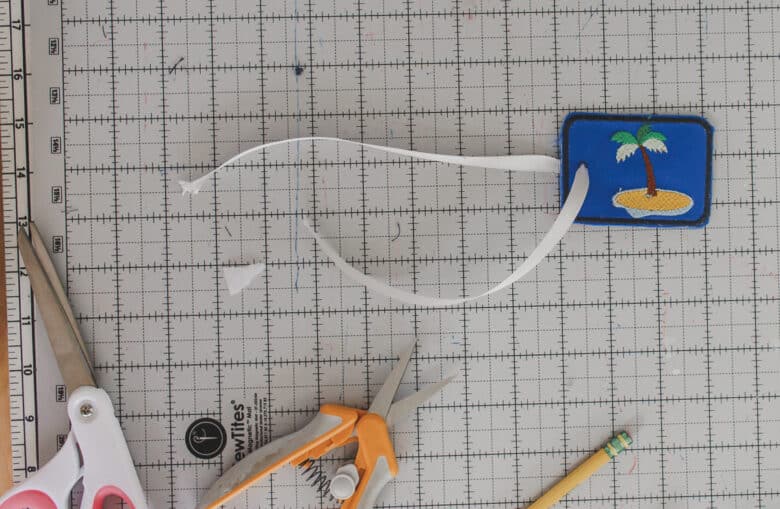
Use sharp snipping scissors to cut out the tiny circle and thread a piece of ribbon or chord through the hole.
Now you have adorable luggage tags to add to your bag or backpack.


Leave a Reply