


Inside: Learn how to create a fun basketball sweatshirt with a mashup of a cozy blanket and sweatshirt. This Basketball Sweatshirt hack is an easy sewing project.
Basketball season is just around the corner and I love making fun shirts/sweatshirts to wear to my sons games. Today I’m sharing a basketball sweatshirt sewing hack that is fun to sew and fun to wear. It turned out so soft and cozy and is a perfect mash up of a sweatshirt and a blanket.
DIY basketball sweatshirt
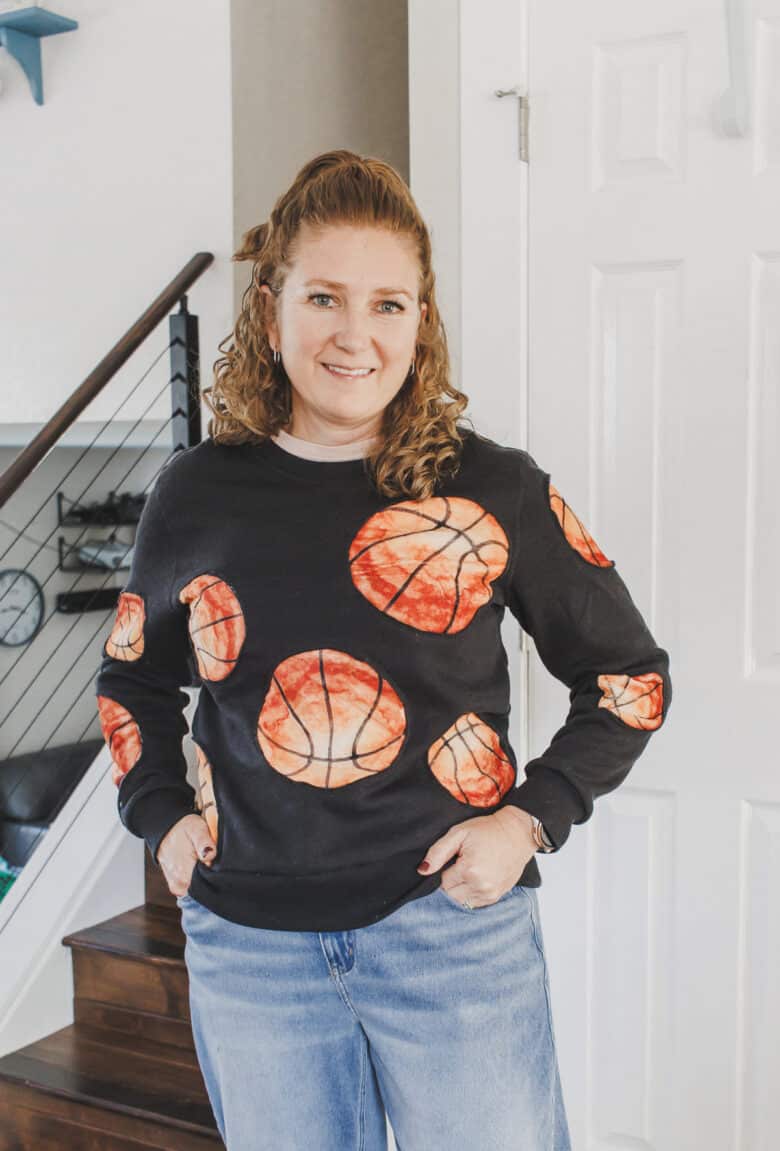
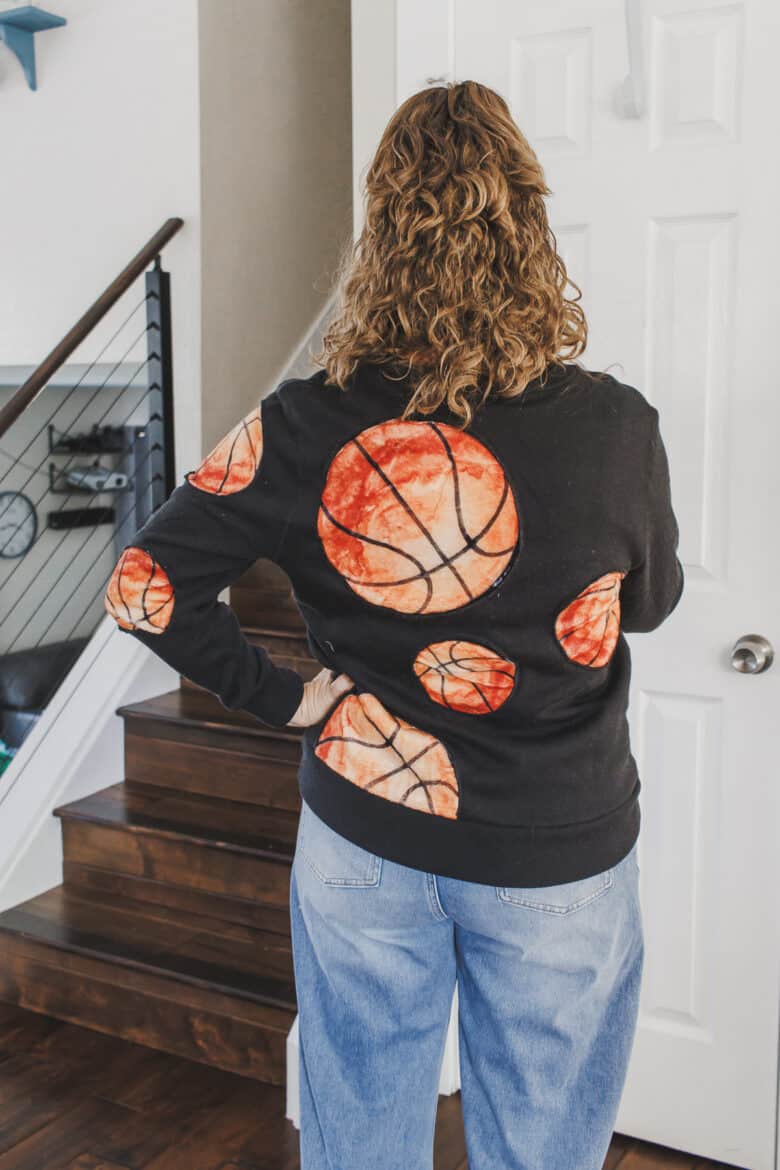
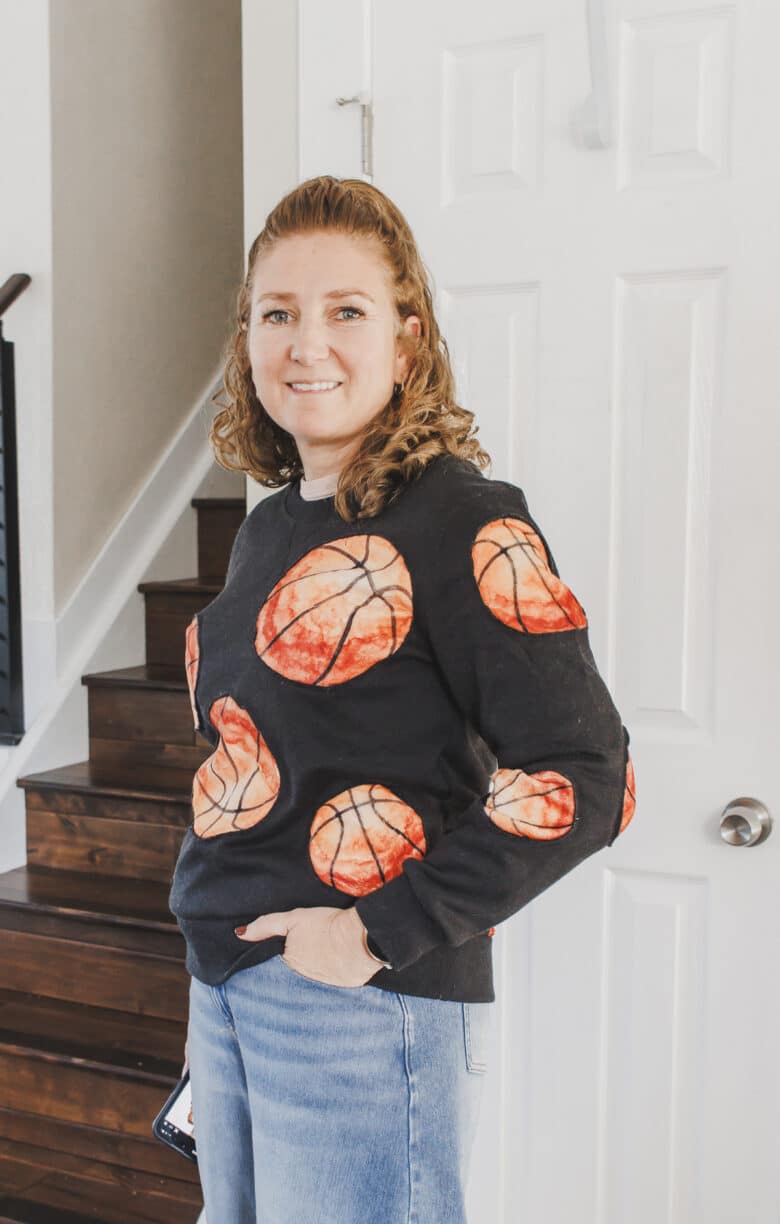
A few weeks ago I shared a sweatshirt/blanket mash up that I made for my son. Today its my turn! Check out this adorable basketball sweatshirt that I was able to sew up in an afternoon. It’s a combination of a black sweatshirt and a super soft basketball print blanket.
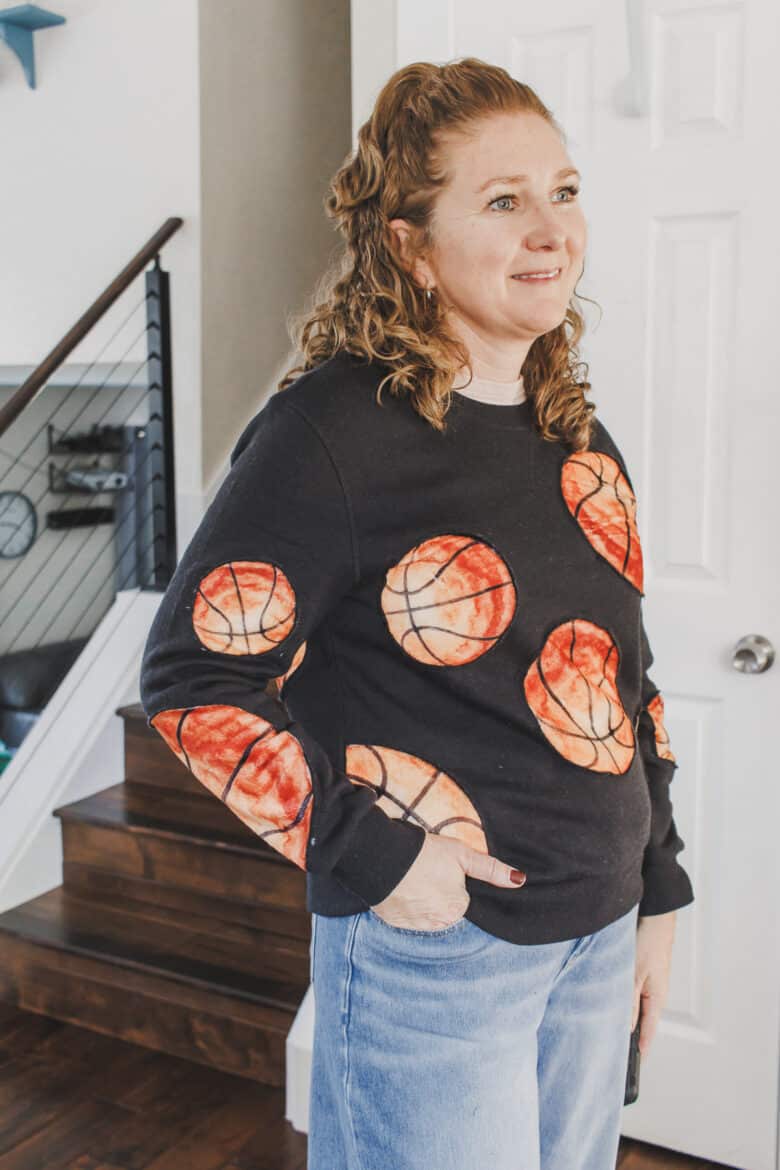
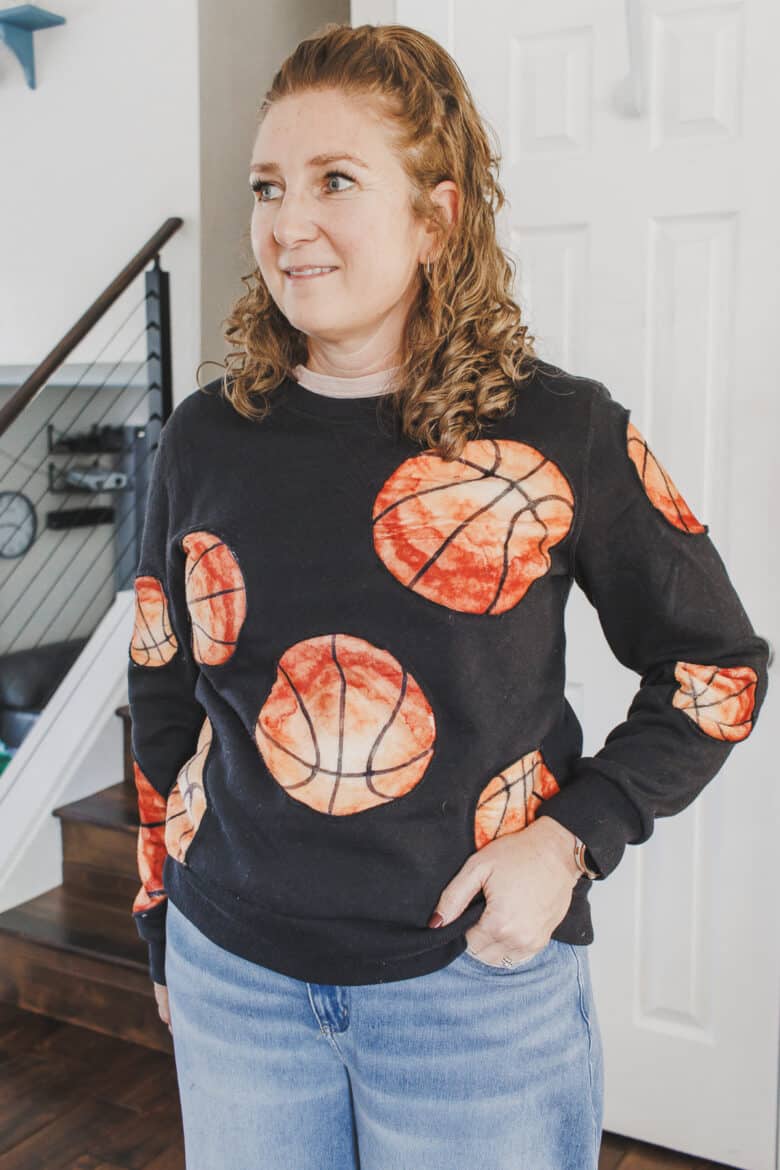
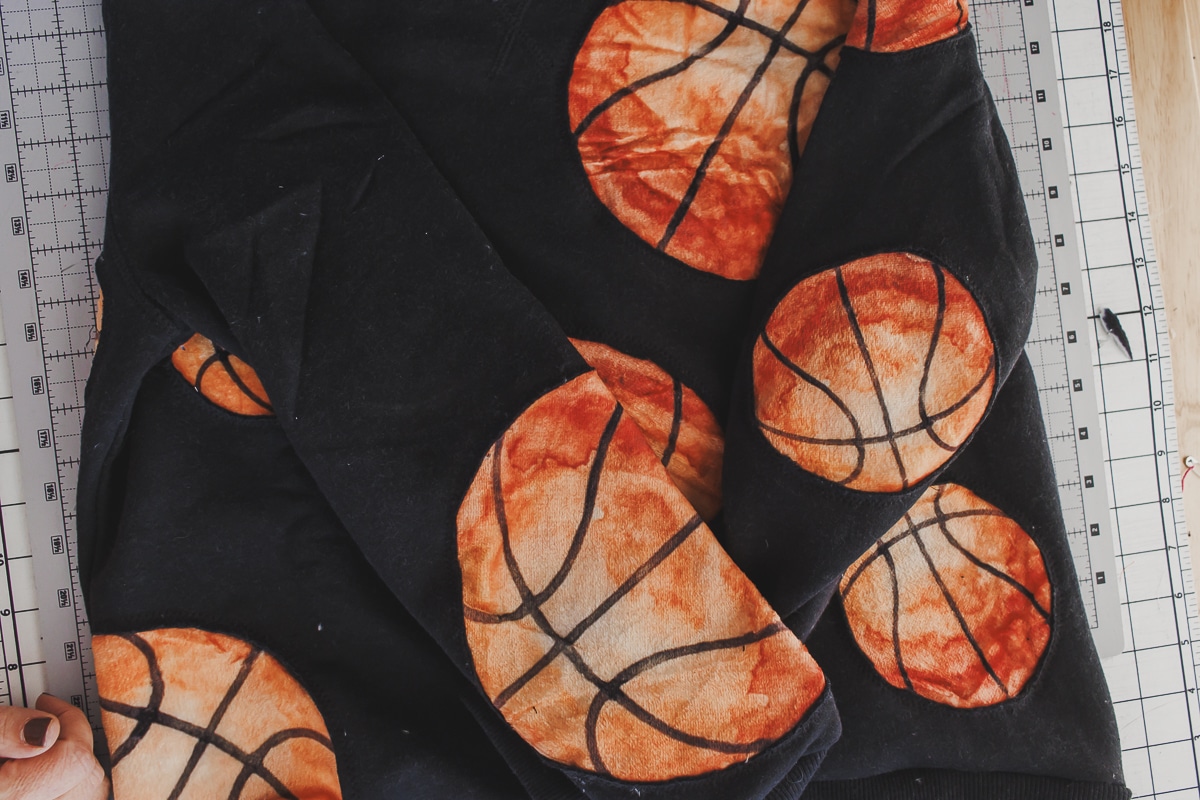
I used the reverse applique technique to sew the basketballs to the backside of the sweatshirt, then cut out the front. The basketballs are the perfect peekaboo through the sweatshirt fabric. You can use various size basketballs and arrange the placement in any way you desire. Below I will walk you through how I prepped the sweatshirt and then a few different ways to add the basketballs.
Other fun sweatshirt hacks to try
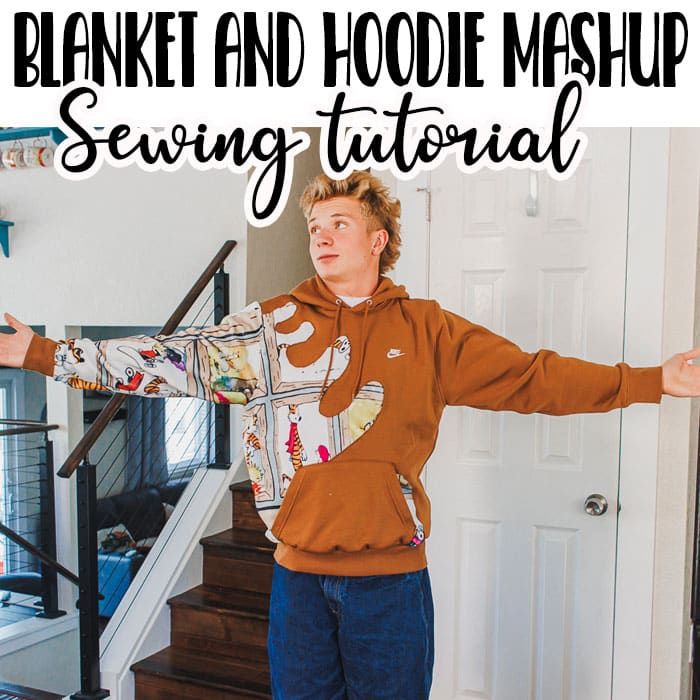
- Blanket and hoodie mashup tutorial
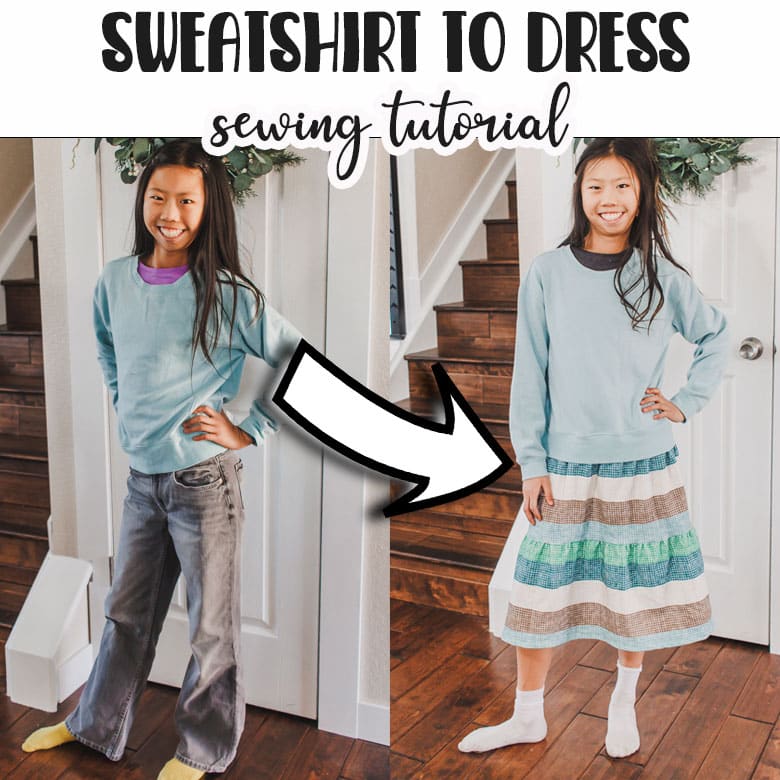
- Sweatshirt to dress tutorial
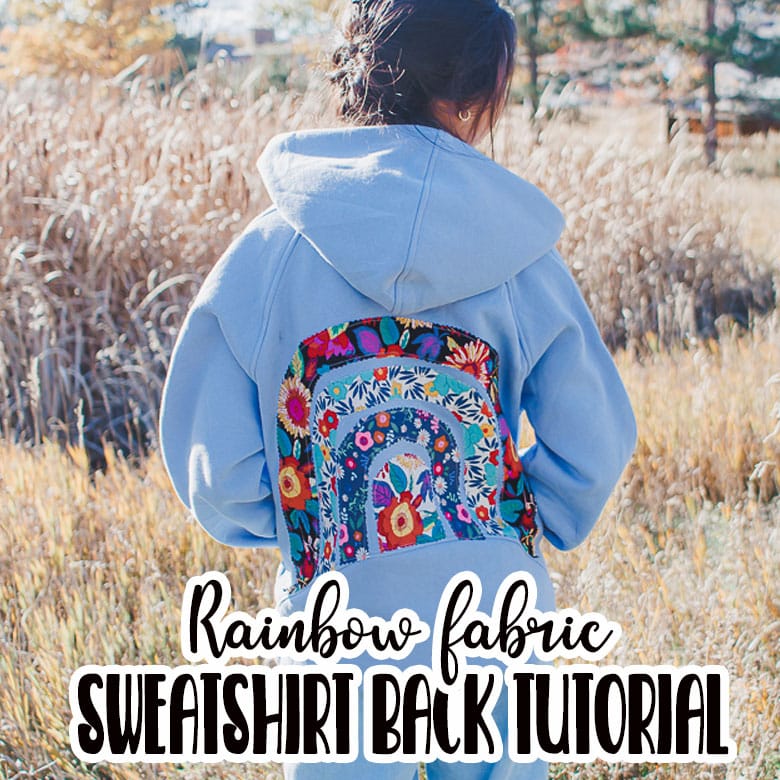
- Rainbow back sweatshirt
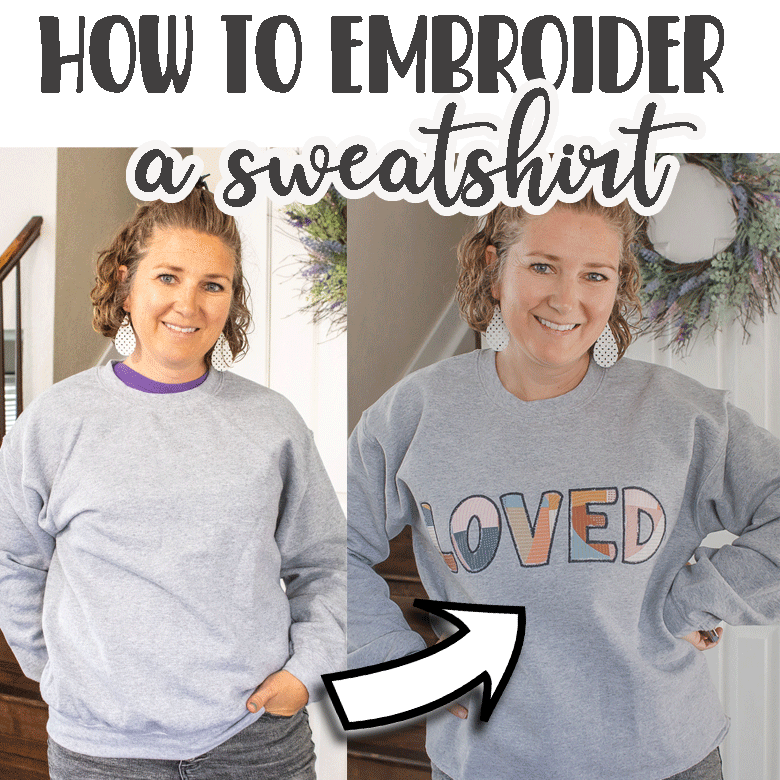
- How to embroider on a sweatshirt
- Loose fit raglan sweatshirt tutorial and free pdf pattern
- How to sew a sweatshirt without a pattern
How to sew a Basketball Sweatshirt
I ended up using two different methods to attach the basketballs to the shirt. I using my sewing machine and a zig-zag stitch to sew the balls to the shirt, and then I also used my embroidery machine and hoop to sew the basketballs to the shirt. Both work great, and you can choose which works best for you. I’ll demonstrate both methods below.
Supplies need to create this fun sweatshirt-
- Black sweatshirt. I bought this one here.
- Soft basketball blanket. I bought this one here.
- There is also a light color basketball blanket if you want to use a lighter color sweatshirt
- My favorite magnetic hoop SO handy for things like this…
- Embroidery stabilizer if using embroidery.
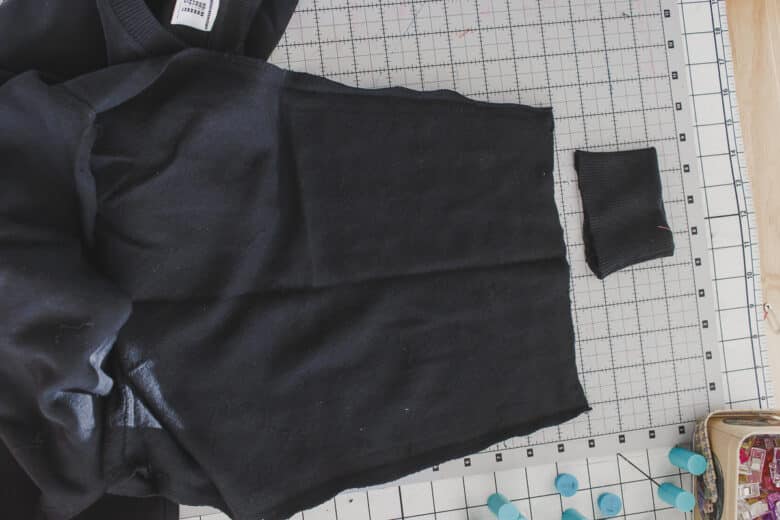
Gather your supplies and open the sweatshirt at the side seams. Not all sweatshirts have side seams, but the one linked above does have a side seam. I opened the shirt from the sleeve cuff to bottom band. Remove the wristbands and waistband and set aside.
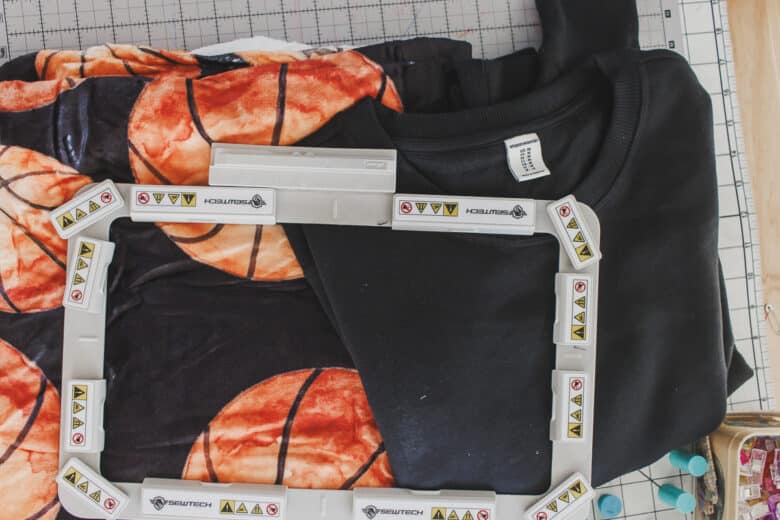
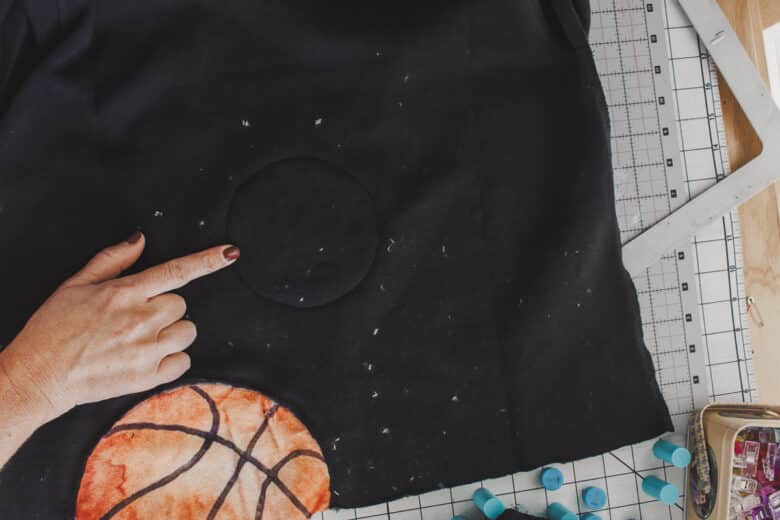
Cut several ball out from the blanket. Make sure to leave around1/2″ seam allowance on all sides of the balls. I cut a variety of sizes and shapes out and set them to the side. Start with one basketball to figure out the process. I wanted to place this one against the bottom edge of the shirt. I first lined it up on the front of the shirt to see the layout, then flipped the shirt to the backside and flipped the basketball fabric over face down too. Pin all along the edge of the ball fabric.
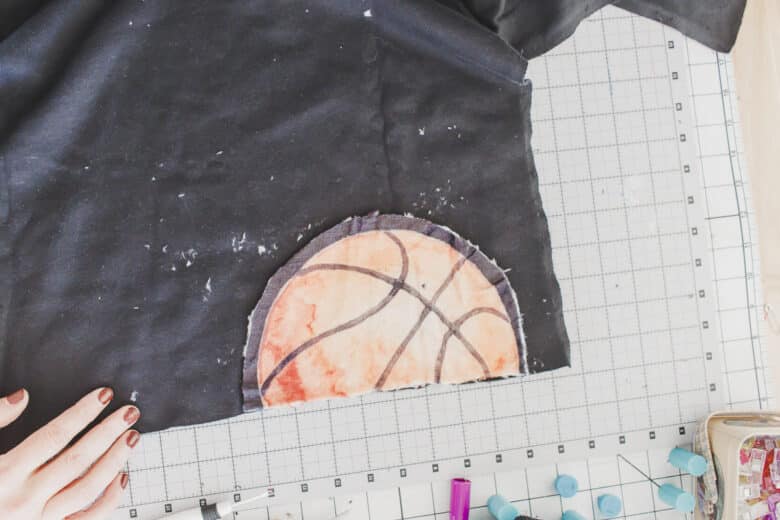
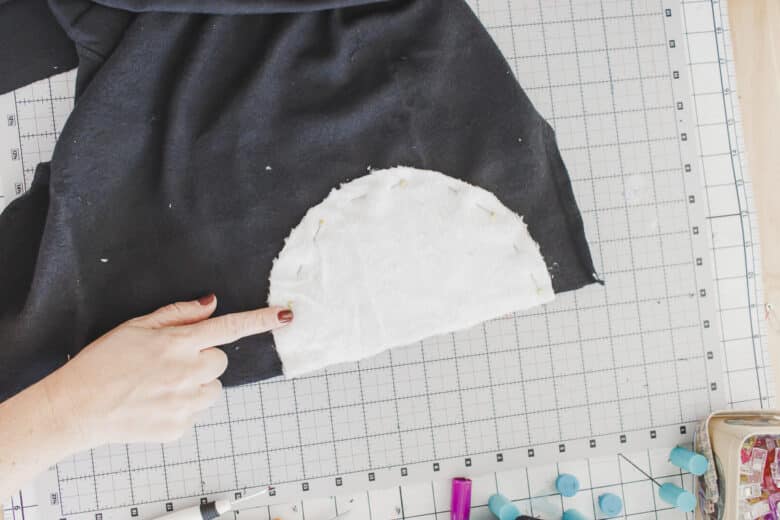
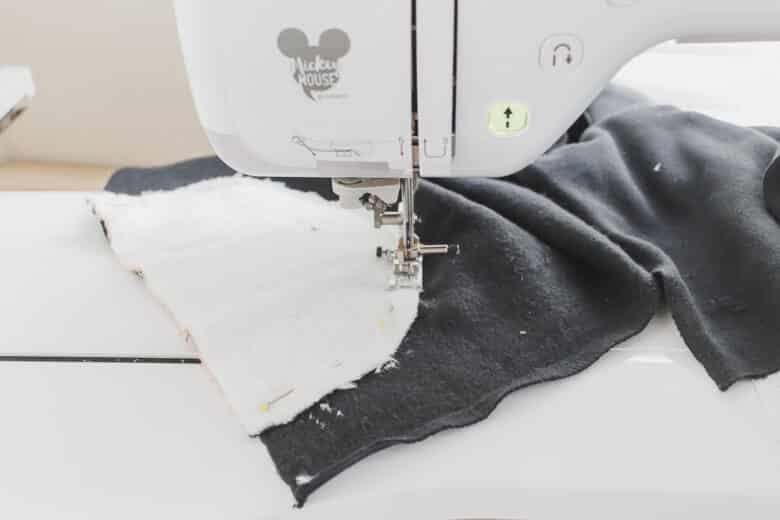
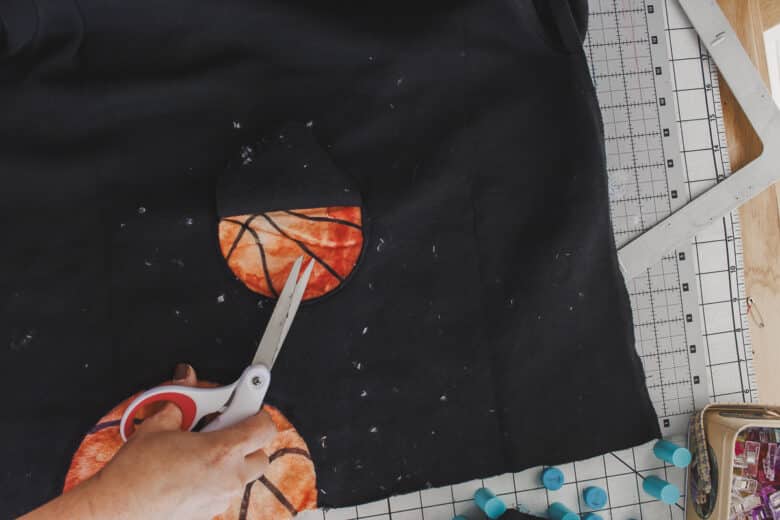
Sew with a 3/8″ seam allowance and a zig-zag stitch all around the edge of the ball. Flip the shirt back over to the front.
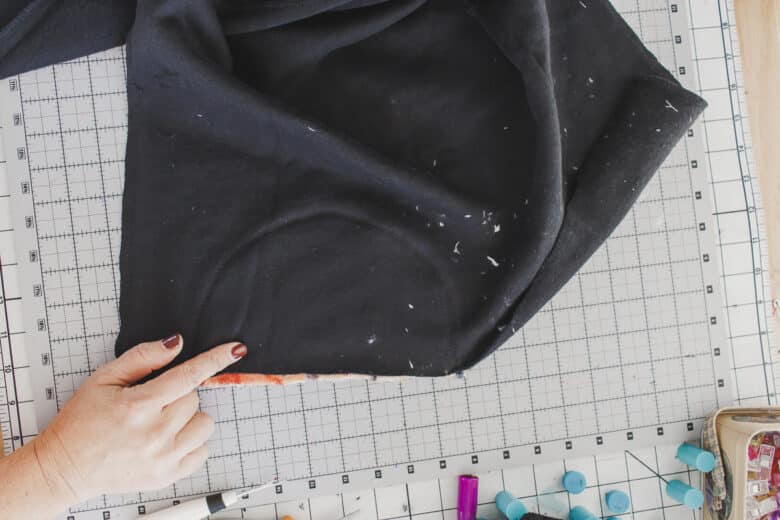
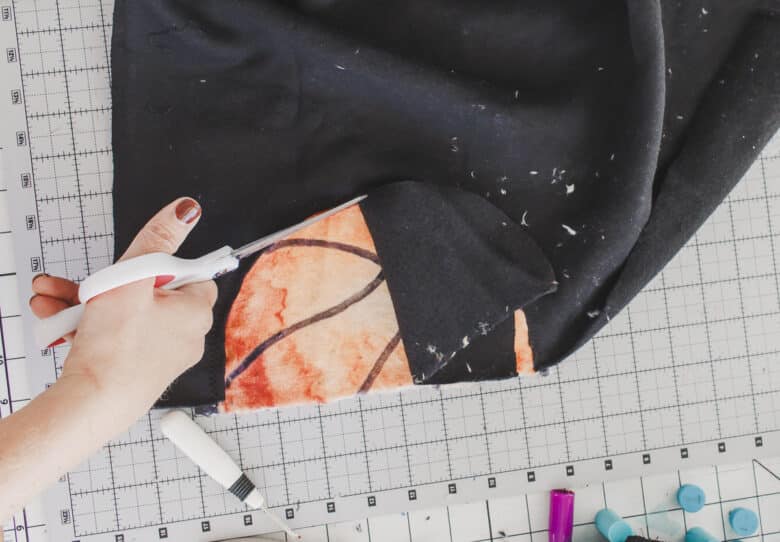
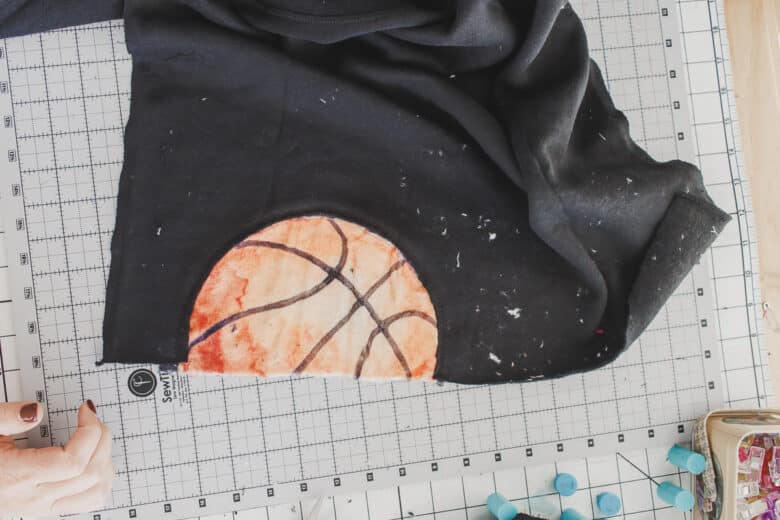
Cut the fabric to reveal the basketball behind. Leave a bit of fabric when you cut {don’t trim too close to the stitches.}
Another way to sew the basketballs to the shirt is to use your embroidery machine. Place a piece of stabilizer under the sweatshirt, then hoop the shirt. A magnetic hoop makes this really easy. The backside of the shirt should be face up in the hoop. Place a basketball face down, pin the ball securely down. Measure the size of the basketball, also mark the center of the ball.
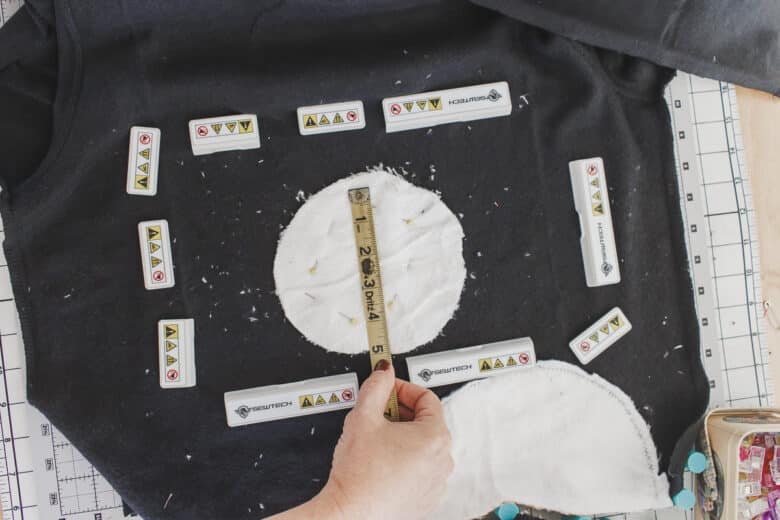
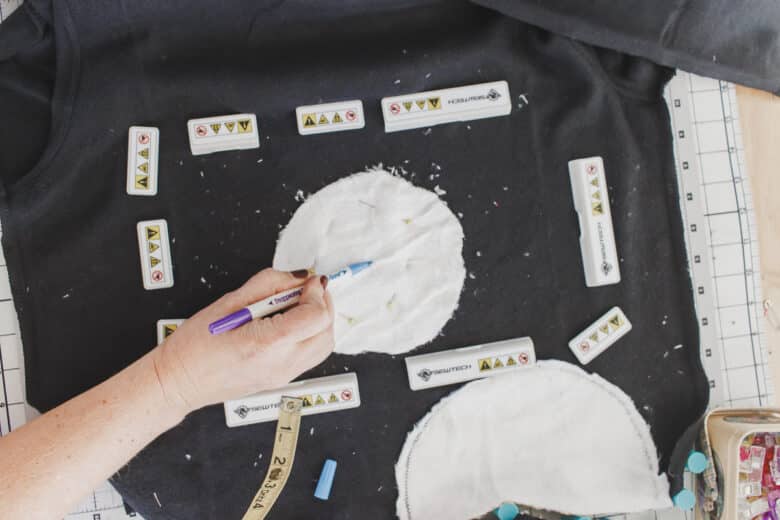
Use a built in circle design from your machine, resize it to the size of the ball. The second photo shows the ball pinned down and the center marked.
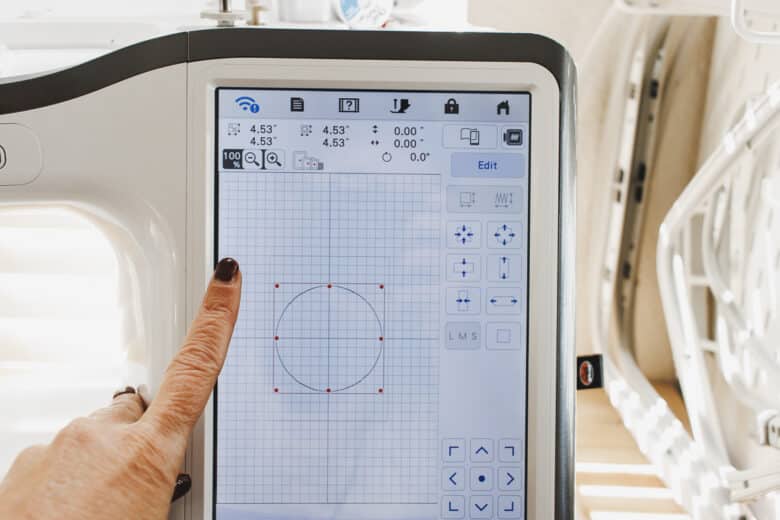
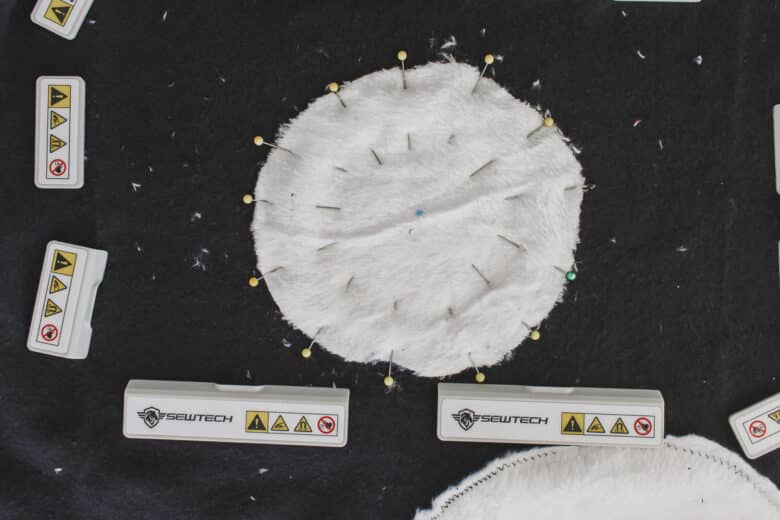
Use the placement feature on your machine to move the center of the design {the needle}to line up with the center marking of the ball. Stitch out the circle and trim any extra fabric. I used pinking shears to trim any extra fabric.
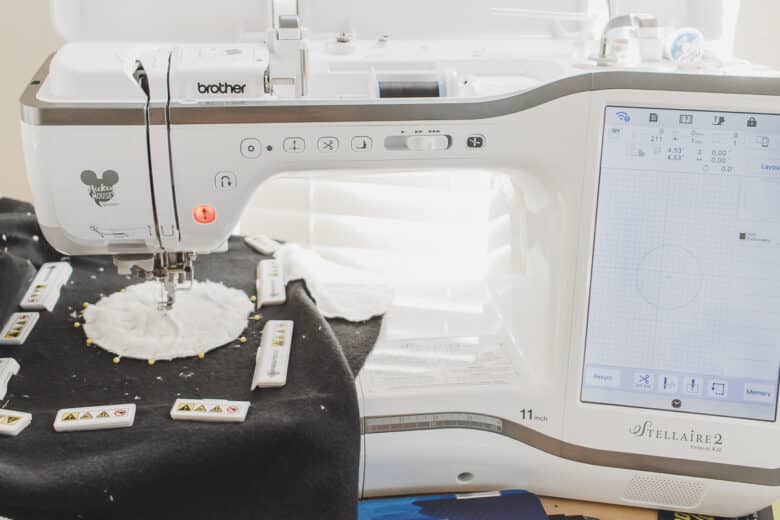
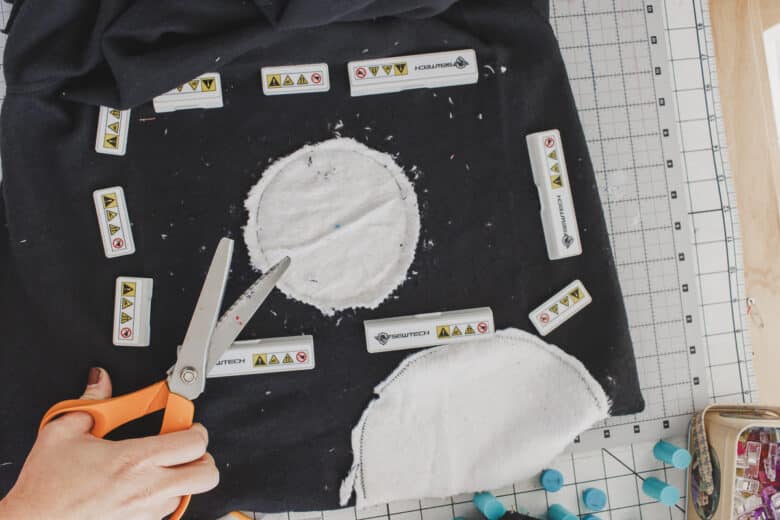
Remove the hoop and flip the shirt over. Cut the fabric as before to reveal the basketball.
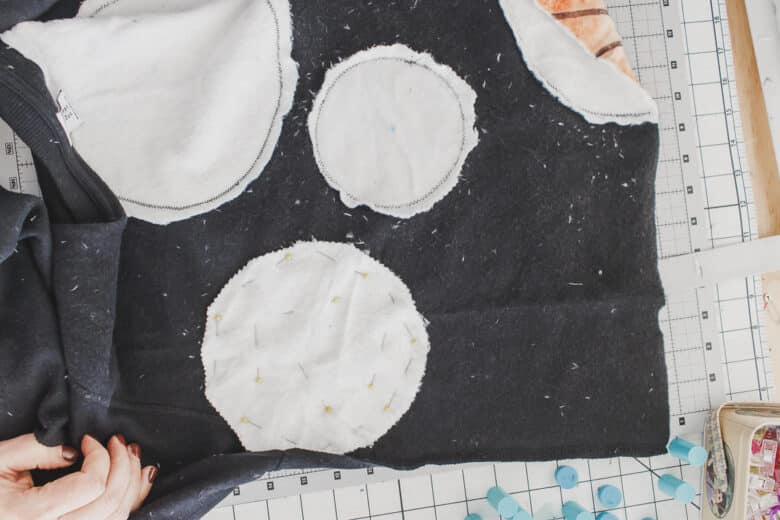
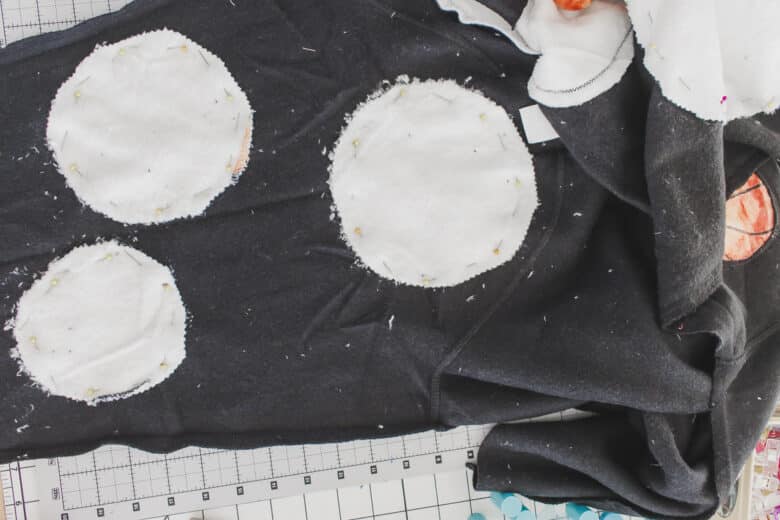
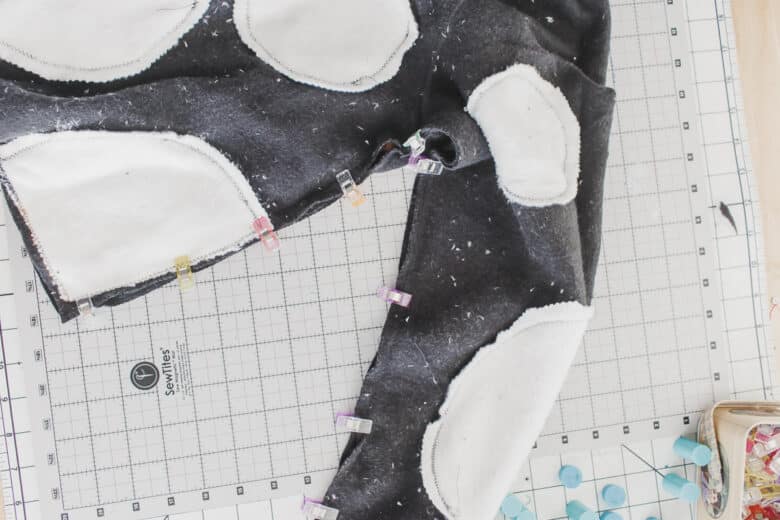
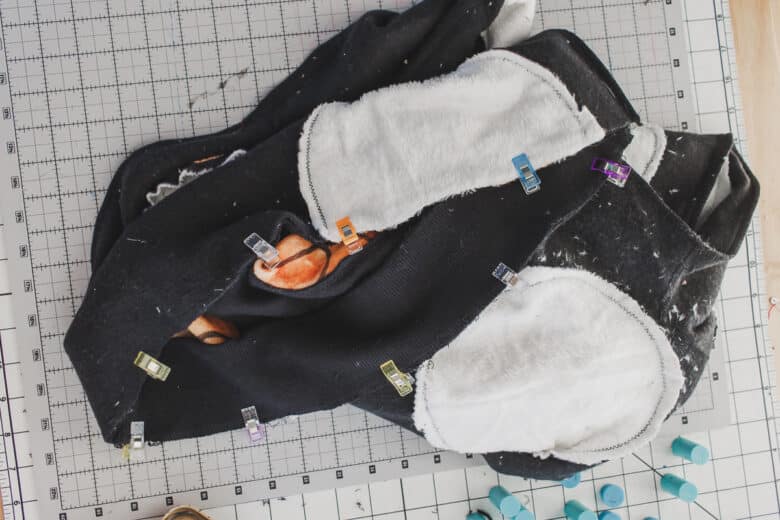
Now that you have the hang of sewing, decide which method you like best, and then sew multiple basketballs to each sleeve, and the front and back of the sweatshirt. The first photo is the shirt front and the second photo is the sleeve. Layout and pin to arrange the design, then sew or hoop to attach.
When you have all the basketballs placed on the sweatshirt, place the right side of the shirt together and line up the side seams. Pin or clip the side of the shirt and the under arm. Sew with a serger or stretch stitch to resew the shirt together. Add the waistband back on the bottom and the wrist bands on the sleeves. Once the shirt is back together you can



Leave a Reply