

inside: learn how to mash up a sweatshirt and blanket hoodie with this sewing hack tutorial. This blanket and hoodie hack is the best cozy sweatshirt hack around.
My son has been asking for this sweatshirt blanket hoodie for months now. For his birthday I purchased the hoodie {Amazon} and blanket {Walmart} and was able to gift him the pieces for this project. I did not get the supplies in time to sew it for his birthday, but I was ready. This past week I tackled this mashup and we are both thrilled with the results. Maybe you have seen some short videos of these hoodies on social media, but today I’ve got a full tutorial showing you how I combined this blanket and hoodie.

Hoodie and Blanket mashup up Sweatshirt
How great is this mashup hoodie? I purchased this color sweatshirt specifically since it went well with blanket. I’ve seen this done with thrift items as well, but my son has a specific vision I wanted to execute for him.


You can cut your sweatshirt apart in any way/style you want, this is what we came up with. It took a long time to sew all the small branches, so I may make it simpler if I did it again.


How fun is this? I think a blanket with several smaller designs like this one is perfect as you can see whole parts of the pictures. A blanket with one large image may be harder to use.


Other sweatshirt patterns and tutorials
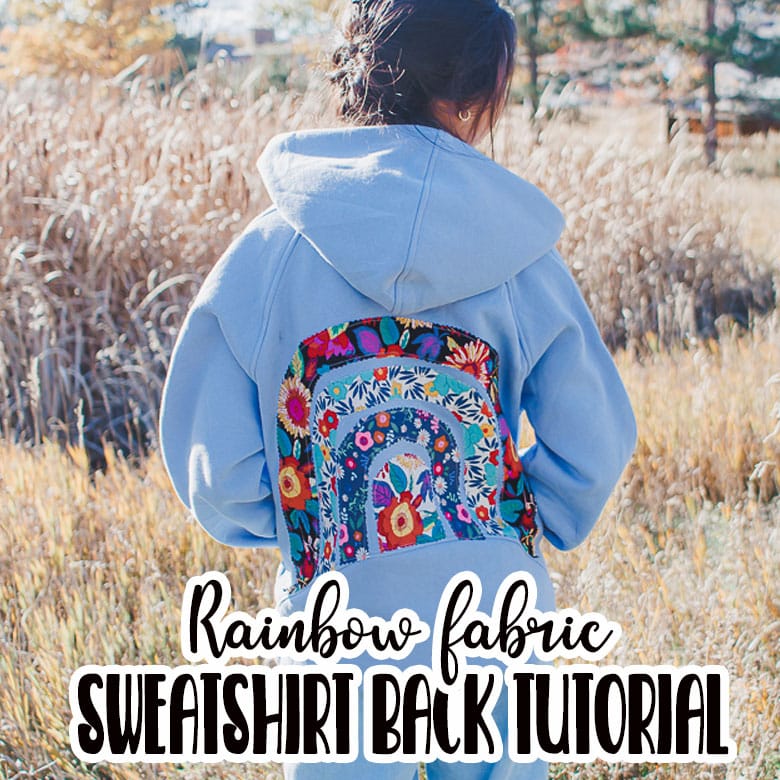
- Sweatshirt Back Hack with rainbow
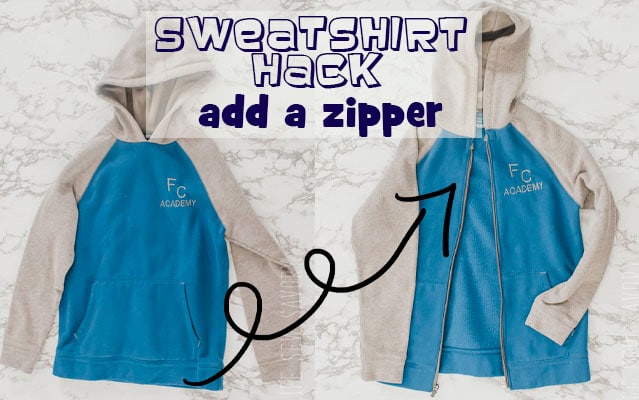
- Add a zipper to a sweatshirt tutorial
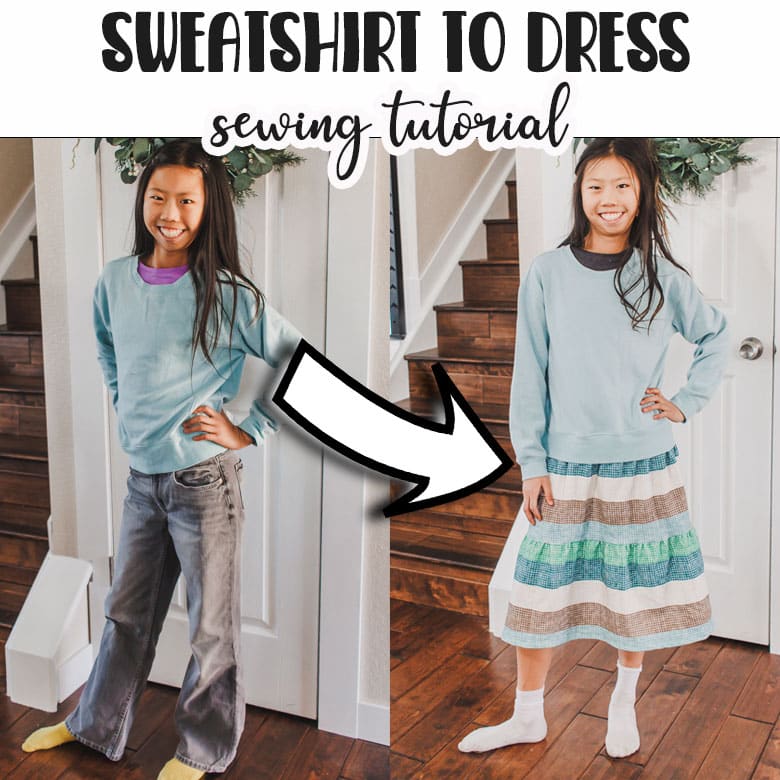
- Sweatshirt to dress tutorial
- Reverse applique tutorial on a sweatshirt
- Puff Embroidery on a Sweatshirt
- Split Hem Sweatshirt tutorial

Video of hoodie sewing hack tutorial-
How to sew a hoodie/blanket combination sweatshirt
Supplies for a hoodie mashup
- A hoodie in the right size. I purchased this one from Amazon.
- A soft blanket. I bought this one from Walmart.
The first thing after finding a blanket and sweatshirt you want to use, is to do a bit of deconstruction. You will need to remove the bottom band and front pocket to start. You can just cut the bottom band, or use a seam ripper to keep all the fabric and not lose a small bit from cutting.


After the band and pocket are removed, draw your cut line on the front of the hoodie. I used a water soluble marking pen for this. You can make a simple curved line, or a bit more complicated like this. I kept the full right shoulder of sweatshirt fabric to stabilize the top.


Cut both the front and back together.


Cut off the sleeve {I didn’t seam rip this, just cut it} and then cut up the under arm. I did use a seam ripper to remove the cuff. Save this cuff to sew back on.


Here are the pieces I will use as patterns for the blanket cutting.


Cut the sleeve from the blanket, adding seam allowance to the top and sides where you cut it. Open up the sweatshirt and pin very securely to the blanket.


Cut and leave around a 1/2″ seam allowance on the blanket. Then take the hoodie front and pin it to the seam allowance you just cut, match up the sweatshirt cut line. Pin hoodie front securely to the blanket.


Piece by piece, pin the hoodie front to the blanket seam allowance and transfer the pins, until you have the front fully assembled. I sewed the front before pinning and sewing the back.


Sew the front of the hoodie. I used the triple zig-zag stitch right on the edge of the sweatshirt fabric, but you can use any stitch you want. Attach back side, by pinning and sewing.


Turn inside out and trim extra blanket. I’m hoping all this fluff with go away after a few washings. Turn back right side out and pin and sew pocket back on. I could see where I had taken it off, so I used that for placement.


Take the sleeve piece and fold it in half. Sew the underarm with a serger or zig-zag on your sewing machine. You want the seam to remain stretchy. Add the cuff to the bottom, then match the under arm and shoulder seam in the shoulder opening. Pin/clip the sleeve in place then sew/serge.


Stretch and pin/clip the bottom band back in place to finish the hoodie. This project took me an afternoon to prep and an afternoon to sew. If I just cut it all apart {no seam ripping} and made a simpler design, it would be a one afternoon project for sure. Can’t wait to see what you create!





Leave a Reply