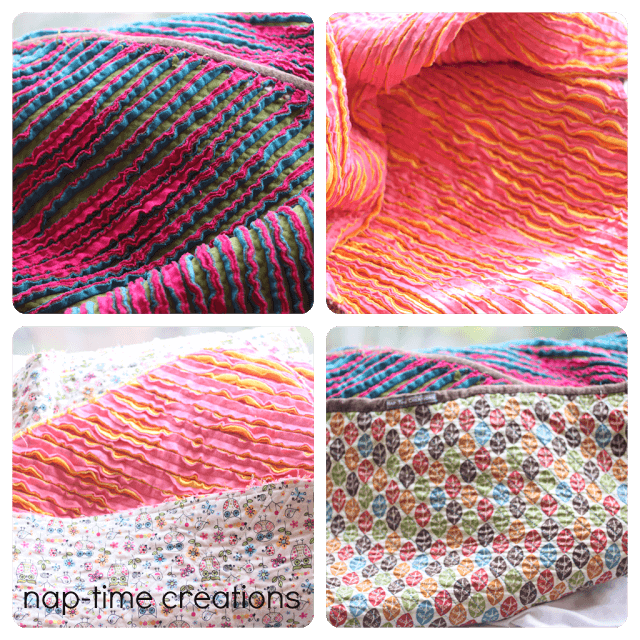
LOTS of people are having babies in our community. So I am busy making baby blankets, which I love to do! I tried a new one recently and think they turned out great! So…..
I will be giving some basic instructions, but if you need more help MADE has a good tutorial too.
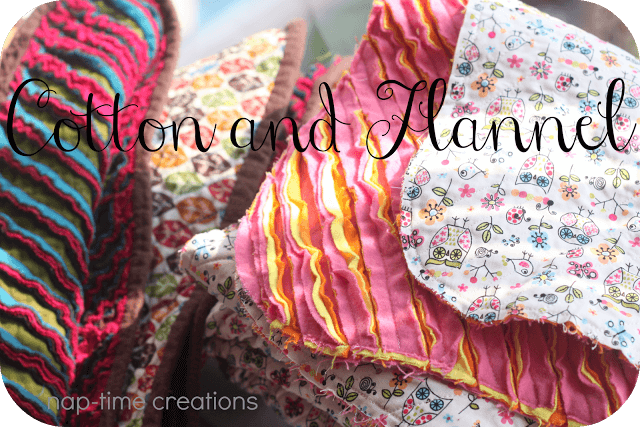
I made mine from one layer of cotton and four of flannel.
I didn’t take photos of every step of the blanket process, but I will be sharing a detailed binding tutorial at the end of this post. Enjoy!
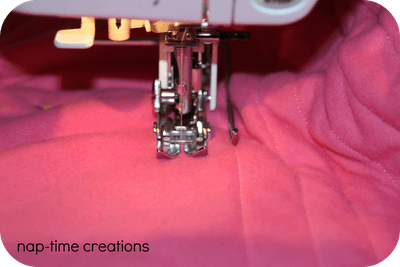
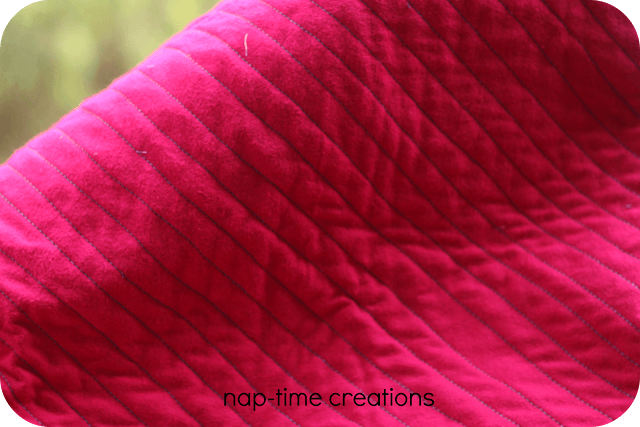
First, you want to decide on the size of your blanket. I made mine square, so used 1 and 1/4 yard of each color. I think this might be a bit big, and if I make more, I will not go quite as big. Lay the print fabric print to the floor first, then layer the flannel next. I put my walking foot on my machine to try and avoid puckers, and it worked well. You want to sew your first seam right down the center diagonal of the fabric, then sew seams on both sides to the corners. I tried to get them about 1/2-3/4 of an inch apart. My walking foot comes with a seam guide, but it was on the wrong side of the foot. It only can go on the right, and I found when I used it, the big bulk of the fabric was on the inside of the machine, so it didn’t work. Back to just eyeballing the lines.
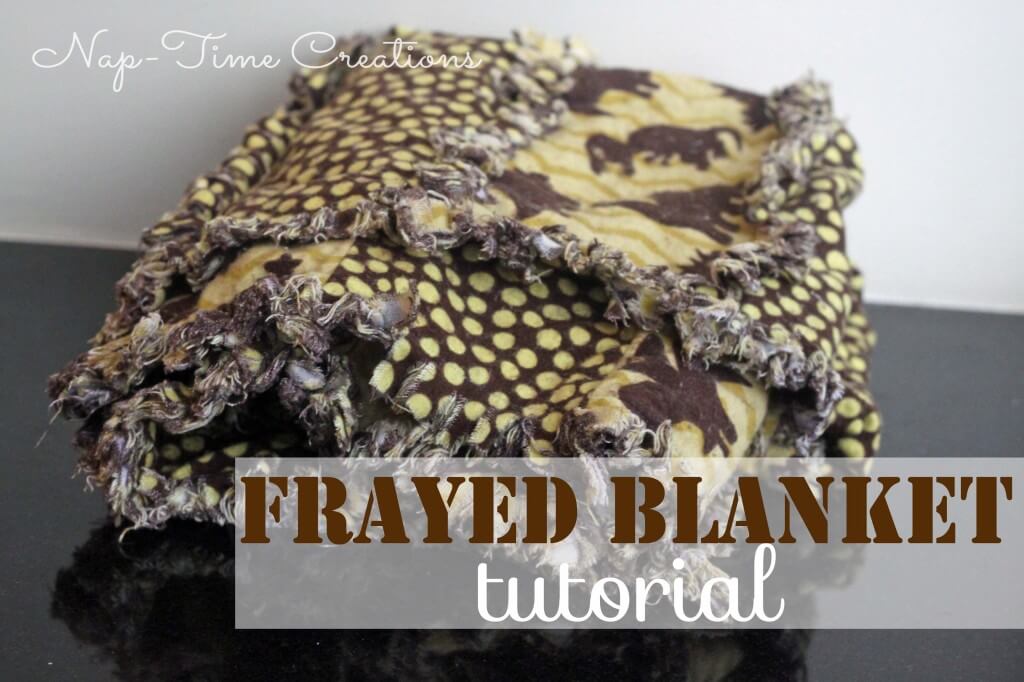
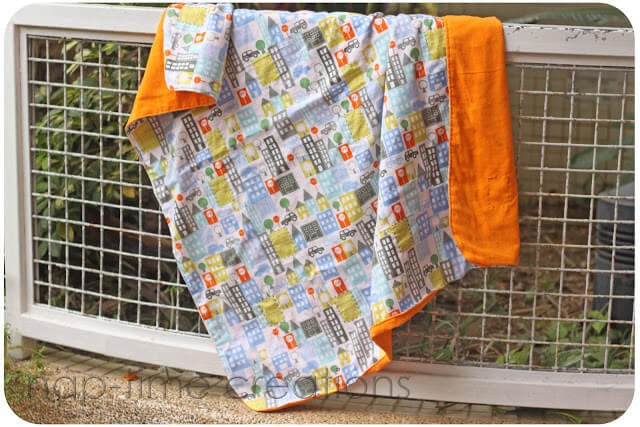
Now you have to cut. I just used scissors and it gave me a couple of blisters, but did the job. I left the top cotton print and ONE layer of flannel uncut. So, I cut through the top three layers of flannel for the fray. It looked like this before I washed it. Wash and dry a couple of times to make it really cozy! Another fabulous frayed flannel quilt is this one.
To begin, cut strips of fabric (I didn’t used the bias, but you can do bias if you have more material) I made them each 2 and 3/4 of an inch wide, you can go wider, but I wouldn’t go much narrower.
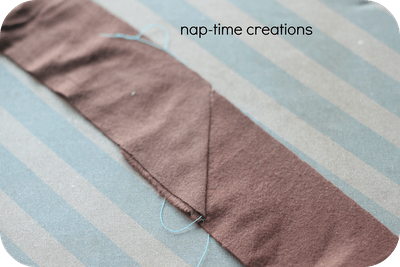
Make sure you have enough that the length will go all the way around your blanket, plus several extra inches. Take two strips and sew them together on the angle, as shown below.
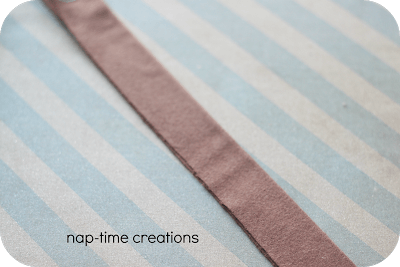
Iron open and trim the extra fabric. (please ignore my ugly ironing board cover.) (perhaps I should be looking up tutorial on recovering your ironing board!).
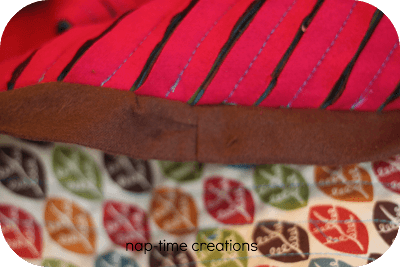
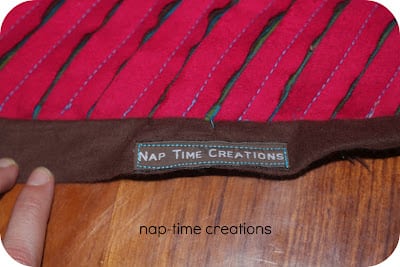
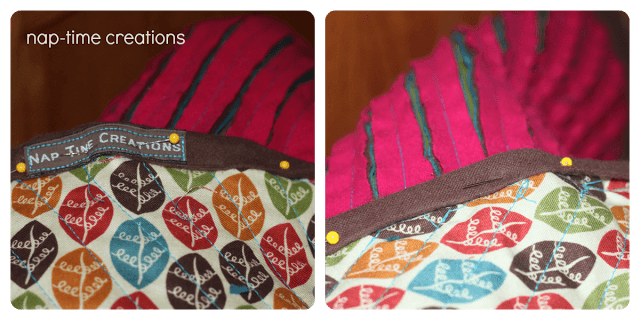
 Pin the raw edge to the BACK SIDE of the quilt. Now, normally when sewing on a binding, you would pin to the top side and then hand sew on the back. But, I wanted to be able to see the cut seams while I was sewing to keep them all straight, so I pinned to the back. Leave around 3-5 inches UNSEWN at either end.
all FINISHED! GO find a baby/toddler to snuggle in your new blanket.

Other posts you may enjoy:














Ivy and Elephants says
Oh I would give anything to be that talented Emily. This is such an awesome post. I would love it if you would share this post at our WIW linky party. Hope you can join us. 🙂
Paula
ivyandelephants.blogspot.com
Mel@Mellywood's Mansion says
Gorgeous I really want to try this but it scares me these look so inviting
carpe diem says
Oh you are amazing! I have never seen anything like this before! Thank you for the tutorial, I will sure try to make one!
Ana
AnaMB says
Emily, thank you for your e-mail. I had no idea that I am no-reply blogger. I guess that happend when I got my Google+ account.
Anyway, I found this great post how to fix that http://mrslambsclass.blogspot.com/2012/07/what-im-no-reply-blogger-google-fix.html
Perhaps it can help someone else 🙂
Thanks a lot, Ana
Rose, Happy Home Decorating says
Love the open ridges of fabric, as well as your labels. neat!
Anu@My Dream Canvas says
Beautiful fabric. This is lovely. Looking forward to seeing you at MDC 🙂
Tonna @ Navy Wifey Peters says
I love the fabrics you used! I have that leafy fabric in my stash. 🙂
Heidi@OneCreativeMommy.com says
These are beautiful. Your tutorial and picture are great. Thanks for sharing this week at One Creative Weekend! Have a great weekend!
Julie says
I am inviting you to come and share this in my Show Your Stuff blog hop:
http://juliejewels1.blogspot.com/2012/10/show-your-stuff-45-eggplant-parmesan.html
Britni @ Hubby Made Me says
I want to make one of these so bad! I found a few on Pinterest a while ago and now your beautiful blankets remind me how much I want to make one! Those turned out so pretty, I’m loving the fabric you used. Especially the owl blanket! My daughter has to have one 🙂 I would love if you shared these gorgeous blankets at my Throwback Thursday party! Thanks for sharing and I hope to see you there 🙂 http://www.hubbymademe.com/throwback-thursday-no-14/
Seaweed and Raine says
Great job! I’ve been wanting to make one of these for ages. I saw the tutorial for it on the Aesthetic Nest.
Heidi@OneCreativeMommy.com says
Congratulations. This post was a fan favorite (and one of my favorites) at One Creative Weekend on OneCreativeMommy.com. I’ll be featuring it tomorrow. Feel free to stop by to grab a featured button and check out the other projects. I hope you’ll link up again this week!
Britni @ Hubby Made Me says
Just stopping by to thank you for linking up to Throwback Thursday and to let you know that I’m featuring you at the party this week! Come on by and grab your feature button if you’d like one 🙂
Kathy Shea Mormino says
Hello, new follower here! I would love to have you link up with my Clever Chicks
Blog Hop this week!
http://www.the-chicken-chick.com/2012/10/autumn-giveaway-clever-chicks-blog-hop-4.html
I hope to see you there!
Cheers!
Kathy
The Chicken Chick
Thanks!
Kathy Mormino
860.712.3409
Anonymous says
These are darling. I can’t wait to make one for our expected grandbaby.
Would you share the source of you labels? queen anns lace at geo cities dot com
Lee
Jean Jankovich says
Hi. Beautiful baby blanket – can you please tell how many total layers of fabric are needed? Thanks & great job!
Emily says
yep! In the post I mention that you need one layer of cotton fabric and four layers of flannel. Hope yours turns out great!!