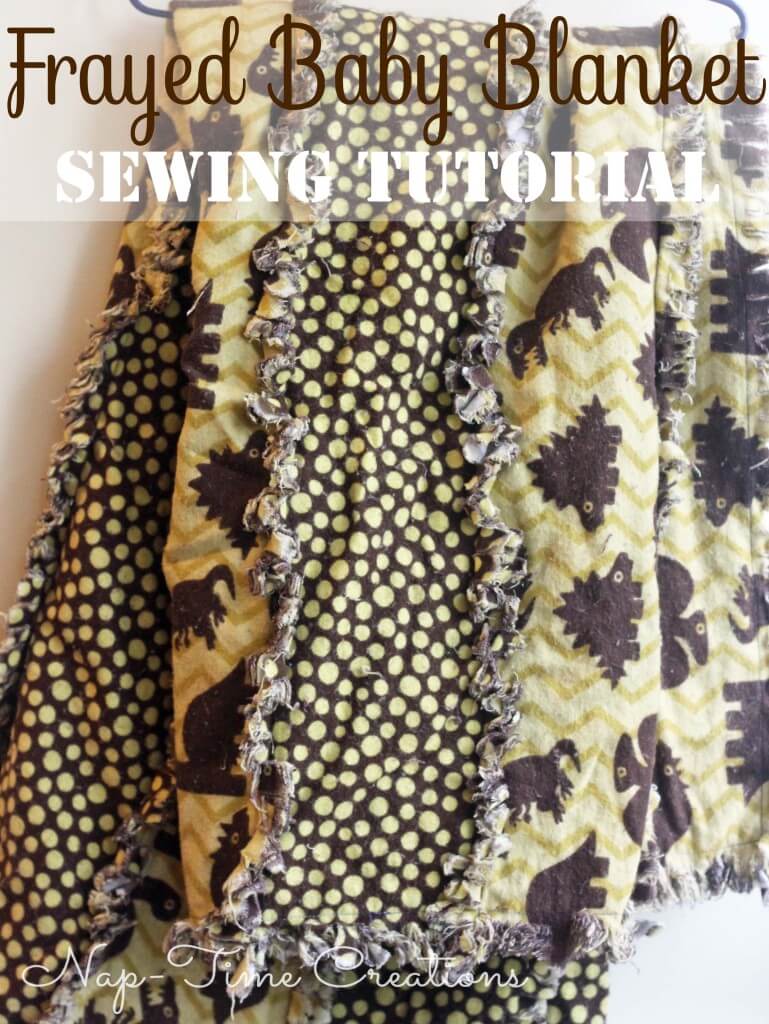
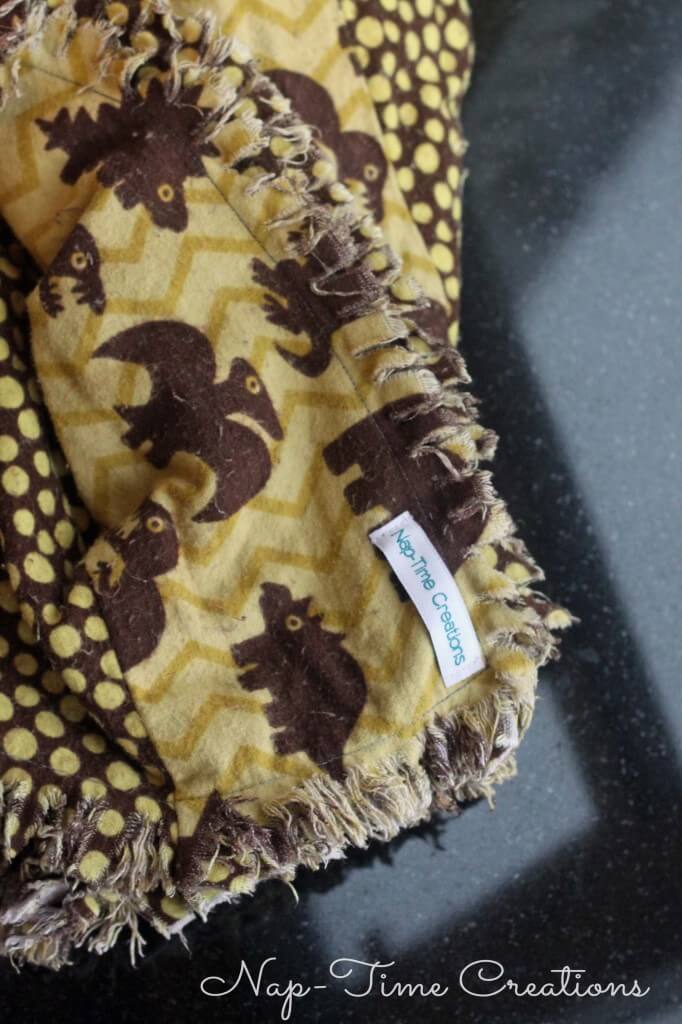
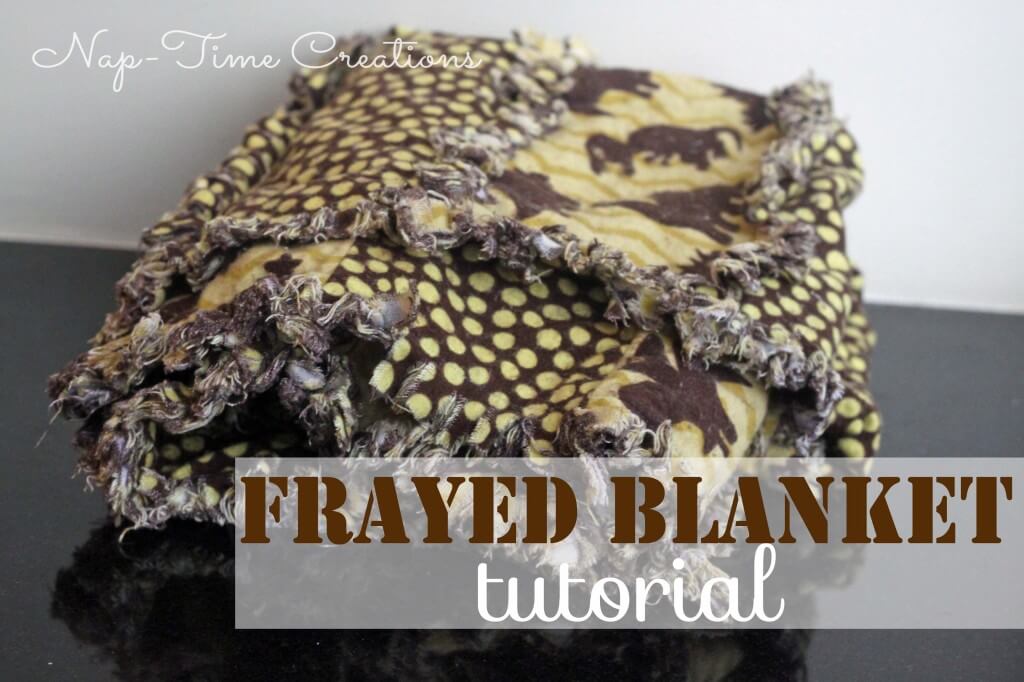
I do love making baby blankets, even with no babies left in this house. They are so rewarding because they sew up so quickly! This Frayed Flannel Baby Blanket is a variation of this blanket. But with long strips instead of squares. Here’s the finished product.
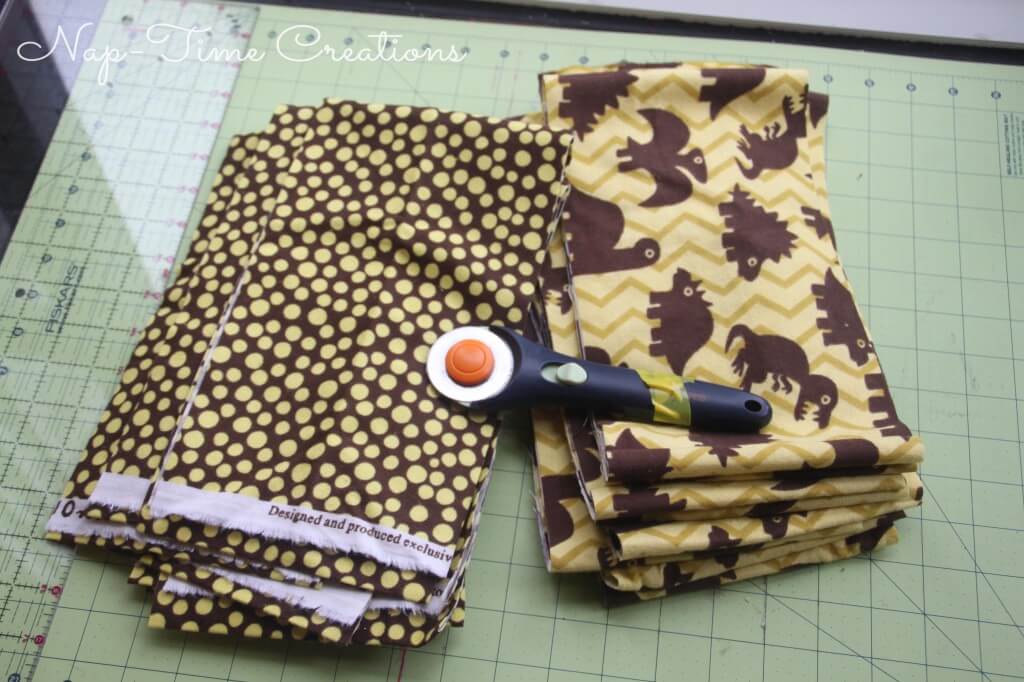
I don’t love the final shots that I took, but I’ve already given this away, so they will have to do. This frayed flannel blanket sews up in an afternoon and doesn’t require anything but flannel {no inside batting}. I started with a yard and a half each of two coordinating colors.
I cut the fabric into 7 inch strips the width of the fabric. This will create 5 inch striped with 1 inch seam allowance on each side. You can make them wider or narrower, but if you make them smaller you will need more fabric.
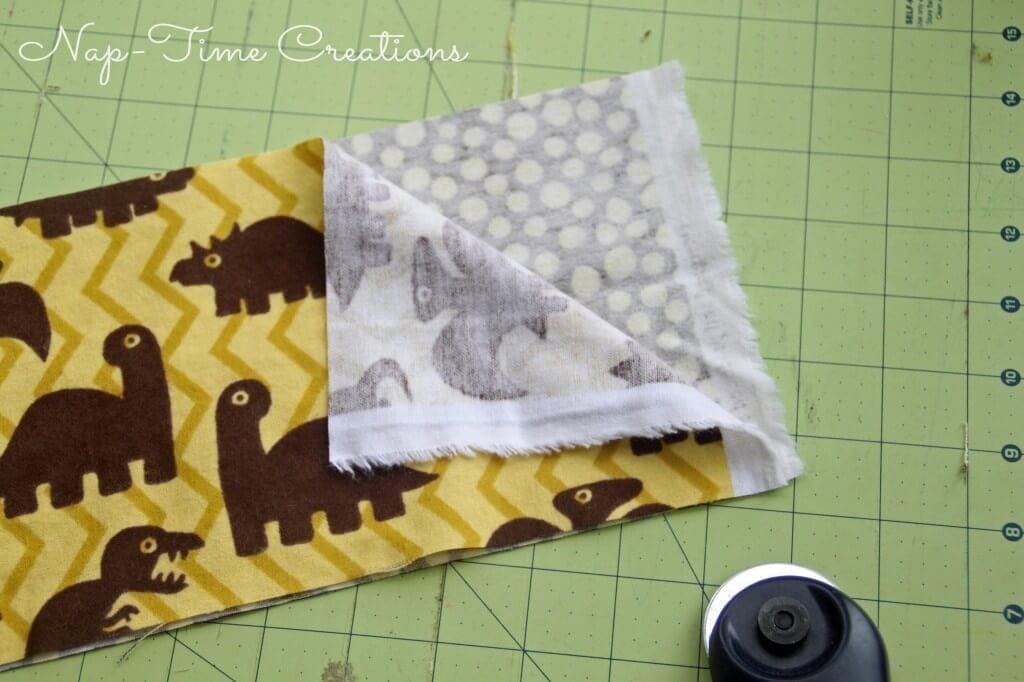
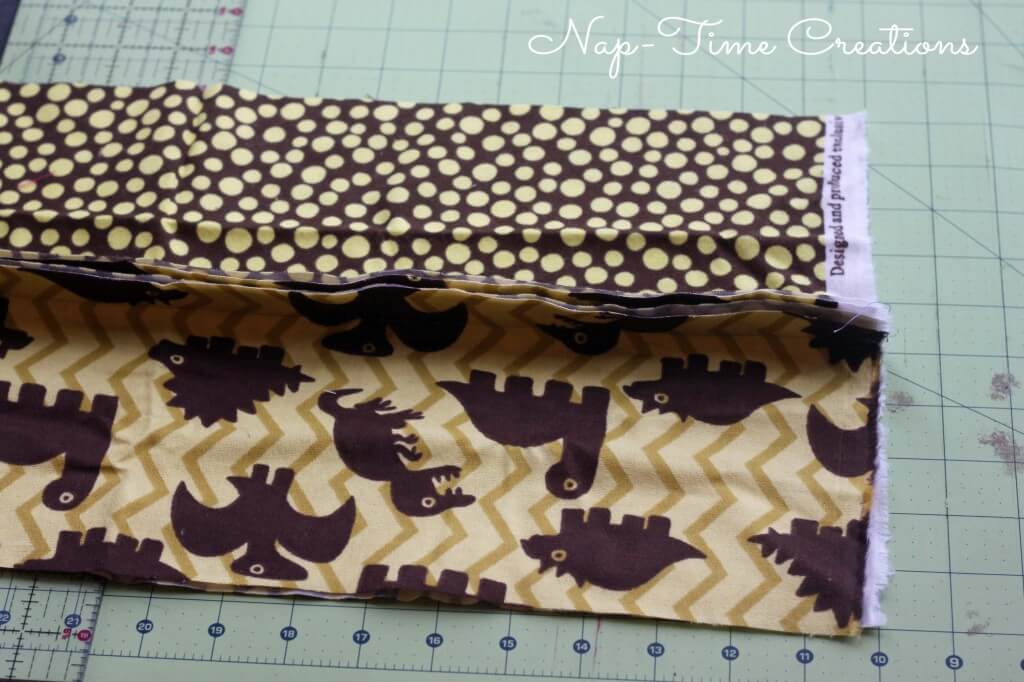
Pair up the strips with one of each fabric in each pair and lay wrong sides together.
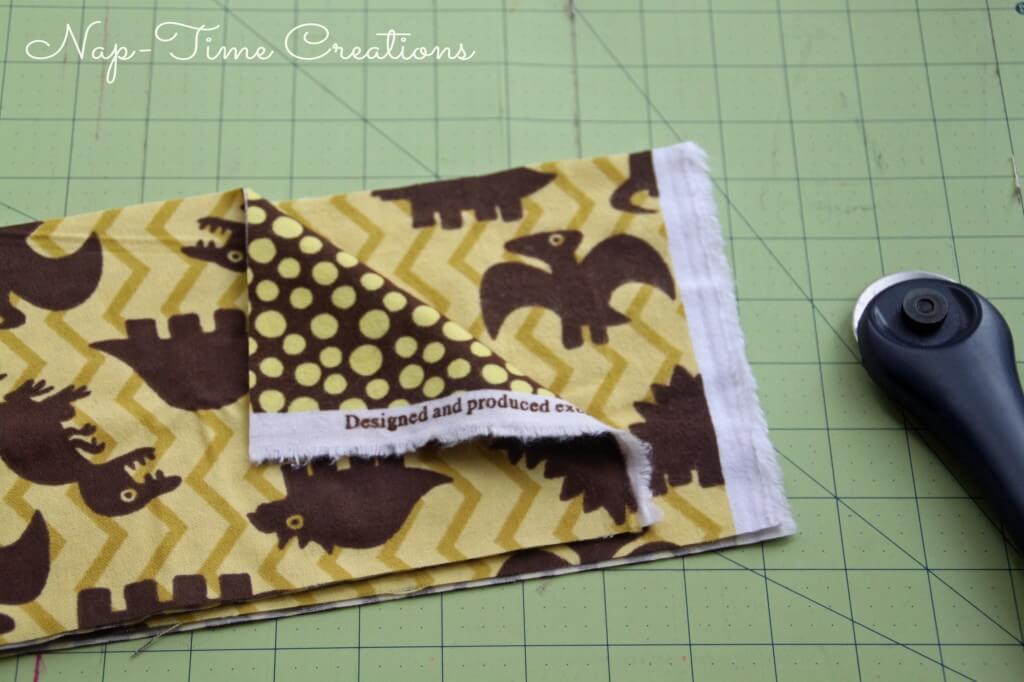
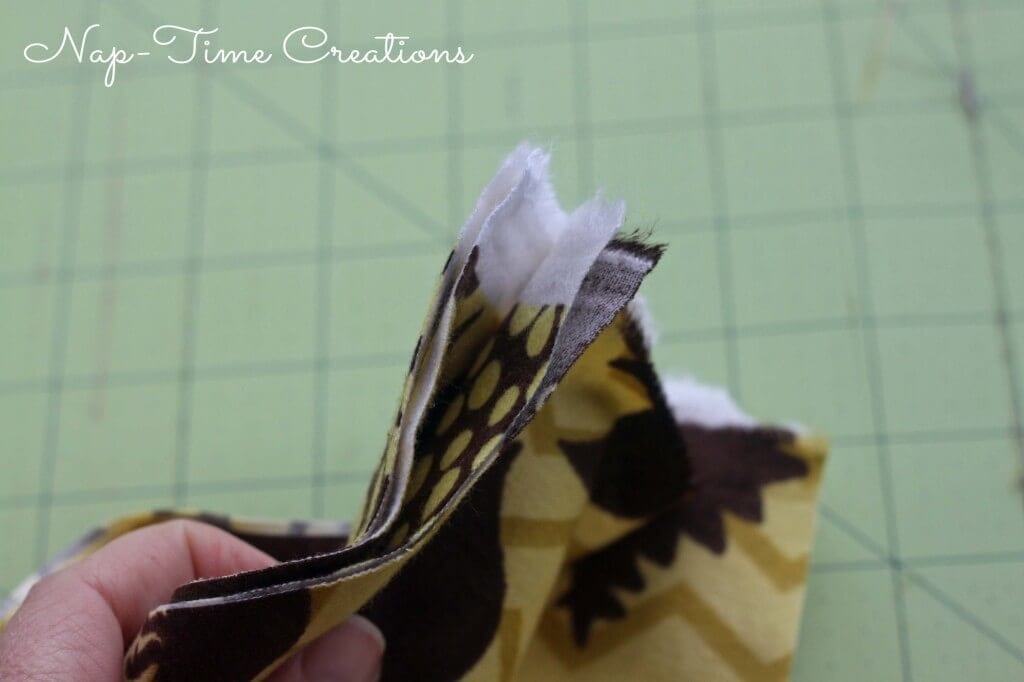
Grab two pairs {so four pieces of fabric} and place together, so the two in the middle are right sides together, with DIFFERENT fabrics touching. I have dino on the left and dots on the right, touching right sides. Pin and sew the long side of the fabric with a 1 inch seam allowance. If you want all of one color on each side {not alternating} match the fabric when you put it together.
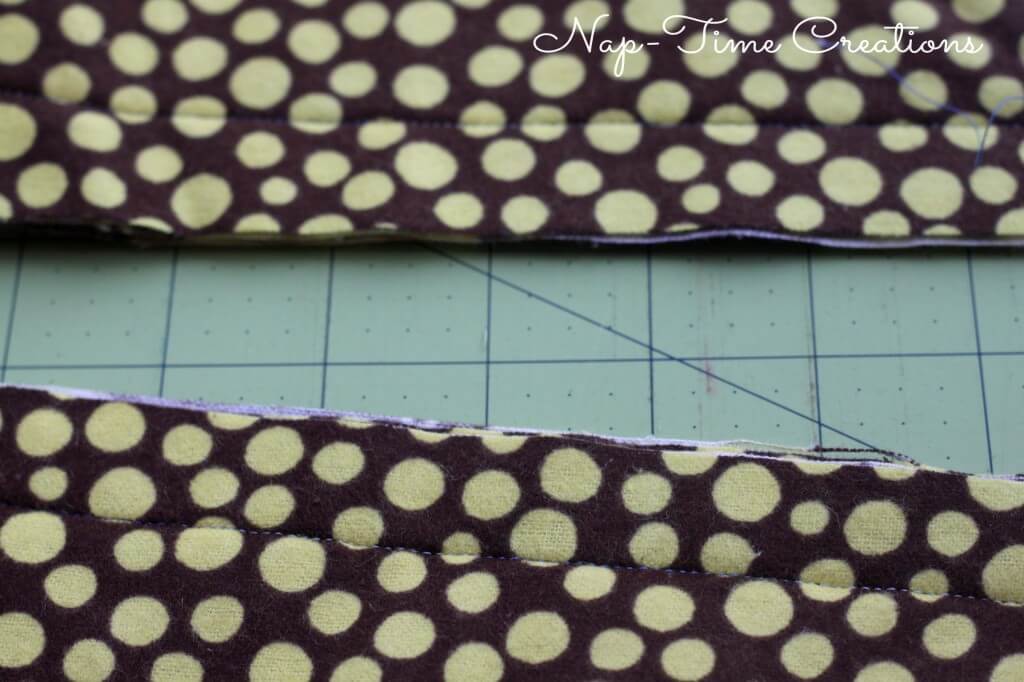
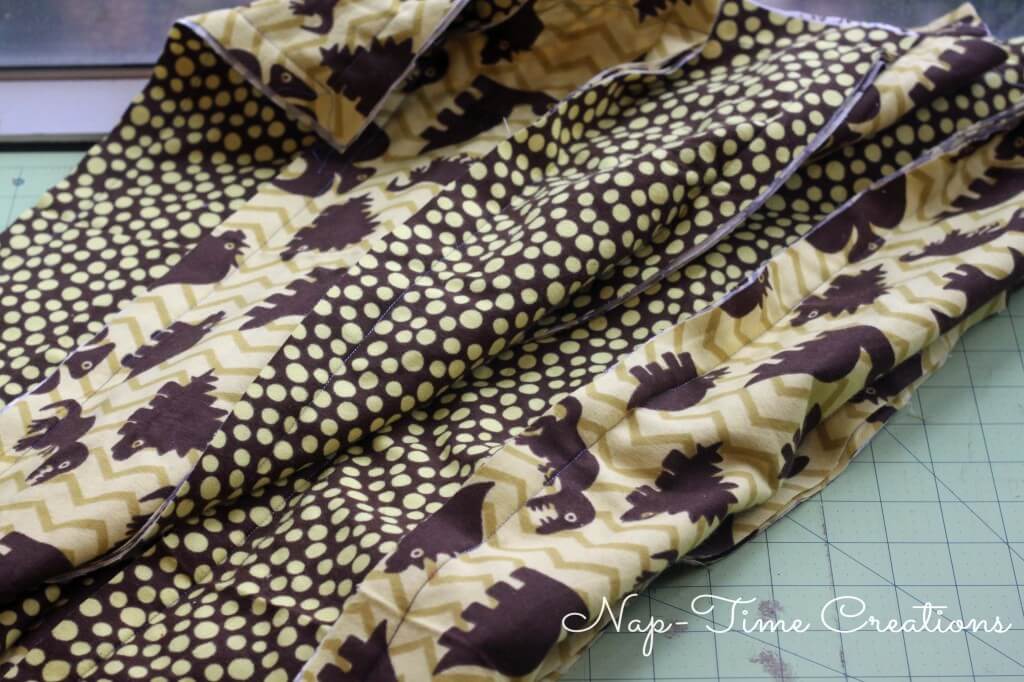
Continue piece the strips, keeping the wide seam allowance on the SAME side of the blanket {I had to rip out at least one seam!} One side should have flat seams and the other sticks up.
When its all put together, sew around the outside of the blanket at 1 inch seam allowance. Now, clip at 1/2 inch intervals on every seam and around the outside. Wash at least twice before using and watch the flannel fray beautifully… you will need to empty the drain of your washing machine, LOT of bits get caught! Add a tag if you have them and you have a beautiful gift!
If you would rather add a binding instead of clipping the edge, you can follow this tutorial here for binding a baby blanket.
Find lots more Sewing for Baby projects in my gallery here.





Sarah Fuller says
This is a super cute baby blanket. You are always so creative. Love it.
Sara says
Awww this is too sweet. I’d love to be able to make my own blankets for my littles!
I’d love it if you could hop on over to Tell it To Me Tuesday and link up your posts with us!
http://www.sweetsillysara.com/2014/04/tell-me-about-it-tuesday_21.html
GN says
I love this idea, it looks so simple and most important, so soft for the little loves.
However, I am somewhat confused as you do not list yardage needed, total number of strips, and final measurements. Can you help me out please?
GN says
Hi again, I just reloaded this page and the missing information (The very first picture and caption) appeared. I do not know why it did not the first time. Thank you for this wonderful pattern. I most definitely will complete several this year. Many new little one are gracing our friends and family. Also thinking of making it a bit larger form throw blankets for my grands. Will personalize to there favorite teams/sports etc
Emily says
great! Glad you found the information you needed!!! I think this would be great in a larger size!! Everyone needs a snuggly blanket right?
Michelle blue says
I have a question, once I match and sew together all the pairs, I am unclear as to how to connect them all together. I am a beginner and I think I am missing something.
Thank you, it’s a beautiful creation.
Emily says
so once you have the first two strips together, place another two pieces of fabric {like you did the first time} along the other long side of the fabric and sew that. So you then will have three strips together…continue… I had 6 total…
Michelle B says
I am a beginner and I understand everything except how to put all the pairs together
Into one piece. Maybe I just don’t understand the directions. It is a beautiful blanket idea.
Please can you give me a hint
Michelle B says
Thank you!
Tina Miller says
Emily: once you have all the strips sewn together and are going to sew the front and back together, do you open up the 1 inch seam allowance strips and then sew around the edges or do you leave them together and just make sure that all the edges are facing the same direction? this is such a cute idea and looks so cute! Thank You! Tina
Emily says
sorry I didn’t get back to you! Yes, you want a SA around the outside as well so you can clip it and fray it. I hope that’s what you were asking…??
błędy medyczne adwokaci says
My family members all the time say that I am wasting
my time here at net, however I know I am getting knowledge all the time by reading thes
pleasant articles or reviews.