
inside: learn how to make this fun Basketball mom shirt with applique. Cute applique project to make for basketball season with your embroidery machine. Supplies and tutorial.
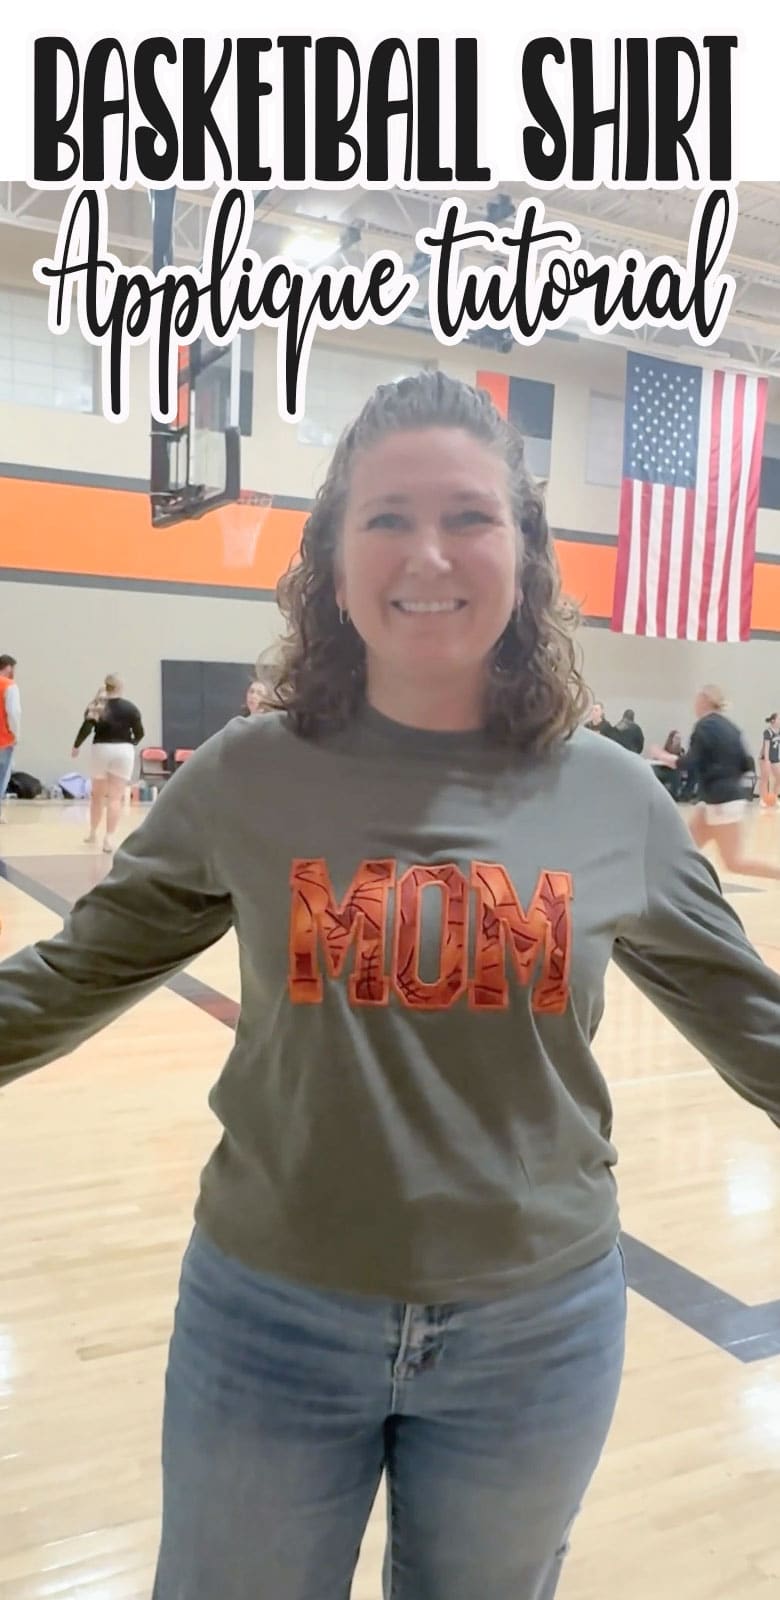
It’s basketball season around here! My 9th grader is playing basketball and I needed a few new shirts to wear to his games. I’ll be sharing a few fun sport shirt tutorials in the coming weeks, and this one is for all the basketball moms! I wore it to a game last night and already had another mom ask me to make her one.
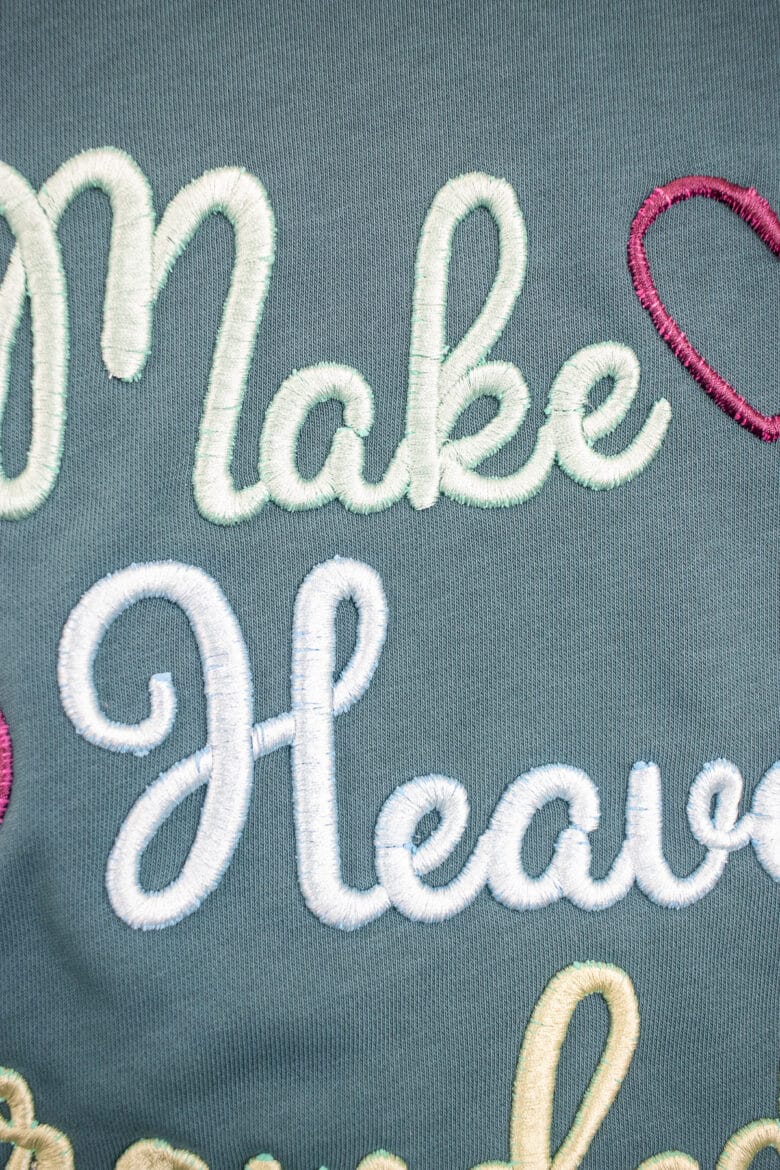
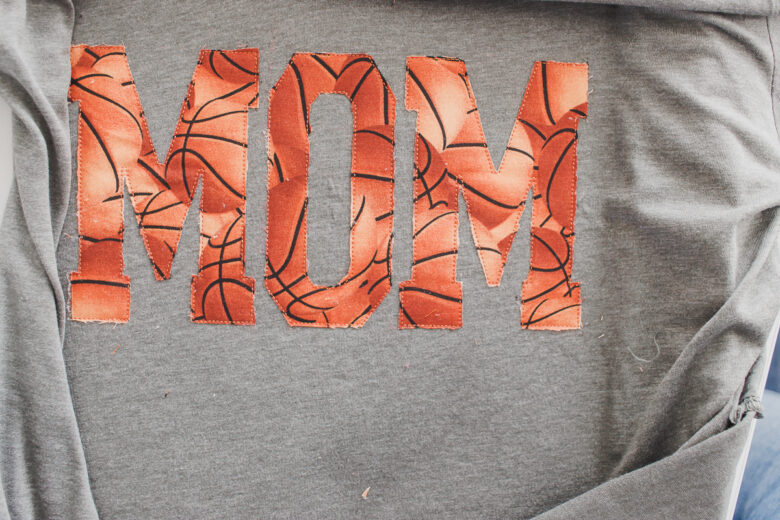
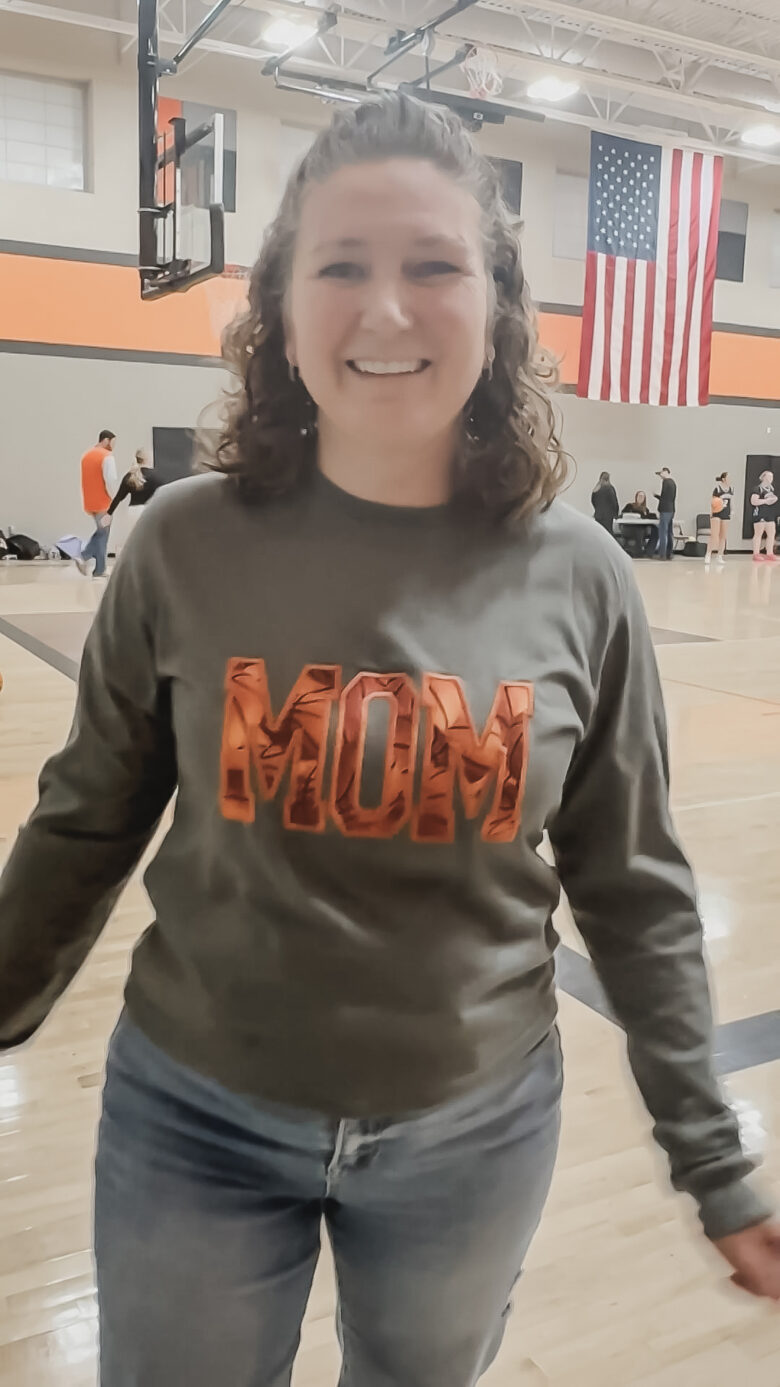
Basketball MOM shirt with applique
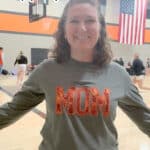
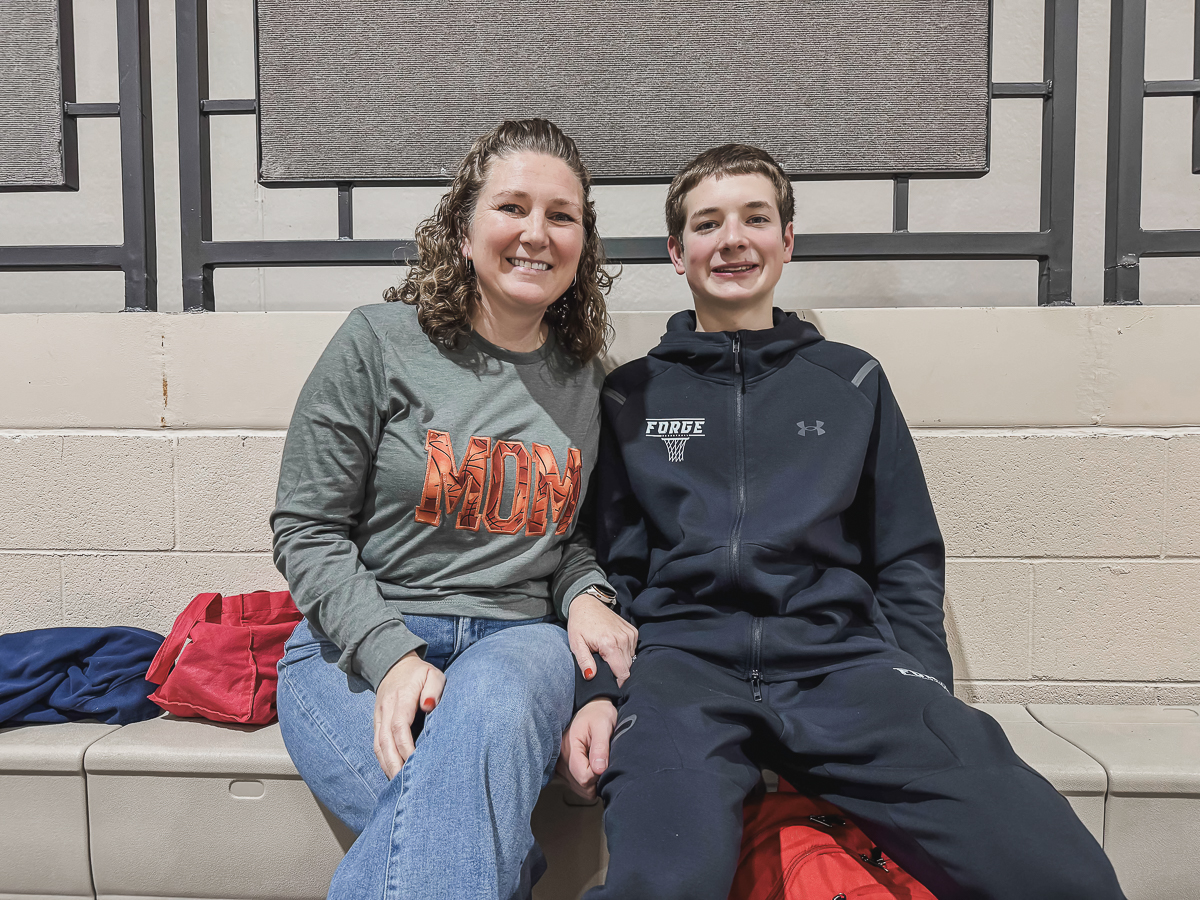
Here I am supporting my favorite basketball player, while wearing my shirt. I’ve worn it a few times since and I’ve gotten compliments each time. If you create the applique design on a comfy shirt, this may be your new favorite shirt to wear – basketball game or not. {haha}
Of course you could use this same idea and put any type of sport fabric inside the letters to support your child in whatever their passions are!
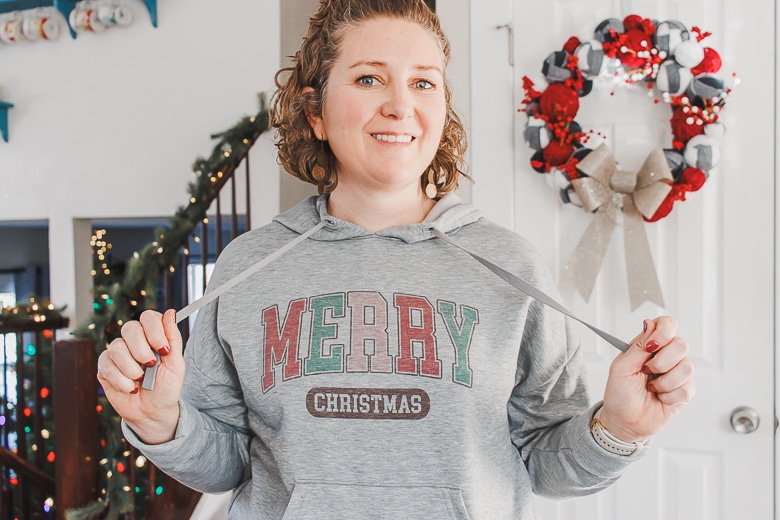
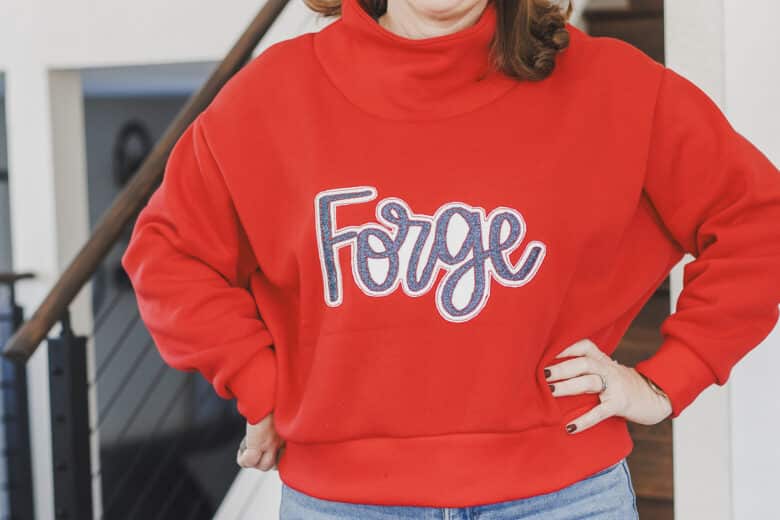
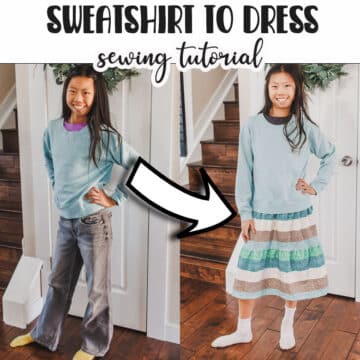
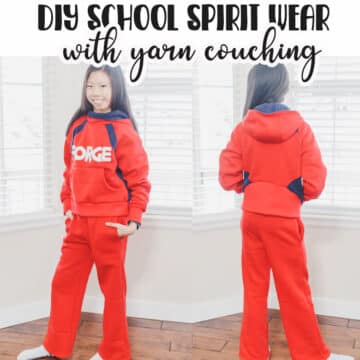
Other ideas for custom spirit wear-
Here are some other ideas for creating custom sweatshirts. All of these ideas convert perfectly to creating DIY spirit wear or sweatshirts to support your team. You can check out the tutorials for each below.
- Sublimation design
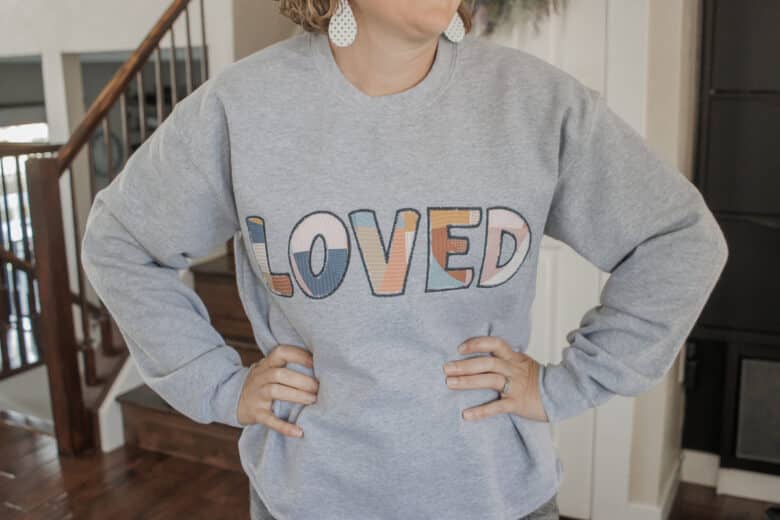
- Applique with sports fabric
- Puff Foam Embroidery
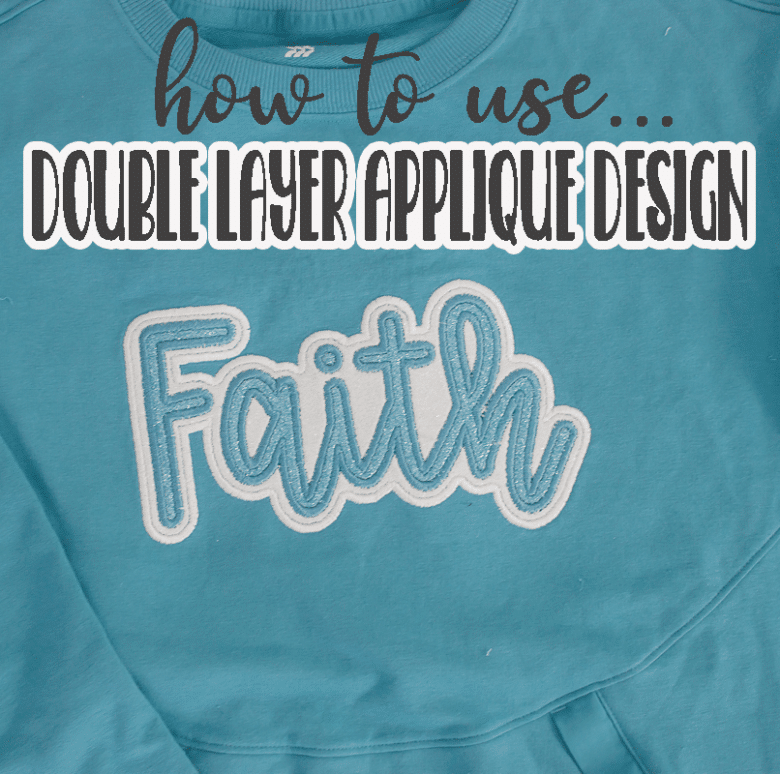
- Double layer glitter applique
- Reverse applique
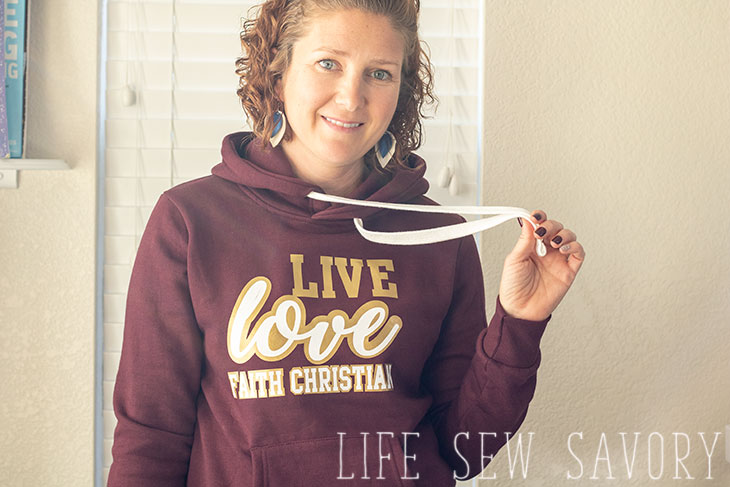
- Vinyl design with offset layer
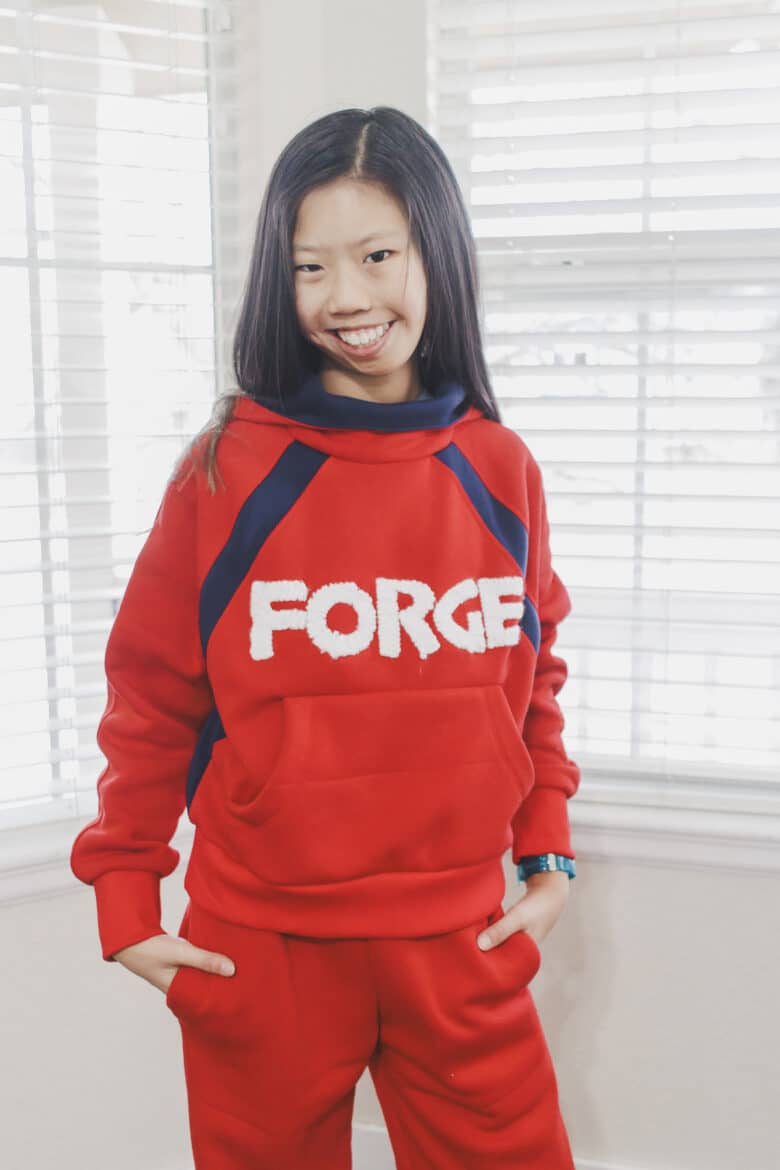
- Yarn couching
- Double layer faux canvas
How to applique a basketball mom shirt
ok! let’s jump into this project. It’s not so different from any other applique project, but if you are trying something like this for the first time, this {hopefully} will be helpful.
Here’s what you will need:
- A shirt or sweatshirt
- Basketball fabric
- Fusible applique backing
- Adhesive and medium weight tear away stabilizer
- Orange embroidery thread
- Applique font – I used this narrow sports applique font.
- {optional, but helpful} Curved embroidery scissors
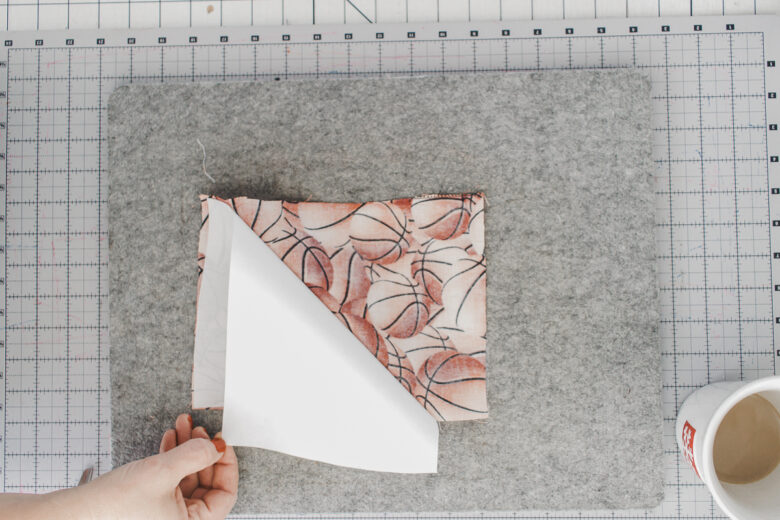
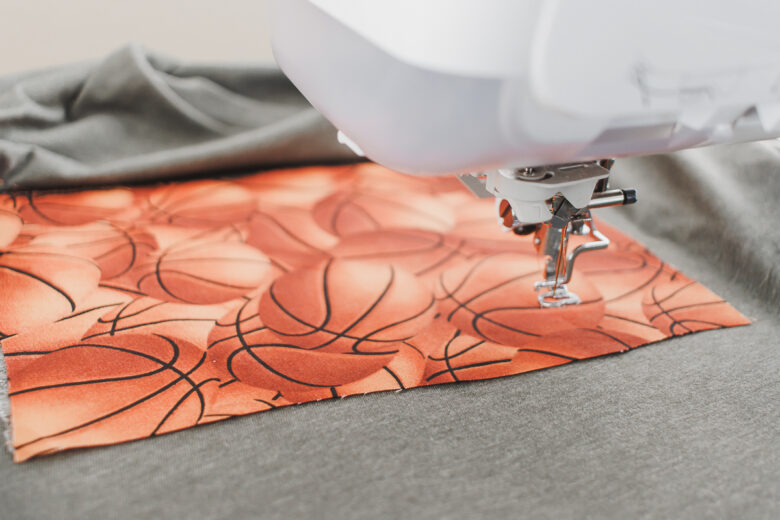
Start by prepping the fabric. Cut a piece of the basketball fabric just a tiny bit bigger than your total design. The fuse the applique backing to the back side of the fabric.
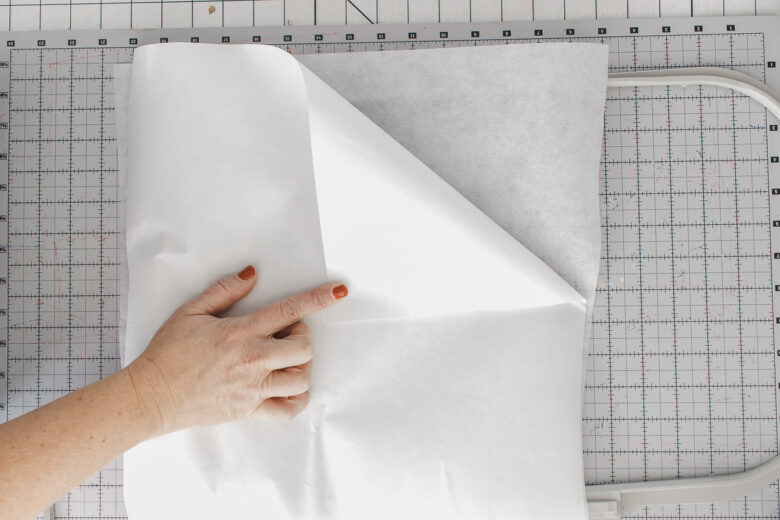
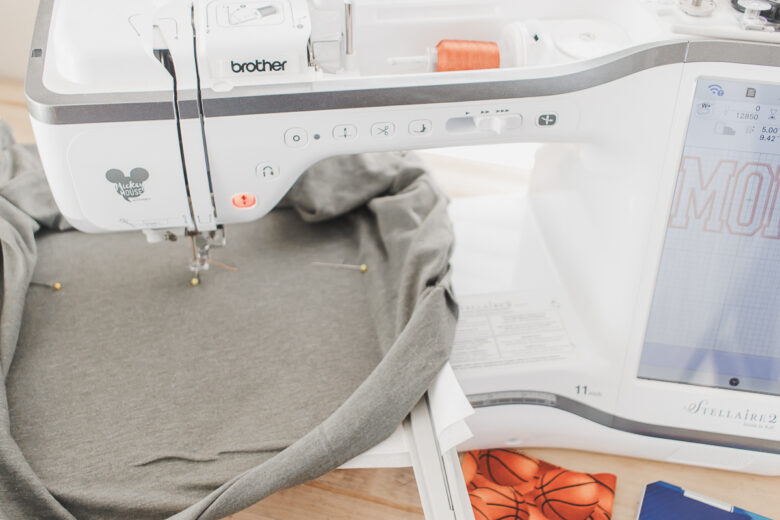
To prep the hoop I like to place a piece of tear away under a piece of adhesive stabilizer. Hoop just the stabilizer.
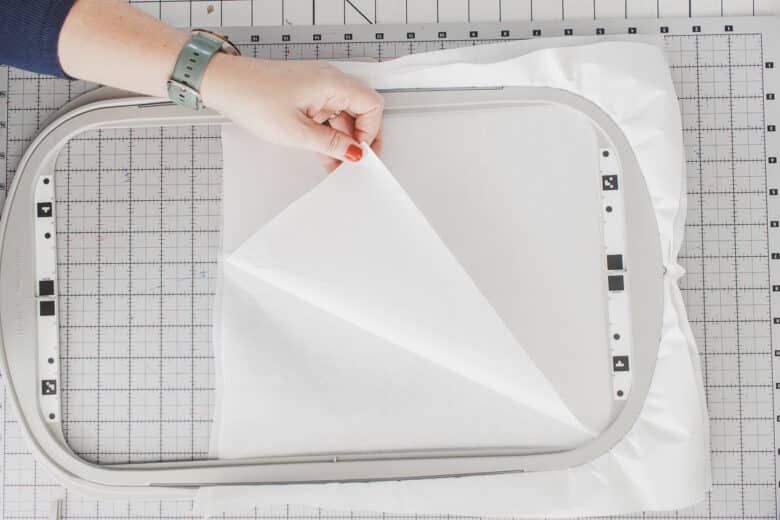
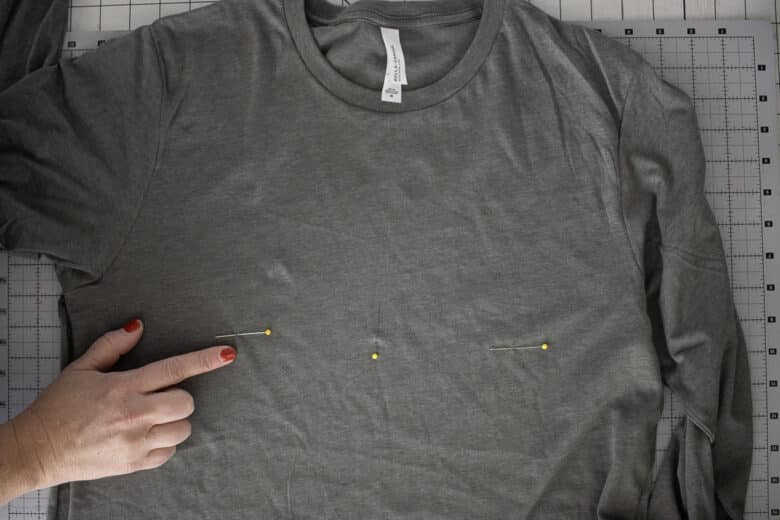
Rip away the adhesive cover to reveal the Sticky backing. On my shirt I usually will rip out the side seam to make it easier to hoop. {see this post for prepping a shirt for embroidery} Place a pin to mark the center, and then I also mark the bottom edge of the design. This allows me to have a few markers for alignment when hooping the shirt and placing the design.
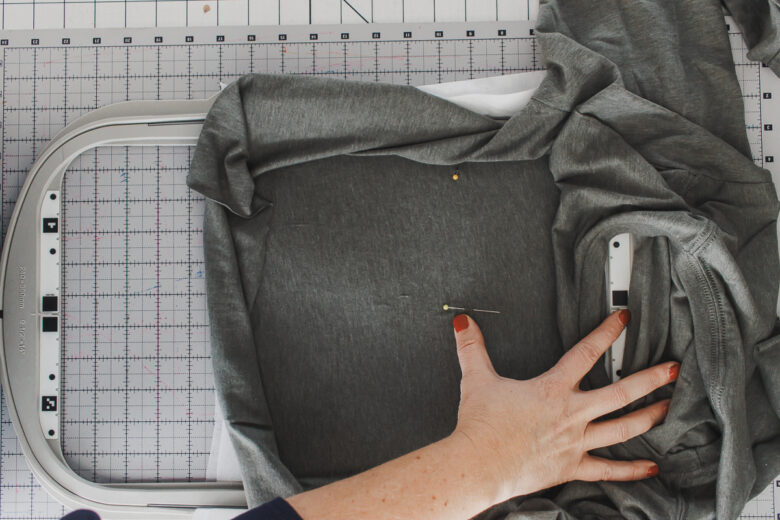
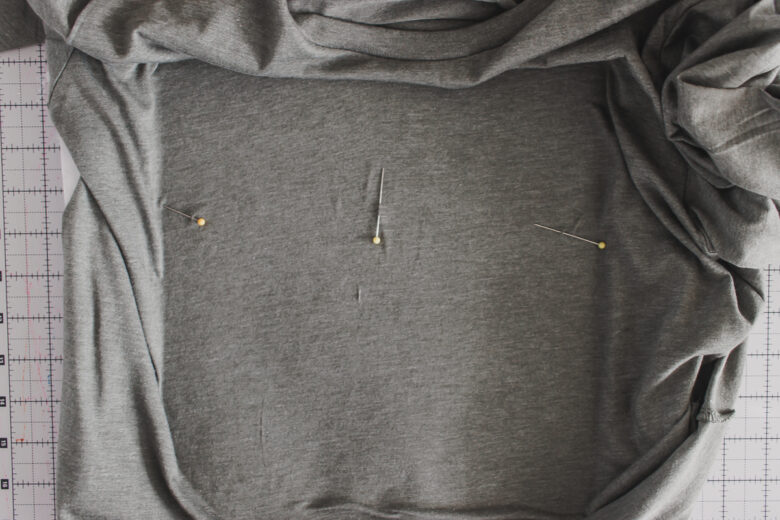
Place the shirt on the sticky stabilizer. I try to keep the center pin as close the center and possible and use the other pins to alight straight in the hoop.
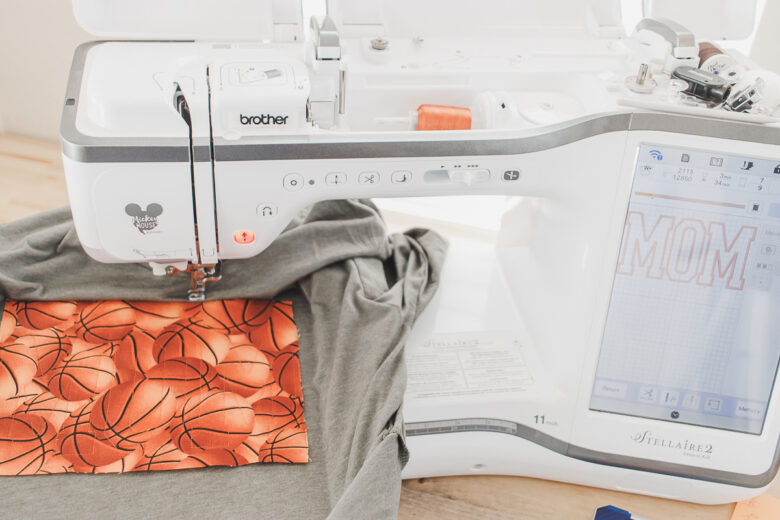
Import the letters you need to your machine. I only needed M and O. Arrange the letters in a straight line and adjust to the desired size. If your machine offers a color sort option I would do this for sure. {see below}
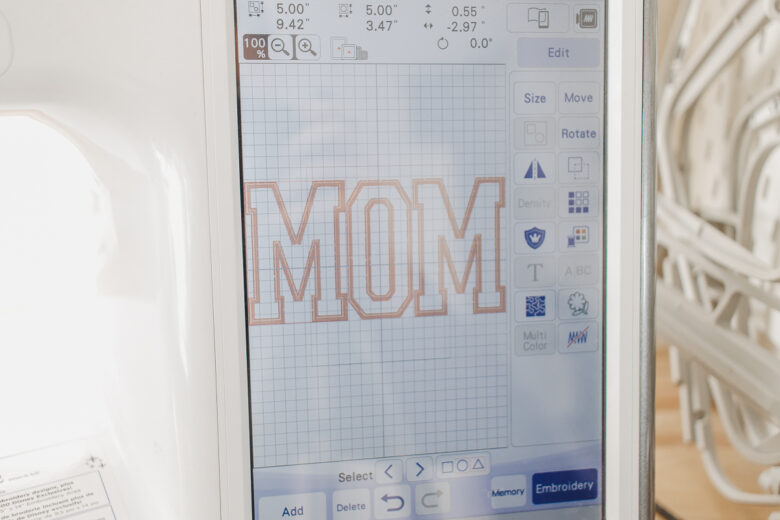
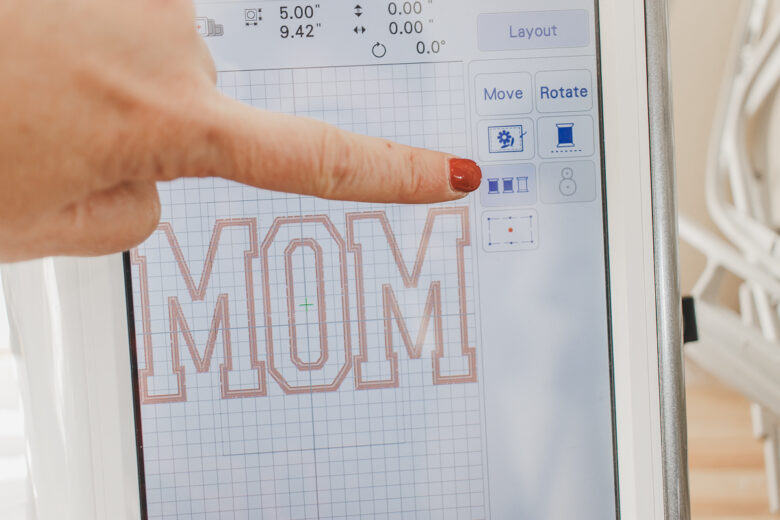
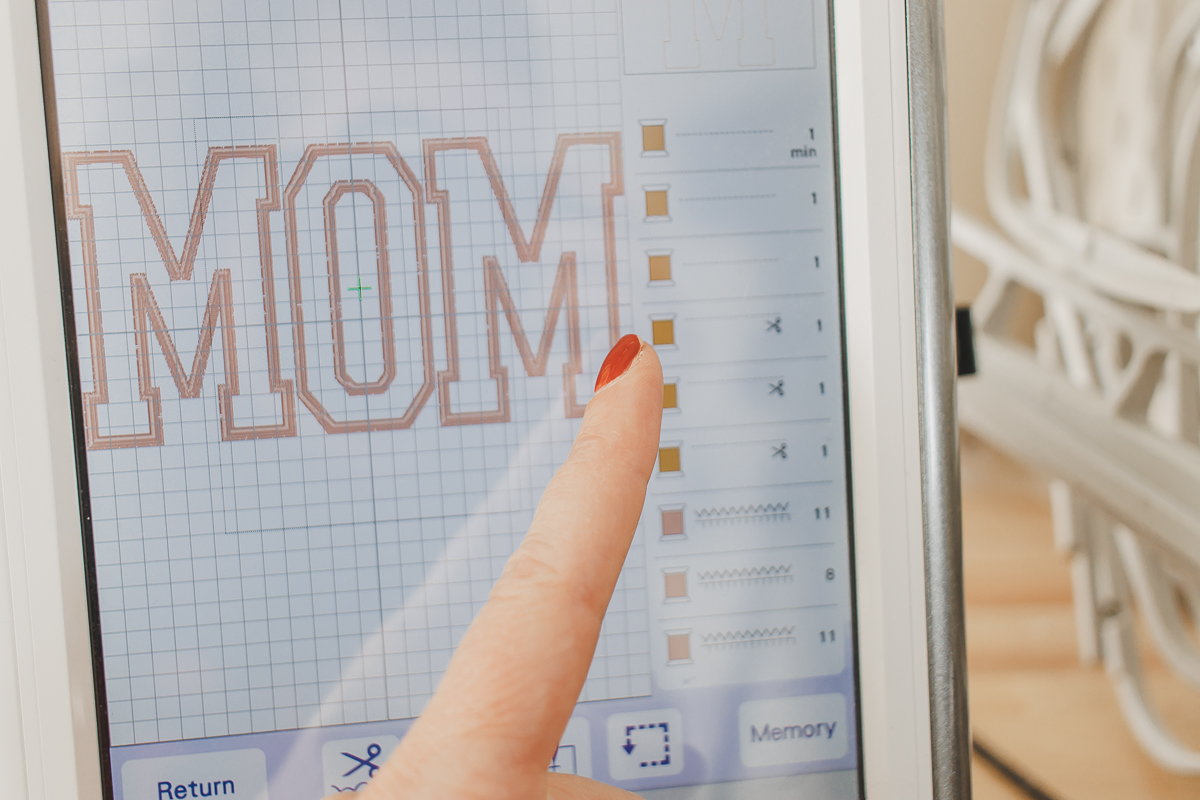
The color sort allows you to do each step of every letter together to make it easy. I like to stitch the placement line – for all letters. Then the tack down stitch, then finally the satin stitch. I’m doing the whole design at once, not letter by letter.
If you don’t have the color sort option, a work around is to use the arrows to move through the embroidery design to do each step of all three letters before moving on.
Adjust the placement of your design as needed, then stitch the placement stitch for all letters.
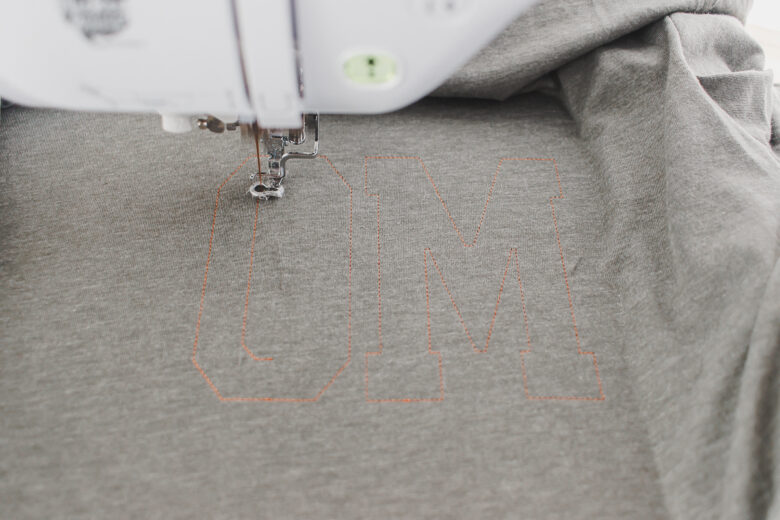
Put the fabric over the placement stitches and then stitch the next step, which will tack down the fabric.
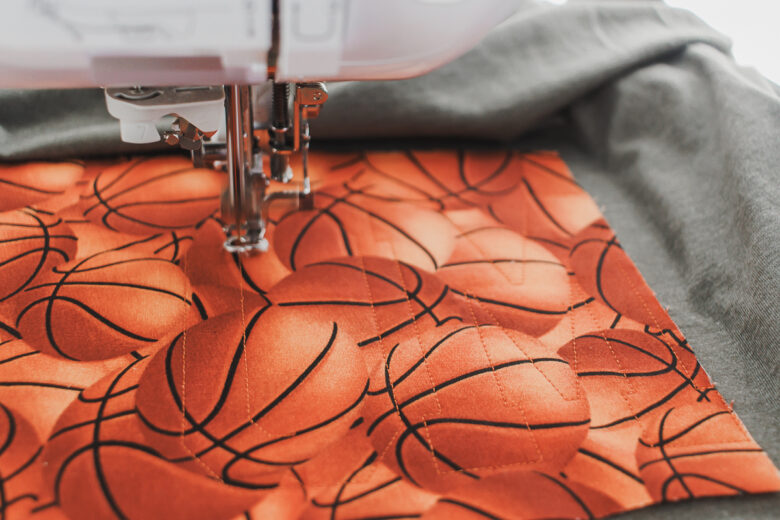
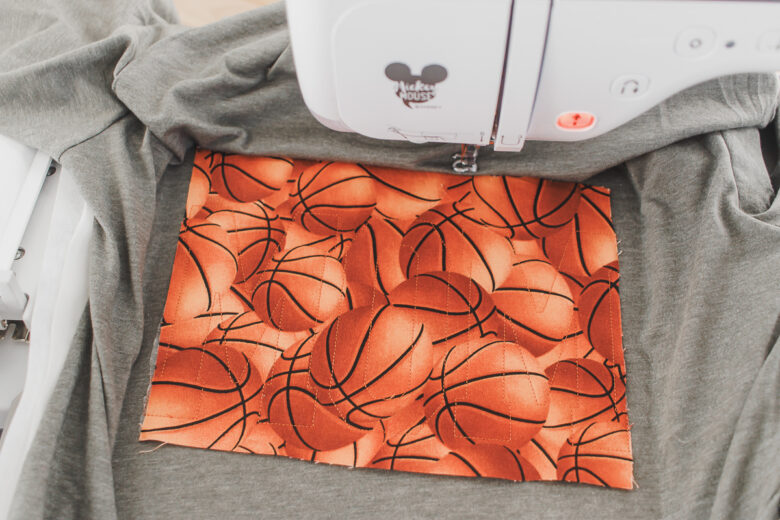
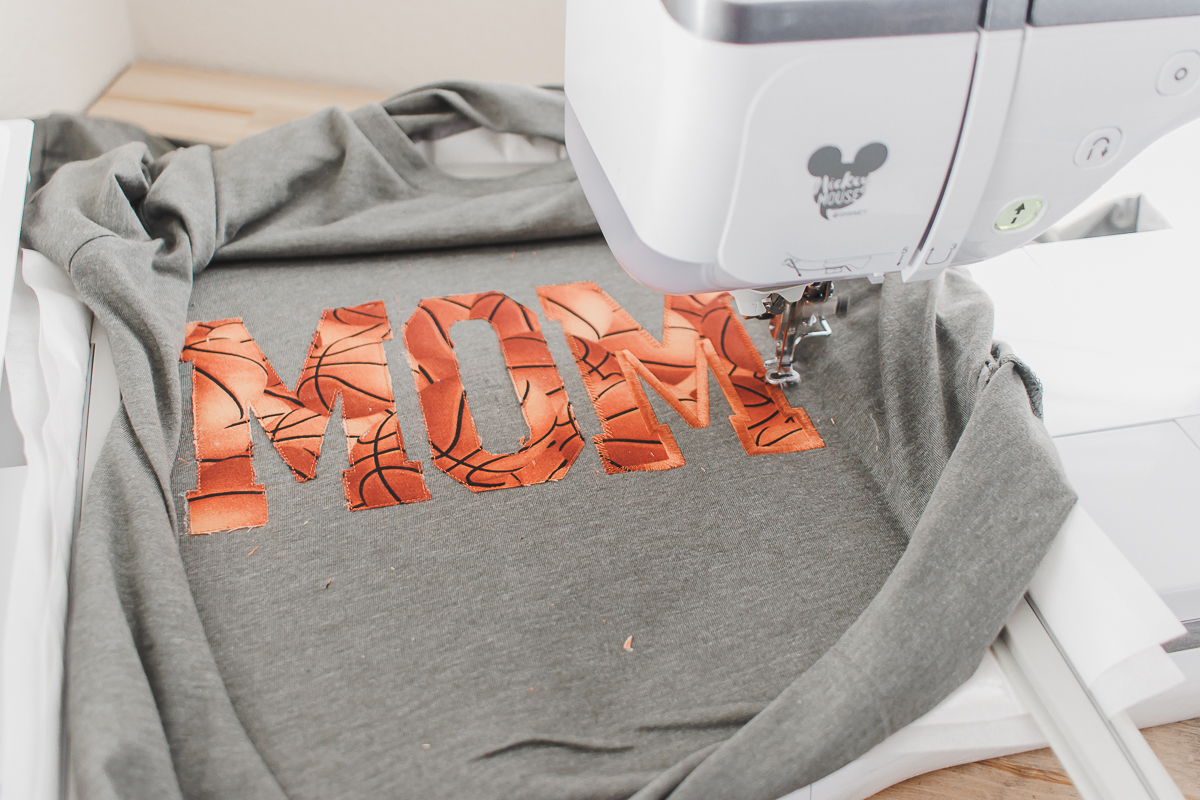
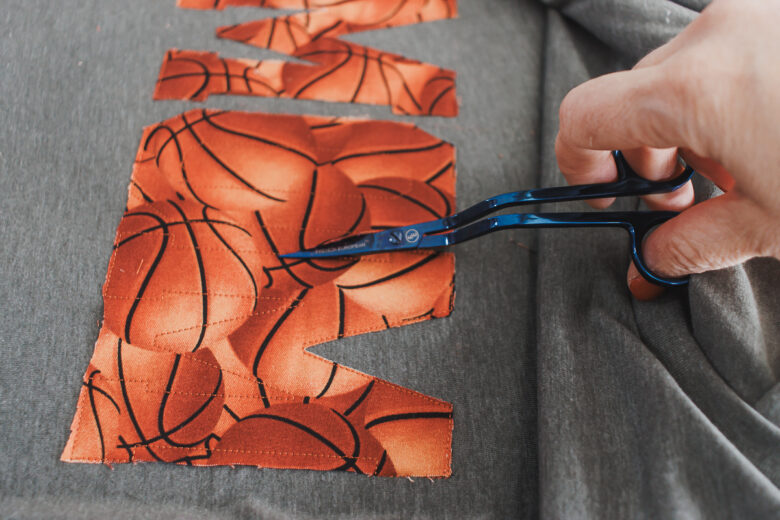
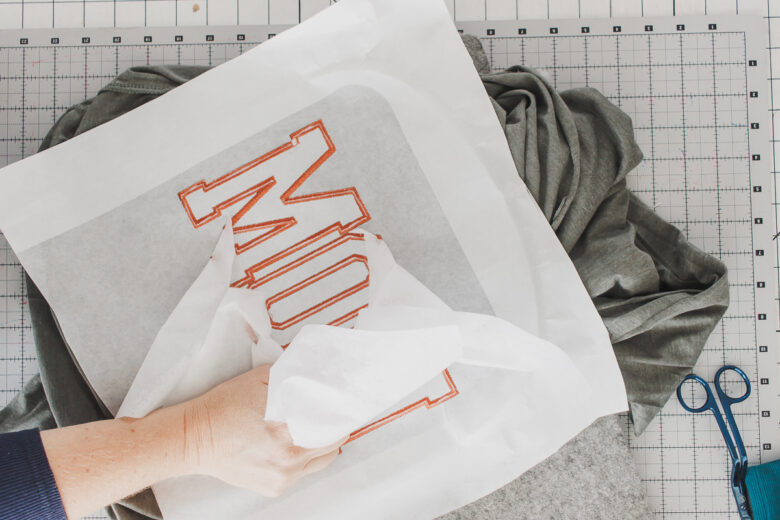
Once all letters are stitched out, I like to remove the hoop from the machine, then use my curved embroidery scissors to trim around the letters. Get as close to the stitches as you can without cutting the thread.
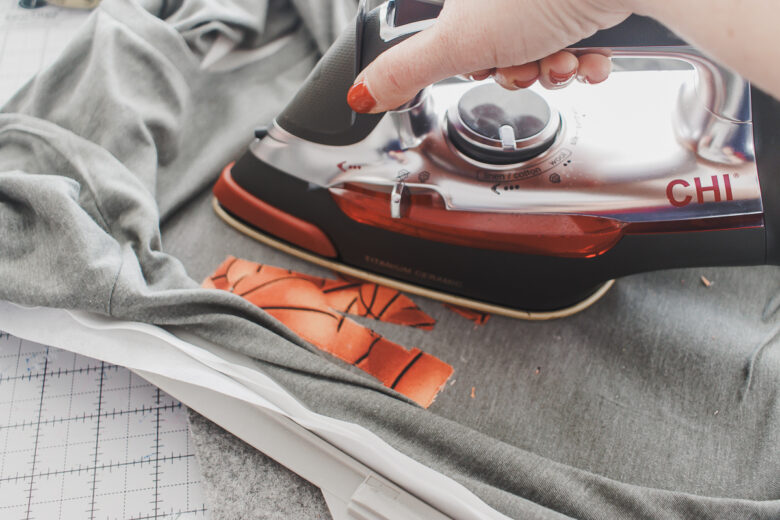
Use an iron to fuse the fabric to the shirt. Then place the hoop back on your machine.

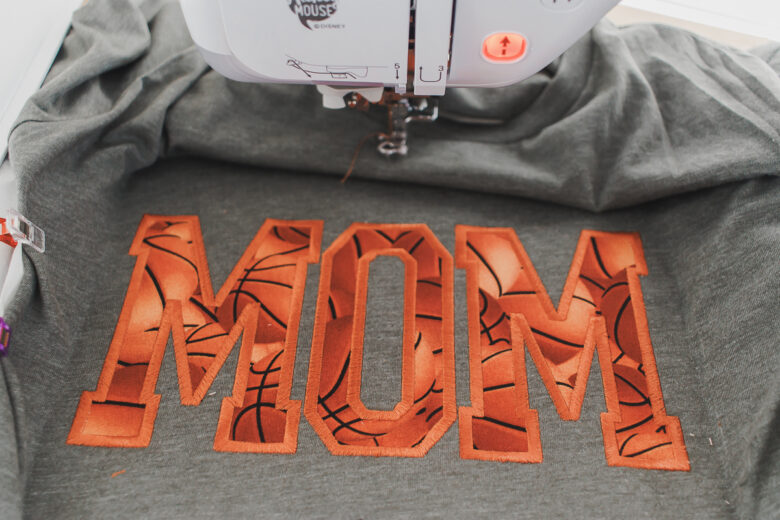
Add the final part of the design, which is the satin stitch to finish the shirt. I love the final look.

Remove the tear away stabilizer, then carefully peel off the adhesive stabilizer as well. Now you can wear to your next basketball event!


Leave a Reply