inside: Sew an easy bias tape bunting with this sewing tutorial. Create your own festive holiday decor with this bias tape bunting sewing project.
It’s finally feeling like fall around here. Today I’m resharing a tutorial I originally wrote for the Brother Stitching Sewcial blog. It’s time to share it here with you all! It’s a fun and easy sewing tutorial with bias tape and one that will give you a fun fall bunting when you finish. You can also make this bias tape bunting for any occasion!
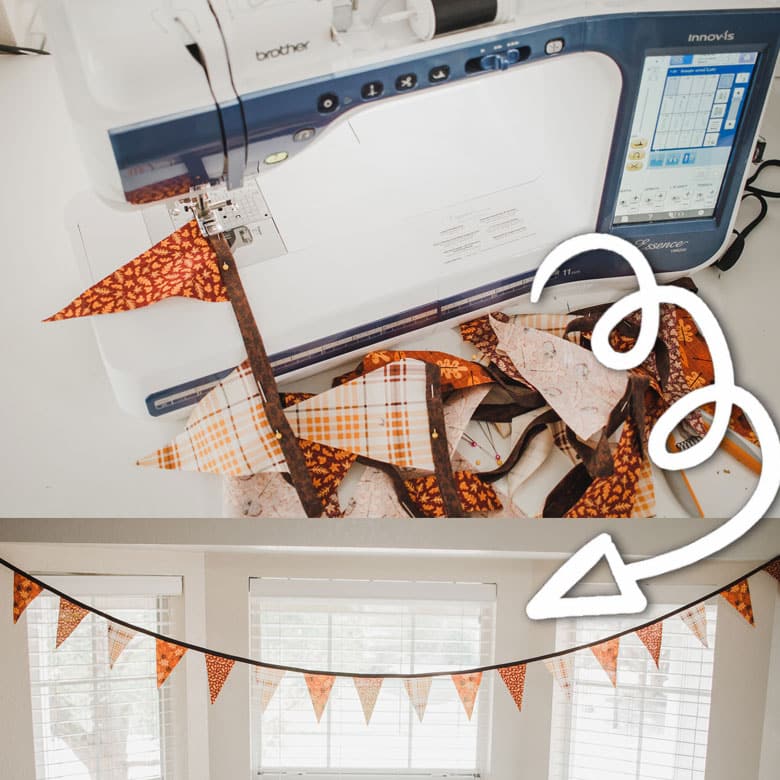
Bias tape bunting
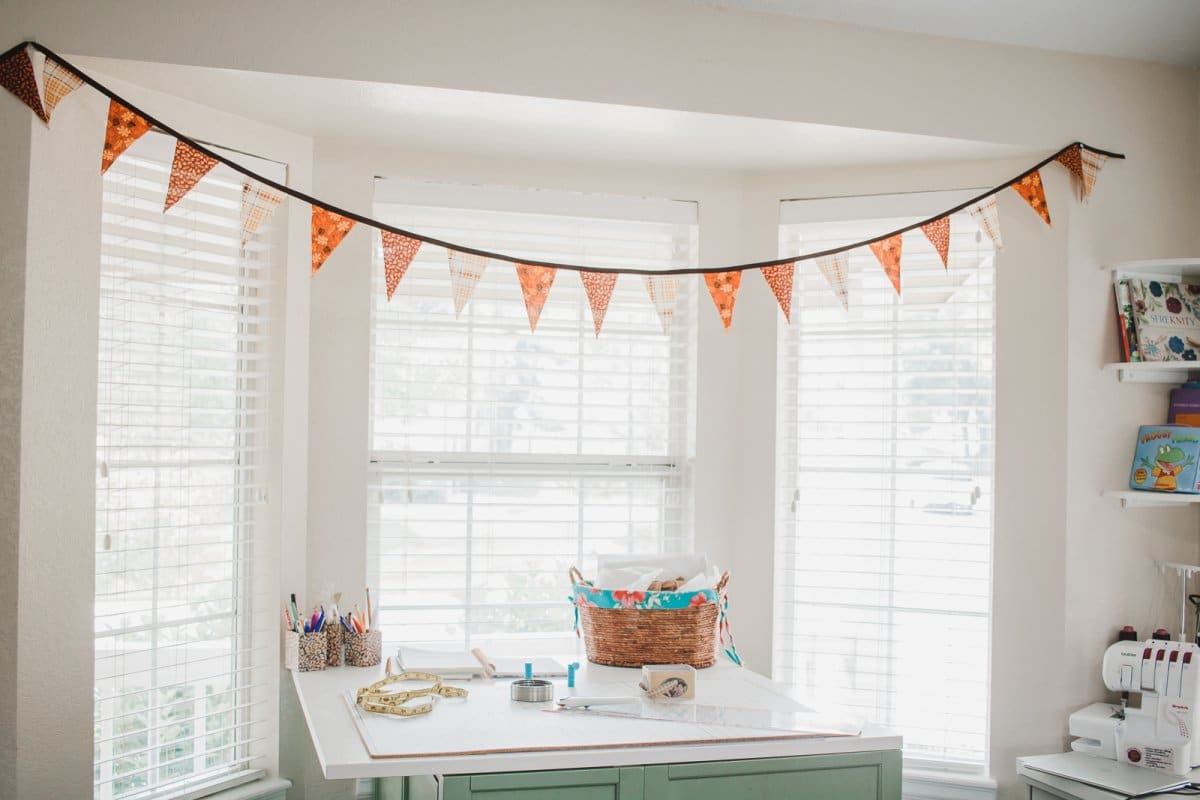
I sewed and hung this bias tape bunting above my work area last fall and I can’t wait to get it out again this year. I’m hoping to get my fall decorations out this week. This fall bunting is pretty simple to sew and I think looks so cute. You can sew it in any length and with so many different fabrics for every occasion.
More cute DIY fall decor-
How to make your own bias tape
This project can be made with bias tape that you have purchased or bias tape that you make yourself. If you sew it yourself using the perfect fabric for the occasion you will get a more custom look, but it will take a but longer to sew the tape first.
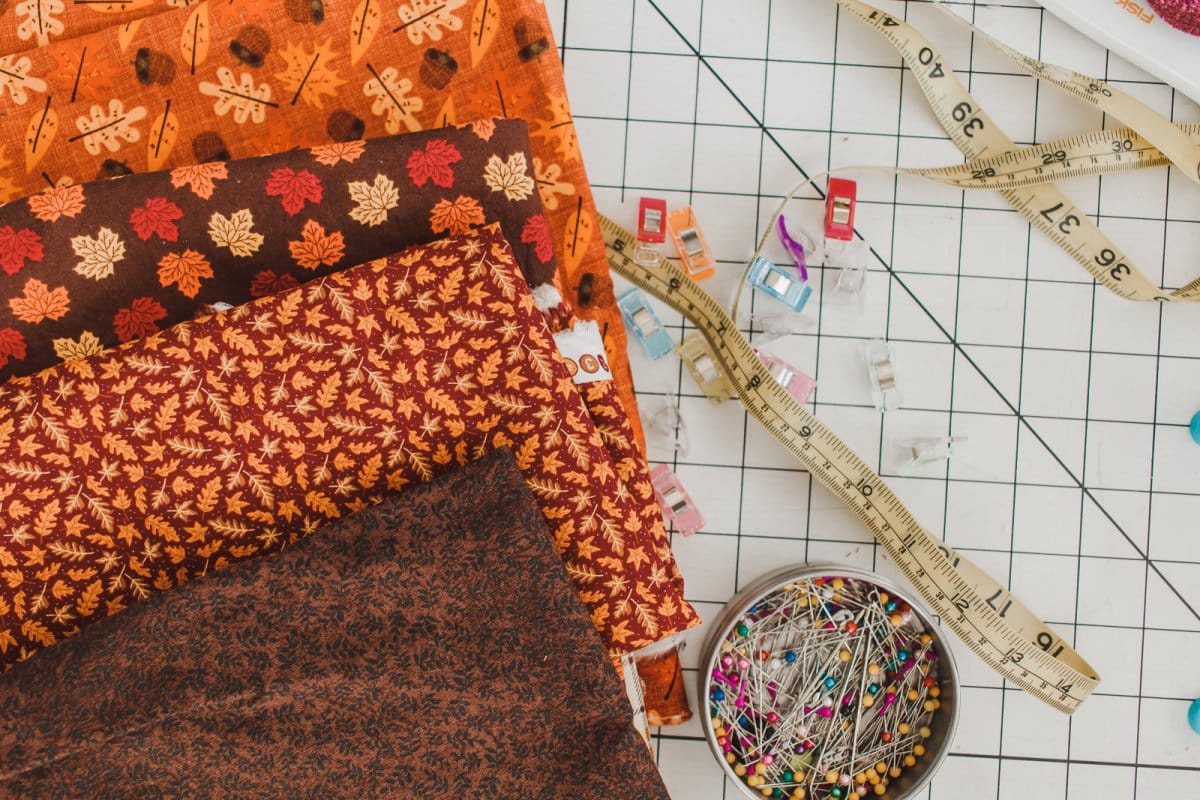
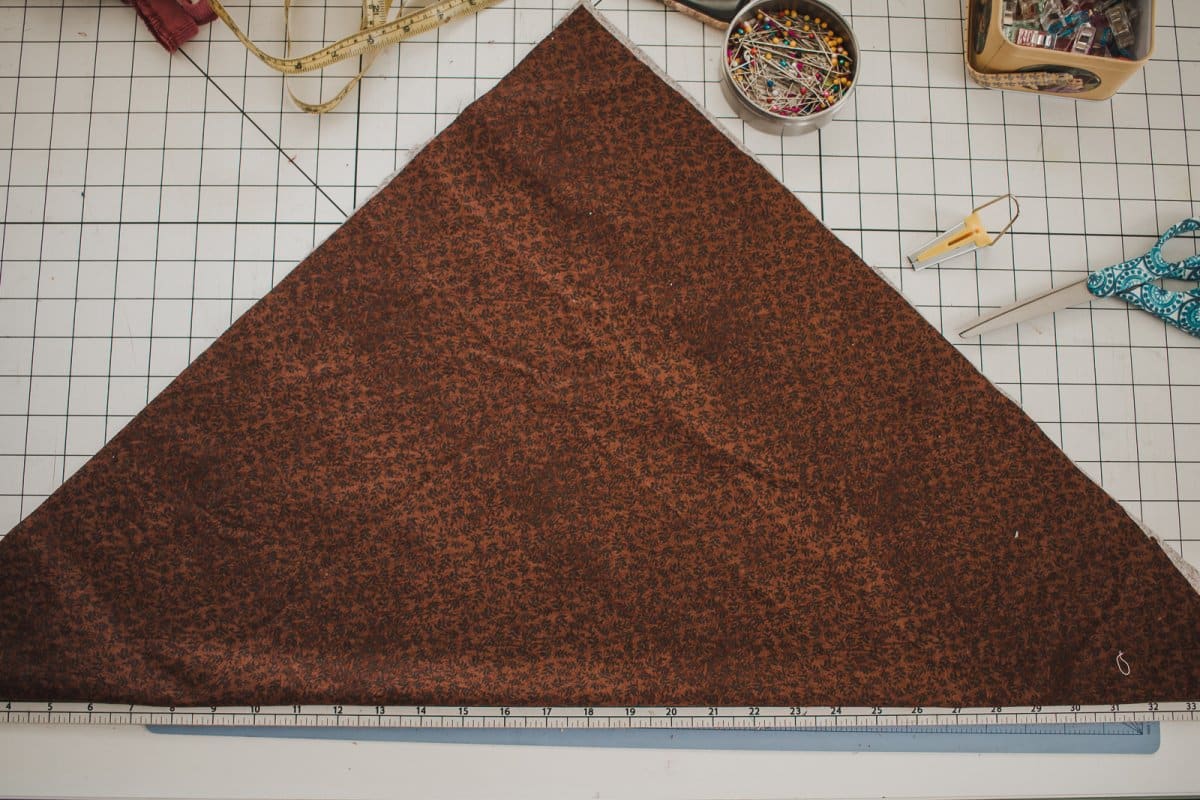
Let’s take a look at how to create your own bias tape before we sew the fall bunting. The fabric folding is a bit tricky for creating DIY bias tap, but once you get started you will be off and running. Take a square of fabric {mine was 30 x 30″ ish} and fold it in half so the points are together. My fold is here on the bottom of the mat.
Cut open the long folded edge. Remember we are folding the fabric like this so the strips will be cut on the bias of the fabric {creating BIAS tape!}
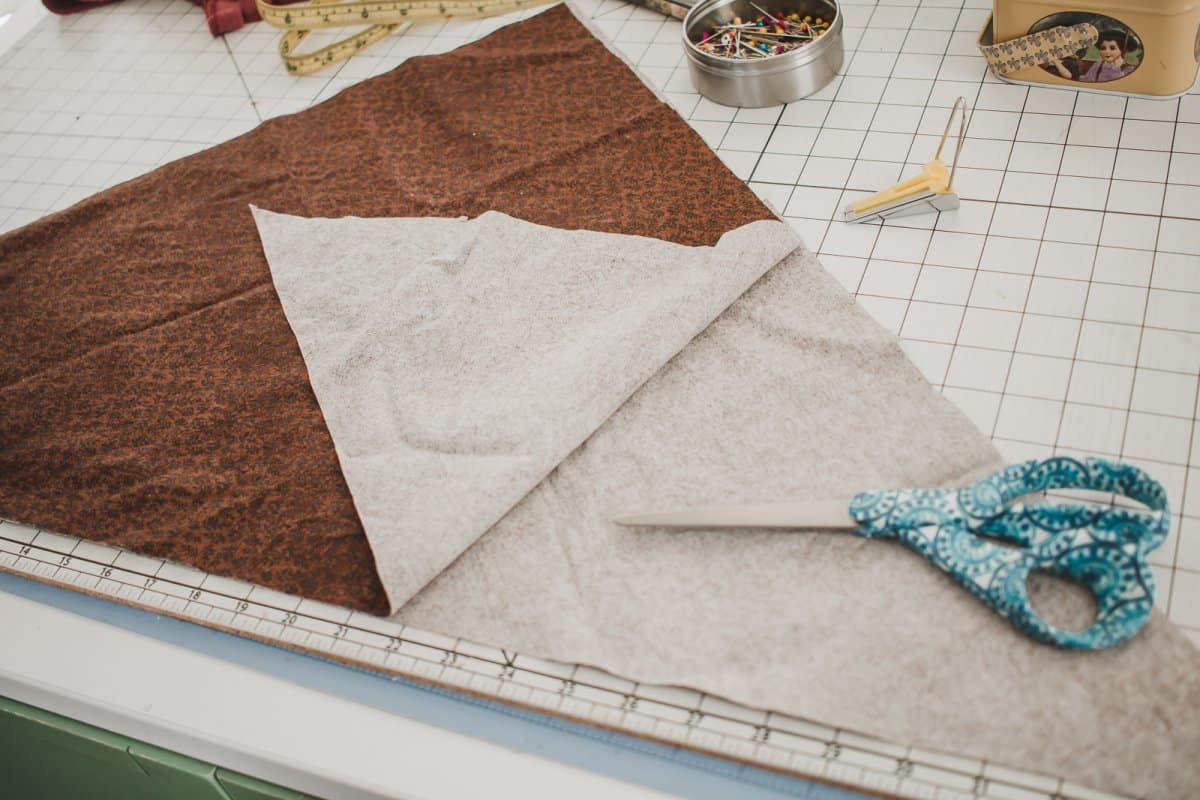
Then take the two layers on the right side and fold the points over to match the points on the left. Rotate your fabric so the fold is once again at the bottom and facing you. {see my finger in the photo}
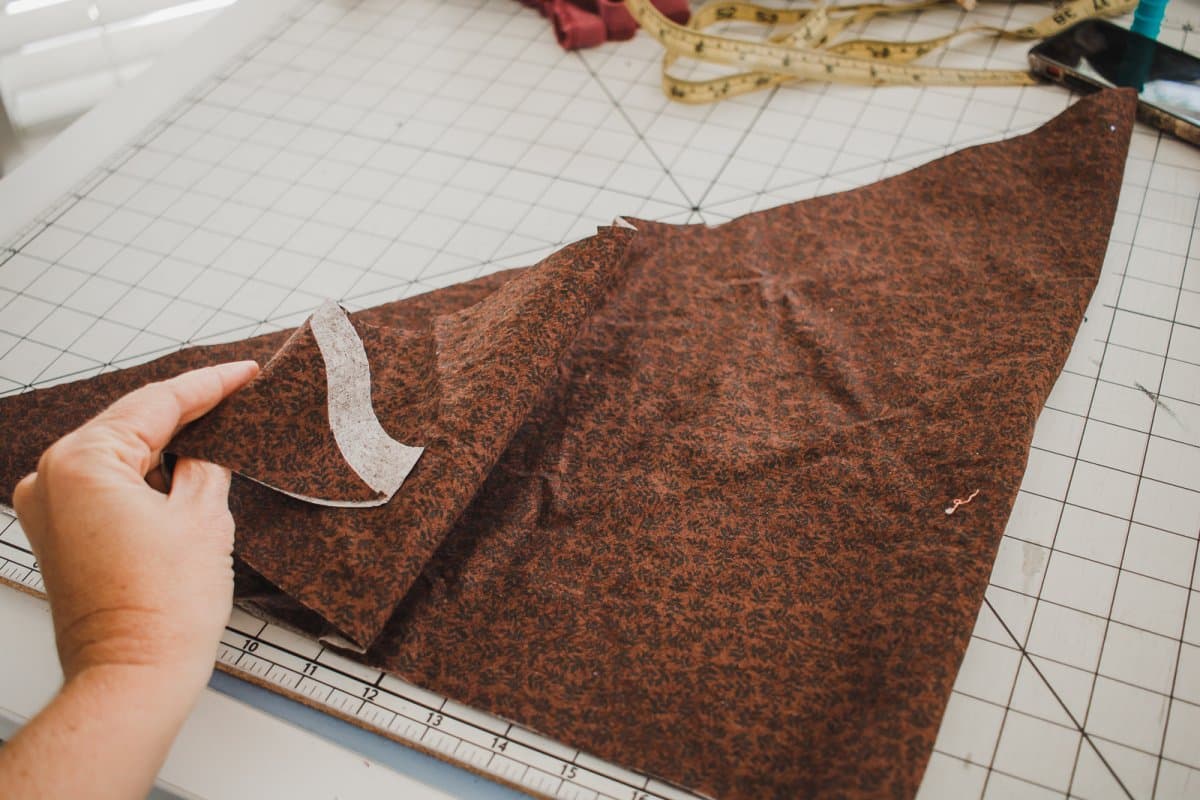
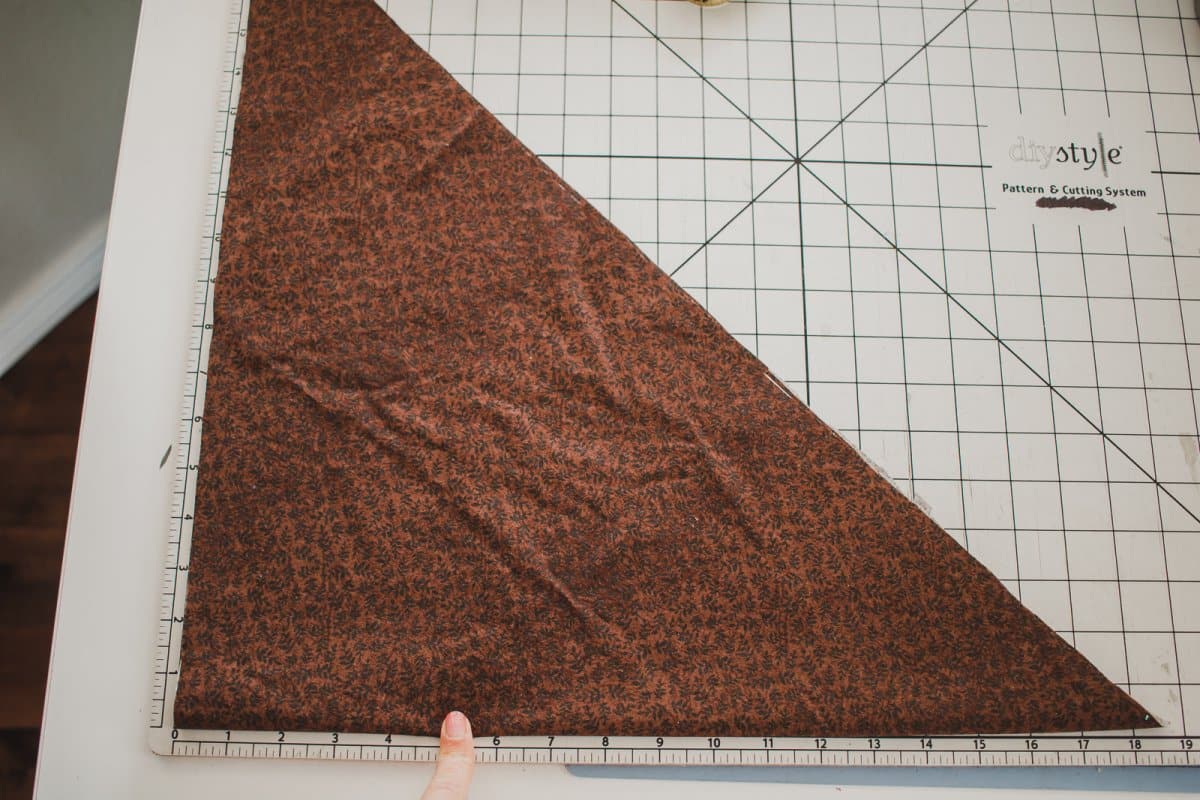
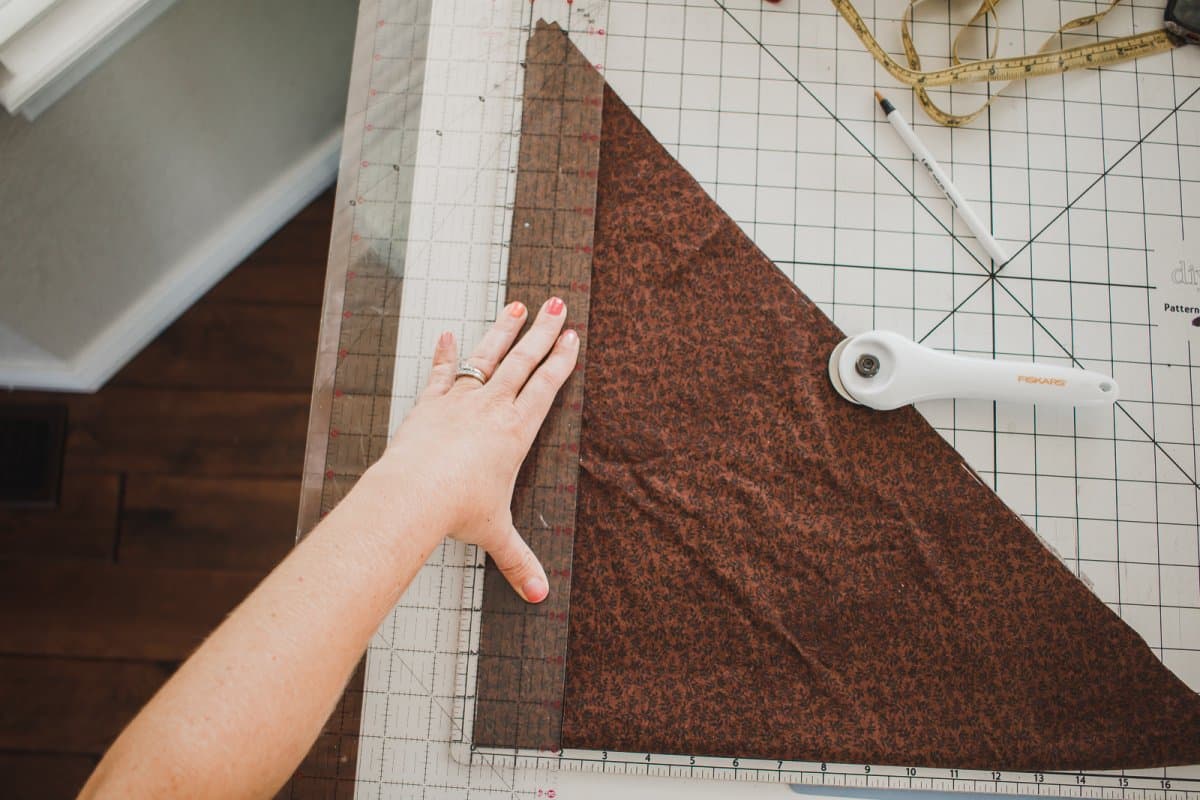
Now you can cut 2″ strips of fabric to create the bias tape. I cut up my whole triangle, but you may not need this much bias tape.
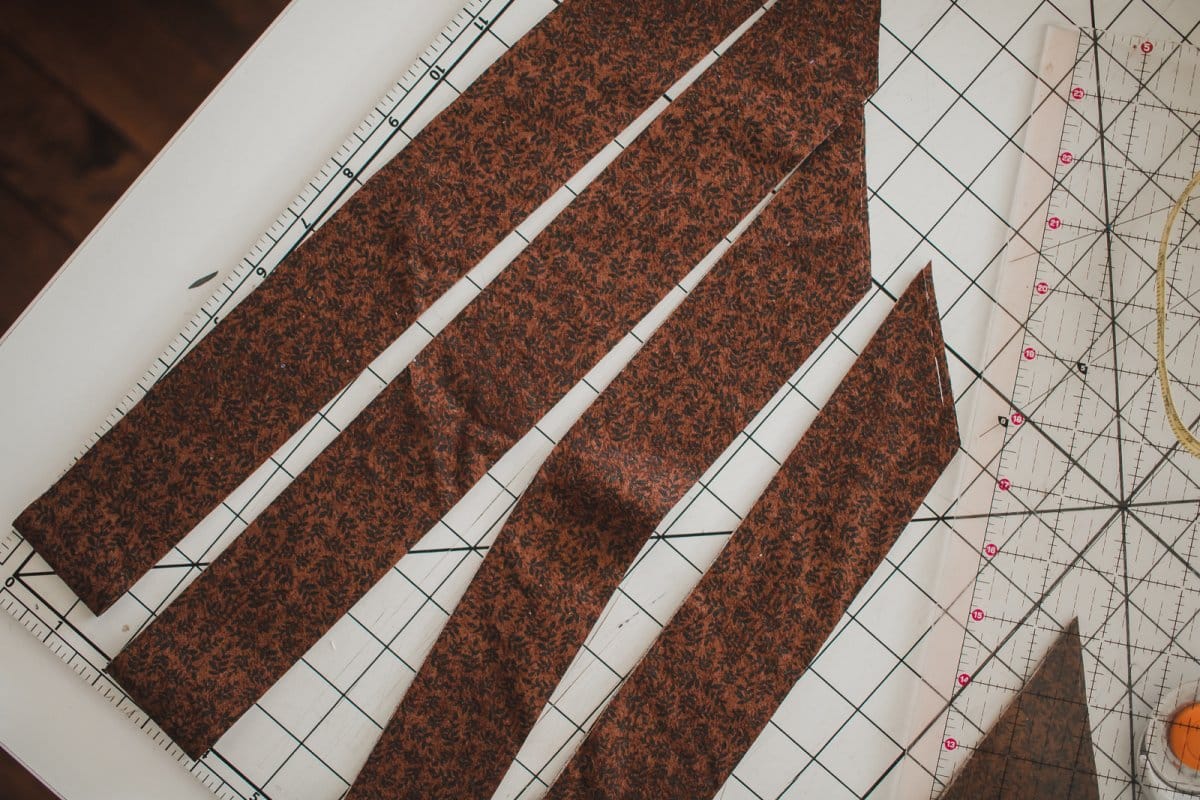
After you have the fabric all cut into strips, it’s time to sew them together to create long pieces of bias tape. Lay the ends together at 90 degree angles and sew with a very narrow seam allowance. If you use a wider seam allowance you edges wont lie up {see below}
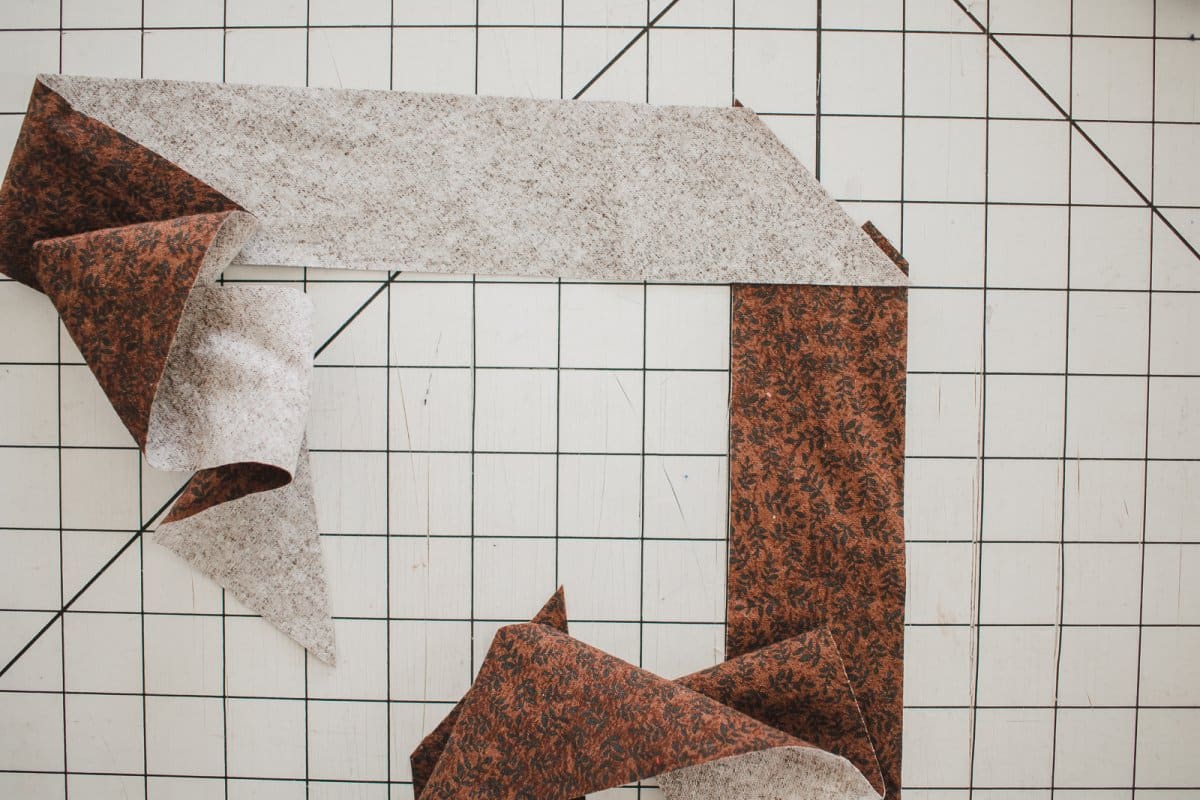
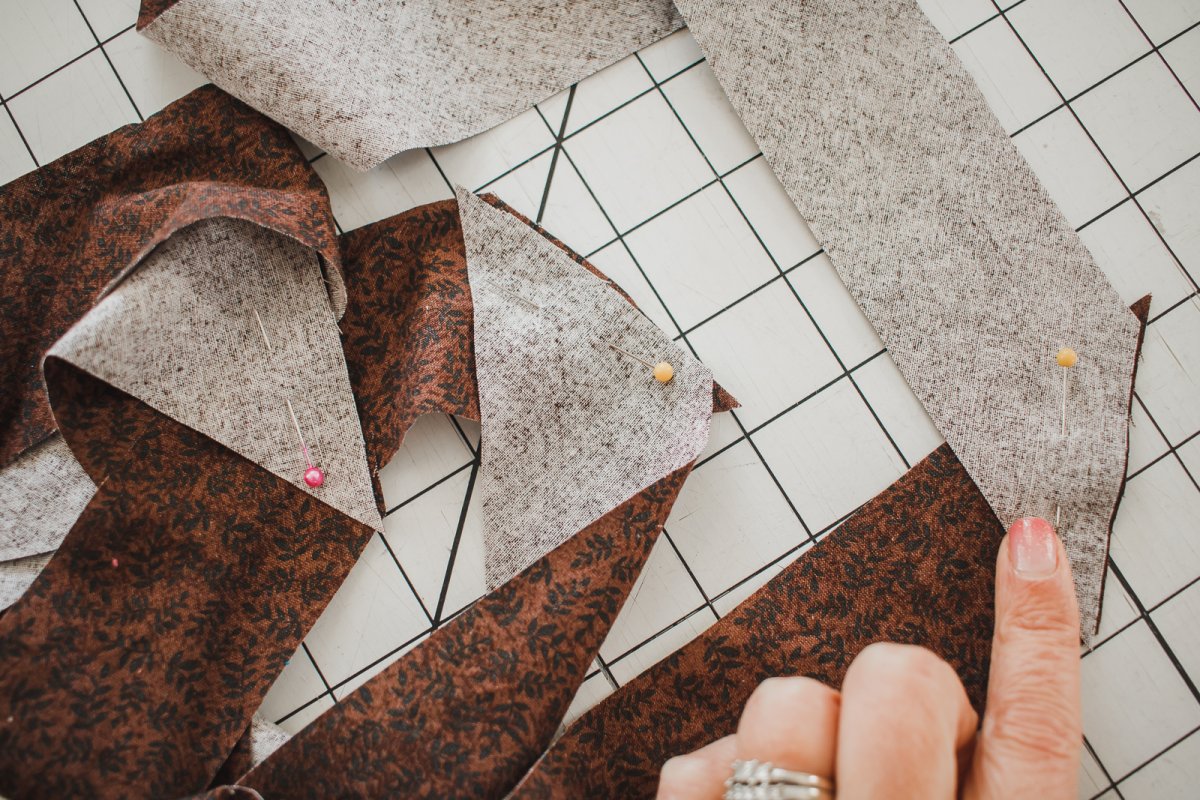
I like to just use a zig-zag right on the edge when sewing my pieces together. This helps to keep the edges lined up nicely.
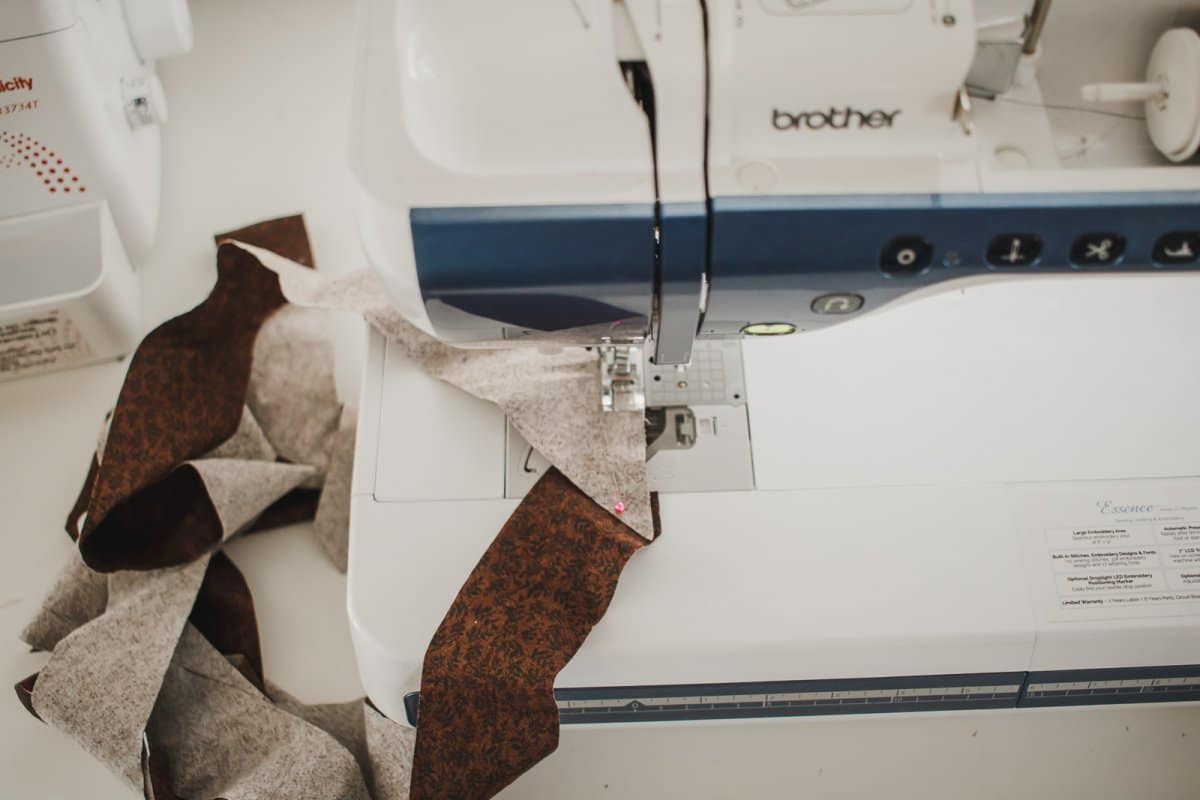
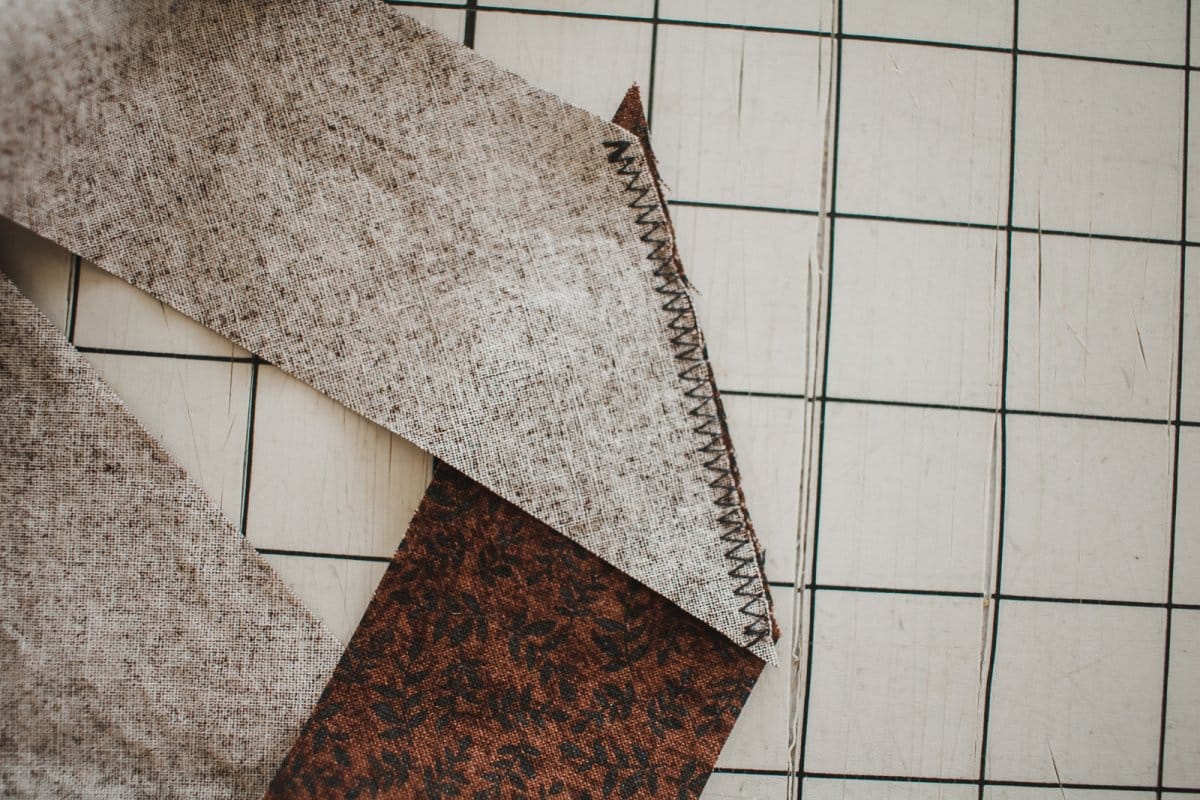
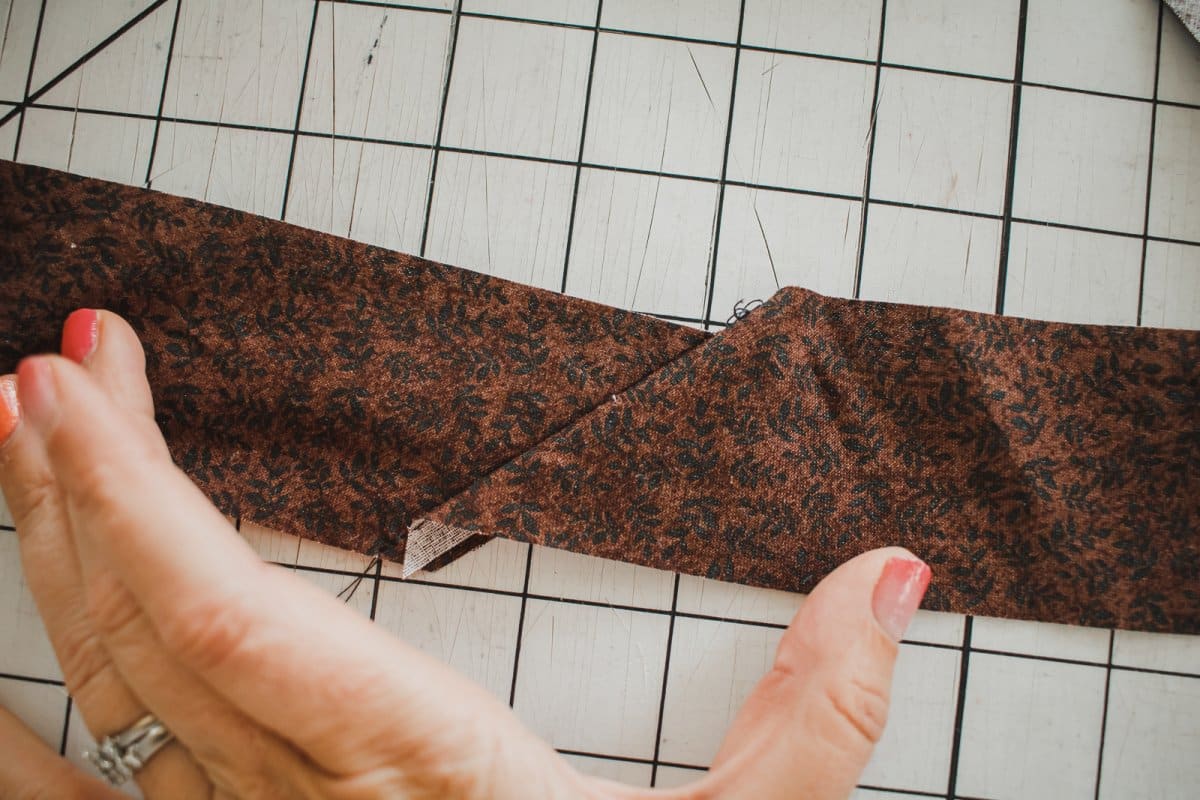
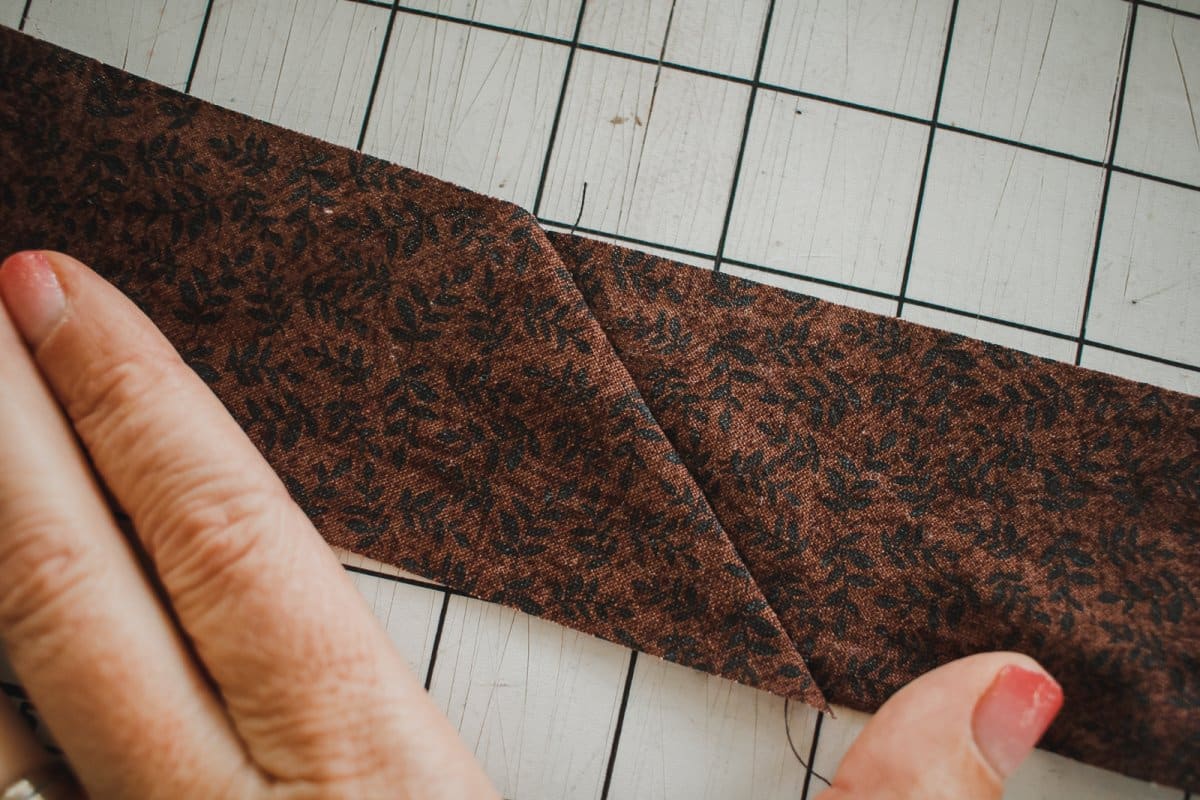
In the photo above you will see how the points of the fabric stick out just a bit. This will help your fabric line up perfectly when the seam is opened. See the incorrect alignment on the left {below} and the correct fabric line up on the right. The fabric will also get mis-aligned if you use to wide of a seam allowance.
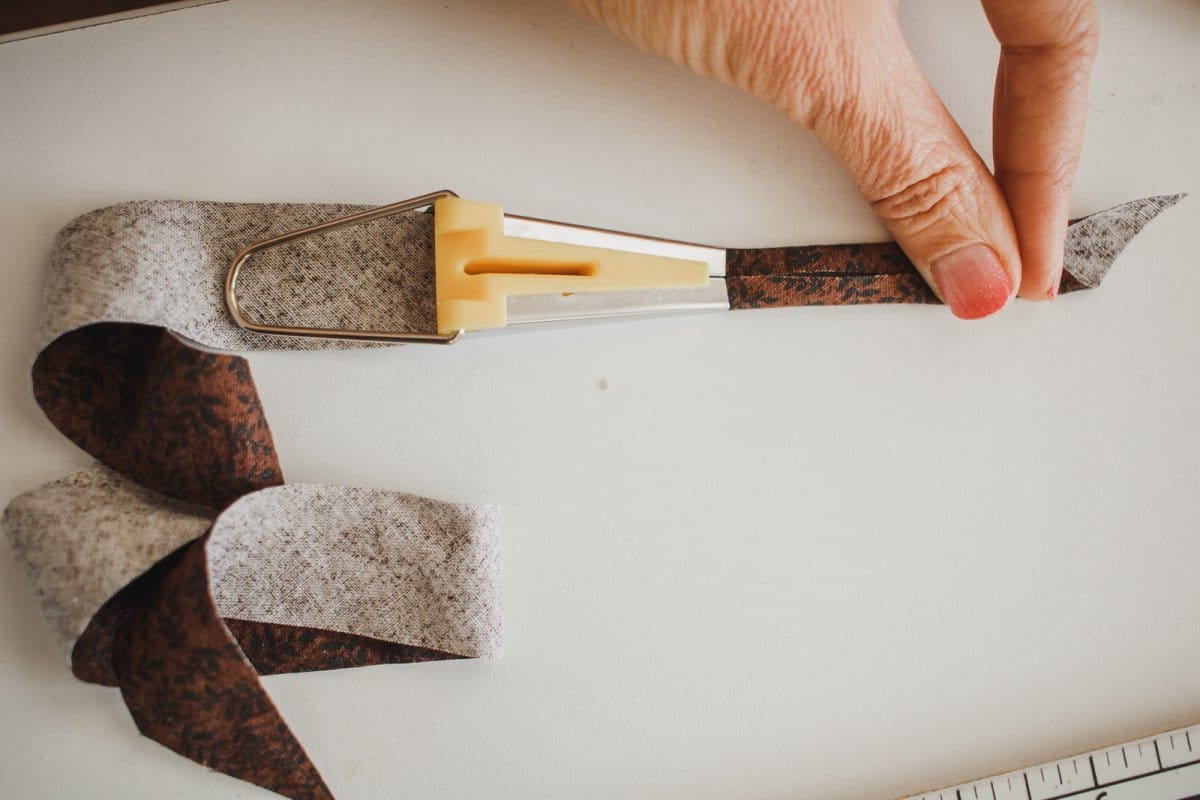
There are several ways to now turn your strips of fabric into actual folded bias tape. You can use a bias tape maker. {thread the fabric through and use an iron to press as you pull it out.
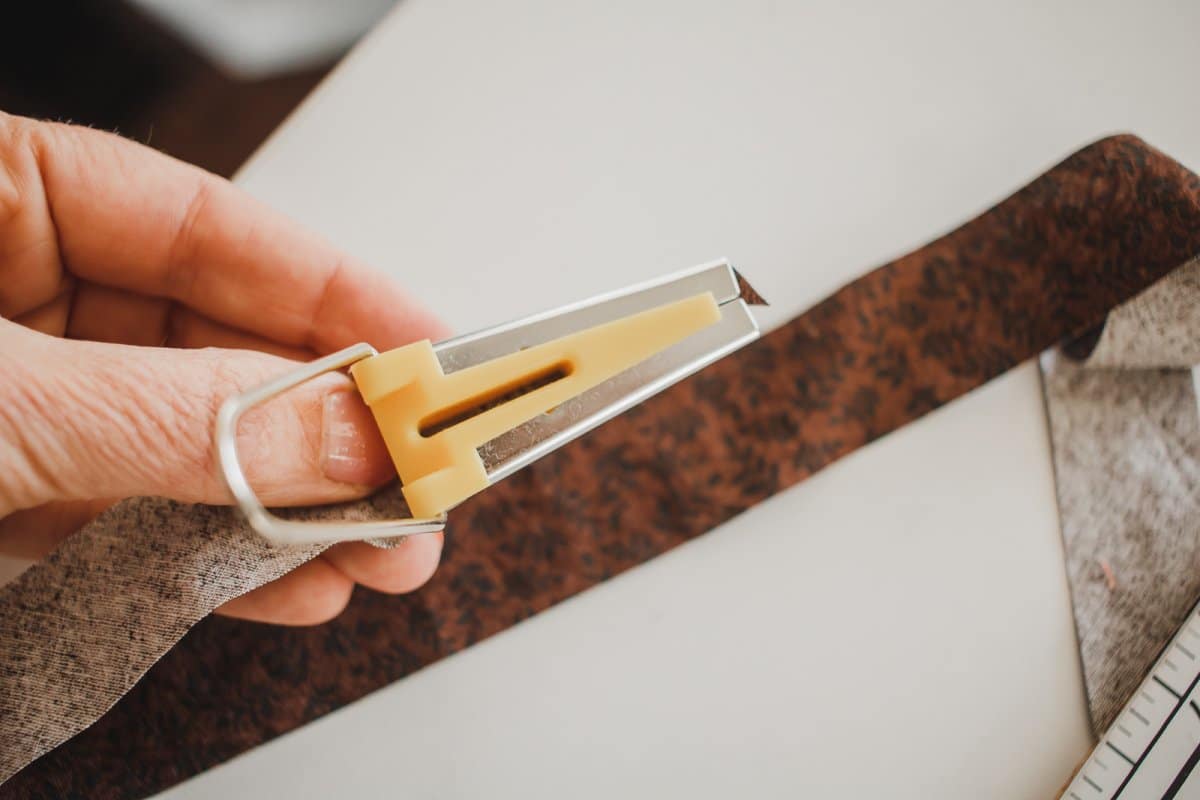
You can just fold the fabric and line up the raw edges. Fold once in half, then open up and fold again with the edges to the middle fold.
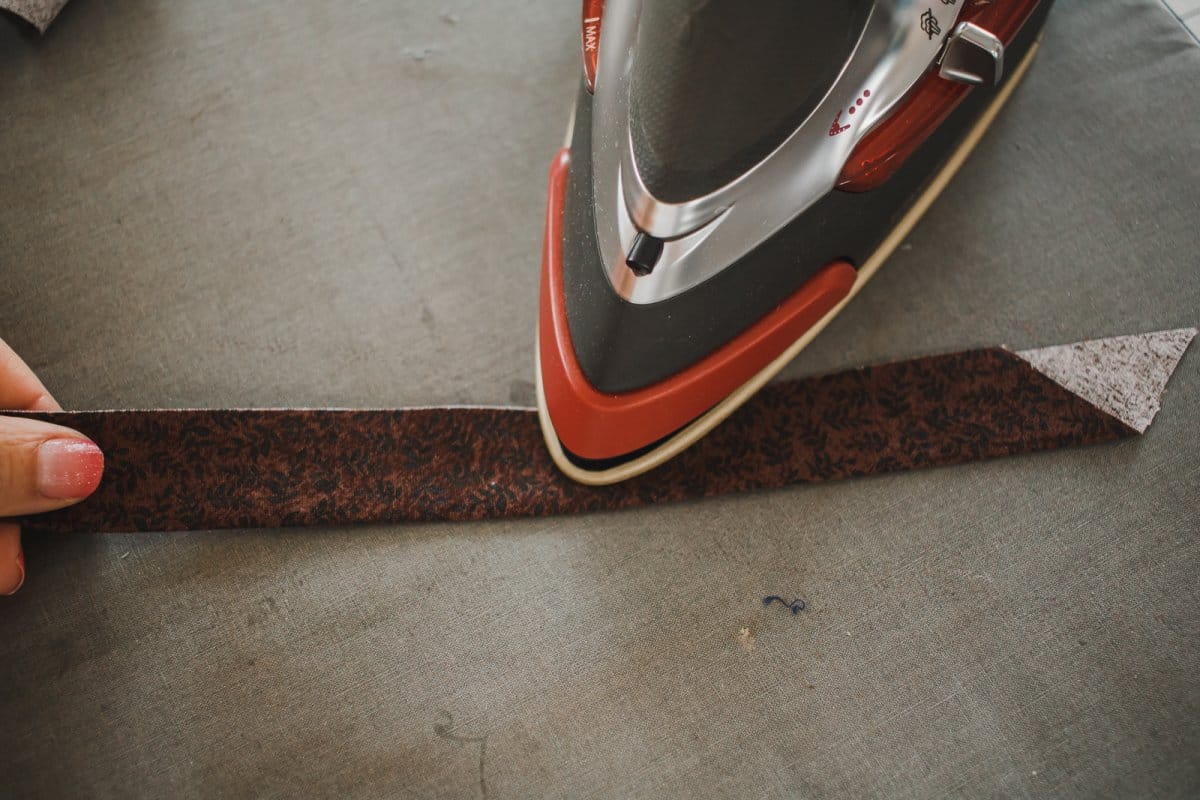
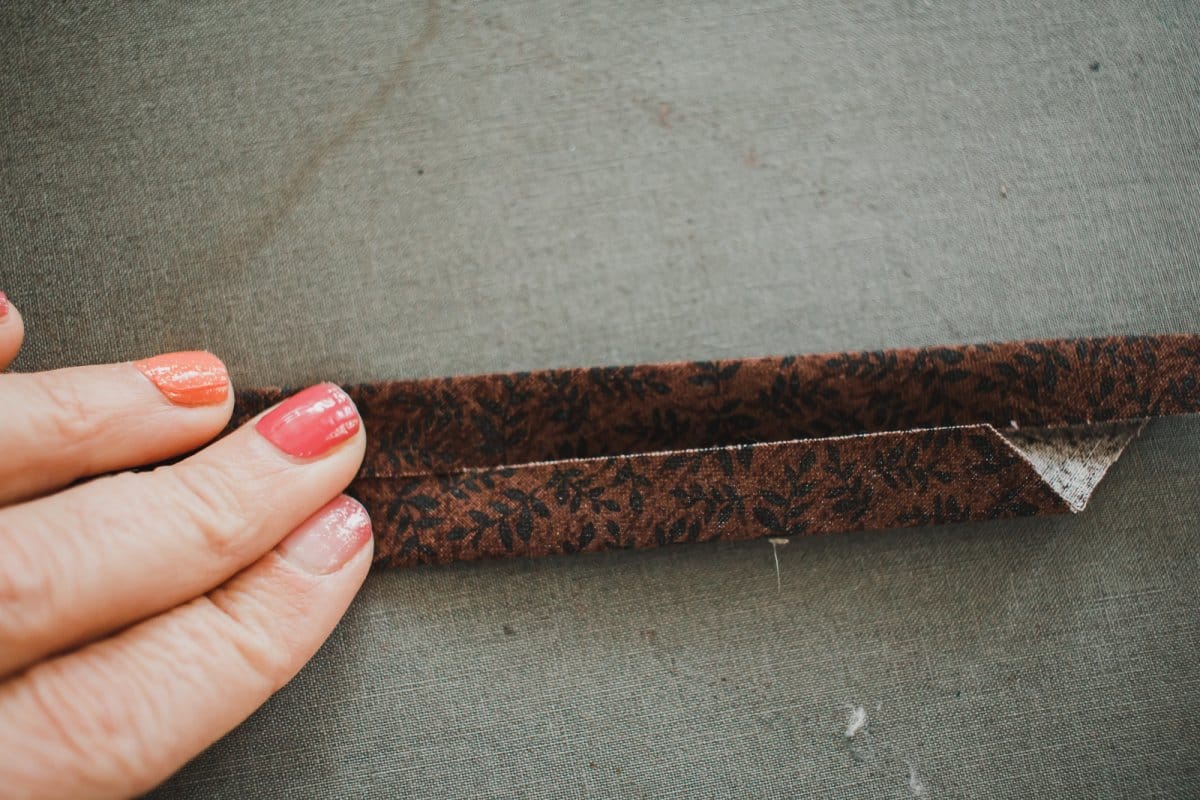
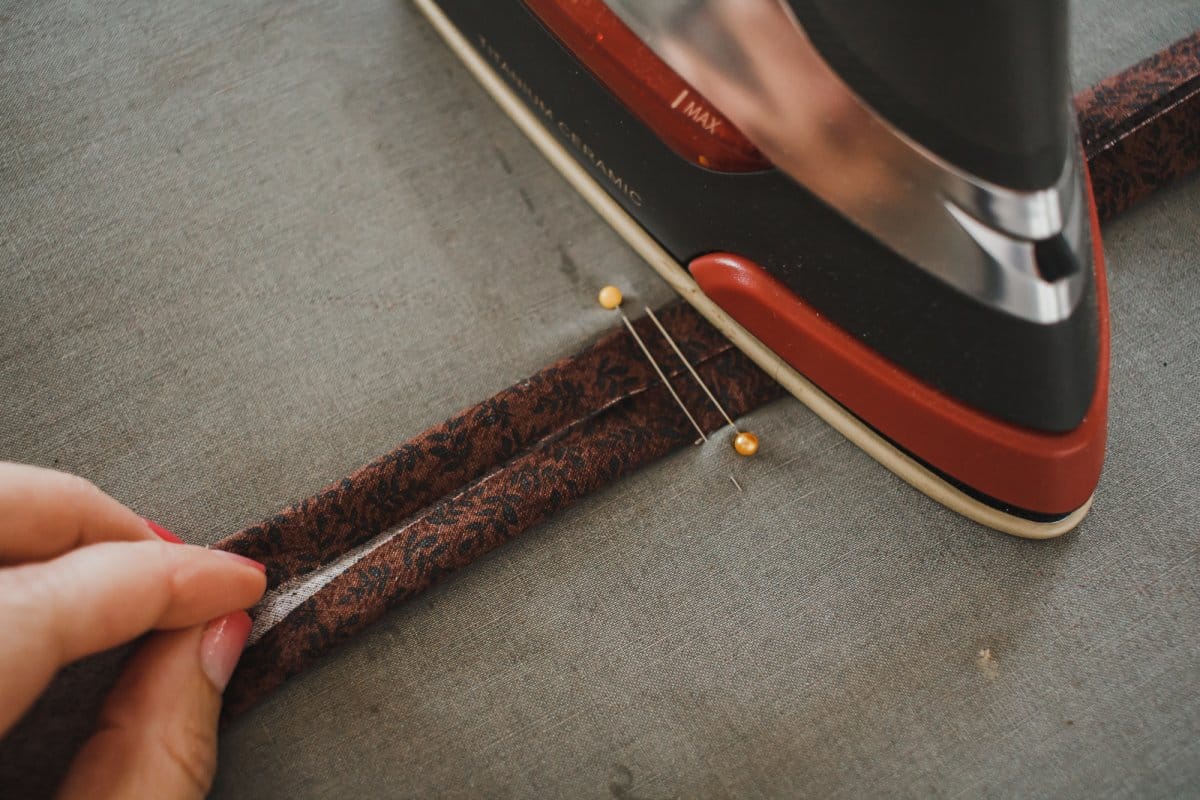
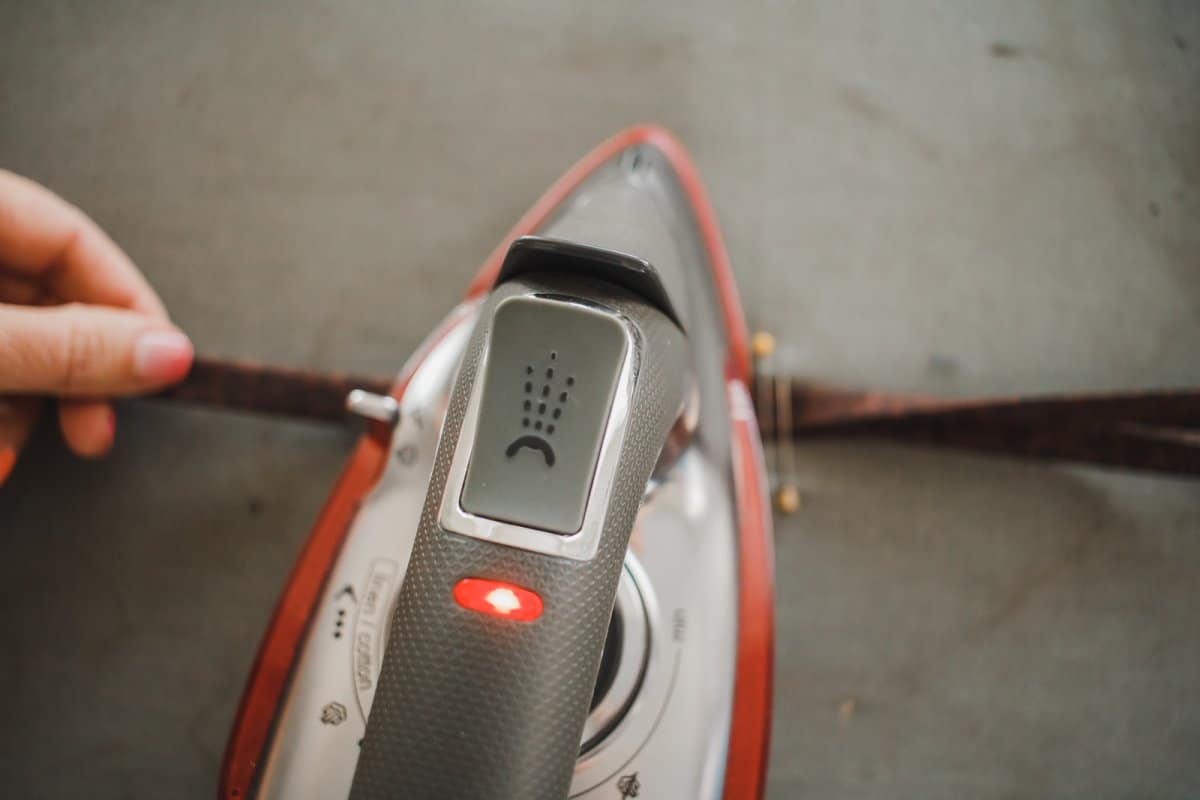
Or you can create your own tool with pins on your ironing mat. Stick pins to create just the right width. Start my folding the fabric into the center, then pull the fabric through the pins and under the iron. After you have it all pressed to the middle, narrow the pin guide and re-iron with it folded again. Now you have double fold bias tape… that YOU made.
Sew bias tape bunting
Now that you have a roll of custom bias tape you are ready to sew up some adorable bunting for any occasion.
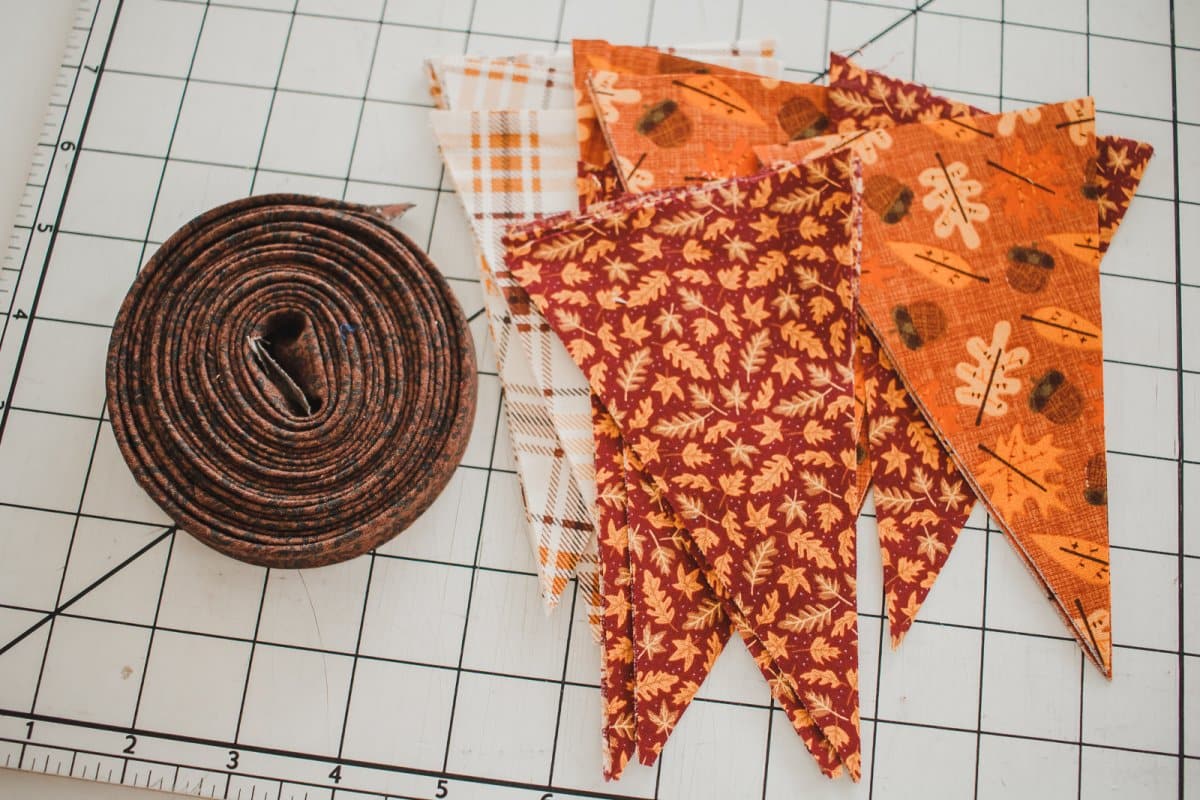
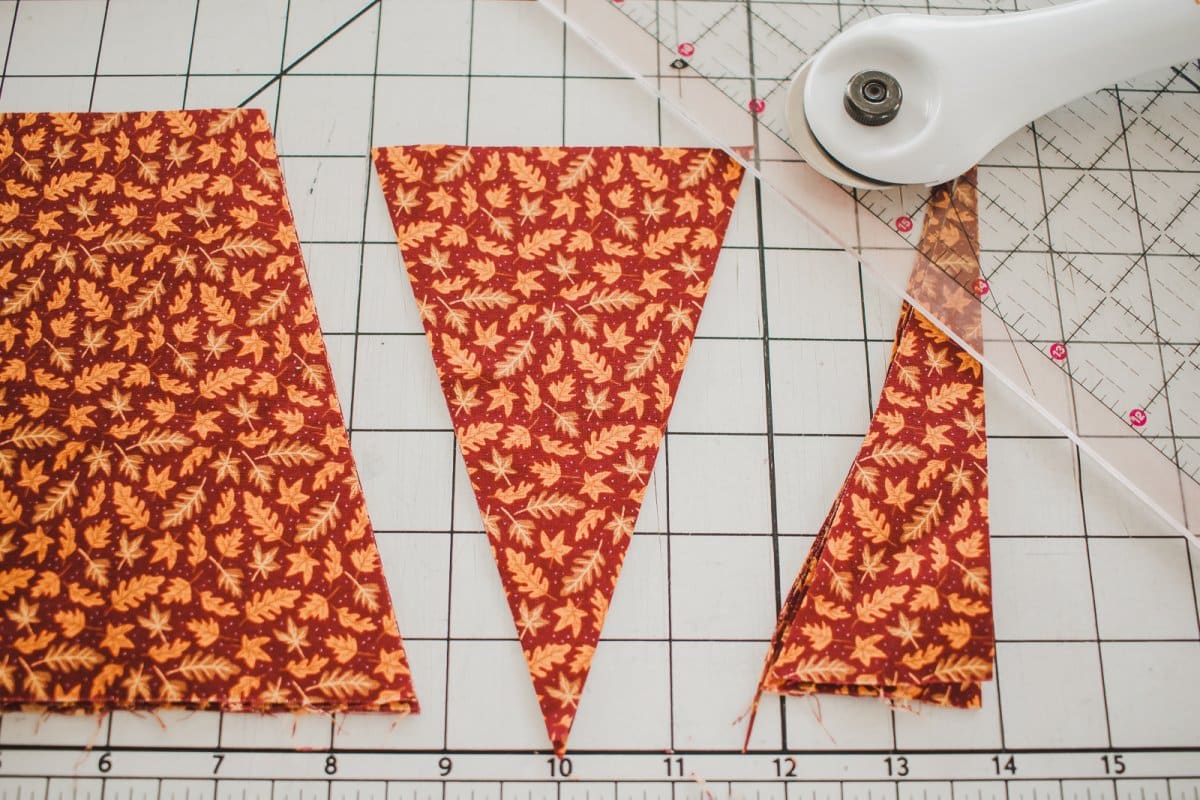
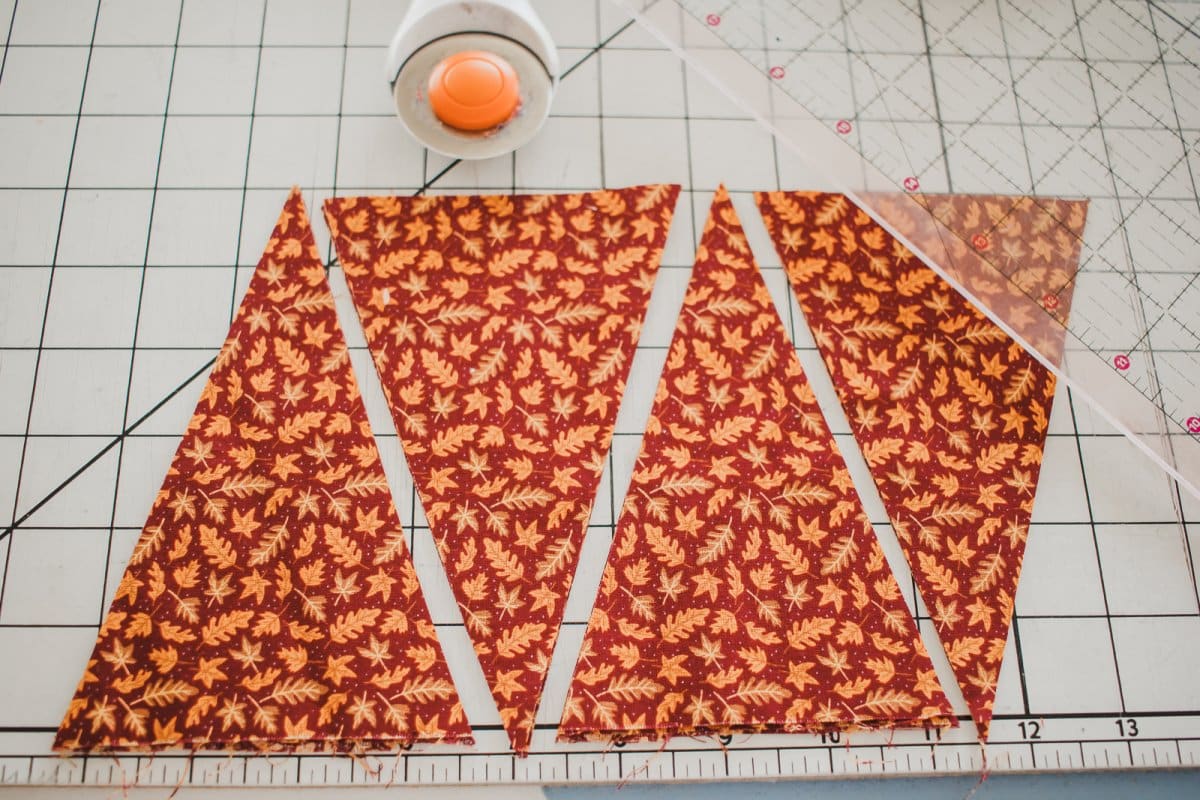
Cut flags to your desired size with a variety of fabrics. I used my cutting mat, rotary cutter and ruler to create these bunting flags.
Now we will place the top of the flag inside the folded bias and pin or clip to secure. I used my cutting mat to evenly space the flags inside the bias tape. Pin all the flags in the tape.
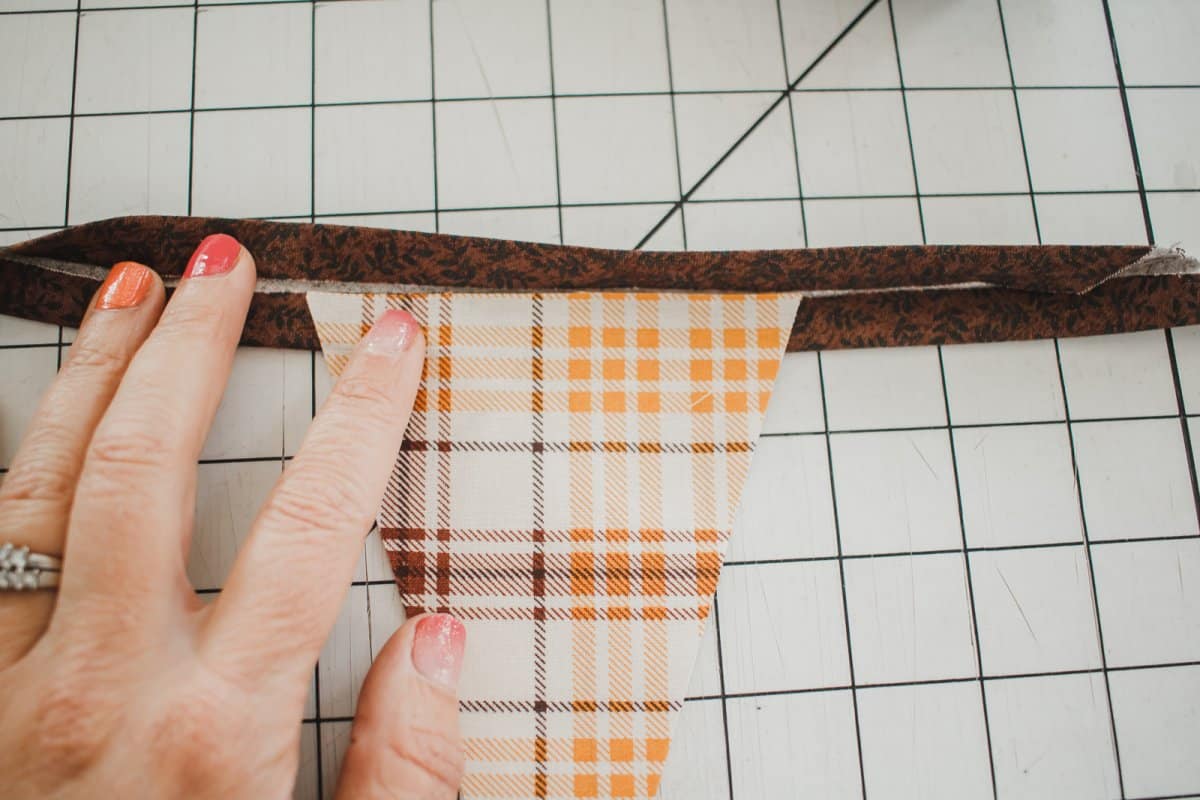
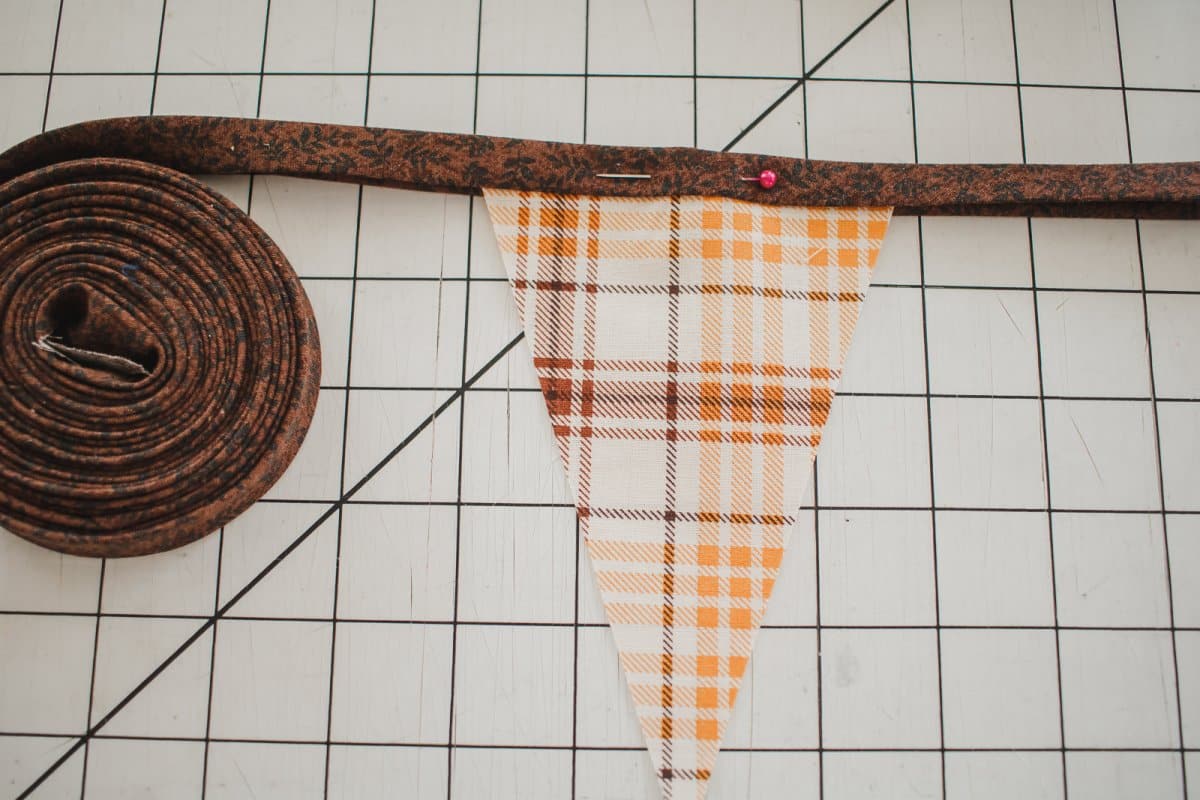
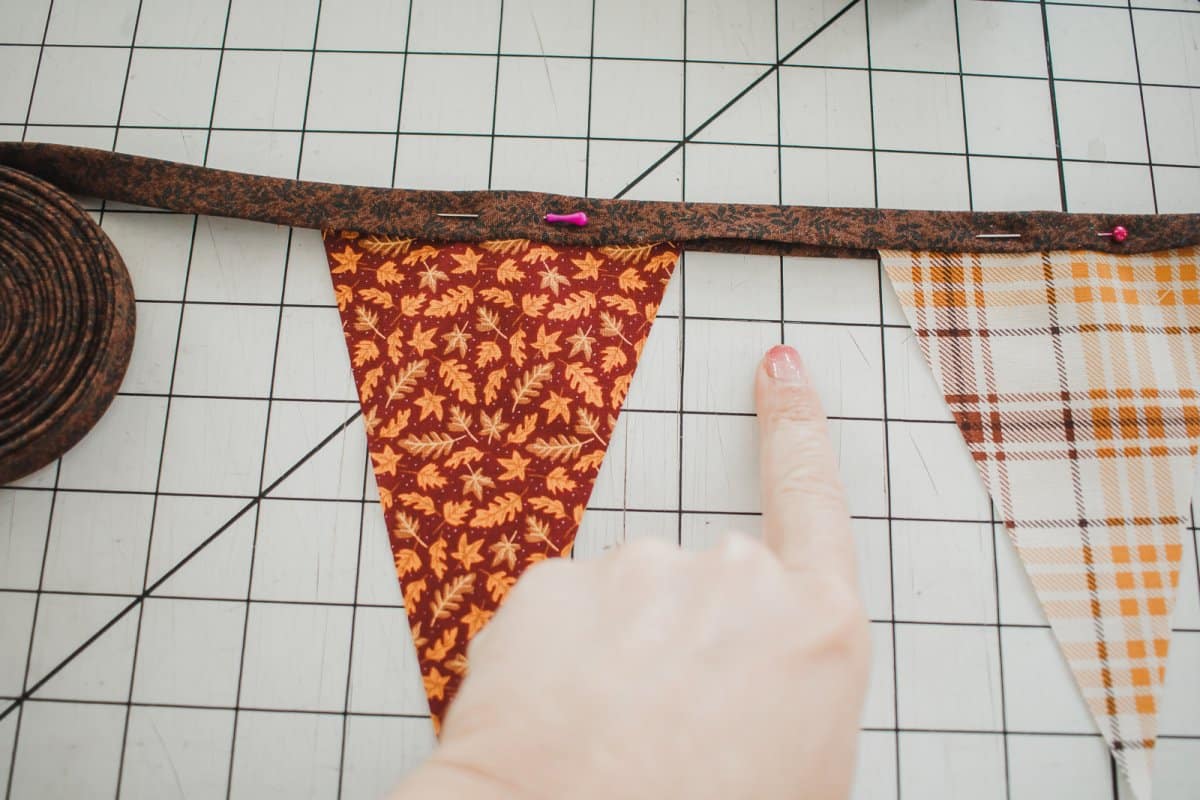
Sew with your needle aligned to the left along the edge of the bias tape. Sew from one end of the tape to the other, catching all the flags in the stitching as you go.
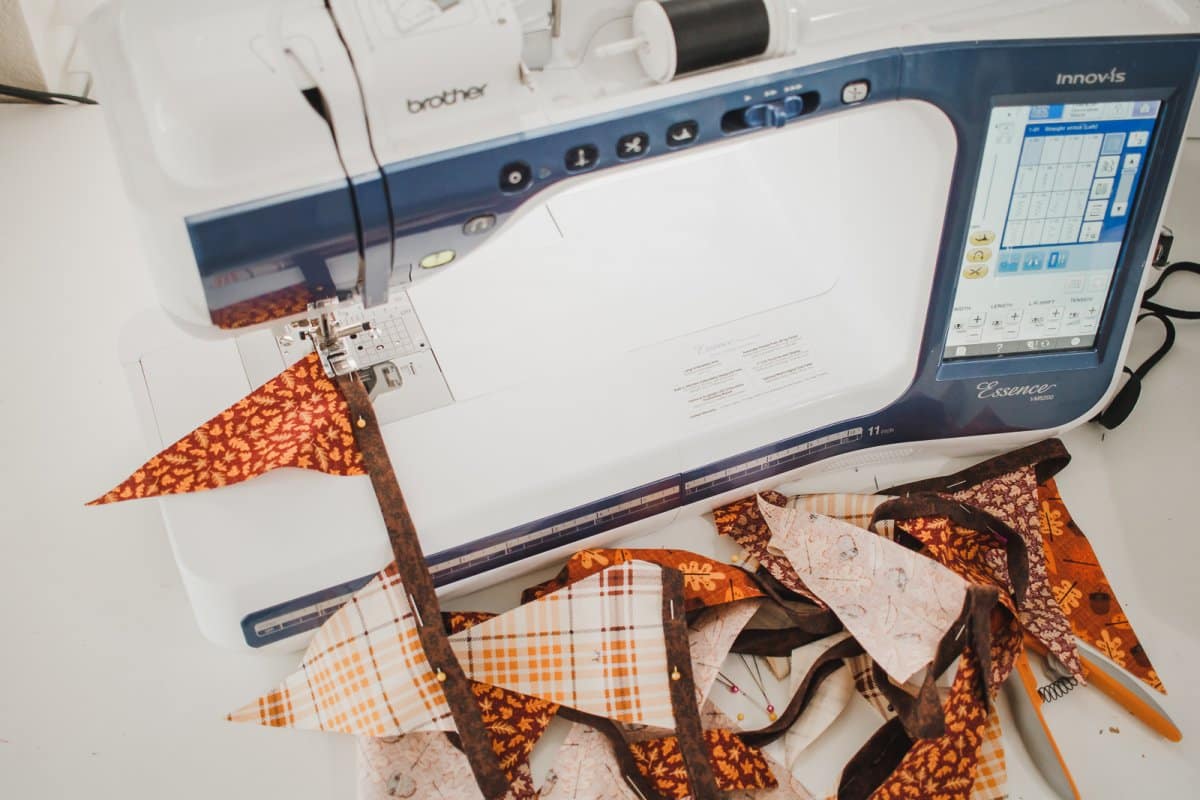
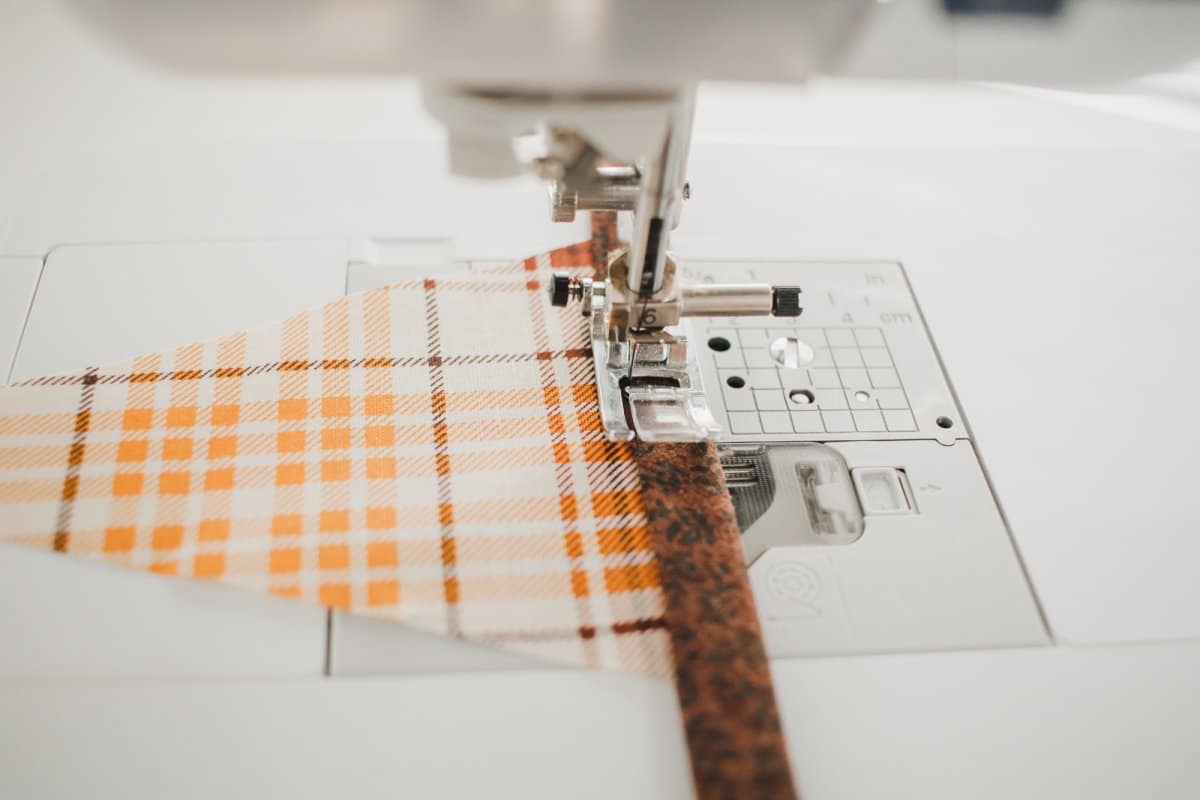
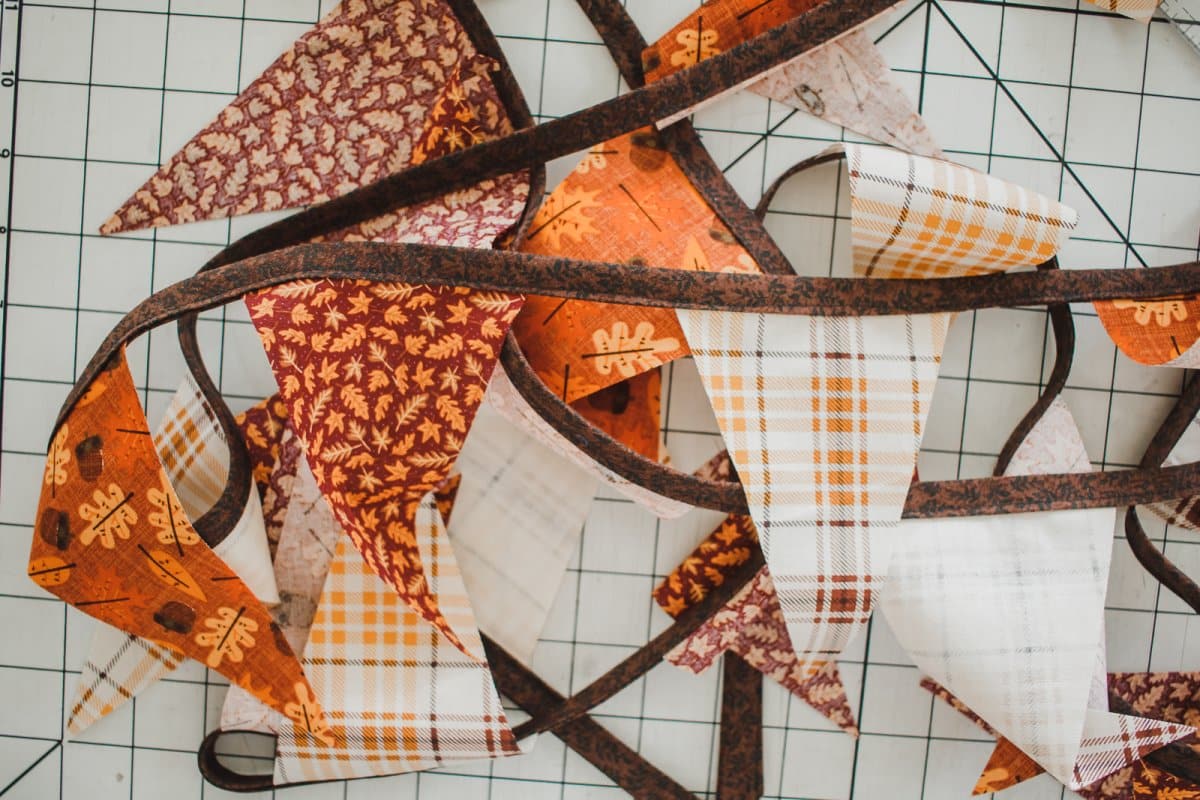
Now you have some adorable and custom bunting to hang for your next holiday or party theme. It’s easy to sew up a whole bunch!



Leave a Reply