inside: Learn the easy method of DIY bleached t-shirts. This reverse tie dye method makes easy and fun custom shirts. Kids can make their own shirts with each bleach tie dye.
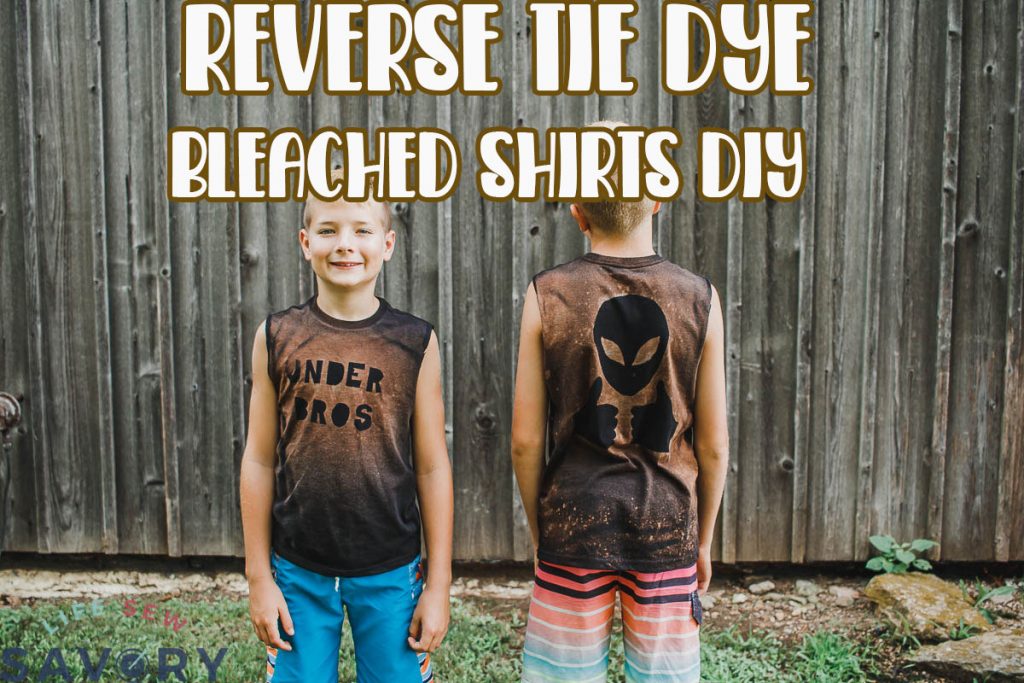
I first made beached t-shirts many, many years ago {some of my trial and errors are below} and now it’s super in style again!! How fun is that? To see something I did back in 2013 be so stylish now {haha} ahead of the trends over here!! When we were all together for cousin time this summer the older four cousins designed and made reverse tie dye shirts and today I’m going to share how to do that with you!
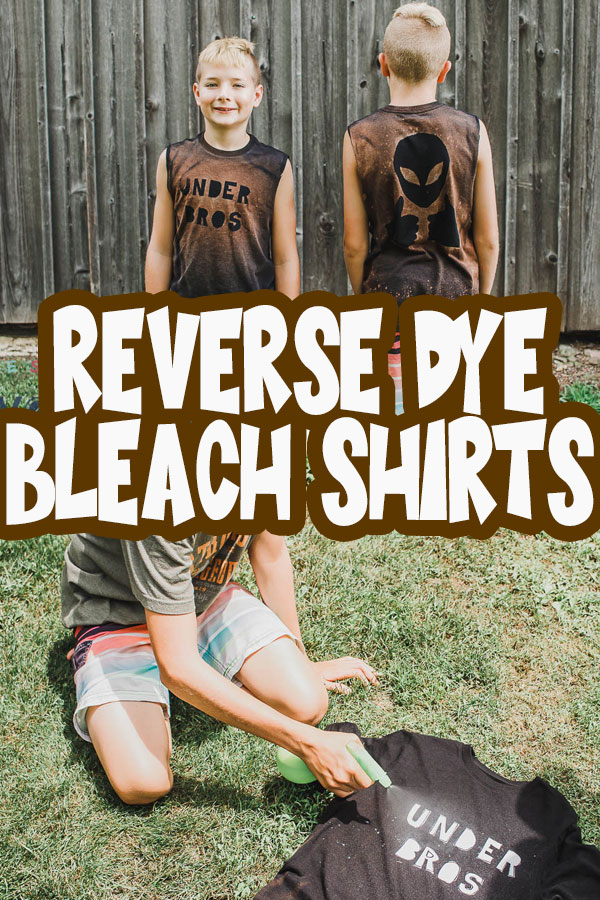
How to make Bleached T-shirts designs
I’m going to show you how to create these bleached shirts with NO fancy machines or tools. BUT, you totally can cut your design with a cutting machine and use the freezer paper with it. Want to see how to cut the freezer paper with a machine? Look at my Kids Painted Shirts HERE.
For today’s post we are just going to keep it super simple and follow the easy steps these kids did all on their own to make these fun shirts.
Supplies for Bleached Shirts
- Plain T-shirt {darker colors work best}{also the shirt should have mostly cotton material and not a synthetic} THIS TWO PACK IS UNDER $8 and comes in two days if you have Prime!
- Bleach
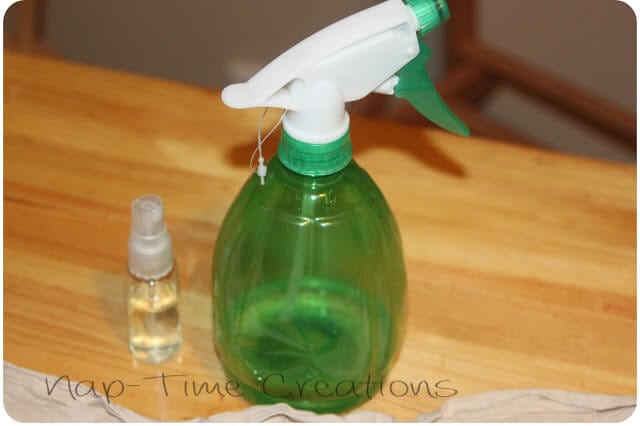
- Spray bottle {mix equal parts bleach and water in the bottle}
- Freezer paper
- Cardboard box piece {to protect layers}
Start by drawing or printing a design to use for the shirt. Keep designs and letters simple to make the cutting part easier. Trace the design onto freezer paper {the shiny side should be down} and then cut out the design with scissors.
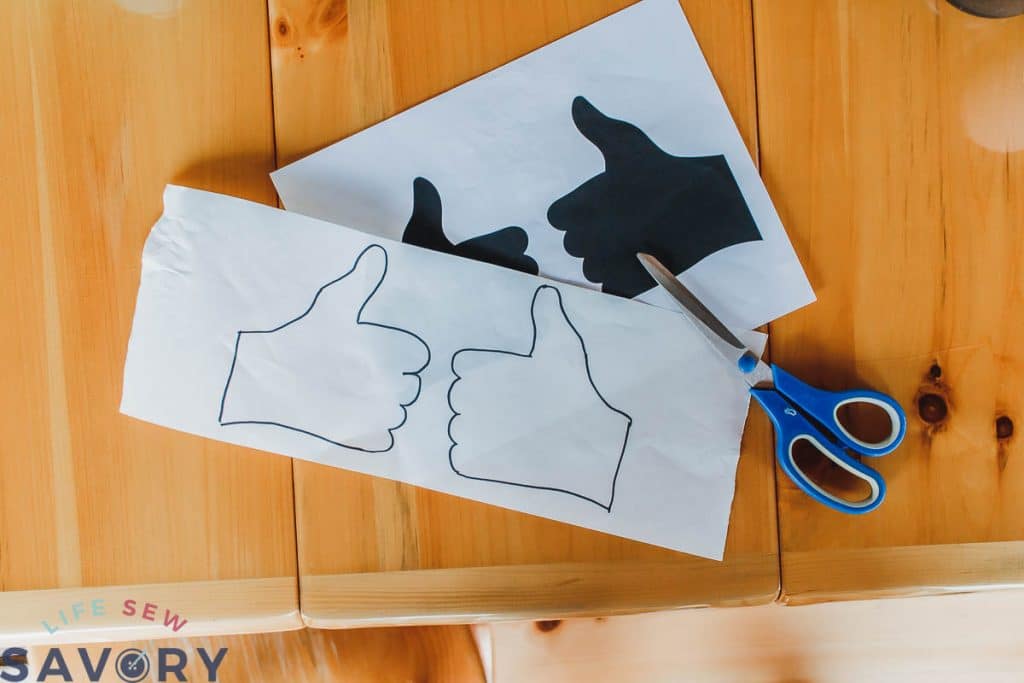
Did you know freezer paper will stick to fabric when heated? It makes an amazing stencil for paint or for this bleach project because it sticks to fabric, but also peels right off. It’s an amazing craft tool!
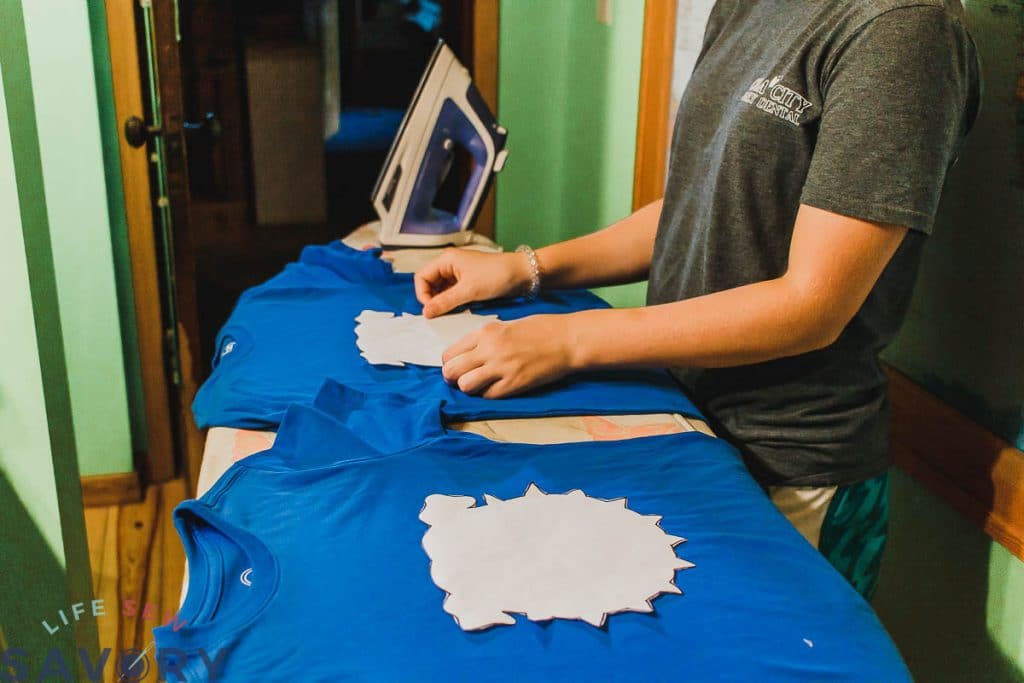
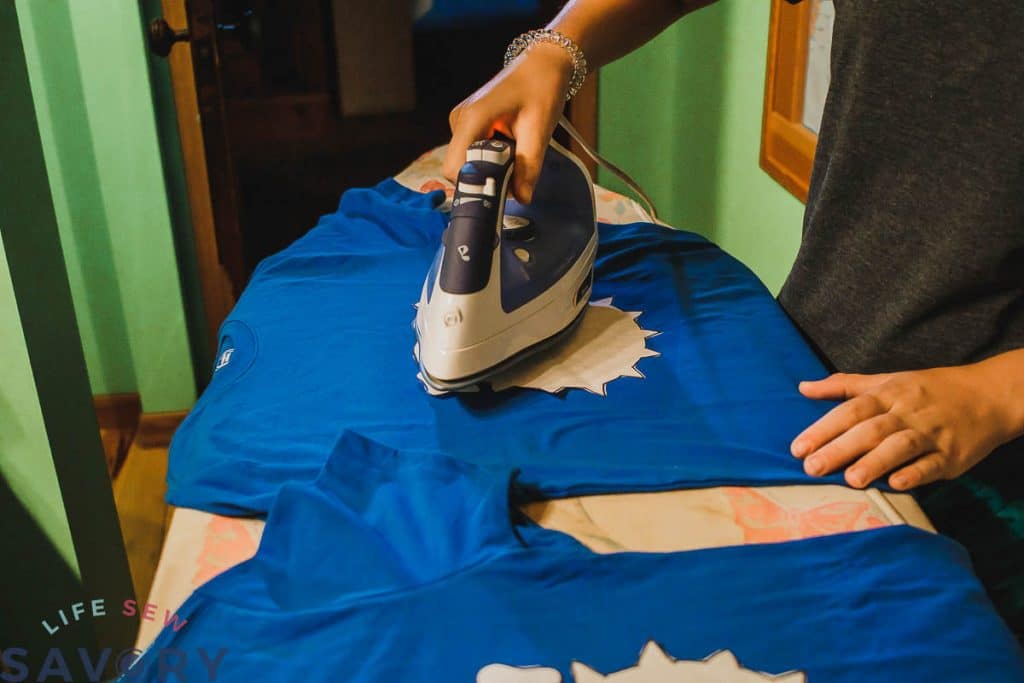
Arrange the paper design onto the front and or back of the shirts and then use a HOT iron to stick the paper to the fabric. I would suggest doing this right before you plan to bleach… do not let it sit for a long time before the next step as the paper may start to lift.
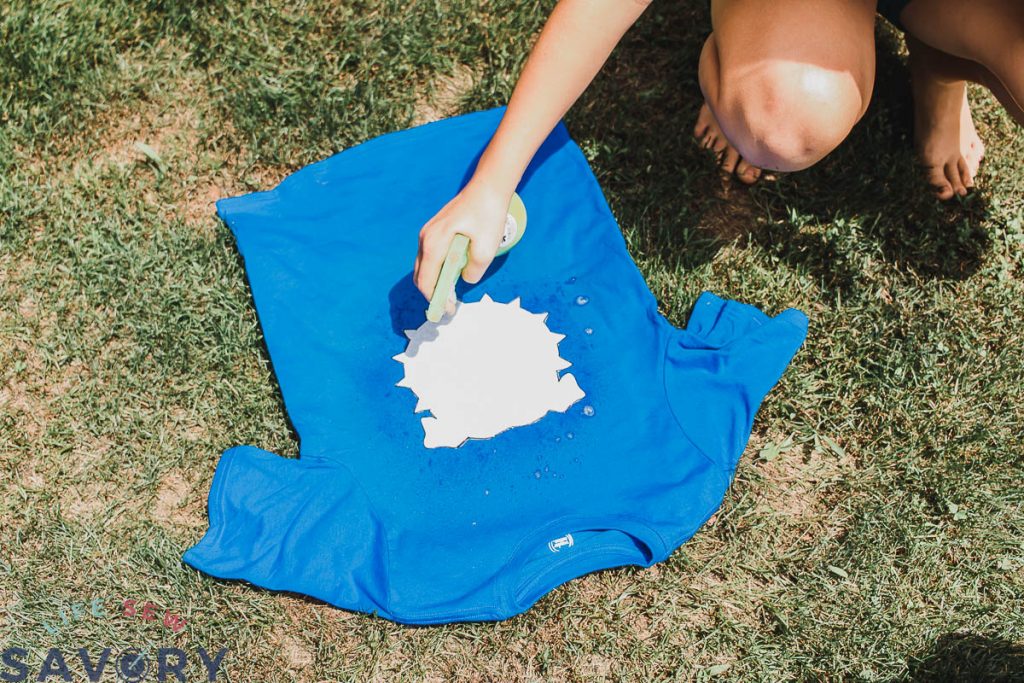
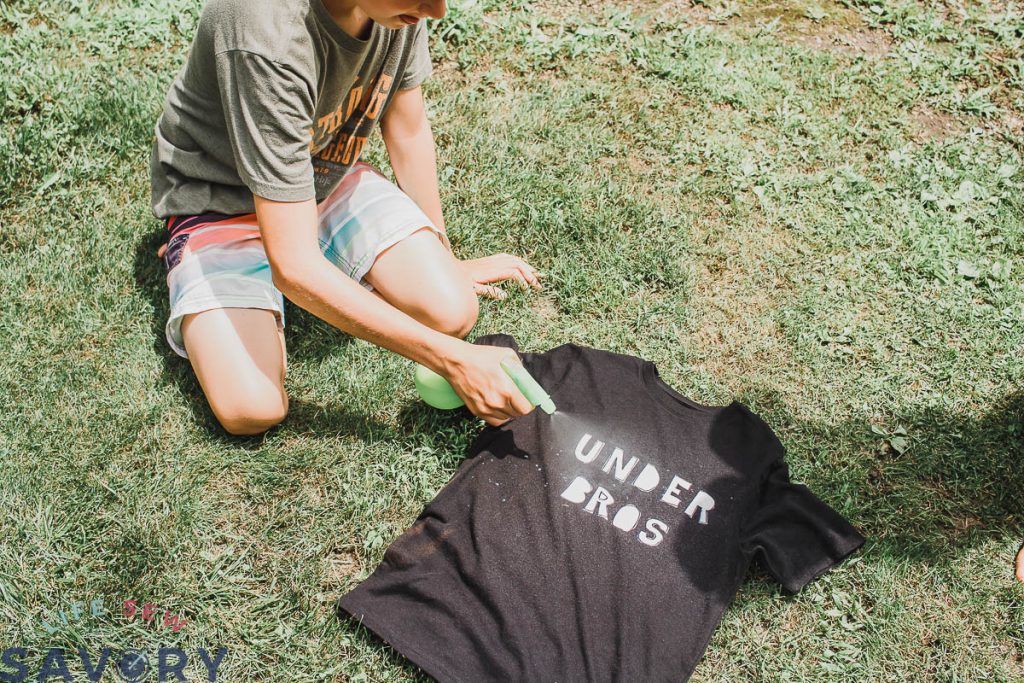
Place a piece or cardboard between the layers of the shirt to protect the designs and spray around the stencil with the bleach mix. {remember it should be equal bleach and water} This is also a great outside project!
I think black works the best, but the blue was okay too. You can adjust the spray to be larger or smaller droplets depending on the look you want.
Spray until you see the fabric start to change colors. It will continue to lighten in the next few minutes. Spray until you have the effect you want.
If you are using text try to keep the lettering simple. You can see in this photo that we didn’t cut out the inside of the letters to try and simplify the text.
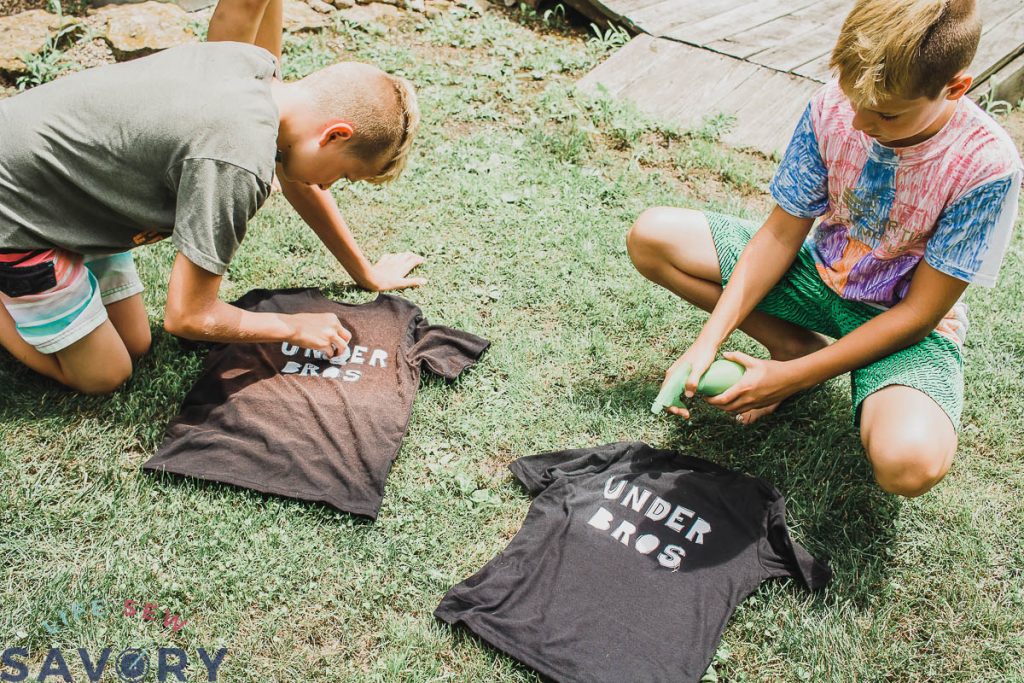
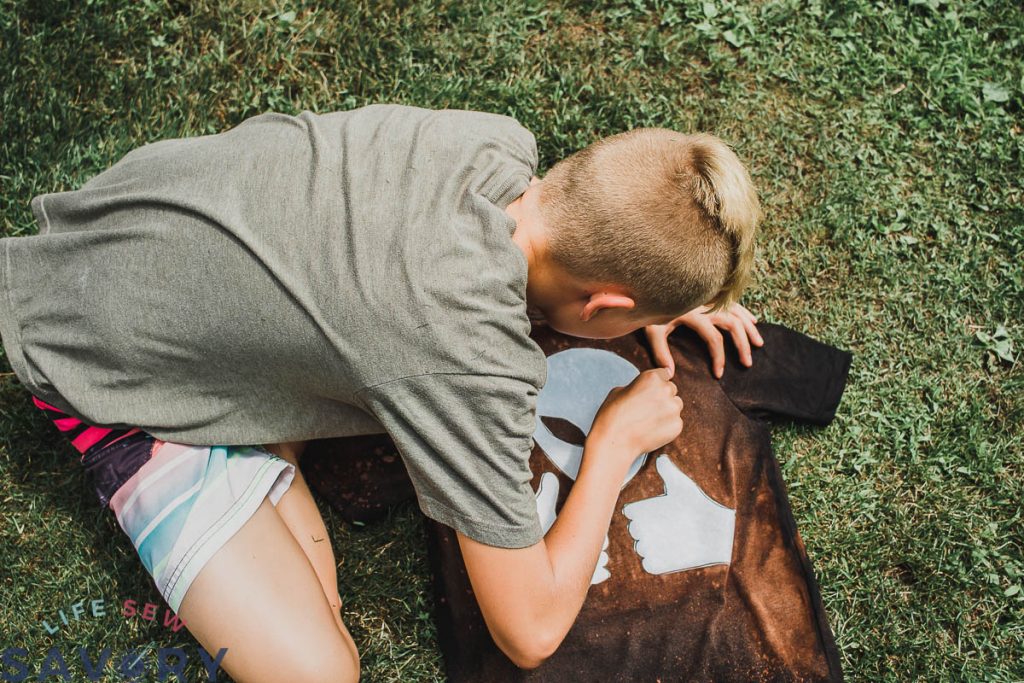
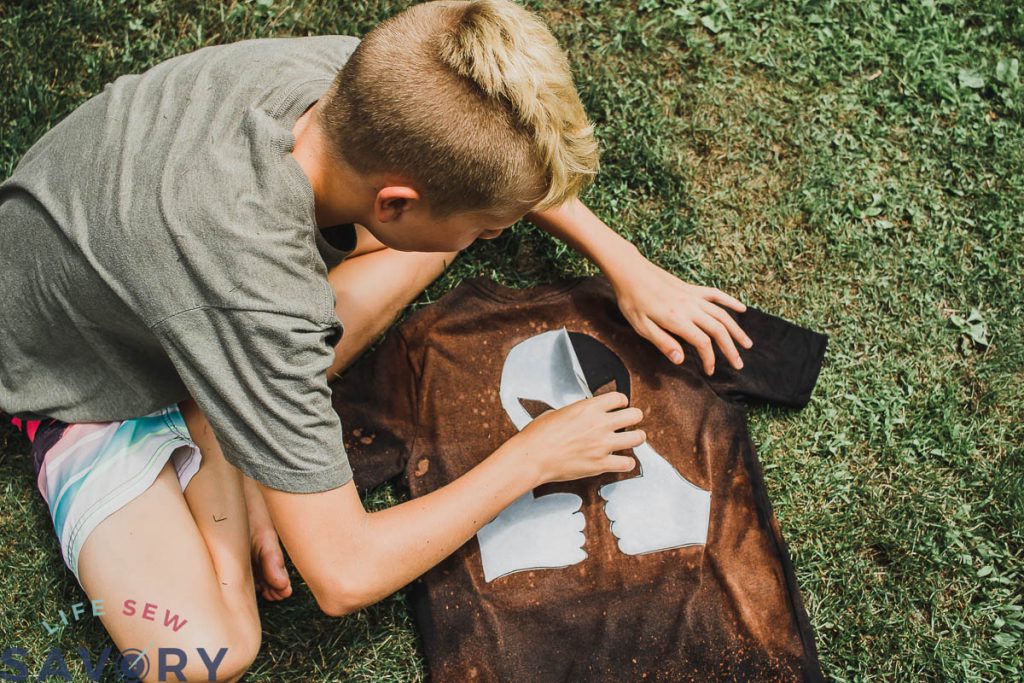
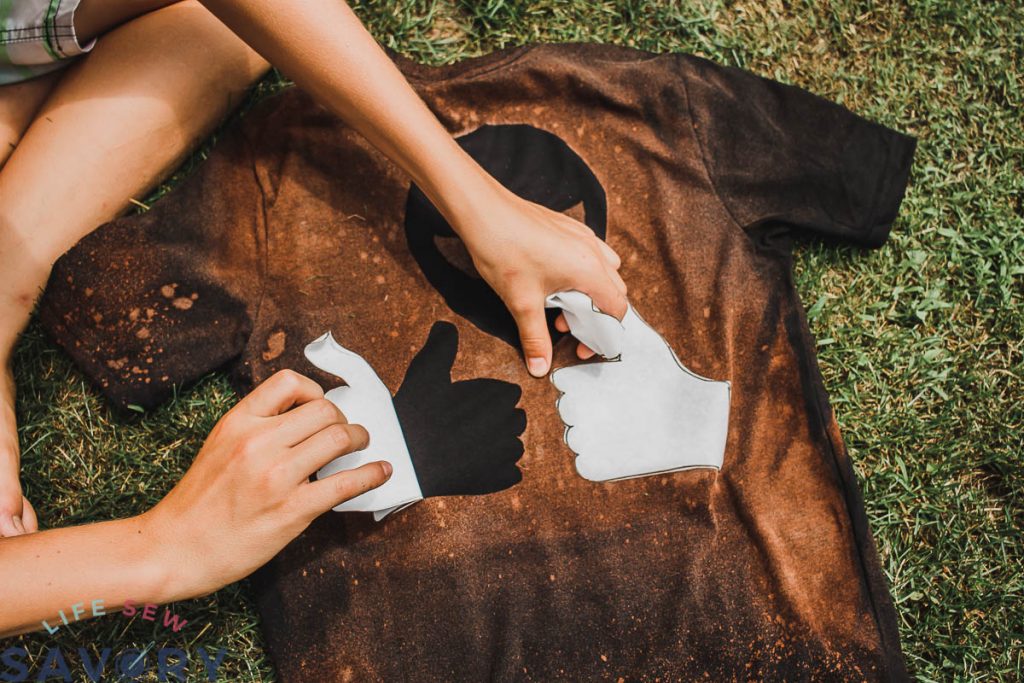
Use a paper towel to blot the bleach off the paper design, then let dry for a few minutes. When it’s no longer very wet you can remove the paper stencil to reveal your design under. Let dry for a few more minutes then through in the wash for a regular cycle to remove the bleach. {I wouldn’t wash with other clothes.. but you can wash all the project shirts at once}
After you wash and dry you can enjoy your new shirts! The boys completely designed and made these bleached t-shirts using the reverse tie dye method. They said their team was like the under dogs, only they were brothers… I had to get an explanation for the name.
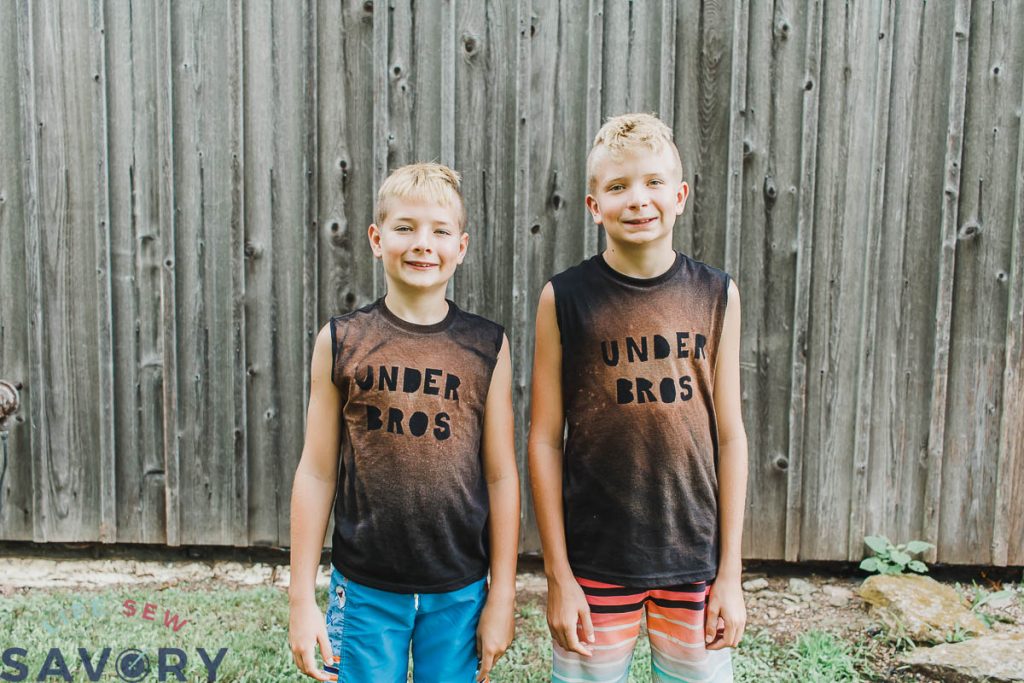
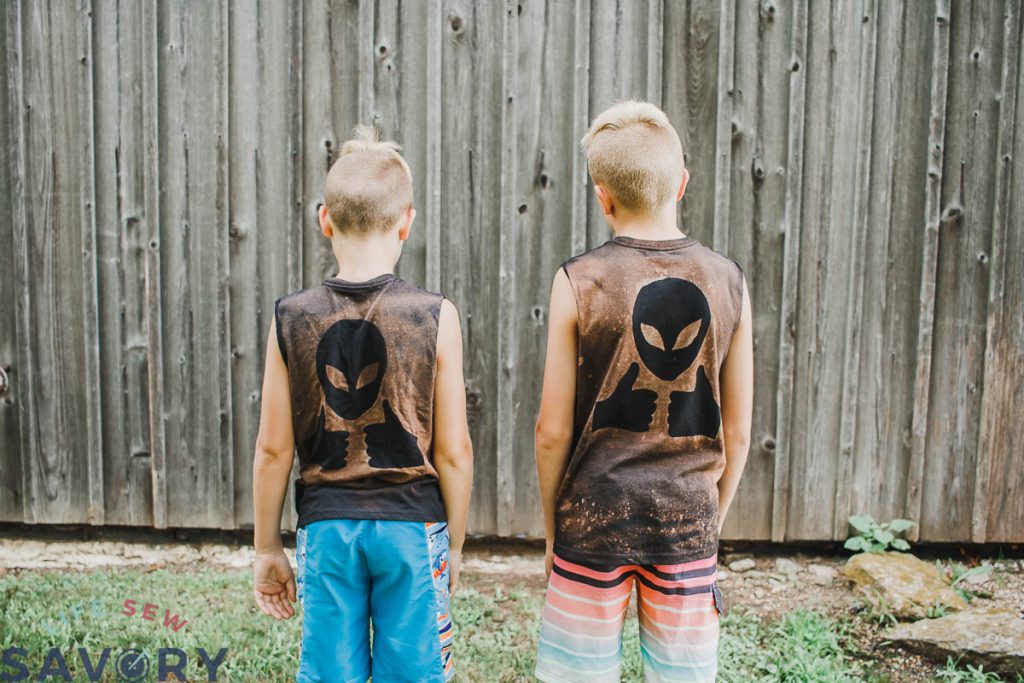
I also think these backs turned out WAY better than I imagined when I first saw what they had printed from the computer. I love that each shirt is unique because of the how the bleach sprays on…
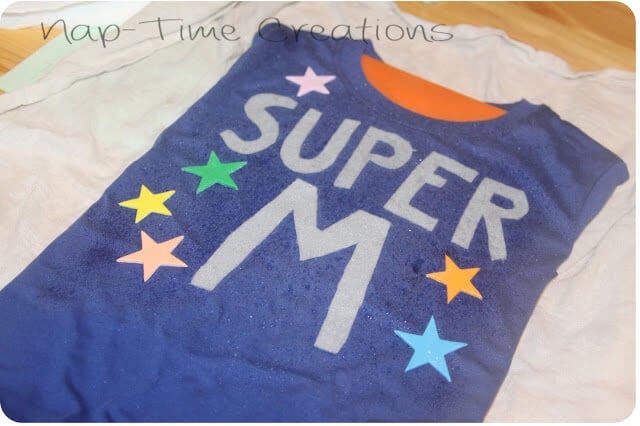
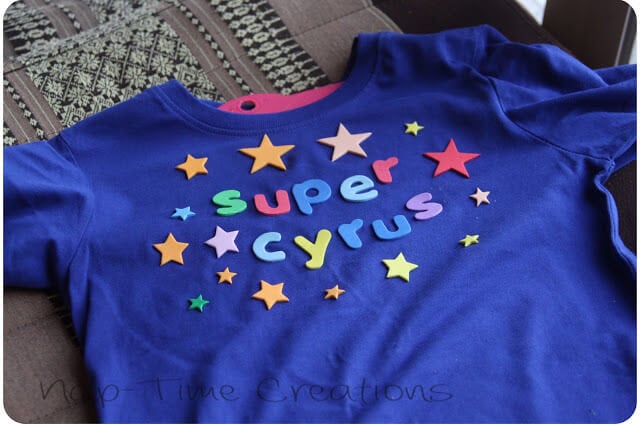
TIP: You can also use felt for your template. I would recommend the felt for two reasons…. 1. you can make whatever size you want and 2. it absorbs the bleach so the lines are cleaner on your letters. I just laid the felt on the shirt and pressed them smooth, they are not attached. (the stars are also just sitting on top)
More easy DIY shirts to make –
Reverse Tie Dye – What not to do
I’ve done this several ways over the years so I also have a list of don’t for this project.
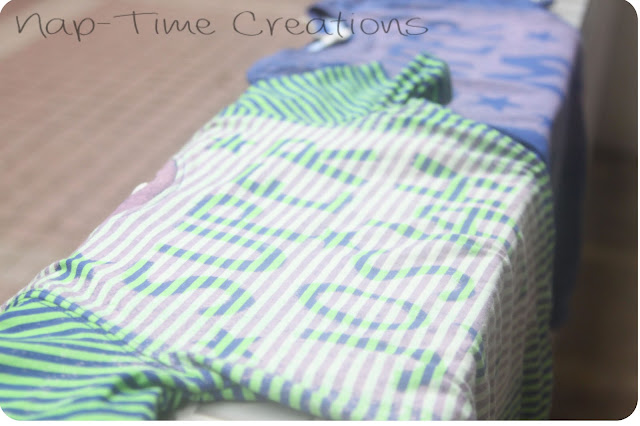
Foam letters for stencil – fail.. the bleach leaked right under the foam and there was no defined design after bleaching. The issue could also have been that the letters were too small. I’ve had better success with larger letters/designs.
Not all bleach is created equal.. I’ve tried this with dollar store bleach and it really seemed weak. This may not be the case all the time, just my experience.
Use a spray bottle that can produce more that a mist. Misting only does not seem to work well with designs.
Dark color solid shirts work best. Also cotton shirts will take the bleach better that shirts with more blends of fabric.






Elise@growcreative says
This is such a cool idea! I’m keeping this in mind for some future t-shirt alteration adventures. Thanks for sharing!
Jessica Petersen says
Cool! That’s a great tip about the felt absorbing the bleach.
toko baju muslim says
This is a great posting I have read. It’s exactly what I was looking for!
Olga (Kid Approved) says
Thanks for the tips!
Chandra Sirois says
I love this idea! I wanted to make a craft with my team for a team building experience and still have it relate to work! We can make our company slogans or catch phrases and have fun using it!!! Thanks for such a wonderfully fun craft!!!
Carrie from Carrie This Home says
What a fun project to do with kids! I appreciate how you shared what didn’t work so readers wouldn’t make the same mistake! Stopping by from Tatertots & Jello 🙂
Unknown says
🙂
Unknown says
🙂