
inside: Learn how to use your ScanNCut to create custom vinyl decals from any drawing or printed graphic/text. Dream, draw, scan, cut, enjoy a custom vinyl decal!
**post updated 8/2022**
Today I’m going to show you how to turn any drawing/print to vinyl decal. This is perfect for custom shirts, vinyl signs and labels. If you can print it from your computer or draw it, you can cut it out of vinyl with the Brother Scan N Cut. In this post I will show how to create custom vinyl decals with sticky vinyl and with iron on vinyl. You can use to make unique shirts or decorations to mugs, boxes {almost anything!} I’ve added vinyl to mugs, water bottles, snack boxes and so much more.
Any image to vinyl decal tutorial –
I’ve been using my Scan N Cut for about five years now, and using the computer software for designing what I wanted to print. I’ve starting using the scanning function of the Scan N Cut and I LOVE it! SO many options are now open to me, including being able to hand draw or sketch something and then turn it into a cut file.
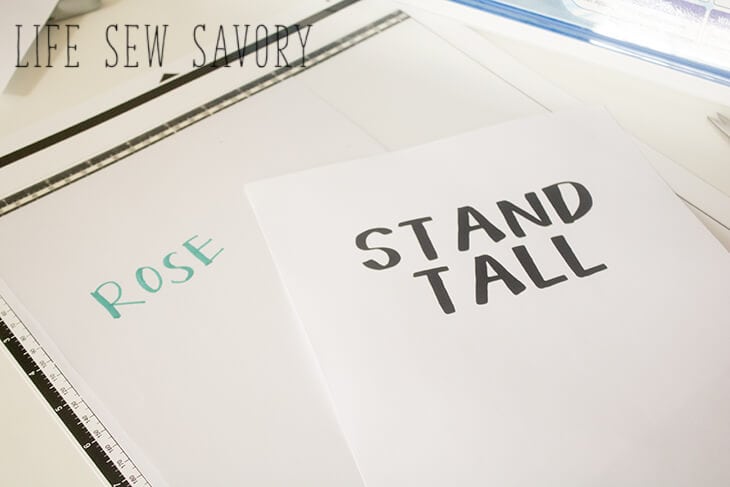
Print clip art and make fun t-shirts with the graphics you find and print. The possibilities are endless! You can check out the video in this post for all the details, but below are two projects made with the Scan N Cut.
This post will detail two different ways to use this technique. The process is the same for using heat transfer vinyl or sticky vinyl. It’s also the same when using a drawing or a printed image/text. So… let’s get started.
Here are a few other vinyl/ScanNCut projects to try-
Scan An Image with the Scan N Cut –
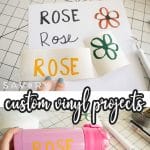
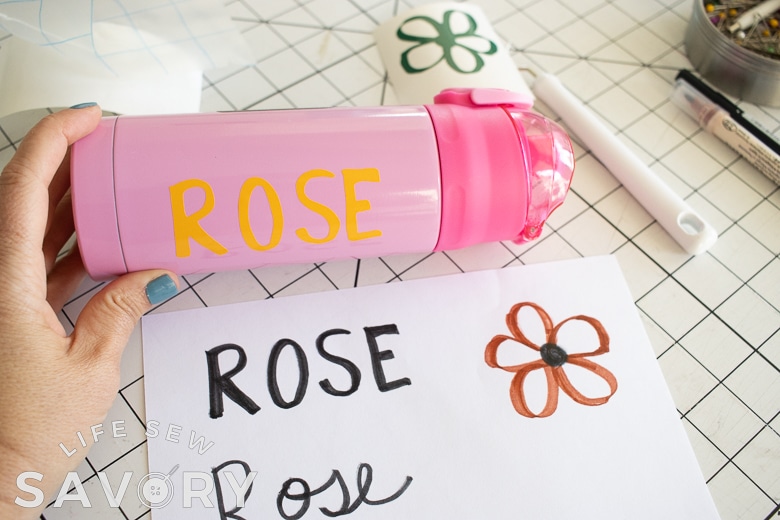
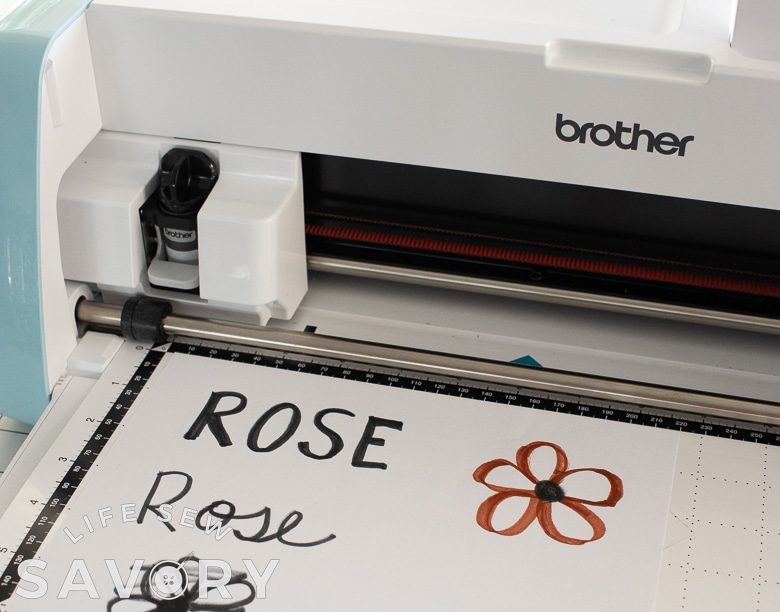
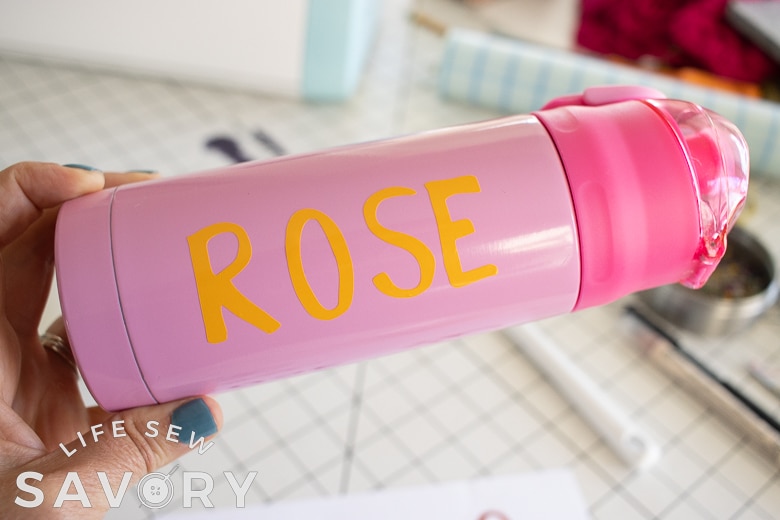
I scanned two different types of text to vinyl decal. First, I tested scanning in something I drew with a marker… it scanned in perfectly and I was able to manipulate it on the screen to create a name label for my daughter’s snack box. I just scanned simple letters, but it would work for any picture or design as well.
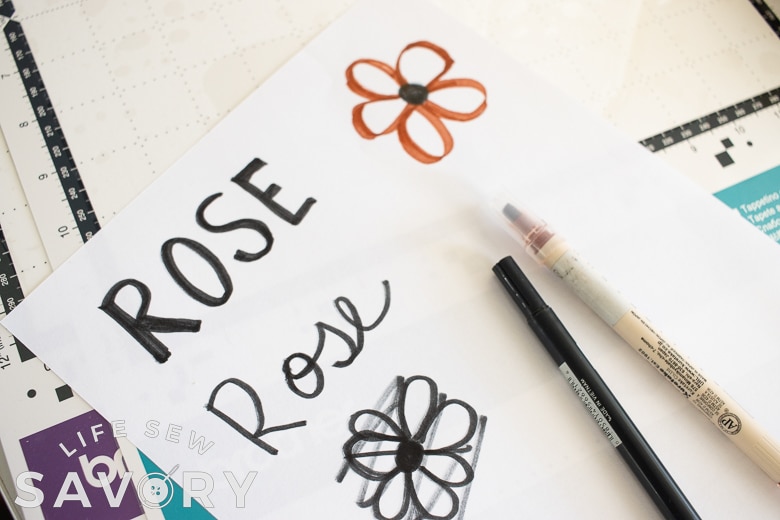
If you or your child is drawing something try to keep the lines solid and a bit on the thicker side for better scanning.
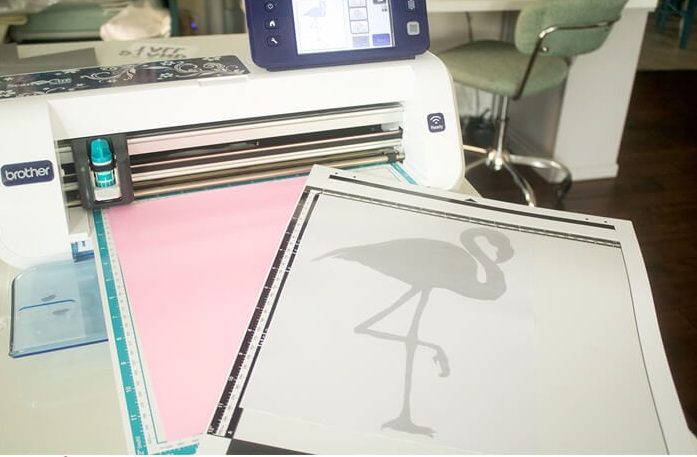
Place any image, words, drawing or graphic on a low tack mat {too sticky and the paper will be stuck forever}
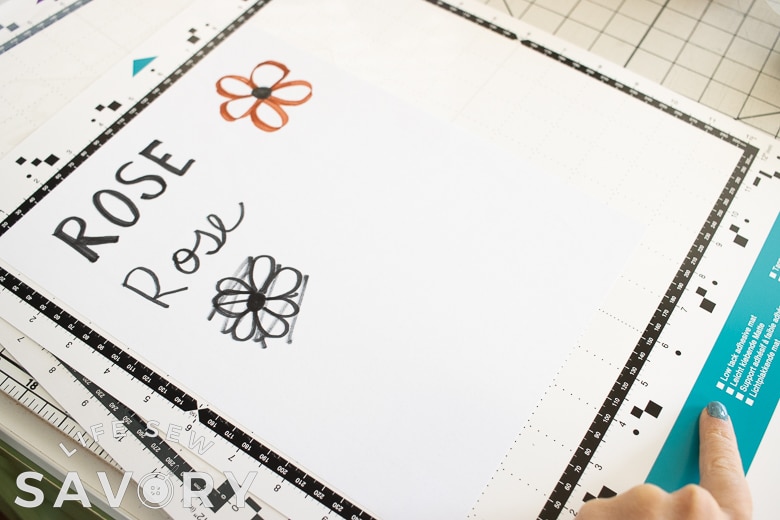
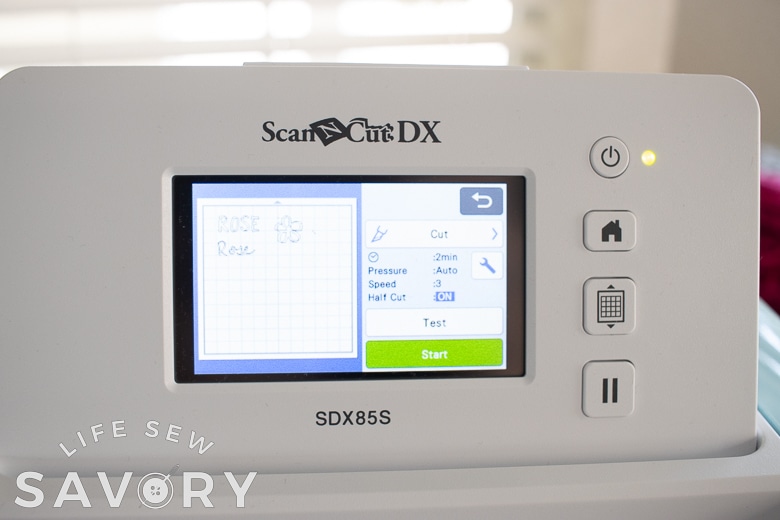
Load the mat into the machine and hit the scan button. I usually choose the scan to cut data button. Hit the scan button and watch the machine scan the mat. Your design should appear on the screen when the scanning is complete.
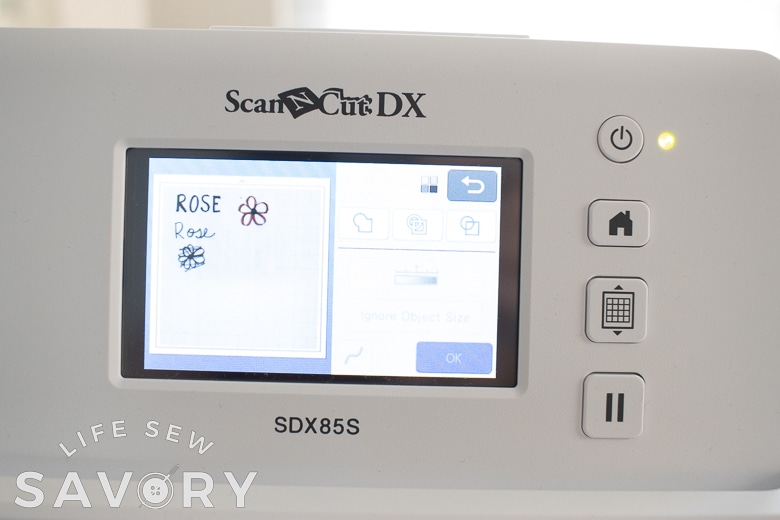
You can zoom in on the screen to check that the scan caught all of the lines you want to cut. Adjust the settings so that inside and outside lines are all showing {if you want them all cut} You can also crop the scanned part to get rid of extra parts. There is also a delete button if you want to delete lines or whole images.

Keep pushing the okay button until the cut screen appears. Choose the cut option and make sure the half cut is on. You want this setting for both sticky and heat transfer vinyl.
Remove the mat and weed out your design.
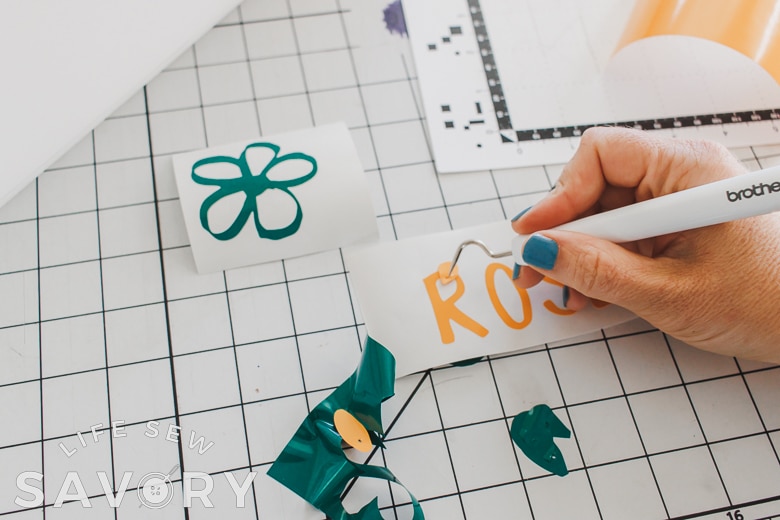

If you are putting the sticky vinyl on an item, use transfer tape to make the transfer.
The process is the same for a printed graphic or words.
If you are cutting paper or sticky vinyl you can just cut the image as it scans in. Adjust the size as you want, then cut.
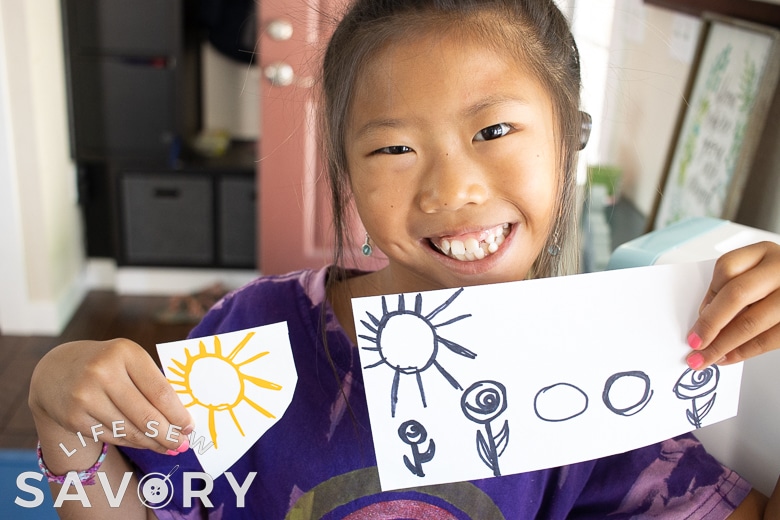
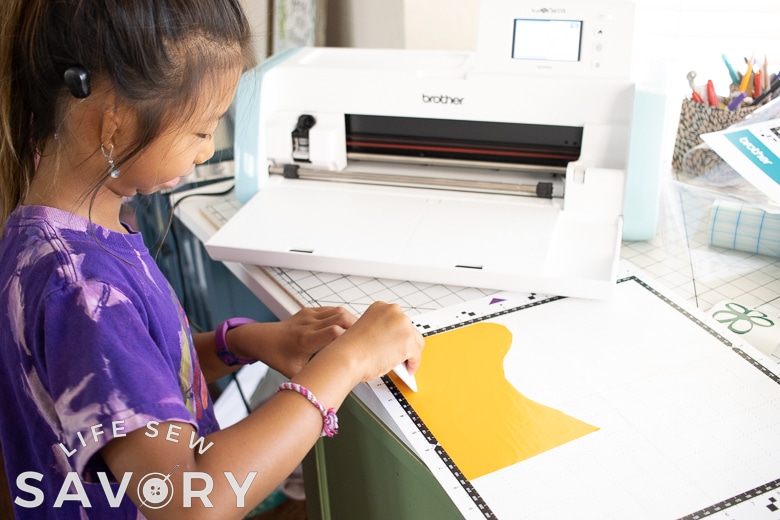
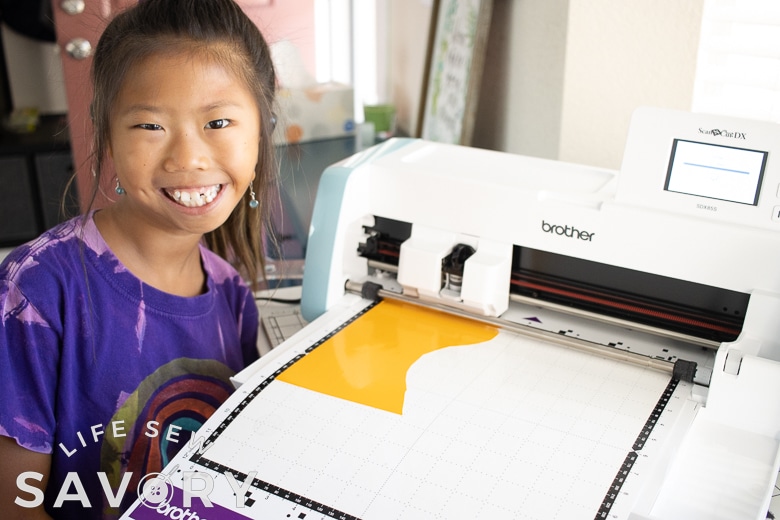
Kids creating vinyl sticker from art –
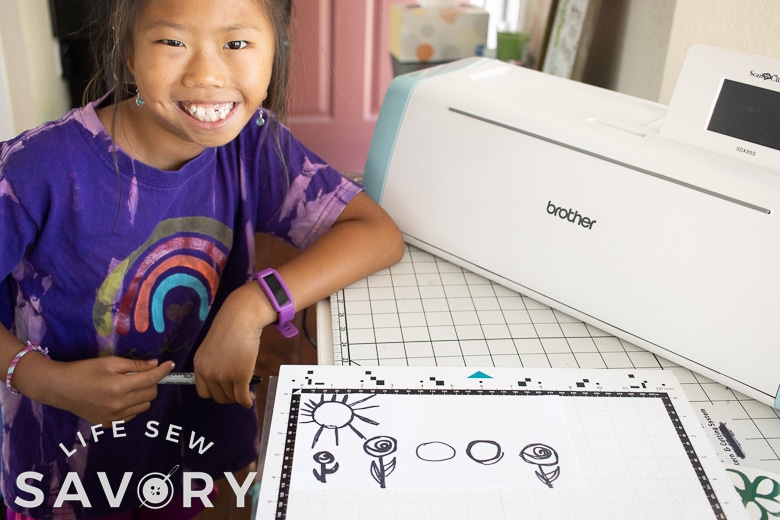
The process of kids creating vinyl art is the same as described above, but I wanted to share a few photos of what Rose created since she was so proud of it. I will say that her rose art didn’t’ scan in very well. It had some loose ends that didn’t cut, but the sun turned our exactly like she drew it!!
This is such a fun idea for kids to create custom stickers or shirts with their art work.

Cutting Heat Transfer Vinyl –
**update note- this ScanNCut pictured here is a pretty old model, but the basic steps should still be the same!**
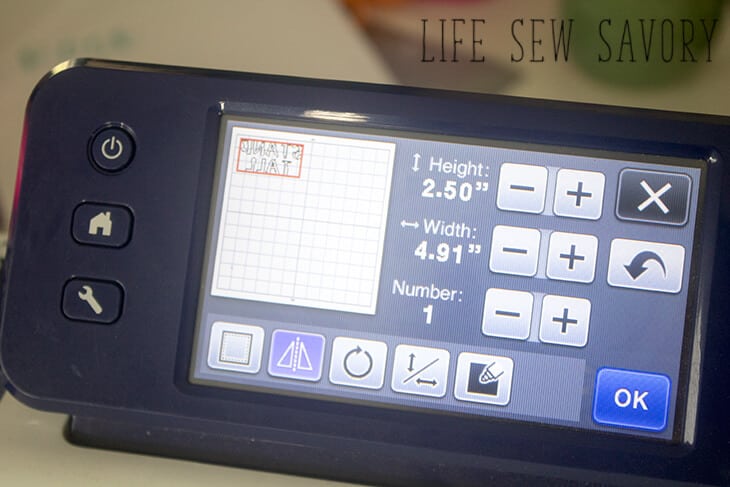
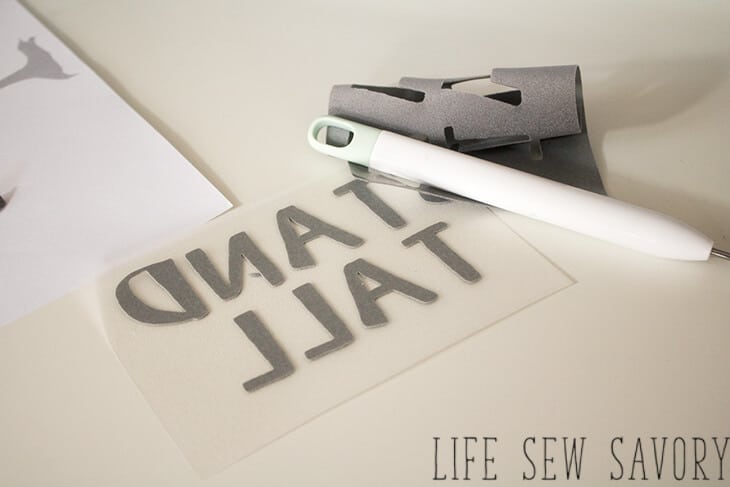
If you are cutting and using heat transfer vinyl you need to reverse the image before you cut. First, select the all the words, then merge them into one item by grouping. Use the button that looks like two triangles to reverse the image. Make sure to group the image first! If you reverse before grouping the letters will reverse individually, but the words will not reverse. The grid on the screen reflects the grid on the cut mat
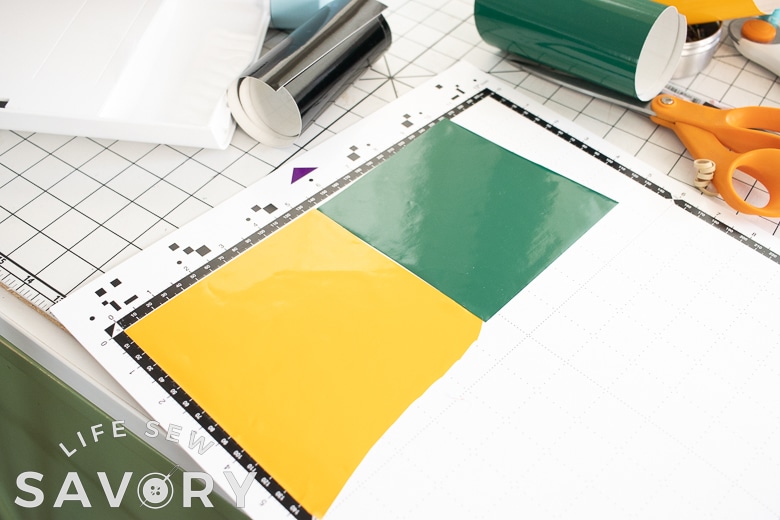
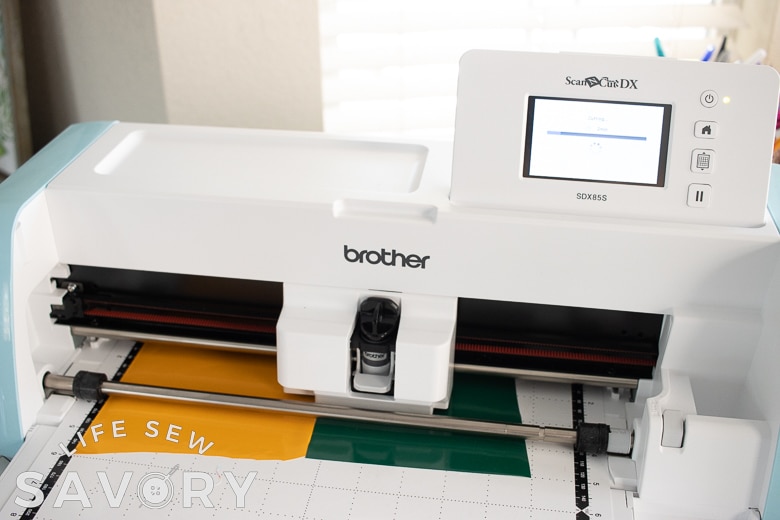
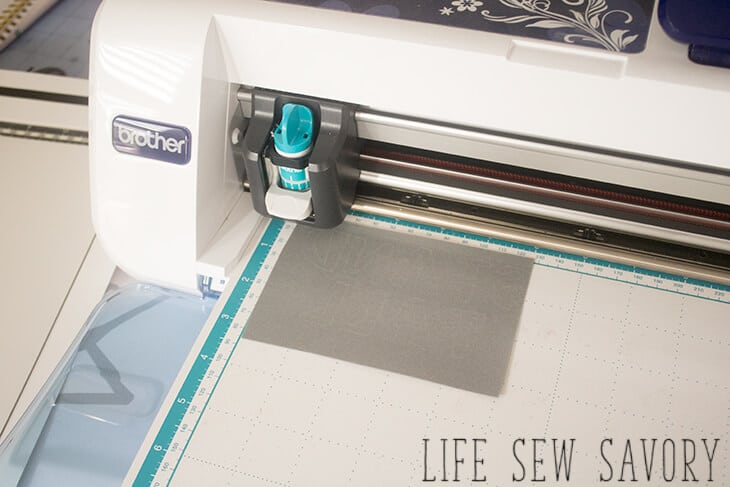
I usually try to conserve vinyl by cutting it just the size needed for what I am cutting. For these words I pre-cut the vinyl to a smaller size. Place the vinyl on the cutting mat. The heat transfer vinyl is cut with the shinny side down. You will NOT cut all the way through this clean plastic, so make sure the half cut is on.
After it’s cut, weed out the extra vinyl and you should be left with the design you want to use.
Prep your fabric by heating with the iron, then place your design on your shirt. Press with an iron and hold for about 20 sec on each part of the vinyl. Do not slide the iron, lift and press, pushing firmly with your arm. You can layer the vinyl with one color on top of the other. Make sure you have the clear plastic protecting the vinyl from the iron. When the plastic is cool you can remove. If you see that your design is not fully fused, iron again. What can you dream up with the Scan N Cut?


Claire Paradis says
Hi, I saw your episode 1604 in It’s Sew Easy. Il wonder where I can buy the heat transfer vinyl. I have the Scan and Cut.
Il live In Canada.