inside: Sew a Christmas Apron with this simple sewing tutorial. This is a linen cross back style apron. Easy Sewing tutorial to make a apron.
I’ve been wanted to sew a simple apron like this for several years. I had some linen left over from my bread bag post, and some other Christmas fabric, so here is what I came up with. I love it! PLUS this Christmas apron sewing tutorial is quite easy so you can make this!
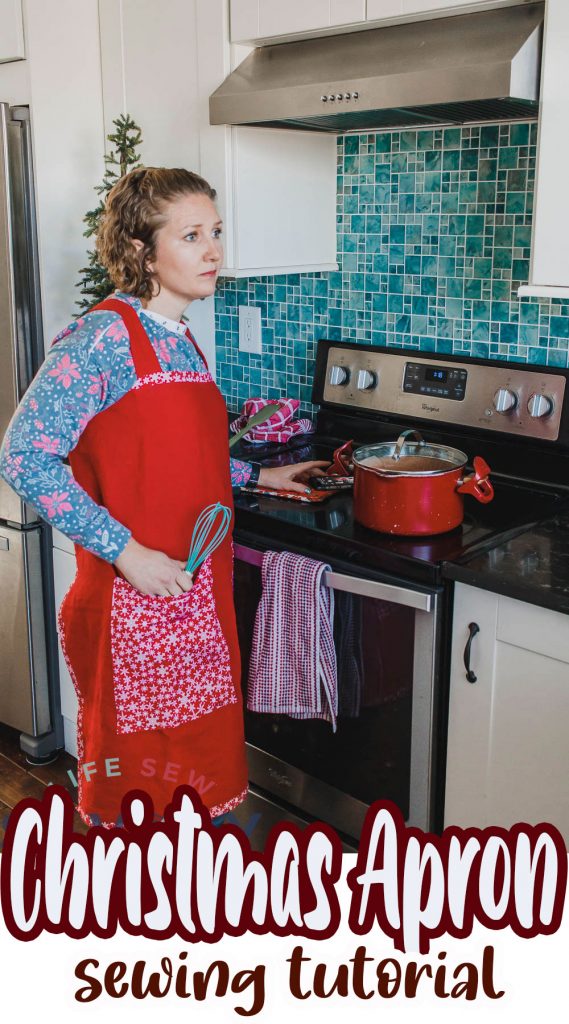
Christmas Apron Sewing Tutorial
I’m going to show you how to sew this Christmas apron in any size! The apron is a basic rectangle shape with straps and pockets.
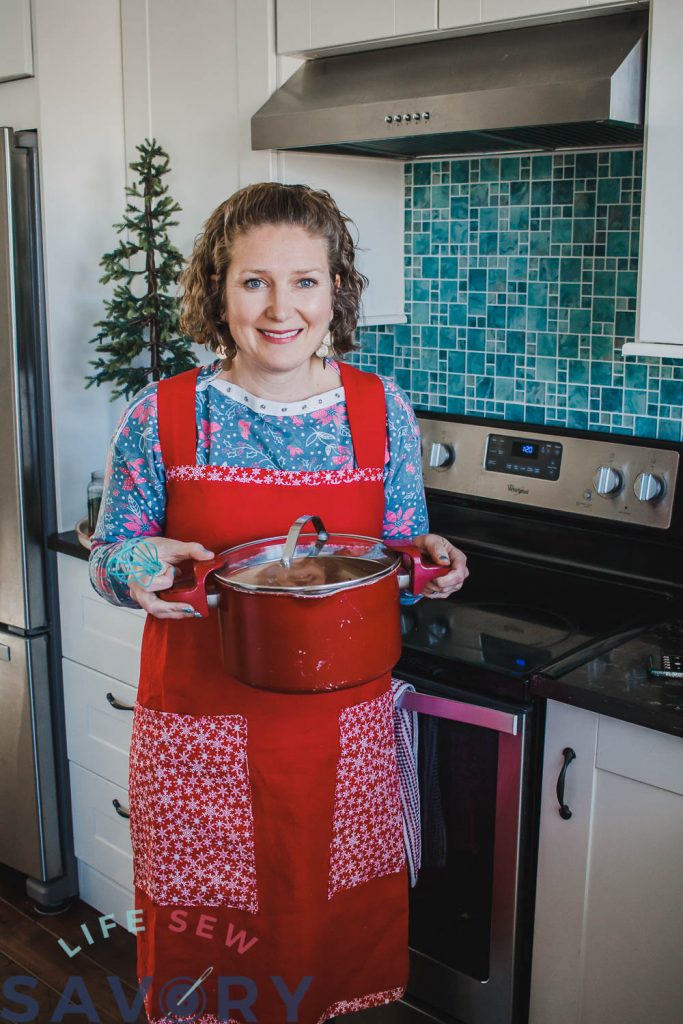
SO cute right? It’s all in the fabric, but the cross back is pretty fabulous too! This linen apron is a Japanese style apron which means it doesn’t have any ties or closure. You can adjust the fit based on your measurements, but it just slips over your head to wear.
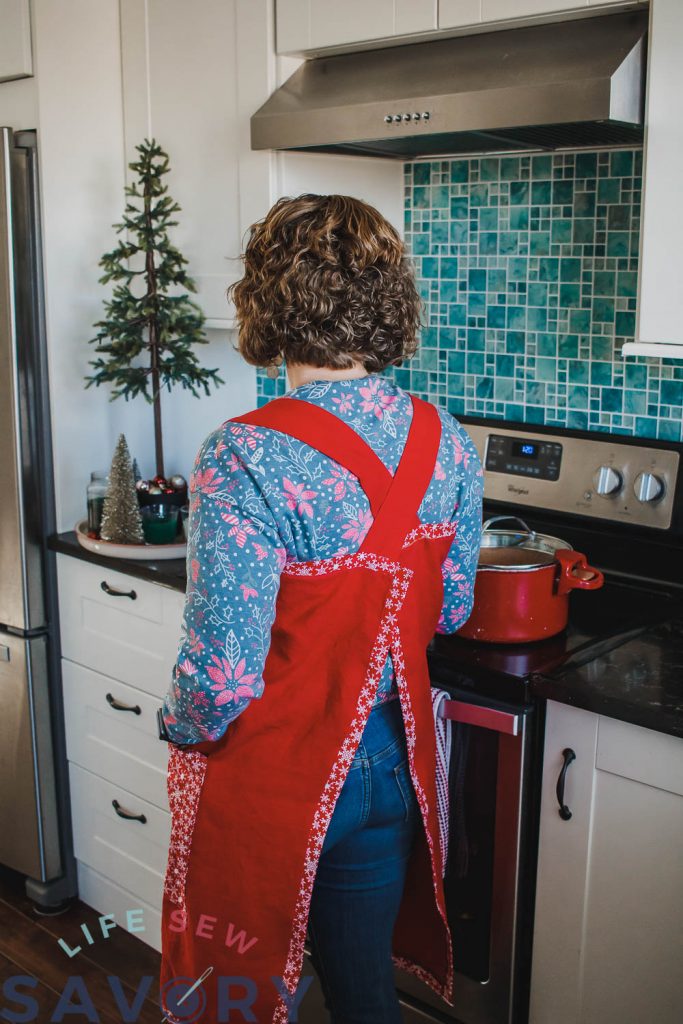
You will need 1 – 1.5 yards of the main fabric and 1/2 yard of the coordinate. You can add the binding on the edges like I did or just turn under and hem.
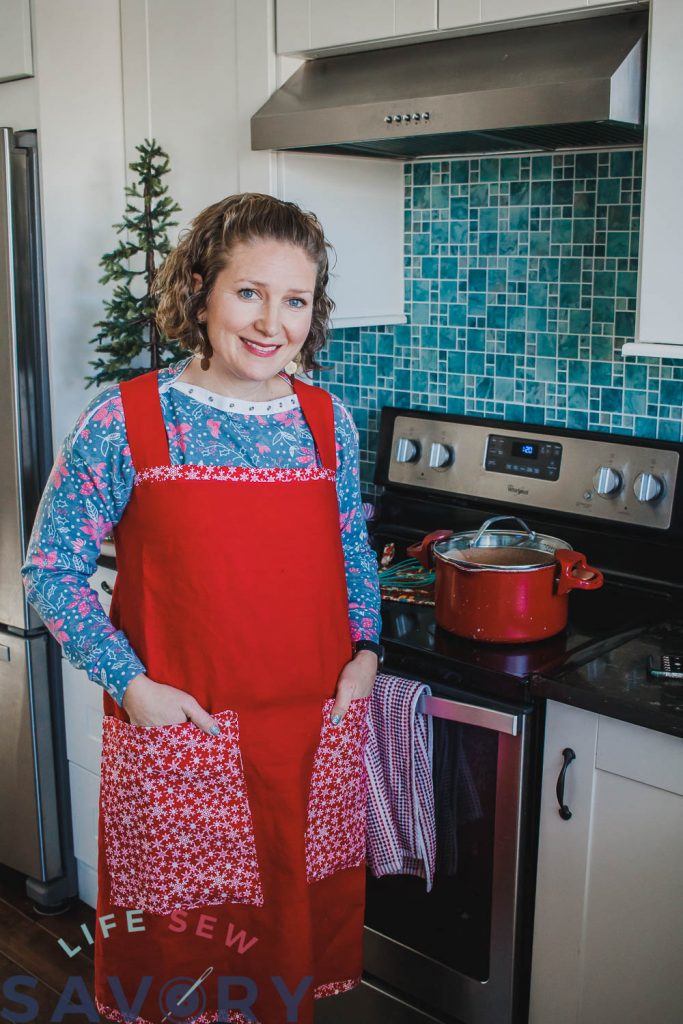
I think the pockets are my favorite… although when I was taking these photos I wasn’t sure what you would actually put in apron pockets… dirty spoons? What do you put in apron pockets?
Other fun Christmas Items to sew for the home
See video tutorial for details on each step. Check out the video steps at the very end of this post.
How to sew an apron
- 1-1.5 yards linen fabric for apron main and straps
- 1/2 yard cotton coordinate
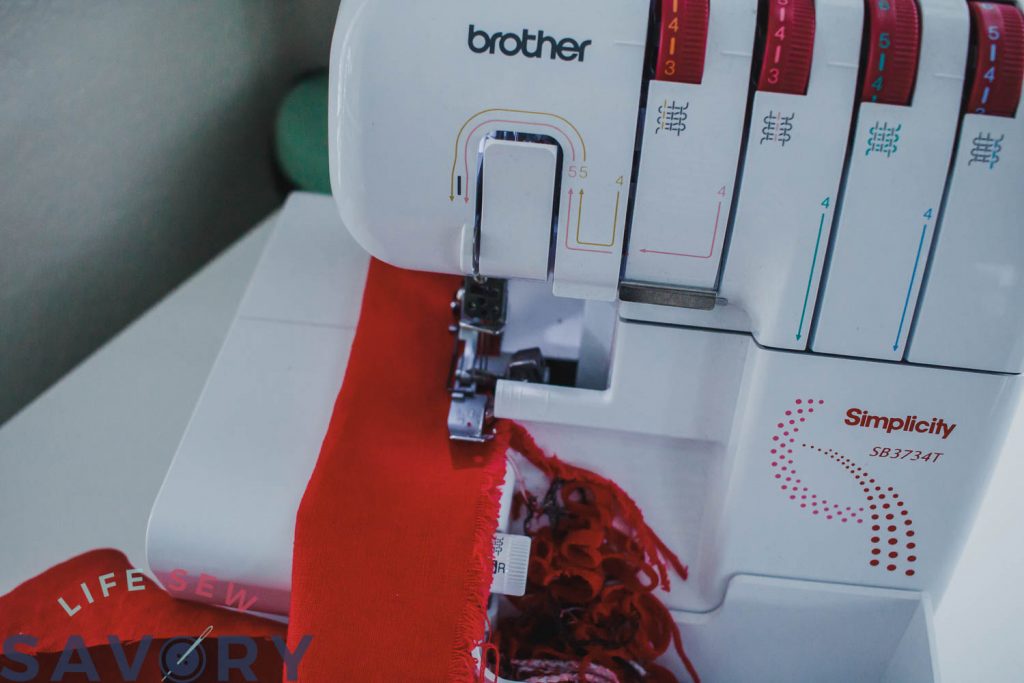
- A serger works great to finish the edges of the linen, but this can be sewn all on a sewing machine. I used my Brother serger 3734 and sewing machine 5200.
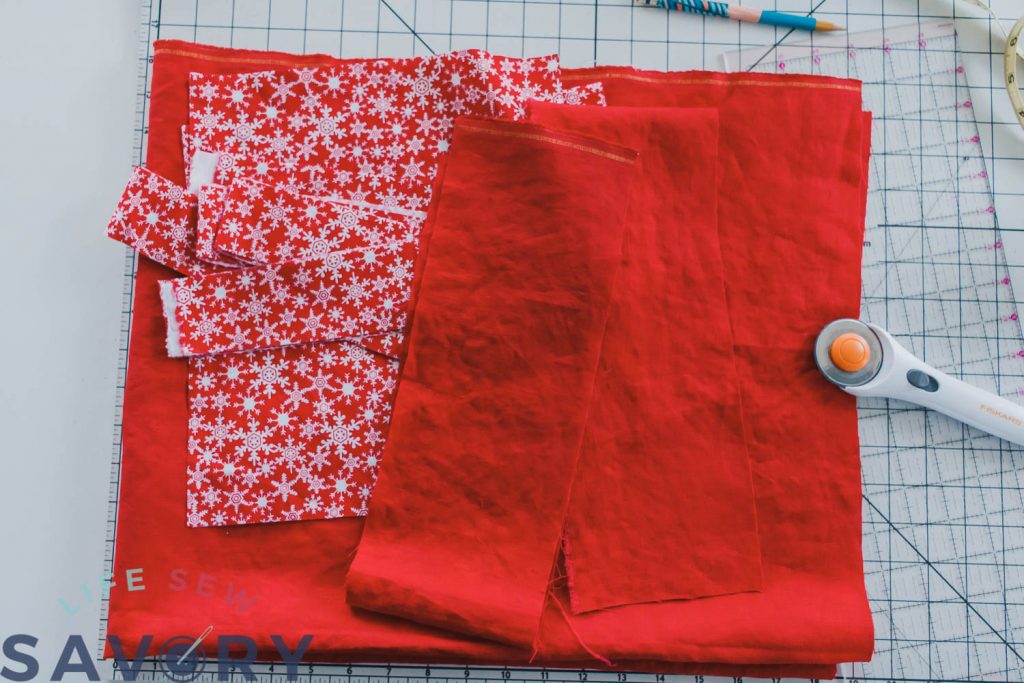
To cut the apron you will need to measure around your upper bust then add 2″ to that measurement. For example 36″ + 2″ = 38″ this is the top edge of my apron rectangle. This determines how much fabric you need. 36″ can be made with 1 yard, larger sizes need more yardage. The selvedge edge is at the top.
Measure down from your upper bust to desired length to find how long to cut your apron. My apron was 38″ x length {as desired}. Cut two straps 5″ x 25″ and pockets 11″ x 12″ cut 4. I also decided to bind the edges. You can do this or just hem. The binding is 2″ x width of fabric {coordination cotton}. Cut 4 binding strips.
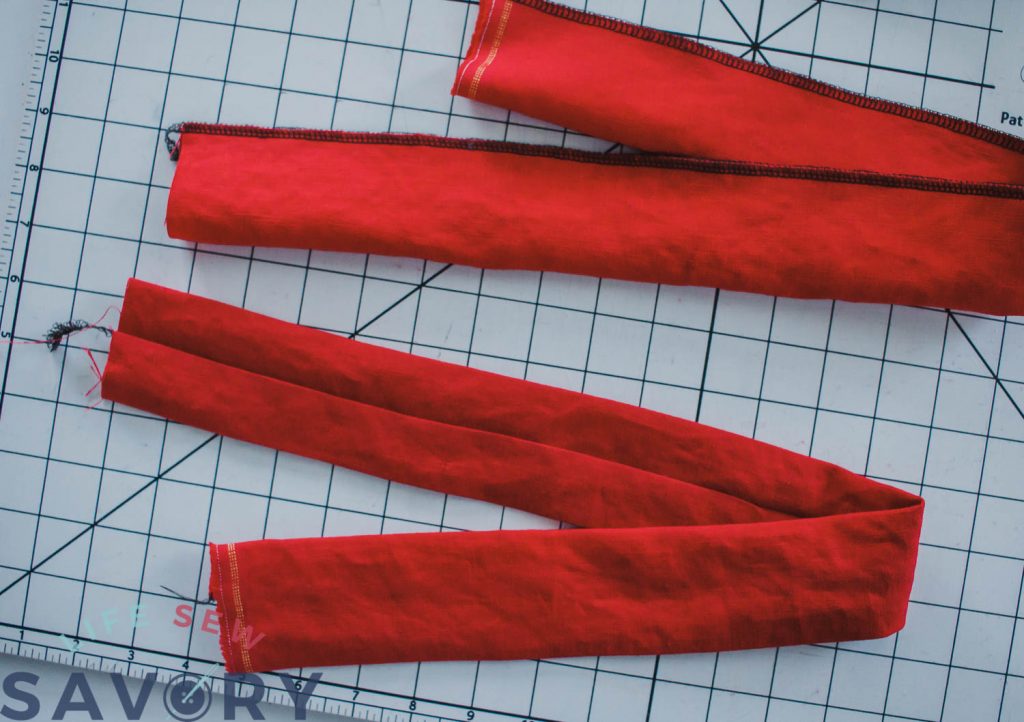
Fold the strap pieces in half with the long edge together and sew closed. I used my serger, but you can sew with a sewing machine as well.
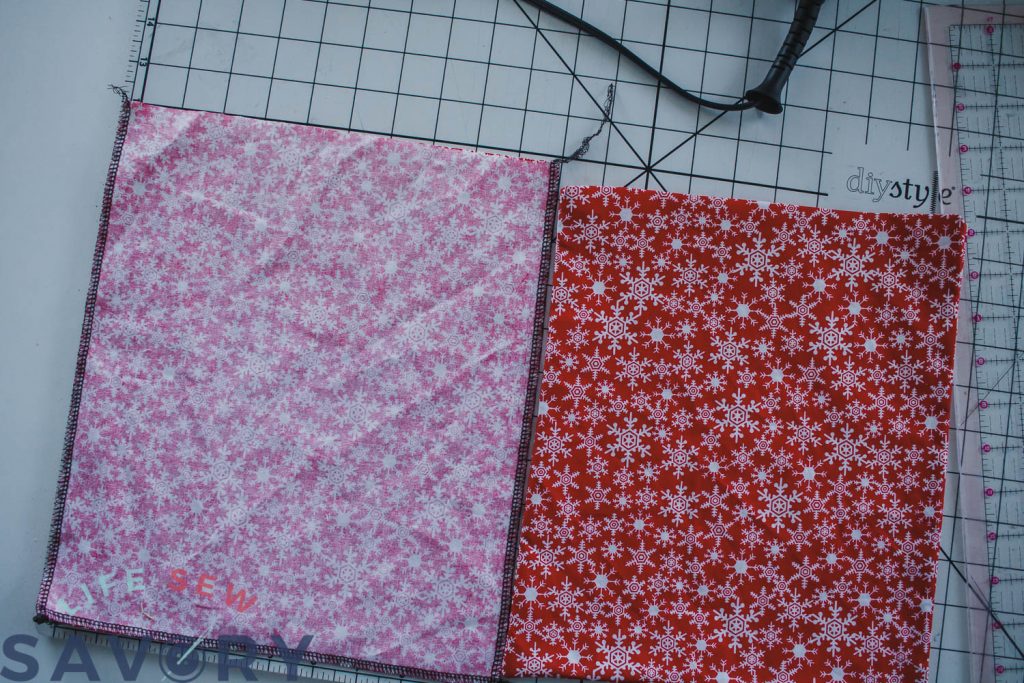
After you have sewn the straps and pockets with right sides together, turn right side out. You will have two straps and two pockets.
Press the seam allowances of the top of the pockets inside, then sew the top closed. Set straps and pockets aside for a bit.
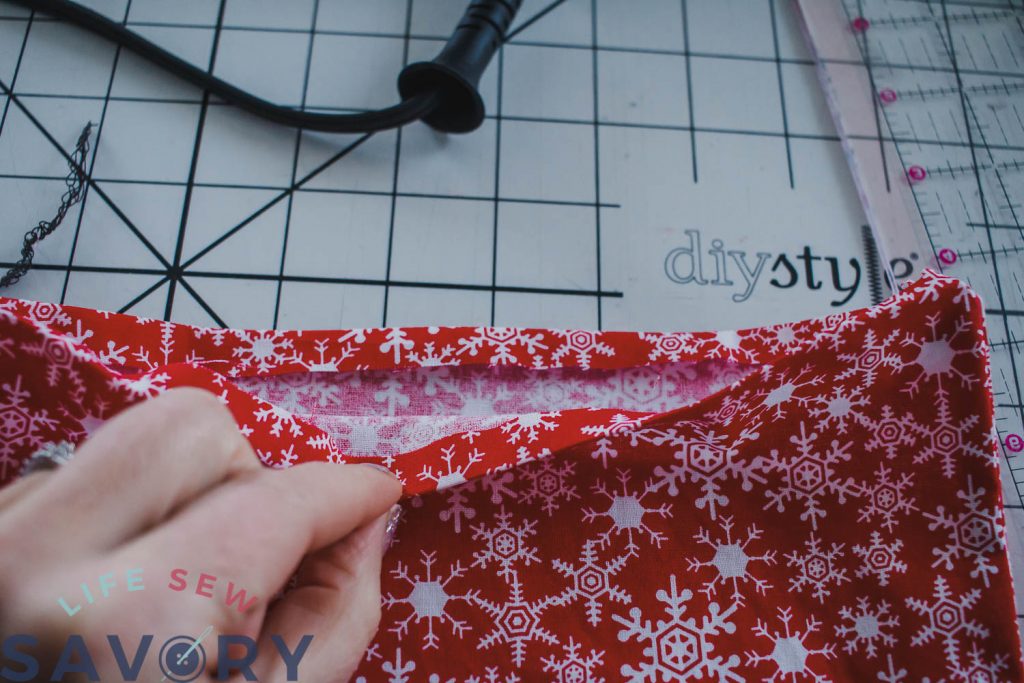
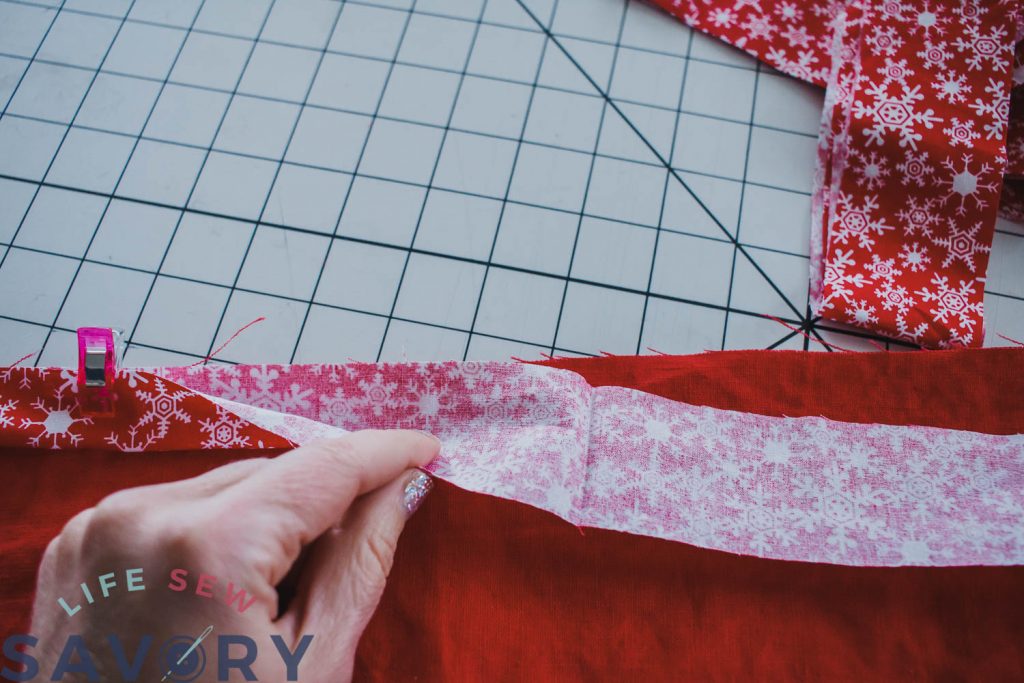
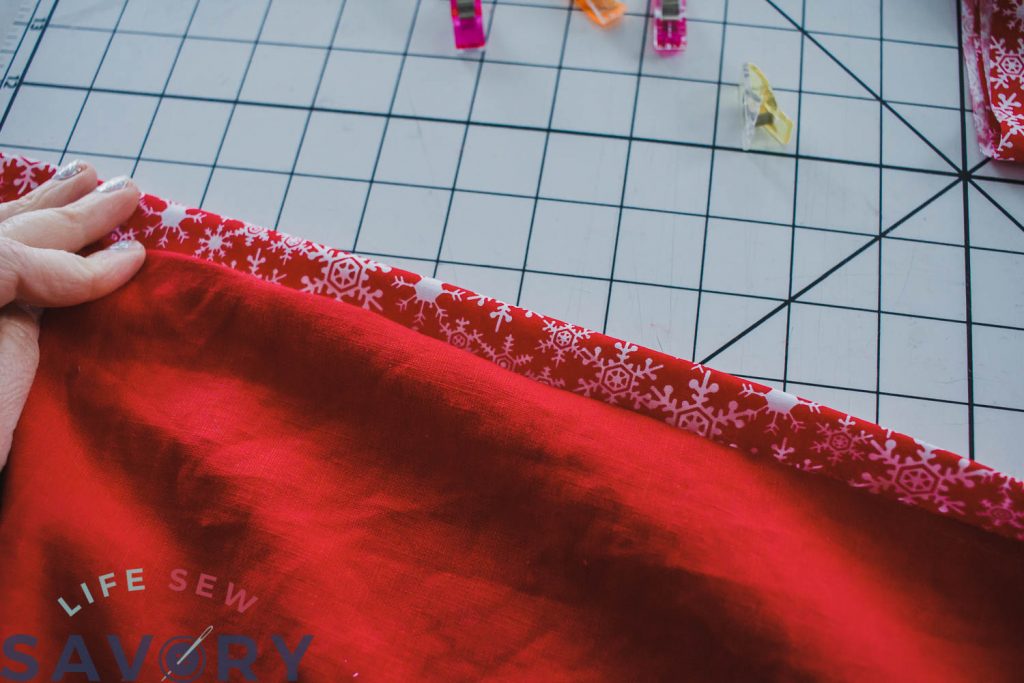
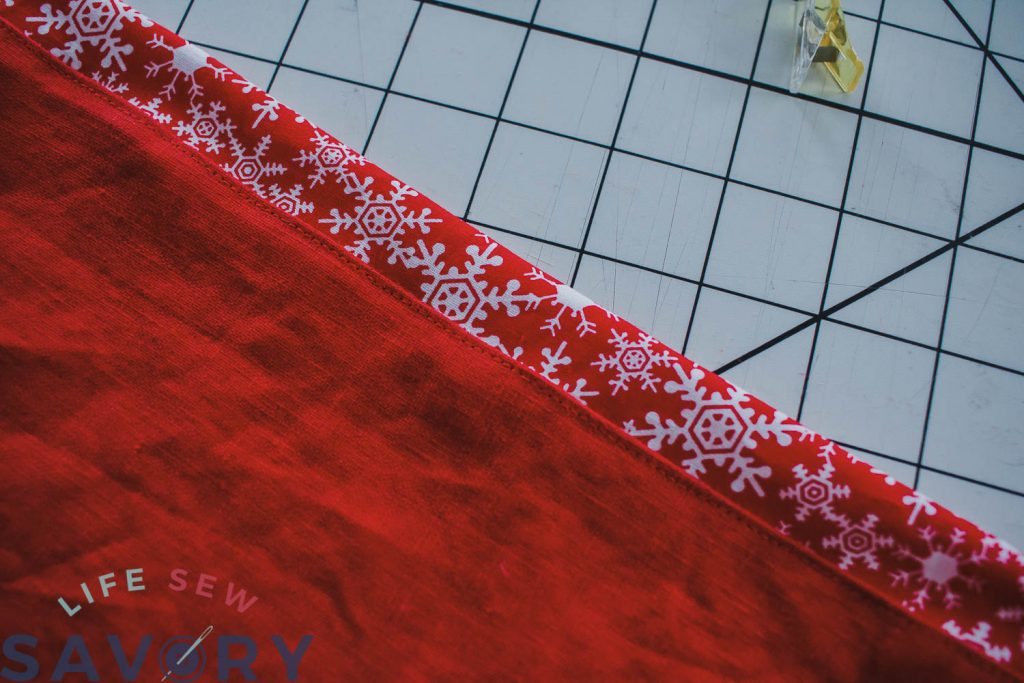
Find the bottom edge of your apron and fold a strip of binding with right sides out. Line up all the raw edges and pin/clip to the bottom edge of the apron. Sew and then topstitch the seam allowance to the apron side.
Find the center of the top edge of the apron. Mark…
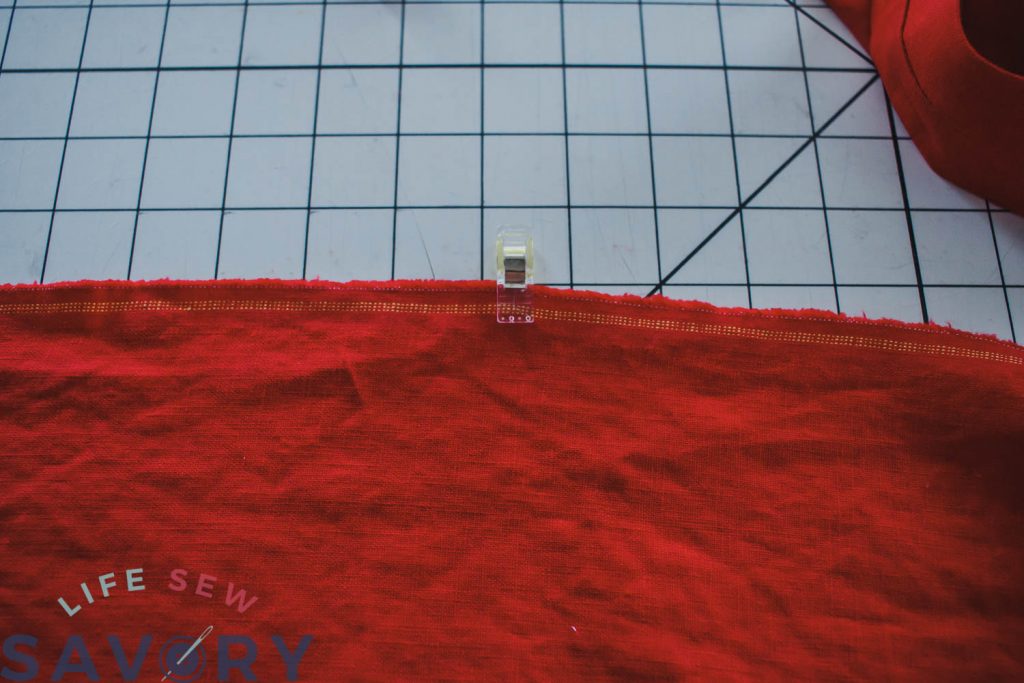
Pin or clip a strip of binding all along the top edge just as you did the bottom. Keep the center marking in place.
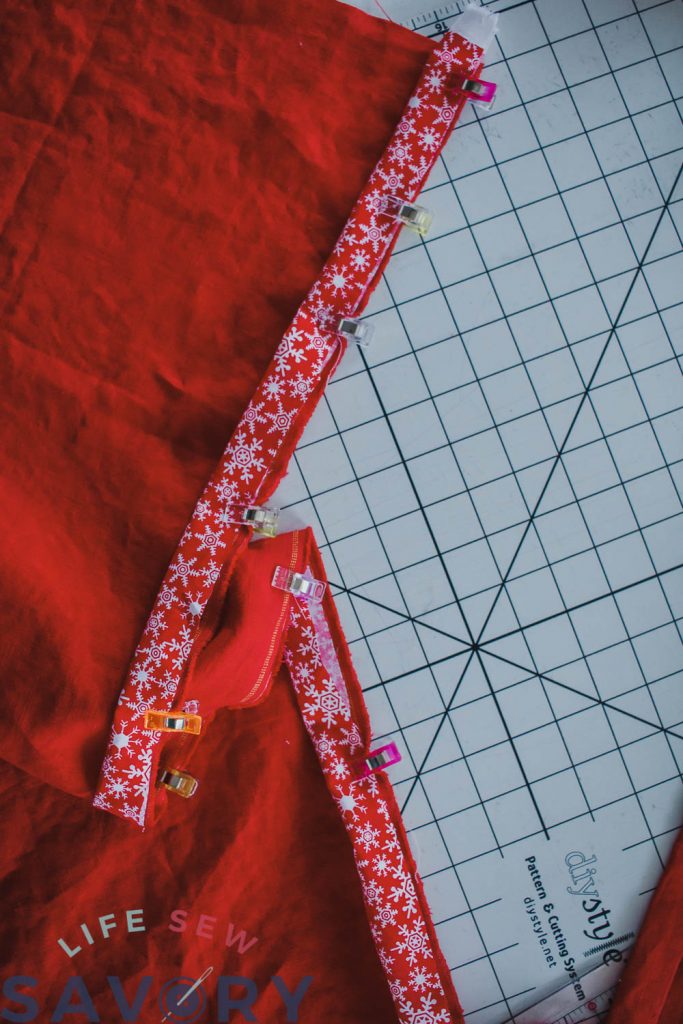
Pin the straps to the top with right sides together. I places the straps each 5″ out from the center marking. You can hold this up to your chest to see if you also like this strap placement.
Sew the binding and the one side of the strap to the top of the apron.
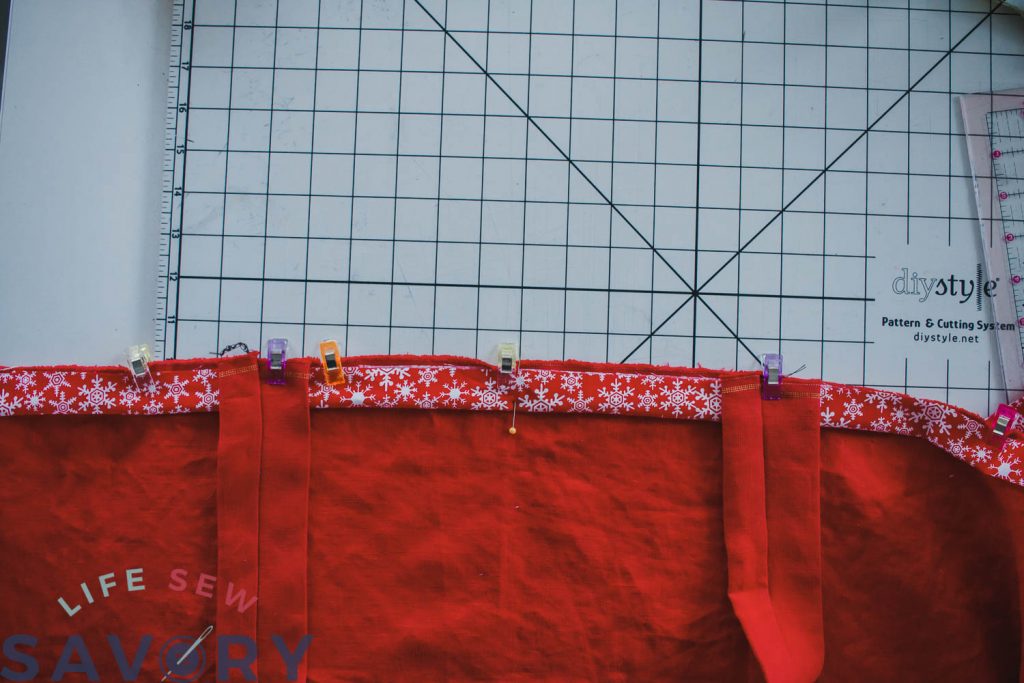
Now, you will need to adjust the straps to the correct length. This will be different for each of us depending on size and height. I just held the apron up to my high bust and put the straps over my shoulder.
I marked where the strap was at my lower shoulder blade and then cut to that length. You can have it hang lower or higher. Mine were 19″ long and I think I wish they were 1″ longer {haha}
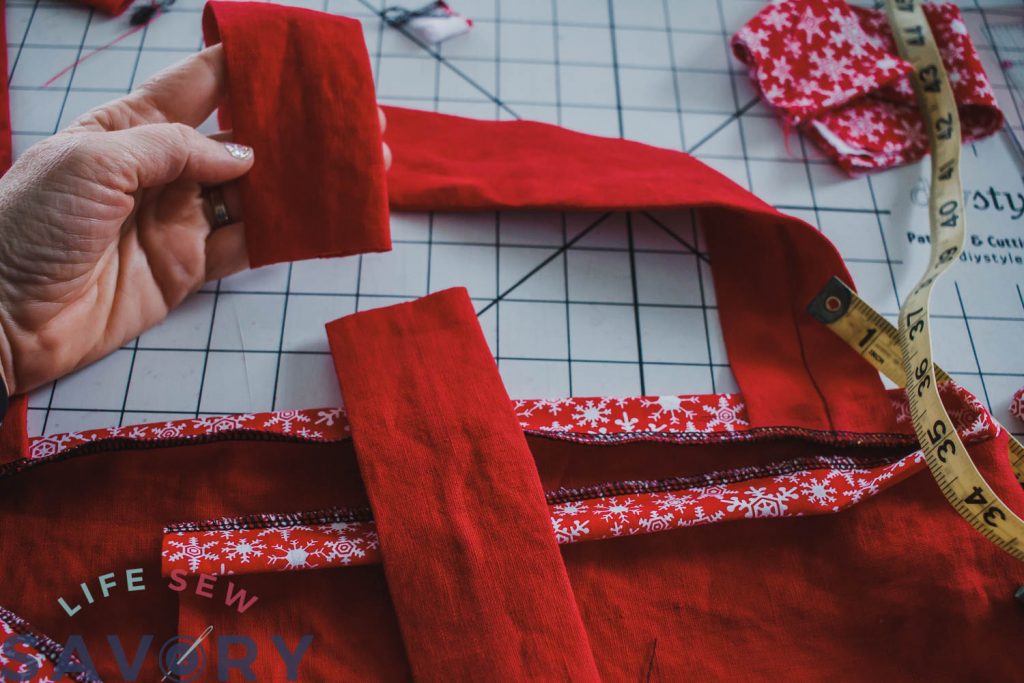
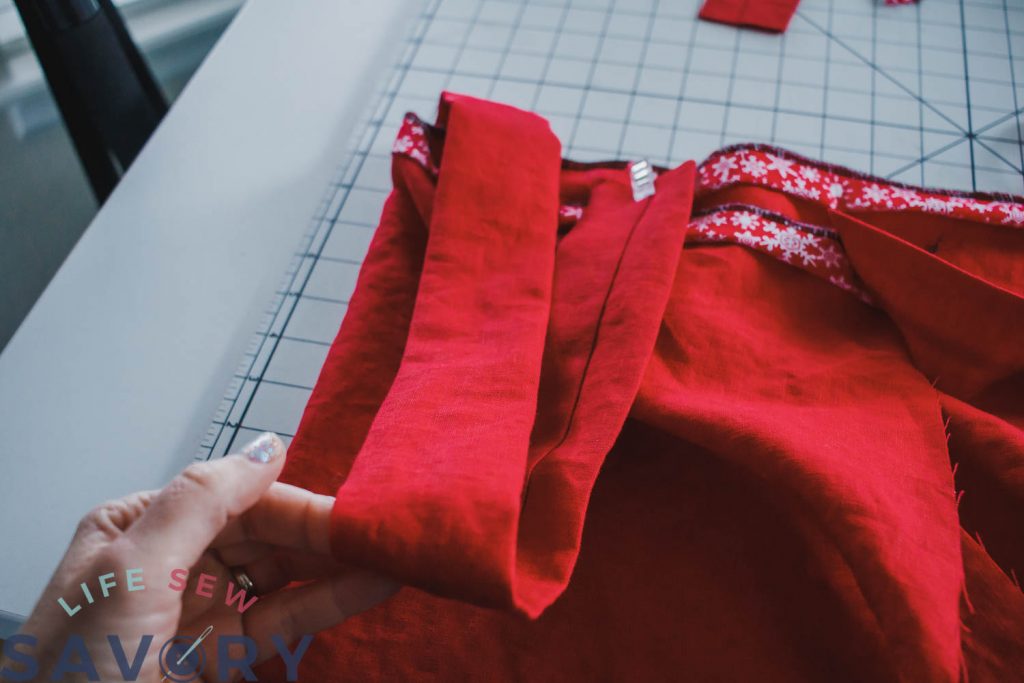
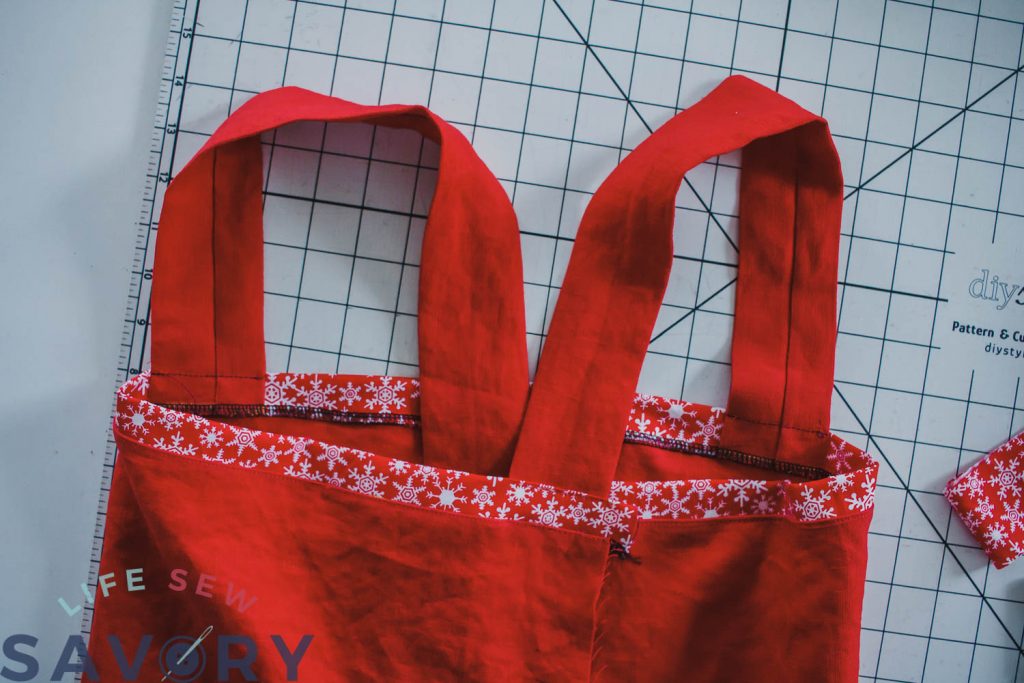
Lay the apron right side down and cross the back sides over each other. Cross the straps and pin the right sides to the outer edges of the back apron.
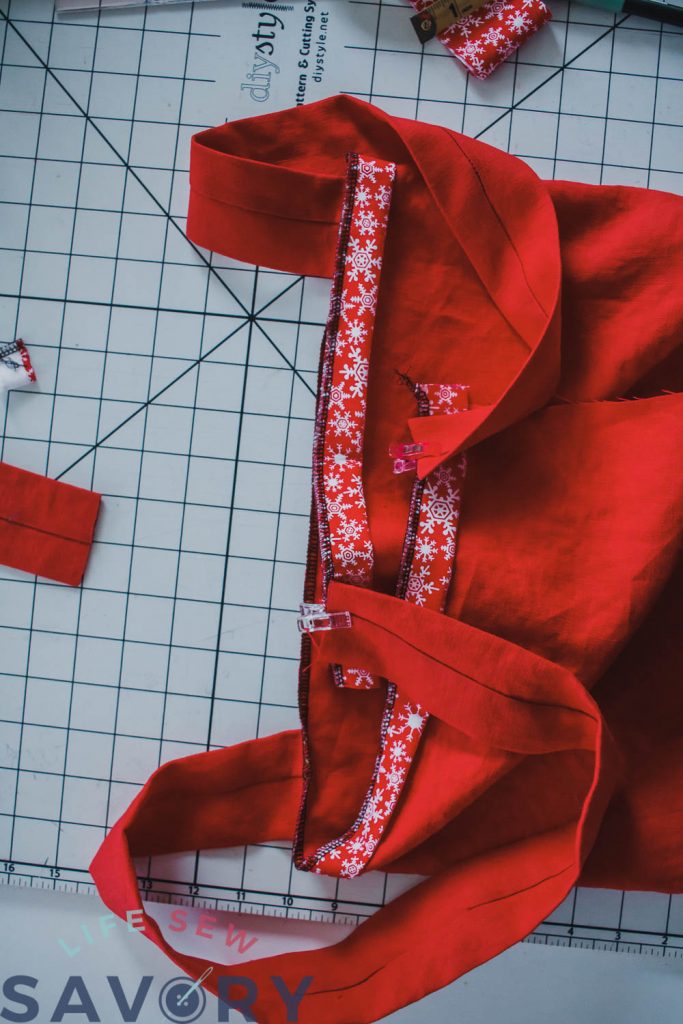
Make sure the straps are not twisted. Sew the straps along the line where you sewed the binding, then flip up and stitch to the top of the binding as well.
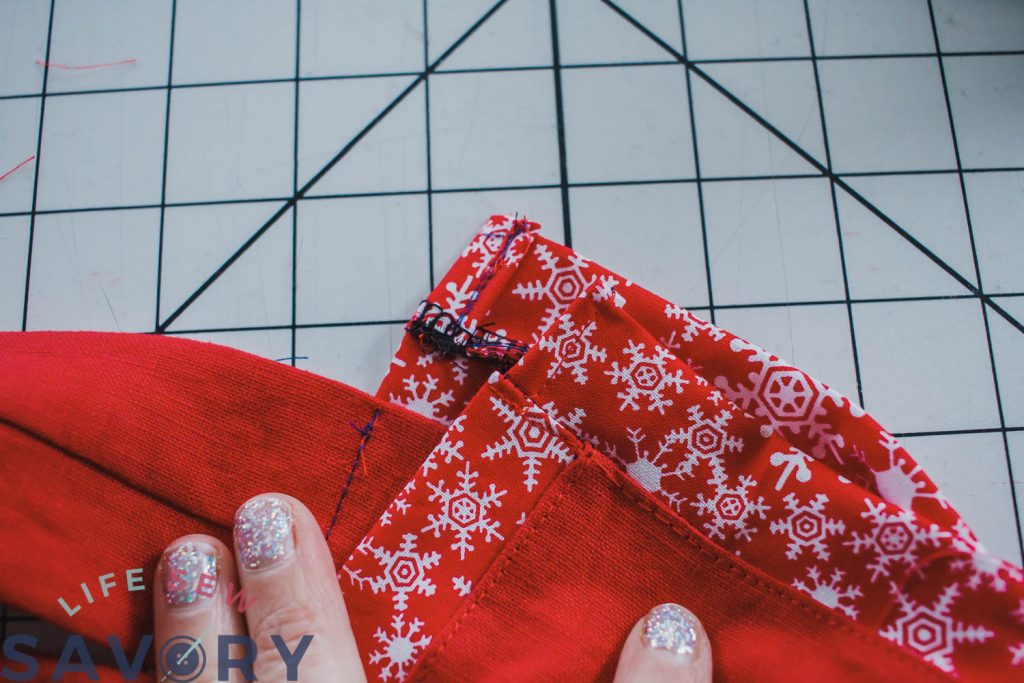
Finish the sides by folding back to a hem, or a binding like the bottom and top. Leave about 3/4″ overhang on both ends of the side binding.
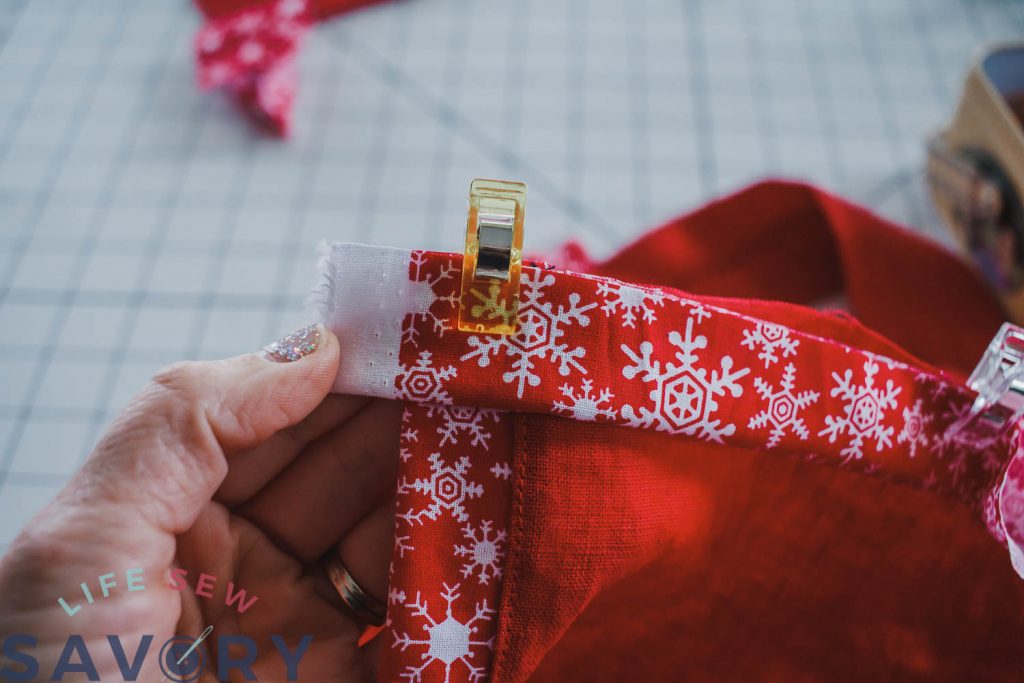
Double fold this overhand to finish the edges of the binding.
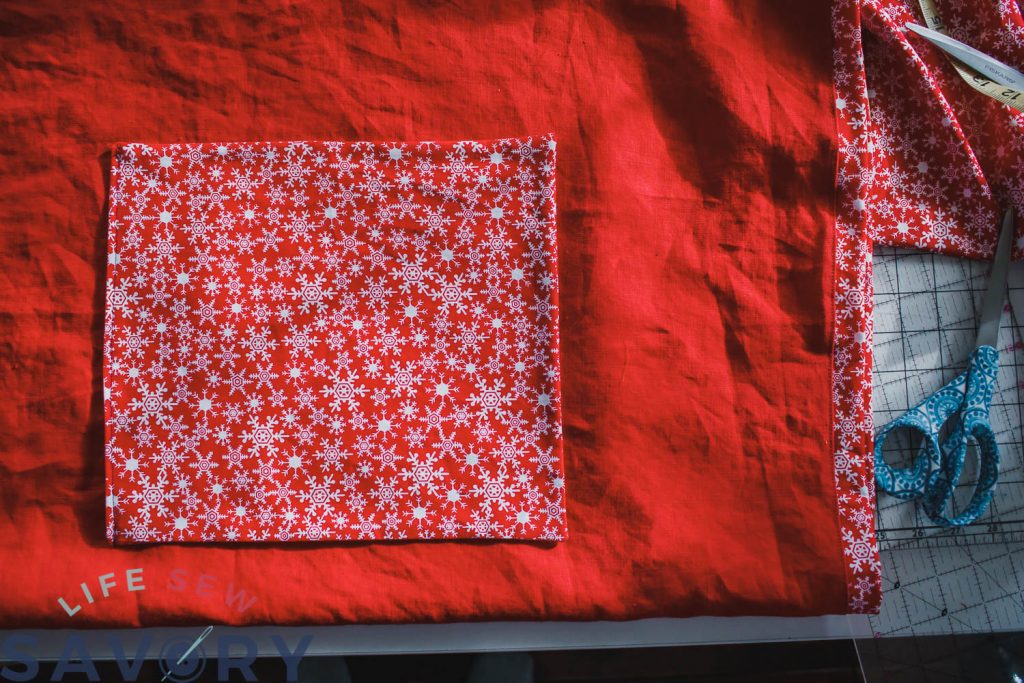
At this point I tried on the apron to see the pocket placement. I just tacked on pocket on and then straightened it . I pinned the other one at the same place on the other side. Use the center line as a guide.
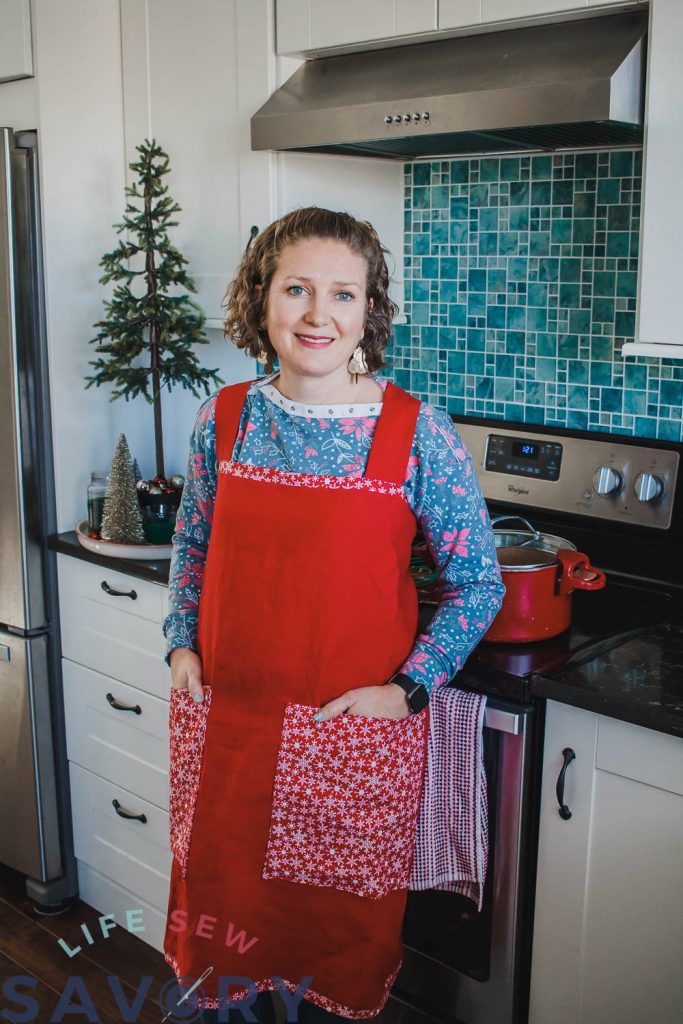
Now you have an apron you can wear all holiday season long. I know I will be wearing mine!!




screenshot says
Nice! Have a good day