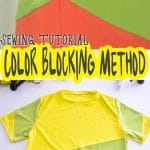
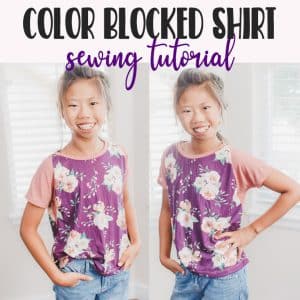
inside: Learn color blocking basics, including how to color block and how to color block clothes. Cut up your patterns and create super cute designs with color. One pattern, so many options!
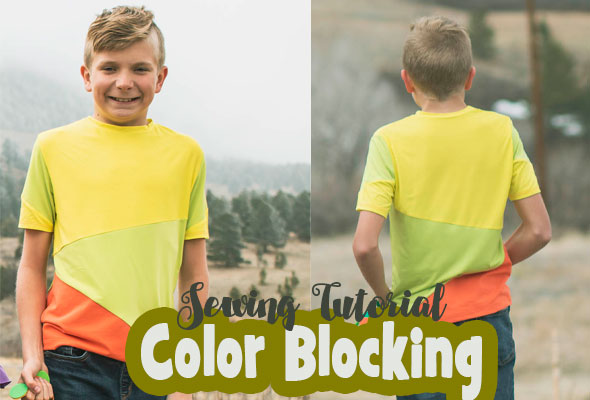
Did you see my project run and and play post earlier this week? You can see lots more photos of these shirts here, plus a cute ruffle shirt idea in my Analogous colors post. Today I’m going to share some color blocking basics to get you starting with this fun sewing method.
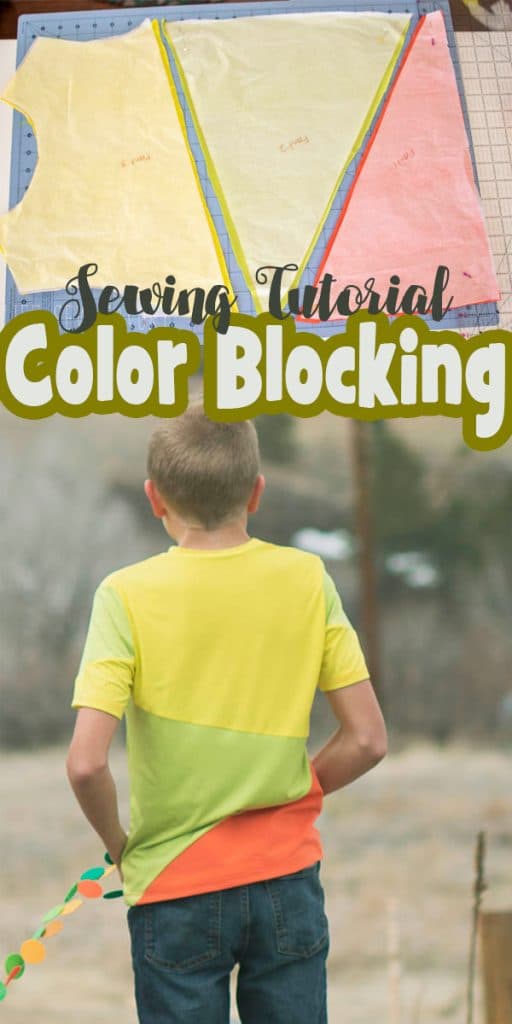
why color block clothes?
This fun sewing technique allows you to take a single pattern and create many fun looks and designs from a single pattern. I love mixing it up or create custom fabric with my striping method. I first made my own striped fabric for PJS.
I’ll talk about both the striping and the blocking today. I don’t have great photos of the striped shirt because the day we did photos my middle did not cooperate for photos, but you can see some in my color post as listed above.
Be sure to watch the video in this post for more details.
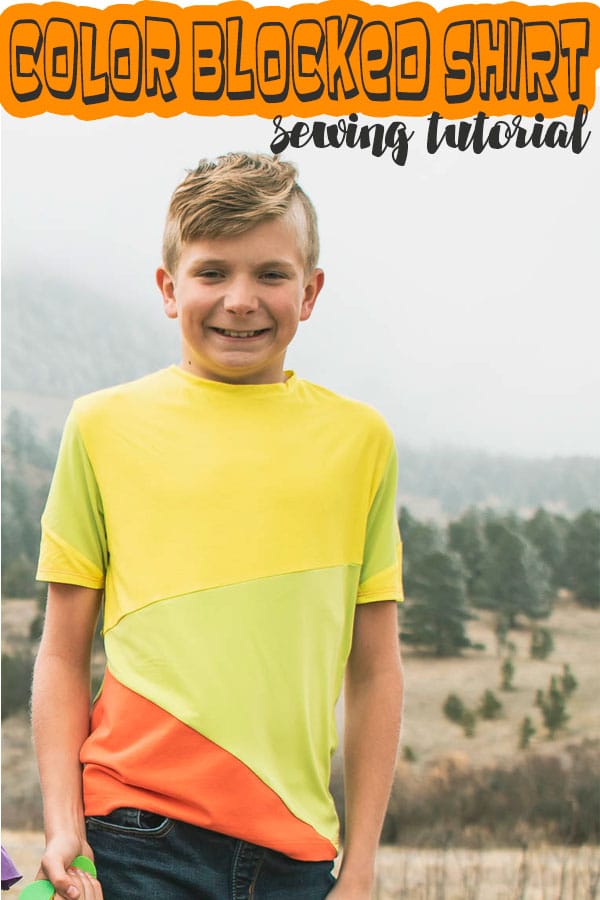
how to color block clothes
Start with a pattern you want to mix up. I’m using the boys free t-shirt pattern for both version here. You can find the boys free tee here.
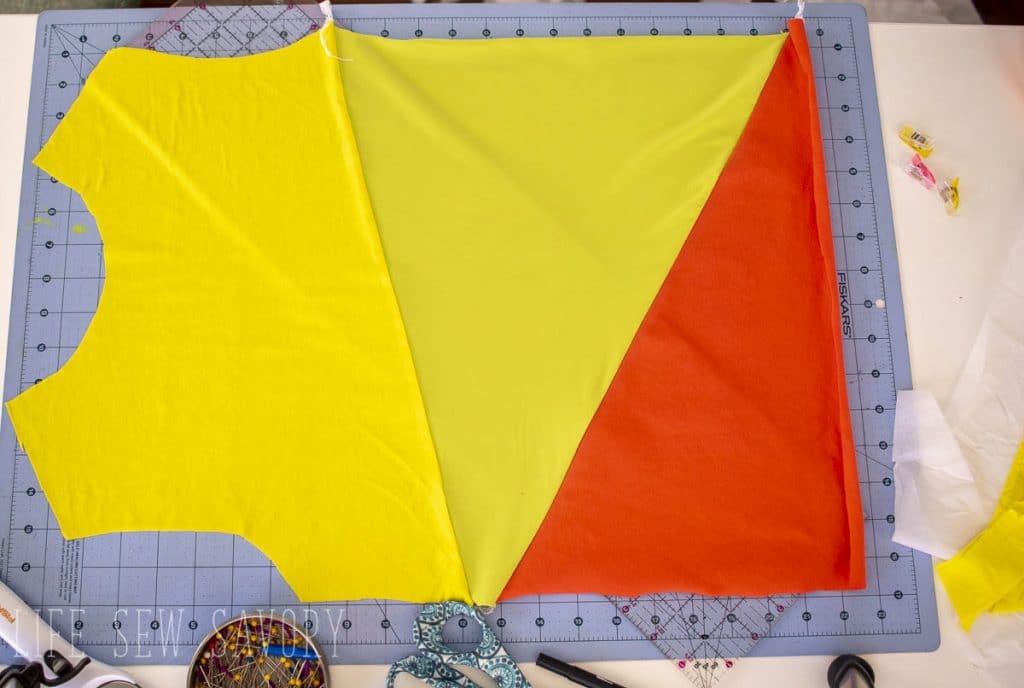
Many knit t-shirt patterns have the pattern on the fold. To begin you need to trace the pattern so it’s the full panel and not on the fold. From there you can cut up any way you want. Here’s how I did mine.
Make sure to label the pieces. Make a note to add a seam allowance to the edges where you cut the pattern.
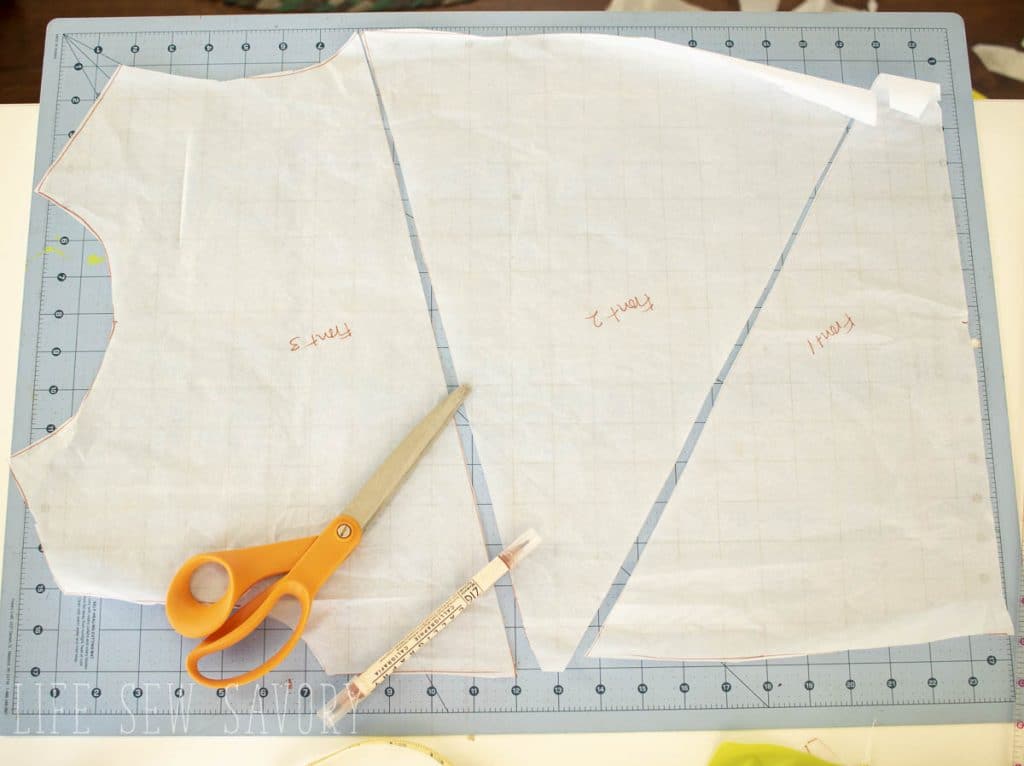
Cut out the blocks from different colors of fabric.
Add seam allowance to the edges where you cut the pattern.
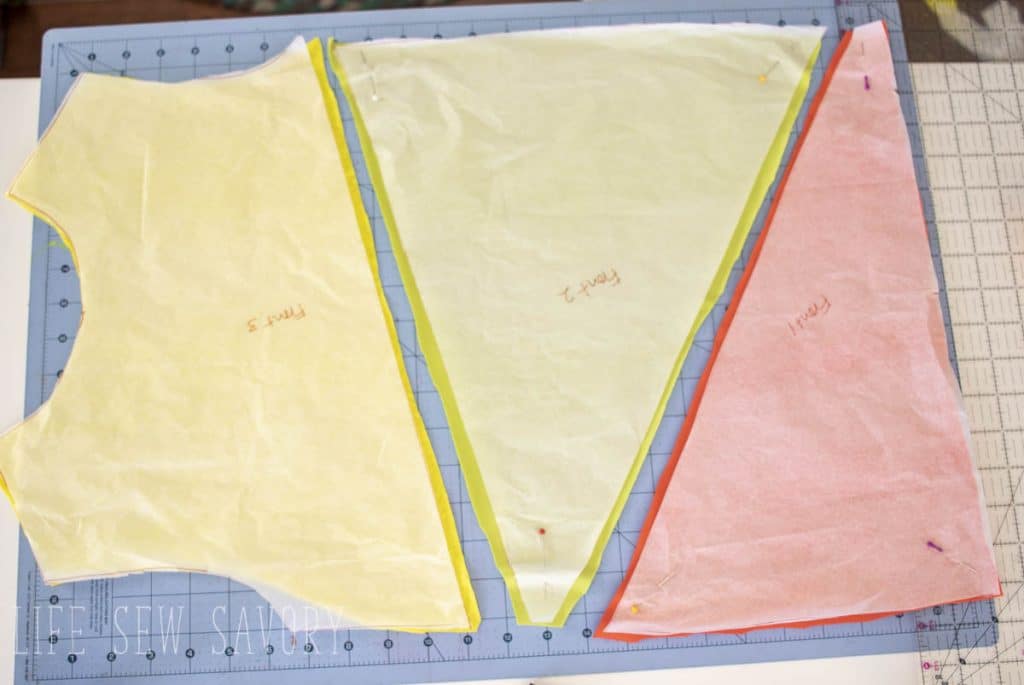
Try as best as you can to pay attention to the fabric grain – direction – when cutting your fabric. The angles may be all crazy with your pattern pieces so try to keep them at the right angle on your fabric.
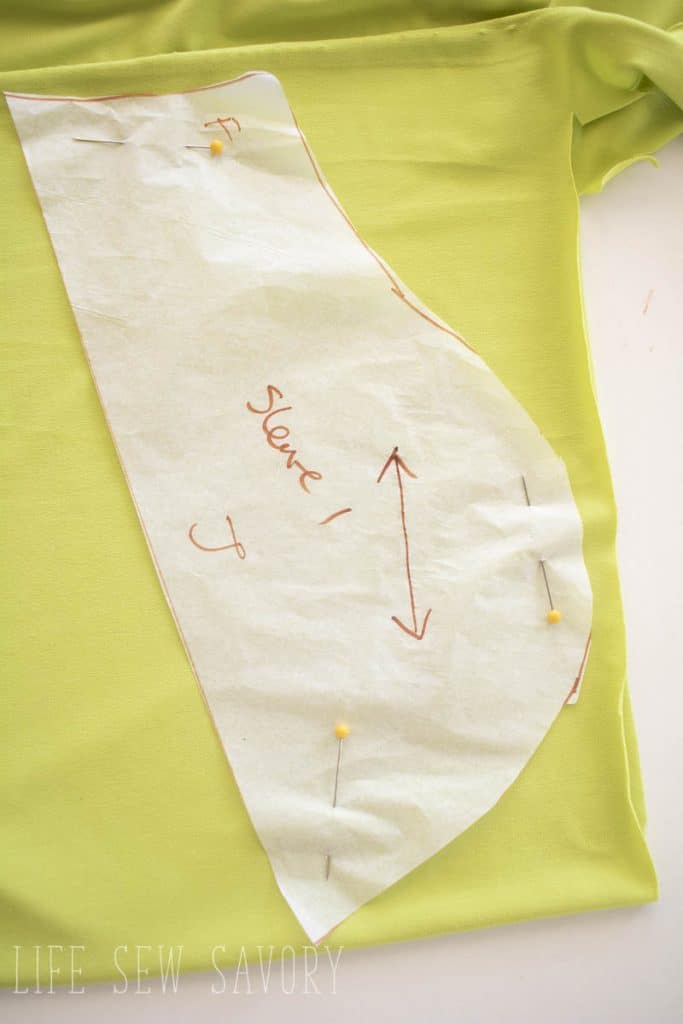
color blocking sewing tutorial
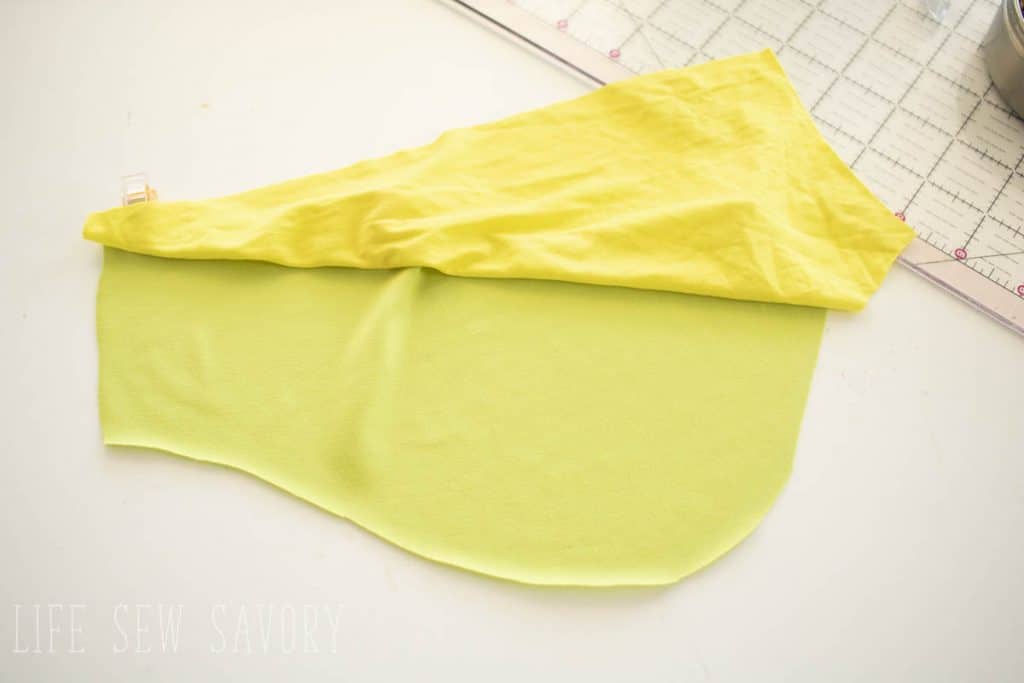
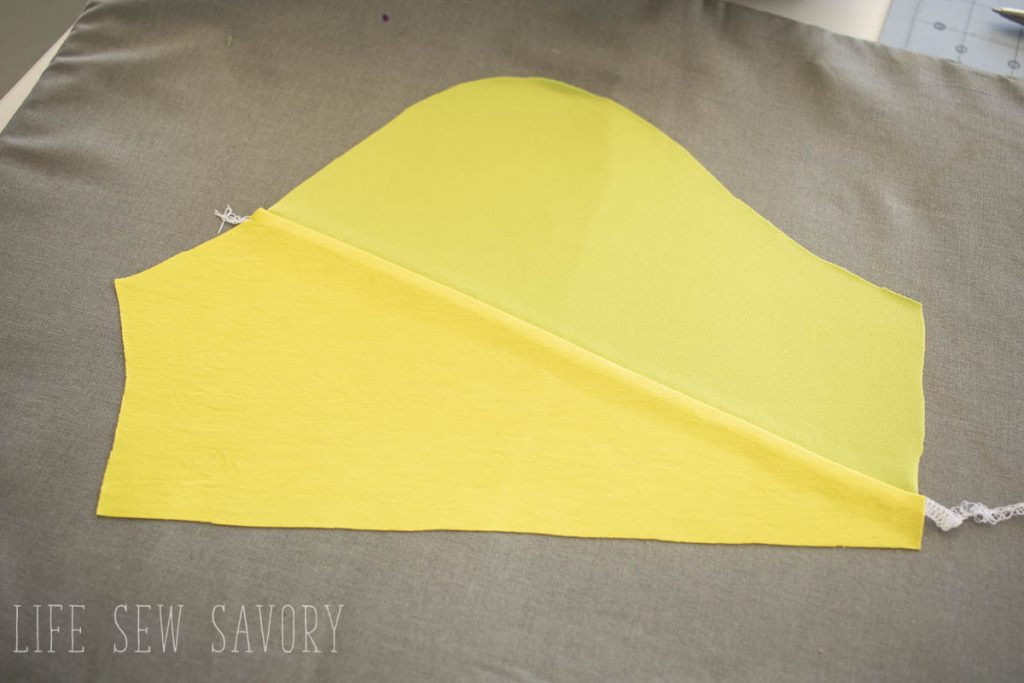
After you have cut out all your blocks, match up the corresponding edges and sew using the seam allowance you added. Press open these seams.
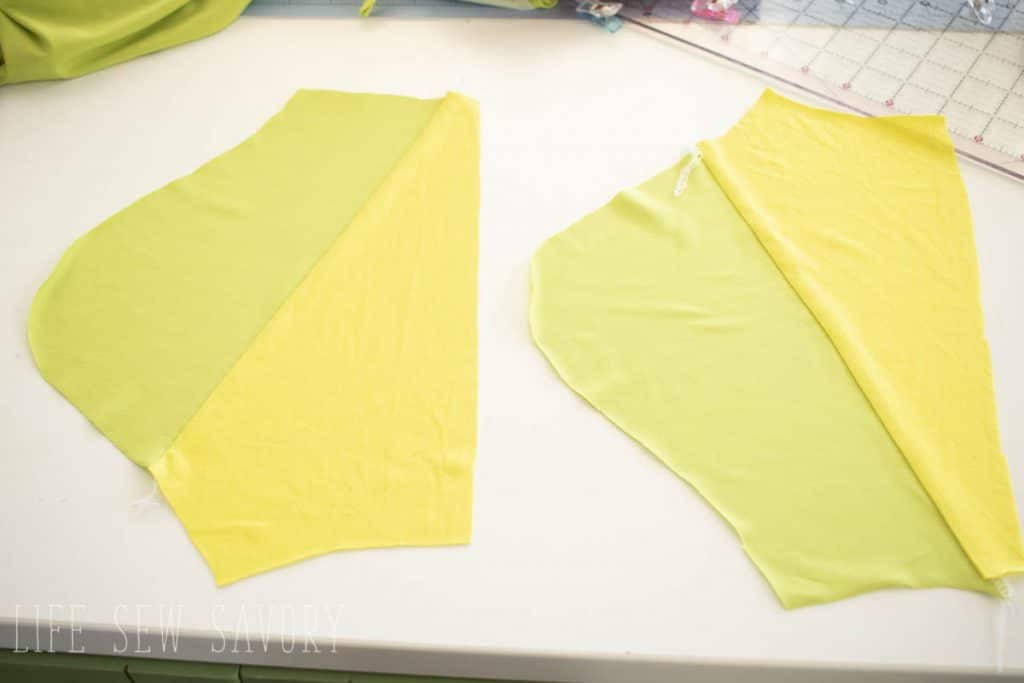
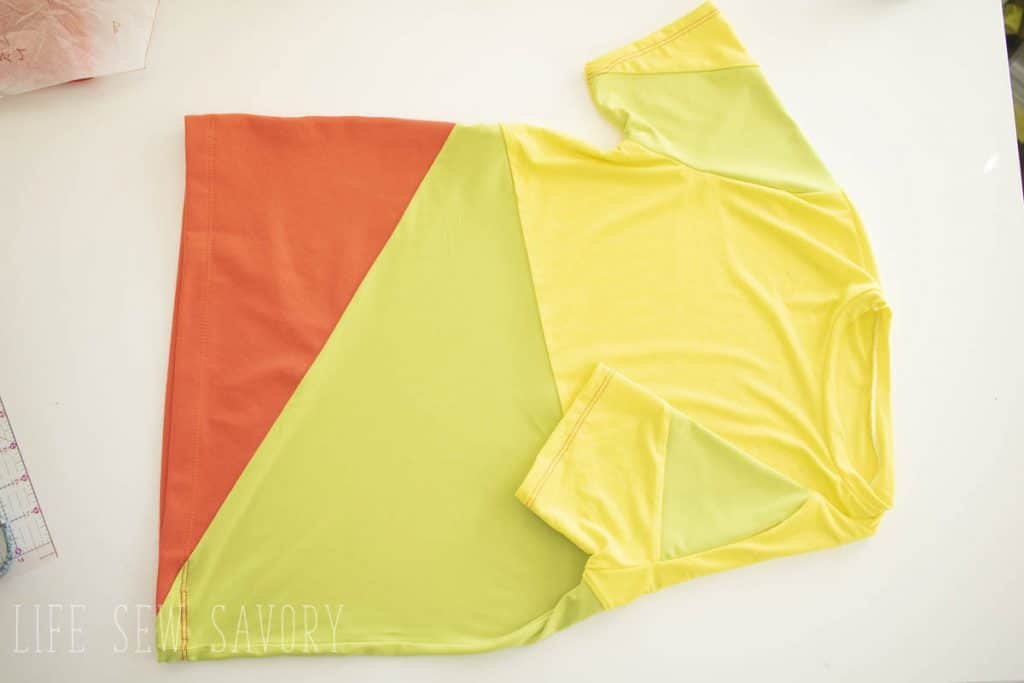
Sew together the blocks of each pattern piece. For this shirt I created the front, back and two sleeves before I moved on with the regular pattern directions. Once you have all your blocking done complete the pattern as directed.
Let’s just also give a brief over view of the striped fabric as well. I like using this to create my own fabric of custom colors to match what I am sewing.
- cut strips of fabric {I did 2″} cut the fabric on the bias.
- cut the strips to the approx width of your pattern piece. {don’t sew more than you have to}
- alternate colors or create whatever pattern you want.
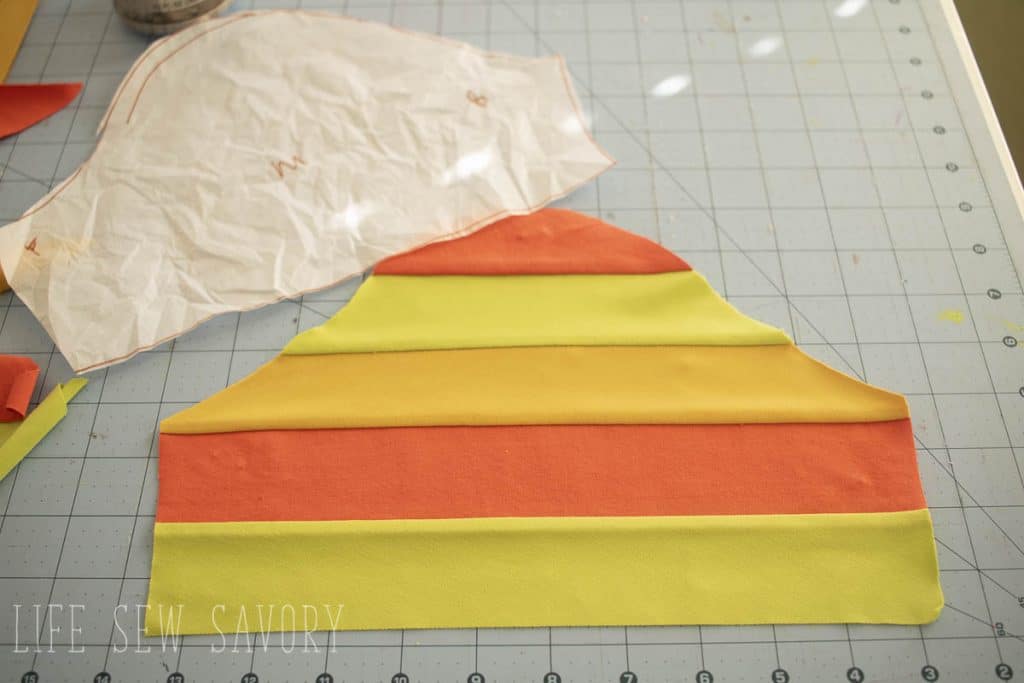
- sew the stripes until you have enough to cut a pattern piece.
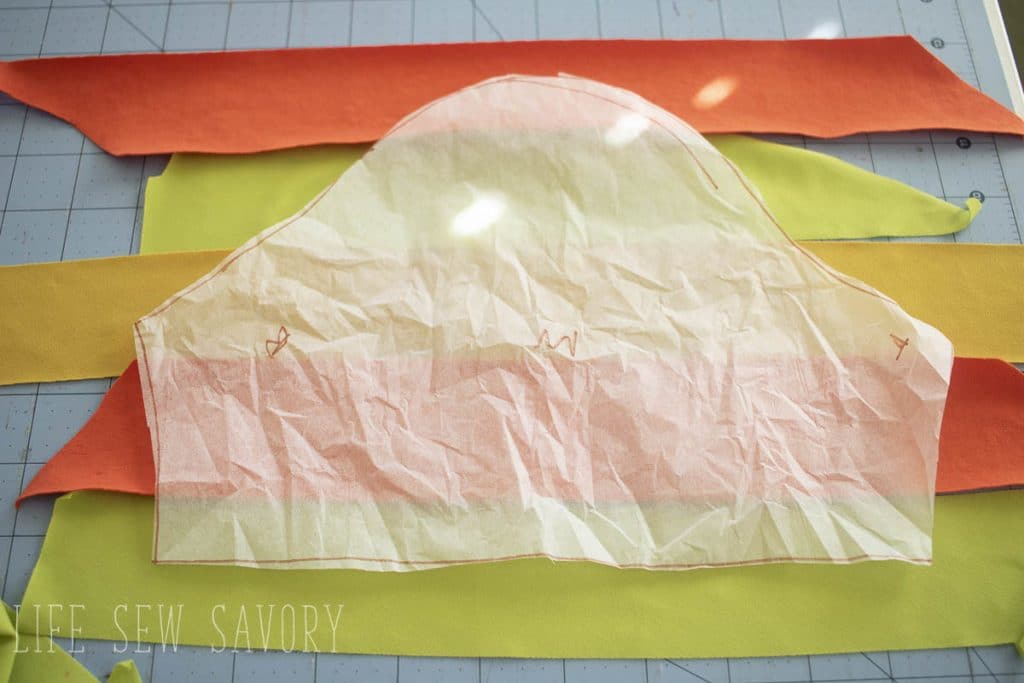
- press the stripes before you cut the pattern piece {like the sleeve below}

6. when you are making two of the same piece – like these sleeves make sure they match!
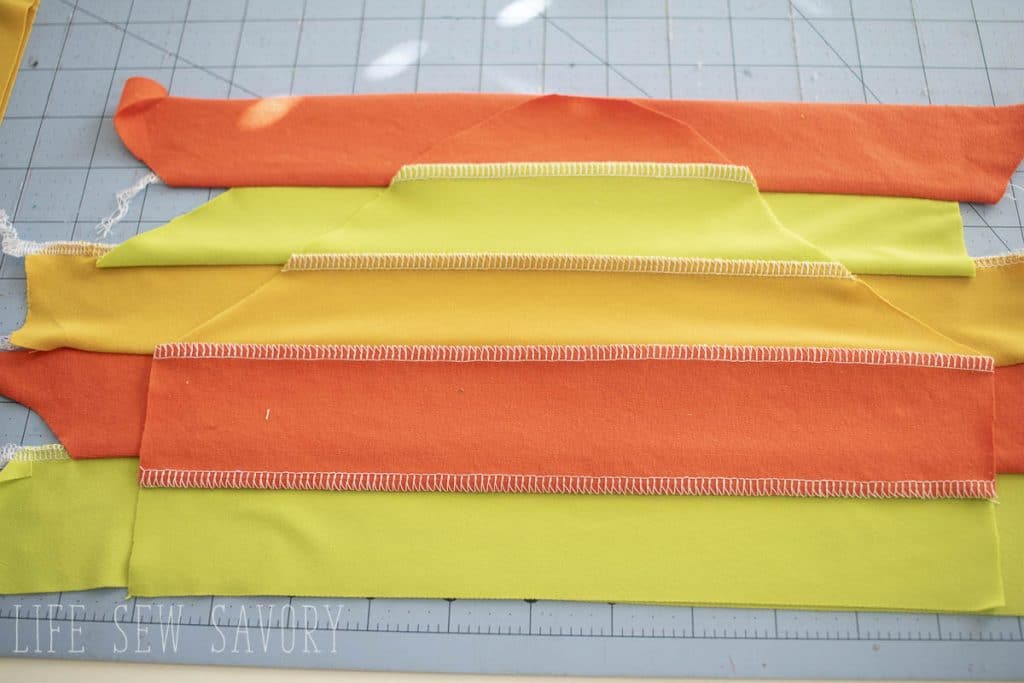
Patterns that would be fun to color block:








Michelle Barry says
I love the color-blocking and stripes tutorials… gives a nice twist on a plain tee shirt. Thanks for giving us sewers a little more creativity to children’s clothes. I save tee shirts that I don’t wear anymore but are still in good shape, and these two tutorials are great for upcycling cotton knits for my grandkids tee shirts.
carol sheeduy says
i love 2 learn blocking 4 littlt girls please help
Lyn Dines says
I love to wear a gilet (vest in America) with everything. Not all those puffy type ones, but smart, more of a jacket. Have you any designs for these? I would love to try to develop something more from a basic design that is more my style.