


inside: Grab the free corduroy jumper free pdf pattern and tutorial! Super cute and cozy, the corduroy jumper pattern is the perfect layering piece for cooler weather and so cute too. Download the free sewing pattern and use the tutorial here to put it together.
Rose needed a cozy winter outfit that was a bit dressy for Church and other occasions. I bought this corduroy fabric a couple of years ago to make something else {I can’t even remember!} and already used it this fall to make her super cute corduroy overalls. I used this free pattern. I’m not sure If I posted a photo, but they turned out SO cute… So I used this pretty fabric again to make a cozy winter jumper… and share the free pdf pattern with all of you.
Cozy Corduroy Jumper free pattern
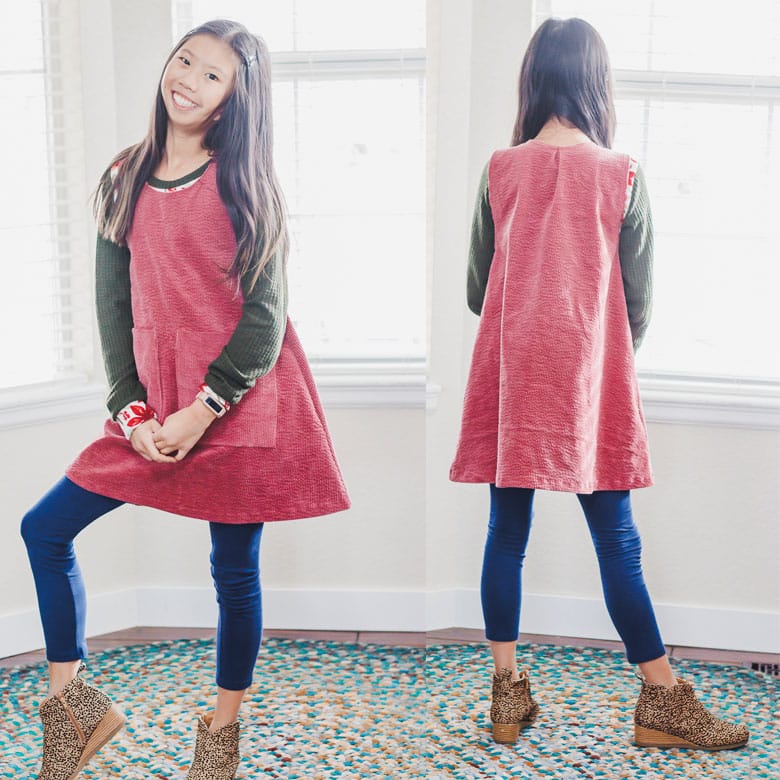
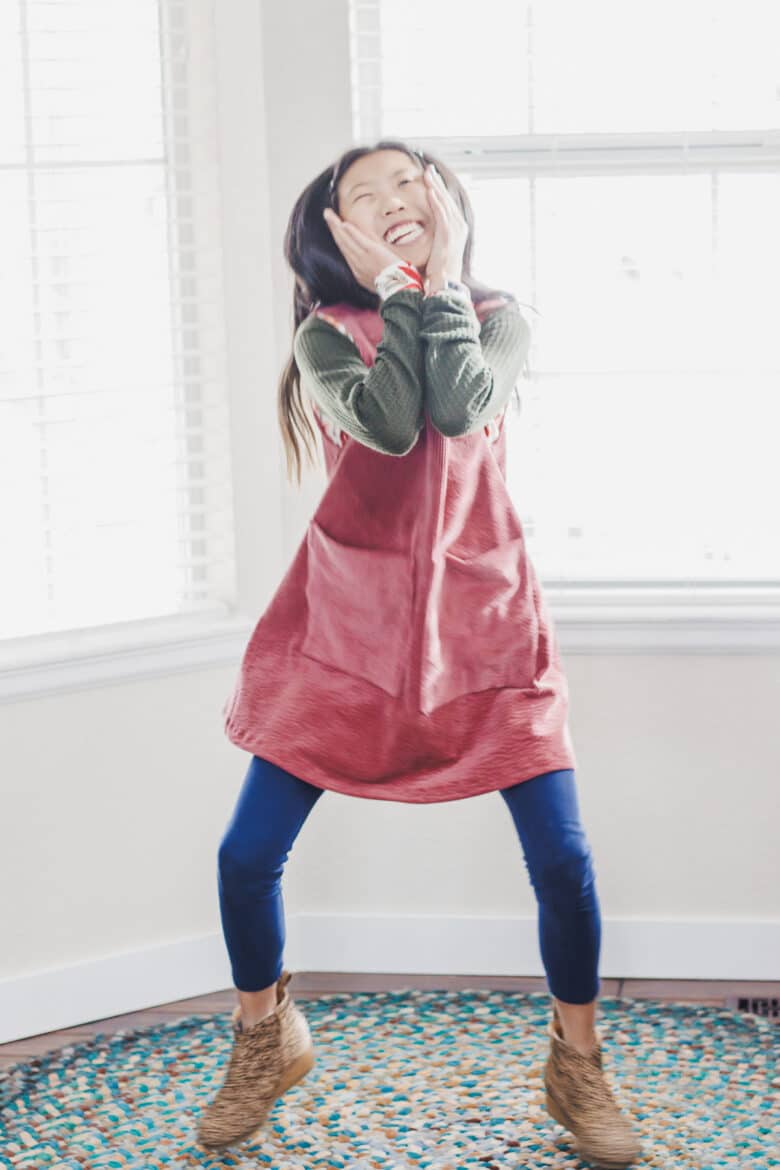
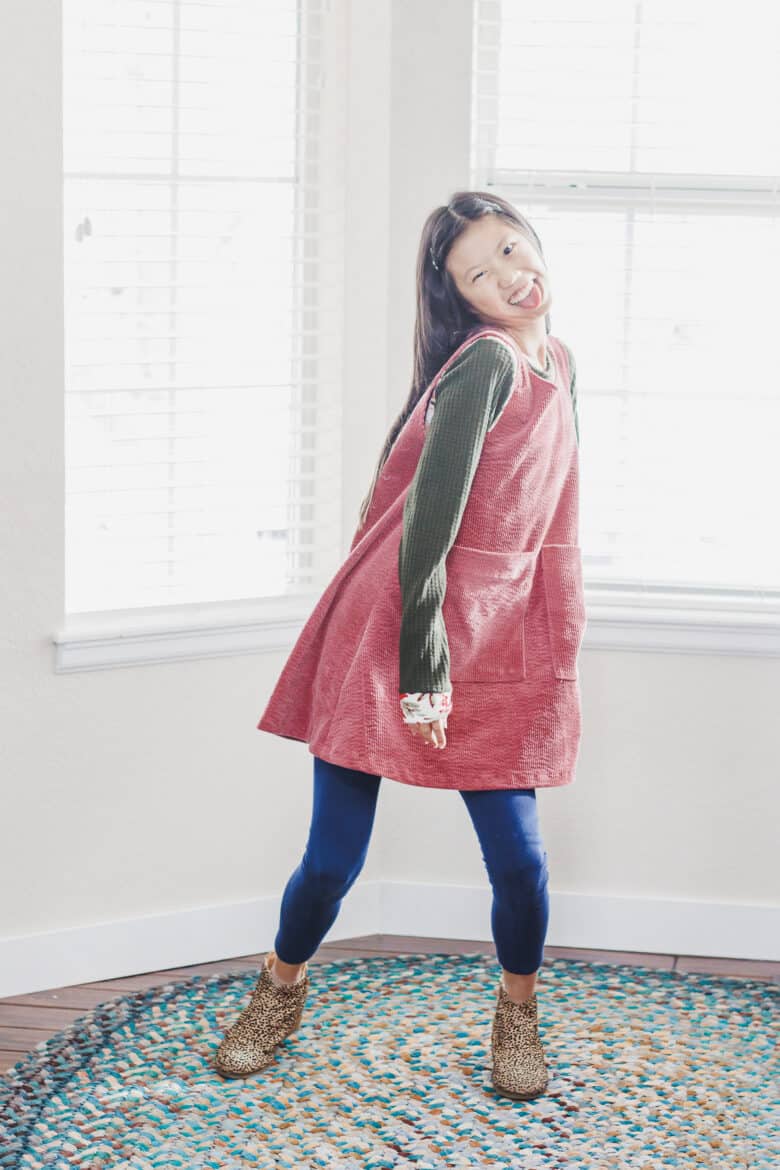
This corduroy jumper is so cute and comfy! Pair it with a cozy shirt and leggings for a great winter dress, but comfy enough to wear anytime for any occasion. Large pockets on the front make for function and fashion.
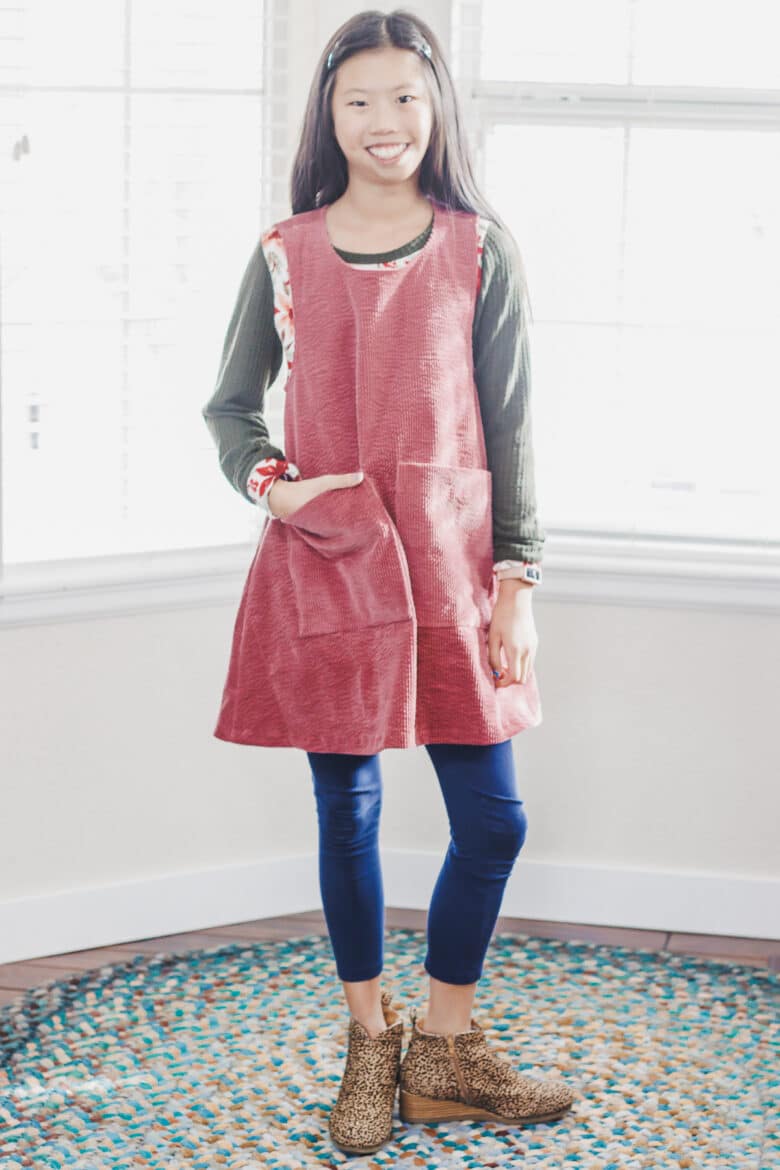

This is a pretty thick corduroy fabric, but it has a bit stretch, making it perfect for this project. A lighter corduroy fabric would work as well. The length is cute and stylish.
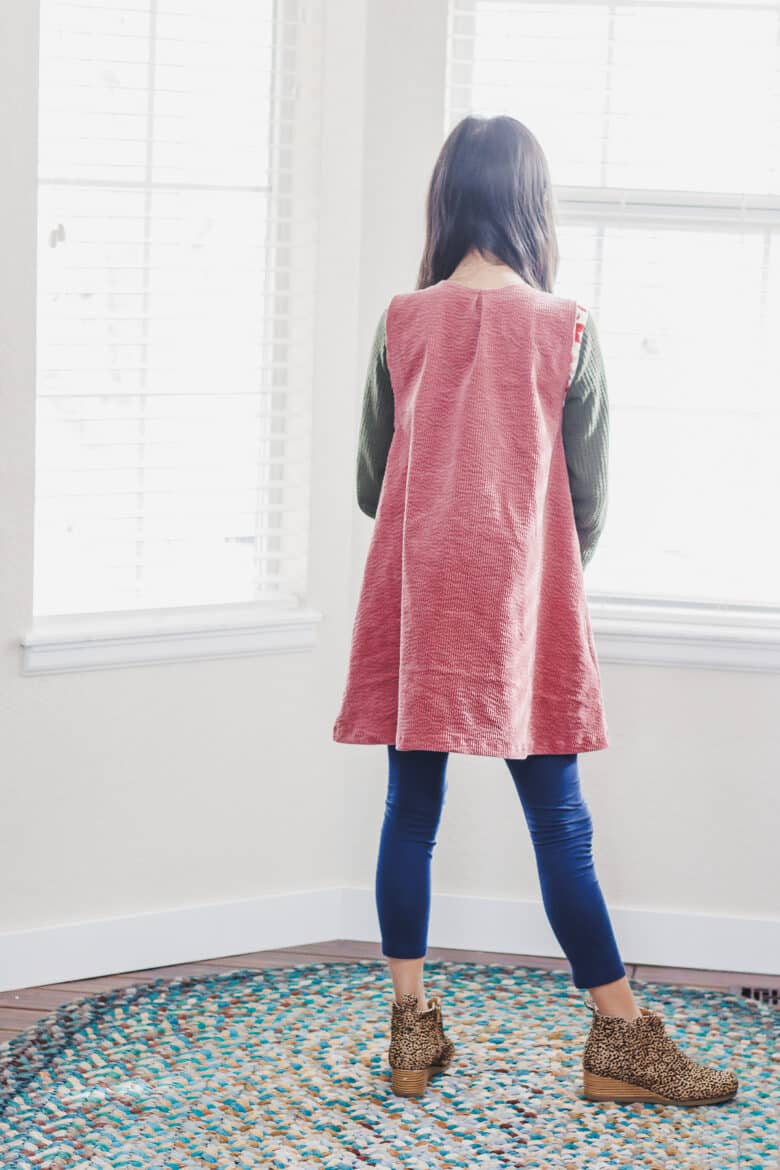
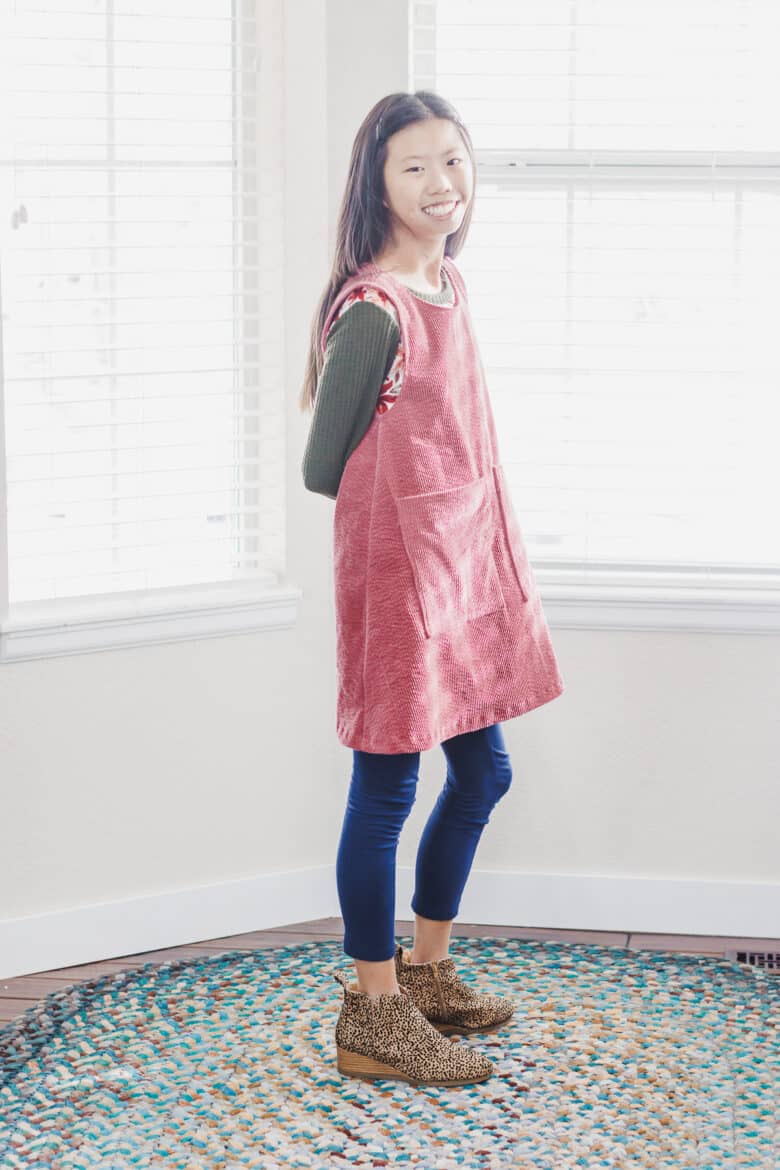
This jumper is not only warm, but perfect for seasonal layering and can be used for many seasons. With a waffle fabric shirt and leggings, this is a warm look for winter. The free pdf pattern comes in sizes 12m-16Y and you can use the size chart below to make sure it works for you.


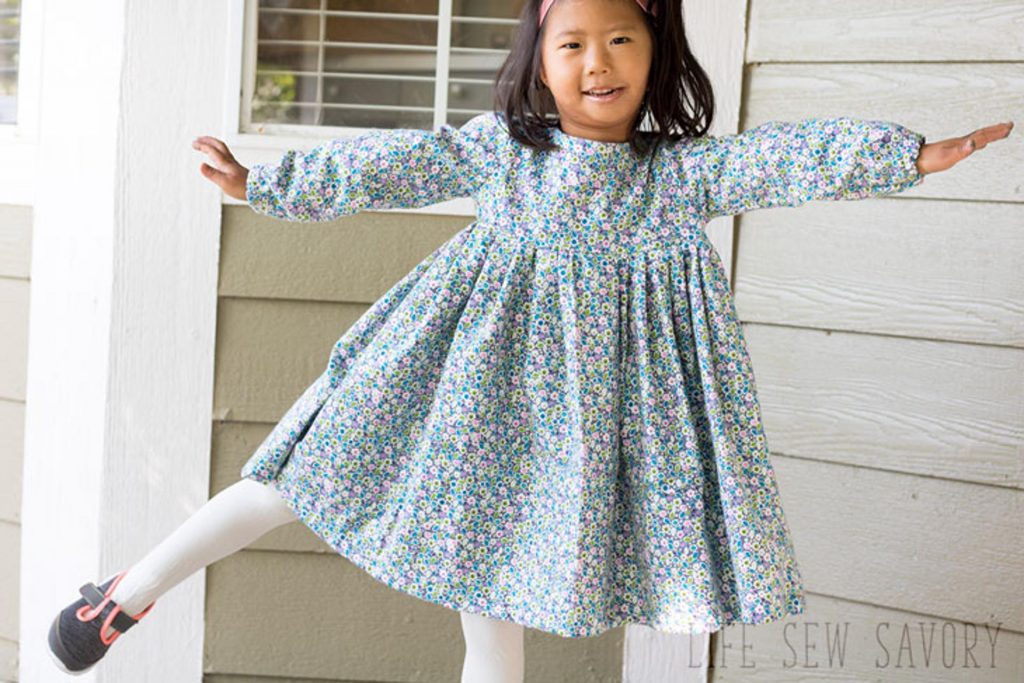
Other free dress patterns to make
- Circle Sleeve Elegant dress
- Christmas tank dress tutorial
- T-shirt dress
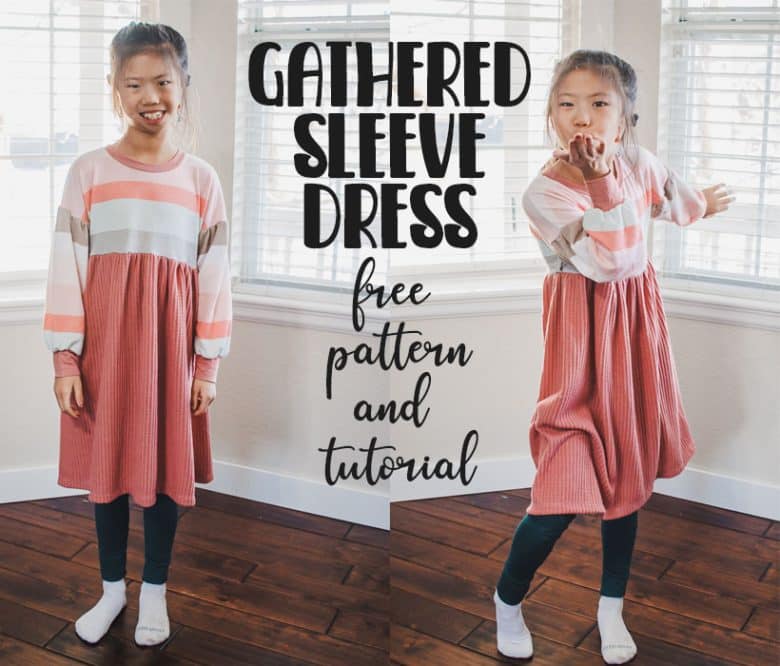
- Gathered Sleeve dress
- Holiday dress Patterns
- Sweet Rose Flannel dress


Supplies to make a free jumper pattern
Ok! let’s jump in! First, head over to my shop using the button below and download the free sewing pattern. Need help with your download or using a pdf pattern? Check out my tutorials – How to your account, and everything you need to know about pdf patterns.
Other supplies needed:
- 1.5-2.5 yards corduroy fabric
- single fold 1/2″ bias tape to finish edges
- Free sewing pattern {button above}
- Tutorial {below in this post}
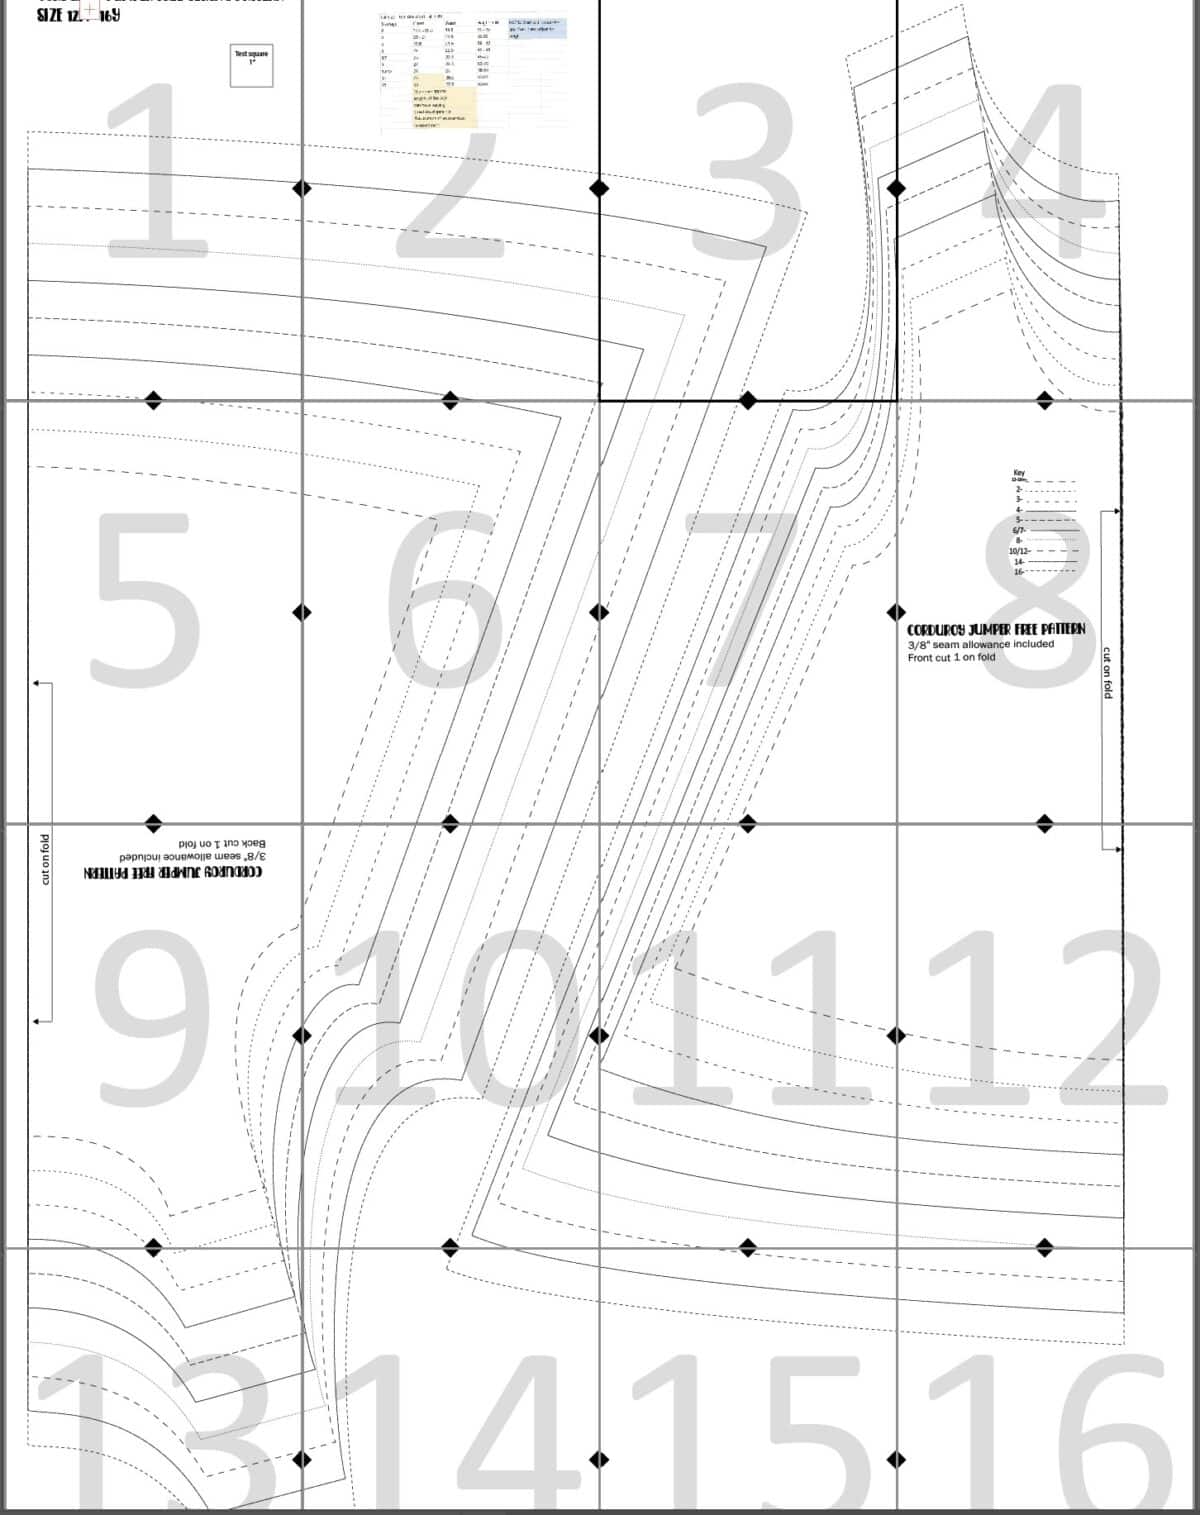
Use the layout guide here to assemble your pdf pattern. Cut out size according to size chart. Lengthen or shorten jumper as needed after choose size based on chest size.
Tutorial: How to sew a jumper from a free pdf pattern
Lets get sewing! Cut out the front and back as directed on the patterns pieces, using the size chart as a guide for cutting the correct size.
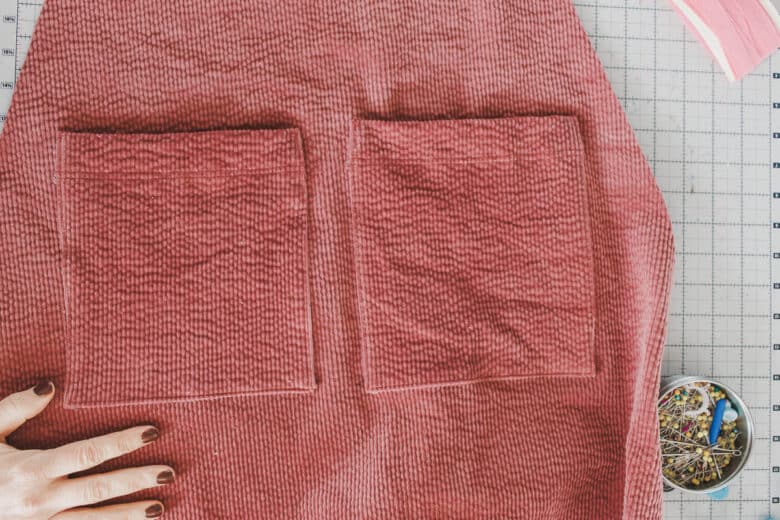
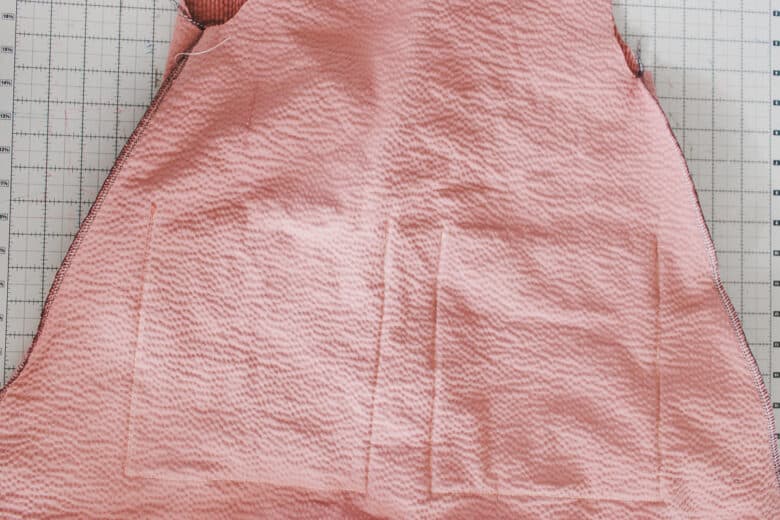
You will also need to cut two pockets {optional} The pockets should be cut as squares. Mine for the size 10 were 8.5 x 8.5″. I would make slightly larger for the biggest sizes and smaller for the tiny sizes… maybe starting at 6 x 6″ for the 12m. You will have to determine what size square looks good on the the size you are sewing.
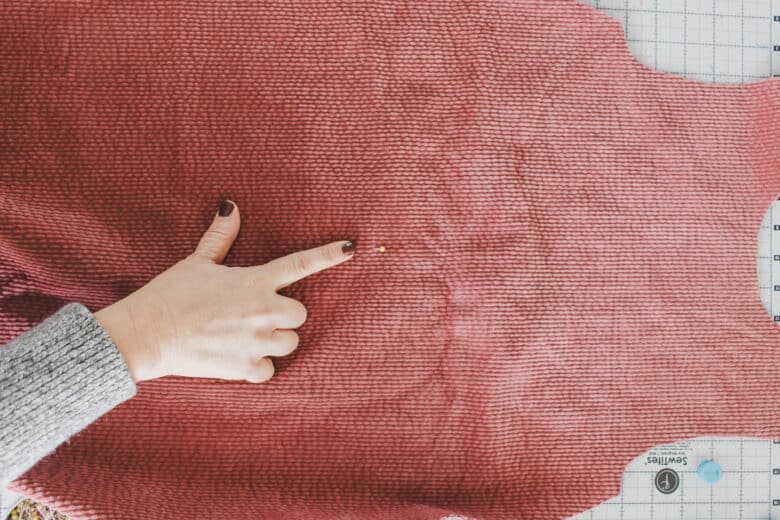
Mark the center of the jumper front, about 4″ down from the armhole opening. This will be closer to 2″ for the small sizes.

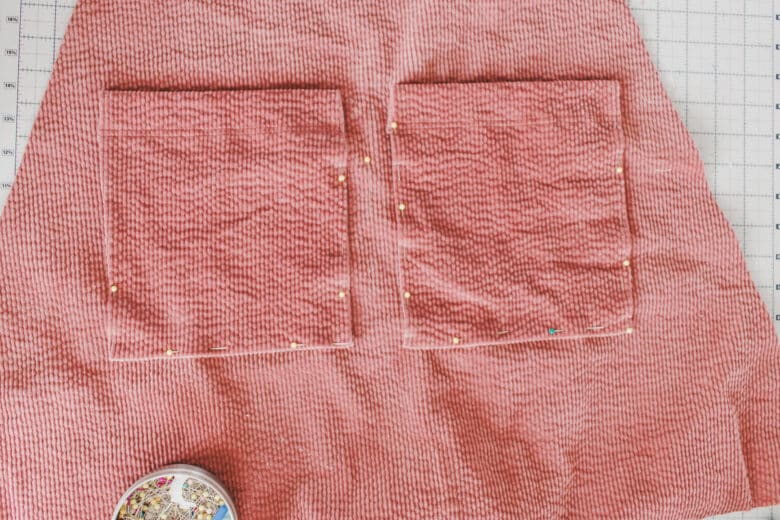
Prepare the pockets by finishing all four sides with a serger or zig-zag stitch. Then fold over 1″ on the top edge for the top edge. Press under the other three sides just a quarter inch. Place the wrong side of the pocket on the right side of the jumper front. Place on either side of the center pin and adjust height placement as needed. Pin with edges folded under on all three sides of the pocket.
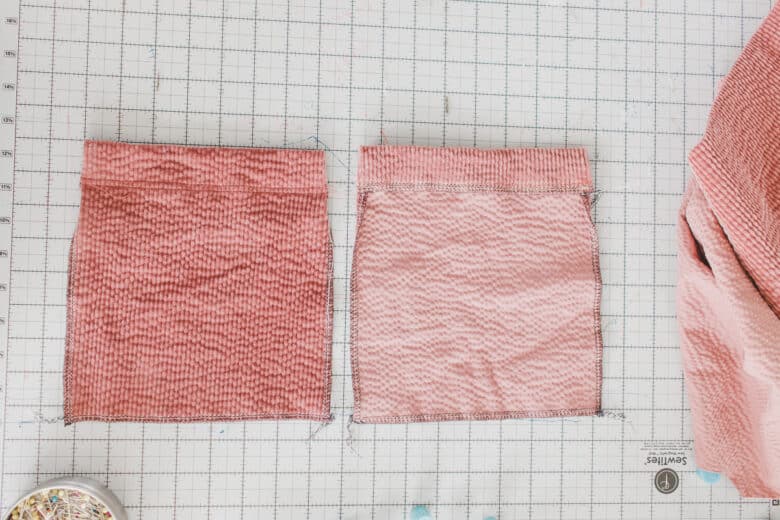
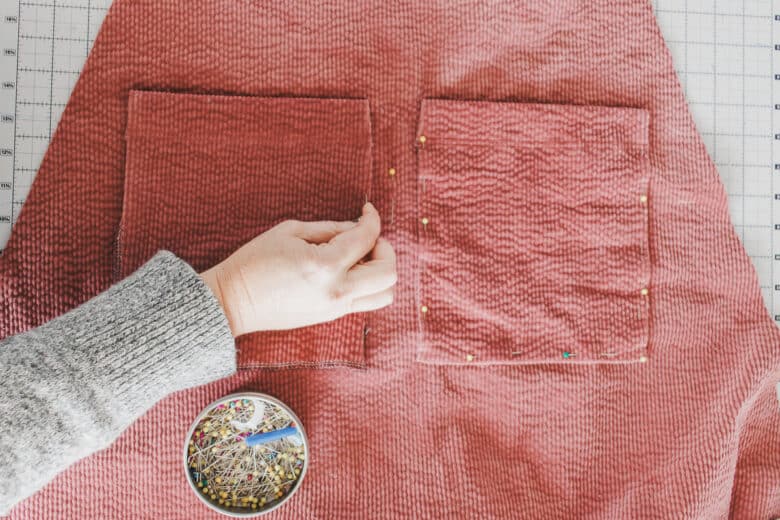
Sew around the three folded-under edges of the pocket. Back stitch at the top of each side of the pocket to reinforce the top edge. Stitch close the the folded under edge.
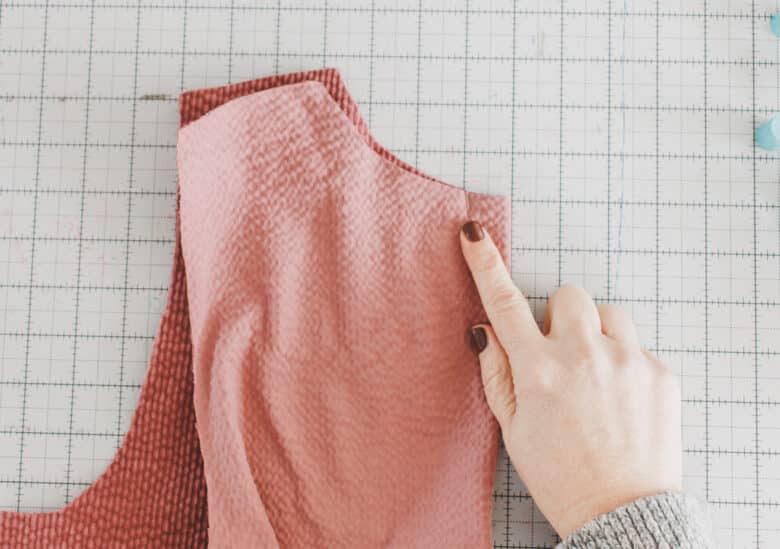
Now take the back of the jumper and find the center back. Fold the jumper in half and mark 1″ left of the fold {see photo}. Pleat the 1″ fold and pin or clip. Tack this pleat with stitches.
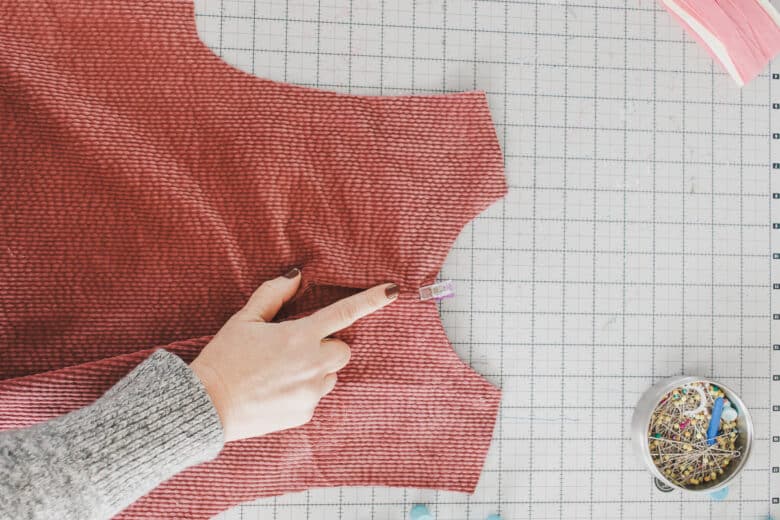
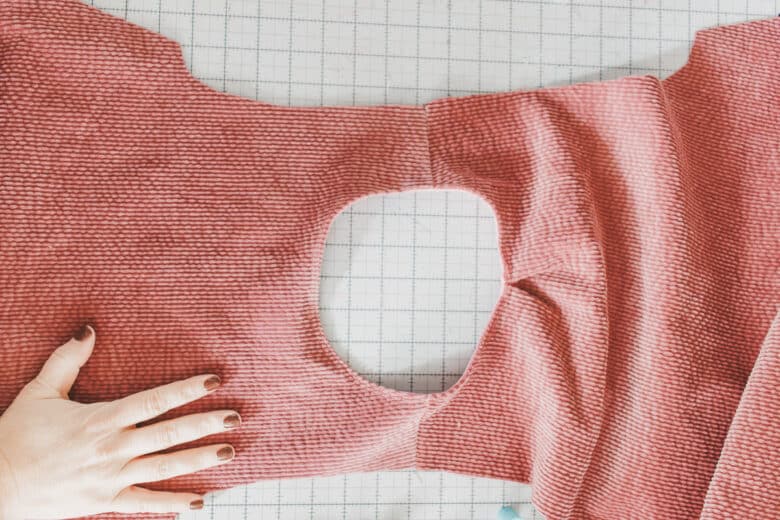
Sew the shoulder seams with right sides together.
Place a piece of the single fold bias tape along the neck opening. Unfold the fold nearest the neck opening and pin with edge of tape and neck lined up. Sew on the fold line of the bias tape {about 1/4″ from the edge}. Connect the ends of the tape to complete the circle.

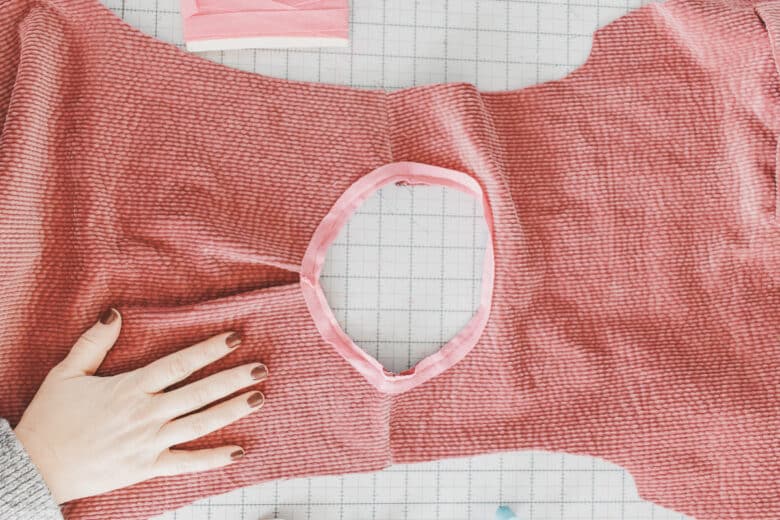
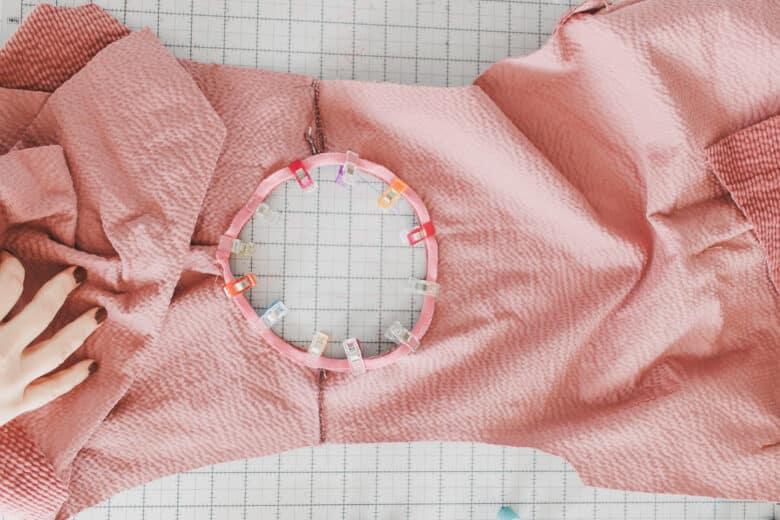
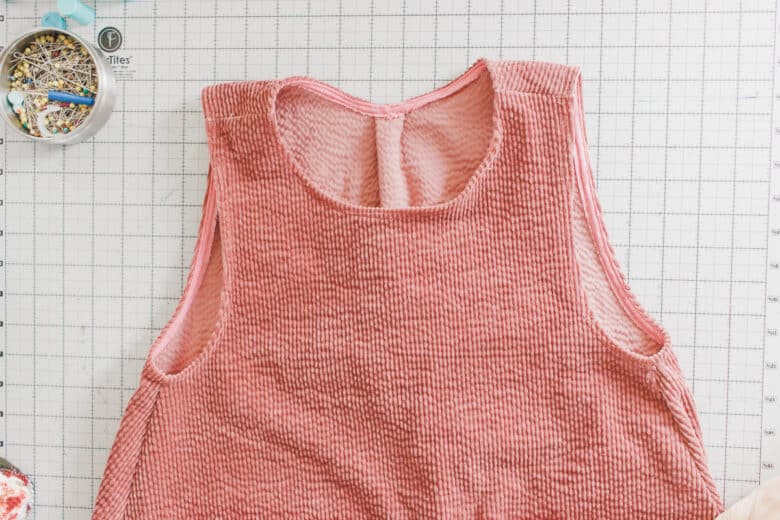
After sewing the first seam, fold over the seam allowance of the fabric and the bias tape to the back side of the jumper. Pin or clip all the way around the neck opening.
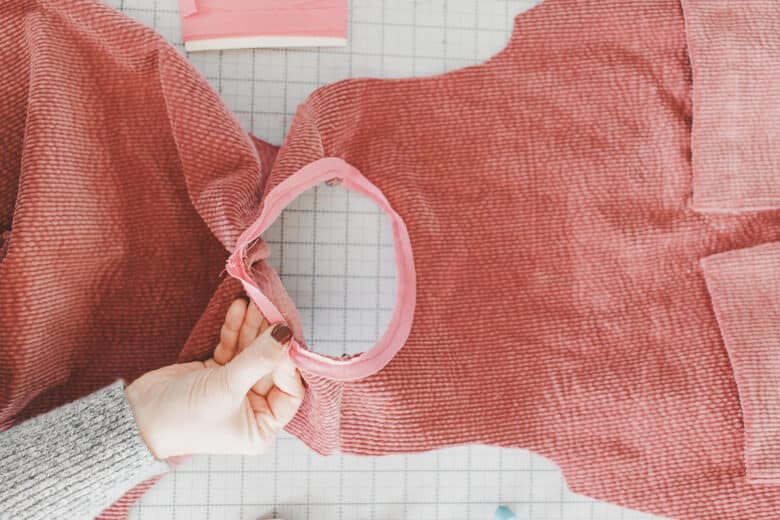
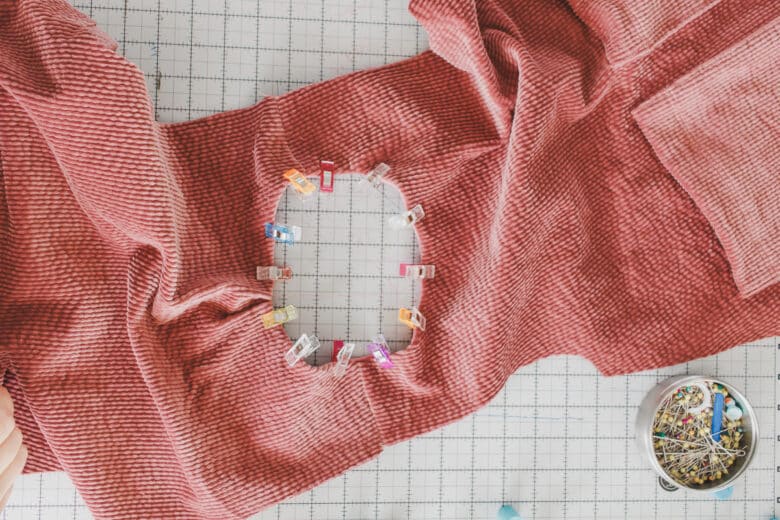
Here’s what the inside of the neck should look like. Make sure the other side of the bias tape is still folded under. Stitch 1/8″ from the neck fold, and then another 3/8″ from that first stich line. The two top-stitching lines should secure both sides of the bias tape.
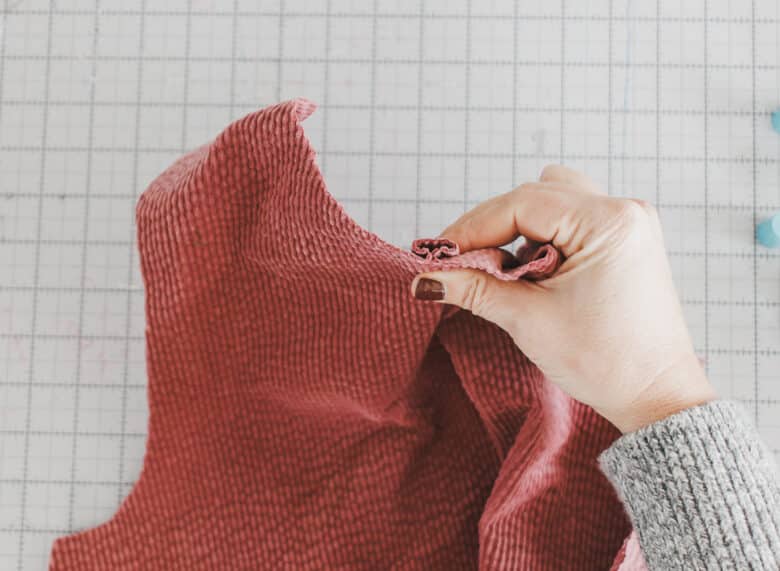
Sew the side seams with the jumper right sides together. Finish the arm openings with the same method as above.
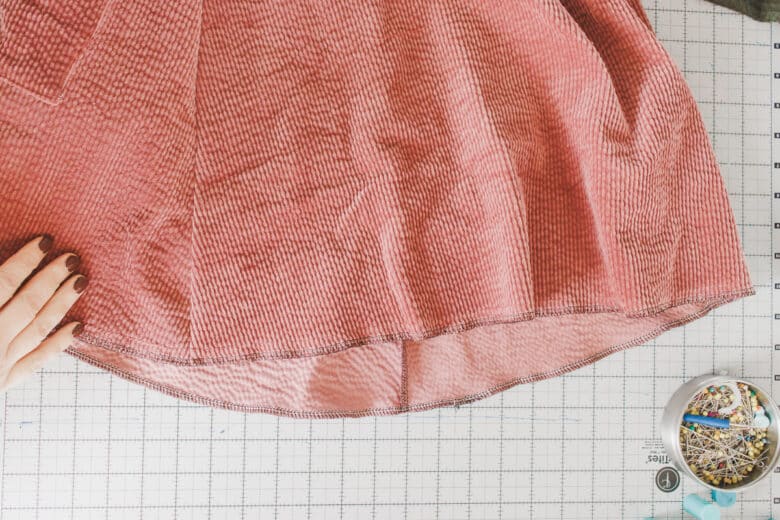
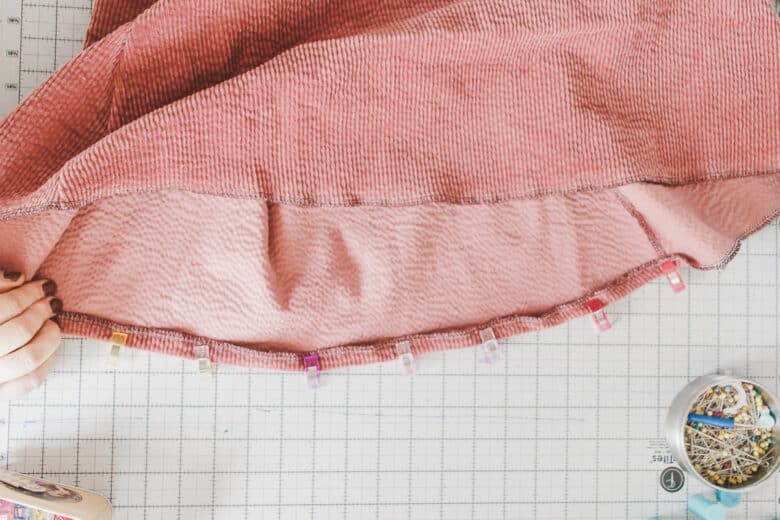
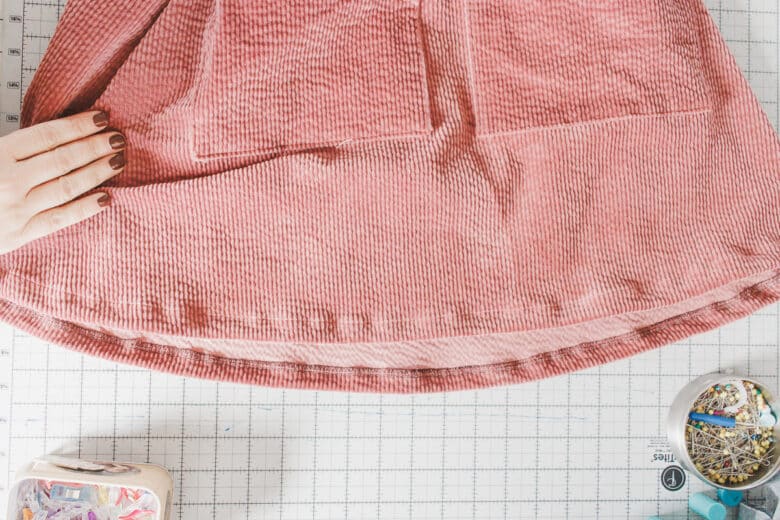
Finish the bottom of the jumper with a serger or zig-sag stitch, then fold over 1/2″ and pin or clip. Press hem, then sew on finished edge. Now you have a super adorable jumper that is cute and cozy.
And a few outtakes from our photo shoot to end the post! I hope you are able to use this jumper pattern to make a cozy dress for the girl in your life!


Leave a Reply