I’ve made many many curtains over the years, but I’ve never done grommets on the top. Today’s curtains with grommets tutorial will show you just how easy it is to add grommets to your curtain panels – without any special tools.
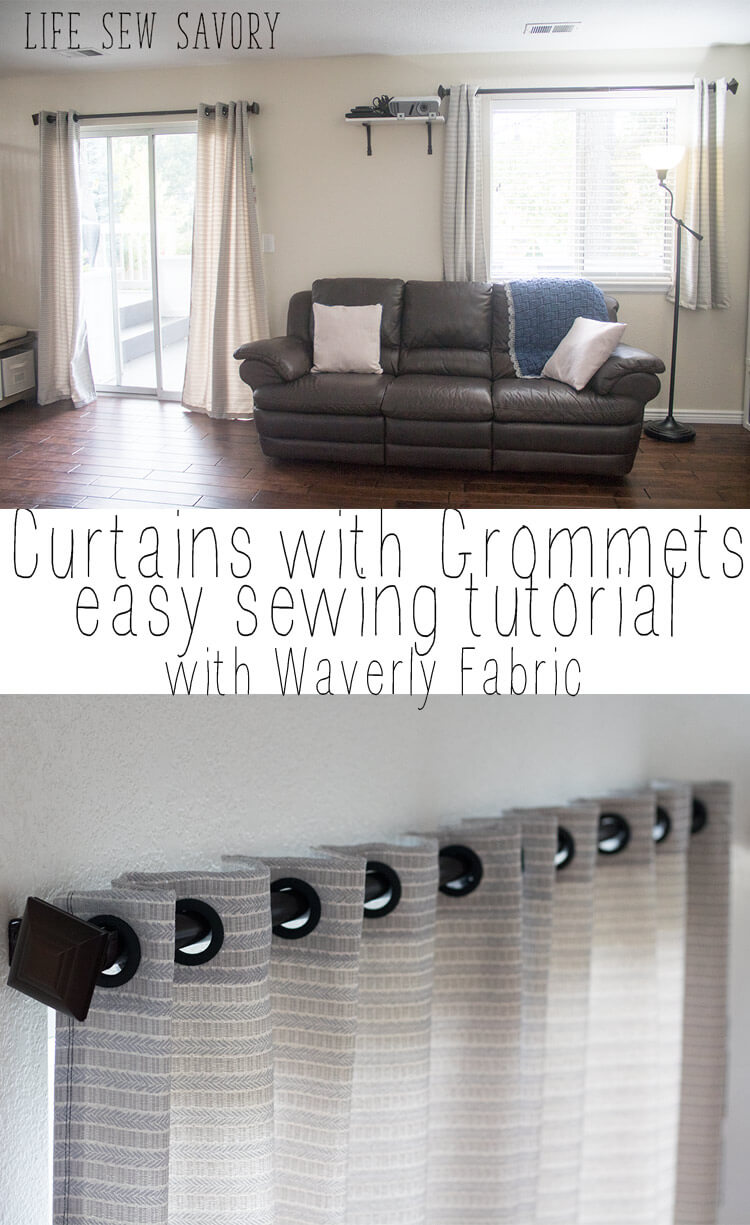
Curtains with Grommets Tutorial –
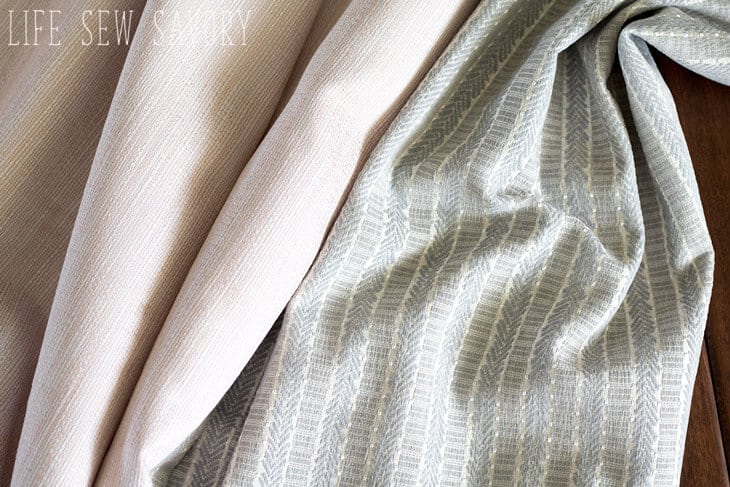
I was provided with this gorgeous Waverly Design Series at Joann to make curtains for this post. The colors are just gorgeous, subtle, yet so rich. Made curtains with grommets with the grey/blue and some throw pillows with the orangish fabric.
We just moved into our house a month ago and I’ve been busy getting things organized.. Curtains were on my list and I was so excited when this opportunity with Waverly came up, because it got me sewing and the curtains look fantastic in our new living room. {the room still needs furniture, but the curtains look great! -ha!}
Ok – let’s get started on this curtains with grommets tutorial. As far as how much Waverly Design Series Fabric at Joann you need… You will have to measure the length of your windows. I used the width of the fabric x 2 panels for each window. So.. measure from your curtain rod to the floor {for doors} or to about 6″ below the window for regular windows. These measurements are the yardage you will need. Each of my door panels is about 3 yards and the regular window panels are between 1.5 and 2 yards… All use the fabric width for the width of each panel. After you’ve figured your fabric, also grab some grommets {you can get them here}. I used 10 on each panel. There are lots of different colors and no tools needed.
I started by finishing the top and bottom of each panel. {the sides are the already finished selvedge edge} You can finish the top and bottom with a serger or fold under 1/4″ hem.
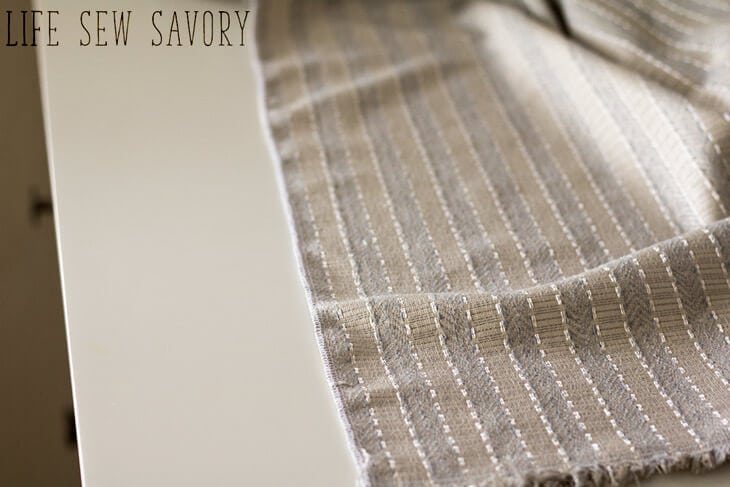
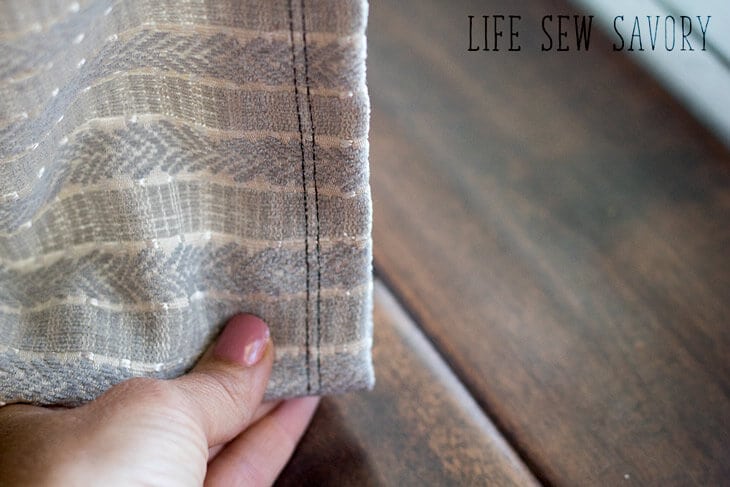
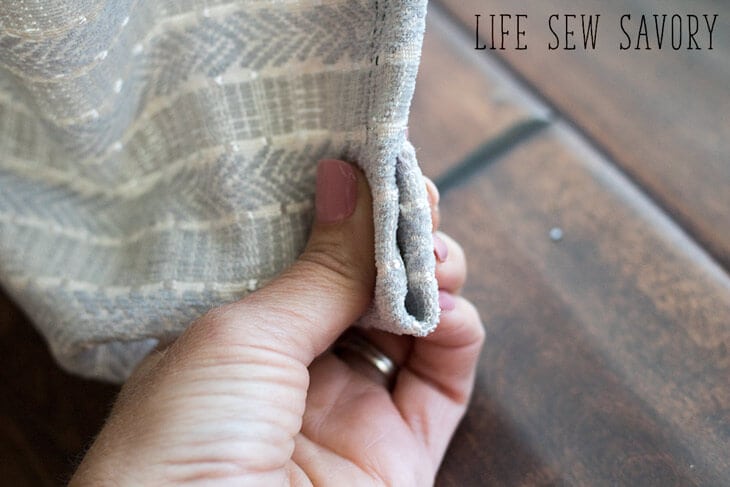
Then turn that selvedge edge side to the back and hem. Do that to both sides of the curtain panel.
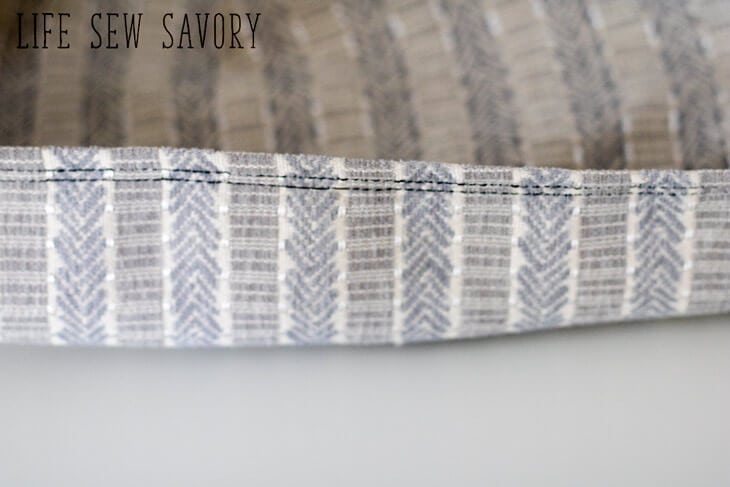
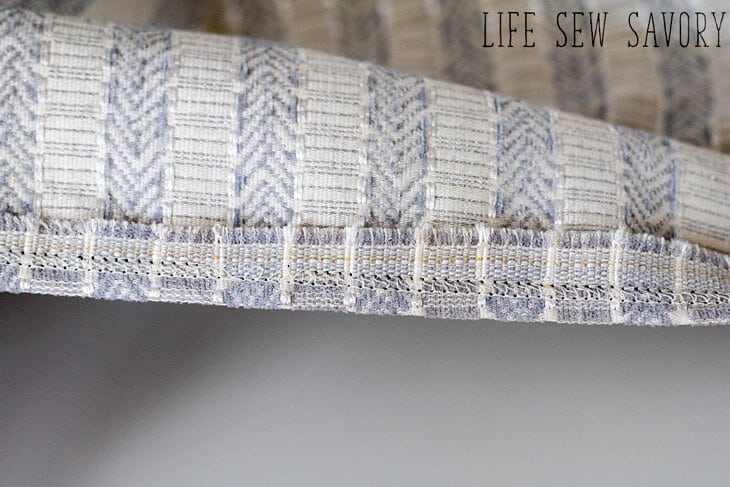
On the top {that will have the grommets} fold back 4″. Stitch.
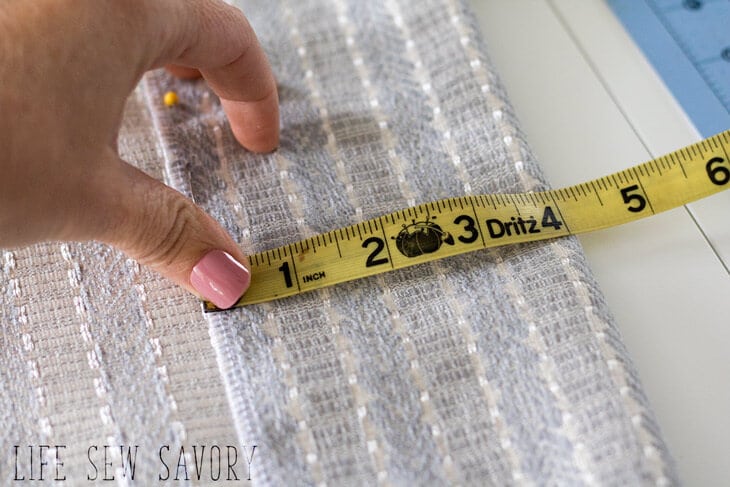
Start about 1″ from the hemmed edge and use the included guide to trace circles on the fabric.
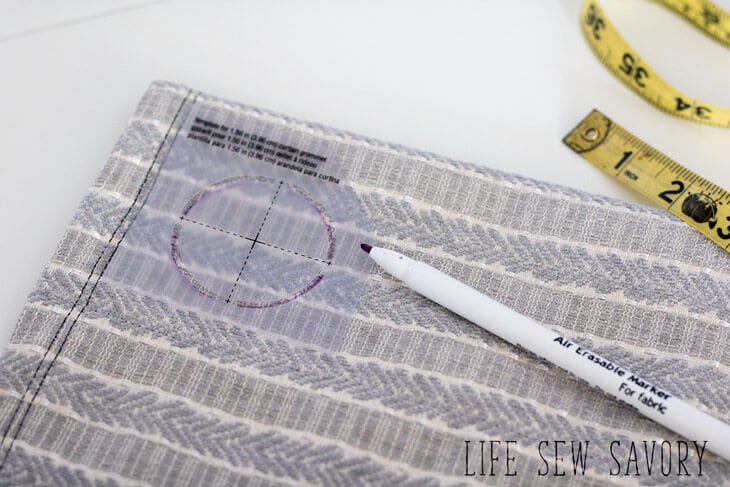
Based on the width of your fabric you will space the grommets evenly. Mine where 5.5″ from circle center to circle center.
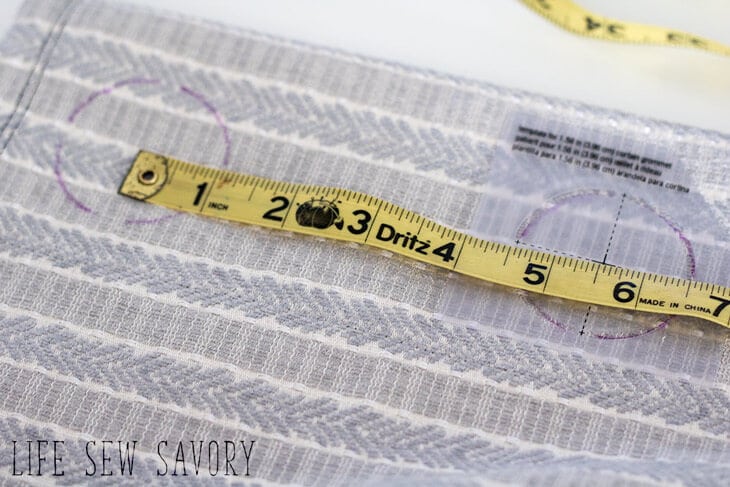
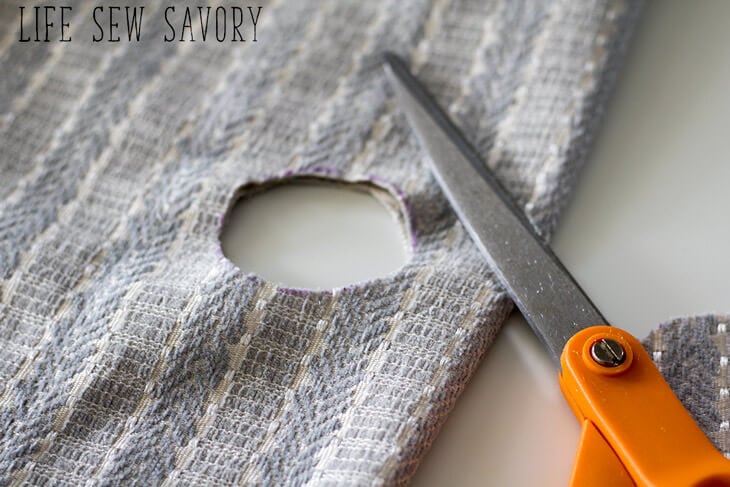
Cut out each circle.
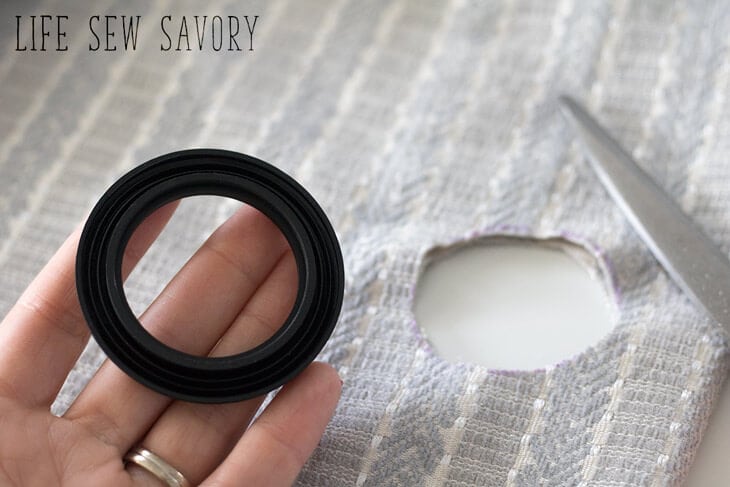
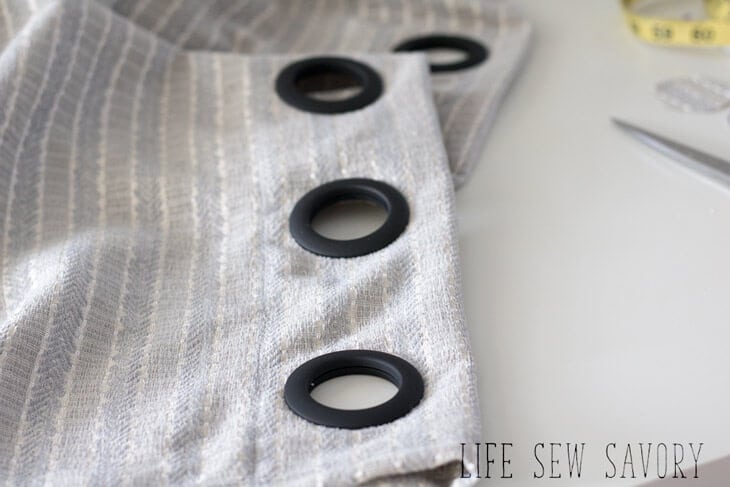
The grommets have instructions on the back, but there are two pieces, one with spikes and one without. The one without is suppose to go on the front of the fabric.
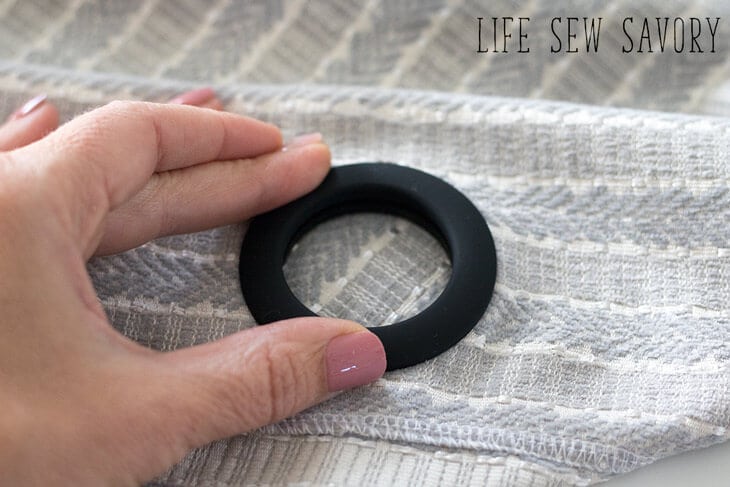
Place one piece on the front and one on the back then press – HARD. It should “snap” and then be set. EASY!
I then hung the curtains to mark the bottom hem. Sew where you marked the hem.
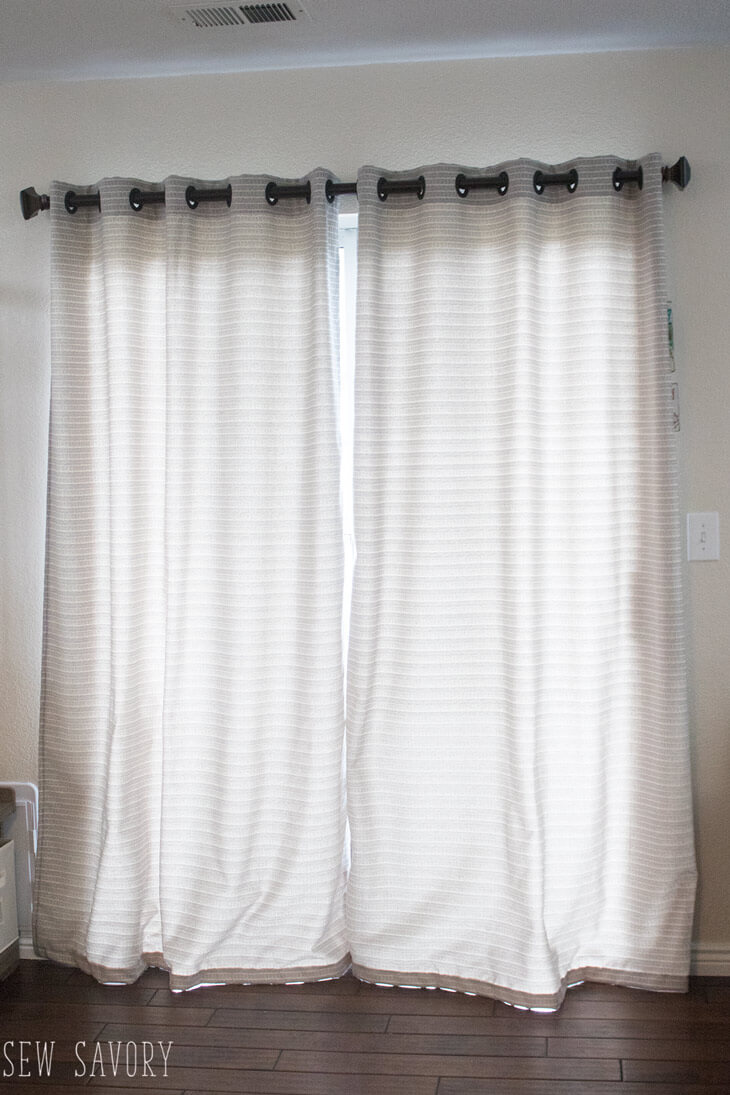
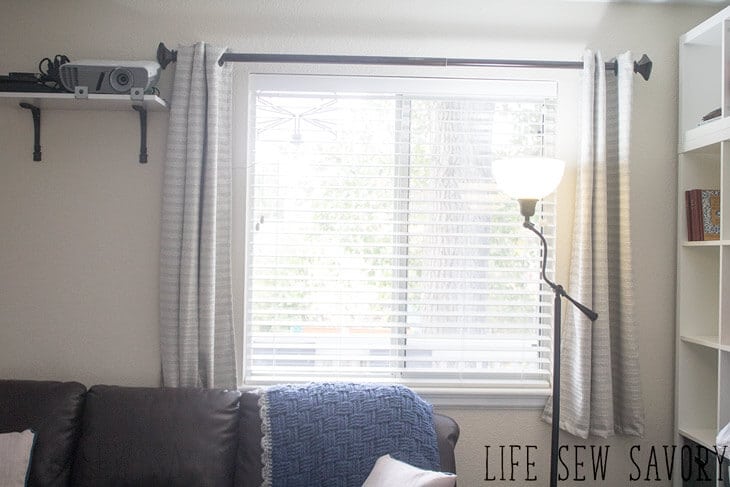
Here are my beautiful walk out door curtains.
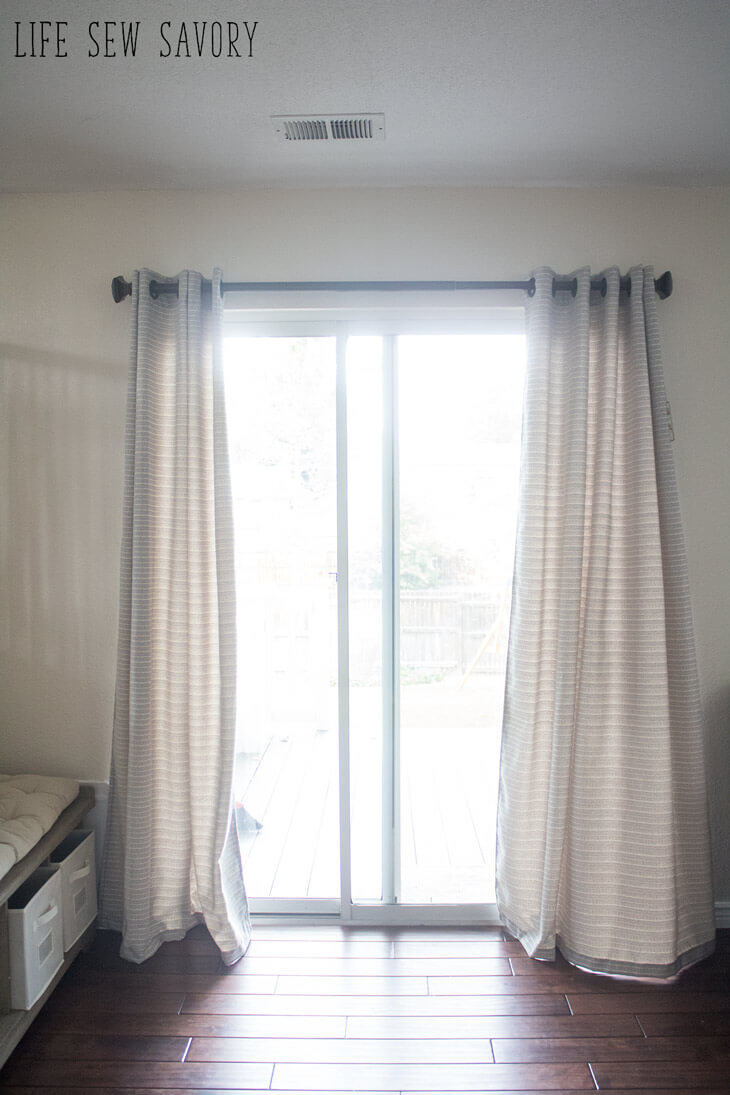
And my shorter window ones…
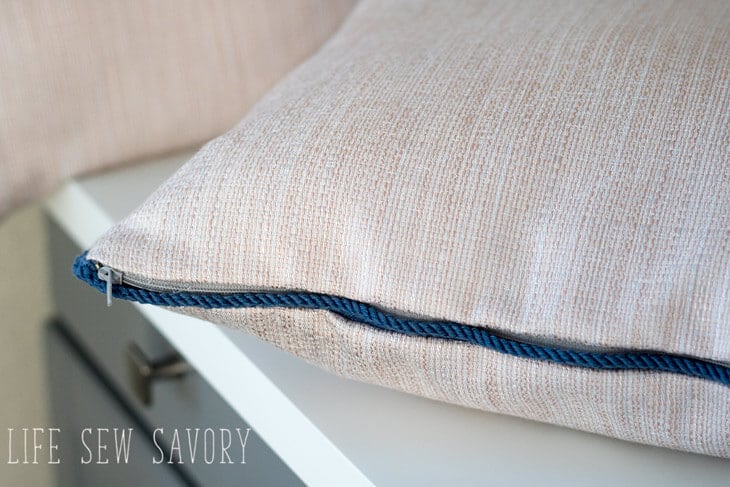
I also sewed up two throw pillows. One with a zipper.. You can find my zipper pillow tutorial here.
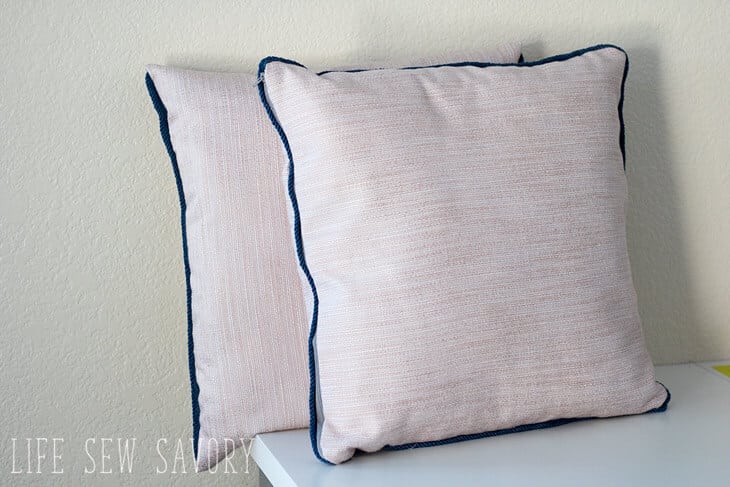
I also made an envelope style pillow with piping on the sides. You can find my envelope pillow tutorial here. What would you make for your home with Waverly Design Series at Joann?
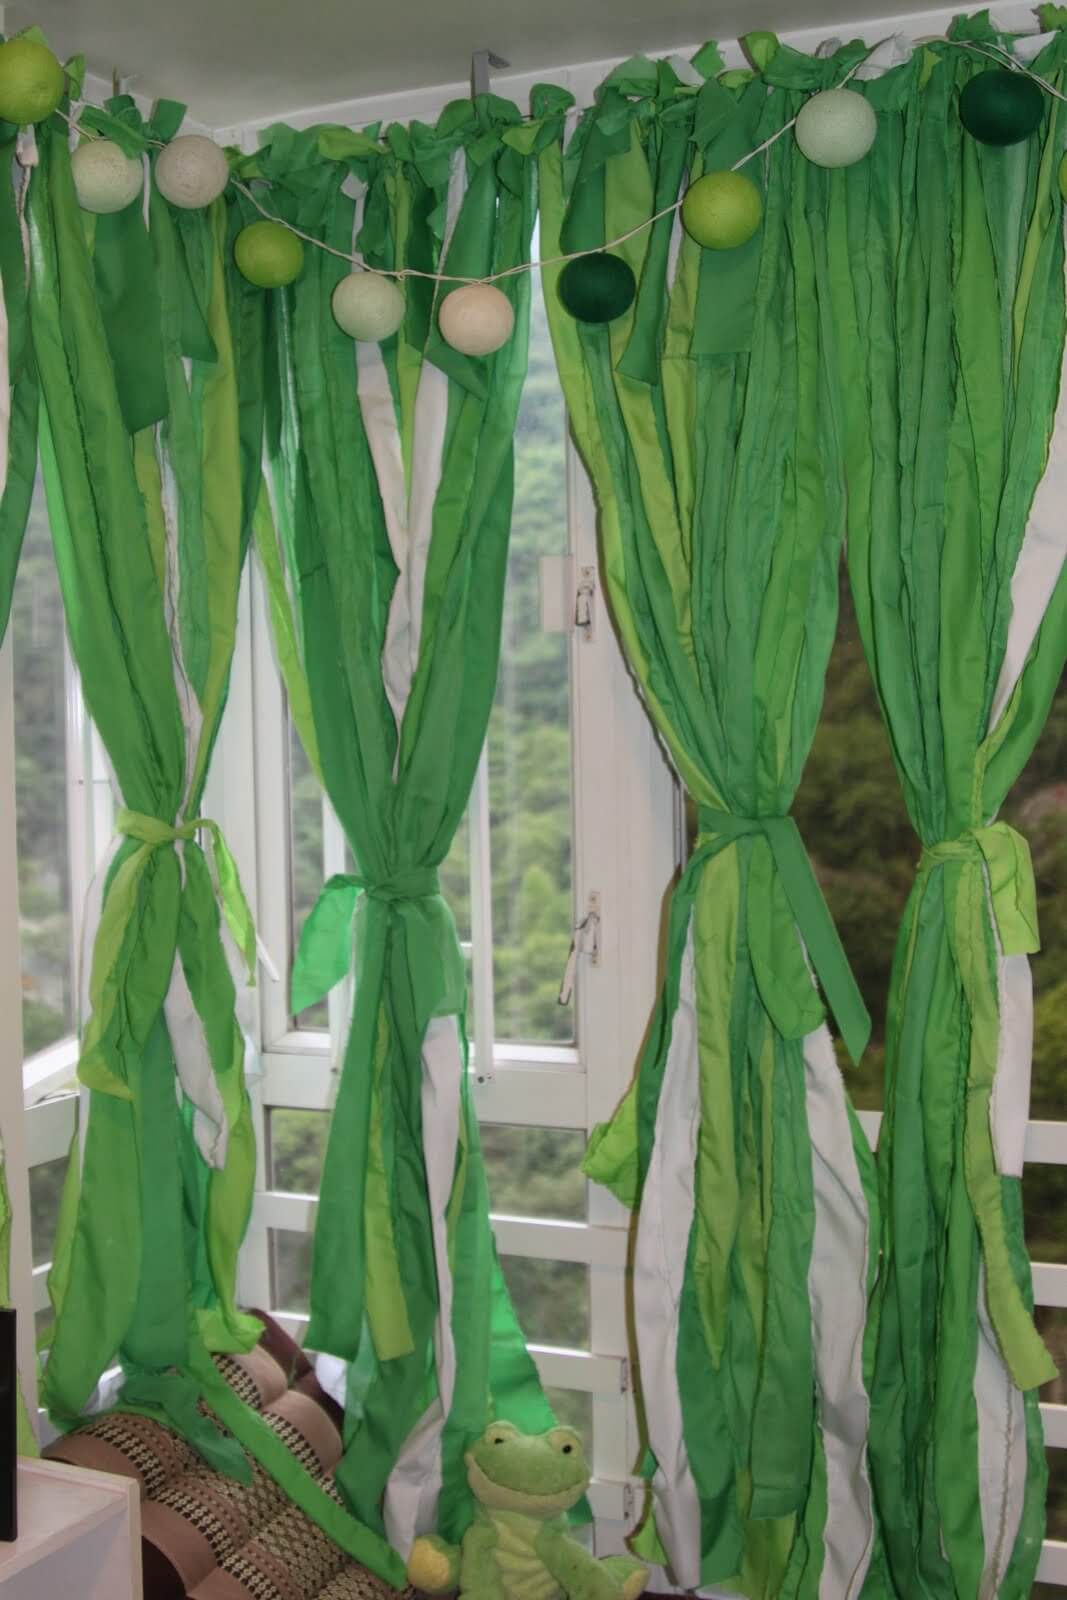
Here are a few other Curtain tutorials I’ve shared in the past –
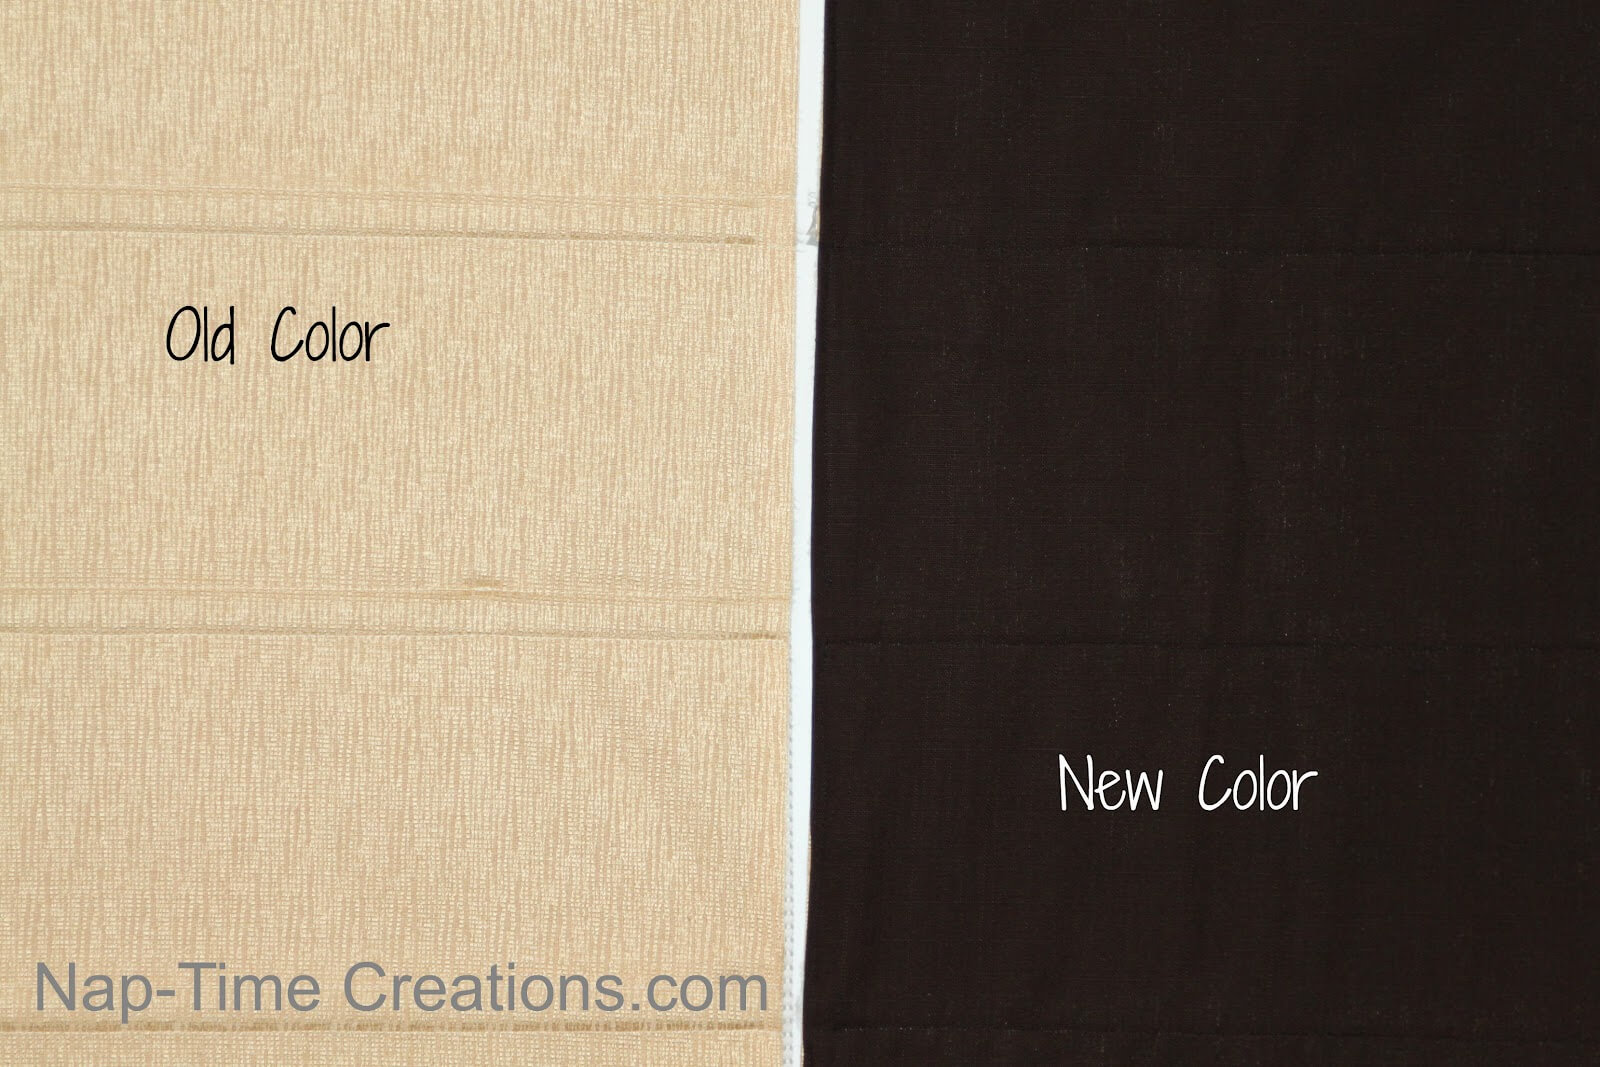
Recover a Roman Shade tutorial





Rose Kiley says
Where are your curtain rods from? They are just what I need for a couple of windows!
Mary Coakley says
Your curtains are beautiful great fabric and the grommets add to them together with your pillows lovely job
GMP says
If you sew curtain weights or even quarters into the bottom corners of your curtains (both bottom corners of each panel), they will hang very nicely. I usually create a little square “bag” for the curtain weight or quarter, made out of scrap fabric, then sew the square bags holding the weights onto the bottom corners of the panel, between the face fabric and lining fabric so that they cannot be seen.
Emily says
this is a great idea!