

inside: Learn how to create easy custom acrylic disc ornaments for Christmas. Personalize ornaments for your friends and family to create beautiful custom acrylic ornaments.
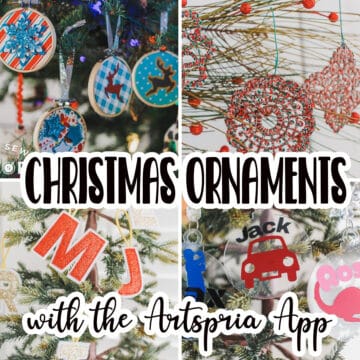
It’s time to start thinking about Christmas ornaments again. I’m sure some of you already have your home decorated! We usually have a real tree, so I won’t put it up until right after Thanksgiving, but I’m spending this month making lots of new fun ornaments. Today I’m sharing how to make custom acrylic disc ornaments with the Artspira App.

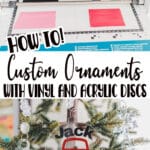
How to make custom Christmas ornaments
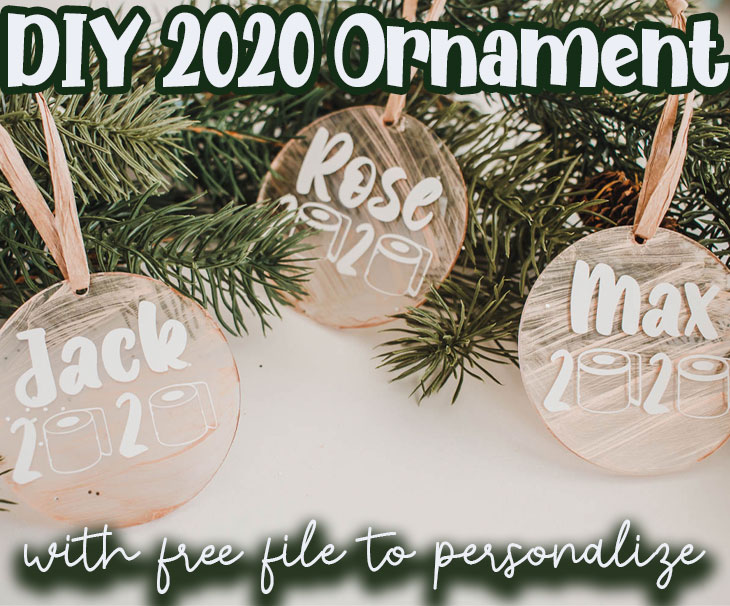
How cute are these ornaments! I’ve made so many different ornaments over the years, but the personalized ones are always my favorite. I actually made a personalized acrylic disc ornament a few years ago, but it hasn’t aged well {a 2020 themed ornament} I will share a photo of this previous version at the very end of this post…
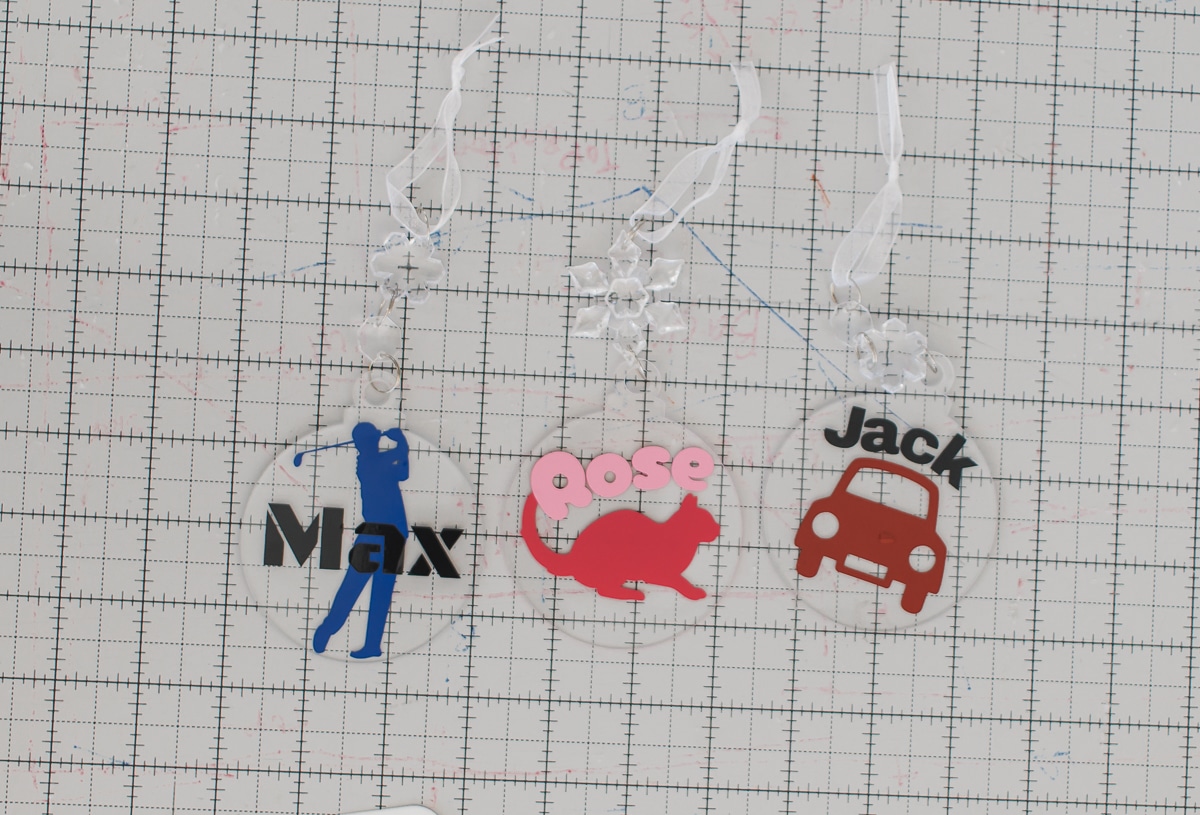
For the kids ornaments this year I chose to highlight something that each of them love/ or big event. My oldest said his should have a runner on it, as he had a great track and cross country season this year, but I couldn’t find a runner in Artspira. And while he got his drivers license last year, this year he got a car, so I put that on the ornament.

Acrylic Disc Ornaments with the Artspira App
Ok! Now it’s time to make some ornaments. Of course yours will look different than mine, but that’s the best part. Each and every ornament can be unique and different, and custom to who you are making the ornaments for. The supplies you will need for this simple project are below.
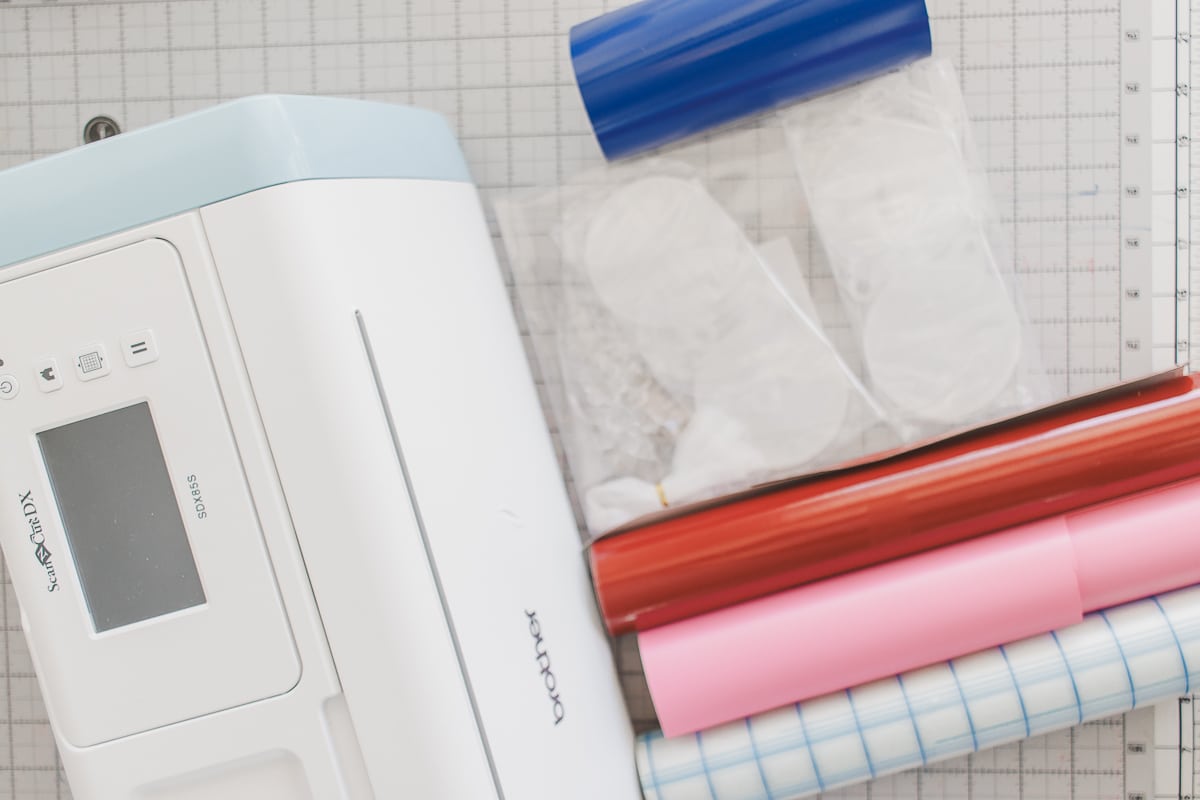
Supplies to make custom ornaments:
- Acrylic Discs
- Craft vinyl
- Transfer Tape
- Cutting machine {I used my ScanNCut
- Artspira App – or other design software.
Custom Vinyl Ornaments
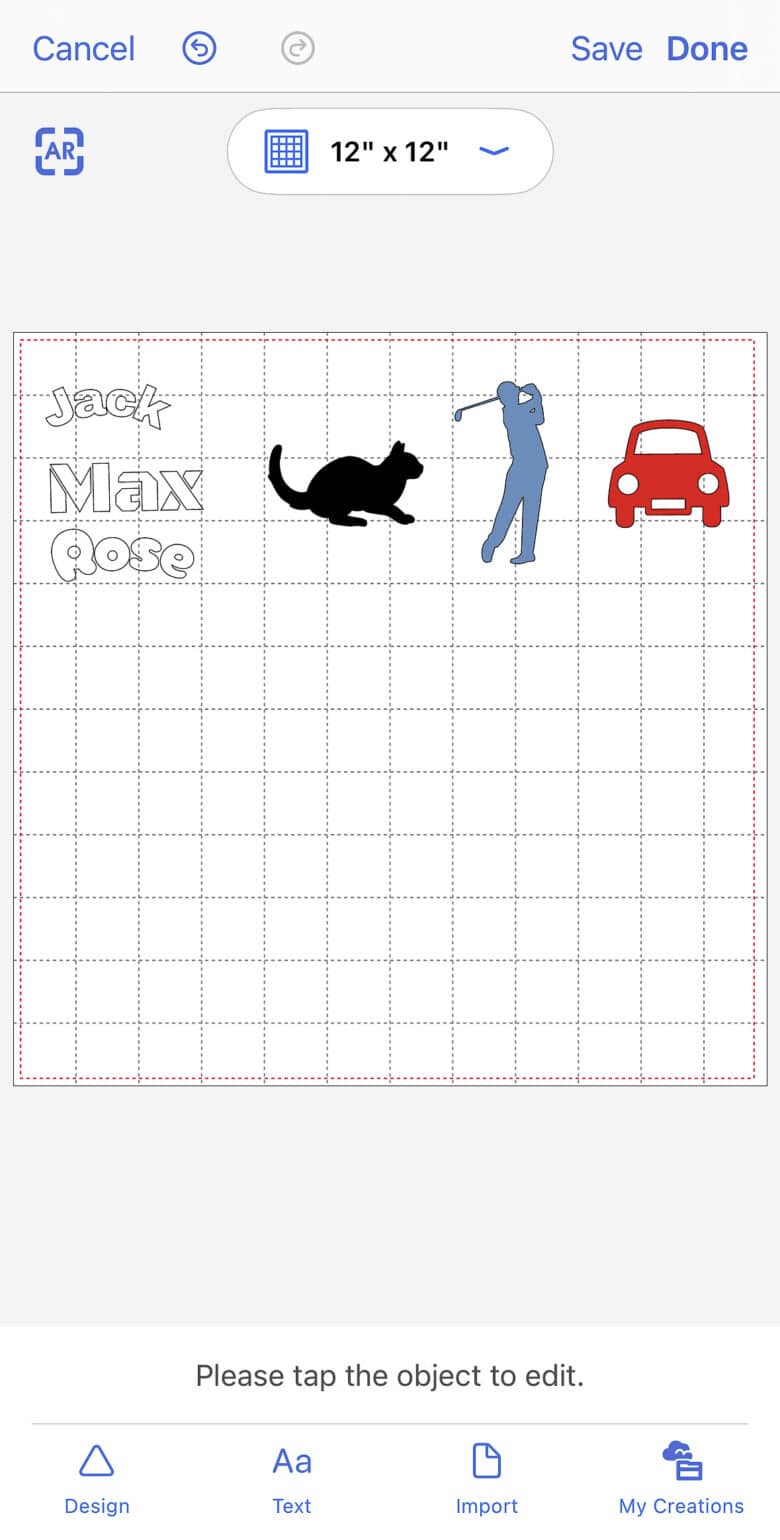
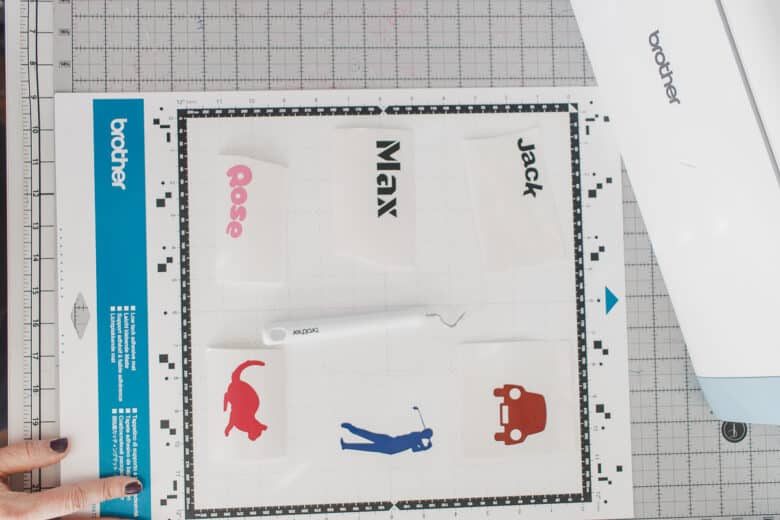
Create your designs right in the Artspira App {or other design software that you use} I used three different fonts for the names, and then three different designs for the rest of the ornament. In the editor I spread out the designs to that I cut them all at once with six different colors of vinyl. In Artspira you can choose to have it cut as laid out, or to save space. See cut options for these details.

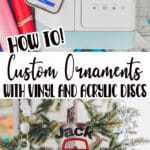
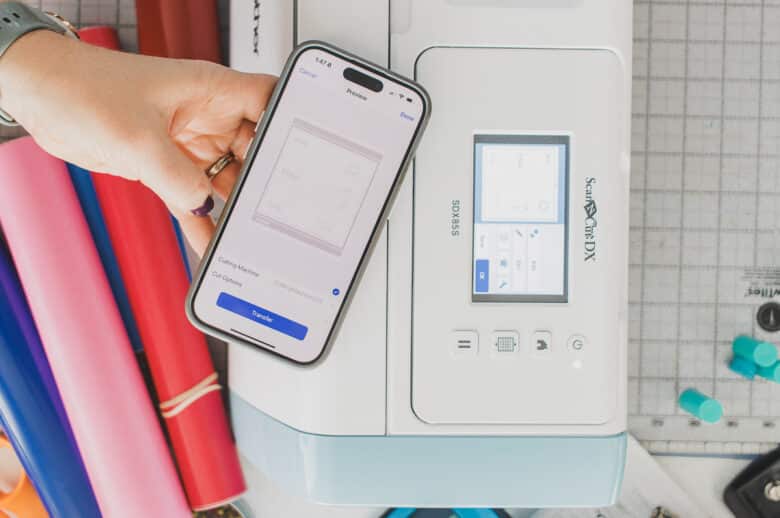
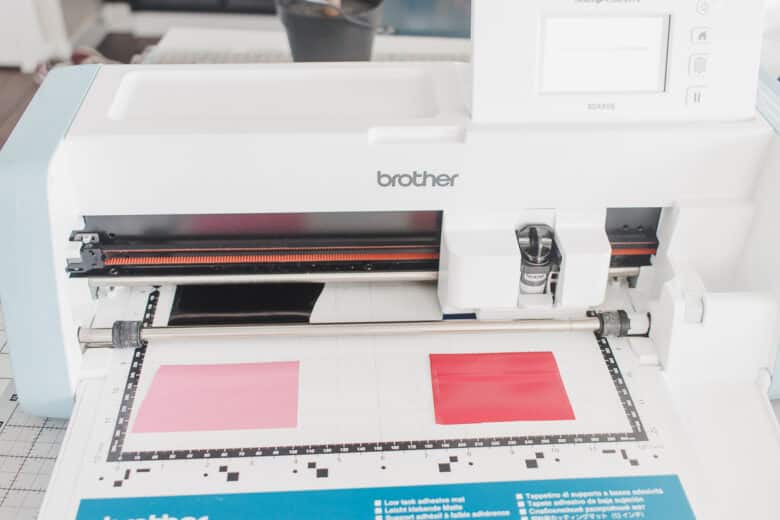
Transfer the design to your ScanNCut, and then use the scan function to check your vinyl placement. {you can see this scan on my screen}
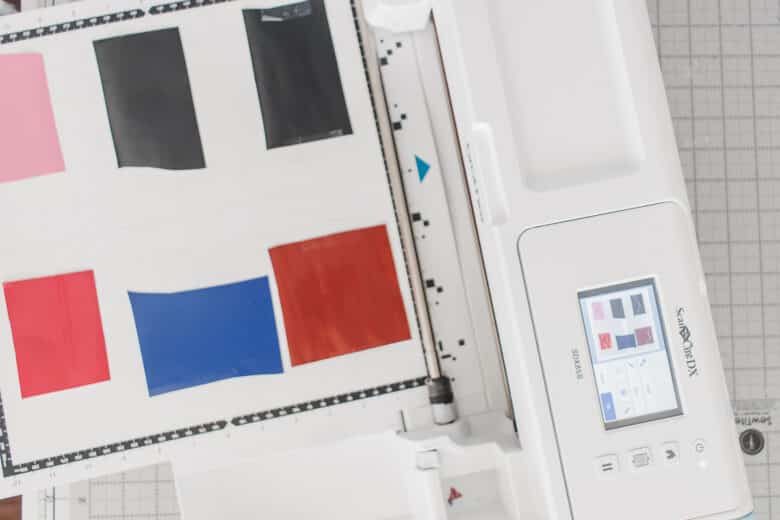
Cut the design, then weed the vinyl.
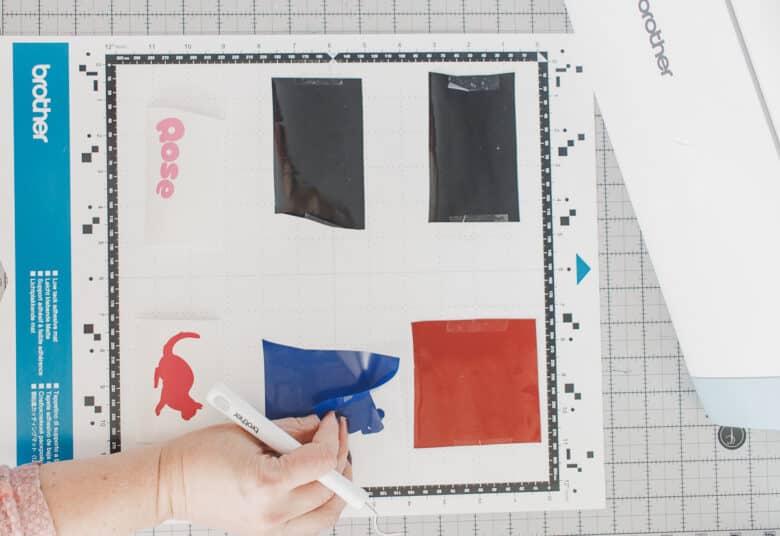
Prepare the acrylic disc ornament by removing the protective covering and add any extra charms that you want. My kit came with these cute snowflakes and other pieces to add.


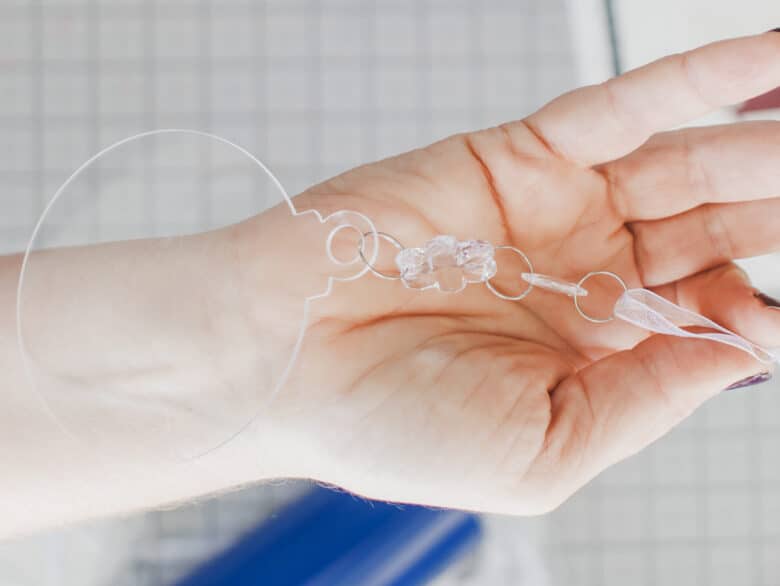
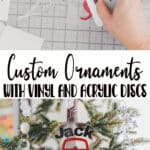
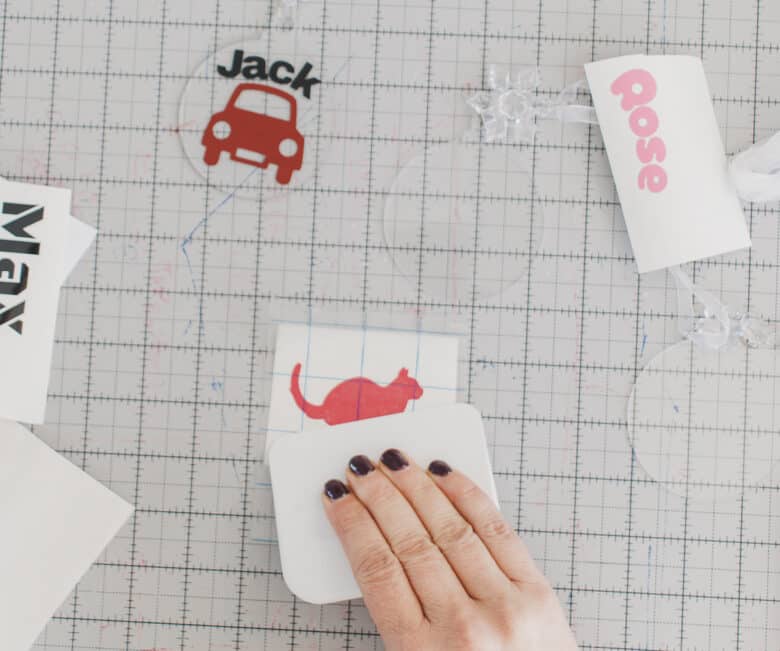
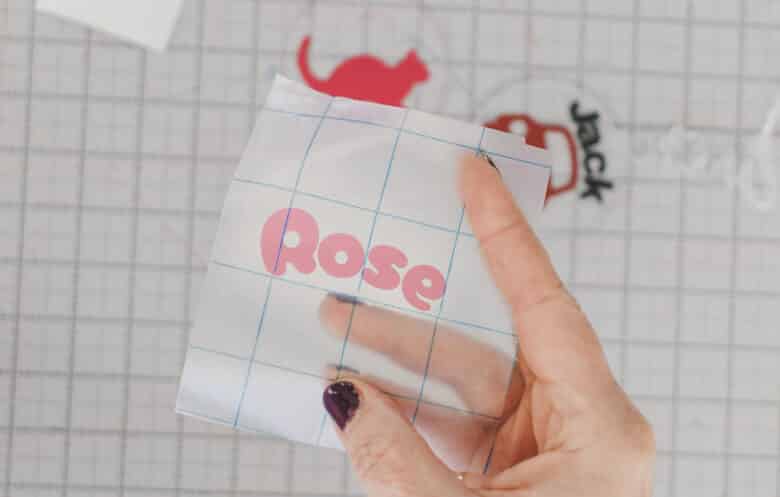
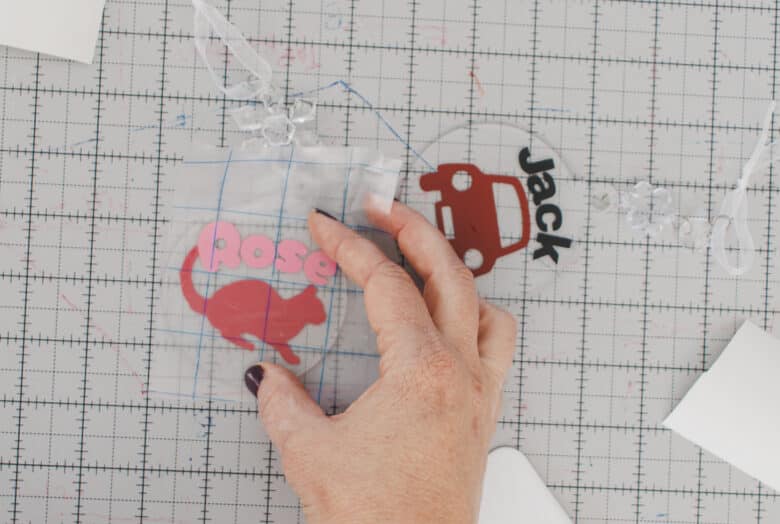
Use a small piece of transfer tape to lift the decal off backing. Rub firmly to help lift it. Use the grid lines on the tape to help line it all up. I also used the grid lines on my cutting mat to place the ornament. Press firmly and rub again to stick the design to the ornament disc.
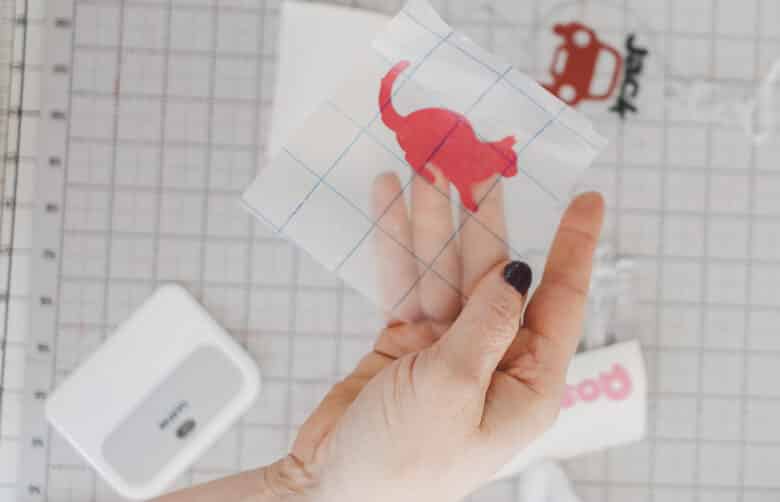

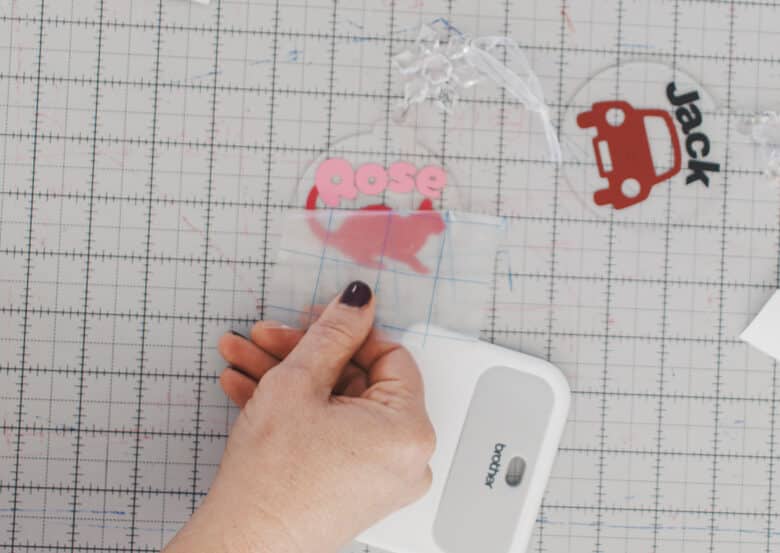
Peel off the tape slowly to check if the design is stuck. I used the same piece of tape to lift the name using the same process.
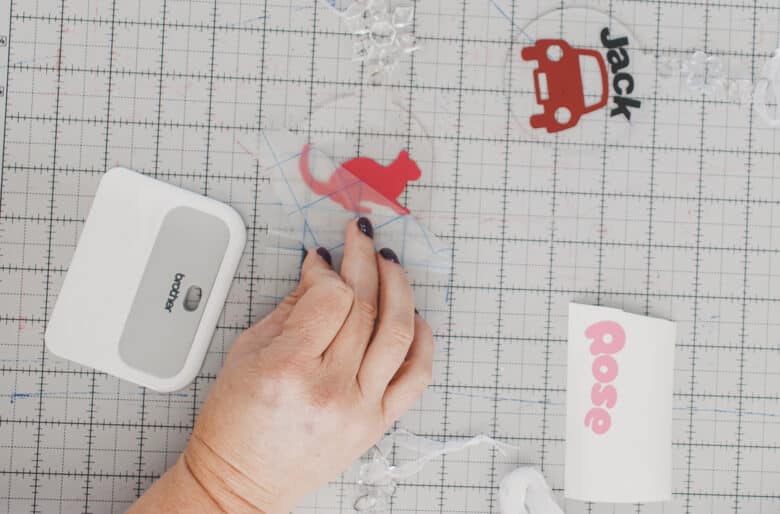
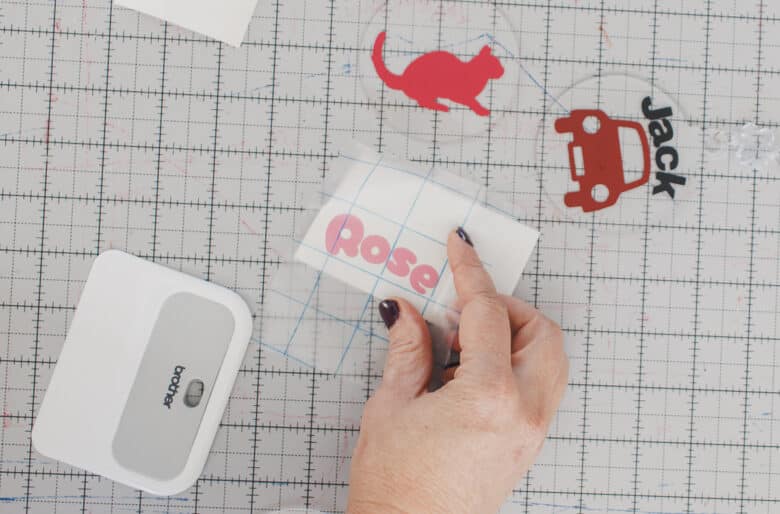
You can overlap the vinyl if needed. Repeat with all the other ornaments, then hang and enjoy!!
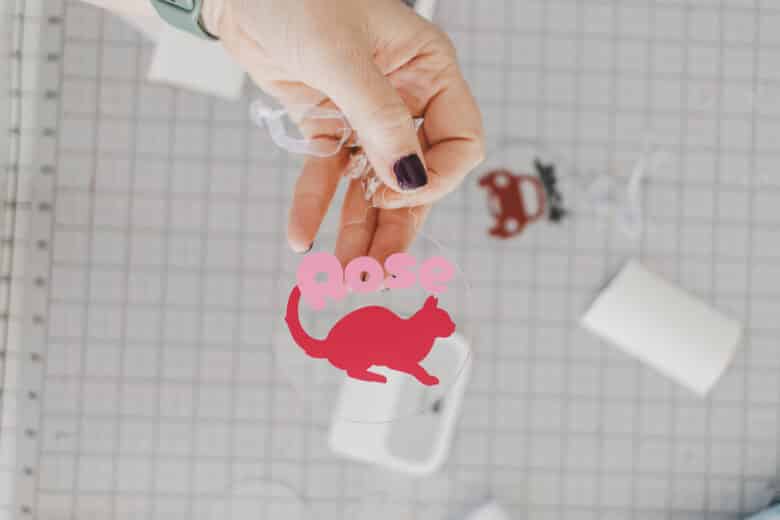
Repeat process until you have all vinyl placed on ornaments. You can even layer the vinyl {like the MAX ornament} They look so cute on my mini tree, we can’t wait to place them on our real tree.


Leave a Reply