This post is sponsored by Pine-Sol® but the content and opinions expressed here are my own.
When cleaning isn’t really your “thing” you make it better by sewing a cute DIY Cleaning Mitt, cranking up the music and busting some “moves” while cleaning. AND for me….Sewing – sewing makes cleaning better! While it may not be my favorite, cleaning is something we all have to do, so make fun with the #MyCleanMoves Contest from Pine-Sol® and these cute DIY Cleaning Mitts. How do you “bust a move while cleaning??”
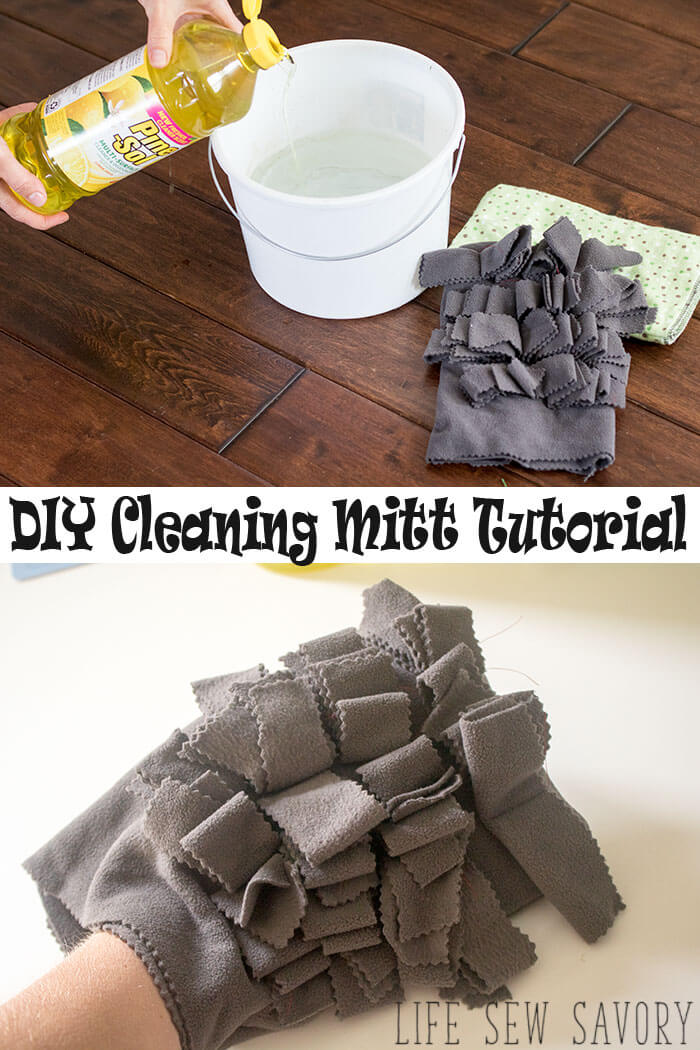
DIY Cleaning Mitt Tutorial –
What’s your favorite cleaning product? I just love when the house smells all fresh and clean and Pine-Sol® Lemon Fresh is my favorite. Want to clean and win!? Post a photo on Instagram showing off your cleaning dance moves with the hashtags #MyCleanMoves and #Contest and YOU COULD WIN $5000 or other prizes!*
*See Official Rules for details. Remember to tag the @PineSol brand, and follow @PinSol on Instagram. Here’s my entry…
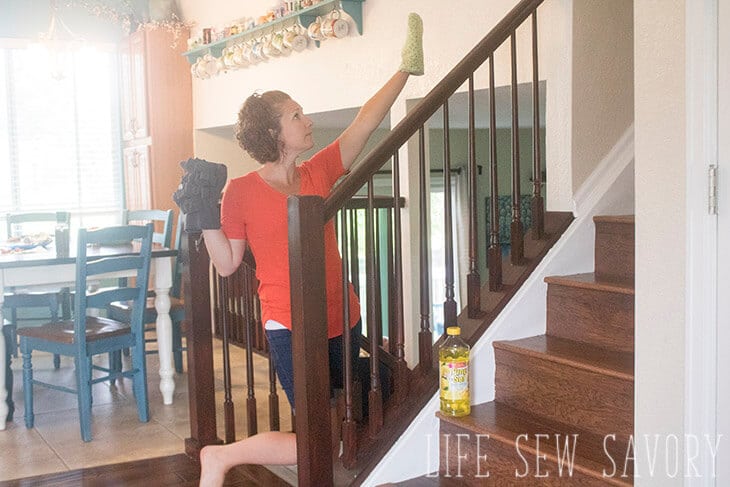
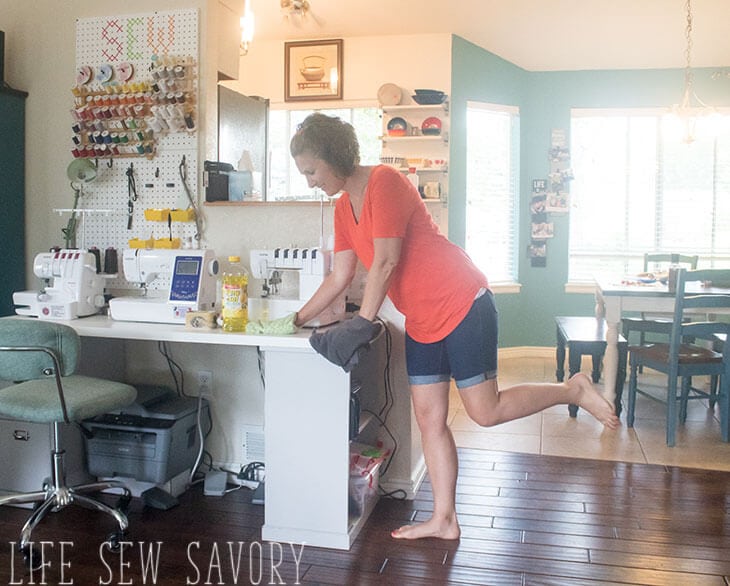
A little shimmy shimmy while I clean the banister and my sewing area while blasting my favorite music!
Have some fun while you clean with Pine-Sol®. It kills 99.9% of germs and is a Multi-Surface Cleaner so I can use one product for {almost} everything. Pine-Sol® Multi-Surface Cleaner can be used on dirt, grime, grease and to deodorize. Pine-Sol® works as hard as you do to keep your house looking and smelling great. AND make this cute cleaning mitts to get the job done with ease. I’m going to show you how to make two different kinds of mitt, both easy sewing.
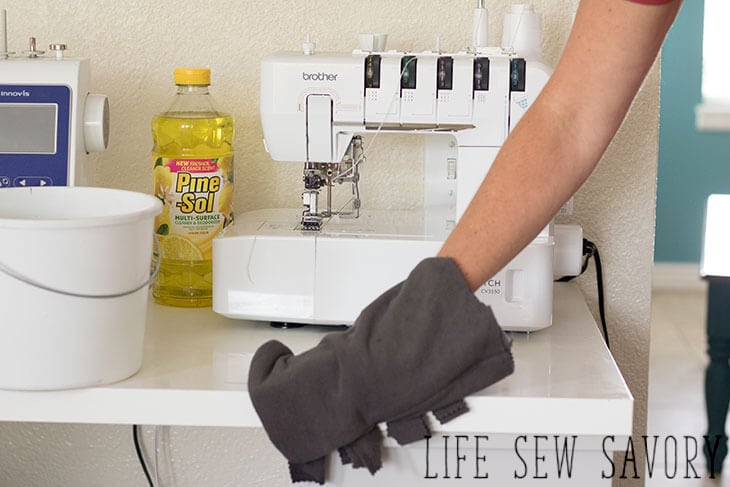
I was able to give these steps a good wipe down right after I took this photo. I vacuum all the time, but it had been awhile since they really were clean. I love how easy it was to wipe down and get off all the stubborn dirt with my fleece mitt.
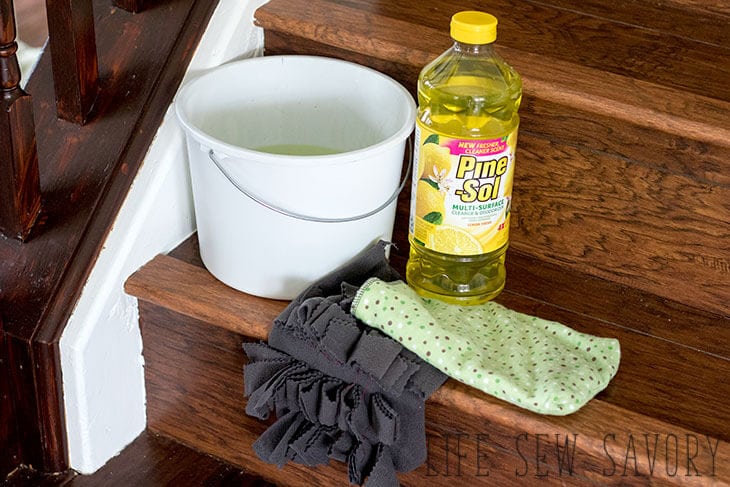
Grab some flannel and fleece and let’s get sewing. I’ve got some scraps to work with…
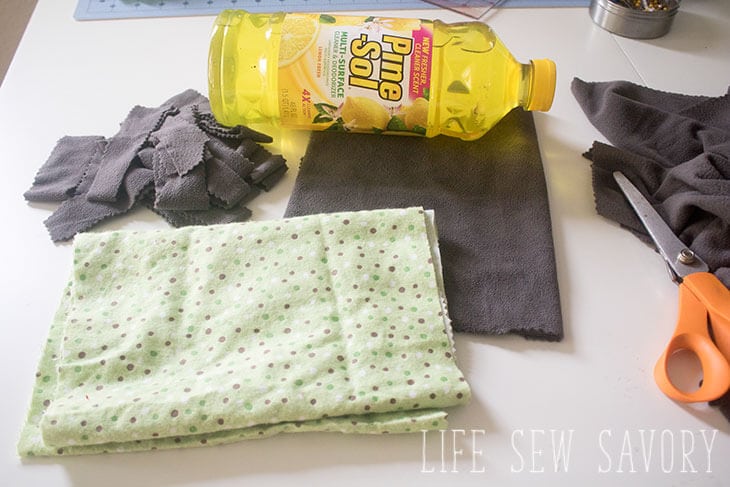
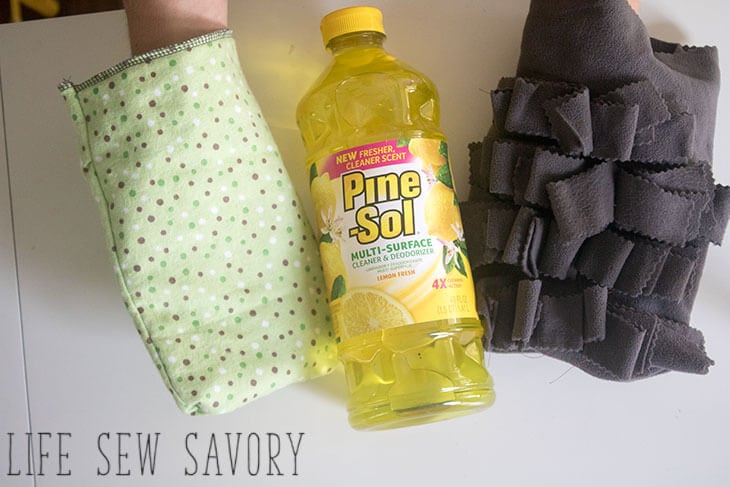
You will need to make a rectangle that’s big enough for your hand to fit inside. I made the flannel mitt 4 layers thick.
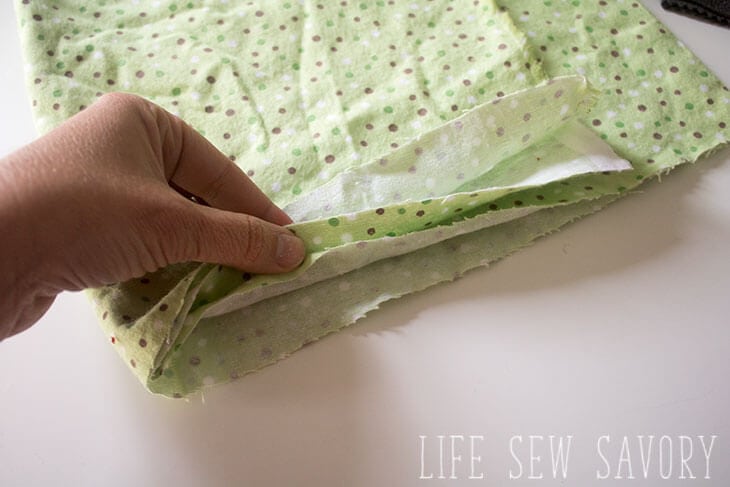
Finish the raw edge around your wrist with and then sew up the other sides. Turn right side out and your first mitt is done!
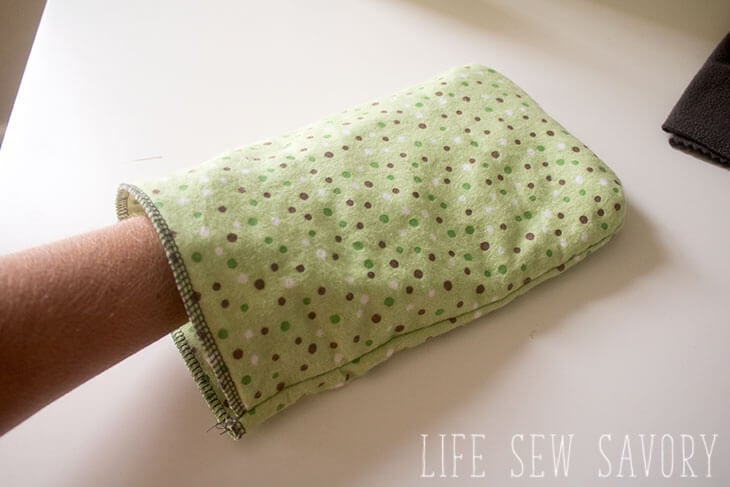
For the second mitt cut a 2 layer mitt big enough for your hand to fit inside. Then cut some 1″ stripes of the same fabric. They should be about 6″ long. Fold in half and then pin on one side of the mitt. Leave room for the seam on the outside of the mitt. I put the strips close together with a pin in the middle and about 6 across the mitt.
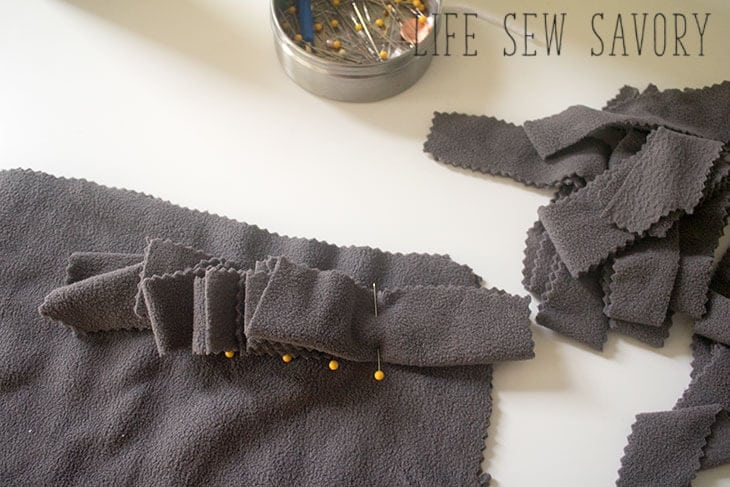
Sew down the middle of each folded piece.
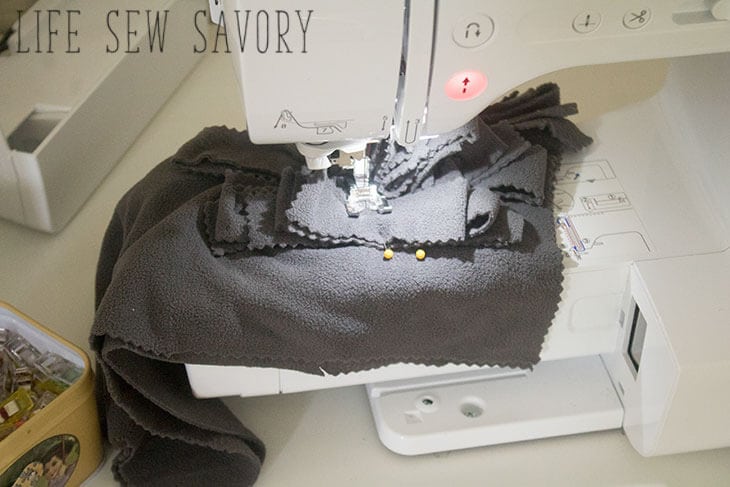 You should have a nice fluffy cleaning super power here. Fold over and sew the two sides of the mitt to create the rectangle. Keep the fluffy strips out of the way when you sew.
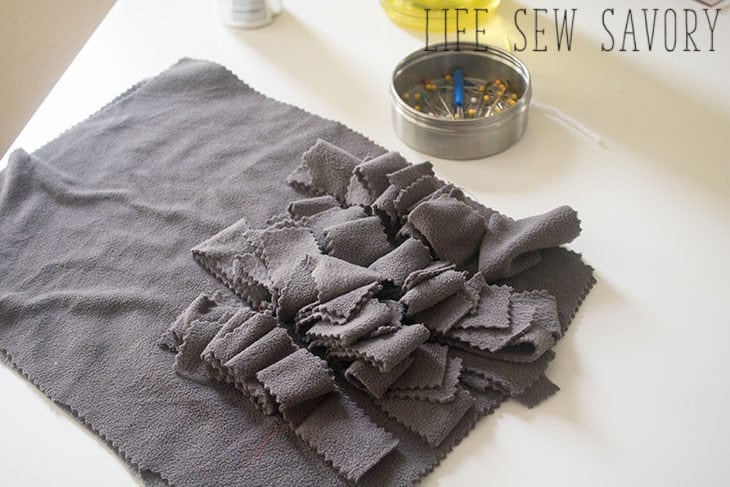
Turn right side out and get cleaning!
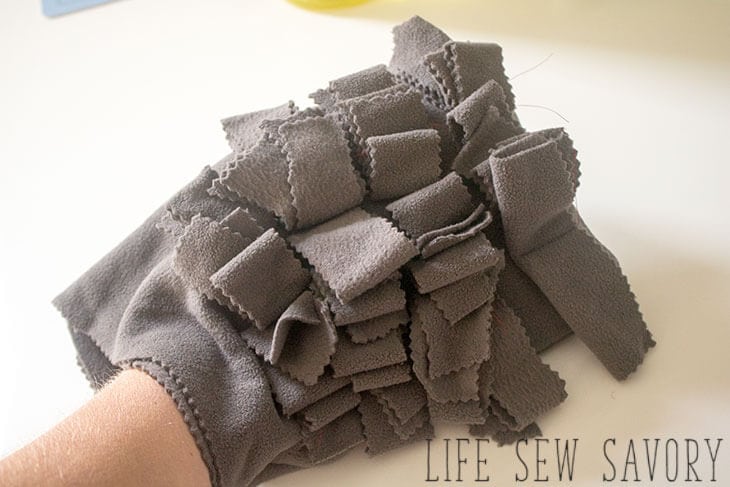
My sewing table needed a good wipe down! The dust is now gone and my desk looks so clean. Plus I may have even had a “tiny” bit of fun while cleaning.
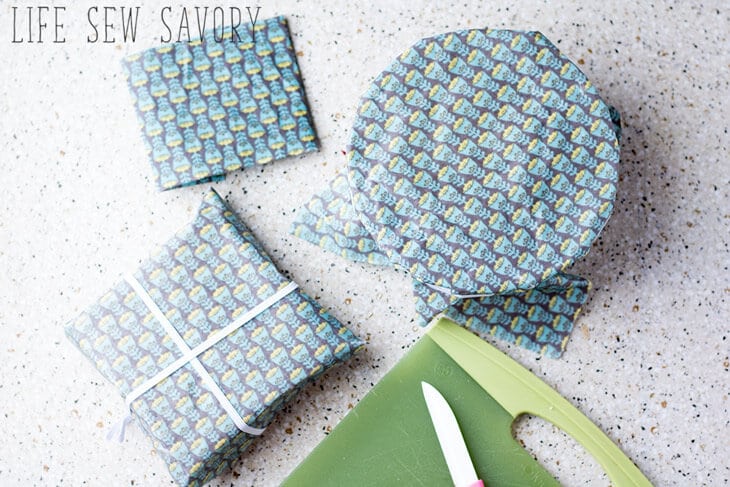
Here are a couple other easy DIYs for your home.
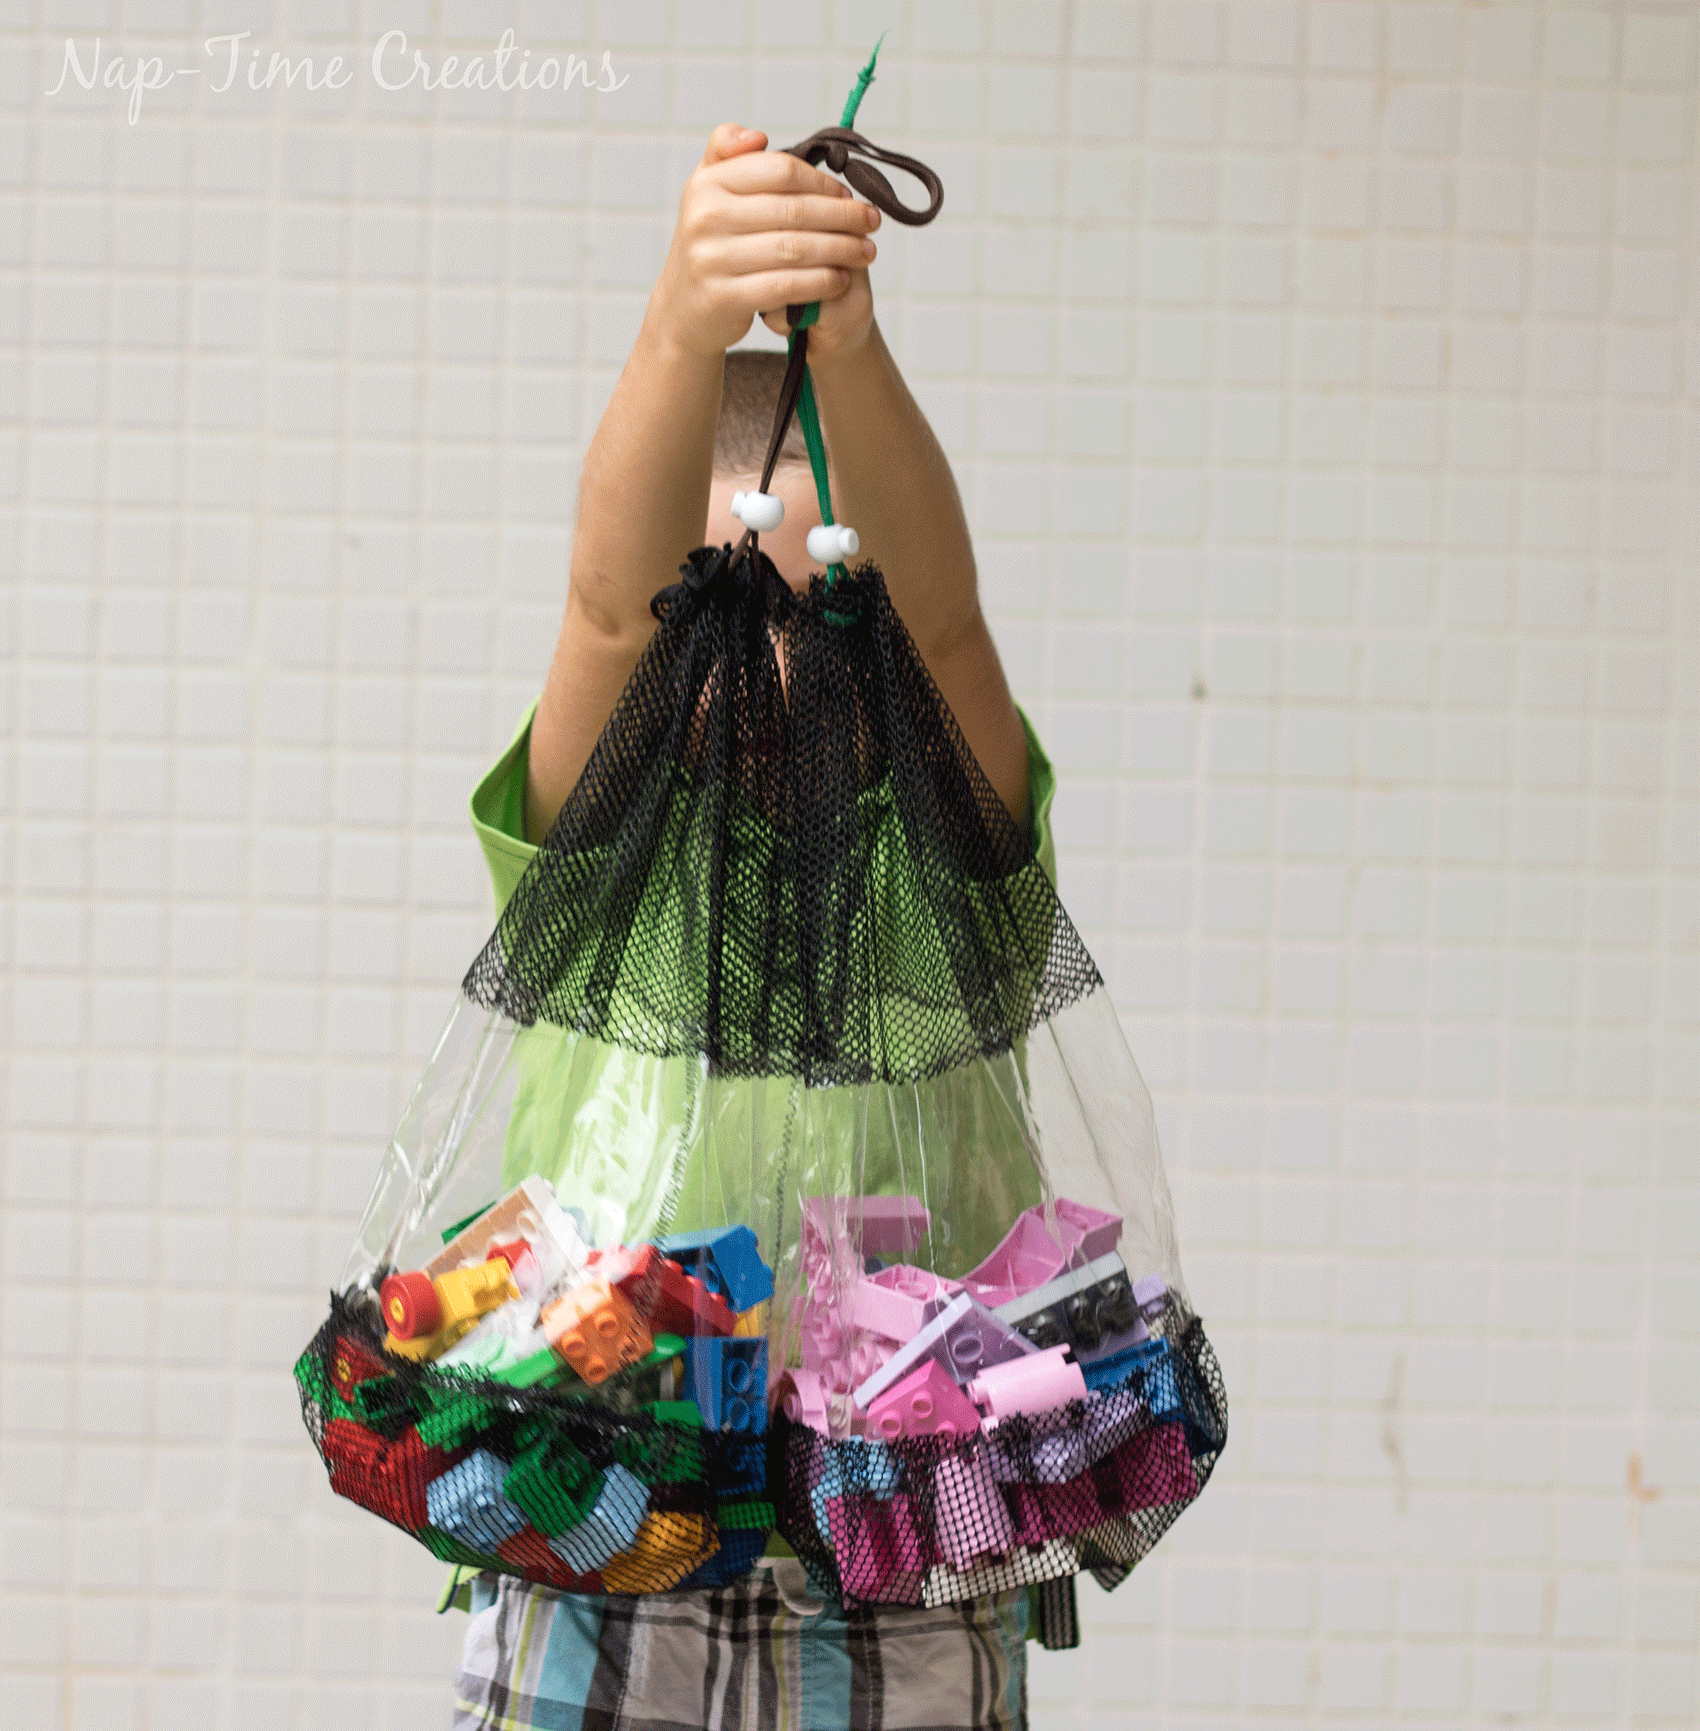
mesh LEGO bag





starofservice avis says
I tried your tip and it is perfect. My house is now super clean;)
Laura J Conklin says
These are two wonderful ideas for cleaning DIY items. I love them and have added the directions to my “Project File Cabinet” pinterest board. Very clever!